
Articles
How To Store Sandpaper
Modified: February 26, 2024
Learn how to properly store and organize your sandpaper articles for easy access and longevity.
(Many of the links in this article redirect to a specific reviewed product. Your purchase of these products through affiliate links helps to generate commission for Storables.com, at no extra cost. Learn more)
Introduction
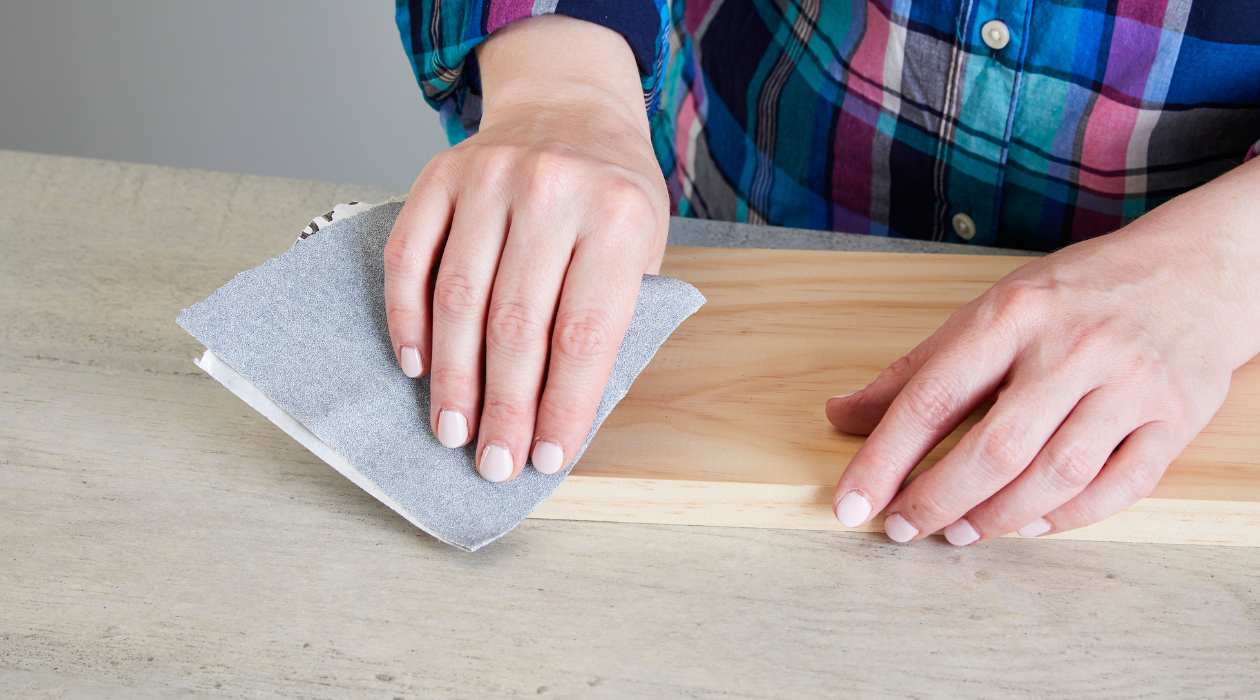
Sandpaper is a versatile tool used in various industries and DIY projects. Whether you’re a professional carpenter or a hobbyist, having a well-organized and properly stored collection of sandpaper is crucial for efficient work. Storing sandpaper in a neat and accessible manner not only saves precious time but also extends its lifespan.
In this article, we’ll explore different strategies and techniques to store sandpaper effectively. From finding the right storage space to protecting it from moisture and damage, we’ll cover all the essential steps to ensure your sandpaper remains in top condition.
Let’s dive in and discover how to store sandpaper like a pro!
Key Takeaways:
- Organizing sandpaper by grit ranges and using clear containers with proper labeling saves time and ensures quick access to the right sandpaper for efficient woodworking and DIY projects.
- Protecting sandpaper from moisture, using appropriate containers, and implementing a labeling system prolongs its lifespan, leading to cost savings and optimal project results.
Read more: How To Make A Sandpaper
Finding the Right Storage Space
When it comes to storing sandpaper, the first step is to find an appropriate storage space. This space should be easily accessible, well-organized, and able to accommodate your collection of sandpaper.
Consider allocating a specific area in your workshop or garage solely for sandpaper storage. This ensures that you have a dedicated space for your sandpaper and can easily locate it whenever you need it. Wall-mounted storage racks or shelves are great options as they save floor space and provide easy visibility of your sandpaper inventory.
Another important factor to consider is the climate and humidity levels in your storage area. It’s crucial to avoid storing sandpaper in areas that experience high levels of moisture or extreme temperature fluctuations, as this can negatively impact the quality of the sandpaper. A dry and well-ventilated space is ideal for maintaining the integrity of the sandpaper.
If you have limited space, consider utilizing storage boxes or containers that can be stacked or stored compactly. Clear plastic bins or drawers are especially useful as they allow you to easily see and access different grits of sandpaper.
Remember to keep your storage space clean and free from dust and debris. Regularly dusting and vacuuming the area will help prevent contamination of your sandpaper, ensuring it remains in optimal condition.
A well-organized and designated storage space not only helps protect your sandpaper from damage but also makes it easier to keep track of your inventory. It eliminates the frustration of searching for the right grit or size and allows you to focus on your project at hand.
Organizing Sandpaper by Grit
Organizing your sandpaper by grit is essential for quick and efficient access during your woodworking or DIY projects. Sorting and categorizing sandpaper based on their grit size allows you to easily locate the specific grade needed for a particular task.
Here are some helpful tips for organizing sandpaper by grit:
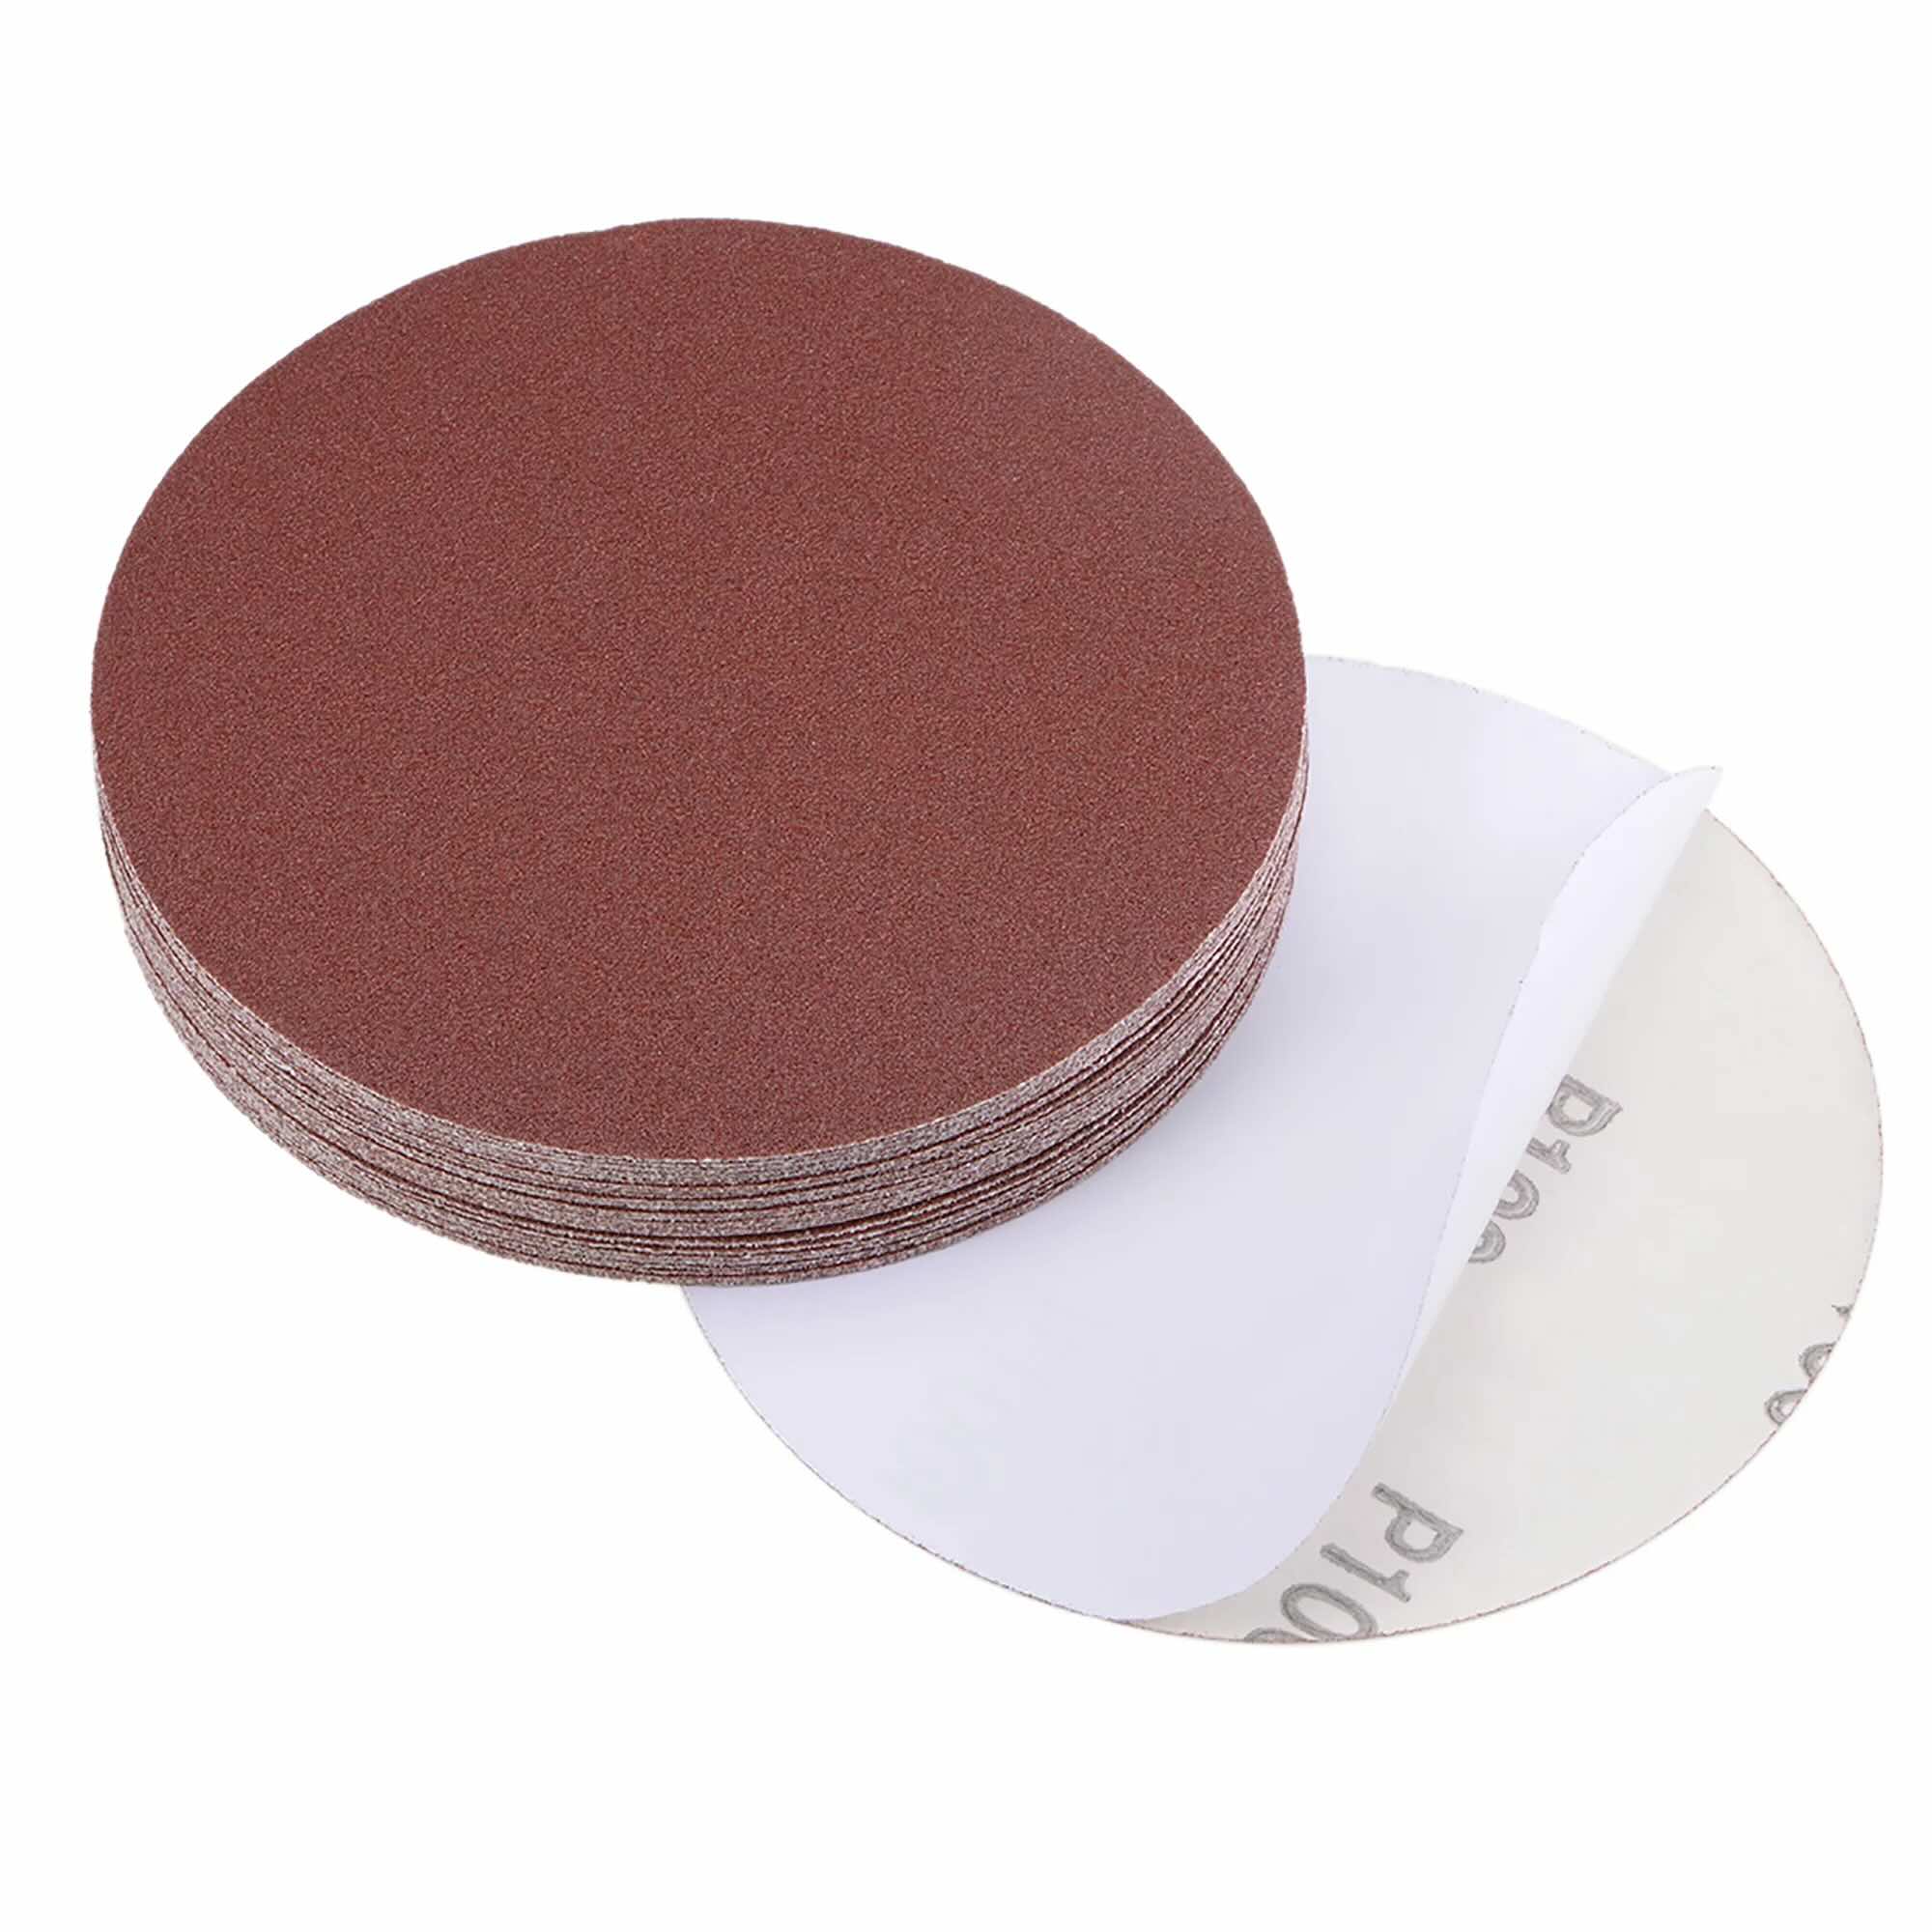
- Grouping by Grit Ranges: Start by dividing your sandpaper into broad ranges of grit sizes, such as coarse (40-80), medium (100-150), and fine (180-240). Grouping them based on these ranges makes it easier to locate the desired grit quickly.
- Separate Containers: Consider using separate containers or storage compartments for each grit range. This helps maintain the organization of your sandpaper and prevents them from getting mixed up. Clear plastic bags or pouches can be labeled and used to store each grit range individually.
- Labeling: Label each container or bag with the specific grit size to ensure quick identification. This way, you won’t have to waste time guessing which sandpaper to use for each task.
- Color-Coding: Another effective method is to color-code your sandpaper. You can use stickers or paint swatches in different colors corresponding to specific grit ranges. This visual cue will assist in quickly identifying the desired grit without having to read labels.
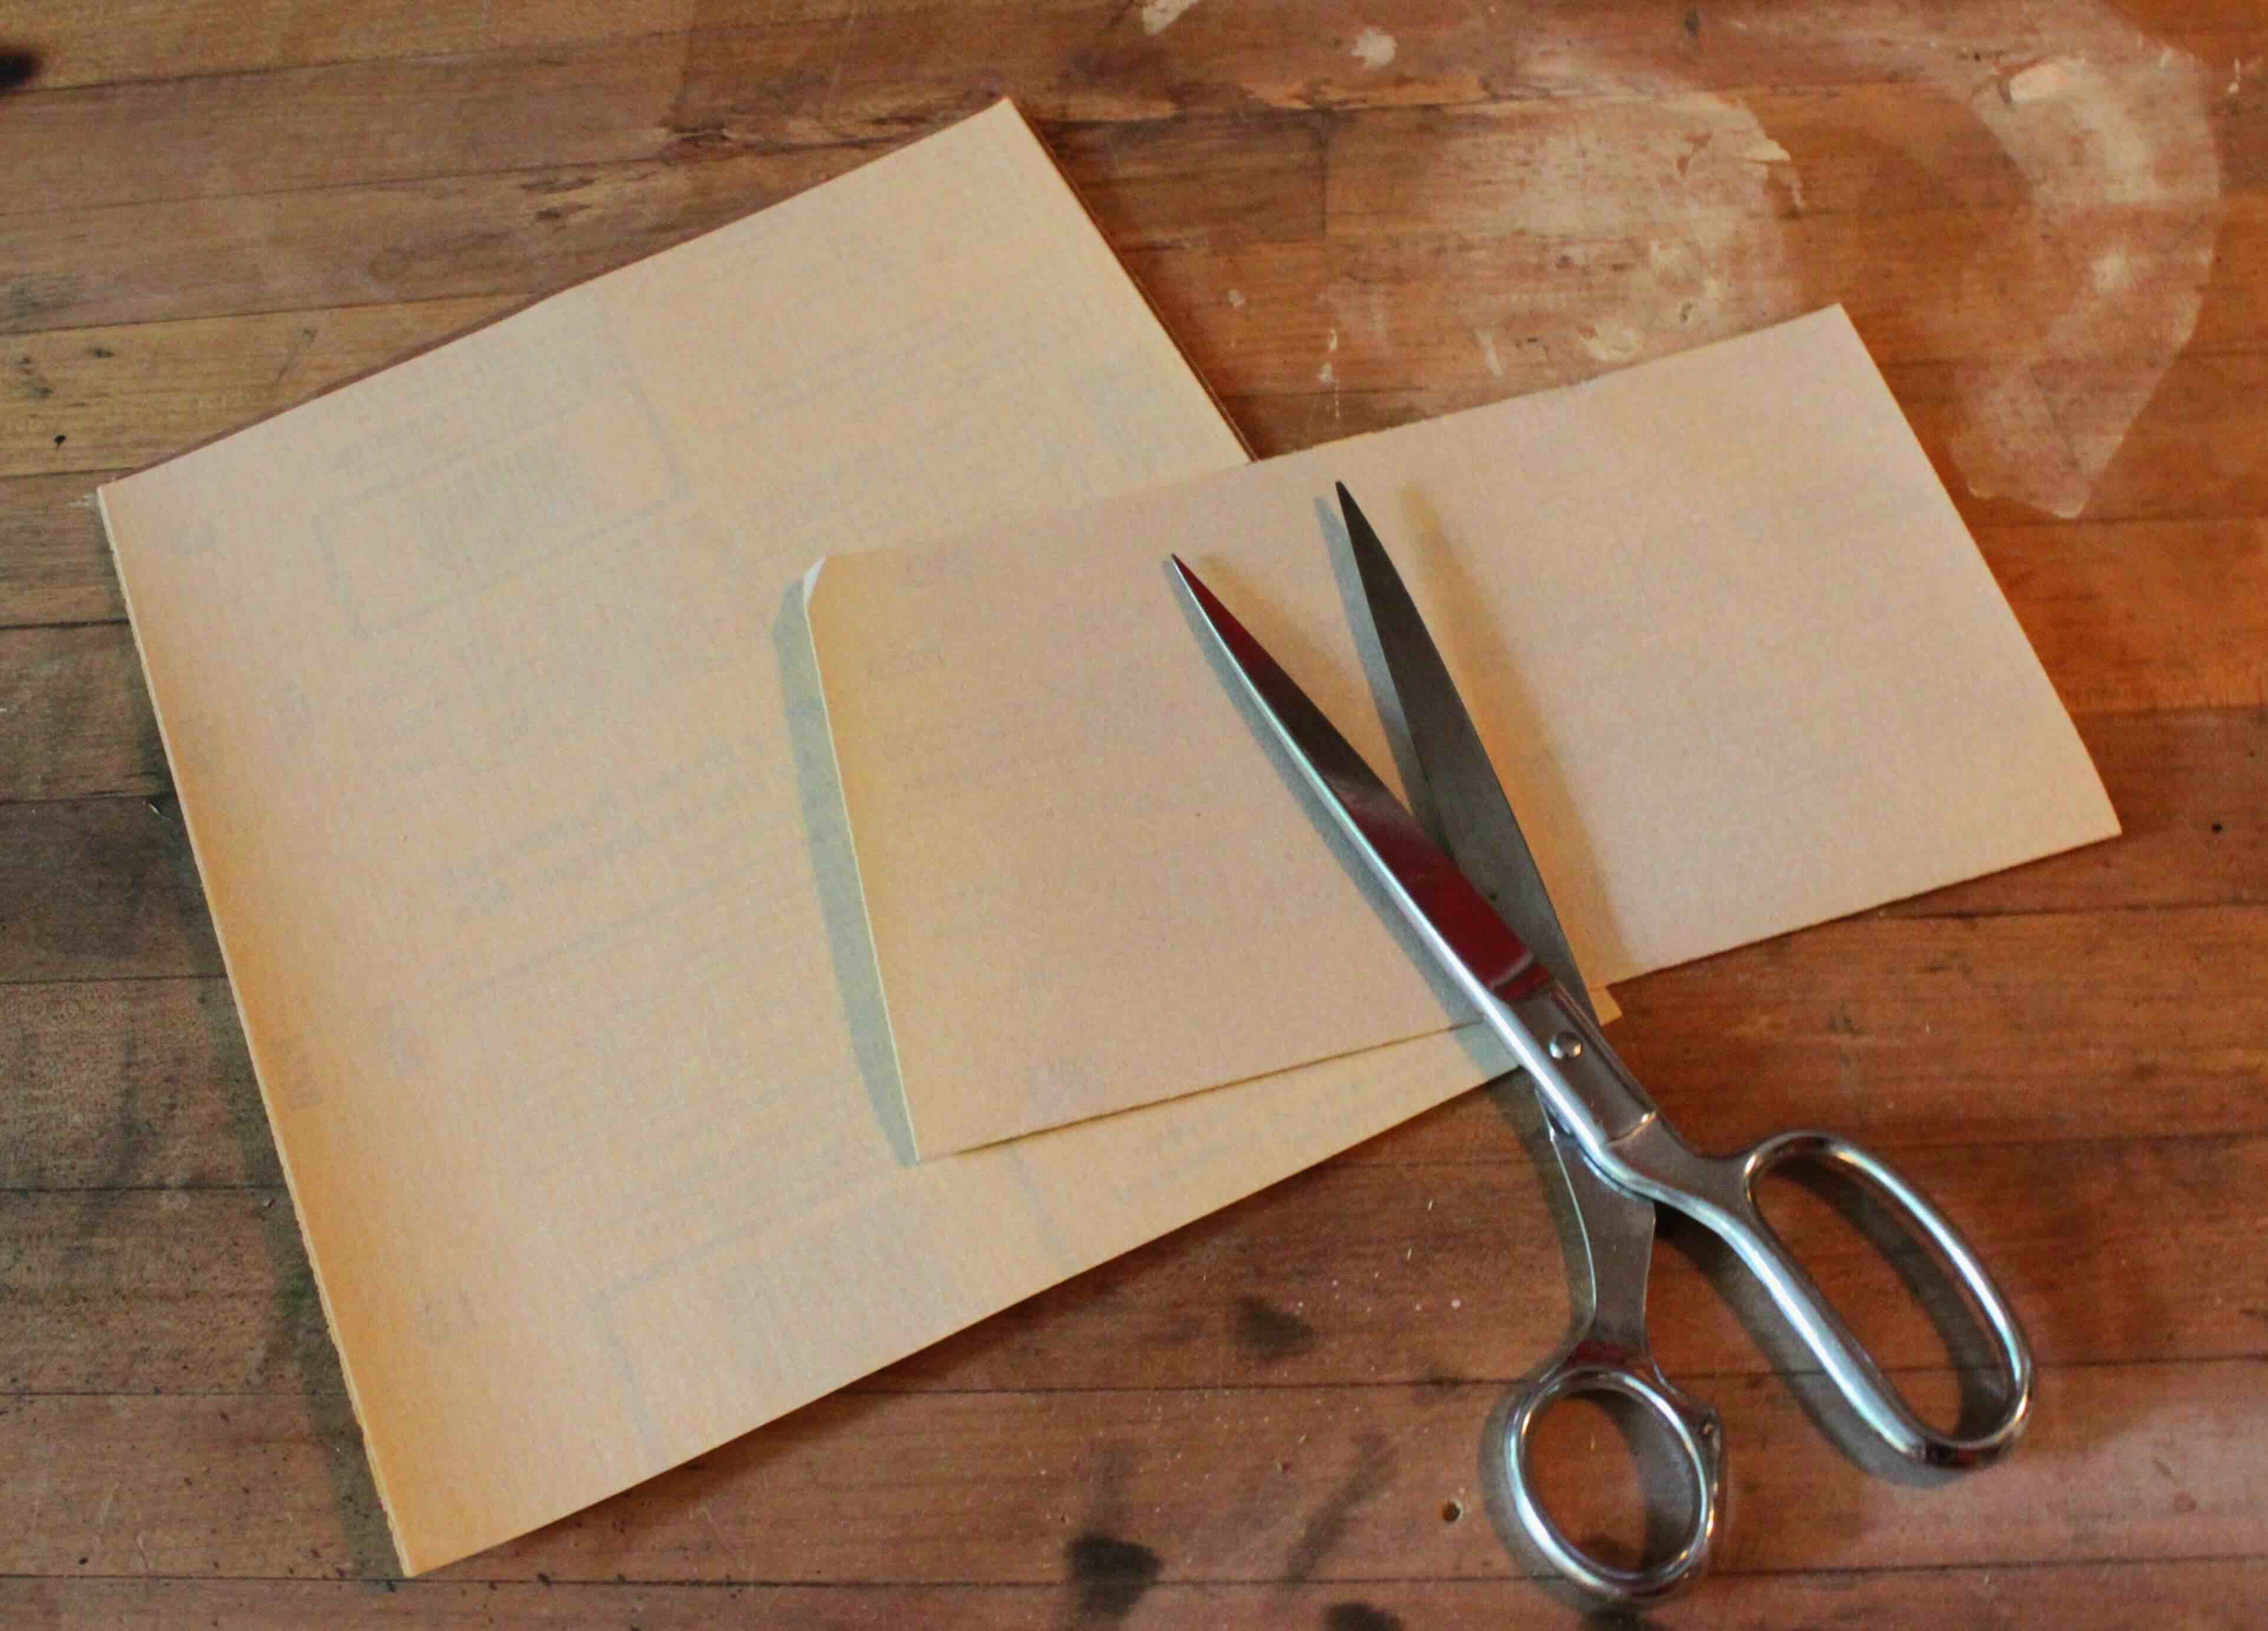
- Dividers or Inserts: Utilize dividers or inserts within the storage containers to create compartments for each grit size. These dividers can be made of cardboard, foam, or even purchased as customizable inserts specifically designed for sandpaper storage.
By organizing your sandpaper by grit, you’ll save time and effort while working on your projects. This system ensures that you have the right sandpaper at your fingertips, allowing for smooth and efficient progress without any delays.
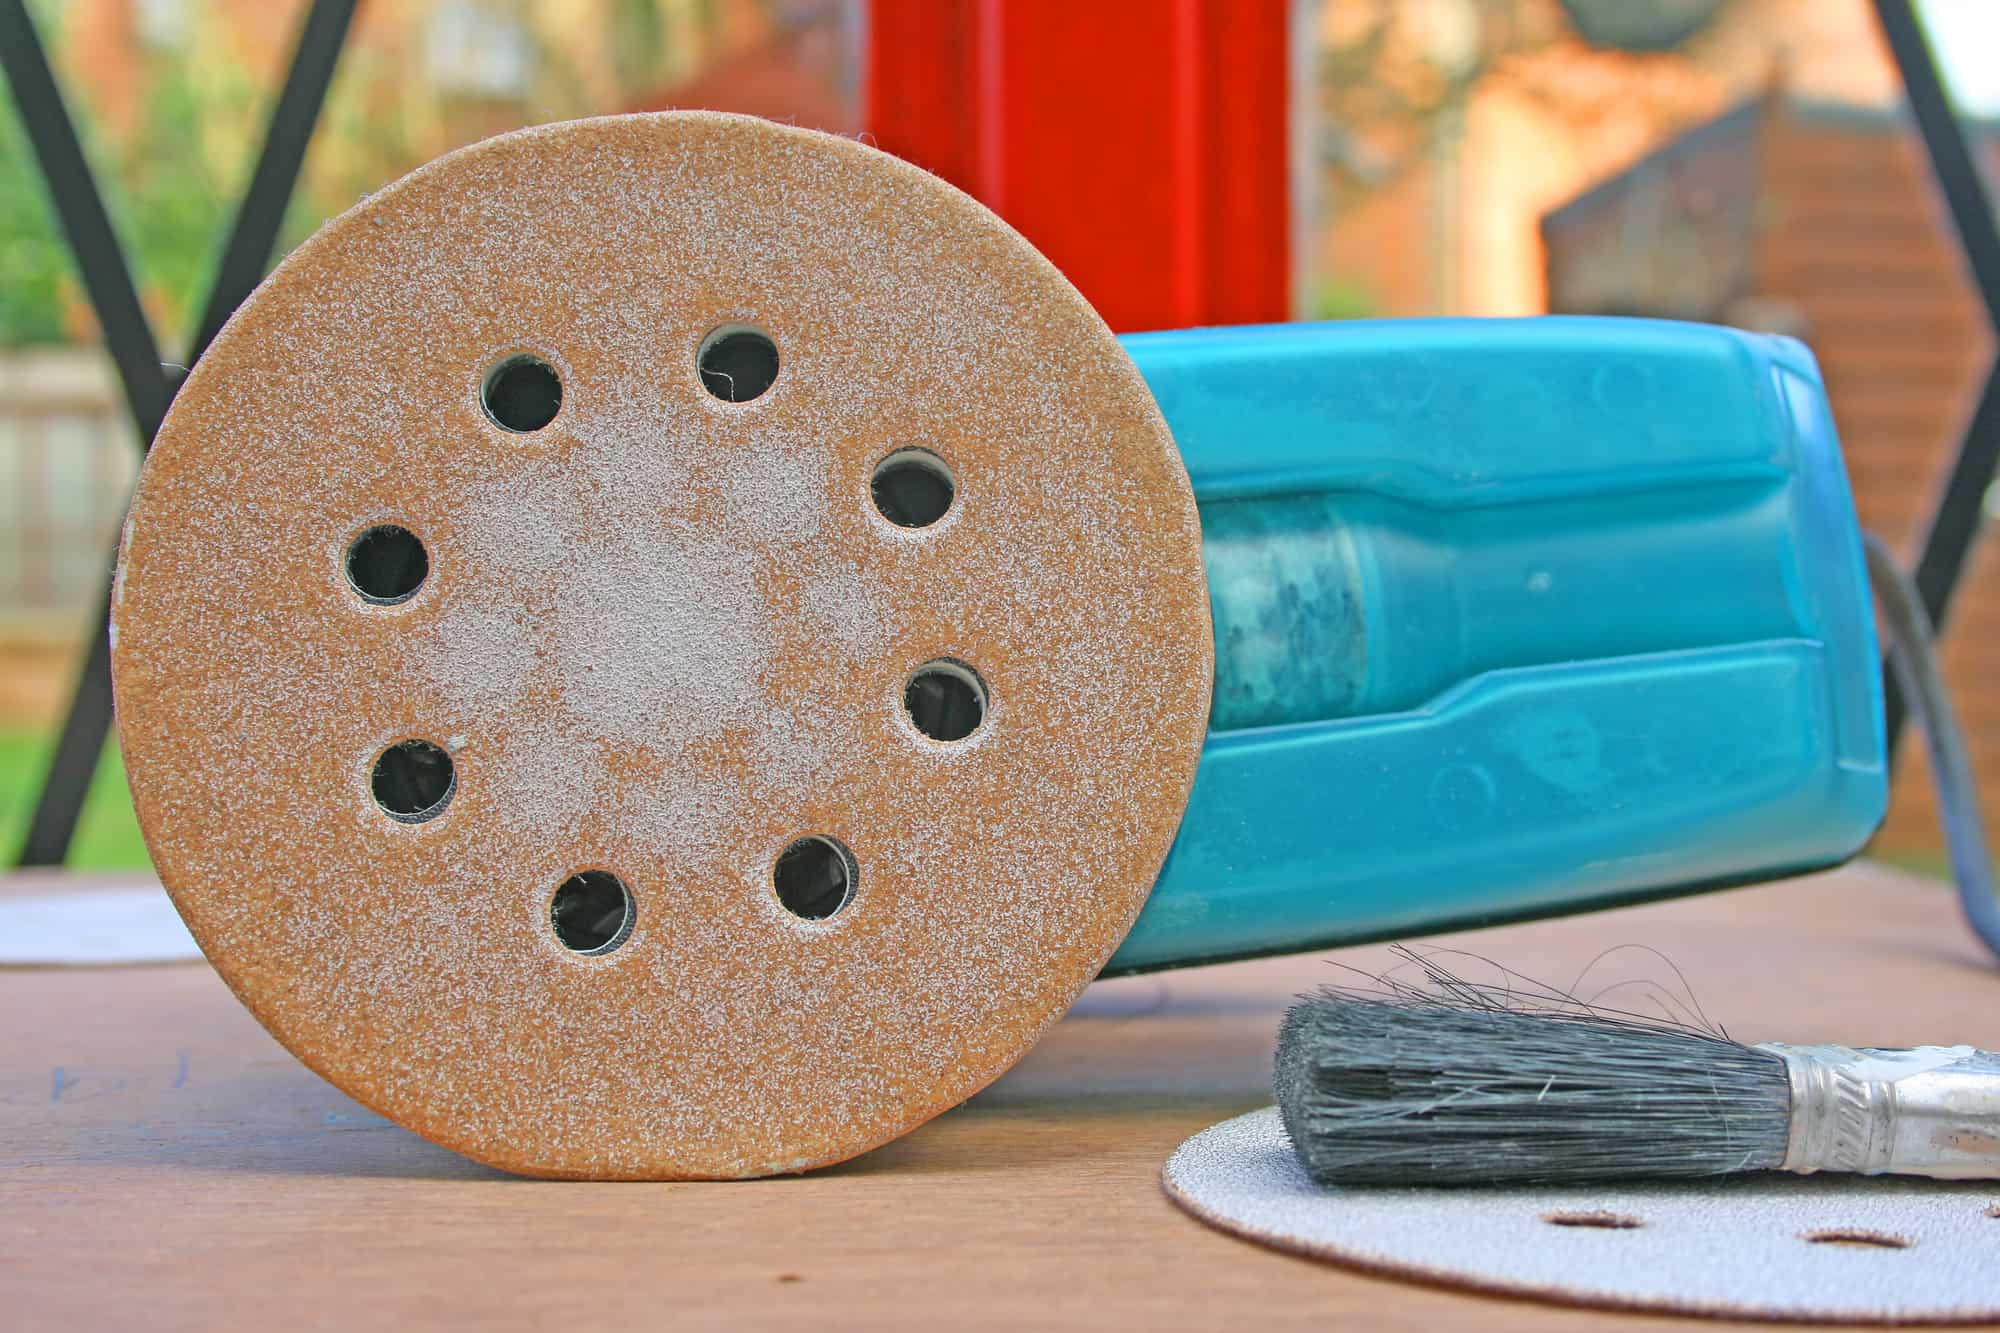
Appropriate Containers for Sandpaper
Choosing the right containers for storing your sandpaper is crucial to ensure its longevity and easy accessibility. The containers you use should provide protection from dust, moisture, and physical damage. Here are some suitable options for storing your sandpaper:
- Clear Plastic Bins: Clear plastic bins are a popular choice for sandpaper storage, as they are durable, lightweight, and allow for easy visibility. Make sure to choose bins with secure lids to prevent dust from entering and damaging the sandpaper.
- File Folders: File folders, especially those designed for larger documents, can be used to store sandpaper. They provide a convenient way to organize sandpaper sheets, and their flat design ensures that the sandpaper remains flat and undamaged.
- Binders: Binders with plastic sheet protectors are another option for storing sandpaper. This method allows you to organize sandpaper sheets by grit and easily flip through them to find the desired grit for your project.
- Sandpaper Storage Cases: Specialty sandpaper storage cases are available in the market and are specifically designed to hold and organize sandpaper. These cases usually come with dividers or compartments to separate different grits and prevent them from rubbing against each other.
- Dedicated Drawers: If you have a tool cabinet or workbench with drawers, dedicate one or more of these drawers for sandpaper storage. Use dividers or small compartments within the drawers to keep the sandpaper organized and protected.
When selecting containers, consider the size and quantity of your sandpaper collection. Make sure the containers are not too oversized, as excessive empty space can cause the sandpaper to shift and potentially get damaged. Similarly, avoid containers that are too small, as they will crumple or bend the sandpaper.
Remember to label the containers or use color-coded tags to provide a quick and easy reference to the grits stored inside. This will save time during your projects, allowing you to locate the appropriate sandpaper with ease.
By choosing the right containers for your sandpaper, you’ll ensure that it remains well-protected, organized, and ready for use whenever you need it.
To store sandpaper, use a plastic file organizer or a hanging file folder to keep different grits separated and easily accessible. This will help prevent damage and keep your sandpaper organized.
Labeling System
A proper labeling system is crucial for efficient sandpaper storage and easy retrieval. By implementing a labeling system, you can quickly identify the grit, type, and condition of each sandpaper sheet, saving time and eliminating any guesswork.
Here are some tips for creating an effective labeling system for your sandpaper:
- Grit Identification: Clearly label each container, bag, or storage compartment with the specific grit range stored inside. This information can be written directly on the container or attached as a label. Including the grit range in the labeling ensures quick identification and selection of the appropriate sandpaper.
- Type of Sandpaper: If you have different types of sandpaper, such as regular sandpaper, adhesive-backed sandpaper, or specialty sandpaper, it’s important to label them accordingly. This will prevent any mix-ups and ensure that you use the right sandpaper for your particular project.
- Condition Indicator: Consider using a color-coded system or symbols to indicate the general condition of your sandpaper. For example, you can use green for sandpaper in great condition, yellow for slightly worn sandpaper, and red for sandpaper that needs to be replaced. This visual indicator will help you quickly determine if a particular sheet is suitable for use.
- Date of Purchase: It can be helpful to label your sandpaper with the date of purchase or the date it was last used. This helps you keep track of the shelf life of your sandpaper and identify if any sheets have been stored for an extended period and may require inspection or replacement.
- Additional Information: If there are specific details about a particular batch of sandpaper that you want to remember, such as brand, special features, or usage instructions, you can include this information in the labeling system. This will serve as a handy reference when selecting the appropriate sandpaper for a specific task.
Consistency is key when implementing a labeling system. Make sure to use the same format and placement of labels across all your sandpaper storage containers. This will create a sense of uniformity and make it easier to locate and identify different sandpaper sheets.
By having a well-defined labeling system, you can effortlessly find the right sandpaper for your projects, ensure its overall condition, and maximize its usability.
Read more: How To Sharpen Knife With Sandpaper
Protecting Sandpaper from Moisture and Damage
Properly protecting your sandpaper from moisture and physical damage is essential to maintain its effectiveness and extend its lifespan. Moisture can cause sandpaper to become less abrasive and potentially render it unusable, while physical damage can result in uneven sanding and reduced performance. Here are some tips on how to protect your sandpaper:
- Moisture-Proof Storage: Store your sandpaper in a dry environment to prevent moisture absorption. Avoid storing it in areas prone to humidity, such as basements or damp garages. If the humidity level is high in your storage space, consider using moisture-absorbing packets or desiccant packs to help maintain a dry environment.
- Individual Wrapping: To provide extra protection against moisture, consider individually wrapping each sheet of sandpaper in plastic or wax paper. This prevents the transfer of moisture between sheets and helps maintain the integrity of the abrasive surface.
- Proper Stacking: Avoid stacking heavy objects on top of your sandpaper, as this can cause creases or damage the abrasive surface. Store sandpaper sheets flat or use dividers to keep them separate and prevent any potential damage.
- Dust Protection: Dust and debris can negatively impact the performance of your sandpaper. Keep your storage area clean and free from dust by regularly wiping down surfaces and using a dust extractor or vacuum. Additionally, consider covering your sandpaper storage containers with a clean cloth or lid to minimize dust accumulation.
- Separate Coarser Grits: Coarser grit sandpaper can be more susceptible to wear and damage. To protect it, consider storing coarser grits separately from finer grits. This prevents the coarser grains from rubbing against the finer ones, preserving their effectiveness.
- Keep Away from Heat: Avoid storing sandpaper near sources of heat or direct sunlight, as this can cause the adhesive backing to weaken or melt, rendering the sandpaper unusable.
By taking these precautionary measures, you can ensure that your sandpaper remains in optimal condition and performs efficiently throughout multiple projects. Proper storage and protection will save you time and money in the long run by eliminating the need to replace damaged or ineffective sandpaper.
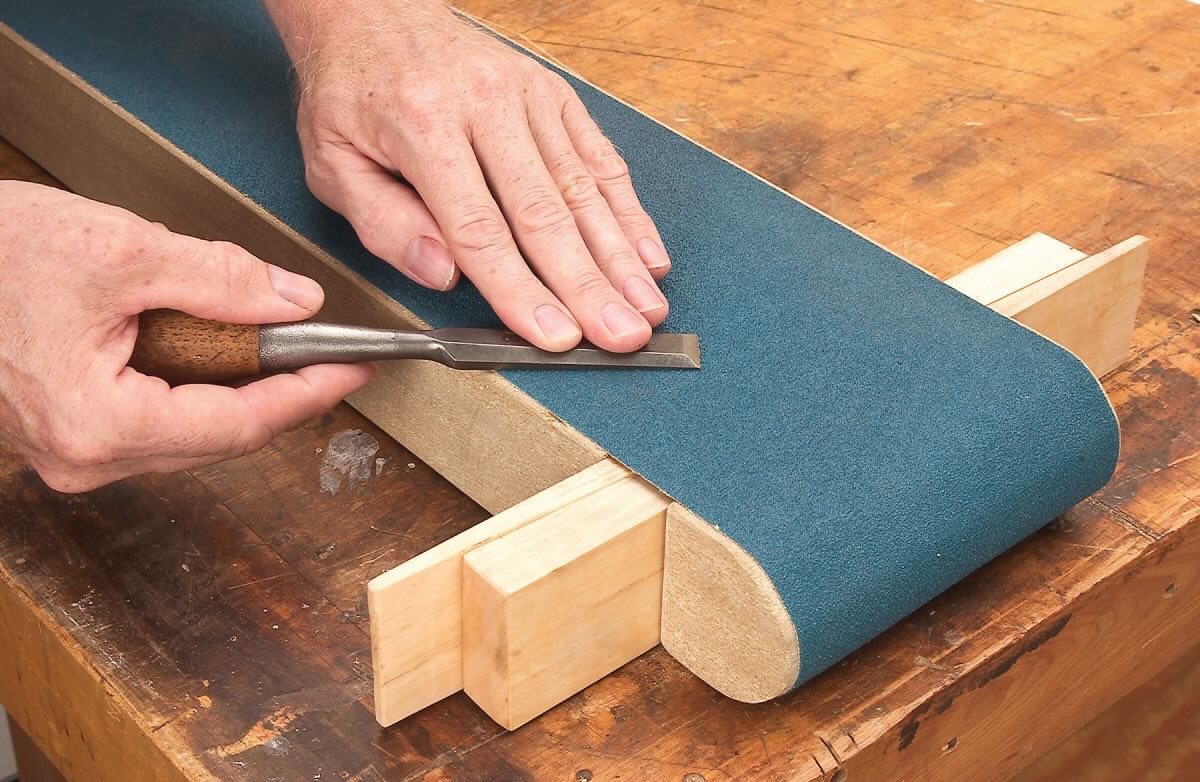
Proper Handling and Maintenance
In addition to storing your sandpaper correctly, proper handling and maintenance play a vital role in preserving its quality and performance. By following these guidelines, you can ensure the longevity of your sandpaper and achieve optimal results:
- Handle with Care: When retrieving or using sandpaper, handle it with care to avoid bending or tearing the sheets. Rough handling can damage the abrasive surface, leading to ineffective sanding and the need for replacement.
- Use the Right Technique: When sanding, apply consistent pressure and use a back-and-forth motion. Avoid excessive force, as it can cause the sandpaper to wear out more quickly. Let the sandpaper do the work, and allow for periodic breaks to prevent overheating.
- Inspect for Damage: Before using a sheet of sandpaper, inspect it for any signs of damage, such as tears, folds, or excessive wear. Discard any visibly damaged or worn-out sheets, as they will not provide optimal results.
- Replace when Necessary: Sandpaper has a limited lifespan, and once it becomes dull or worn, it should be replaced. Using old or ineffective sandpaper can result in subpar results and potentially damage the surface you are working on.
- Clean the Surface: Before switching to a different grit or after completing a sanding project, clean the surface to remove any residual particles. This prevents debris from accumulating on the sandpaper and affecting its effectiveness in subsequent uses.
- Store Used Sandpaper: If you have partially used sandpaper sheets that are still in good condition, store them separately from new sheets. This will help you quickly identify and use them when appropriate, saving you time and minimizing waste.
- Sharpen or Redress Sandpaper: For sandpaper that has lost its effectiveness due to clogging or dullness, you can try sharpening or redressing it. This can be done by rubbing the sandpaper against a stiff surface or using a sandpaper eraser to remove built-up debris and restore its cutting ability.
By following these best practices for handling and maintaining your sandpaper, you can maximize its efficiency, save money on replacements, and achieve high-quality results in your woodworking or DIY projects.
Conclusion
Properly storing and maintaining your sandpaper is essential for the success of your woodworking or DIY projects. By following the strategies and techniques outlined in this article, you can ensure that your sandpaper remains in optimal condition, ready for use whenever you need it.
From finding the right storage space to organizing your sandpaper by grit and using appropriate containers, each step contributes to maintaining the quality and longevity of your sandpaper. Implementing a labeling system helps you quickly identify the desired grit and type, while protecting your sandpaper from moisture and physical damage ensures its effectiveness.
Proper handling and maintenance practices, such as handling sandpaper with care, inspecting for damage, and replacing worn-out sheets, contribute to achieving optimal results during sanding projects. Additionally, cleaning the surfaces between grit changes and storing used sandpaper separately can help you stay organized and efficiently utilize your available resources.
By incorporating these practices into your workflow, you’ll be able to save time, money, and effort in the long run. Well-organized sandpaper storage and efficient maintenance will not only streamline your work processes but also contribute to the quality and finish of your projects.
Remember, investing a little time and effort in properly storing and maintaining your sandpaper will pay off in the form of improved efficiency, increased productivity, and better overall results. So, implement these tips and techniques, and enjoy the benefits of a well-maintained collection of sandpaper in your workshop or workspace.
Frequently Asked Questions about How To Store Sandpaper
Was this page helpful?
At Storables.com, we guarantee accurate and reliable information. Our content, validated by Expert Board Contributors, is crafted following stringent Editorial Policies. We're committed to providing you with well-researched, expert-backed insights for all your informational needs.


0 thoughts on “How To Store Sandpaper”