Home>Renovation & DIY>Tools & Equipment>How To Shape A Pool Cue Tip With Sandpaper
Tools & Equipment
How To Shape A Pool Cue Tip With Sandpaper
Published: December 20, 2023
Learn how to shape a pool cue tip with sandpaper using the right tools and equipment. Get expert tips for maintaining your cue for optimal performance. Ideal for pool enthusiasts and players looking to improve their game.
(Many of the links in this article redirect to a specific reviewed product. Your purchase of these products through affiliate links helps to generate commission for Storables.com, at no extra cost. Learn more)
Introduction
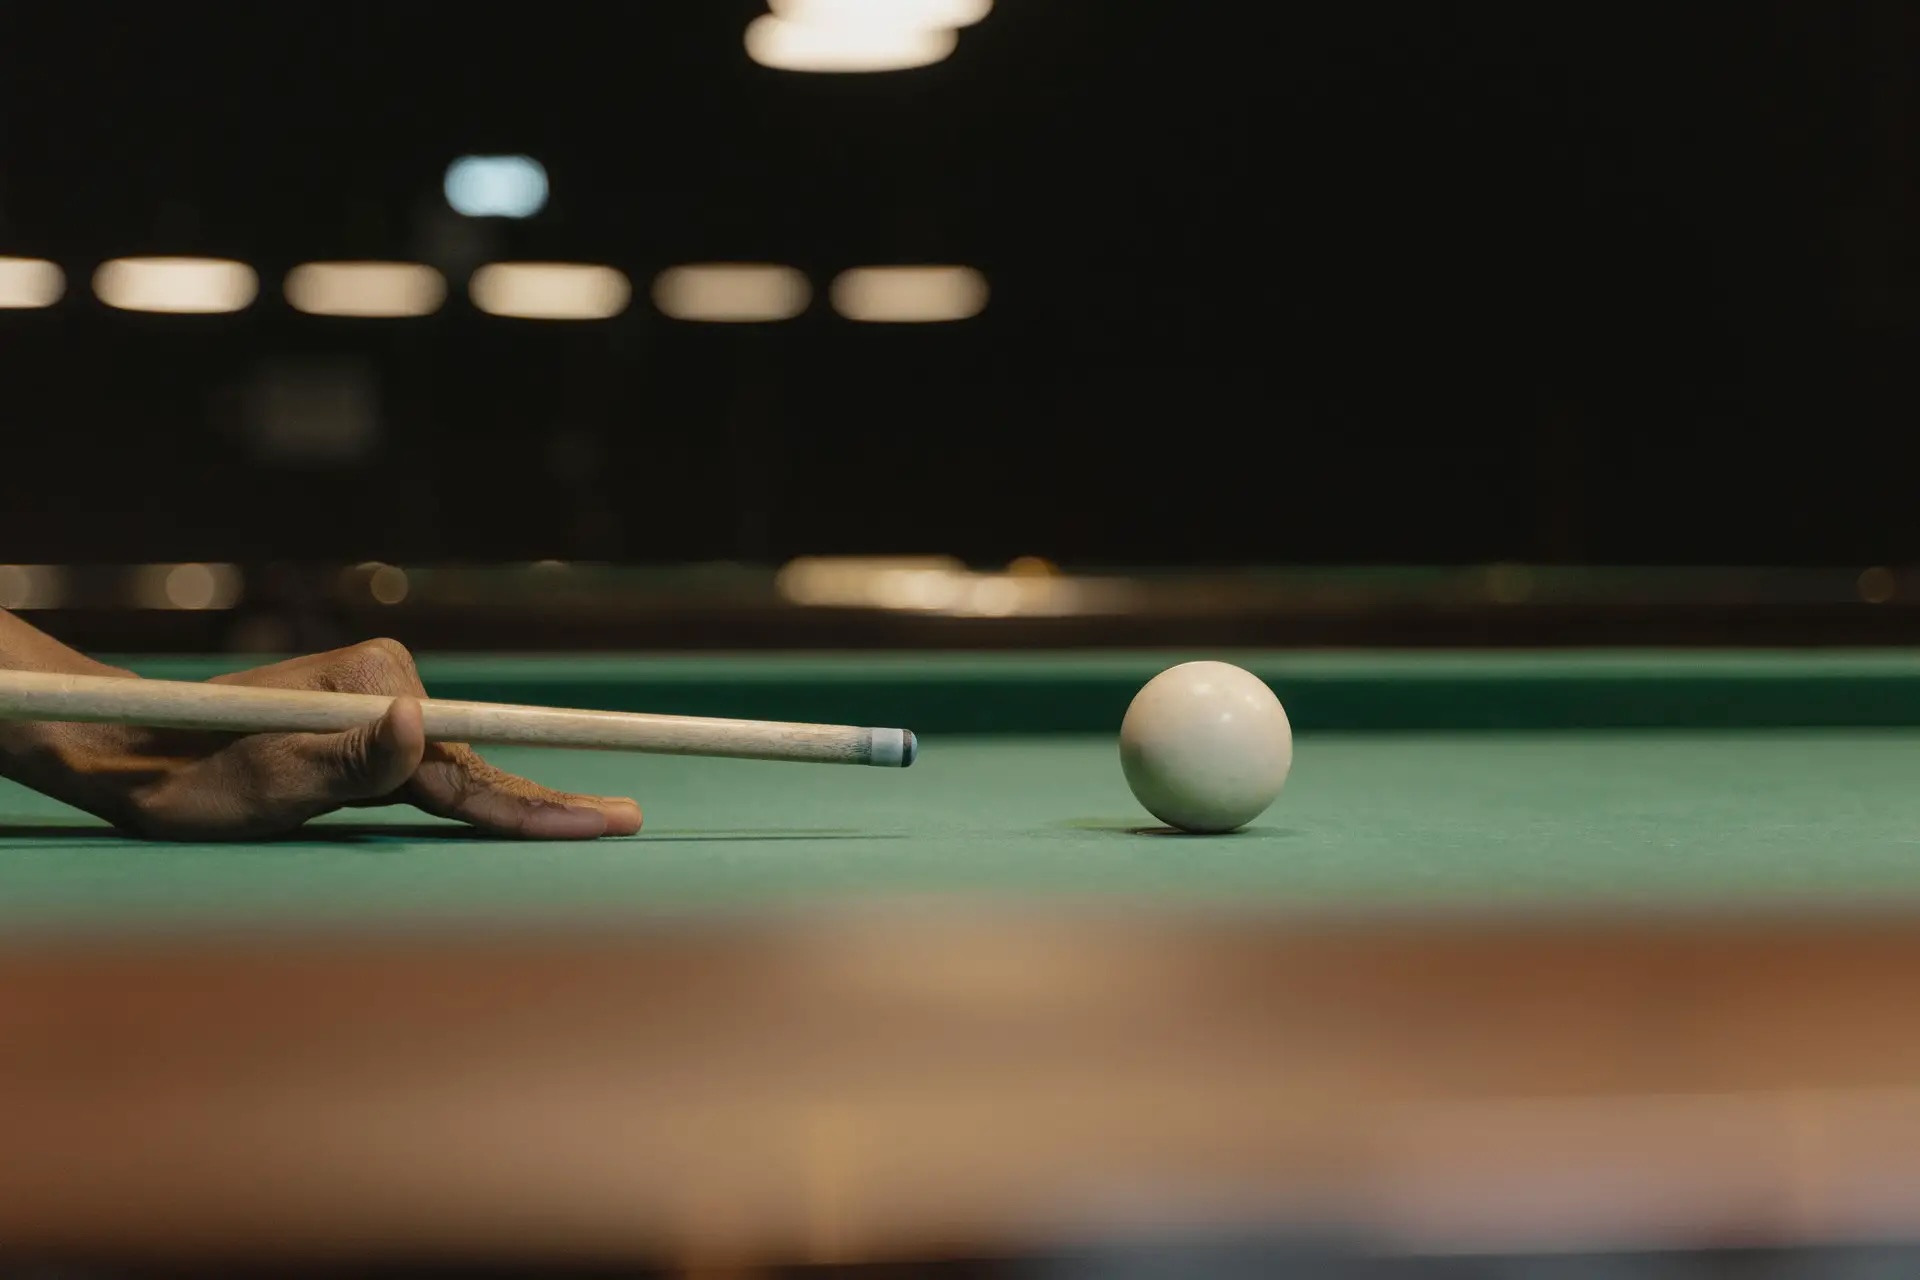
Shaping a pool cue tip with sandpaper is a crucial aspect of maintaining the performance and accuracy of your cue. Over time, the tip of your cue can become misshapen or worn, affecting your ability to strike the cue ball with precision. By understanding the process of shaping a cue tip and utilizing the right materials, you can ensure that your cue tip remains in optimal condition for smooth and accurate play.
In this guide, we will walk you through the steps of shaping a pool cue tip using sandpaper, providing you with the knowledge and confidence to undertake this task effectively. From gathering the necessary materials to testing the results, you will gain valuable insights into preserving the quality of your pool cue and enhancing your overall playing experience.
Key Takeaways:
- Keep your pool cue in top condition by shaping the tip with sandpaper. It’s essential for accurate play and can be done with simple materials like sandpaper, cue tip shaper, and cue chalk.
- Test the newly shaped cue tip by applying chalk, taking practice shots, and observing cue ball spin. This ensures optimal performance and control for an enhanced playing experience.
Read more: Exterior Color Cues
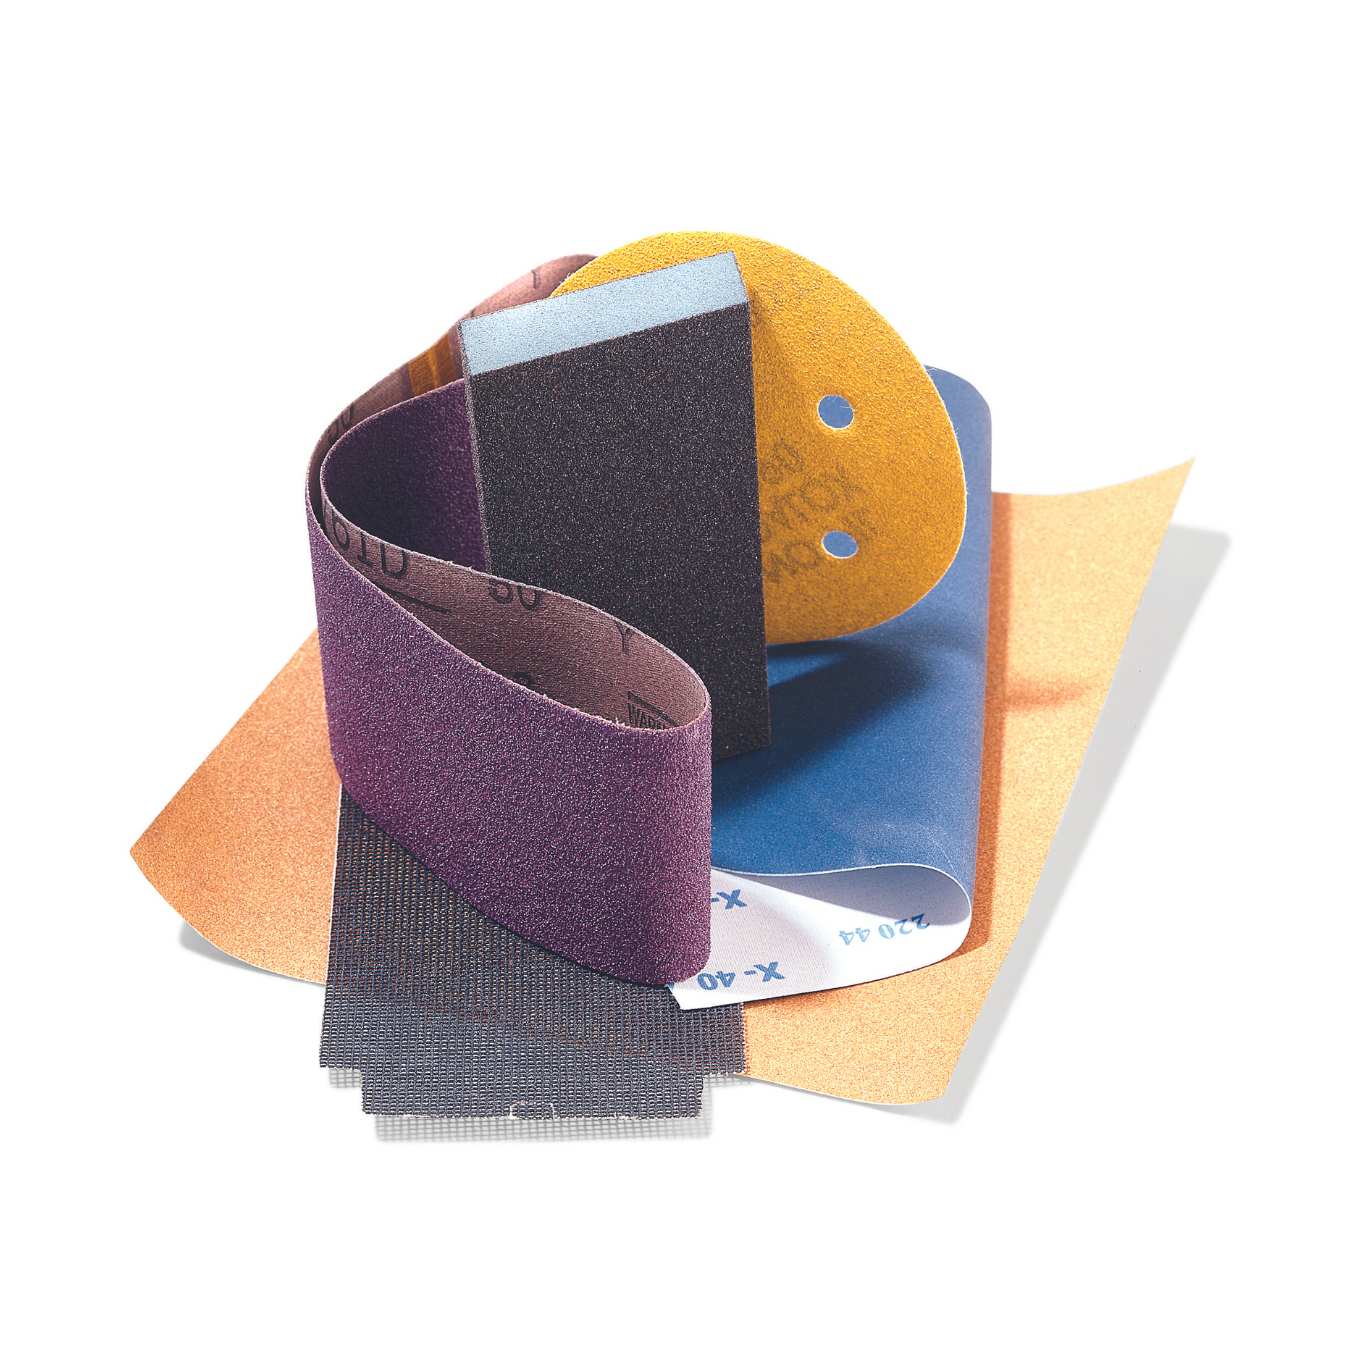
Materials Needed
Before embarking on the process of shaping a pool cue tip with sandpaper, it is essential to gather the necessary materials to ensure a successful outcome. Here’s what you will need:
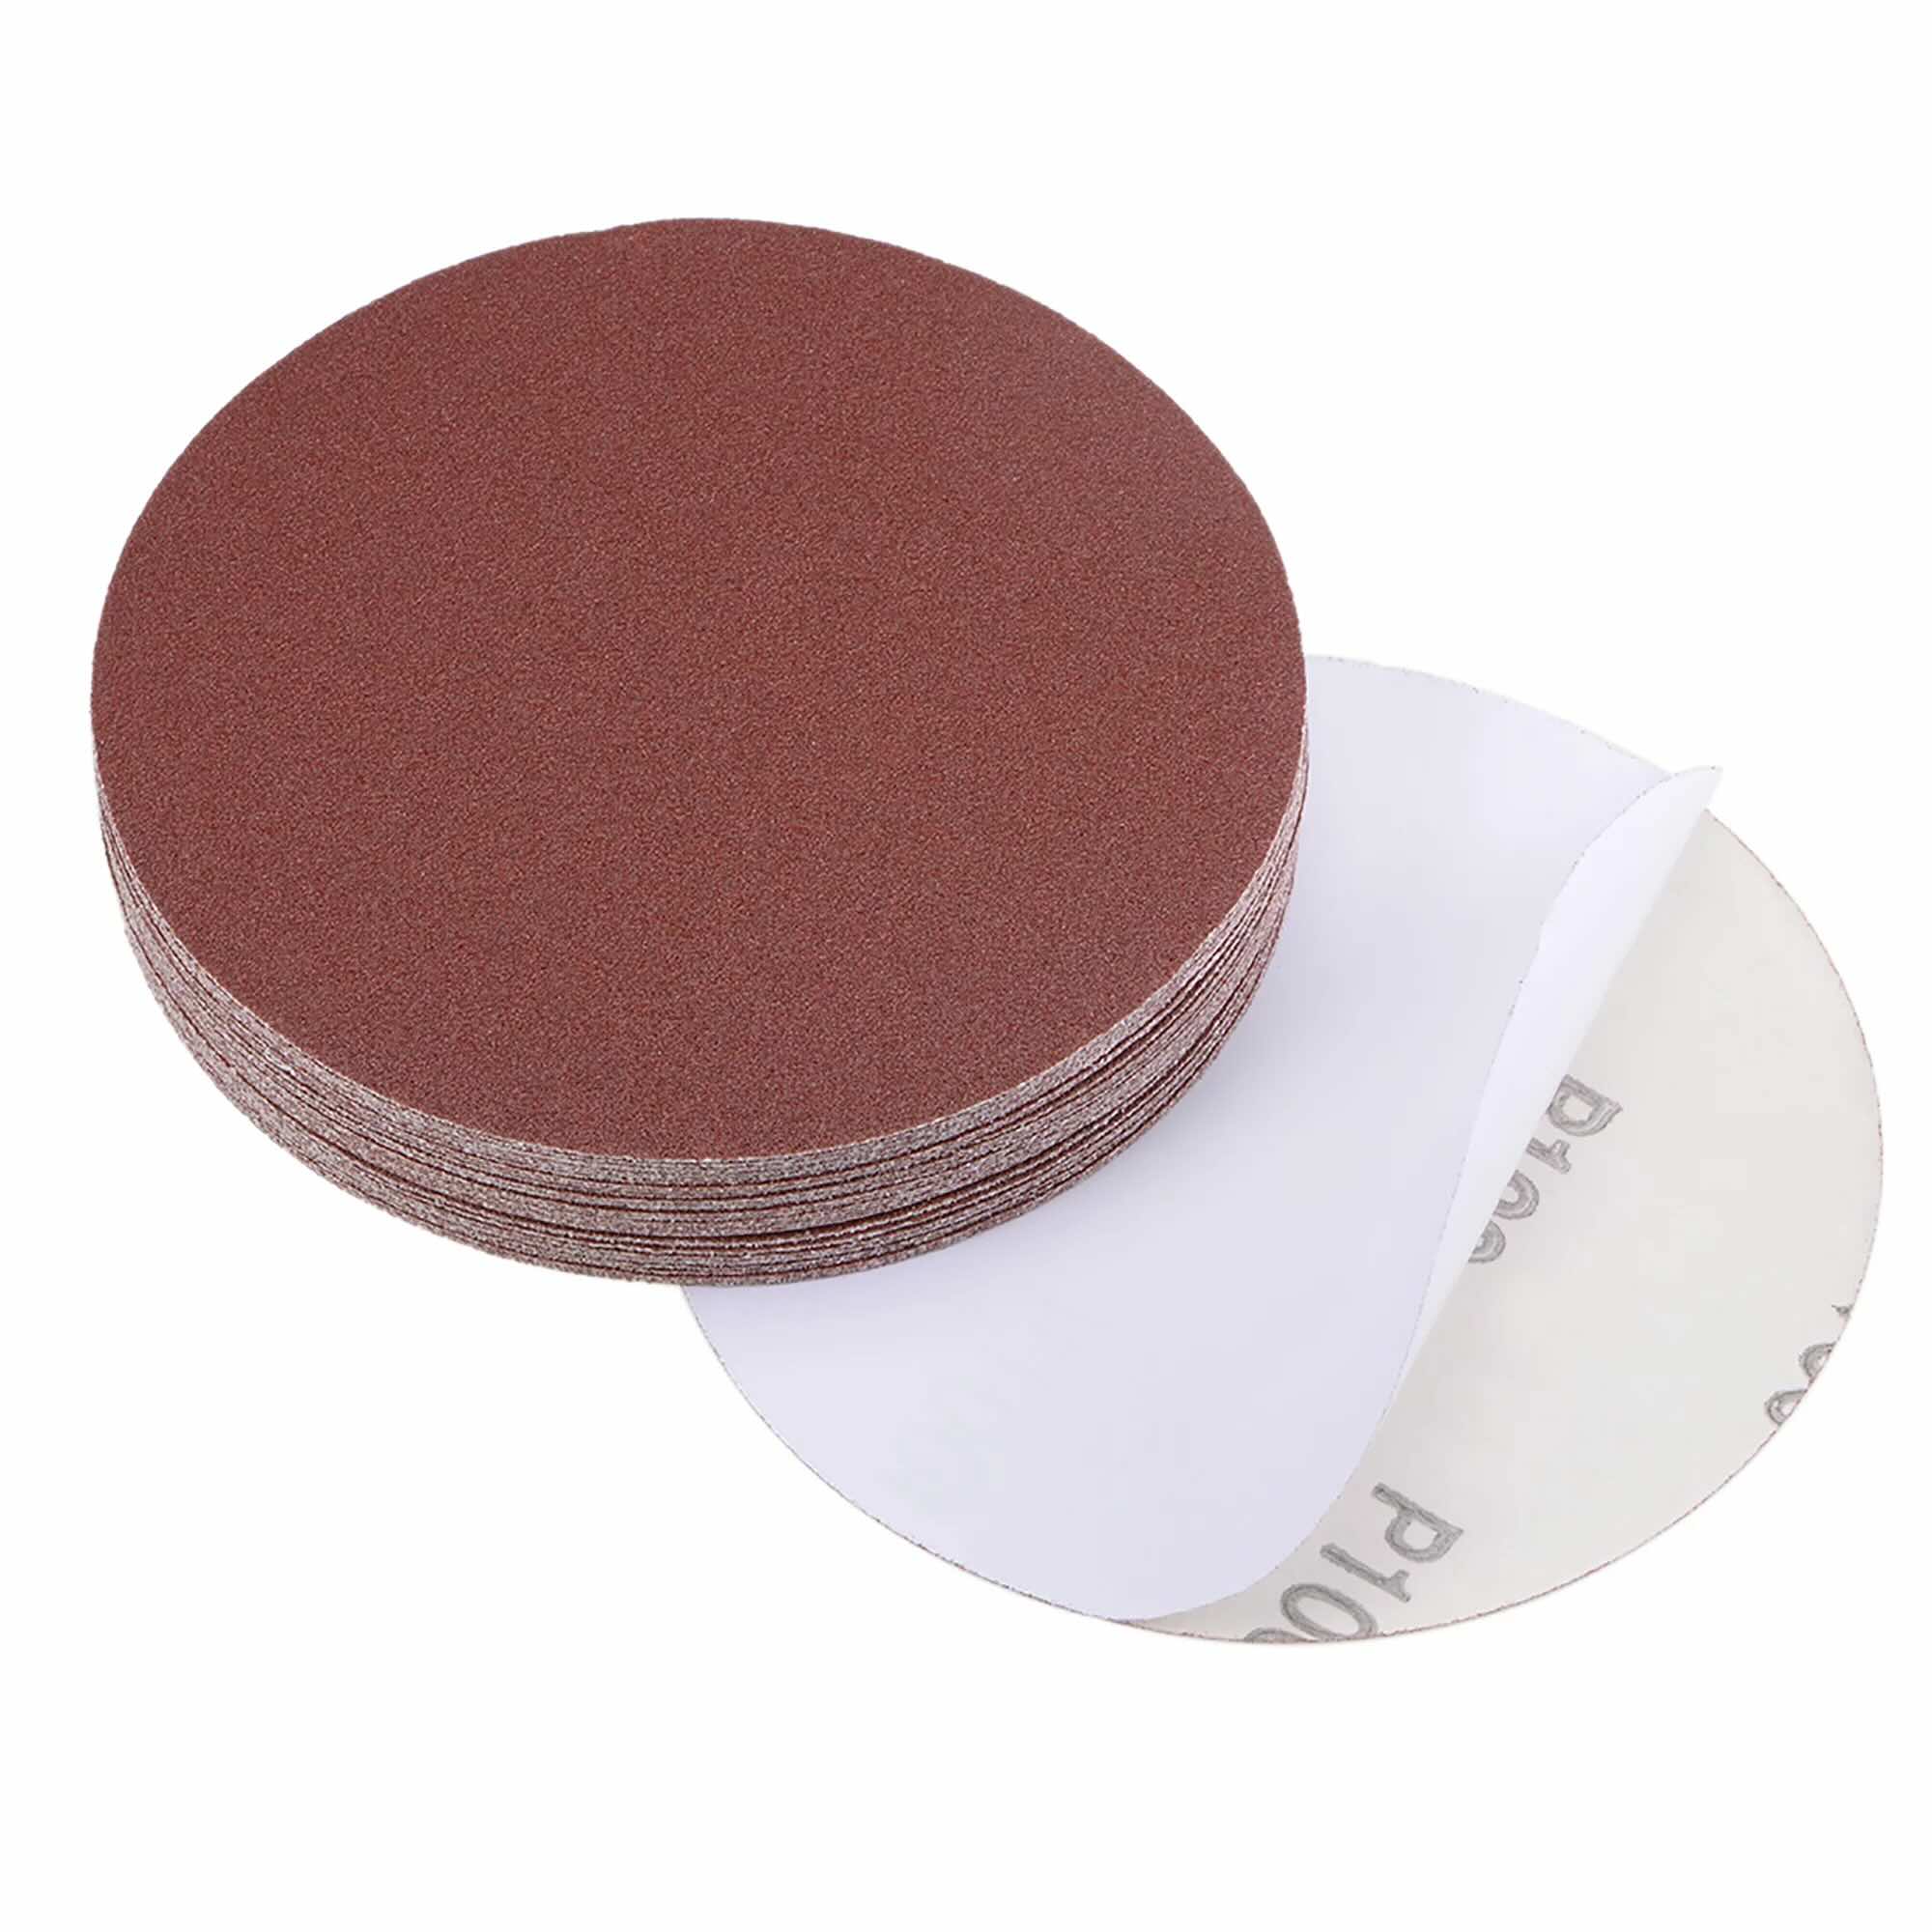
- Sandpaper: Select a variety of fine-grit sandpaper, typically ranging from 400 to 1000 grit. The finer the grit, the smoother the finish on the cue tip.
- Cue Tip Shaper/Trimmer: This tool is designed specifically for shaping cue tips and can help achieve precise and consistent results.
- Cue Tip Scuffer: Used for roughening the surface of the cue tip to enhance chalk adhesion and prevent miscues.
- Masking Tape: Use this to protect the ferrule and shaft of the cue from accidental scratches during the shaping process.
- Cue Chalk: Having cue chalk on hand allows you to test the newly shaped cue tip for optimal chalk adhesion and playing performance.
- Cue Shaft Cleaner: It’s important to clean the cue shaft before and after shaping the cue tip to maintain its smoothness and integrity.
- Cue Tip Gauge: This tool helps ensure that the cue tip maintains the desired diameter and curvature for consistent play.
- Cue Clamp (optional): A cue clamp can be used to hold the cue securely in place during the shaping process, providing stability and precision.
By having these materials at your disposal, you can proceed with confidence, knowing that you have everything necessary to shape your pool cue tip effectively and maintain its performance over time.
Preparing the Cue Tip
Before diving into the actual shaping process, it’s essential to prepare the cue tip and cue for the upcoming task. Here’s how to get started:
- Assess the Cue Tip: Inspect the cue tip to determine the extent of shaping required. Look for any unevenness, flat spots, or excessive wear that may affect the performance of the cue.
- Clean the Cue Tip: Use a cue shaft cleaner to remove any debris, chalk residue, or oils from the cue tip. A clean surface is essential for achieving precise shaping results.
- Protect the Ferrule and Shaft: Wrap a small piece of masking tape around the base of the cue tip to shield the ferrule and shaft from accidental scratches during the shaping process.
- Roughen the Cue Tip: Use a cue tip scuffer to roughen the surface of the cue tip slightly. This enhances chalk adhesion and helps prevent miscues during play.
- Secure the Cue (Optional): If you have a cue clamp, consider using it to secure the cue in place during the shaping process. This provides stability and ensures consistent results.
By taking these preparatory steps, you set the stage for a smooth and effective cue tip shaping process. Cleaning the cue tip, protecting the surrounding areas, and roughening the tip surface all contribute to the overall success of the shaping endeavor.
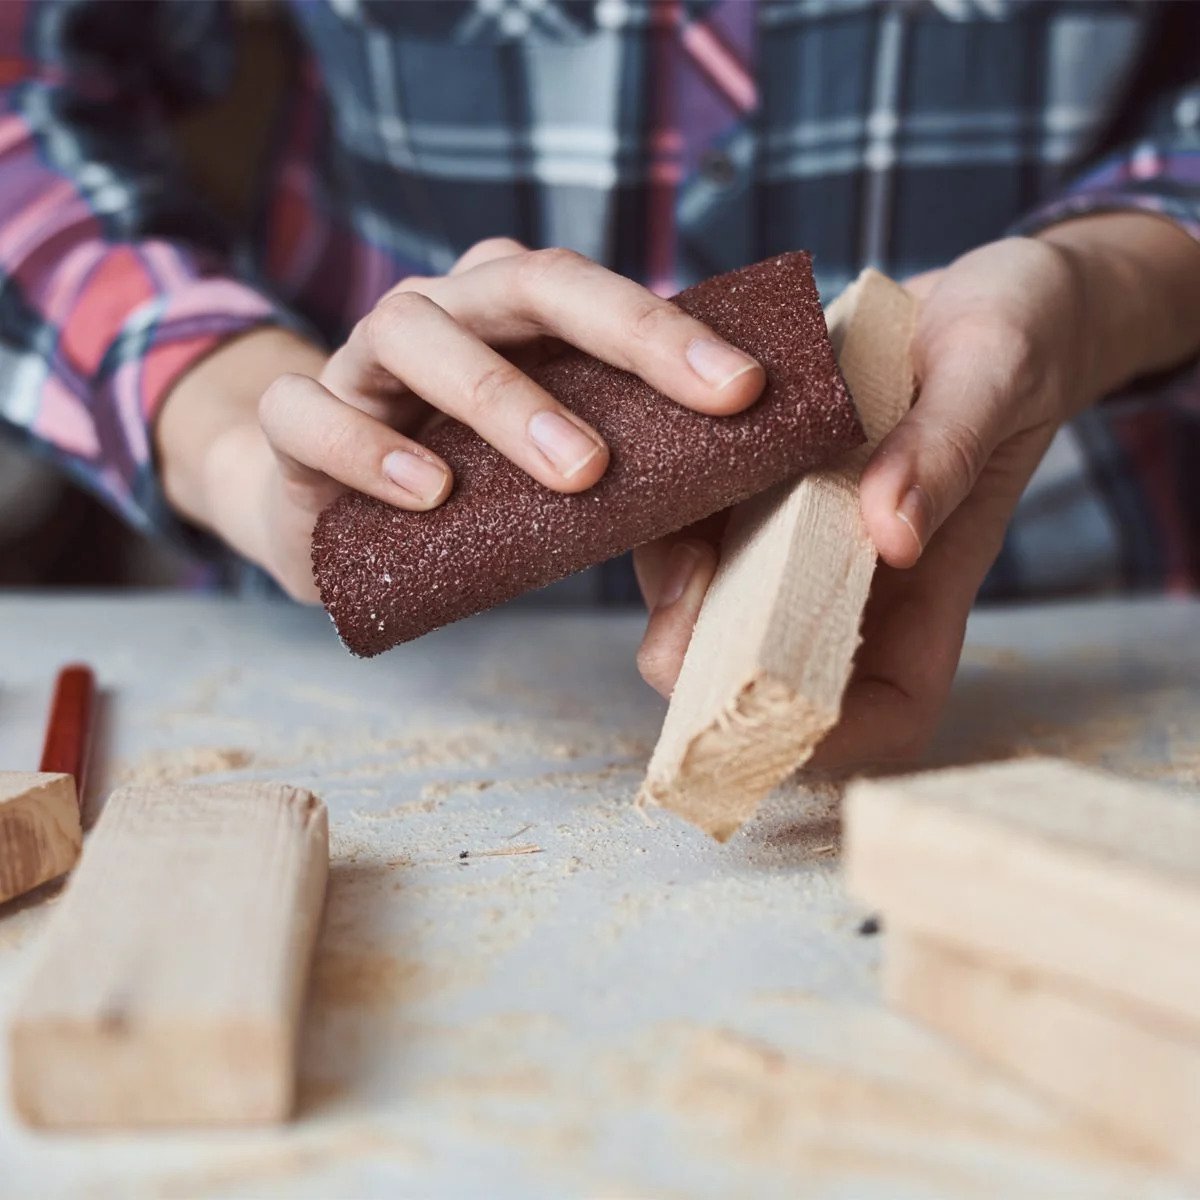
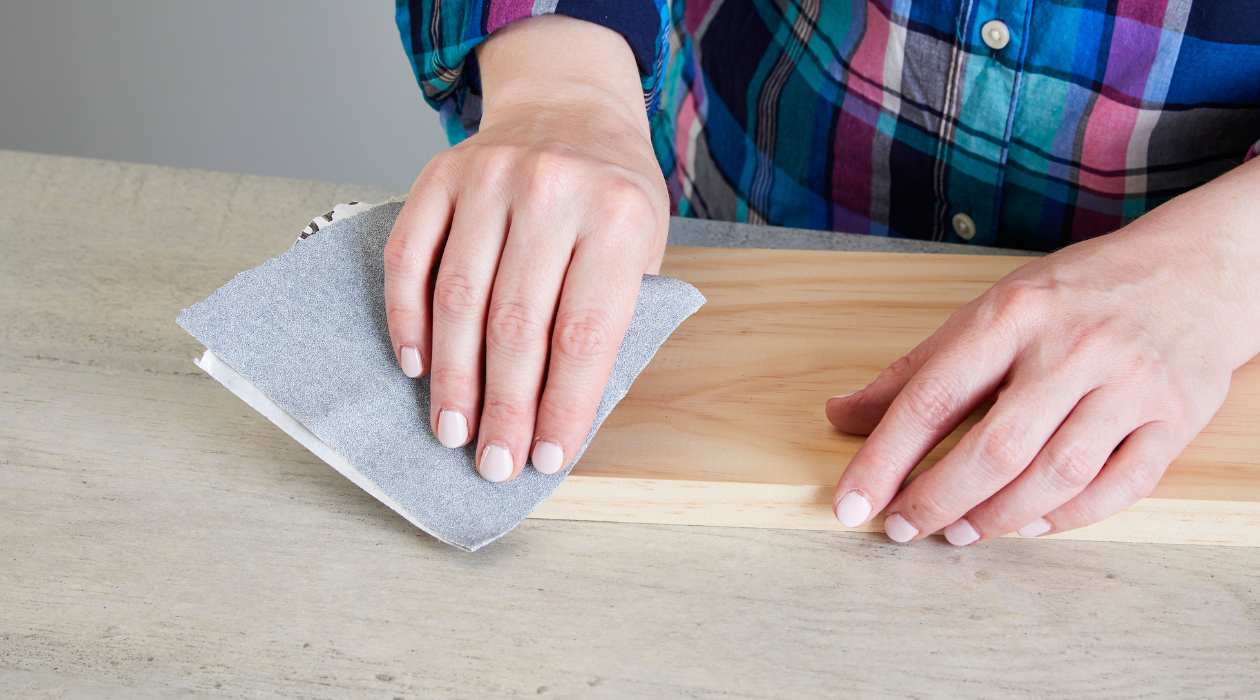
Use fine-grit sandpaper to shape the cue tip. Gently sand the sides to create a dome shape. Be careful not to remove too much material. Sand evenly for a smooth finish.
Shaping the Cue Tip
Now that the cue tip is prepared, it’s time to delve into the process of shaping it to restore optimal performance and precision. Follow these steps to shape the cue tip effectively:
- Select the Appropriate Grit: Begin with a coarser grit sandpaper, such as 400 or 600, to remove any excess material and reshape the tip as needed. Progress to finer grits, such as 800 or 1000, for a smoother finish.
- Hold the Sandpaper Securely: Wrap the sandpaper around the cue tip or cue tip shaper/trimmer, ensuring a secure grip for controlled shaping movements.
- Shape the Tip’s Curvature: With a gentle and consistent motion, sand the cue tip to achieve the desired curvature. Maintain a steady pressure and rotate the cue to ensure even shaping.
- Check the Diameter: Use a cue tip gauge to monitor the diameter of the cue tip, ensuring that it remains within the desired range for optimal play.
- Smooth the Surface: Progress to finer grit sandpaper to smooth the surface of the cue tip, eliminating any roughness or irregularities for a polished finish.
- Remove Excess Material: If necessary, carefully remove any excess material from the cue tip to achieve a uniform and balanced shape.
Throughout the shaping process, it’s crucial to maintain patience and precision, ensuring that the cue tip takes on the desired form for consistent and accurate play. By gradually refining the shape and surface of the cue tip, you can optimize its performance and responsiveness on the pool table.
Testing the Cue Tip
After shaping the cue tip, it’s essential to test its performance to ensure that the desired results have been achieved. Testing the cue tip allows you to evaluate its responsiveness, chalk adhesion, and overall playability. Here’s how to effectively test the cue tip:
- Apply Cue Chalk: Chalk the cue tip thoroughly to enhance its adhesion and prevent miscues during play. The chalk should adhere smoothly to the newly shaped surface.
- Strike Test: Take practice shots on the cue ball, paying attention to the feel and responsiveness of the cue tip. Note any improvements in accuracy and striking consistency compared to its pre-shaped state.
- Observe Cue Ball Spin: Assess the spin and English applied to the cue ball when using the newly shaped cue tip. Look for enhanced control and spin capabilities, indicating improved performance.
- Evaluate Cue Tip Compression: During striking, observe the compression of the cue tip upon contact with the cue ball. A well-shaped cue tip should provide a balanced and controlled compression for optimal transfer of energy.
- Assess Cue Ball Deflection: Check for any reduction in cue ball deflection, indicating improved cue tip accuracy and reduced inconsistencies during play.
By conducting these tests, you can gain valuable insights into the effectiveness of the cue tip shaping process. The results of the tests will guide you in determining the success of the shaping endeavor and identifying any further adjustments that may be necessary to optimize cue performance.
Read more: How To Shape Glass
Conclusion
Shaping a pool cue tip with sandpaper is a skill that empowers players to maintain the peak performance of their cues and elevate their game on the pool table. By following the steps outlined in this guide, you have gained the knowledge and proficiency to undertake this essential maintenance task with confidence and precision.
Throughout the process, you have learned to assess the cue tip, prepare it for shaping, and utilize the appropriate materials to achieve optimal results. By shaping the cue tip with care and attention to detail, you have enhanced its curvature, surface smoothness, and overall playability, ensuring a more consistent and accurate performance during gameplay.
Testing the newly shaped cue tip has allowed you to evaluate its responsiveness, chalk adhesion, and impact on cue ball control. Through these tests, you have gained valuable insights into the effectiveness of the shaping process and the improvements in cue performance that have been achieved.
By incorporating these techniques into your cue maintenance routine, you can ensure that your cue tip remains in peak condition, providing you with the precision and control necessary to excel in your pool games. Regularly assessing and shaping your cue tip will contribute to a more enjoyable and successful playing experience, allowing you to unleash your full potential on the pool table.
With this newfound expertise, you are well-equipped to uphold the quality and performance of your pool cue, shaping it to perfection and embracing the artistry of the game with confidence and finesse.
Frequently Asked Questions about How To Shape A Pool Cue Tip With Sandpaper
Was this page helpful?
At Storables.com, we guarantee accurate and reliable information. Our content, validated by Expert Board Contributors, is crafted following stringent Editorial Policies. We're committed to providing you with well-researched, expert-backed insights for all your informational needs.

0 thoughts on “How To Shape A Pool Cue Tip With Sandpaper”