Articles
How To Refinish Bathroom Vanity Cabinets
Modified: May 6, 2024
Learn how to refinish bathroom vanity cabinets with our informative articles. Transform your bathroom with these helpful tips and tricks.
(Many of the links in this article redirect to a specific reviewed product. Your purchase of these products through affiliate links helps to generate commission for Storables.com, at no extra cost. Learn more)
Introduction
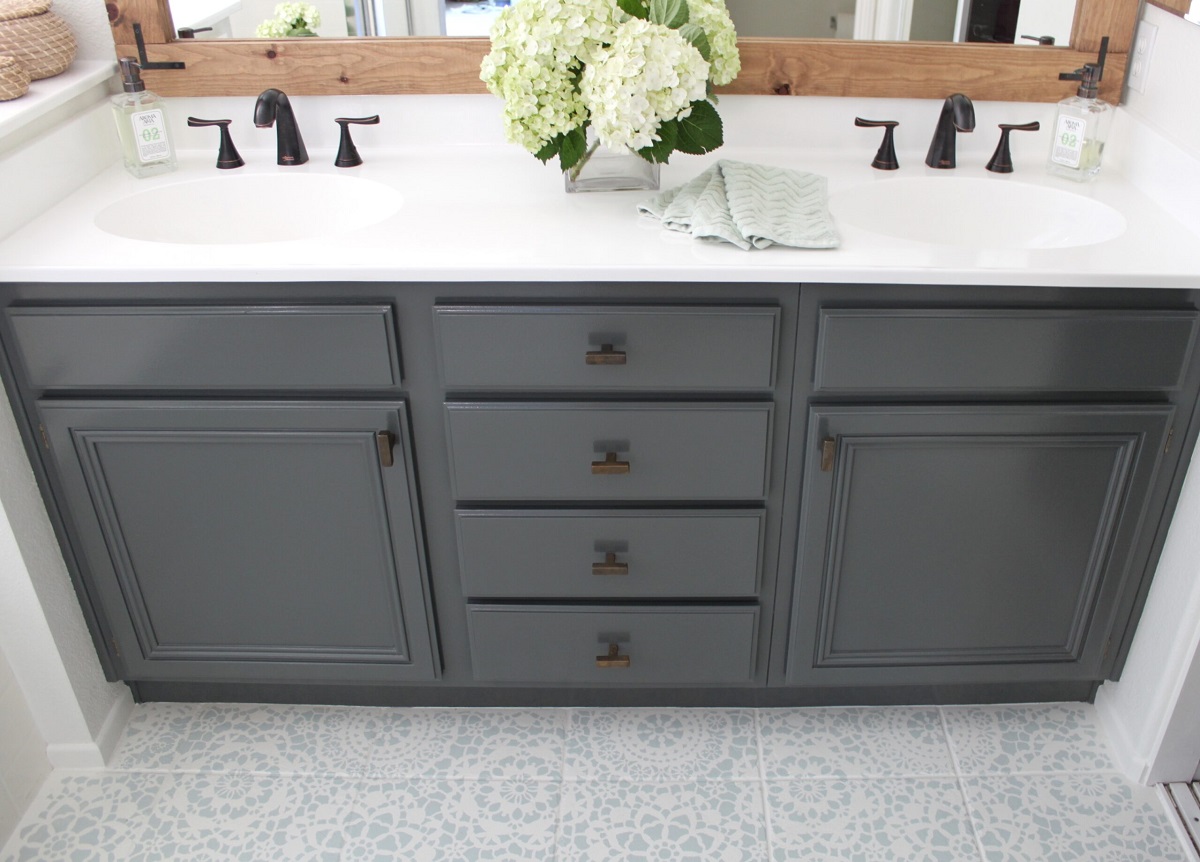
Refinishing bathroom vanity cabinets is a cost-effective and rewarding way to give your bathroom a fresh new look. Over time, bathroom cabinets can become worn, outdated, or simply no longer match your desired aesthetic. Instead of spending a fortune on brand new cabinets, refinishing allows you to transform your existing ones into something beautiful and stylish.
In this article, we will guide you through the process of refinishing bathroom vanity cabinets step by step. From gathering the necessary materials and tools to adding the finishing touches, you’ll learn all you need to know to successfully complete this DIY project.
Before we dive into the details, it’s important to note that refinishing bathroom vanity cabinets requires some time and effort. However, the satisfaction of seeing your cabinets transformed into something you love will make it all worthwhile. So, roll up your sleeves, put on your DIY hat, and let’s get started!
Key Takeaways:
- Refinishing bathroom vanity cabinets is a cost-effective DIY project that can breathe new life into your bathroom. From gathering materials to reattaching hardware, this guide provides a comprehensive step-by-step process for achieving stunning results.
- By choosing to refinish rather than replace, you can save money and contribute to a more sustainable approach to home improvement. With the right tools and techniques, you can transform worn-out cabinets into beautiful focal points that reflect your personal style.
Read more: How To Refinish Bathroom Vanity Top
Step 1: Gather Materials and Tools
The first step in refinishing bathroom vanity cabinets is gathering all the necessary materials and tools. Here’s a list of what you’ll need:
- Screwdriver or drill: To remove cabinet hardware such as handles and hinges.
- Drop cloths or old sheets: To protect the surrounding area from drips and spills.
- Sandpaper: You’ll need different grits depending on the condition of your cabinets. Start with a medium grit (around 120) and finish with a fine grit (around 220) for smooth results.
- Sanding block or sanding sponge: These provide a comfortable grip and make sanding easier.
- Primer: A high-quality primer designed for use on wood surfaces will help the paint adhere better and provide a smooth base.
- Paint or stain: Choose a paint color or wood stain that complements your bathroom decor and personal style.
- Paintbrushes: Use a brush with synthetic bristles for latex paint and a natural bristle brush for oil-based paint or stain.
- Roller and tray: If you prefer to use a roller for painting larger surfaces.
- Protective finish: A clear polyurethane or varnish will help protect the cabinets from moisture and wear.
- New cabinet hardware: If you want to update the look of your cabinets, consider replacing the handles and hinges for a fresh new appearance.
- Cleaner and degreaser: Use a mild cleaner to remove any dirt, grease, or grime from the cabinet surfaces before refinishing.
Once you have gathered all the necessary materials and tools, you’ll be ready to move on to the next step: removing cabinet hardware and cleaning the surfaces.
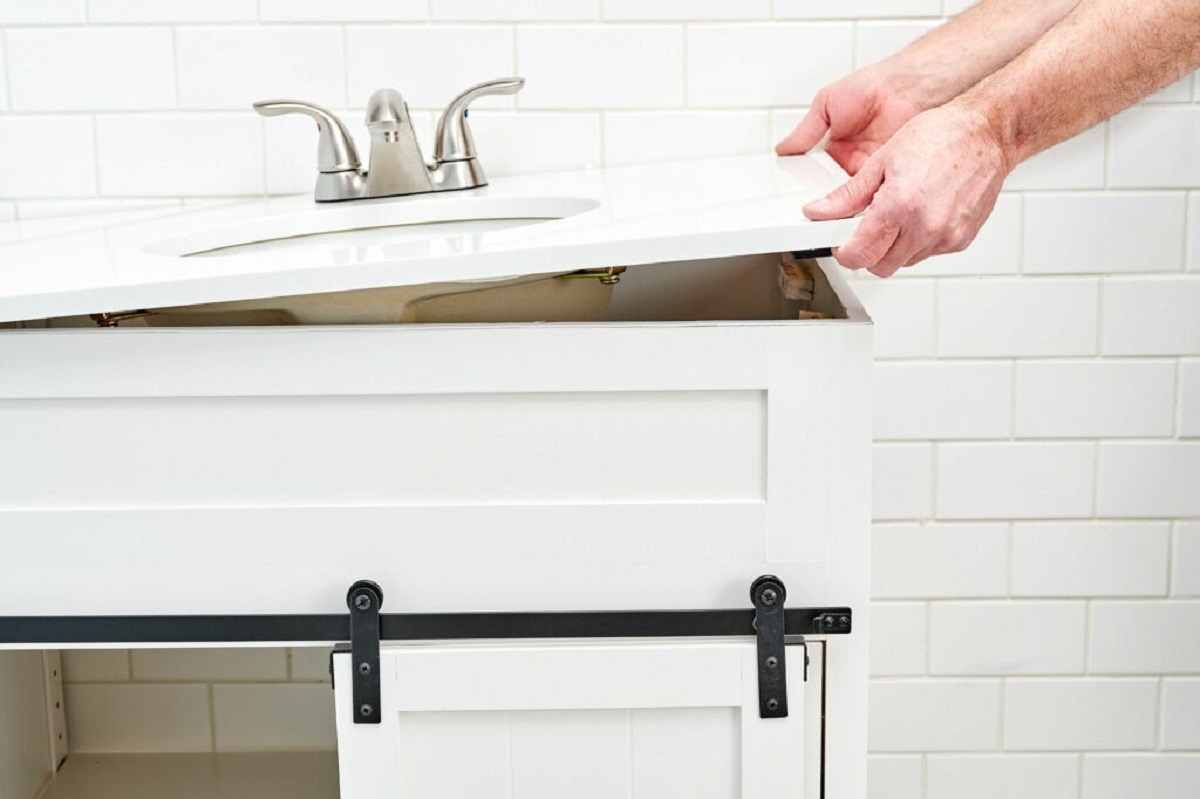
Step 2: Remove Cabinet Hardware and Clean Surfaces
Before you can begin refinishing your bathroom vanity cabinets, you need to remove the cabinet hardware and clean the surfaces. This step prepares the cabinets for sanding and ensures that the finish will adhere properly.
Start by using a screwdriver or drill to remove the handles, hinges, and any other hardware from the cabinets. Keep all the pieces in a safe place, as you will need them later when reattaching the hardware.
Next, cover the surrounding area with drop cloths or old sheets to protect it from any drips or spills. This will make cleanup much easier.
With the hardware removed, it’s time to clean the cabinet surfaces. Use a mild cleaner or degreaser and a soft cloth or sponge to remove dirt, grease, and grime. Pay special attention to areas that may be sticky or have residue from toiletries or cleaning products.
Once you’ve cleaned the surfaces, rinse them with clean water and allow them to dry completely. This is an important step as any leftover residue can interfere with the refinishing process.
After the cabinets have dried, give them a thorough inspection. Look for any cracks, chips, or uneven areas that may require additional attention. It’s best to address these issues before proceeding to the next step.
Now that your cabinets are hardware-free and clean, you’re ready to move on to step 3: sanding the cabinets.
Step 3: Sand the Cabinets
Sanding is a crucial step in the refinishing process as it helps to smooth out the surfaces and promote better paint adhesion. Before you begin sanding, make sure you have the appropriate sandpaper and sanding tools ready.
Start by using medium-grit sandpaper (around 120) and a sanding block or sponge to sand the cabinet surfaces. Sand in the direction of the wood grain, applying even pressure. This will help to remove any existing finish, rough patches, or imperfections.
Be careful not to oversand or apply too much pressure, as this can damage the wood. Keep a light touch and let the sandpaper do the work. As you sand, periodically check the surface for smoothness.
Once you have completed the initial sanding, switch to a finer grit sandpaper (around 220) and repeat the process. This finer grit will help to further smooth the surfaces and prepare them for paint or stain.
After sanding, use a clean, damp cloth or sponge to wipe away any dust or residue. This will ensure that you have a clean surface for the next steps.
If there are any hard-to-reach areas or intricate details on the cabinets, you can use sandpaper wrapped around a small piece of wood or a sanding sponge to sand those areas.
Remember to take breaks as needed and avoid sanding continuously in one area for too long. This will help prevent overheating the sandpaper and damaging the wood.
Once you have finished sanding, you can move on to the next step: applying primer to the cabinets.
Step 4: Apply Primer
Applying primer to your bathroom vanity cabinets is an essential step in achieving a smooth and durable finish. Primer creates a solid base for the paint or stain and helps it adhere better to the wood surfaces. It also helps to prevent any stains or discoloration from bleeding through.
Before you start priming, make sure the cabinets are clean and free of any dust or debris from the sanding process. If needed, use a clean cloth or sponge to wipe down the surfaces and remove any remaining residue.
Choose a high-quality primer that is specifically formulated for use on wood surfaces. You can opt for either a brush-on or spray primer, depending on your preference.
Using a paintbrush or a sprayer, apply an even coat of primer to all visible surfaces of the cabinets. Work in small sections and make sure to cover any hard-to-reach areas.
Pay attention to the edges and corners, ensuring that the primer is applied evenly and there are no drips or excessive buildup. Smooth out any imperfections with a brush if necessary.
Allow the primer to dry according to the manufacturer’s instructions. This usually takes a few hours, but it’s best to check the label for specific drying times.
Once the primer is completely dry, lightly sand the surfaces with a fine-grit sandpaper. This step helps to smooth out any brush marks or imperfections and provides a better surface for the final coats of paint or stain.
After sanding, wipe away any dust with a clean cloth or sponge to ensure a clean, smooth surface.
Now that the cabinets are primed and prepped, you’re ready to move on to step 5: painting or staining the cabinets.
When refinishing bathroom vanity cabinets, be sure to thoroughly clean and sand the surfaces before applying a new coat of paint or stain. This will help the new finish adhere properly and result in a professional-looking outcome.
Read more: How To Refinish Cultured Marble Vanity Top
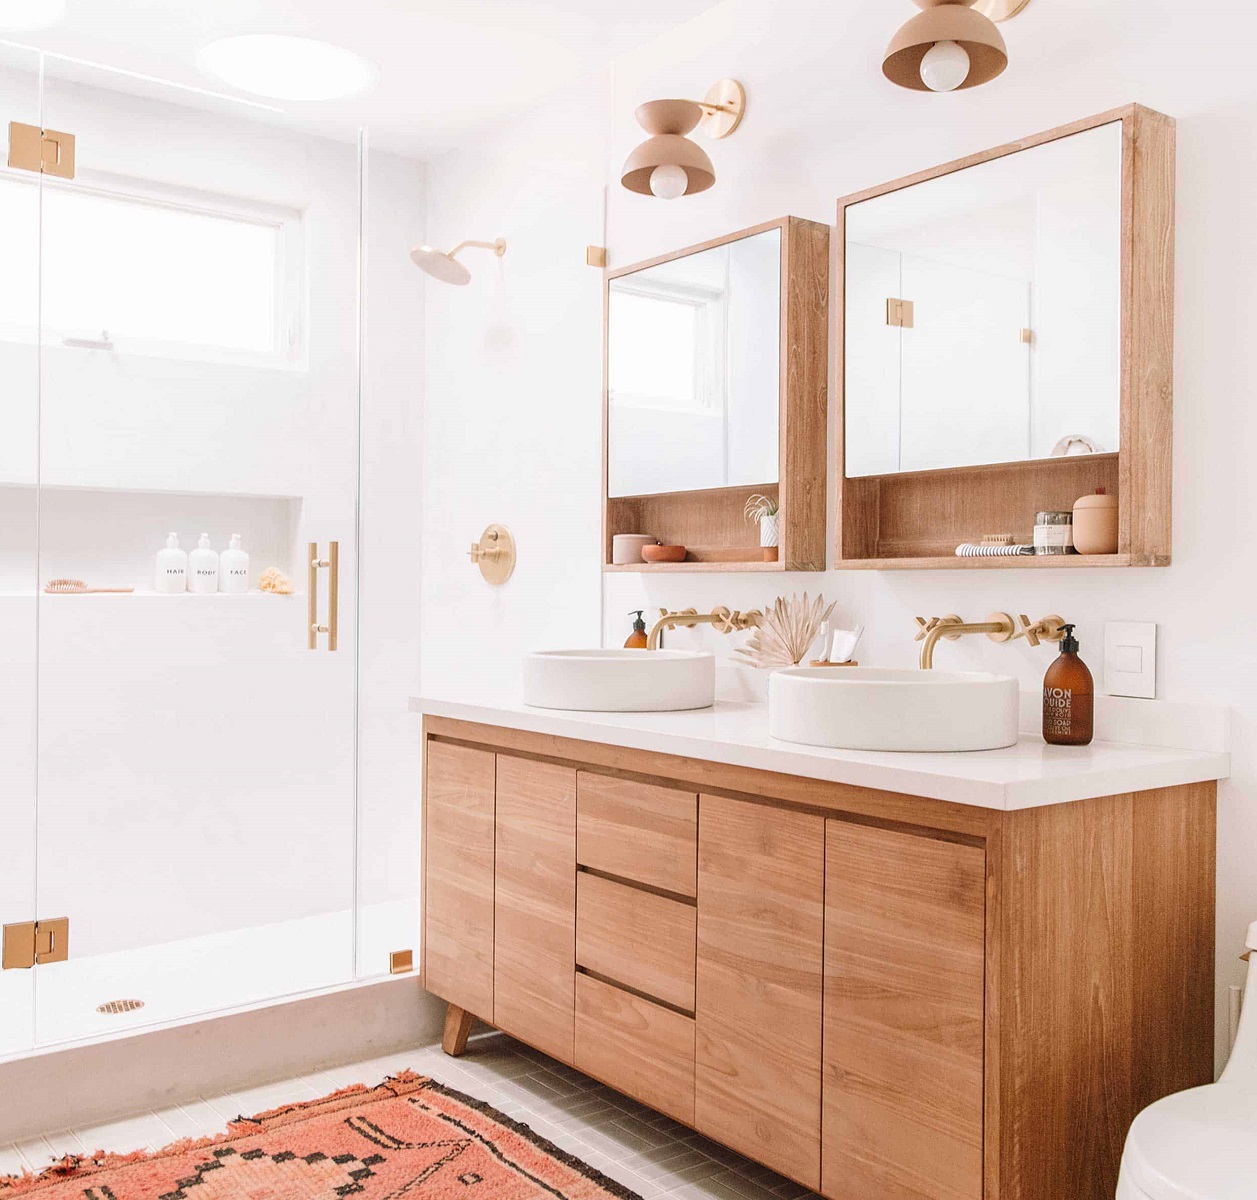
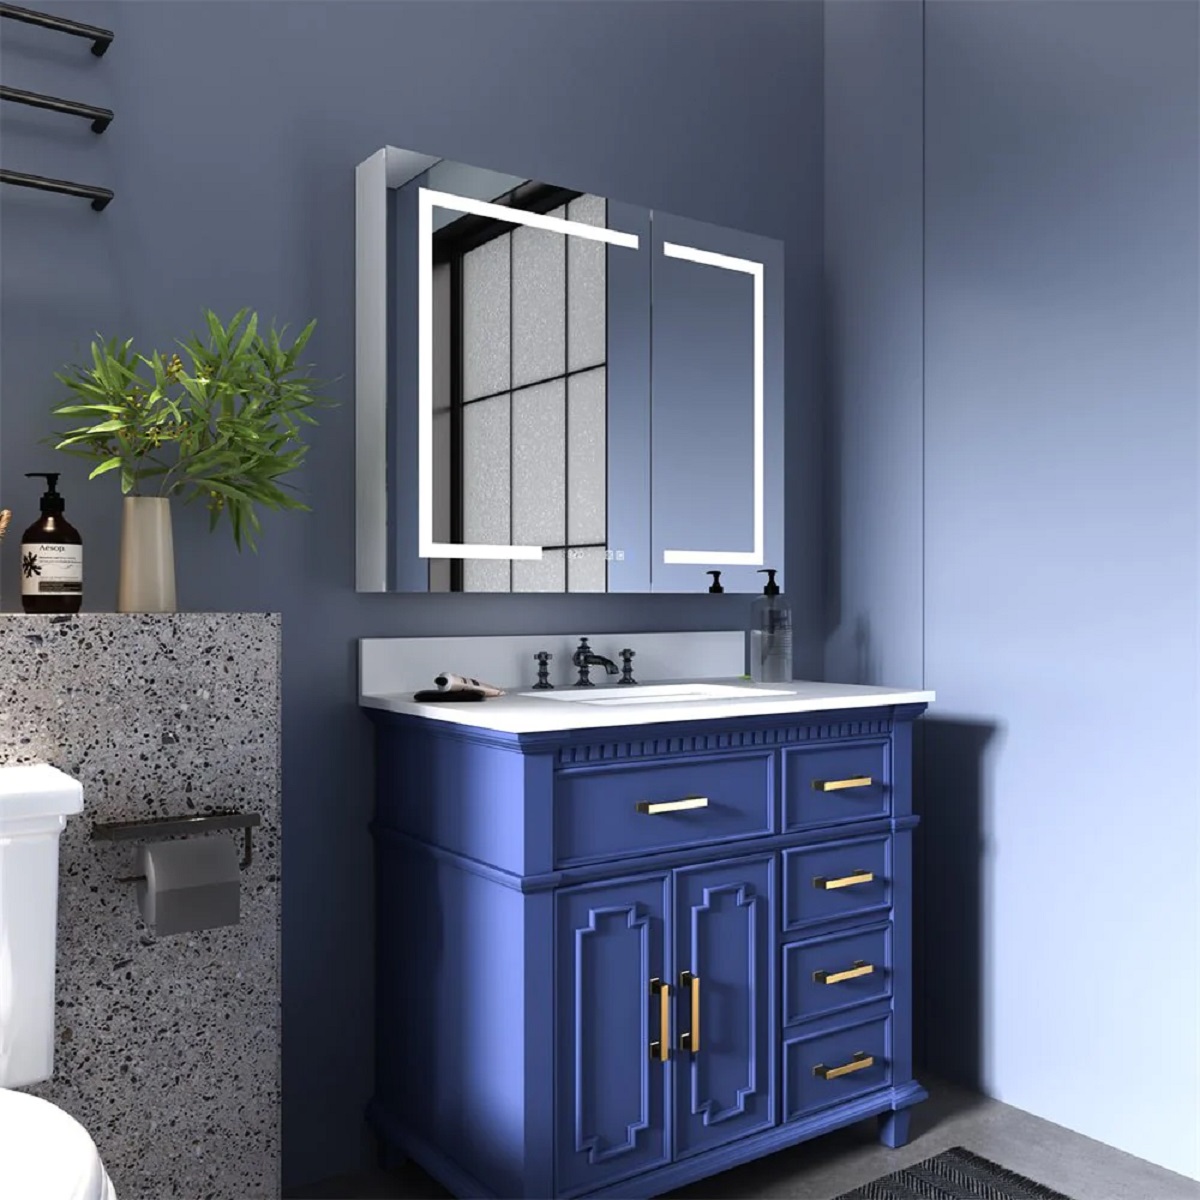
Step 5: Paint or Stain the Cabinets
Now comes the exciting part – painting or staining your bathroom vanity cabinets to achieve the desired look and finish. Whether you choose paint or stain, this step will undoubtedly transform the appearance of your cabinets.
If you choose to paint:
Start by selecting a high-quality paint that is specifically formulated for wood surfaces. Consider the color and finish that will complement your bathroom decor and personal style.
Using a brush or roller, apply an even coat of paint to the cabinets, working in long, smooth strokes. Begin with the outer edges and corners and then move on to larger flat surfaces.
Take your time and ensure the paint is evenly applied. If desired, you can apply multiple coats, allowing each coat to dry completely before applying the next. This will achieve a more professional and durable finish.
If you’re painting cabinets with intricate details or hard-to-reach areas, use a smaller brush or a foam brush to ensure even coverage.
If you choose to stain:
When staining bathroom vanity cabinets, begin by choosing a wood stain color that enhances the natural beauty of the wood.
Apply the stain using a brush or cloth, following the grain of the wood. Start with a light coat and gradually build up the color until you achieve the desired richness and depth. Be sure to cover all surfaces evenly.
Allow the stain to penetrate the wood for the recommended amount of time specified by the manufacturer. Then, wipe away any excess stain with a clean cloth following the grain of the wood. This will help to prevent uneven drying and blotching.
If you prefer a darker or more intense color, you can apply additional coats of stain, allowing each coat to dry thoroughly. Remember to wipe away any excess stain before it dries.
Whether you choose to paint or stain your cabinets, once you have achieved the desired color and finish, allow the cabinets to dry completely according to the manufacturer’s instructions.
Now that your bathroom vanity cabinets are painted or stained, it’s time to move on to the final steps: applying a protective finish and reattaching the cabinet hardware.
Step 6: Apply a Protective Finish
Applying a protective finish is an important step in refinishing bathroom vanity cabinets as it helps to protect the paint or stain and prolong the life of your newly refinished cabinets. The protective finish adds a layer of durability, making the cabinets resistant to moisture, stains, and wear.
Before you begin applying the protective finish, make sure the painted or stained surfaces are clean and free of any dust or debris. If needed, use a soft cloth or sponge to wipe down the cabinets and ensure a smooth surface.
Choose a clear polyurethane or varnish that is suitable for use on wood surfaces. Opt for a finish that matches your desired level of sheen, such as satin, semi-gloss, or high-gloss.
Using a brush or a foam applicator, apply an even coat of the protective finish to all surfaces of the cabinets. Work in long, smooth strokes, moving in the same direction as the wood grain.
Pay special attention to any areas that may be prone to moisture, such as the top of the vanity or areas near sinks or showers. Apply a slightly thicker coat in these areas to ensure adequate protection.
Allow the first coat of the protective finish to dry according to the manufacturer’s instructions. This usually takes a few hours or as indicated on the label. Be sure to provide proper ventilation in the room to help with the drying process.
Once the first coat is dry, lightly sand the surfaces with a fine-grit sandpaper. This will help to create a smooth surface for the subsequent coats of protective finish and remove any imperfections.
Apply additional coats of the protective finish, following the same process of even application and allowing each coat to dry fully before applying the next. The number of coats may vary depending on the desired level of protection and the instructions on the product label.
After applying the final coat of the protective finish, allow the cabinets to dry completely. This may take a few days, so be patient and avoid touching or using the cabinets until they are fully cured.
Now that your bathroom vanity cabinets are protected and have a beautiful finish, it’s time to move on to the last step: reattaching the cabinet hardware.
Step 7: Reattach Cabinet Hardware
The final step in refinishing your bathroom vanity cabinets is reattaching the cabinet hardware. This step adds the finishing touch and completes the transformation of your cabinets. It’s time to bring back the handles, hinges, and any other hardware that you removed at the beginning of the process.
Start by organizing the hardware and ensuring you have all the necessary pieces. Clean and polish the hardware if needed to restore their shine and remove any residue.
Place a drop cloth or old towel on the countertop to protect it from any accidental scratches or damage.
Using a screwdriver or drill, carefully attach the handles, hinges, and other hardware to the cabinet doors and drawers. Make sure they are aligned properly and tightened securely.
Take your time to ensure the hardware is level and positioned correctly. Step back and assess the overall look to make any necessary adjustments.
If you want to update the look of your bathroom cabinets, this is an opportunity to consider replacing the hardware with new ones. Choose handles and hinges that complement the new finish of your cabinets and enhance the overall aesthetic.
Once you have reattached all the hardware, give the cabinets a final inspection. Check for any loose screws or misaligned handles and make any necessary adjustments.
Congratulations! You have successfully refinished your bathroom vanity cabinets. Step back and admire the transformation you have achieved. Your cabinets now have a fresh new look that enhances the overall beauty of your bathroom.
Remember to properly care for your refinished cabinets by using gentle cleaners and avoiding harsh chemicals or abrasive materials that could damage the surface. With regular maintenance, your cabinets will continue to look beautiful and withstand the test of time.
Thank you for following this step-by-step guide. We hope you enjoyed the process and are delighted with the results. Happy refinishing!
Conclusion
Refinishing bathroom vanity cabinets is a fantastic DIY project that allows you to breathe new life into your bathroom without breaking the bank. By following the steps outlined in this guide, you can transform your worn-out or outdated cabinets into stunning focal points that enhance your bathroom’s overall aesthetic.
Throughout the refinishing process, we covered everything you need to know, from gathering materials and tools to reattaching cabinet hardware. We discussed the importance of proper preparation, such as cleaning the surfaces and applying primer, to ensure a smooth and long-lasting finish. We also highlighted the options of painting or staining your cabinets, allowing you to choose the technique that best suits your style and preferences. Finally, we emphasized the significance of applying a protective finish to safeguard your cabinets from moisture, stains, and wear.
While refinishing bathroom vanity cabinets may require time and effort, the sense of accomplishment and satisfaction you’ll experience upon completion is well worth it. Plus, by opting to refinish rather than replace, you’ll save money and contribute to a more sustainable approach to home improvement.
Now that you possess the knowledge and guidance to embark on your own cabinet refinishing journey, we encourage you to unleash your creativity and make your bathroom vanity cabinets a reflection of your personal style. Remember to take your time, follow the steps carefully, and enjoy the process along the way.
Thank you for joining us on this refinishing adventure. We hope your bathroom vanity cabinets shine with renewed beauty and provide you with years of enjoyment. Happy refinishing!
Now that you've mastered refinishing bathroom vanity cabinets, why not tackle more projects to transform your living space? Curious about the duration of upgrading your restroom? Our guide on bathroom renovation durations offers insights that help plan efficiently. If you're itching for more hands-on tasks, our DIY home improvement tips provide easy-to-follow directions for enhancing your home's charm. For woodworking enthusiasts, check out our latest article listing the top tools and techniques for 2024, ensuring your projects are both modern and functional.
Frequently Asked Questions about How To Refinish Bathroom Vanity Cabinets
Was this page helpful?
At Storables.com, we guarantee accurate and reliable information. Our content, validated by Expert Board Contributors, is crafted following stringent Editorial Policies. We're committed to providing you with well-researched, expert-backed insights for all your informational needs.


0 thoughts on “How To Refinish Bathroom Vanity Cabinets”