Articles
How To Fix A Cabinet Door Hinge
Modified: August 27, 2024
Learn how to fix a cabinet door hinge in just a few simple steps. Ensure your storage cabinets are functioning perfectly with our expert guide.
(Many of the links in this article redirect to a specific reviewed product. Your purchase of these products through affiliate links helps to generate commission for Storables.com, at no extra cost. Learn more)
Introduction
Welcome to our step-by-step guide on how to fix a cabinet door hinge. Cabinet doors play a crucial role in the functionality and aesthetic appeal of your cabinets. Over time, hinges may become loose, causing doors to sag or not close properly. Don’t worry, though – repairing a cabinet door hinge is a relatively simple task that can be accomplished with just a few basic tools and some patience.
In this guide, we’ll walk you through the process of fixing a cabinet door hinge, from assessing the issue to reattaching the door. By following these steps, you’ll be able to restore the functionality and smooth operation of your cabinet doors in no time.
Before we begin, let’s take a look at the tools and materials you’ll need:
Key Takeaways:
- Easily restore the functionality of your cabinet doors by assessing, adjusting, and testing the hinge. Regular maintenance and prompt repairs can ensure long-term optimal performance.
- With the right tools and step-by-step approach, fixing a cabinet door hinge is a manageable task. Identify the issue, adjust the hinge, and enjoy well-functioning cabinet doors.
Read more: How To Install Hinges On Cabinet Doors
Tools and Materials Needed
Before you start fixing a cabinet door hinge, gather these essential tools and materials:
- Screwdriver (either a Phillips or a flathead, depending on the type of screws used)
- Adjustable wrench
- Pliers
- Wood glue
- Toothpicks or wooden dowels
- Sandpaper
- Paint or stain (optional)
These tools and materials will help you complete the repair process more efficiently and effectively. Make sure to have them on hand before you dive into the project.
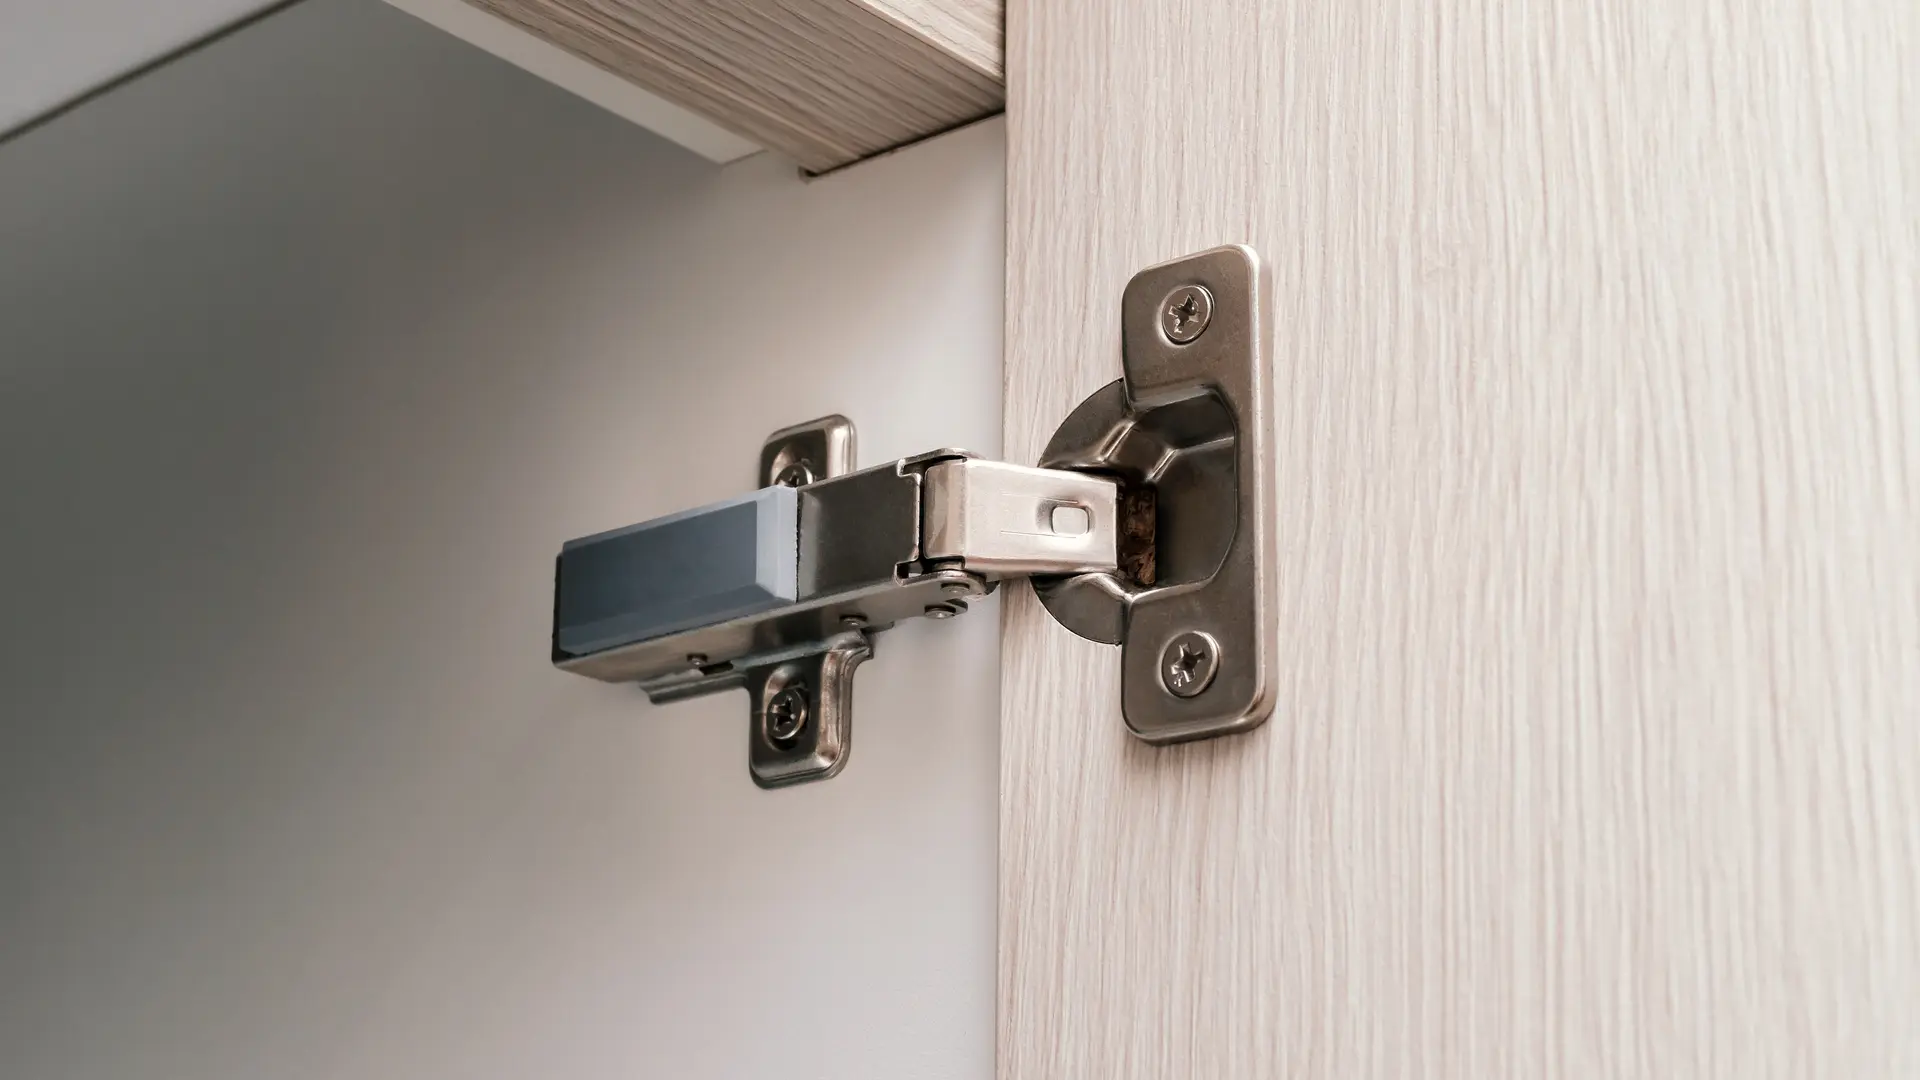
Step 1: Assessing the Issue
The first step in fixing a cabinet door hinge is to assess the issue. Take a close look at the cabinet door and hinge to identify the problem. Here are a few common issues you may encounter:
- Sagging door: If the cabinet door is drooping or not aligned with the other doors, it indicates a hinge problem.
- Loose screws: Check if the screws on the hinge are loose or missing. Loose screws can cause the door to wobble or come off entirely.
- Sticking door: Sometimes, the door may stick and not close properly. This can be due to misalignment or a hinge that needs adjustment.
- Broken hinge: In some cases, the hinge itself may be damaged or broken, requiring replacement.
By understanding the specific issue, you’ll be better equipped to tackle the repair process effectively. Once you’ve identified the problem, proceed to the next step: removing the cabinet door.
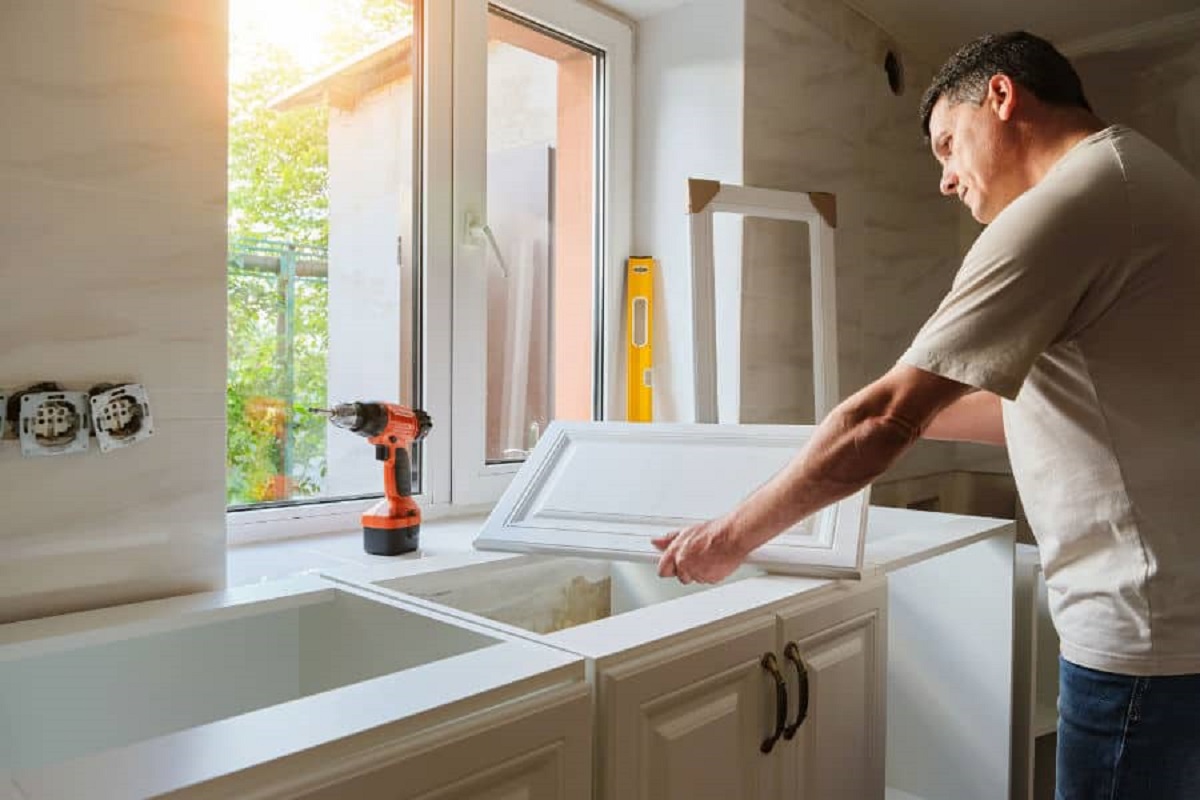
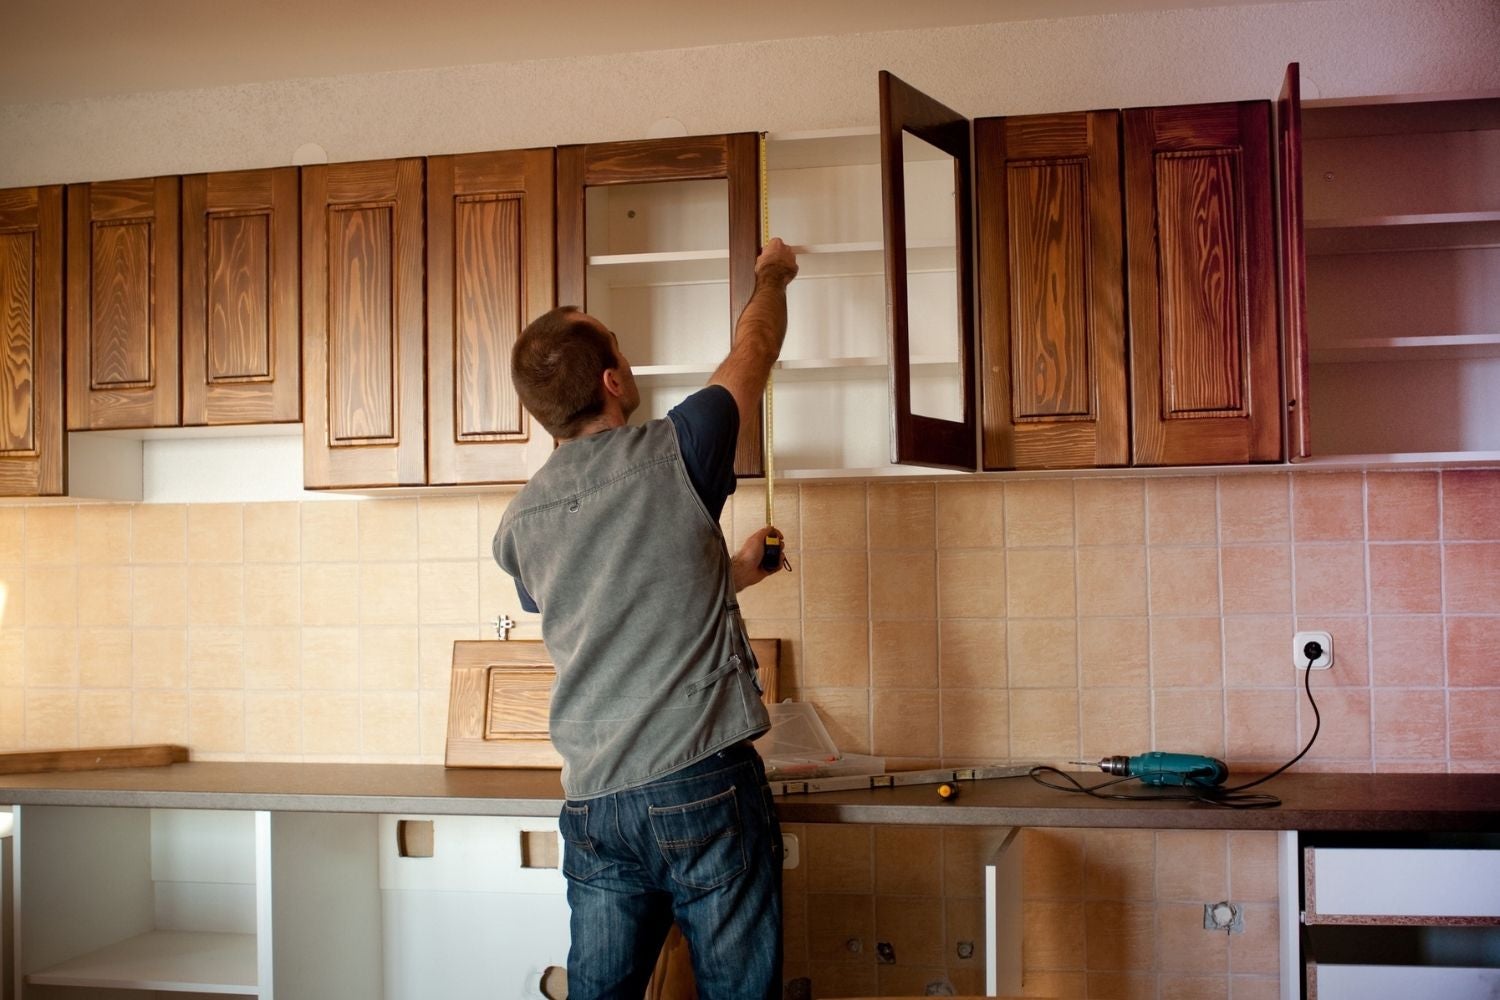
Step 2: Removing the Cabinet Door
Now that you have assessed the issue with the cabinet door hinge, it’s time to remove the door for easier access and repair. Follow these steps to safely remove the cabinet door:
- Open the cabinet door fully to provide better visibility and access to the hinges.
- Locate the screws holding the hinge to the cabinet frame. Depending on the type of hinge, there may be one or multiple screws.
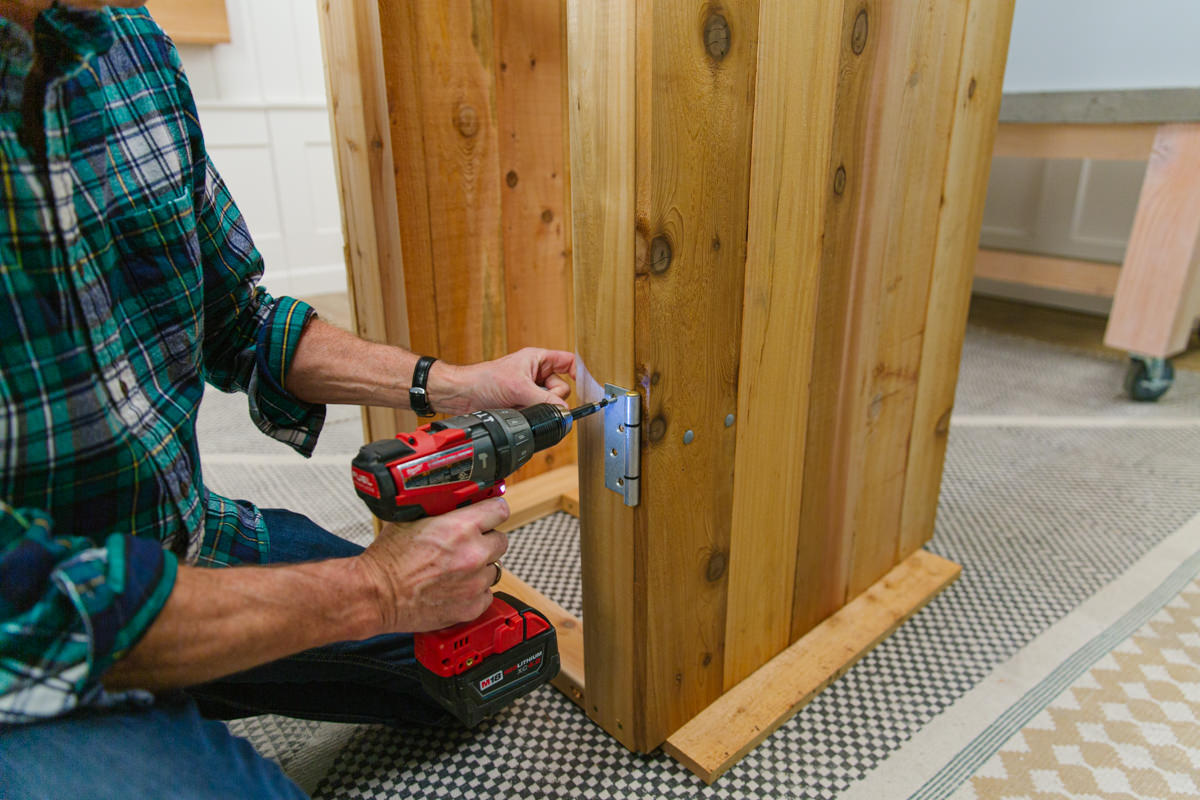
- Using a screwdriver or a drill with the appropriate bit, carefully unscrew the screws from the cabinet frame. Place the screws in a safe spot to avoid misplacing them.
- Once all the screws are removed, gently lift the cabinet door off the hinge pins. If the door is heavy, you may need a second person to assist you.
- Set the cabinet door aside in a safe and stable location to prevent any damage.
By removing the cabinet door, you’ll have easier access to the hinge for inspection and repair. Take this opportunity to examine the hinge closely for any signs of damage or misalignment. Once you are done inspecting the hinge, move on to the next step: adjusting the hinge.
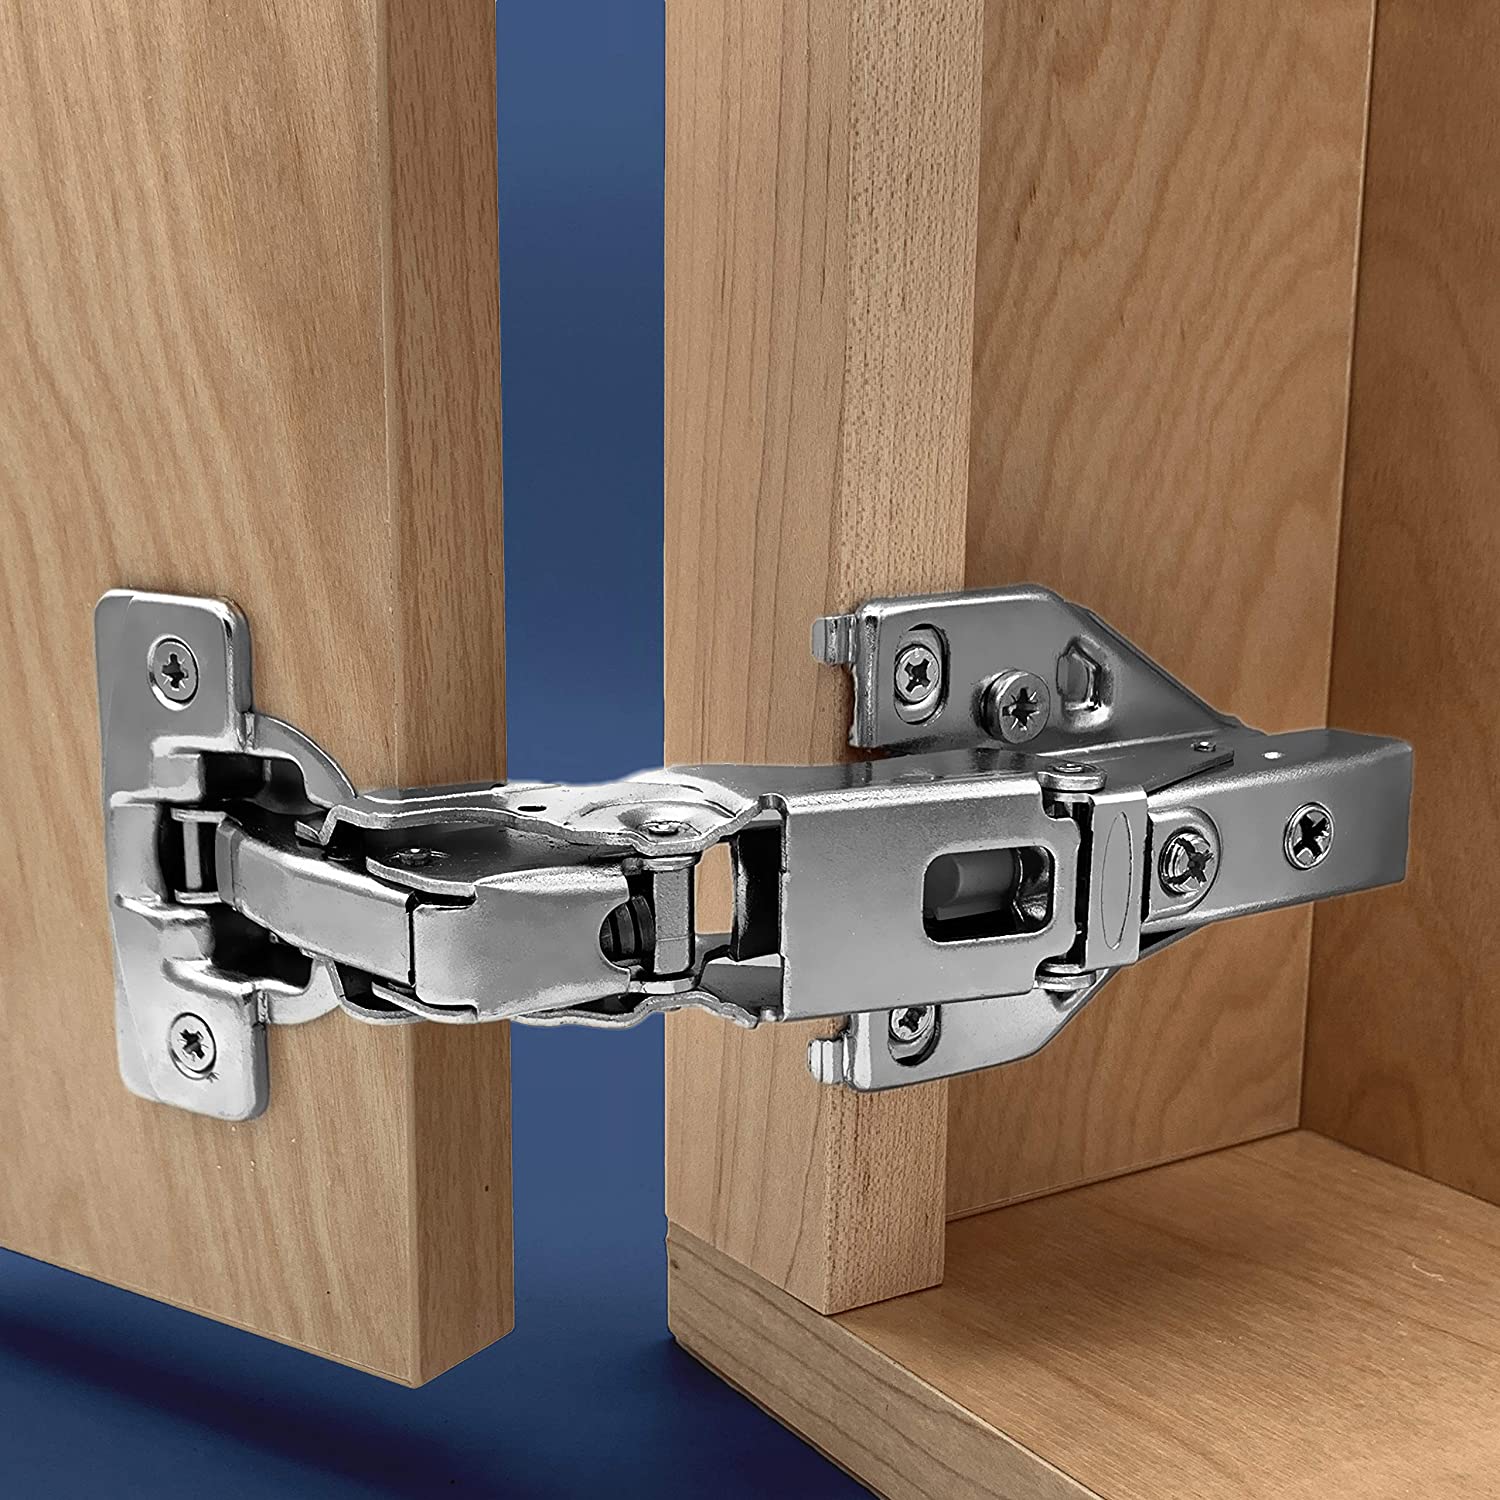
Step 3: Inspecting the Hinge
With the cabinet door removed, it’s time to inspect the hinge for any issues or damage. Follow these steps to thoroughly inspect the hinge:
- Carefully examine the hinge for any visible signs of wear or damage, such as bent components or loose parts. If you notice any severe damage, it may require replacing the hinge entirely.
- Check if the screws holding the hinge to the cabinet frame are secure. Tighten any loose screws using a screwdriver or an adjustable wrench.
- Inspect the hinge pins to ensure they are intact and free from any deformities or corrosion. If the pins are damaged, they may need to be replaced.
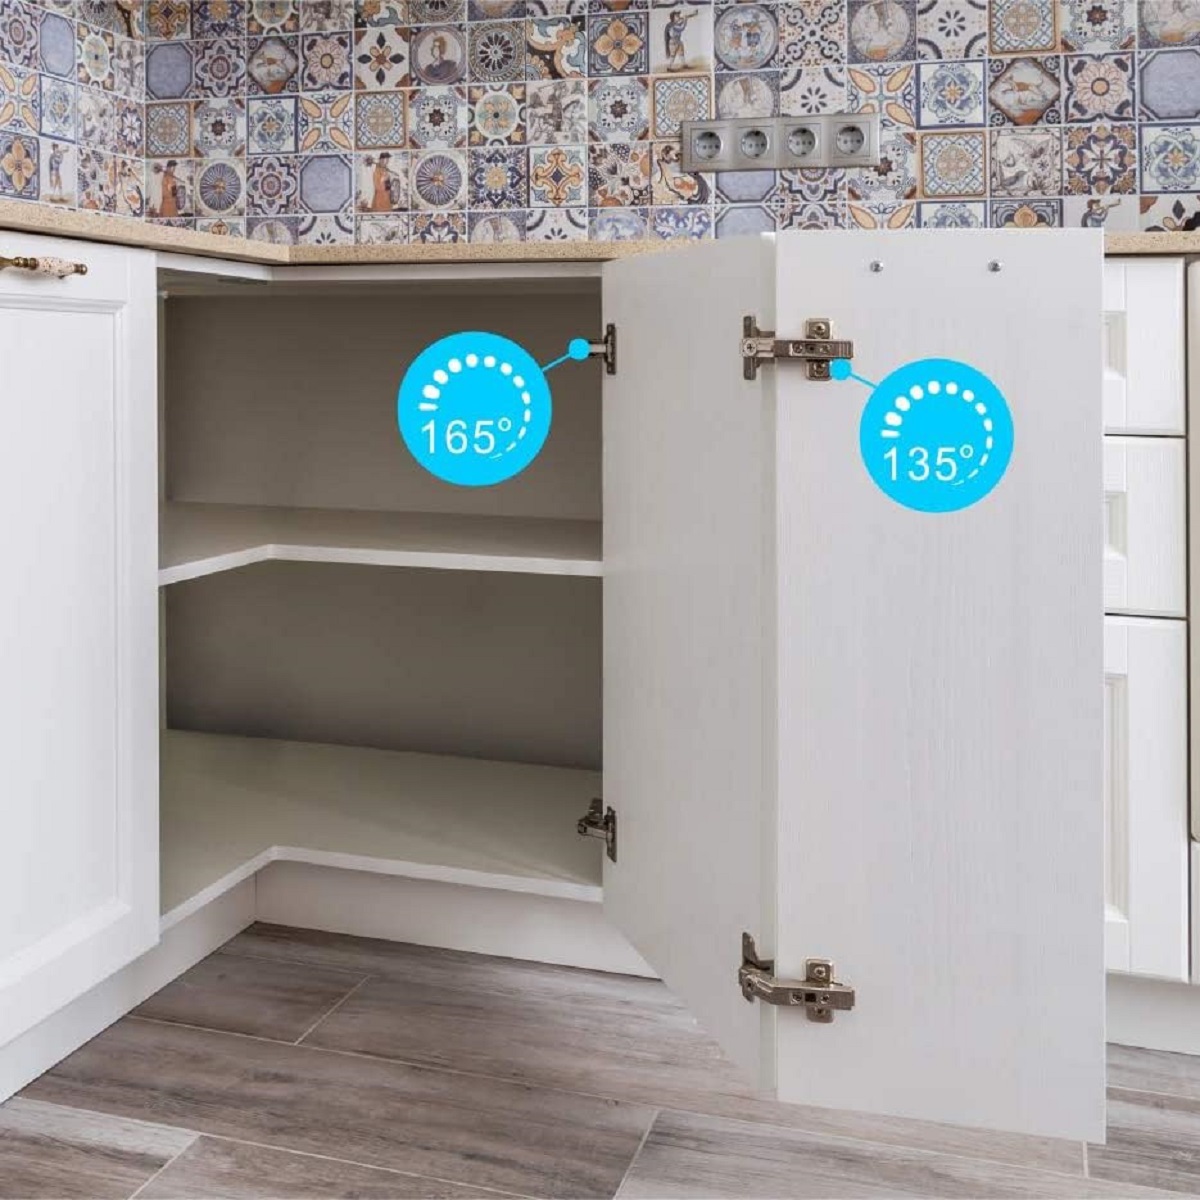
- Check the hinge’s range of motion by moving it back and forth. It should move smoothly without any restrictions. If you notice any sticking or resistance, you’ll need to adjust the hinge.
By inspecting the hinge thoroughly, you’ll gain a better understanding of its condition and the specific issues that need to be addressed. If you only discovered minor misalignment or loose screws, you may be able to fix the hinge without replacement. Proceed to the next step to learn how to adjust the hinge.
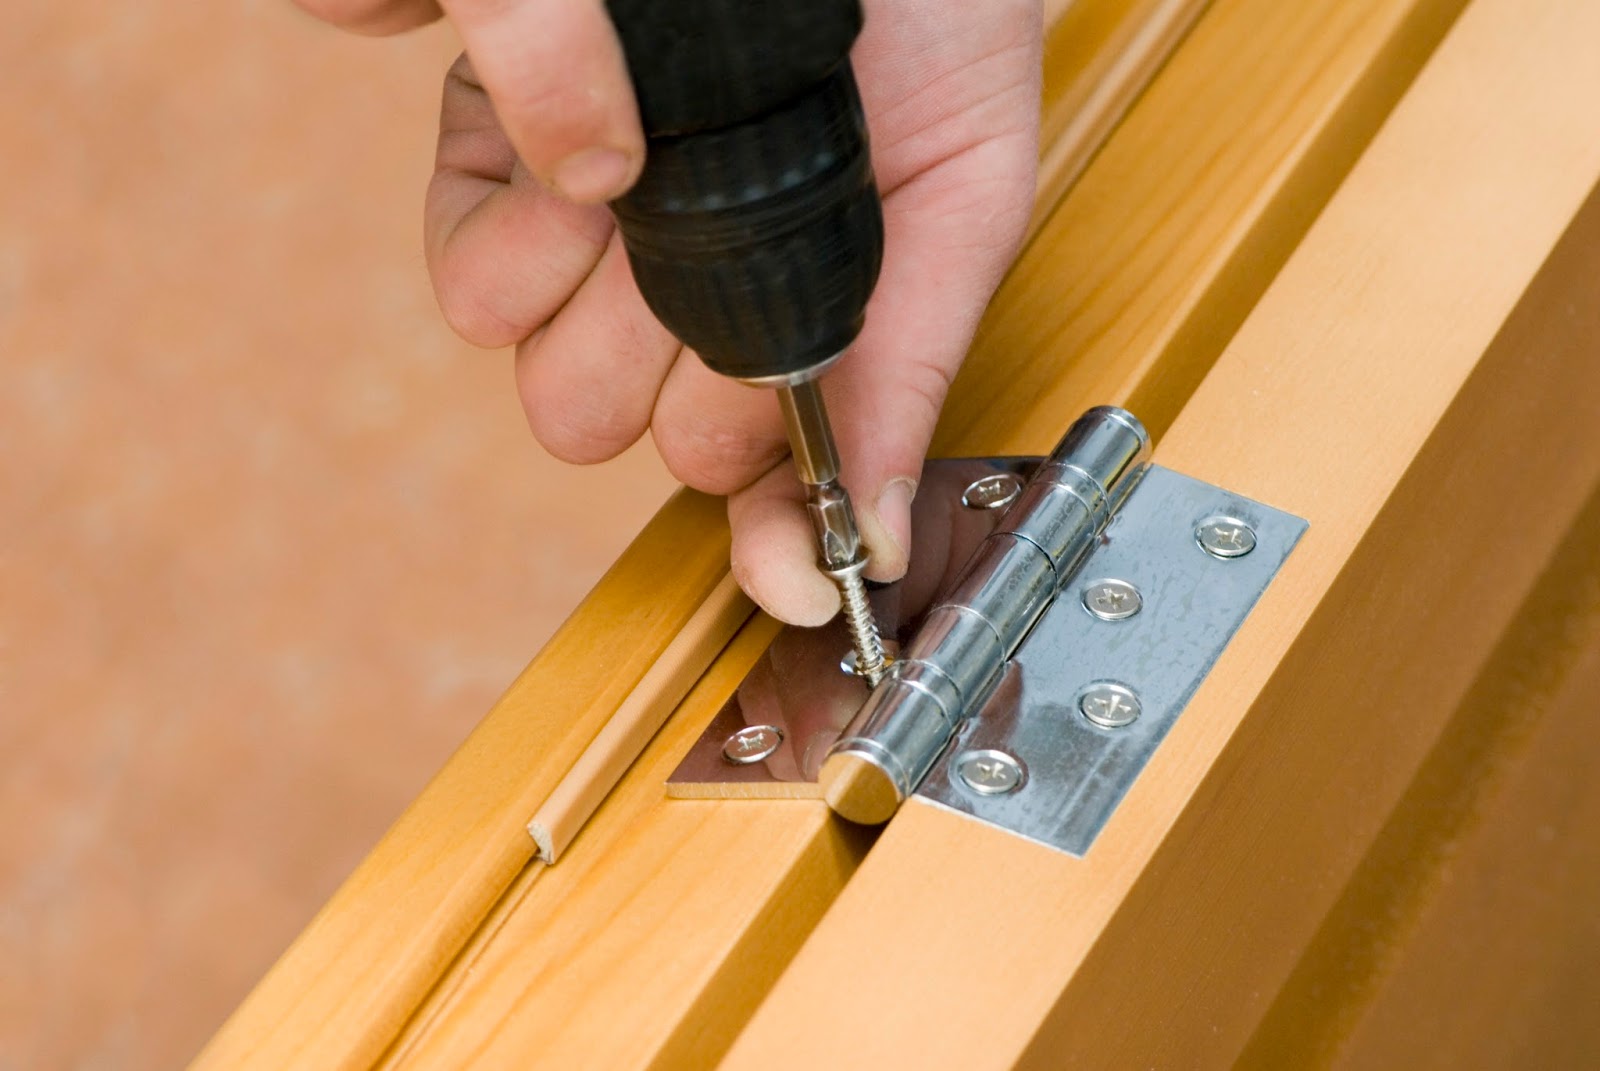
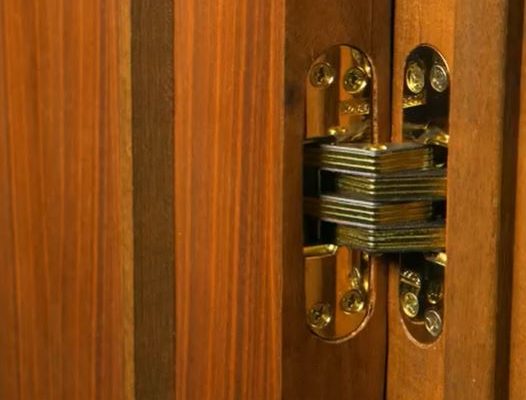
Check if the hinge screws are loose, tighten them with a screwdriver. If the screws are stripped, replace them with longer or wider ones for a secure fit.
Read more: How To Fix A Storm Door Hinge
Step 4: Adjusting the Hinge
Now that you have inspected the hinge and identified any misalignment or loose components, it’s time to adjust the hinge to restore proper functionality. Follow these steps to adjust the cabinet door hinge:
- Start by loosening the screws on the hinge that attach it to the cabinet frame. Do not remove the screws completely; just loosen them enough to allow for adjustment.
- If the door is sagging and needs to be raised, place a wooden shim or folded piece of cardboard under the bottom of the door to support it during adjustment.
- Gently push or pull on the door to align it properly. This will help you determine which direction and how much adjustment is needed.
- With the door in the desired position, tighten the screws on the hinge to secure it in place. Make sure to tighten the screws evenly to avoid any further misalignment.
- Test the function of the door by opening and closing it to ensure it operates smoothly. If the door still sticks or has issues, readjust the hinge as needed.
By adjusting the hinge, you can correct any misalignment or sagging and ensure that the cabinet door operates properly. Once you are satisfied with the adjustment, it’s time to reattach the door to the cabinet frame.
Step 5: Reattaching the Cabinet Door
Now that you’ve adjusted the cabinet door hinge, it’s time to reattach the door to the cabinet frame. Follow these steps to securely reattach the cabinet door:
- Ensure that the hinge pins are securely in place on both the cabinet frame and the door.
- Carefully align the screw holes on the hinge with the corresponding holes on the cabinet frame.
- Insert the screws into the holes and tighten them using a screwdriver or an adjustable wrench. Make sure the screws are tightened securely, but do not overtighten as it may strip the screw holes.
- Double-check the alignment of the door by opening and closing it to ensure it operates smoothly and closes properly.
It’s important to take your time and ensure that the door is aligned properly before tightening the screws. This will help prevent any further misalignment or issues with the cabinet door hinge.
If you find that the hinge adjustment did not fully resolve the issue or the door still has problems, you may need to reassess the hinge or consider replacing it with a new one. Consult a professional if you are unsure or if the hinge needs more extensive repairs.
With the cabinet door securely reattached, it’s time to move on to the final step: testing the hinge to ensure it functions properly.
Step 6: Testing the Hinge
After reattaching the cabinet door, it’s important to thoroughly test the hinge to ensure it functions properly. Follow these steps to test the cabinet door hinge:
- Gently open and close the cabinet door multiple times to check for any sticking or resistance. The door should open and close smoothly without any effort.
- Verify that the door aligns properly with the surrounding cabinets. It should be level and evenly spaced with the adjacent doors.
- Test the door’s stability by pushing on different areas. It should not wobble or move excessively.
- If you had previously experienced a sagging door, check that the adjustment has resolved the issue. The door should be straight and not droop.
- If you notice any further issues or problems with the hinge, repeat the adjustment steps or consider seeking professional assistance.
By thoroughly testing the hinge, you can ensure that the cabinet door operates smoothly, aligns properly, and provides the functionality you desire. If the hinge passes the test and meets your expectations, congratulations! You have successfully fixed the cabinet door hinge.
Remember, regular maintenance and periodic inspections of your cabinet door hinges can help prevent future problems. Stay vigilant and address any issues promptly to ensure the longevity and optimal performance of your cabinet doors.
Finally, we hope this guide has been helpful in guiding you through the process of fixing a cabinet door hinge. With the right tools and a little bit of patience, you can tackle this project with confidence and enjoy the satisfaction of a well-functioning cabinet door.
Good luck and happy repairing!
Conclusion
Fixing a cabinet door hinge doesn’t have to be a daunting task. With the right tools, materials, and a step-by-step approach, you can easily restore the functionality of your cabinet doors.
In this guide, we learned the importance of assessing the issue before starting any repairs. From there, we identified common problems such as sagging doors, loose screws, sticking doors, and broken hinges. By understanding the issue, we were able to proceed with confidence.
We then outlined the necessary tools and materials needed for the repair, including a screwdriver, pliers, adjustable wrench, wood glue, toothpicks or wooden dowels, sandpaper, and optional paint or stain.
Next, we walked through the step-by-step process, beginning with removing the cabinet door to gain easier access to the hinge. We then inspected the hinge for any damage or misalignment, followed by adjusting the hinge to restore proper functionality.
After adjusting the hinge, we reattached the cabinet door and tested the hinge’s performance. This involved checking for smooth operation, proper alignment, stability, and the resolution of any previously existing issues.
Regular maintenance and periodic inspections of your cabinet door hinges are key to preventing future problems and maintaining the longevity of your cabinets.
We hope this guide has equipped you with the knowledge and confidence to tackle the repair of your cabinet door hinge. Remember, if you encounter any major issues or doubts, consult with a professional for assistance.
Good luck with your cabinet door hinge repairs, and may your cabinets continue to function flawlessly!
Now that you've mastered fixing a cabinet door hinge, why not tackle more cabinet repairs? Our guide on cabinet repair will show you how to handle various fixes effortlessly. For enthusiasts eager to expand their skills, check out woodworking trends set to dominate 2024. And don't forget, regular upkeep is key for a well-maintained home. Dive into our home maintenance checklist to keep your living space in top shape all year round.
Frequently Asked Questions about How To Fix A Cabinet Door Hinge
Was this page helpful?
At Storables.com, we guarantee accurate and reliable information. Our content, validated by Expert Board Contributors, is crafted following stringent Editorial Policies. We're committed to providing you with well-researched, expert-backed insights for all your informational needs.

0 thoughts on “How To Fix A Cabinet Door Hinge”