Articles
How To Install A Cabinet Door
Modified: March 22, 2024
Looking for a step-by-step guide on how to install a cabinet door for your kitchen furniture? Learn the process and tips in this comprehensive tutorial.
(Many of the links in this article redirect to a specific reviewed product. Your purchase of these products through affiliate links helps to generate commission for Storables.com, at no extra cost. Learn more)
How to Install a Cabinet Door
Installing a cabinet door is a simple and rewarding DIY project that can instantly transform the look of your cabinets. Whether you’re replacing an old door or installing a new one, this step-by-step guide will show you how to do it properly.
Read more: How To Install Hinges On Cabinet Doors
Tools and Materials Needed
Before you begin, gather the following tools and materials:
- Screwdriver
- Drill
- Measuring tape
- Hinge jig
- Pencil
- Cabinet door
- Door hinges
- Screws
Key Takeaways:
- Transform the look of your cabinets with a rewarding DIY project by installing a new cabinet door. Gather the necessary tools, measure accurately, and make small adjustments for a professional and polished result.
- Properly prepare the cabinet, measure accurately, and make small adjustments for a successful cabinet door installation. Enjoy the refreshed appearance of your cabinets and the sense of accomplishment from a DIY project.
How to Install a Cabinet door
Installing a Cabinet door is a simple and rewarding DIY project that can instantly transform the look of your cabinets. Whether you’re replacing an old door or installing a new one, this step-by-step guide will show you how to do it properly.
Introduction
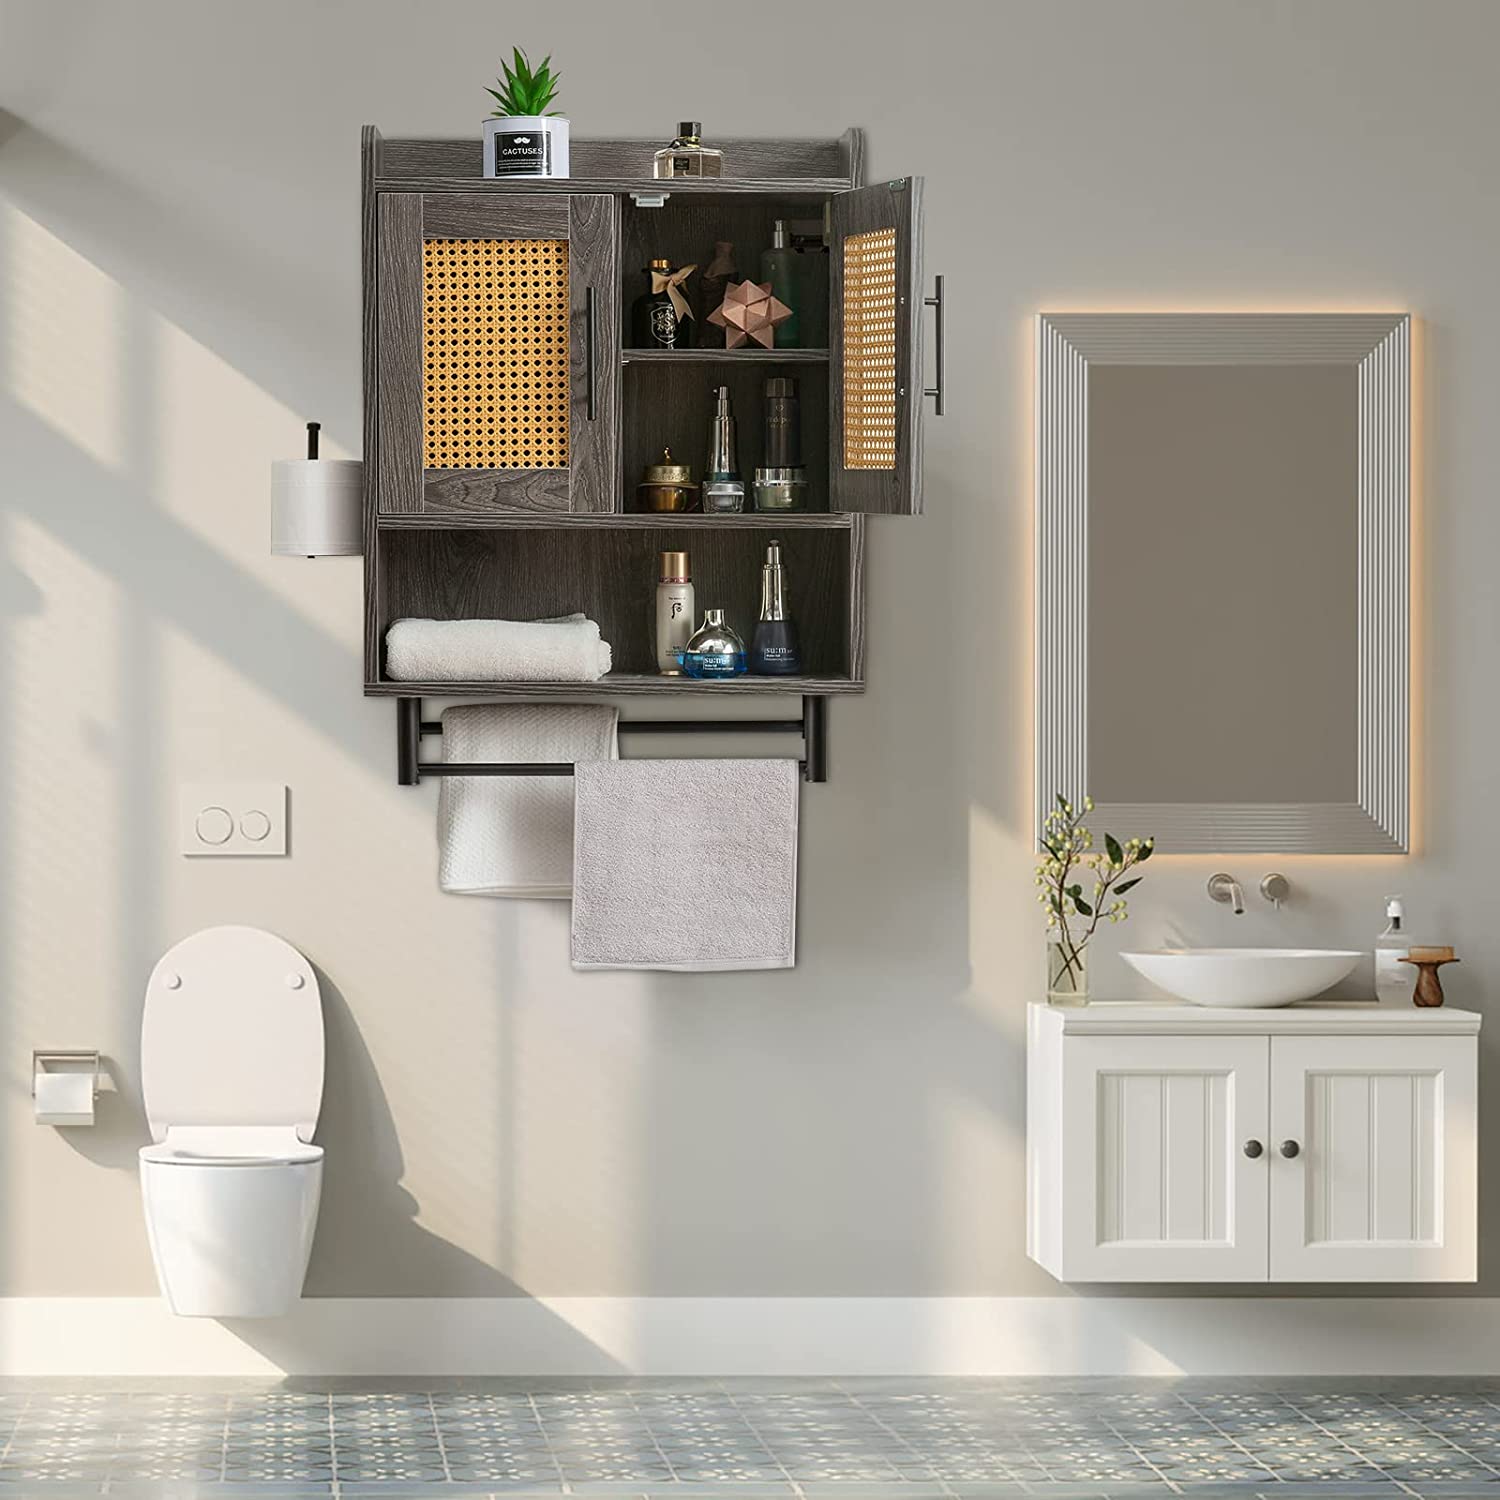
Your kitchen or bathroom cabinets are not only functional storage spaces, but they also contribute to the overall aesthetic of the room. Over time, cabinet doors can become worn, outdated, or damaged, making it necessary to replace them. By installing new cabinet doors, you can breathe new life into your cabinets and give them a fresh and updated appearance.
Before you begin, it’s important to gather all the necessary tools and materials. You’ll need a screwdriver, drill, measuring tape, hinge jig, pencil, cabinet door, door hinges, and screws. Ensure that you have the correct size and type of hinges for your cabinet doors.
This guide will take you through the step-by-step process of installing a cabinet door, including measuring for hinge placement, installing the hinges, attaching the door to the cabinet, and aligning and adjusting the door for a perfect fit. With a little patience and attention to detail, you’ll have your new cabinet door installed in no time.
So, let’s get started with the first step: preparing the cabinet for the new door.
How to Install a Cabinet Door
Read more: How To Install Hinges On Cabinet Doors
Tools and Materials Needed
Before you begin, gather the following tools and materials:
- Screwdriver: A screwdriver is necessary for removing the old hinges and attaching the new ones.
- Drill: A drill will be used to drill pilot holes for the screws.
- Measuring tape: You’ll need a measuring tape to accurately measure the dimensions for hinge placement.
- Hinge jig: A hinge jig helps ensure precise and consistent hinge placement.
- Pencil: A pencil is used for marking the hinge and screw placements on the cabinet and door.
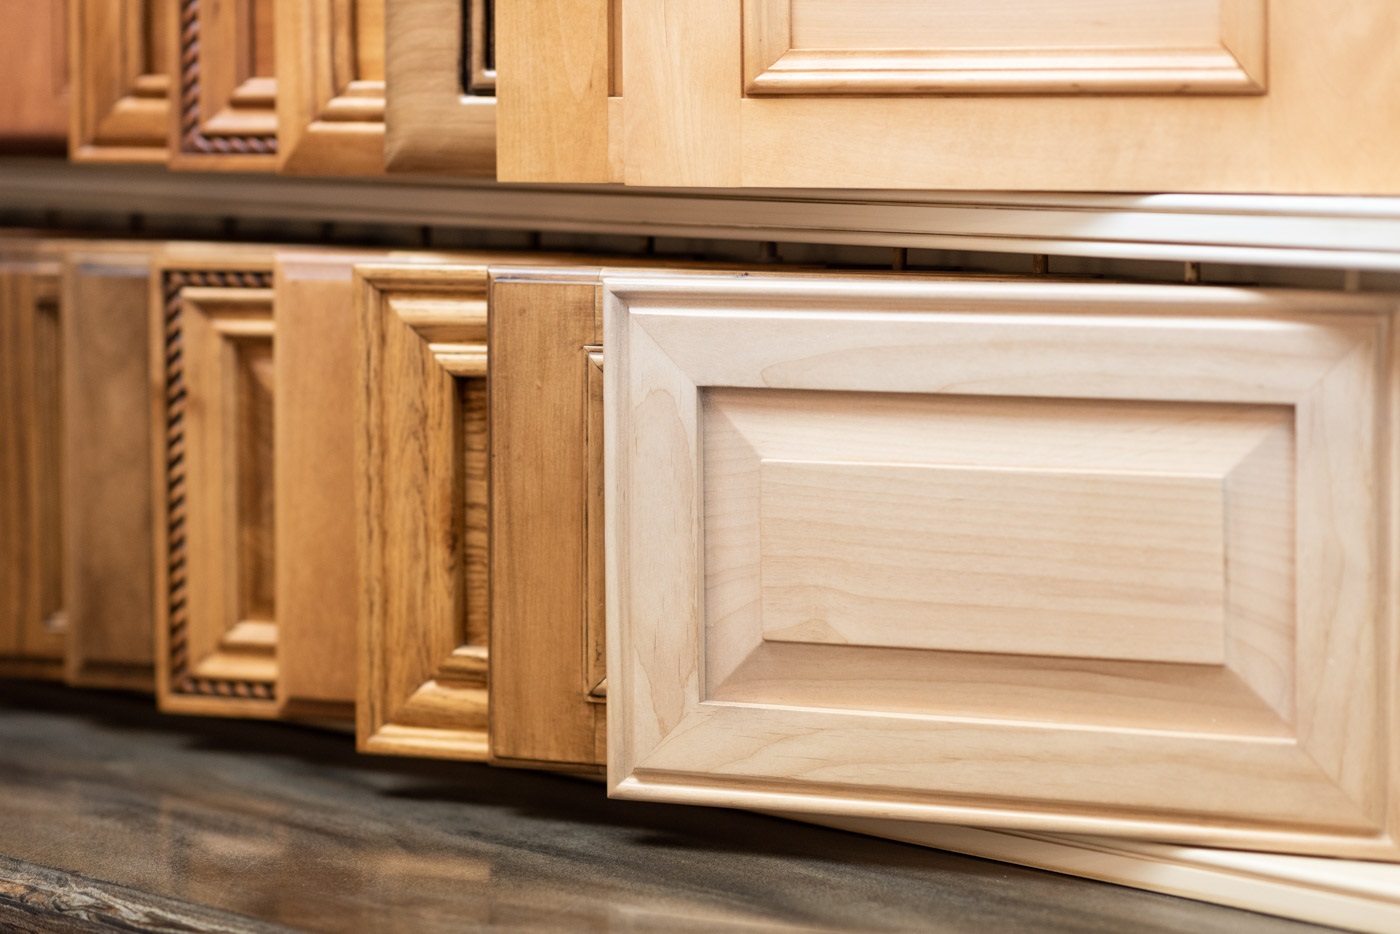
- Cabinet door: Choose a cabinet door of the appropriate size and style that matches your existing cabinets.
- Door hinges: Select hinges that are compatible with your cabinet door and have the desired look and functionality.
- Screws: You’ll need screws to attach the hinges to the cabinet and door.
Make sure you have all of these tools and materials ready before you begin the installation process. It’s important to use the correct tools and materials for a successful and professional-looking installation.
How to Install a Cabinet Door
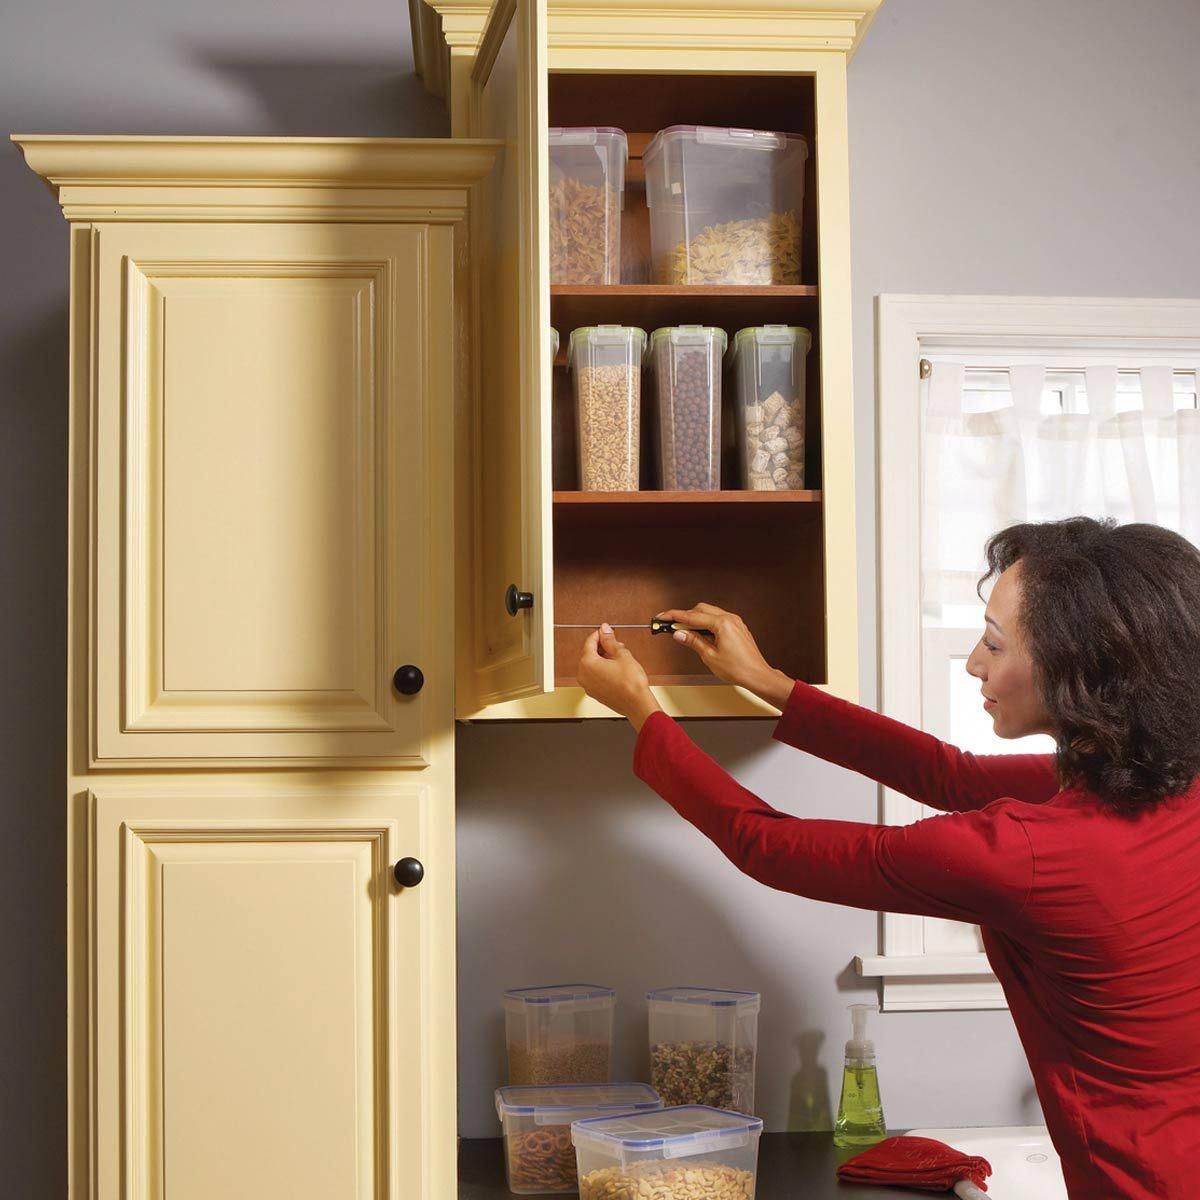
Preparing the Cabinet
Before you can install the new cabinet door, you need to prepare the cabinet itself. Follow these steps:
- Remove the old door: If you’re replacing an existing cabinet door, use a screwdriver to remove the screws from the hinges and take off the old door.
- Clean the cabinet surface: Thoroughly clean the cabinet surface where the new door will be installed. Remove any dirt, grease, or old adhesive to ensure a clean and smooth surface.
- Inspect the hinges: Check the condition of the hinges on the cabinet. If they are damaged or in poor condition, it’s recommended to replace them before installing the new door.
- Fill any holes: If there are any holes or indentations on the cabinet surface that won’t be covered by the new door, fill them with wood putty and allow it to dry completely. Sand the filled areas smooth for a seamless finish.
- Sand the cabinet surface: Use fine-grit sandpaper to lightly sand the cabinet surface. This will create a better grip for the adhesive and ensure a secure bond between the new door and the cabinet.
- Apply adhesive or primer (optional): Depending on the type of cabinet and door material, you may need to apply adhesive or primer to promote better adhesion. Follow the manufacturer’s instructions for the specific product you’re using.
By properly preparing the cabinet, you’ll ensure a solid foundation for the new door installation. Take your time with this step to achieve the best results.
How to Install a Cabinet Door
Read more: How To Install Cabinet On Wall
Measuring for Hinge Placement
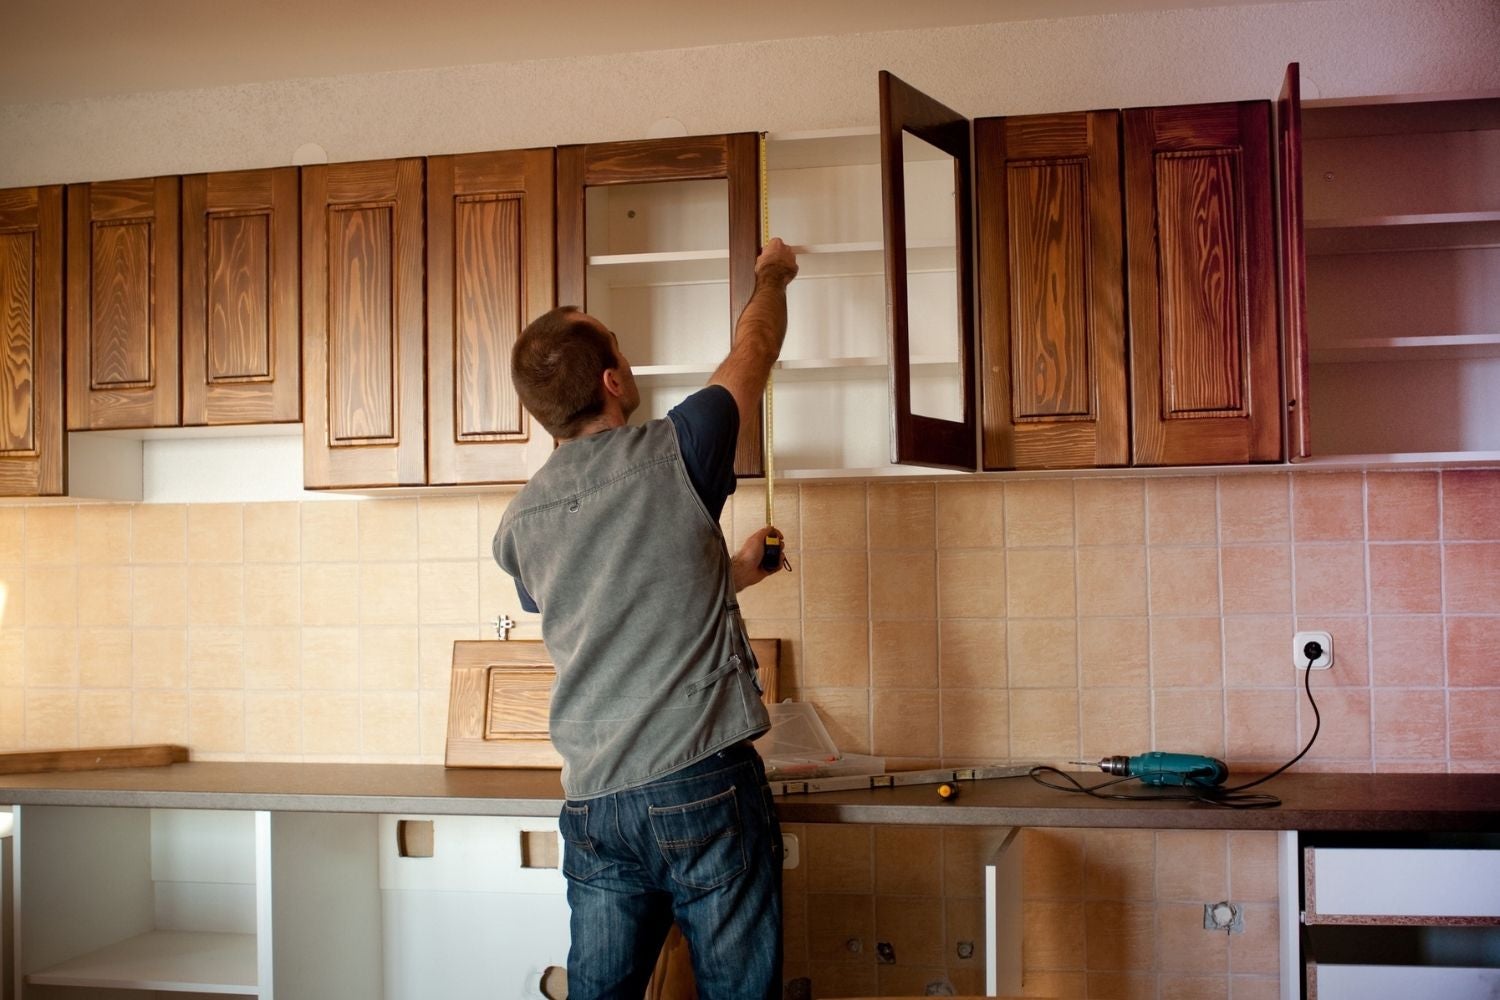
Accurate measurements are crucial for a successful cabinet door installation. Follow these steps to measure and mark the correct hinge placement:
- Measure the door width: Use a measuring tape to determine the width of the cabinet door. Write down this measurement for reference.
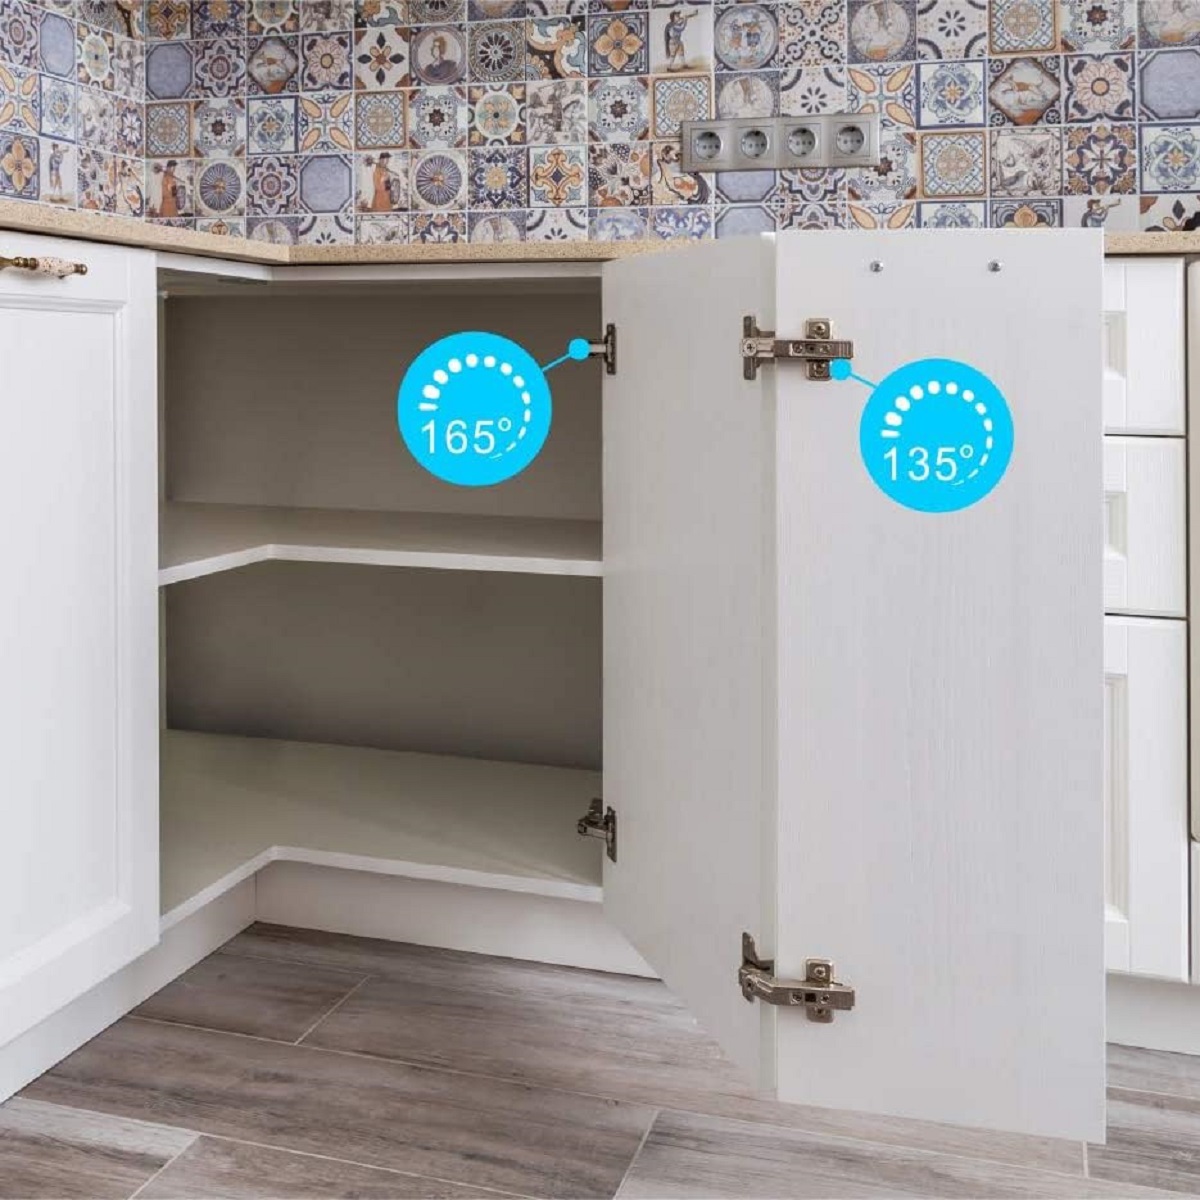
- Determine the overlay: Decide on the desired overlay, which is the amount of the door that extends beyond the cabinet opening. Common overlay options include full overlay, half overlay, or inset.
- Calculate hinge placement: Depending on your chosen overlay, calculate the distance from the edge of the door to the center of the hinge cup. This distance can vary based on the hinge manufacturer’s recommendations and the desired look.
- Mark the hinge placement: Position the door on a flat surface with the front facing upwards. Use a hinge jig or a square to mark the hinge placement on the door. Ensure that the hinges are aligned parallel to the top and bottom edges of the door.
- Repeat for the cabinet: Open the cabinet and position the door on the cabinet frame, aligning it with the marked hinge placement. Use a pencil to transfer the hinge markings onto the cabinet frame. This will guide the installation of the hinges onto the cabinet.
- Double-check the measurements: Before drilling any holes, double-check the accuracy of the hinge placement on both the door and the cabinet. Ensure that the hinges are aligned properly and that the door will open and close without obstruction.
By taking precise measurements and marking the hinge placement accurately, you’ll ensure that your cabinet door is properly aligned and functions smoothly.
How to Install a Cabinet Door
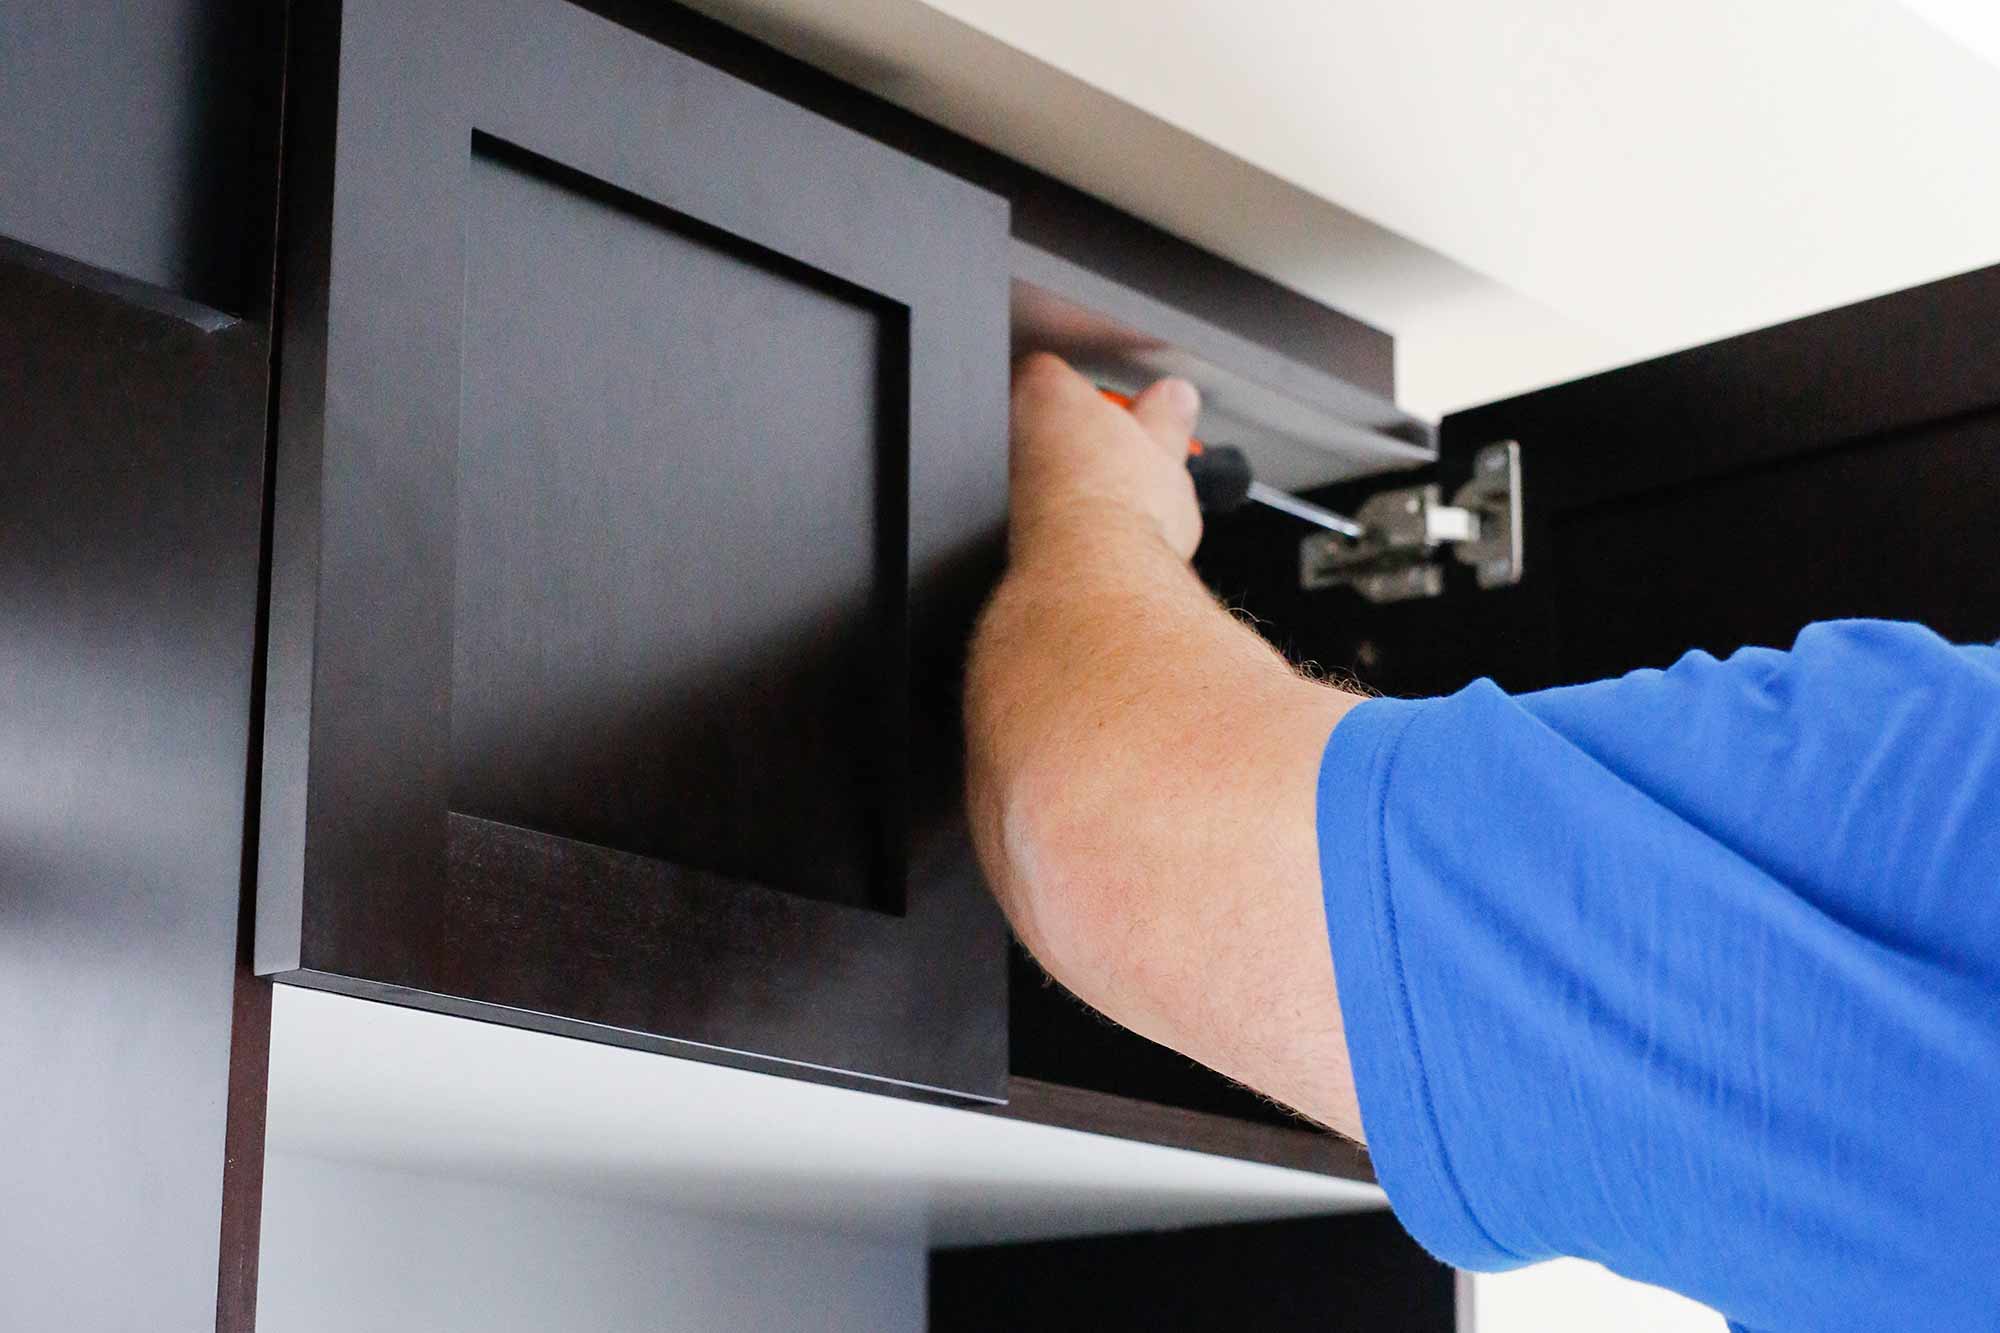
Installing Hinges
Once you have measured and marked the hinge placement, it’s time to install the hinges on both the cabinet and the door. Follow these steps:
- Position the cabinet hinge plate: Place the hinge plate on the marked location on the inside of the cabinet frame. Align the screw holes of the hinge plate with the pencil markings.
- Secure the hinge plate: Use a drill and screws to secure the hinge plate to the cabinet frame. Be careful not to overtighten the screws as it can affect the alignment and movement of the door.
- Attach the door hinge plate: Position the hinge plate on the corresponding marked location on the backside of the cabinet door. Make sure the hinge plate is aligned with the hinge plate on the cabinet.
- Screw in the hinge plate: Use a screwdriver or drill to secure the hinge plate to the cabinet door. Again, avoid overtightening the screws.
- Repeat for additional hinges: If your cabinet door requires multiple hinges, repeat the previous steps for each hinge. Ensure that all the hinges are positioned correctly and securely attached.
After installing the hinges, check the alignment of the door by opening and closing it. Make any necessary adjustments to ensure that the door opens and closes smoothly without any resistance or misalignment.
With the hinges properly installed, you’re ready to move on to the next step: attaching the door to the cabinet.
How to Install a Cabinet Door
Read more: How To Install A Drawer In A Cabinet
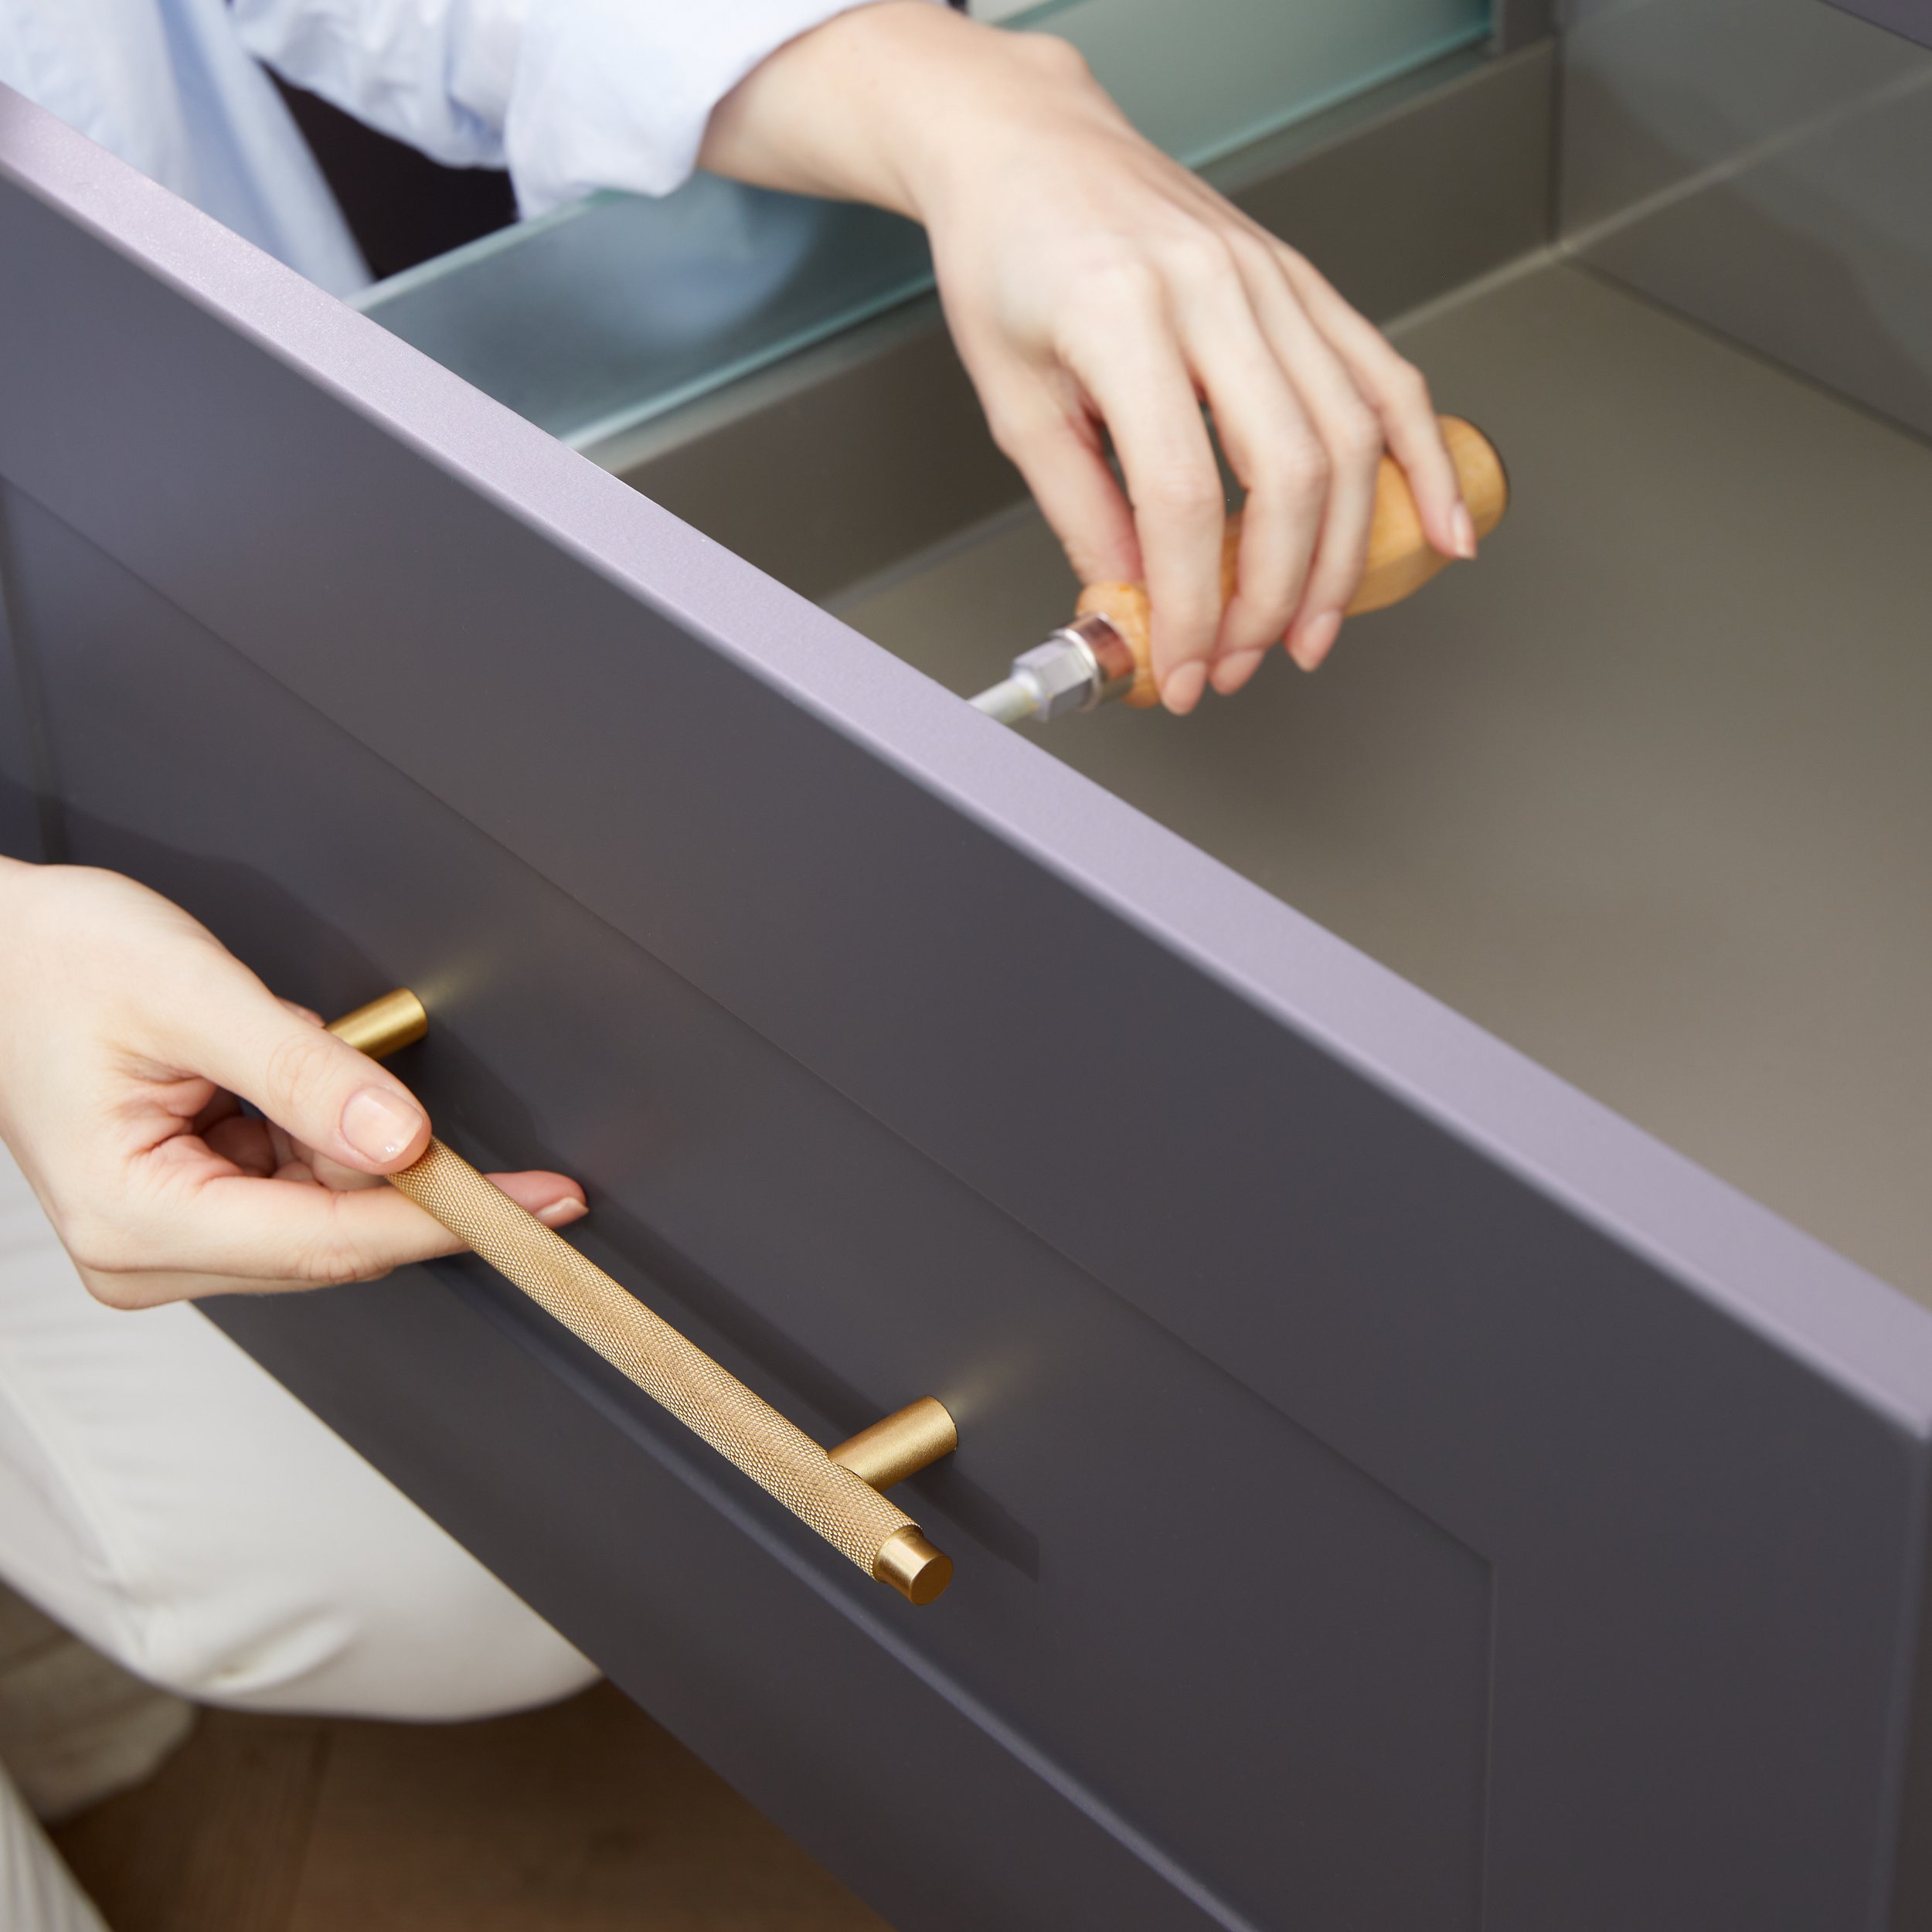
Attaching Door to Cabinet
Now that you have installed the hinges on both the cabinet and the door, it’s time to attach the door to the cabinet. Follow these steps:
- Hold the door in position: Hold the cabinet door at a 90-degree angle to the cabinet opening, aligning the hinges with the hinge plates on the cabinet.
- Insert the hinge knuckles: Insert the hinge knuckles on the door into the corresponding hinge cups on the cabinet. Ensure that the hinges are fully seated in the cups.
- Secure the hinges: With the door held in position, use a screwdriver to tighten the screws on the hinge plates. Start by partially tightening each screw and then go back to fully tighten them. This will ensure that the door is securely attached to the cabinet.
- Check the door swing: Open and close the door to check its movement. Ensure that the door opens and closes smoothly without rubbing against the cabinet frame or any other obstructions.
If the door is not properly aligned or does not close properly, you may need to make small adjustments. Loosen the screws on the hinge plates, slightly reposition the door, and then retighten the screws. Continue making adjustments until the door is properly aligned and functions smoothly.
Once the door is securely attached to the cabinet, you can move on to the next step: adjusting and aligning the door for a perfect fit.
How to Install a Cabinet Door
Adjusting and Aligning the Door
After attaching the door to the cabinet, it’s important to make any necessary adjustments to ensure the door is properly aligned and functions smoothly. Follow these steps to adjust and align the door:
- Check for gaps: Examine the gaps between the door and the cabinet frame. Ideally, the gaps should be consistent and uniform on all sides of the door. Adjustments may be needed if there are noticeable gaps or if the door is rubbing against the cabinet frame.
- Vertical adjustments: If the door is not level or sits too high or low, you can adjust its vertical position. Loosen the screws on the hinge plates slightly, and then lift or lower the door to the desired height. Retighten the screws to secure the hinges in the new position.
- Horizontal adjustments: If the door is misaligned horizontally, meaning it is too far in or out, you can make horizontal adjustments. Loosen the mounting screws that secure the hinge plates to the cabinet or door. Gently slide the door closer to or further from the cabinet frame to achieve the desired alignment. Once adjusted, tighten the screws to secure the hinges in place.
- Check for smooth movement: Open and close the door to ensure that it operates smoothly and without any resistance. Pay attention to any areas where the door may be sticking or rubbing against the cabinet frame. If necessary, make additional fine-tuning adjustments to eliminate any interference.
Remember to make small, incremental adjustments to avoid overcorrecting. Take your time and carefully observe the door’s movement and alignment throughout the adjustment process.
Once the door is properly adjusted and aligned, you’re almost done! The final step is to add some finishing touches to complete the installation.
How to Install a Cabinet Door
Read more: How To Paint A Cabinet Door
Finishing Touches
With the cabinet door properly installed, adjusted, and aligned, it’s time to add some finishing touches to complete the installation. Follow these steps to put the final polish on your cabinet door installation:
- Tighten all screws: Double-check that all screws on the hinges, hinge plates, and door handles are securely tightened. This ensures maximum stability and prevents any unwanted movement or loosening over time.
- Fill holes and touch up paint (if necessary): If there are any visible holes from the old door hinges or other hardware, fill them with wood putty or filler. Allow it to dry completely, and then sand it down for a smooth surface. If needed, touch up the paint or finish on the cabinet door and frame to achieve a seamless and cohesive look.
- Clean the cabinet door: Give the installed cabinet door a thorough cleaning to remove any dust, dirt, or fingerprints. Use a gentle cleaner that is safe for the cabinet material, and wipe it down with a soft cloth or sponge. This will leave your cabinet door looking clean and fresh.
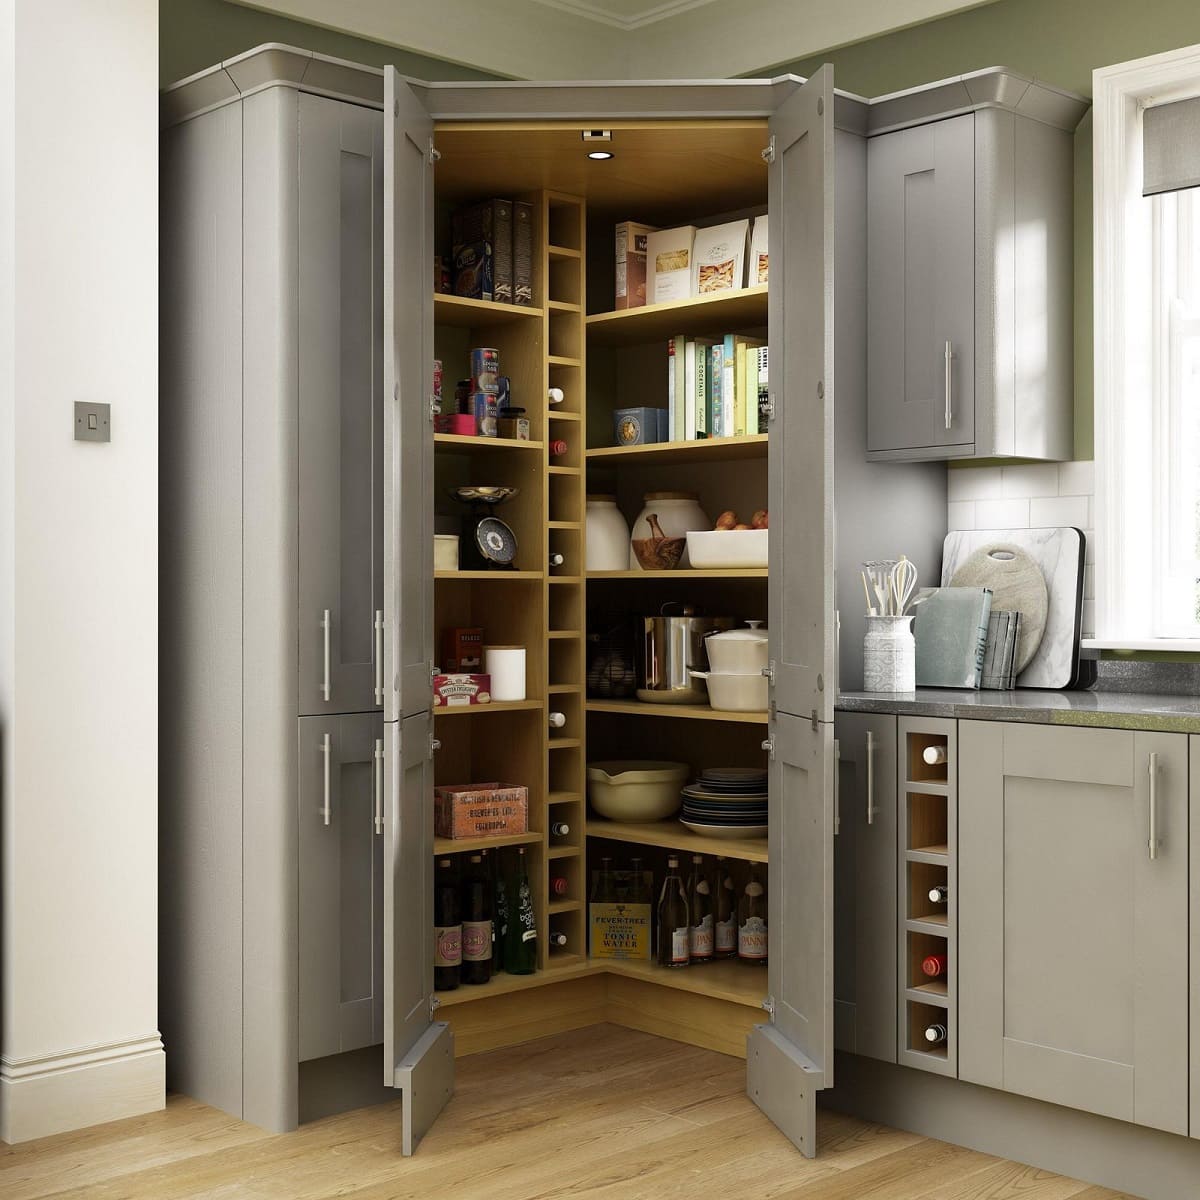
- Enjoy your new cabinet door: Step back and admire your handiwork! Your newly installed cabinet door will enhance the overall appearance of your cabinets and breathe new life into the space. Take pleasure in the functionality and visual appeal of your updated cabinetry.
Now that you have completed the cabinet door installation, it’s important to maintain and care for your cabinets to ensure their longevity. Regularly clean and inspect the door and hinges, and address any issues promptly to prevent further damage or wear.
With a little time and effort, installing a cabinet door can be a rewarding and worthwhile project. Enjoy the updated look of your cabinets and the satisfaction of a job well done!
Remember, if you ever need to install another cabinet door or make adjustments to existing ones, you can refer back to this guide for assistance.
How to Install a Cabinet Door
Conclusion
Installing a cabinet door is a DIY project that can bring a fresh new look to your kitchen or bathroom cabinets. By following the step-by-step guide outlined in this article, you can successfully install a cabinet door and achieve a professional and polished result.
Before starting the installation process, gather all the necessary tools and materials to ensure a smooth workflow. Take the time to prepare the cabinet by removing the old door, cleaning the surface, and inspecting the hinges. Proper preparation sets the stage for a successful installation.
Accurate measurement and marking for hinge placement are essential to ensure that the door aligns properly with the cabinet. Using a hinge jig and a measuring tape, mark the positions for the hinges on both the door and the cabinet to maintain symmetry and avoid misalignment.
Installing the hinges requires attaching the hinge plates to both the cabinet and the door. Secure them using screws, making sure they are tight enough to hold the door in place but not too tight to hinder its movement.
With the door attached, adjustments and alignment may be necessary to achieve a seamless and smooth operation. Take note of any gaps or rubbing between the door and the cabinet and make small incremental adjustments to correct them.
To complete the installation, tighten all screws, fill any holes, touch up paint if needed, and give the newly installed cabinet door a final cleaning. Step back and appreciate the refreshed appearance of your cabinets and the sense of accomplishment that comes with a successful DIY project.
Remember to keep up with regular maintenance and care for your cabinets to ensure their longevity. Regularly clean and inspect the door and hinges, addressing any issues promptly to prevent further damage or wear.
Whether you’re replacing old doors or installing new ones, the process of installing a cabinet door is a satisfying and worthwhile endeavor. Enjoy the updated look and functionality of your cabinets and take pride in your newfound DIY skills!
Thank you for using this guide on how to install a cabinet door. We hope it has been helpful, and we wish you success with your cabinet door installation project!
Frequently Asked Questions about How To Install A Cabinet Door
Was this page helpful?
At Storables.com, we guarantee accurate and reliable information. Our content, validated by Expert Board Contributors, is crafted following stringent Editorial Policies. We're committed to providing you with well-researched, expert-backed insights for all your informational needs.


0 thoughts on “How To Install A Cabinet Door”