Home>Technology>Home Entertainment Systems>How To Set Up BenQ Projector
Home Entertainment Systems
How To Set Up BenQ Projector
Modified: August 28, 2024
Learn how to set up your BenQ projector for the ultimate home entertainment system. Follow our step-by-step guide and enjoy immersive viewing experiences. Discover the best tips and tricks for optimizing your projector setup.
(Many of the links in this article redirect to a specific reviewed product. Your purchase of these products through affiliate links helps to generate commission for Storables.com, at no extra cost. Learn more)
Introduction
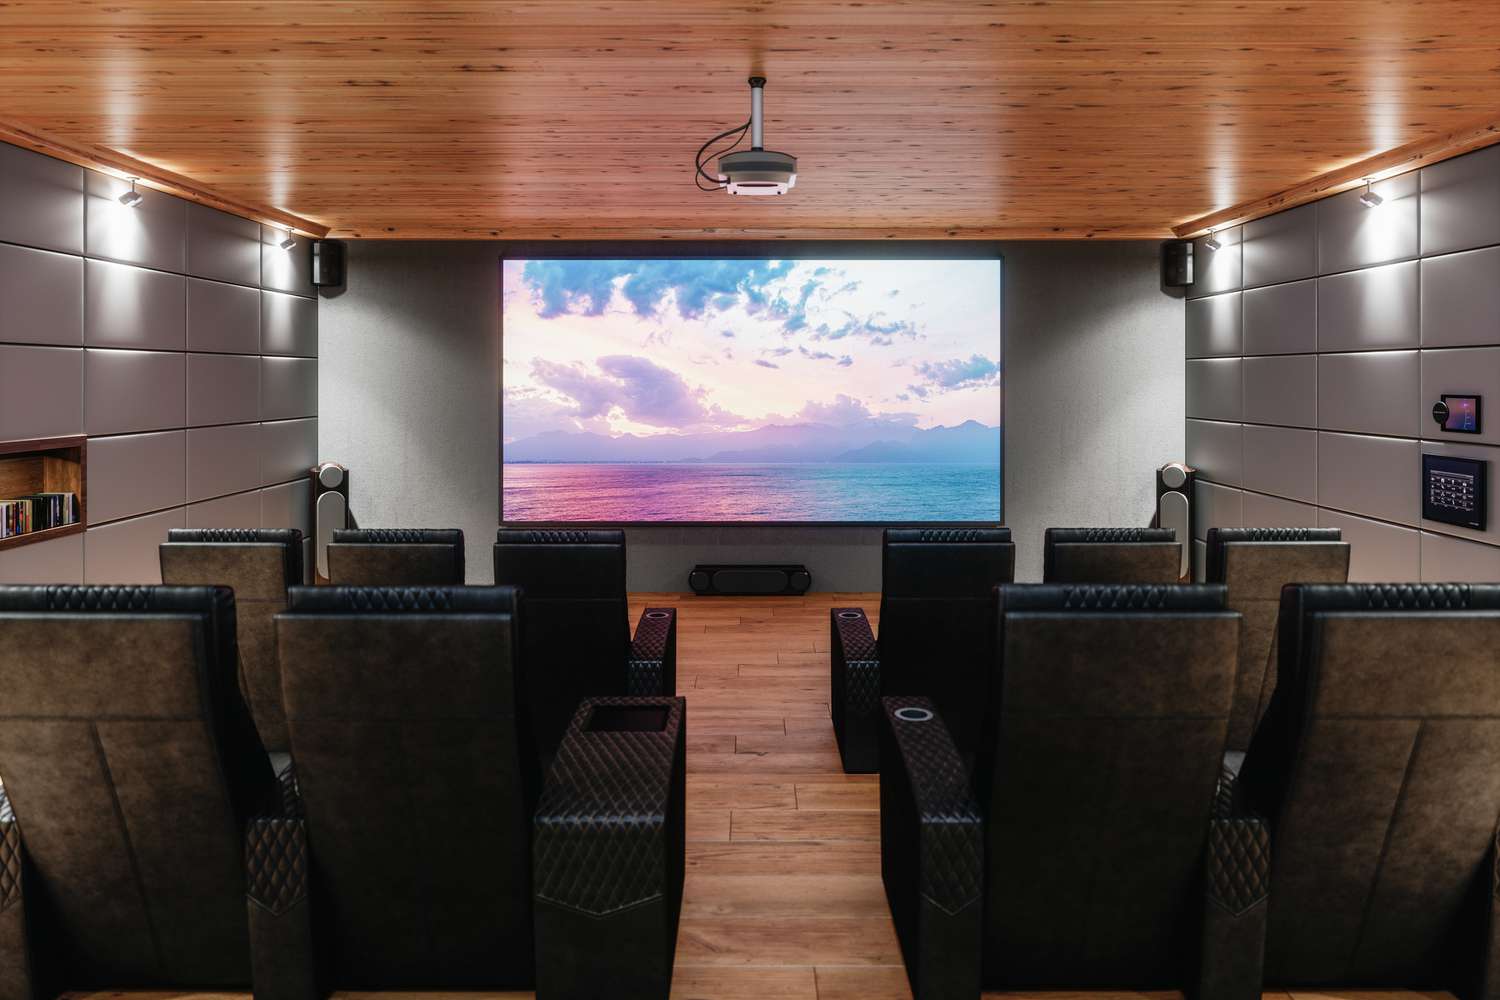
Welcome to the world of home entertainment systems, where the magic of cinema comes to life within the comfort of your own home. One essential component of creating an immersive home theater experience is a high-quality projector, and in this guide, we will delve into the process of setting up a BenQ projector. Whether you're a movie enthusiast, a gaming aficionado, or a professional in need of a reliable projection system, the BenQ projector offers exceptional visual performance and versatility.
Setting up a projector may seem daunting at first, but fear not! With the right guidance and a touch of enthusiasm, you can transform any space into a captivating cinematic environment. From unboxing the projector to troubleshooting common issues, we will cover every step to ensure a seamless setup process. So, grab your popcorn, dim the lights, and let's embark on this exciting journey to unleash the full potential of your BenQ projector.
Key Takeaways:
- Unbox your BenQ projector with excitement, ensuring all components are present and in good condition. Familiarize yourself with the user manual for a better understanding of the device.
- Connect and set up your BenQ projector by choosing an optimal location, connecting power and input sources, and adjusting image and sound settings for an immersive viewing experience.
Read more: How To Rotate Screen On BenQ Projector
Unboxing and Checking Contents
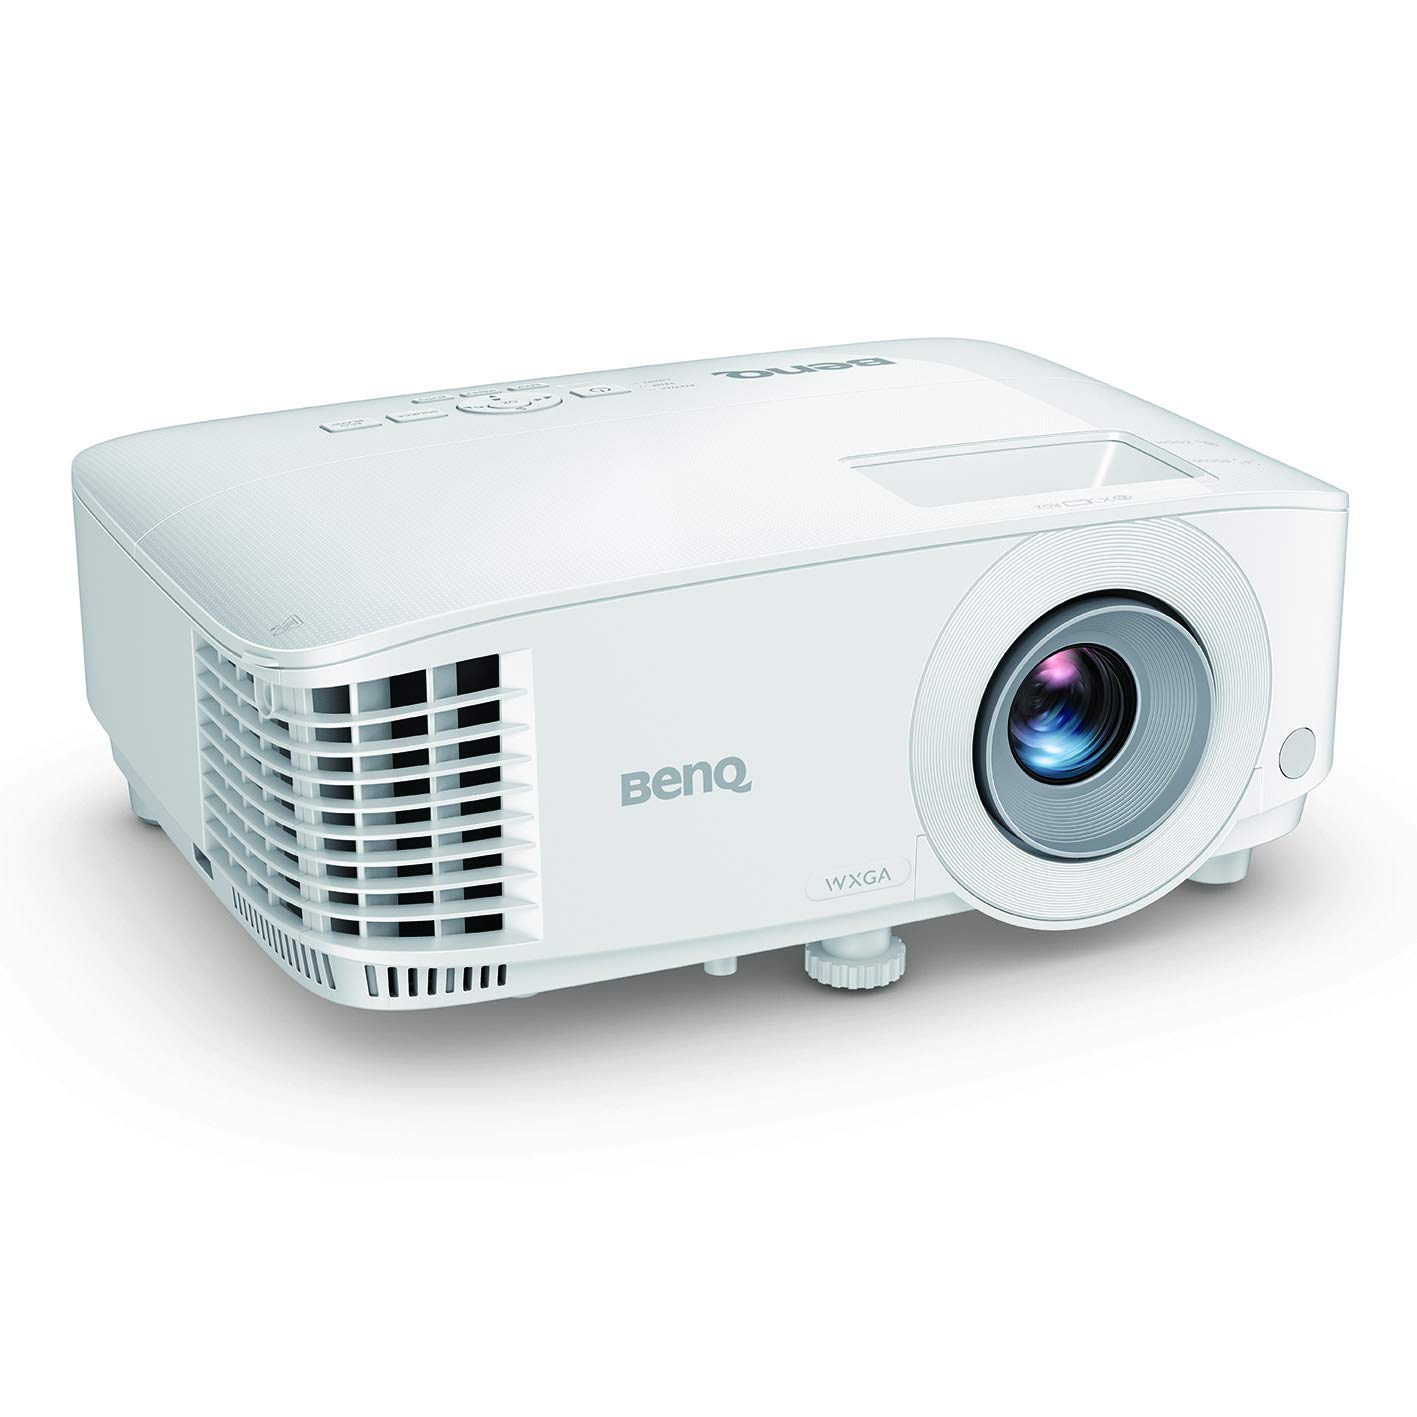
Unboxing a new gadget is always an exciting experience, and the BenQ projector is no exception. When you receive your BenQ projector, carefully open the packaging and inspect the contents. Inside the box, you will typically find the following items:
- BenQ projector
- Power cable
- Remote control
- AAA batteries for the remote control
- User manual and quick start guide
- Other accessories, such as lens cap or lens cover (depending on the model)
Before proceeding with the setup, take a moment to ensure that all the essential components are present and in good condition. It’s also a good idea to read through the user manual and familiarize yourself with the different parts of the projector. This preliminary step will help you gain a better understanding of the device and its capabilities.
Once you’ve confirmed that everything is accounted for, you’re ready to move on to the next step: connecting the projector.
Connecting the Projector
Now that you’ve unboxed the BenQ projector and familiarized yourself with its components, it’s time to connect the projector and prepare it for operation. Follow these steps to ensure a successful connection:
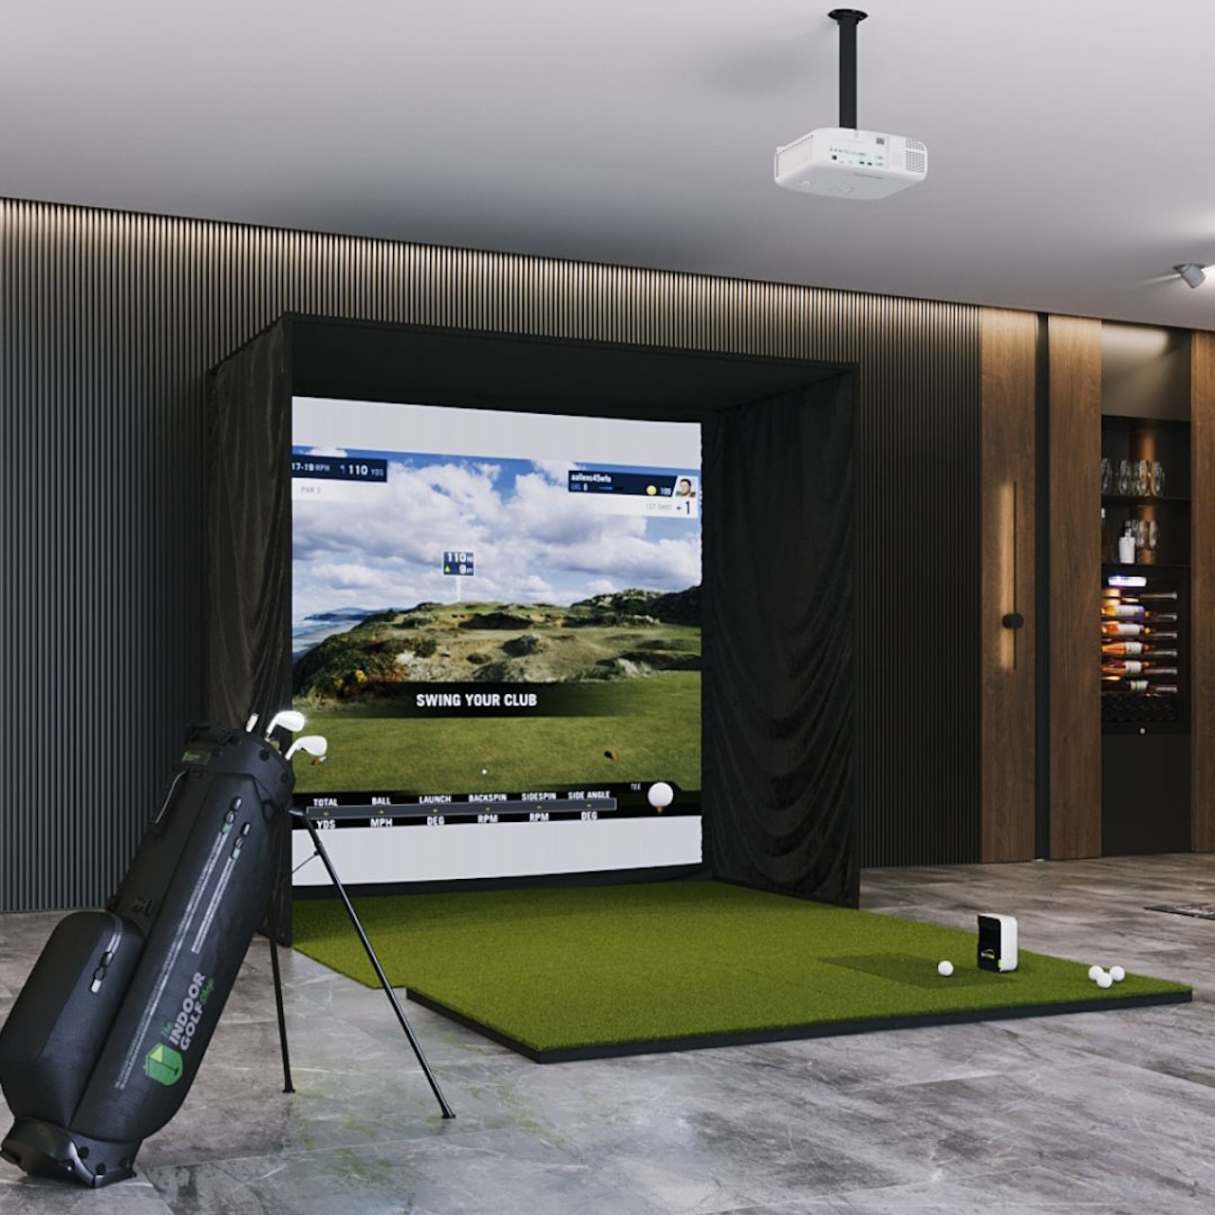
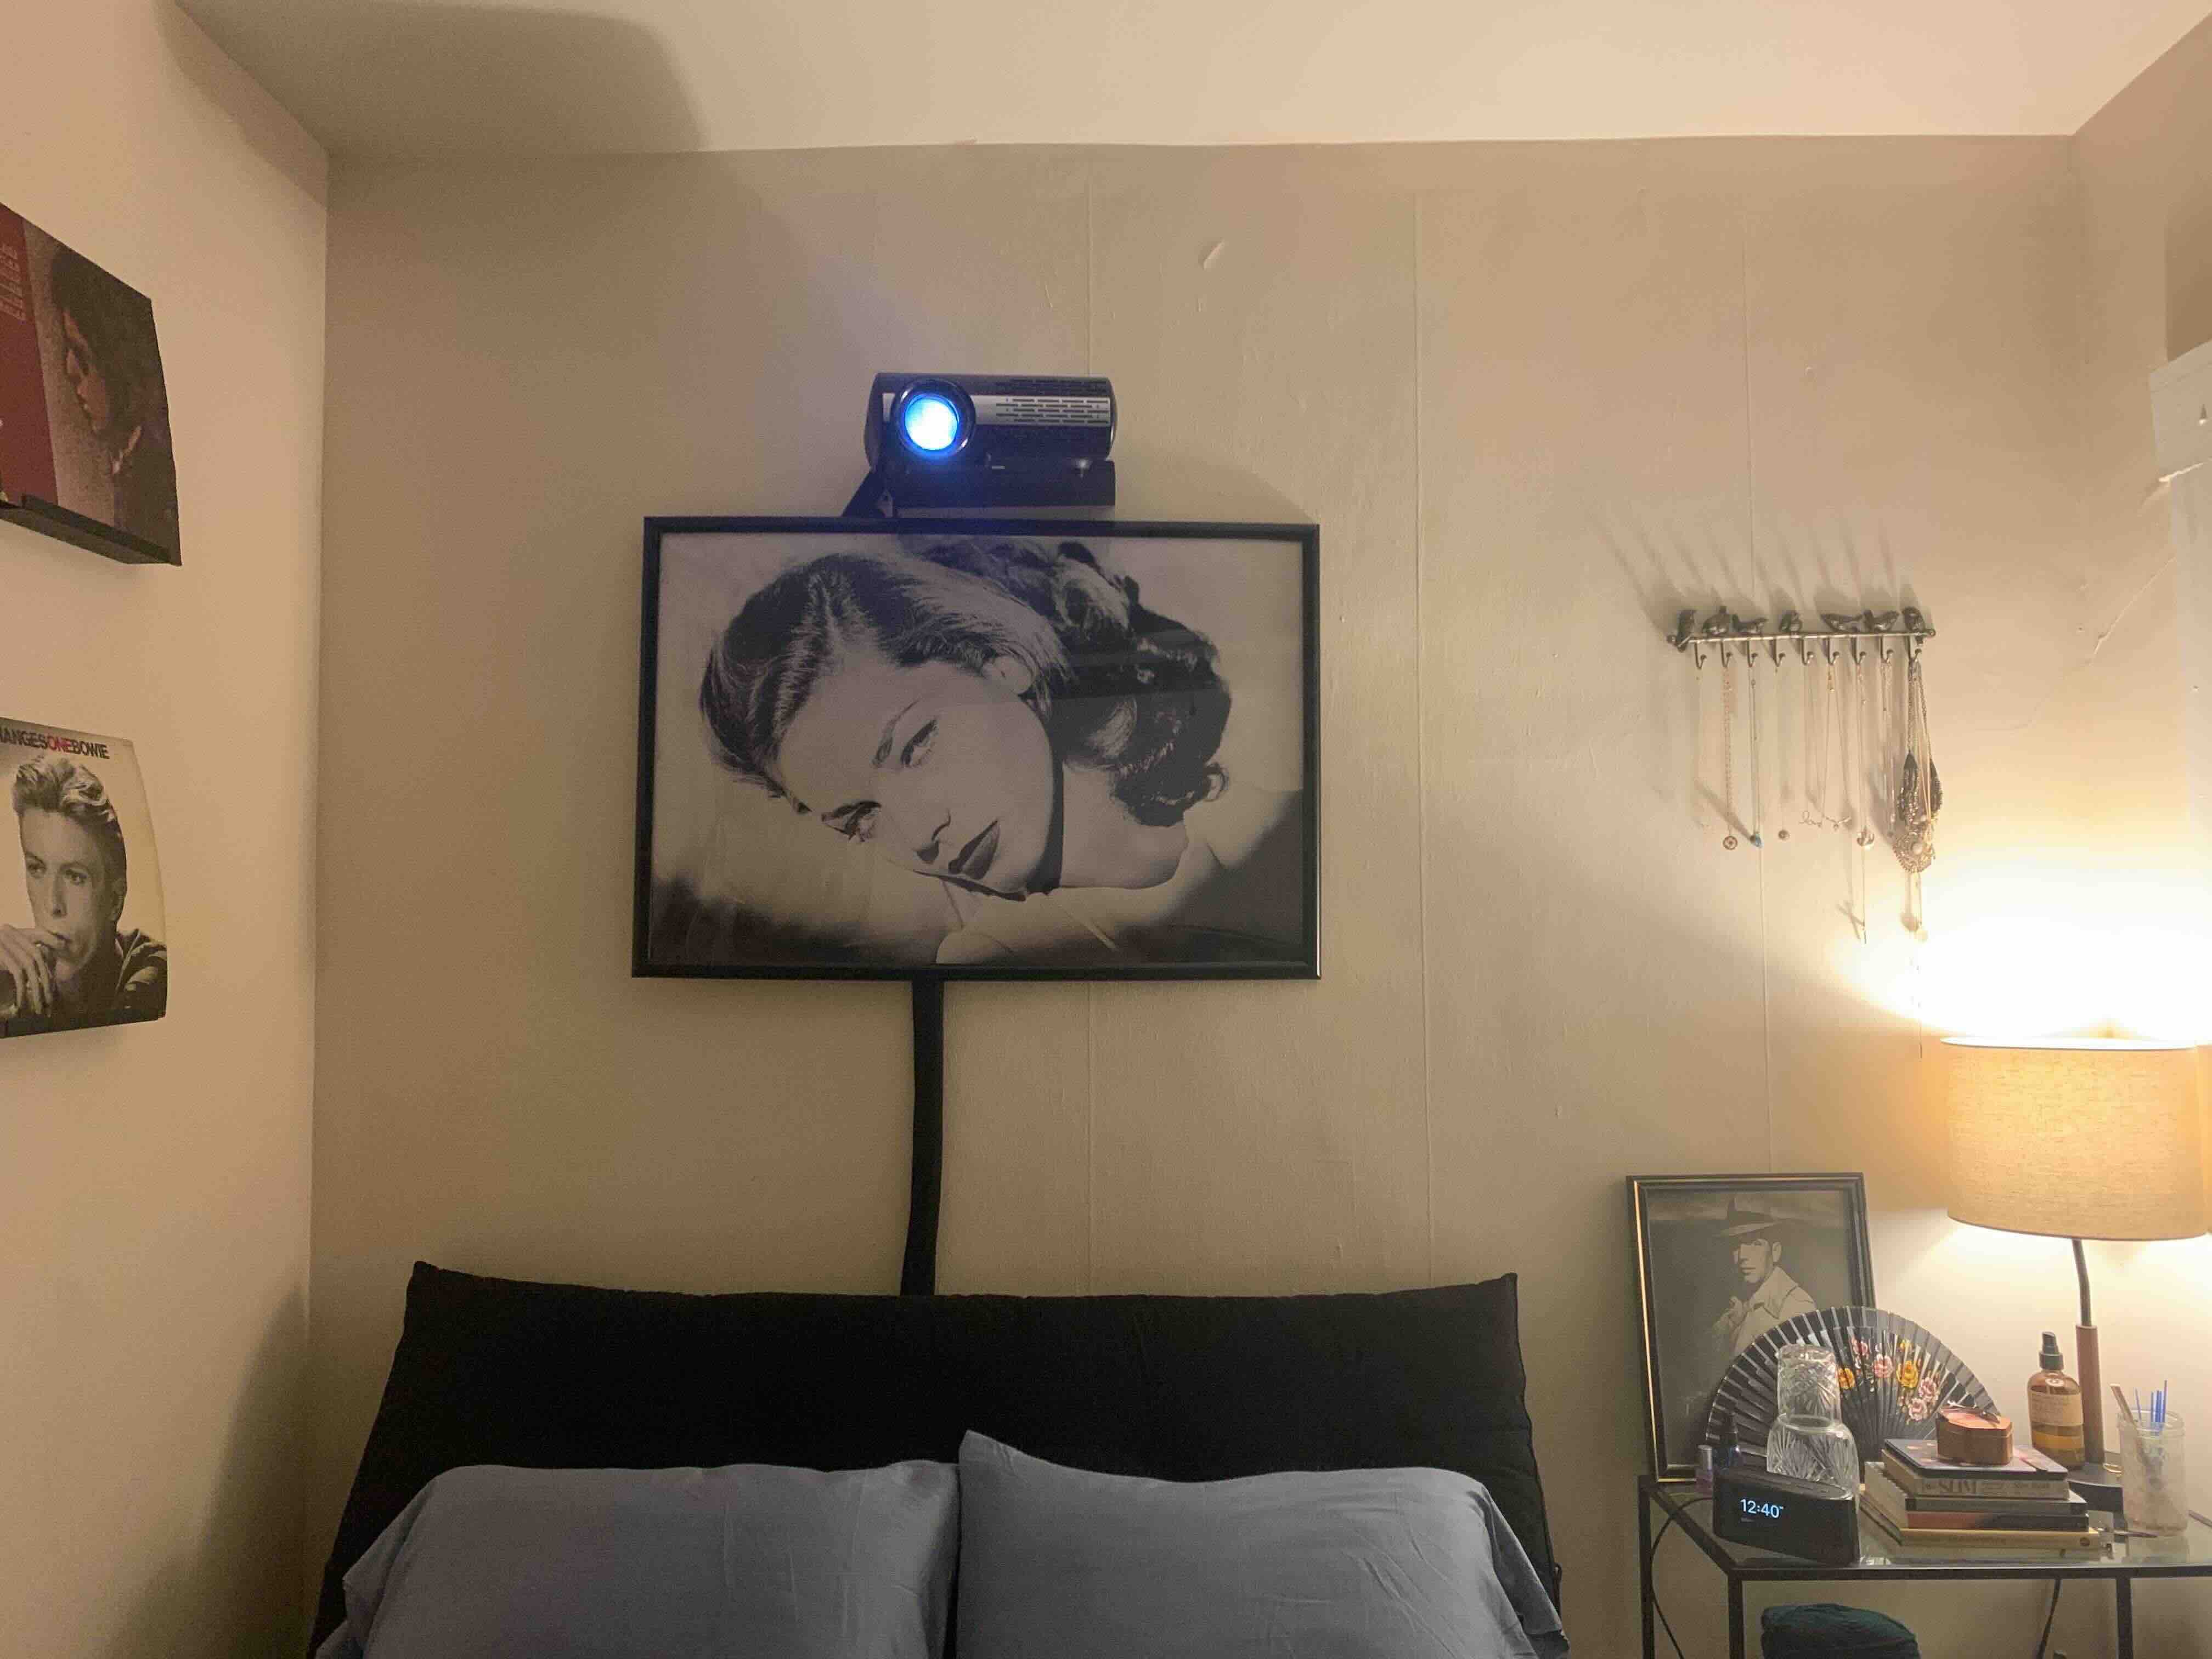
- Placement: Choose an optimal location for the projector, considering factors such as screen size, viewing angle, and accessibility to power sources and external devices. Additionally, ensure that the projector is placed on a stable surface or mounted securely according to the manufacturer’s guidelines.
- Power Connection: Connect one end of the power cable to the projector and the other end to a power outlet. Make sure the power source meets the voltage requirements specified for the projector model.
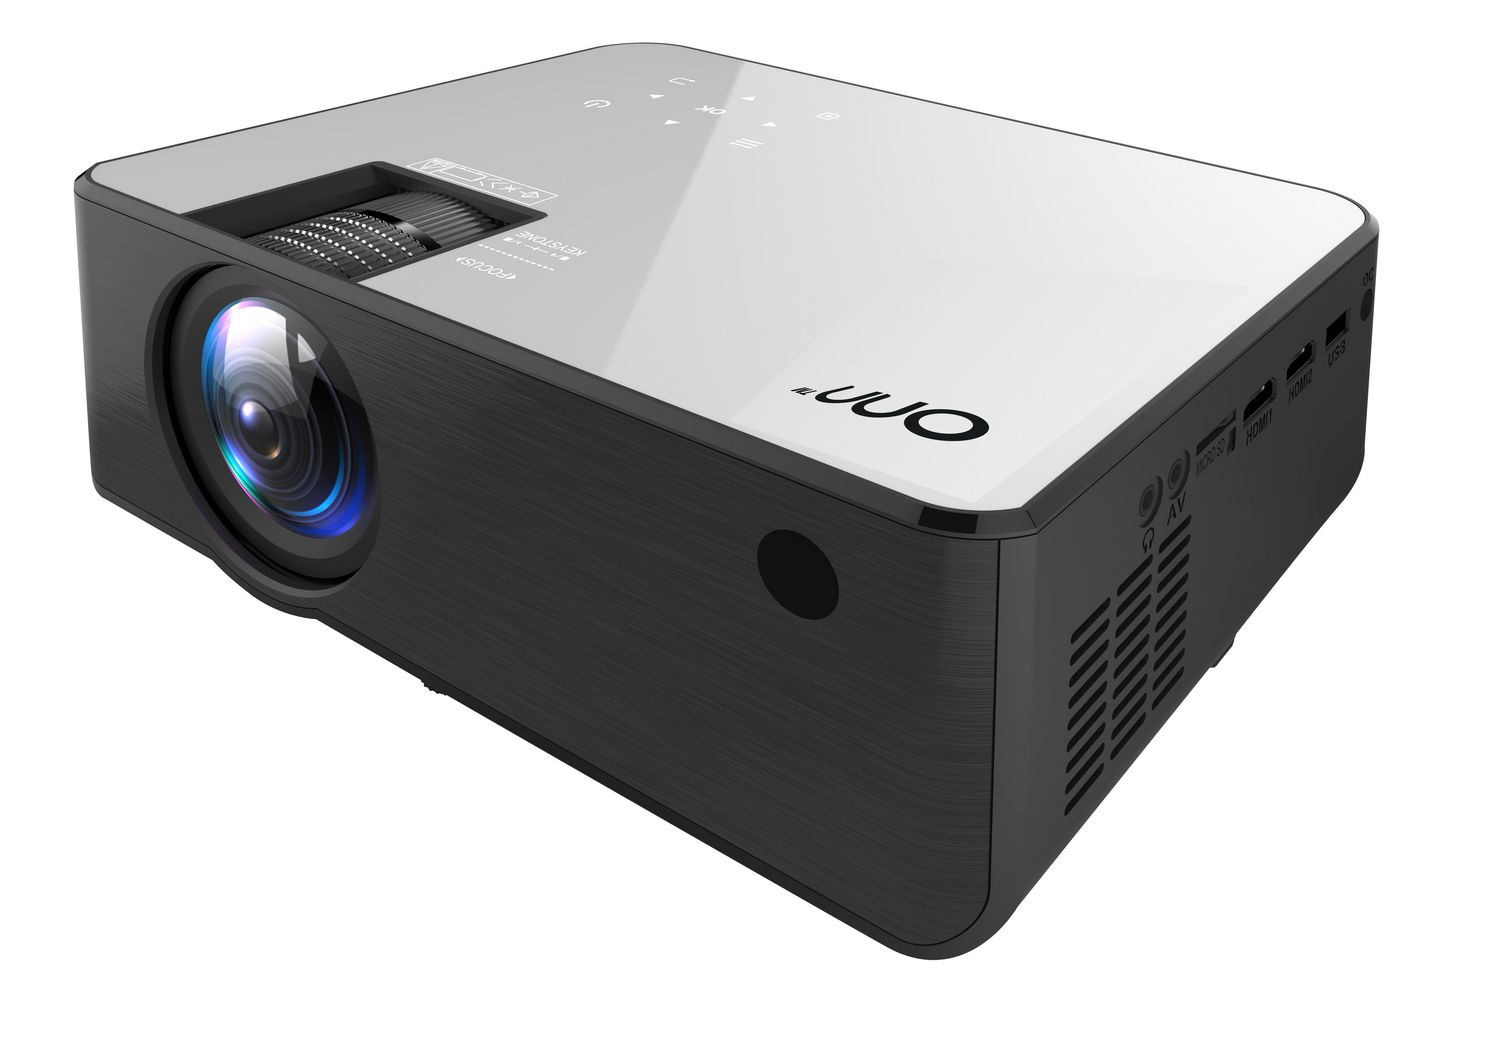
- Input Sources: Depending on your setup, identify the input sources you will be using, such as HDMI, VGA, or USB. Locate the corresponding input ports on the projector and prepare the necessary cables for connecting to external devices.
- External Devices: If you plan to connect external devices, such as a Blu-ray player, gaming console, or streaming device, ensure that they are powered off before making any connections. Connect the output of each device to the appropriate input port on the projector using the corresponding cables.
- Audio Connection (if applicable): If your setup requires audio output from the projector, connect the audio cable from the source device to the projector’s audio input or output port. Alternatively, you can connect the audio to an external sound system for enhanced audio quality.
Once you’ve completed these steps, you’re ready to power on the projector and proceed with the initial setup.
Powering On and Setup
With the physical connections in place, it’s time to power on the BenQ projector and proceed with the initial setup. Follow these steps to ensure a smooth and efficient startup process:
- Power On: Press the power button on the projector or the remote control to turn on the device. Allow the projector to go through its startup sequence, which may include initializing the lamp and performing system checks.
- Language and Region Settings: When prompted, select your preferred language and region using the navigation buttons on the remote control or the projector’s control panel. This step ensures that the on-screen display and system settings are configured according to your preferences.
- Keystone and Projection Mode: Adjust the keystone settings if necessary to correct any distortion in the projected image caused by the angle of the projector. Additionally, select the appropriate projection mode based on the installation orientation of the projector (e.g., front or rear projection).
- Image Settings: Navigate to the projector’s menu or settings interface to customize the image parameters, such as brightness, contrast, color temperature, and aspect ratio, to achieve the desired visual quality. This step allows you to optimize the image output based on the viewing environment and content being displayed.
- Network and Connectivity (if applicable): If the projector supports network connectivity or wireless features, you can configure the network settings at this stage. This may involve connecting to a Wi-Fi network, accessing online content, or enabling remote control and monitoring capabilities.
- Update Firmware (if necessary): Check for firmware updates for the projector and follow the manufacturer’s instructions to install any available updates. Keeping the firmware up to date ensures optimal performance and access to the latest features and improvements.
Once you’ve completed the initial setup, the BenQ projector is ready to deliver stunning visuals and immersive experiences. However, to fully optimize the viewing experience, it’s essential to adjust the image and sound settings according to your preferences.
When setting up a BenQ projector, make sure to place it on a stable surface and connect it to a power source. Use the appropriate cables to connect it to your device, and adjust the focus and keystone settings for a clear image.
Adjusting Image and Sound
Now that the BenQ projector is powered on and set up, it’s time to fine-tune the image and sound settings to ensure an exceptional viewing and listening experience. Follow these steps to optimize the visual and audio output:
- Image Calibration: Access the projector’s menu or settings interface to adjust the image parameters, including brightness, contrast, sharpness, color saturation, and color temperature. Experiment with these settings to achieve the desired visual clarity, color accuracy, and overall image quality based on the content being displayed.
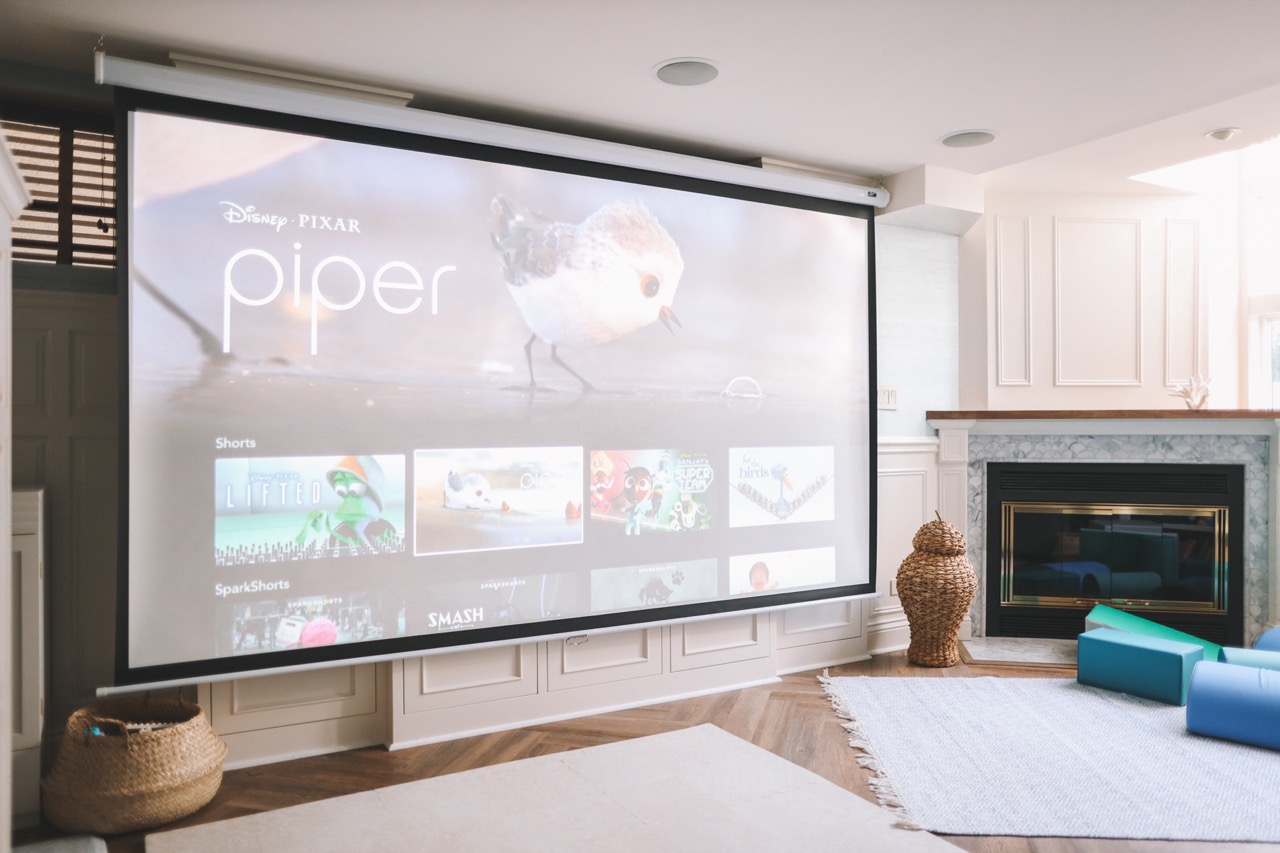
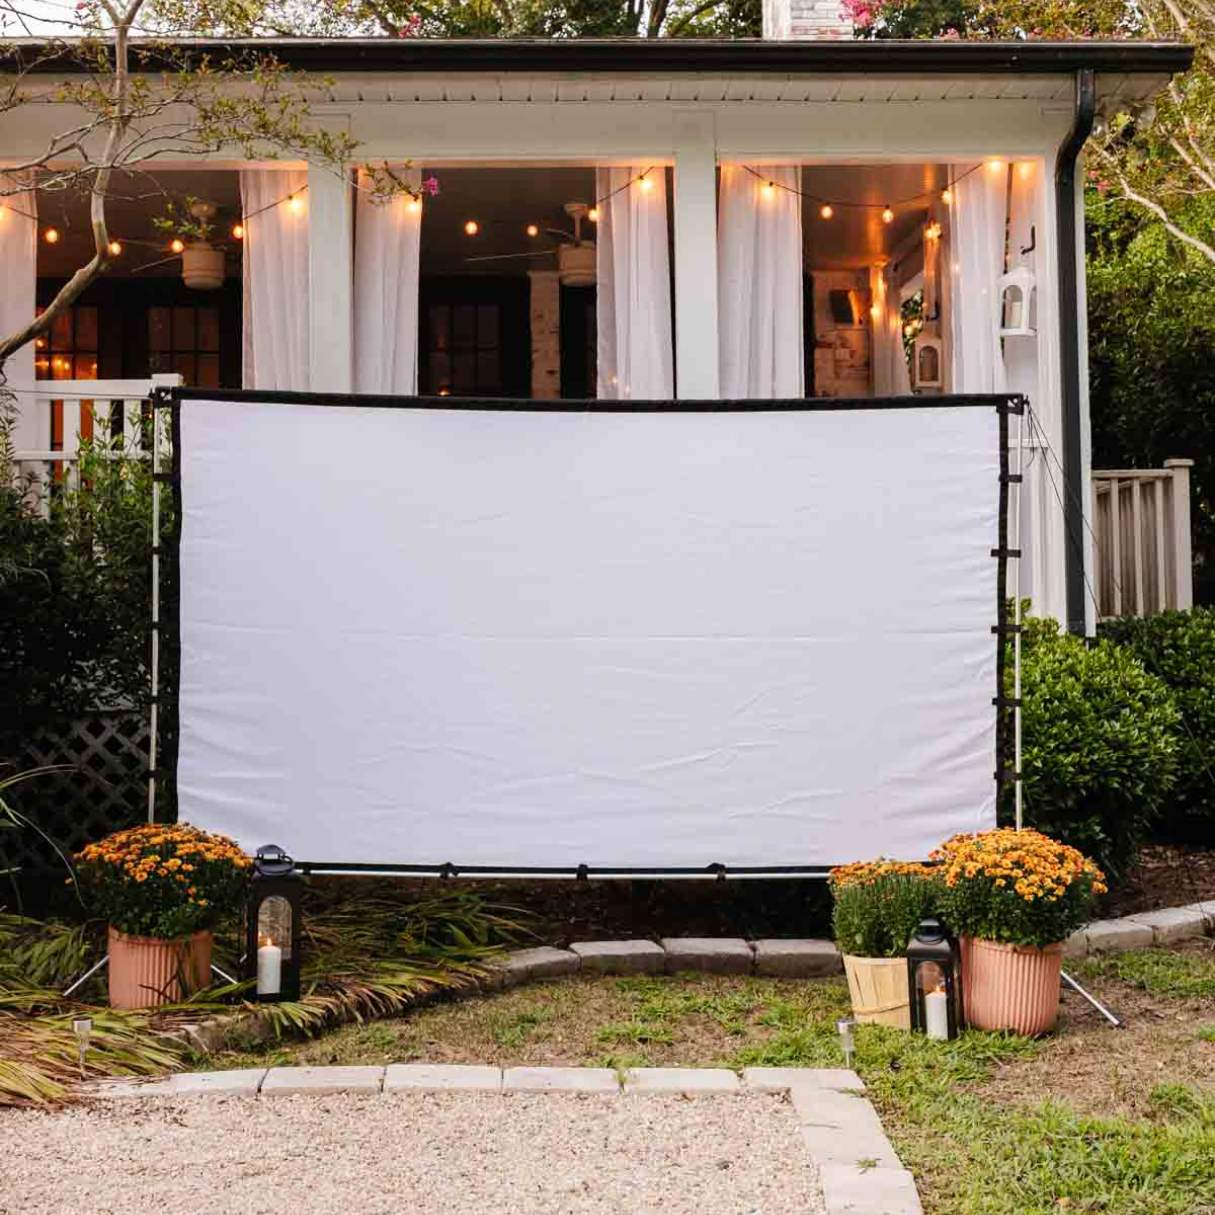
- Aspect Ratio and Screen Size: Ensure that the projector’s aspect ratio matches the native aspect ratio of the content you’re viewing. Additionally, adjust the screen size and position to fit the projected image within the viewing area, maintaining proper alignment and eliminating any unwanted overspill or cropping.
- Sound Enhancement: If the projector features built-in speakers or audio settings, explore the sound enhancement options to optimize the audio output. Adjust the volume, equalizer settings, and audio presets to achieve balanced sound reproduction and enhance the overall auditory experience.
- External Audio System Integration: If you’re using an external audio system, such as a soundbar or home theater receiver, ensure that the audio output from the projector is connected to the input of the audio system. Fine-tune the audio settings on the external device to complement the visual experience and create a harmonious audio-visual environment.
- Projection Mode and Lens Adjustment: Depending on the projection mode (e.g., standard, eco, or specialized modes), adjust the projector’s settings to optimize energy efficiency and image performance. Additionally, if the projector features lens shift, zoom, or focus controls, refine the projection parameters to achieve a sharp and well-defined image.
By carefully adjusting the image and sound settings, you can elevate the viewing experience to new heights, immersing yourself in captivating visuals and rich, dynamic audio. Once the visual and auditory elements are finely tuned, you can explore the versatility of the BenQ projector by connecting it to various external devices.
Read more: How To Adjust Screen Size In BenQ Projector
Connecting to External Devices
The versatility of the BenQ projector extends beyond standalone operation, allowing you to seamlessly connect to a diverse range of external devices to expand your entertainment options. Whether you’re eager to enjoy movies, gaming, or multimedia presentations, connecting external devices to the projector opens up a world of possibilities. Follow these steps to establish connections with external devices:
- Media Players and Streaming Devices: If you have a media player, such as a Blu-ray player, streaming device, or set-top box, connect it to the projector using HDMI or other compatible video cables. This enables you to access a wide array of digital content and streaming services on a larger screen.
- Gaming Consoles: For gaming enthusiasts, connecting a gaming console, such as a PlayStation, Xbox, or Nintendo Switch, to the projector allows for an immersive gaming experience with larger-than-life visuals. Use HDMI or other suitable video connections to link the gaming console to the projector.
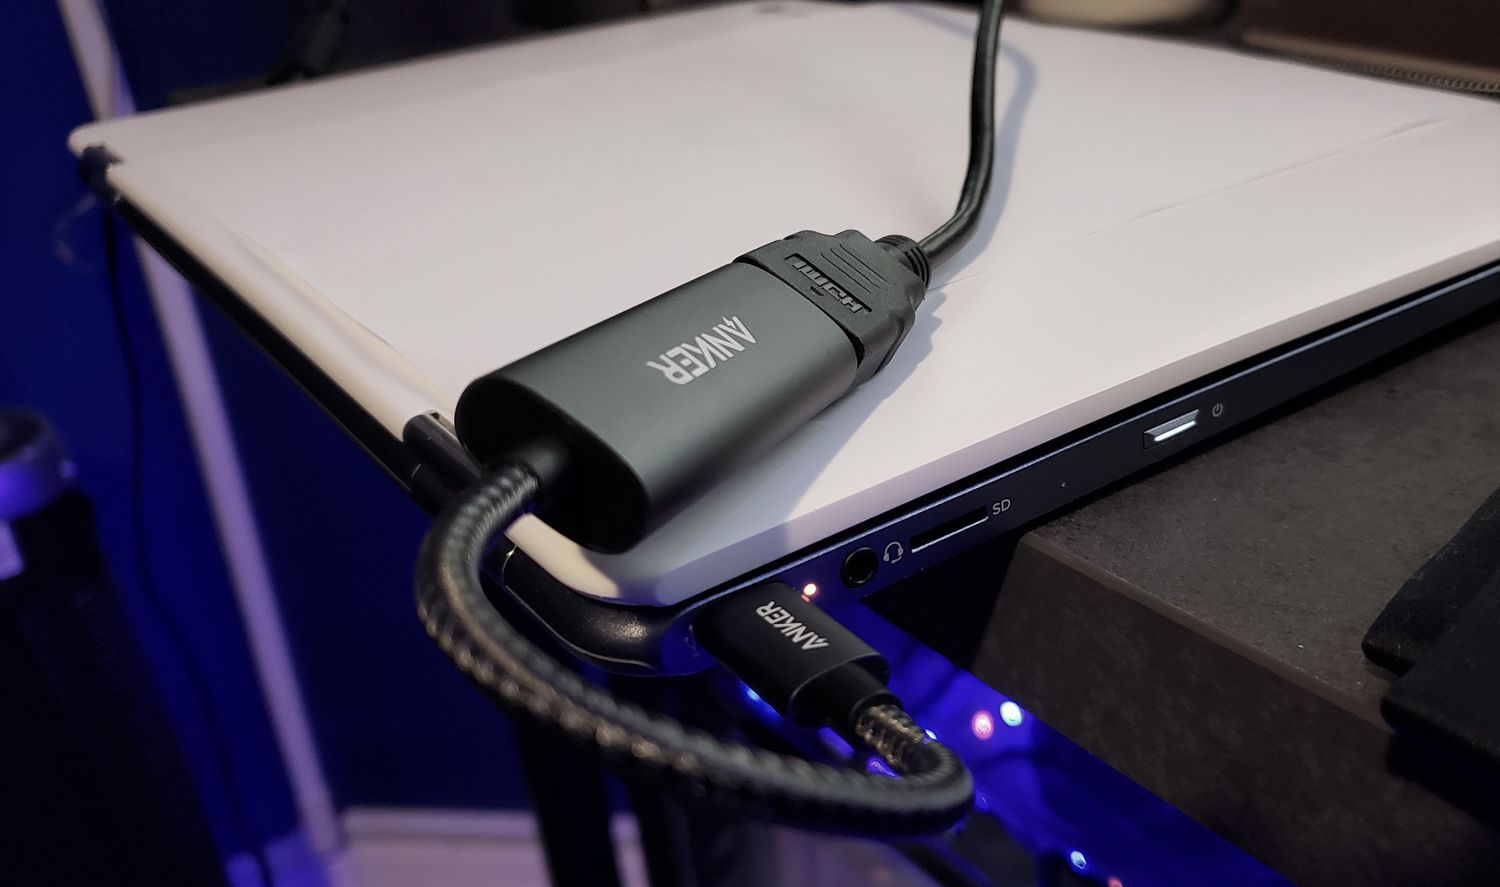
- Computers and Laptops: Utilize the projector as a secondary display for your computer or laptop by connecting it via HDMI, VGA, or USB-C, depending on the available ports on both the projector and your computer. This setup is ideal for presentations, multimedia playback, and collaborative work scenarios.
- Mobile Devices and Tablets: Some BenQ projectors support wireless screen mirroring or casting from compatible mobile devices. Alternatively, you can use MHL (Mobile High-Definition Link) or USB connections to project content from smartphones and tablets onto the big screen.
- Audio Systems and Speakers: Enhance the audio experience by connecting the projector to external audio systems or speakers. Utilize the audio output ports on the projector to establish a seamless audio-visual setup, ensuring that the sound complements the visual content effectively.
By establishing connections with external devices, you can unleash the full potential of the BenQ projector, transforming it into a versatile hub for entertainment, productivity, and collaborative activities. Whether you’re indulging in movie nights with friends, immersing yourself in interactive gaming experiences, or delivering impactful presentations, the flexibility of the projector allows you to tailor the viewing experience to your specific needs.
Troubleshooting
While setting up and using your BenQ projector, you may encounter occasional challenges or technical issues. Understanding common troubleshooting steps can help you address these issues effectively, ensuring uninterrupted enjoyment of your home entertainment system. Here are some troubleshooting tips to consider:
- No Power or Startup Issues: If the projector fails to power on or experiences startup issues, first check the power cable and ensure it is securely connected to a working power outlet. If the projector still does not power on, verify that the power source meets the voltage requirements specified for the projector model.
- Image Distortion or Quality Concerns: If you notice image distortion, blurriness, or color irregularities, verify that the projector is positioned and aligned correctly. Adjust the keystone settings and projection parameters to correct any image distortion. Additionally, review the image settings and adjust the brightness, contrast, and color settings to enhance image quality.
- Audio Troubleshooting: If you encounter audio-related issues, such as low volume, distorted sound, or no audio output, check the audio connections and ensure that the audio cables are securely connected to the correct input and output ports. Verify the audio settings on the projector and external audio devices to ensure proper configuration.
- Remote Control Malfunction: If the remote control does not respond or experiences intermittent functionality, replace the batteries with fresh ones and ensure that there are no obstructions between the remote control and the projector’s sensor. If the issue persists, consider replacing the remote control or contacting customer support for assistance.
- Overheating or Fan Noise: Projectors generate heat during operation, and excessive heat buildup can lead to overheating or increased fan noise. Ensure that the projector’s ventilation is unobstructed and that the air filters are clean. If the projector continues to exhibit overheating issues, consider adjusting the projection mode or reducing the ambient temperature in the viewing environment.
- Software Updates and Firmware: Regularly check for firmware updates and software enhancements for your BenQ projector. Installing the latest updates can resolve known issues, improve performance, and provide access to new features. Follow the manufacturer’s instructions to update the projector’s firmware as needed.
By familiarizing yourself with these troubleshooting steps, you can address common issues that may arise during the setup and operation of your BenQ projector. If you encounter persistent technical challenges that cannot be resolved through troubleshooting, don’t hesitate to reach out to BenQ’s customer support for expert assistance and guidance.
Conclusion
Congratulations on successfully setting up your BenQ projector and embarking on a journey to elevate your home entertainment experience. By following the comprehensive guide provided here, you’ve gained valuable insights into unboxing, connecting, and optimizing the performance of your projector, unlocking its full potential to deliver captivating visuals and immersive audio.
As you immerse yourself in the world of cinematic adventures, gaming excitement, and multimedia presentations, remember that the BenQ projector is more than just a device—it’s a gateway to boundless entertainment possibilities. Whether you’re hosting movie nights with loved ones, engaging in competitive gaming sessions, or delivering impactful business presentations, the versatility and reliability of the BenQ projector empower you to create unforgettable moments and experiences.
Continuously explore the features and capabilities of your BenQ projector, experiment with different content types, and tailor the settings to suit your preferences. Embrace the flexibility of connecting external devices to expand your entertainment options, and don’t hesitate to seek inspiration for creative uses of your projector in various scenarios.
Should you encounter any technical challenges or have further questions about optimizing your projector’s performance, remember that BenQ’s customer support is readily available to provide assistance and guidance. Additionally, staying informed about firmware updates and best practices for projector maintenance can contribute to a seamless and enjoyable viewing experience over time.
With your BenQ projector as the centerpiece of your home entertainment system, every viewing session becomes an opportunity to escape into captivating worlds, share memorable experiences with others, and immerse yourself in the magic of cinema. Embrace the power of visual storytelling, the thrill of gaming adventures, and the impact of dynamic presentations, all brought to life through the exceptional performance of your BenQ projector.
As you continue to harness the capabilities of your projector, may each viewing experience be filled with wonder, excitement, and the joy of shared moments that transcend the boundaries of ordinary entertainment.
Frequently Asked Questions about How To Set Up BenQ Projector
Was this page helpful?
At Storables.com, we guarantee accurate and reliable information. Our content, validated by Expert Board Contributors, is crafted following stringent Editorial Policies. We're committed to providing you with well-researched, expert-backed insights for all your informational needs.


0 thoughts on “How To Set Up BenQ Projector”