Home>Technology>Security & Surveillance>How To Fix A Loose Front Door Lock

Security & Surveillance
How To Fix A Loose Front Door Lock
Modified: January 5, 2024
Learn how to secure your home with our step-by-step guide on fixing a loose front door lock. Enhance your security and surveillance with these easy tips.
(Many of the links in this article redirect to a specific reviewed product. Your purchase of these products through affiliate links helps to generate commission for Storables.com, at no extra cost. Learn more)
Introduction
Welcome to our guide on fixing a loose front door lock. A loose front door lock not only compromises the security of your home but can also be quite frustrating to deal with. Fortunately, with the right tools and a little know-how, you can easily address this issue without having to call a locksmith. In this article, we will walk you through the step-by-step process of tightening a loose front door lock, enabling you to restore security and peace of mind to your home.
Whether you’re a new homeowner or a seasoned DIY enthusiast, understanding how to fix a loose front door lock is a valuable skill that can save you time and money. By following the instructions outlined in this guide, you’ll be able to tackle this common household problem with confidence and precision. So, roll up your sleeves, gather your tools, and let’s get started on tightening that pesky front door lock!
Key Takeaways:
- Keep your home secure by tightening a loose front door lock with just a few basic tools and simple steps, saving time and money on locksmith services.
- Regular maintenance and DIY fixes for minor lock issues can enhance home security and empower homeowners with valuable skills for future challenges.
Read more: How To Fix The Door Lock
Tools and Materials Needed
Before you begin the process of fixing a loose front door lock, it’s essential to gather the necessary tools and materials. Here’s what you’ll need:
- Phillips-head screwdriver
- Flathead screwdriver
- Hex key or Allen wrench
- Replacement screws (if necessary)
- Lubricant spray (optional)
These basic tools and materials will provide you with everything required to address the issue of a loose front door lock effectively. Once you have these items on hand, you’ll be ready to move on to the next steps in the process.
Step 1: Remove the Front Door Lock
The first step in fixing a loose front door lock is to remove the lock from the door. This process allows you to access the internal components and identify the source of the problem. Follow these steps to safely remove the front door lock:
- Close the door: Ensure that the door is closed and locked to prevent it from swinging open while you work on the lock.
- Locate the screws: Examine the lock trim or faceplate to find the screws holding the lock in place. These are typically located on the interior side of the door.
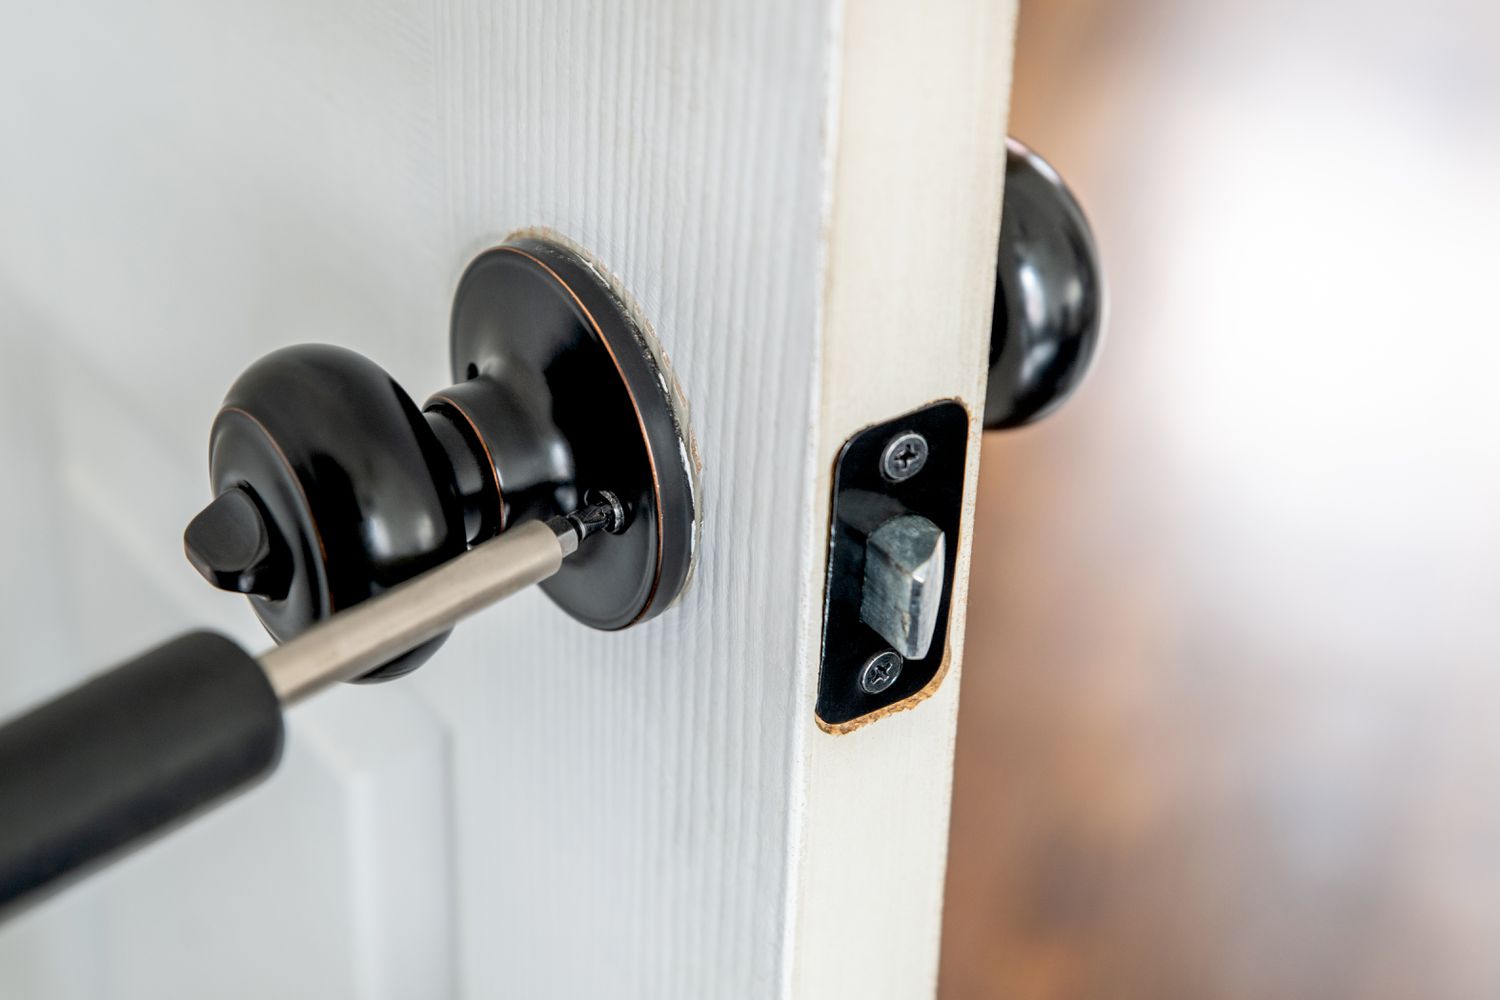
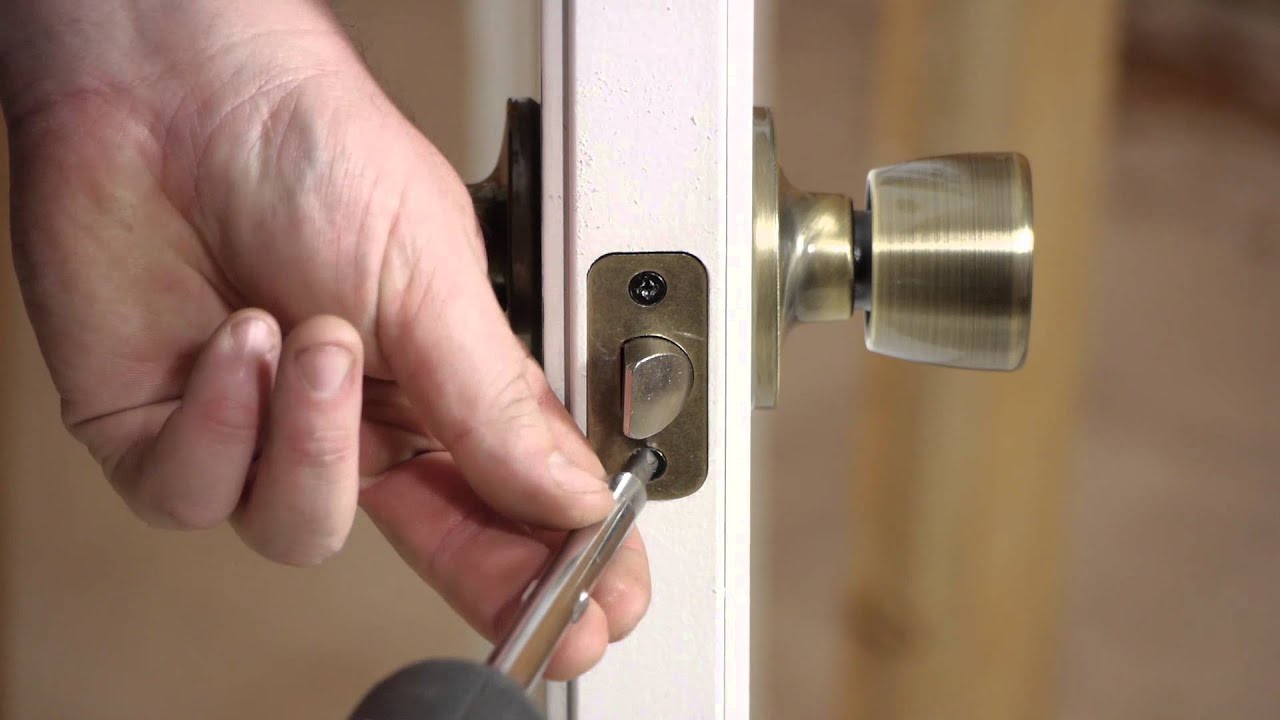
- Remove the screws: Use a Phillips-head screwdriver to carefully loosen and remove the screws from the lock trim or faceplate. Keep the screws in a secure place to avoid misplacement.
- Detach the lock: Once the screws are removed, gently detach the lock trim or faceplate from the door, exposing the inner workings of the lock.
- Set aside the components: Place the screws and removed components in a safe location to ensure they are not misplaced during the repair process.
With the front door lock successfully removed, you can proceed to inspect the lock mechanism and address the underlying cause of the looseness.
Step 2: Inspect the Lock Mechanism
With the front door lock removed, it’s time to inspect the lock mechanism to identify the cause of the looseness. By closely examining the internal components, you can determine whether the issue stems from loose screws, worn-out parts, or other factors. Follow these steps to conduct a thorough inspection of the lock mechanism:
- Examine the screws: Check the screws that secure the lock to the door. Look for any signs of damage, corrosion, or looseness. If the screws appear worn or are not tightly fastened, they may be the primary culprits behind the loose lock.
- Assess internal components: Take a close look at the internal components of the lock, including the latch, strike plate, and other moving parts. Look for any signs of wear, misalignment, or damage that could contribute to the lock’s instability.
- Lubrication check: If the lock mechanism appears dry or stiff, consider applying a small amount of lubricant spray to the moving parts. This can help improve the lock’s functionality and reduce friction, addressing any issues related to stiffness or resistance.
- Test the handle and latch: Operate the handle and latch to observe their movement and functionality. Pay attention to any unusual sounds, resistance, or irregularities that may indicate underlying problems within the lock mechanism.
By carefully inspecting the lock mechanism, you can gain valuable insights into the root cause of the looseness, paving the way for targeted repairs and adjustments in the subsequent steps.
If your front door lock is loose, try tightening the screws on the faceplate and strike plate. If that doesn’t work, the lock may need to be replaced.
Step 3: Tighten the Screws
After inspecting the lock mechanism, the next crucial step in addressing a loose front door lock is to tighten the screws that secure the lock to the door. Loose screws are a common culprit behind a wobbly or insecure lock, and addressing this issue can significantly improve the lock’s stability. Follow these steps to effectively tighten the screws:
- Identify the loose screws: Using a flathead screwdriver, carefully examine each screw that secures the lock to the door. Look for any visible signs of looseness or instability.
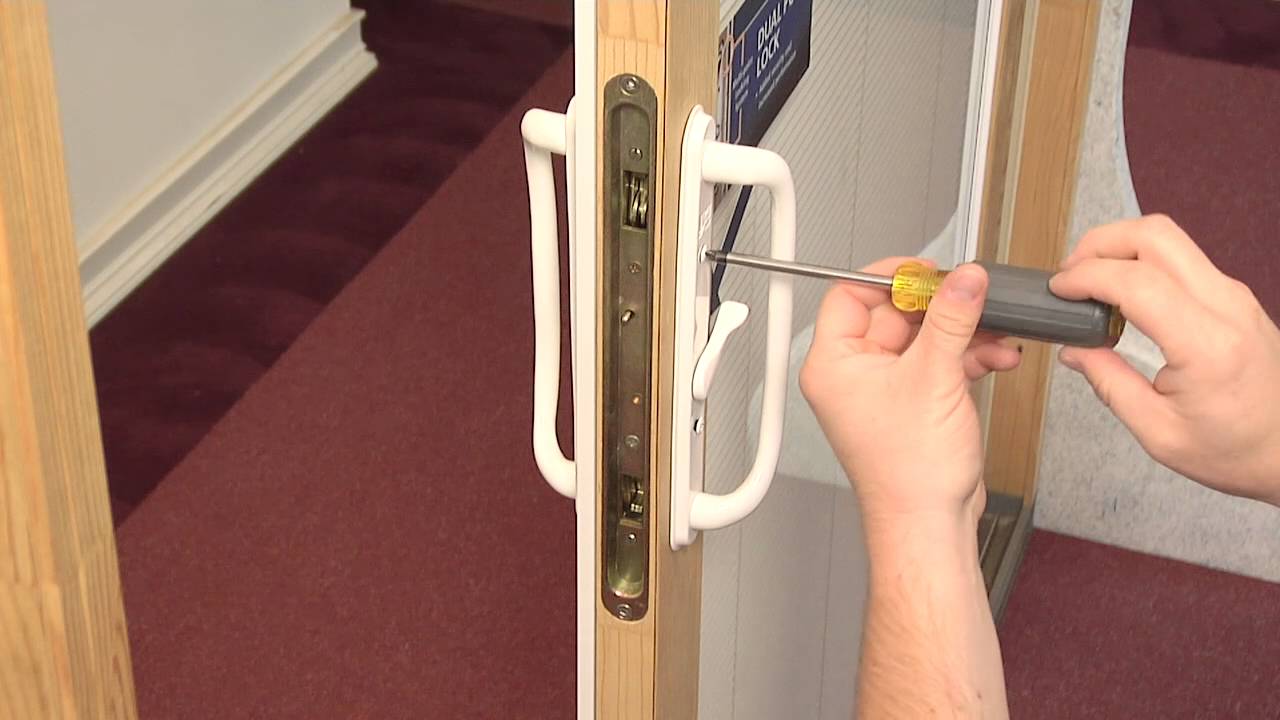
- Tighten the screws: With the flathead screwdriver, gently but firmly tighten each screw in a clockwise direction. Be cautious not to overtighten the screws, as this can cause damage to the lock or door components.
- Check for stability: After tightening the screws, test the lock to ensure that it feels secure and stable. Gently wiggle the lock and handle to assess whether the looseness has been effectively addressed.
- Replace damaged screws (if necessary): If any screws appear damaged, stripped, or unable to hold securely, consider replacing them with new screws of the appropriate size and type. This ensures a reliable and long-lasting solution to the loose lock problem.
By methodically tightening the screws and assessing the lock’s stability, you can take a significant stride toward restoring the security and functionality of your front door lock. With this step completed, you’re ready to proceed to the reinstallation of the front door lock.
Read more: How To Fix A Stuck Lock On A Door
Step 4: Reinstall the Front Door Lock
Having addressed the underlying cause of the loose front door lock by tightening the screws and inspecting the mechanism, the next step is to reinstall the lock onto the door. Proper reinstallation ensures that the lock is securely fastened and aligned, minimizing the risk of future looseness. Follow these steps to reattach the front door lock:
- Position the lock trim or faceplate: Align the lock trim or faceplate with the corresponding openings on the door, ensuring that it sits flush and level against the surface.
- Insert and tighten the screws: Using a Phillips-head screwdriver, insert and tighten the screws into the designated holes on the lock trim or faceplate. Ensure that the screws are securely fastened without over-tightening, which can lead to damage.
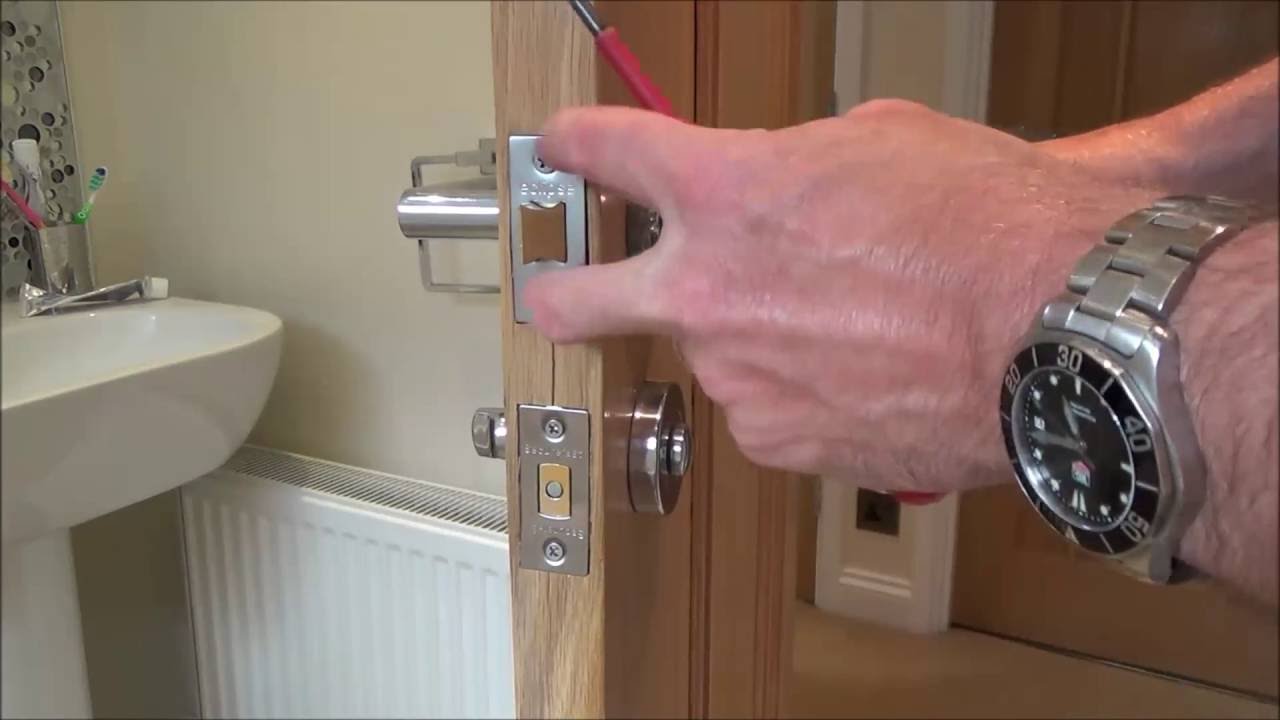
- Test the lock alignment: After securing the lock trim or faceplate, test the alignment and functionality of the lock. Ensure that the handle and latch operate smoothly and that the lock engages with the strike plate without resistance.
- Make adjustments if necessary: If the lock does not align properly or exhibits any irregularities, carefully loosen the screws and make necessary adjustments before retightening. This step is essential for ensuring optimal performance and security.
By methodically reinstalling the front door lock and verifying its alignment and functionality, you can complete this critical step in the process of addressing a loose lock. With the lock securely back in place, you’re ready to proceed to the final step of testing the lock’s functionality.
Step 5: Test the Lock
With the front door lock successfully reinstalled, the final step in resolving a loose lock issue is to thoroughly test its functionality. Testing the lock ensures that it operates smoothly, securely, and without any signs of looseness or instability. Follow these steps to effectively test the lock:
- Operate the handle and latch: Test the handle and latch to ensure that they move smoothly and engage with the strike plate without resistance. Listen for any unusual sounds or sensations that may indicate underlying issues.
- Check the lock’s stability: Gently apply pressure to the lock and handle to assess their stability. Verify that the lock remains firmly in place and does not exhibit any wobbling or looseness.
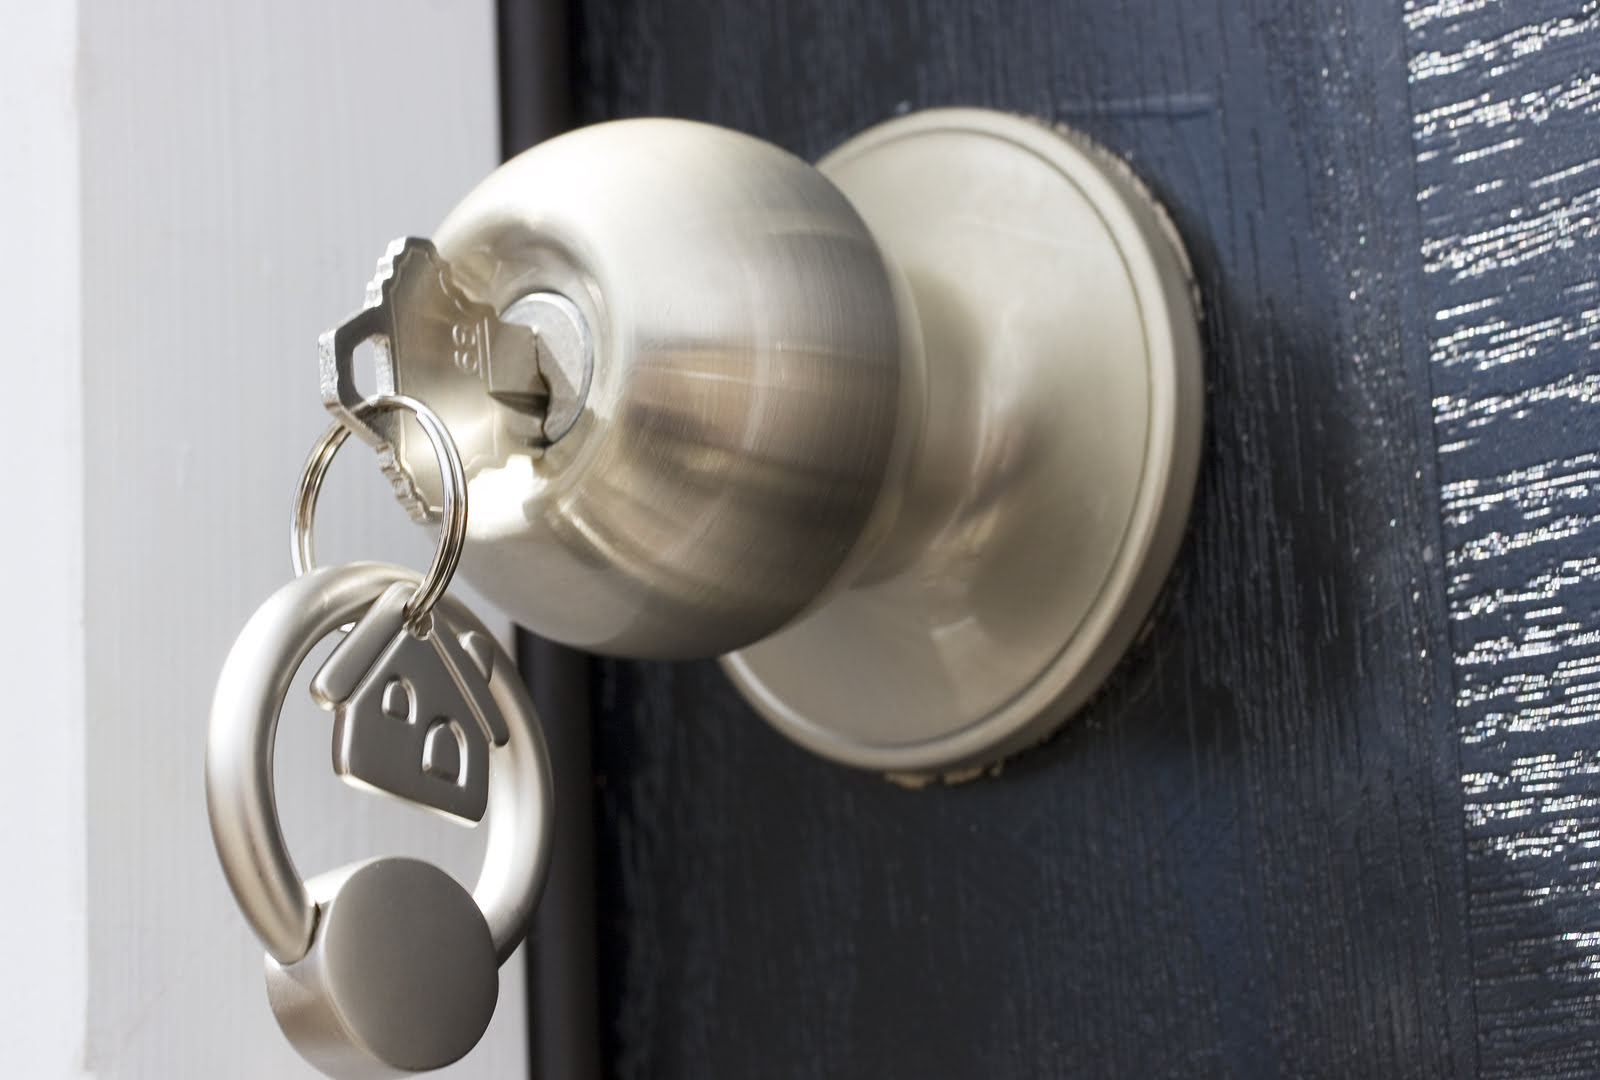
- Test the key insertion and turning: If your lock includes a key-operated cylinder, insert and turn the key to verify that it functions correctly. Ensure that the key operates the lock smoothly without any sticking or difficulty.
- Verify the locking and unlocking process: Engage the lock by turning the handle or using the key, and confirm that the lock securely engages with the strike plate and provides reliable security for your door.
By meticulously testing the lock’s operation and stability, you can confirm that the issue of looseness has been effectively addressed. If the lock functions smoothly and securely without any signs of instability, you can rest assured that your front door is once again equipped with a reliable and secure lock.
Conclusion
Congratulations! By following the step-by-step process outlined in this guide, you have successfully addressed and resolved the issue of a loose front door lock. Through careful inspection, tightening of screws, and methodical reinstallation, you have restored security and stability to your home’s entryway. By taking a proactive approach to addressing this common household problem, you’ve not only enhanced the security of your property but also gained valuable DIY skills.
Remember, regular maintenance and inspection of your front door lock can help prevent future issues and prolong its lifespan. Additionally, being able to troubleshoot and resolve minor lock problems on your own can save you time and money, empowering you to tackle similar challenges in the future.
As you complete the process, take a moment to appreciate the peace of mind that comes with knowing your front door lock is secure and reliable. With the right tools, a bit of patience, and the knowledge gained from this guide, you’ve successfully tightened a loose front door lock, ensuring the safety and security of your home.
Thank you for joining us on this DIY journey, and we hope this guide has equipped you with the confidence and skills needed to tackle future home maintenance tasks with ease.
Frequently Asked Questions about How To Fix A Loose Front Door Lock
Was this page helpful?
At Storables.com, we guarantee accurate and reliable information. Our content, validated by Expert Board Contributors, is crafted following stringent Editorial Policies. We're committed to providing you with well-researched, expert-backed insights for all your informational needs.


0 thoughts on “How To Fix A Loose Front Door Lock”