Home>Technology>Smart Home Devices>How To Connect Wi-Fi On Epson Printer
Smart Home Devices
How To Connect Wi-Fi On Epson Printer
Modified: August 28, 2024
Learn how to easily connect your Epson printer to your smart home devices and start printing wirelessly. Follow our step-by-step guide for seamless Wi-Fi setup.
(Many of the links in this article redirect to a specific reviewed product. Your purchase of these products through affiliate links helps to generate commission for Storables.com, at no extra cost. Learn more)
Introduction
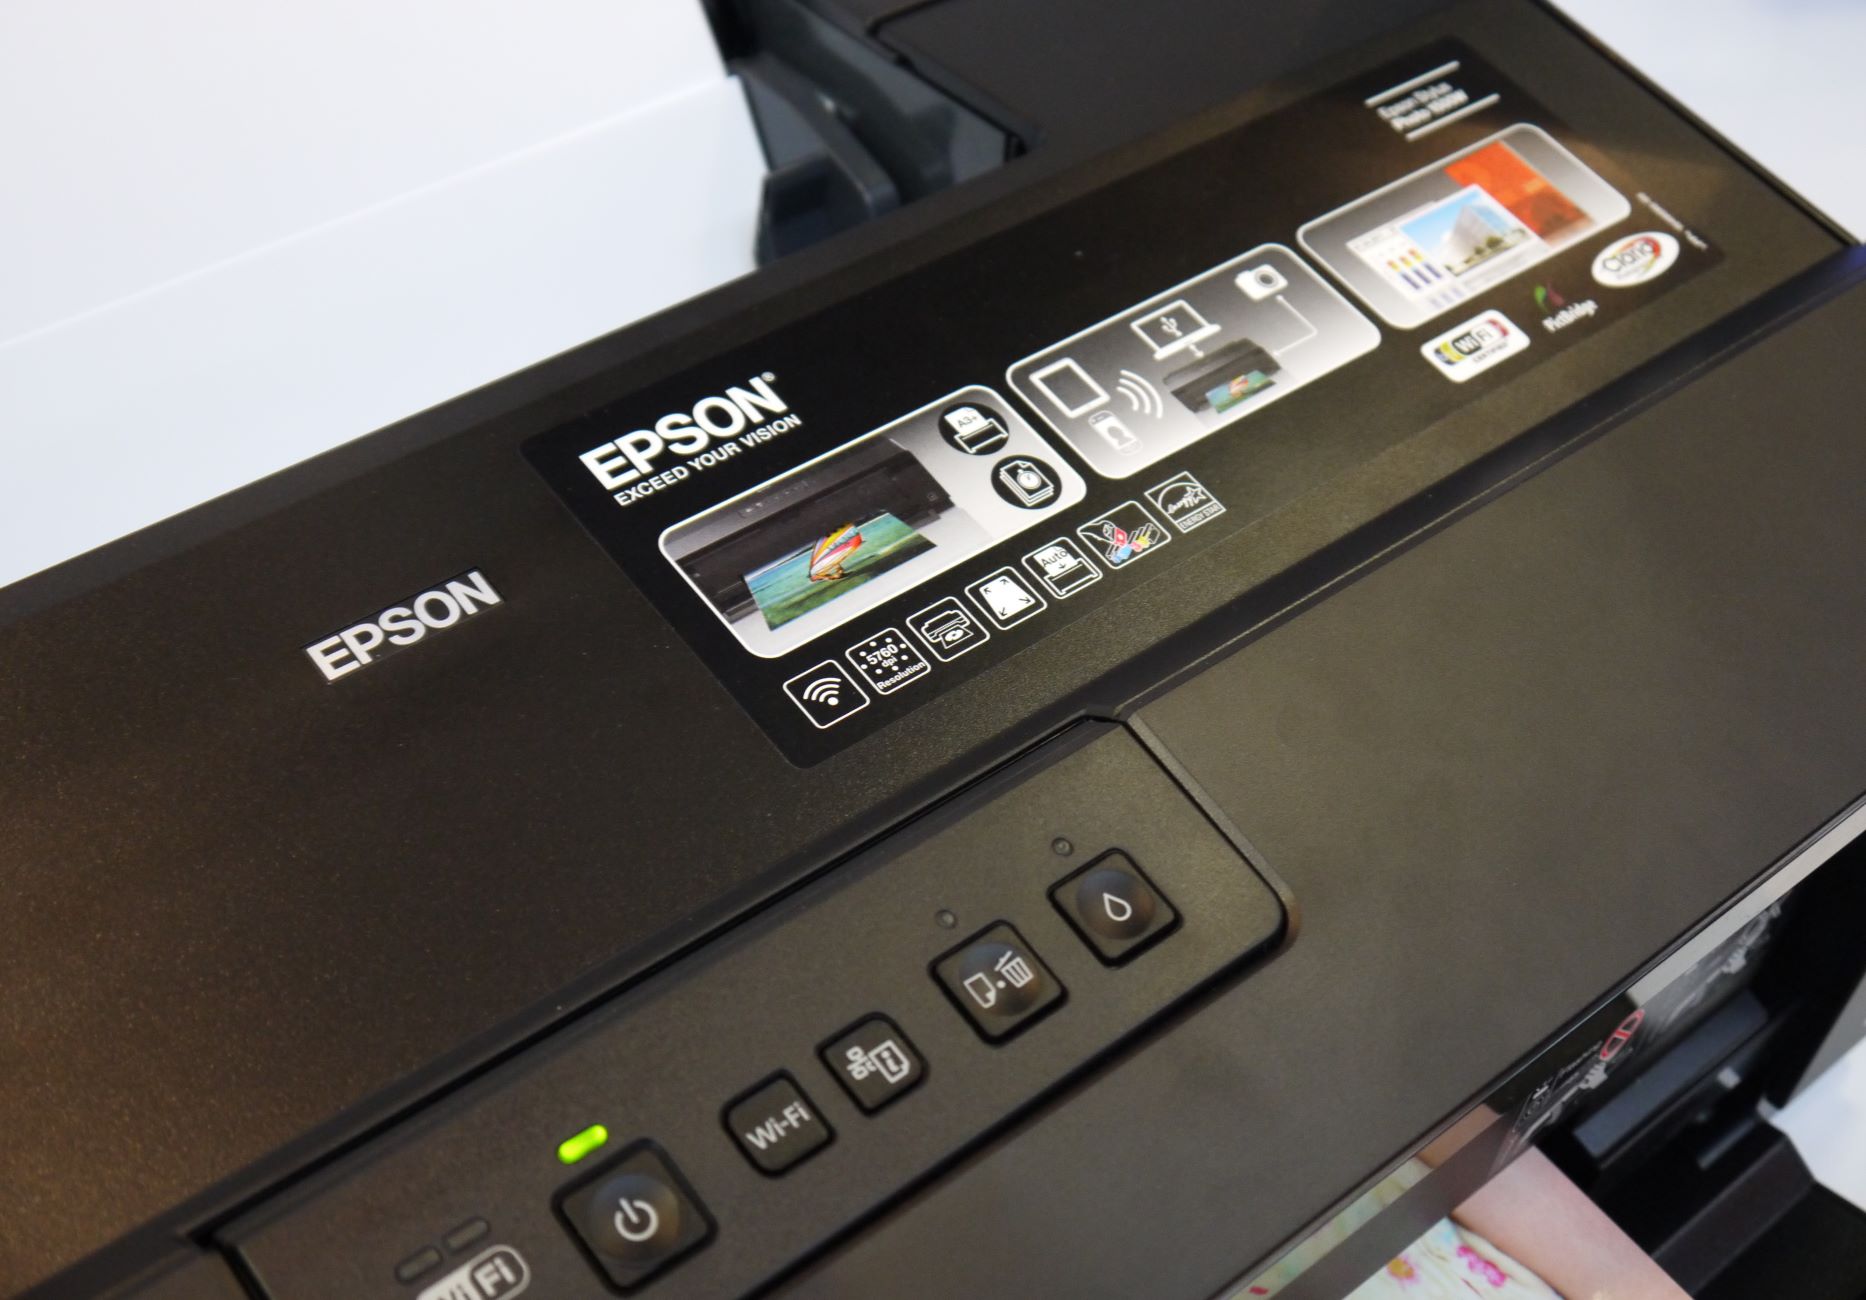
Welcome to the world of smart home devices, where convenience and connectivity converge to simplify our lives. One such essential device is the Epson printer, a versatile tool that seamlessly integrates into your home or office network. With the ability to connect to Wi-Fi, your Epson printer becomes even more versatile, allowing you to print from multiple devices without the hassle of physical connections.
In this comprehensive guide, we will walk you through the process of connecting your Epson printer to a Wi-Fi network. By following these simple steps, you will unlock the full potential of your printer, enabling effortless printing from your computer, laptop, smartphone, or tablet.
Whether you’re a tech enthusiast or a novice user, this guide is designed to demystify the Wi-Fi connection process, empowering you to set up your Epson printer with confidence. So, let’s dive in and embark on this journey to seamless connectivity and enhanced printing capabilities.
Key Takeaways:
- Connecting your Epson printer to Wi-Fi unlocks the freedom to print from multiple devices without physical connections. Follow simple steps to set up and enjoy seamless wireless printing at home or in the office.
- By installing the necessary printer software, you bridge the gap between your devices and the Wi-Fi-connected Epson printer, empowering you to initiate print jobs effortlessly from various devices within your connected ecosystem.
Step 1: Prepare the Printer
Before delving into the Wi-Fi setup process, it’s essential to ensure that your Epson printer is ready for the connection. Follow these preparatory steps to lay the foundation for a smooth and successful Wi-Fi setup:
- Power On the Printer: Start by powering on your Epson printer and ensuring that it is in a ready state. Check the printer’s display panel or indicator lights to confirm that it is powered up and operational.
- Load Paper: Next, make sure that the printer is loaded with an ample supply of paper. This ensures that you can seamlessly test the printer’s functionality once the Wi-Fi connection is established.
- Check Ink or Toner Levels: Verify the ink or toner levels in your printer to avoid any interruptions during the setup process. If the ink or toner is running low, consider replacing or refilling the cartridges to prevent any printing issues later on.
- Position the Printer: Ensure that the printer is placed within the range of your Wi-Fi network. Placing it too far from the Wi-Fi router may result in a weak or unstable connection, so it’s advisable to position the printer in a central location within your home or office.
- Clear Any Previous Connections: If your printer was previously connected to a different network, it’s important to clear any existing Wi-Fi settings. This prevents potential conflicts and ensures a clean slate for the new connection.
By completing these preparatory steps, you set the stage for a seamless Wi-Fi setup process. With your Epson printer powered on, loaded with paper, and strategically positioned, you’re ready to embark on the next phase of connecting it to your Wi-Fi network. Let’s move on to the next step and access the Wi-Fi setup on your Epson printer.
Step 2: Access the Wi-Fi Setup
Now that your Epson printer is prepared, it’s time to access the Wi-Fi setup menu to initiate the connection process. Follow these straightforward steps to access the Wi-Fi setup on your Epson printer:
- Printer Display Panel: On the control panel of your Epson printer, look for the “Menu” or “Settings” button. Press this button to access the printer’s menu options.
- Navigation: Navigate through the menu using the arrow keys or touchscreen interface, depending on your printer’s model. Look for the “Wi-Fi Setup” or “Network Settings” option within the menu.
- Select Wi-Fi Setup: Once you locate the “Wi-Fi Setup” or “Network Settings” option, select it to initiate the Wi-Fi setup process. This will prompt the printer to search for available Wi-Fi networks within range.
- Choose Your Network: After initiating the Wi-Fi setup, your printer will display a list of available Wi-Fi networks. Select your specific Wi-Fi network from the list. If your network is not visible, you may need to manually enter the network name (SSID) and password.
- Enter Wi-Fi Password: If your Wi-Fi network is secured with a password, the printer will prompt you to enter the password. Use the printer’s interface to input the Wi-Fi password, ensuring precision to avoid any connectivity issues.
- Confirm the Connection: Once the password is entered, the printer will attempt to connect to the selected Wi-Fi network. Upon successful connection, the printer will display a confirmation message, indicating that it is now linked to the Wi-Fi network.
By accessing the Wi-Fi setup menu and selecting your network, you have initiated the process of connecting your Epson printer to Wi-Fi. With this crucial step completed, your printer is now poised to seamlessly integrate into your home or office network, paving the way for effortless printing from various devices. As we proceed, we will delve into the next step of connecting your printer to the Wi-Fi network. Let’s move forward and explore the process of establishing the Wi-Fi connection on your Epson printer.
To connect Wi-Fi on an Epson printer, go to the printer’s control panel, select Wi-Fi setup, choose your network, and enter the password.
Step 3: Connect to Wi-Fi Network
With the Wi-Fi setup accessed and your network selected, it’s time to establish the connection between your Epson printer and the Wi-Fi network. Follow these steps to ensure a seamless connection:
- Network Verification: Once you have selected your Wi-Fi network and entered the password, your Epson printer will attempt to authenticate the connection. During this process, the printer communicates with the Wi-Fi router to establish a secure link.
- Signal Strength: Ensure that your printer is within the range of your Wi-Fi network and that the signal strength is sufficient for a stable connection. If the signal is weak, consider repositioning the printer closer to the Wi-Fi router to optimize connectivity.
- Connection Confirmation: Upon successful authentication, your printer will display a confirmation message indicating that it is now connected to the Wi-Fi network. This signifies that your Epson printer is ready to receive print jobs wirelessly from any connected device on the same network.
- Test the Connection: To verify the successful connection, send a test print job from your computer, smartphone, or other connected devices. This allows you to confirm that the printer responds to print commands over the Wi-Fi network.
- Troubleshooting: If the connection is not successful, double-check the Wi-Fi password, network selection, and signal strength. Additionally, refer to the printer’s user manual or online resources for troubleshooting tips specific to your Epson printer model.
By following these steps, you have successfully connected your Epson printer to your Wi-Fi network, unlocking the convenience of wireless printing from multiple devices. With the Wi-Fi connection established, your printer is now an integral part of your connected ecosystem, ready to streamline your printing tasks with enhanced flexibility and accessibility.
As we proceed, we will delve into the next phase of the setup process, which involves installing the necessary printer software to ensure seamless communication between your devices and the Epson printer. Let’s move forward and explore the essential steps for installing the printer software on your connected devices.
Step 4: Install Printer Software
With your Epson printer successfully connected to the Wi-Fi network, the next crucial step is to install the printer software on your computer, laptop, smartphone, or tablet. This software enables seamless communication between your devices and the printer, allowing you to initiate print jobs effortlessly. Follow these steps to install the necessary printer software:
- Visit the Epson Support Website: Navigate to the official Epson support website using a web browser on your computer or mobile device. Locate the “Support” or “Downloads” section, where you can search for the specific printer model’s software and drivers.
- Search for Printer Drivers: Enter your Epson printer model number in the search bar to access the relevant software and drivers. Ensure that you select the software compatible with your operating system, whether it’s Windows, macOS, iOS, or Android.
- Download and Install: Once you have located the appropriate printer software and drivers, download the installation package to your device. Follow the on-screen instructions to install the software, ensuring that you grant the necessary permissions for the installation to proceed smoothly.
- Wireless Setup: During the software installation process, you may encounter prompts related to the wireless setup. Follow the instructions to link the software to your Wi-Fi-connected Epson printer, allowing seamless communication between your devices and the printer over the network.
- Test Print: After the software installation is complete, initiate a test print from your computer or mobile device to verify that the printer software is communicating effectively with your Epson printer. This test confirms that your devices are successfully linked to the printer over the Wi-Fi network.
- Software Updates: Periodically check for software updates for your Epson printer to ensure that you have the latest features, performance enhancements, and compatibility with new devices and operating systems.
By installing the printer software on your devices, you establish a seamless bridge between your computer, smartphone, or tablet and your Wi-Fi-connected Epson printer. This integration empowers you to initiate print jobs from various devices with ease, leveraging the full capabilities of your printer within your connected ecosystem.
As we conclude this comprehensive guide, you have successfully navigated the process of connecting your Epson printer to a Wi-Fi network and installing the essential printer software on your devices. With these steps completed, you are now equipped to enjoy the convenience of wireless printing and seamless connectivity in your home or office environment.
Embrace the freedom to print from any corner of your space, unleashing the potential of your Epson printer as a versatile and indispensable tool in your daily routines. Whether it’s documents, photos, or creative projects, your Wi-Fi-connected Epson printer is ready to bring your ideas to life with unparalleled convenience and efficiency.
Read more: How To Connect Zebra Printer To Wi-Fi
Conclusion
Congratulations on successfully connecting your Epson printer to a Wi-Fi network and installing the essential printer software on your devices. By following the steps outlined in this guide, you have unlocked the full potential of your printer, enabling seamless wireless printing and enhanced connectivity within your home or office environment.
With your Epson printer seamlessly integrated into your Wi-Fi network, you can now enjoy the following benefits:
- Flexibility: Print from any connected device, including computers, laptops, smartphones, and tablets, without the constraints of physical connections.
- Convenience: Initiate print jobs from various locations within your home or office, leveraging the wireless capabilities of your Epson printer.
- Accessibility: Share the printer across multiple devices, allowing family members or colleagues to utilize the printer with ease.
- Efficiency: Streamline your printing tasks with the ability to wirelessly send documents, photos, and other content directly to your Epson printer.
As you embrace the seamless connectivity and enhanced printing capabilities of your Wi-Fi-connected Epson printer, remember to periodically check for software updates and maintain the printer’s optimal performance. Additionally, explore the diverse features and functionalities offered by your specific Epson printer model, empowering you to leverage its full potential in various printing scenarios.
Whether you’re printing essential documents, vibrant photographs, or creative projects, your Wi-Fi-connected Epson printer serves as a reliable and versatile tool in your daily routines. Embrace the freedom to print with ease, knowing that your printer is seamlessly integrated into your connected ecosystem.
As technology continues to evolve, your Epson printer remains at the forefront of innovation, delivering exceptional print quality and intuitive connectivity to meet your diverse printing needs. Embrace the possibilities that wireless printing brings, and let your Epson printer be a catalyst for seamless, efficient, and accessible printing experiences.
Thank you for embarking on this journey to connect your Epson printer to a Wi-Fi network. Embrace the freedom of wireless printing, and let your Epson printer be a steadfast companion in bringing your ideas to life with unparalleled convenience and reliability.
Frequently Asked Questions about How To Connect Wi-Fi On Epson Printer
Was this page helpful?
At Storables.com, we guarantee accurate and reliable information. Our content, validated by Expert Board Contributors, is crafted following stringent Editorial Policies. We're committed to providing you with well-researched, expert-backed insights for all your informational needs.


0 thoughts on “How To Connect Wi-Fi On Epson Printer”