Home>Technology>Smart Home Devices>How Do You Use A 3D Printer
Smart Home Devices
How Do You Use A 3D Printer
Modified: October 27, 2024
Learn how to use a 3D printer for creating smart home devices. Discover step-by-step instructions and tips for making your own gadgets.
(Many of the links in this article redirect to a specific reviewed product. Your purchase of these products through affiliate links helps to generate commission for Storables.com, at no extra cost. Learn more)
Introduction
Welcome to the fascinating world of 3D printing! This innovative technology has revolutionized the way we create physical objects, allowing individuals and businesses to bring their ideas to life with unprecedented precision and efficiency. Whether you are a hobbyist, a designer, an engineer, or simply a curious enthusiast, learning how to use a 3D printer opens up a realm of possibilities for turning imagination into reality.
In this comprehensive guide, we will explore the step-by-step process of using a 3D printer, from understanding the technology behind it to troubleshooting common issues. By the end of this journey, you will have a solid grasp of the fundamentals and be well-equipped to embark on your own 3D printing adventures.
So, let's dive in and unravel the intricacies of 3D printing, discovering the tools, techniques, and creative potential that await you in this captivating realm of innovation and craftsmanship.
Key Takeaways:
- 3D printing is a fascinating technology that turns digital designs into real objects. It involves preparing the printer, choosing or creating a 3D model, setting up the printer, printing the model, and adding finishing touches.
- To use a 3D printer, you need to understand the technology, prepare the printer, choose or create a 3D model, set up the printer, print the model, and add finishing touches. Troubleshooting common issues is also important for successful printing.
Read more: How To Use An Ender 3D Printer
Understanding 3D Printing Technology
Before delving into the practical aspects of using a 3D printer, it’s essential to grasp the underlying technology that powers this revolutionary process. At its core, 3D printing, also known as additive manufacturing, involves creating three-dimensional objects by layering materials based on a digital model. This additive approach sets it apart from traditional subtractive manufacturing methods, where material is removed to shape the final product.
There are several 3D printing technologies, each with its unique characteristics and applications. Fused Deposition Modeling (FDM), Stereolithography (SLA), and Selective Laser Sintering (SLS) are among the most widely used techniques. FDM printers extrude thermoplastic filaments layer by layer, while SLA utilizes a UV laser to solidify liquid resin, and SLS employs a laser to fuse powdered materials.
The choice of 3D printing technology depends on factors such as material compatibility, resolution, speed, and cost. Understanding these distinctions empowers users to select the most suitable approach for their specific needs, whether it involves rapid prototyping, custom manufacturing, or artistic creations.
Furthermore, the type of materials used in 3D printing spans a diverse range, including plastics, metals, ceramics, and even bio-inks for medical applications. As the technology continues to evolve, the availability of advanced materials expands, unlocking new possibilities for innovation across various industries.
With a solid understanding of the diverse 3D printing technologies and materials, you are better equipped to harness the full potential of this transformative manufacturing process. Now, let’s move on to the practical aspects of preparing and using a 3D printer to bring your ideas to life.
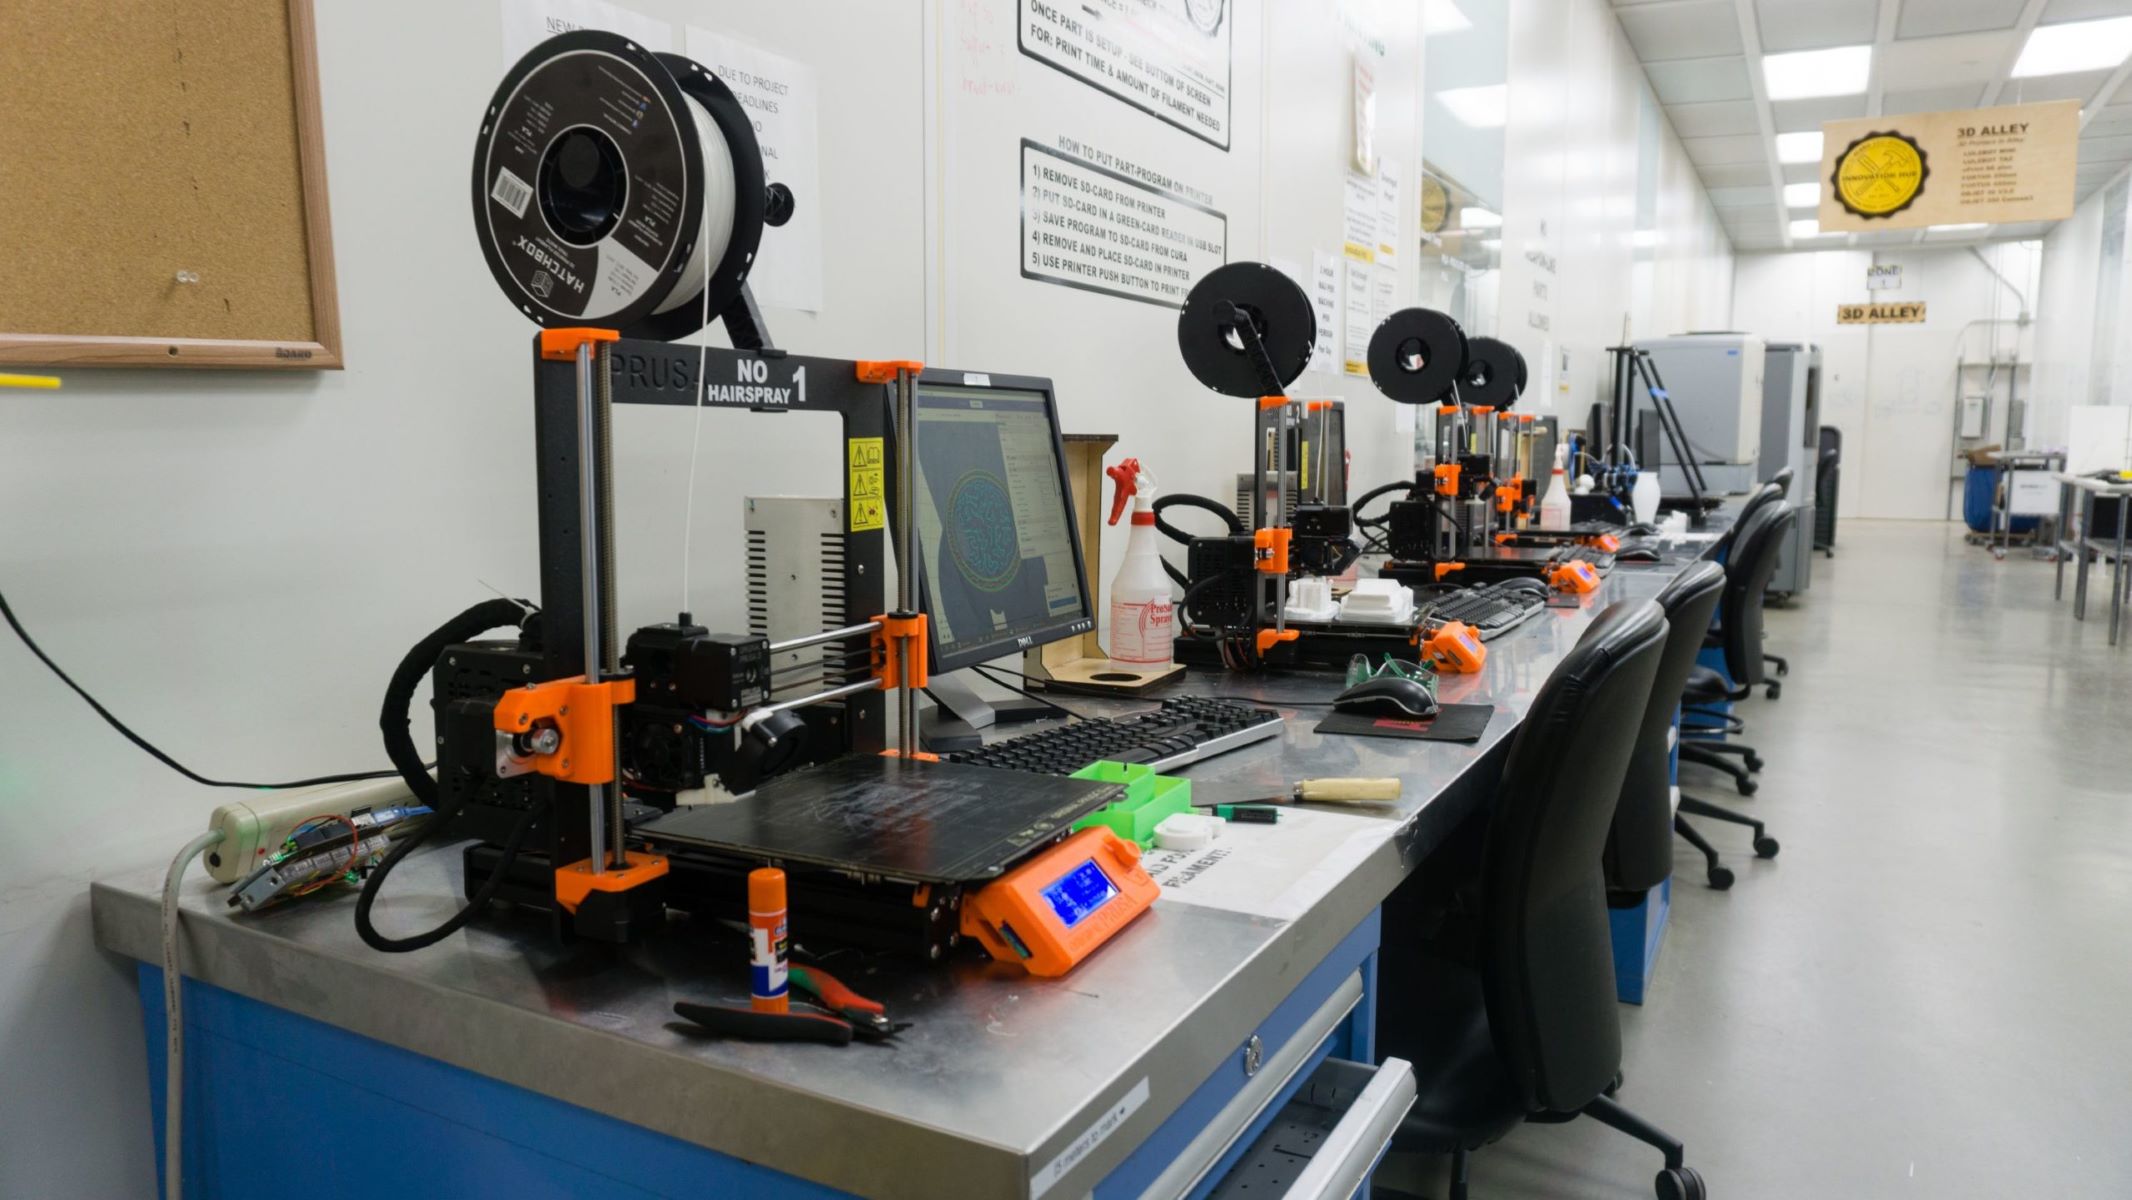
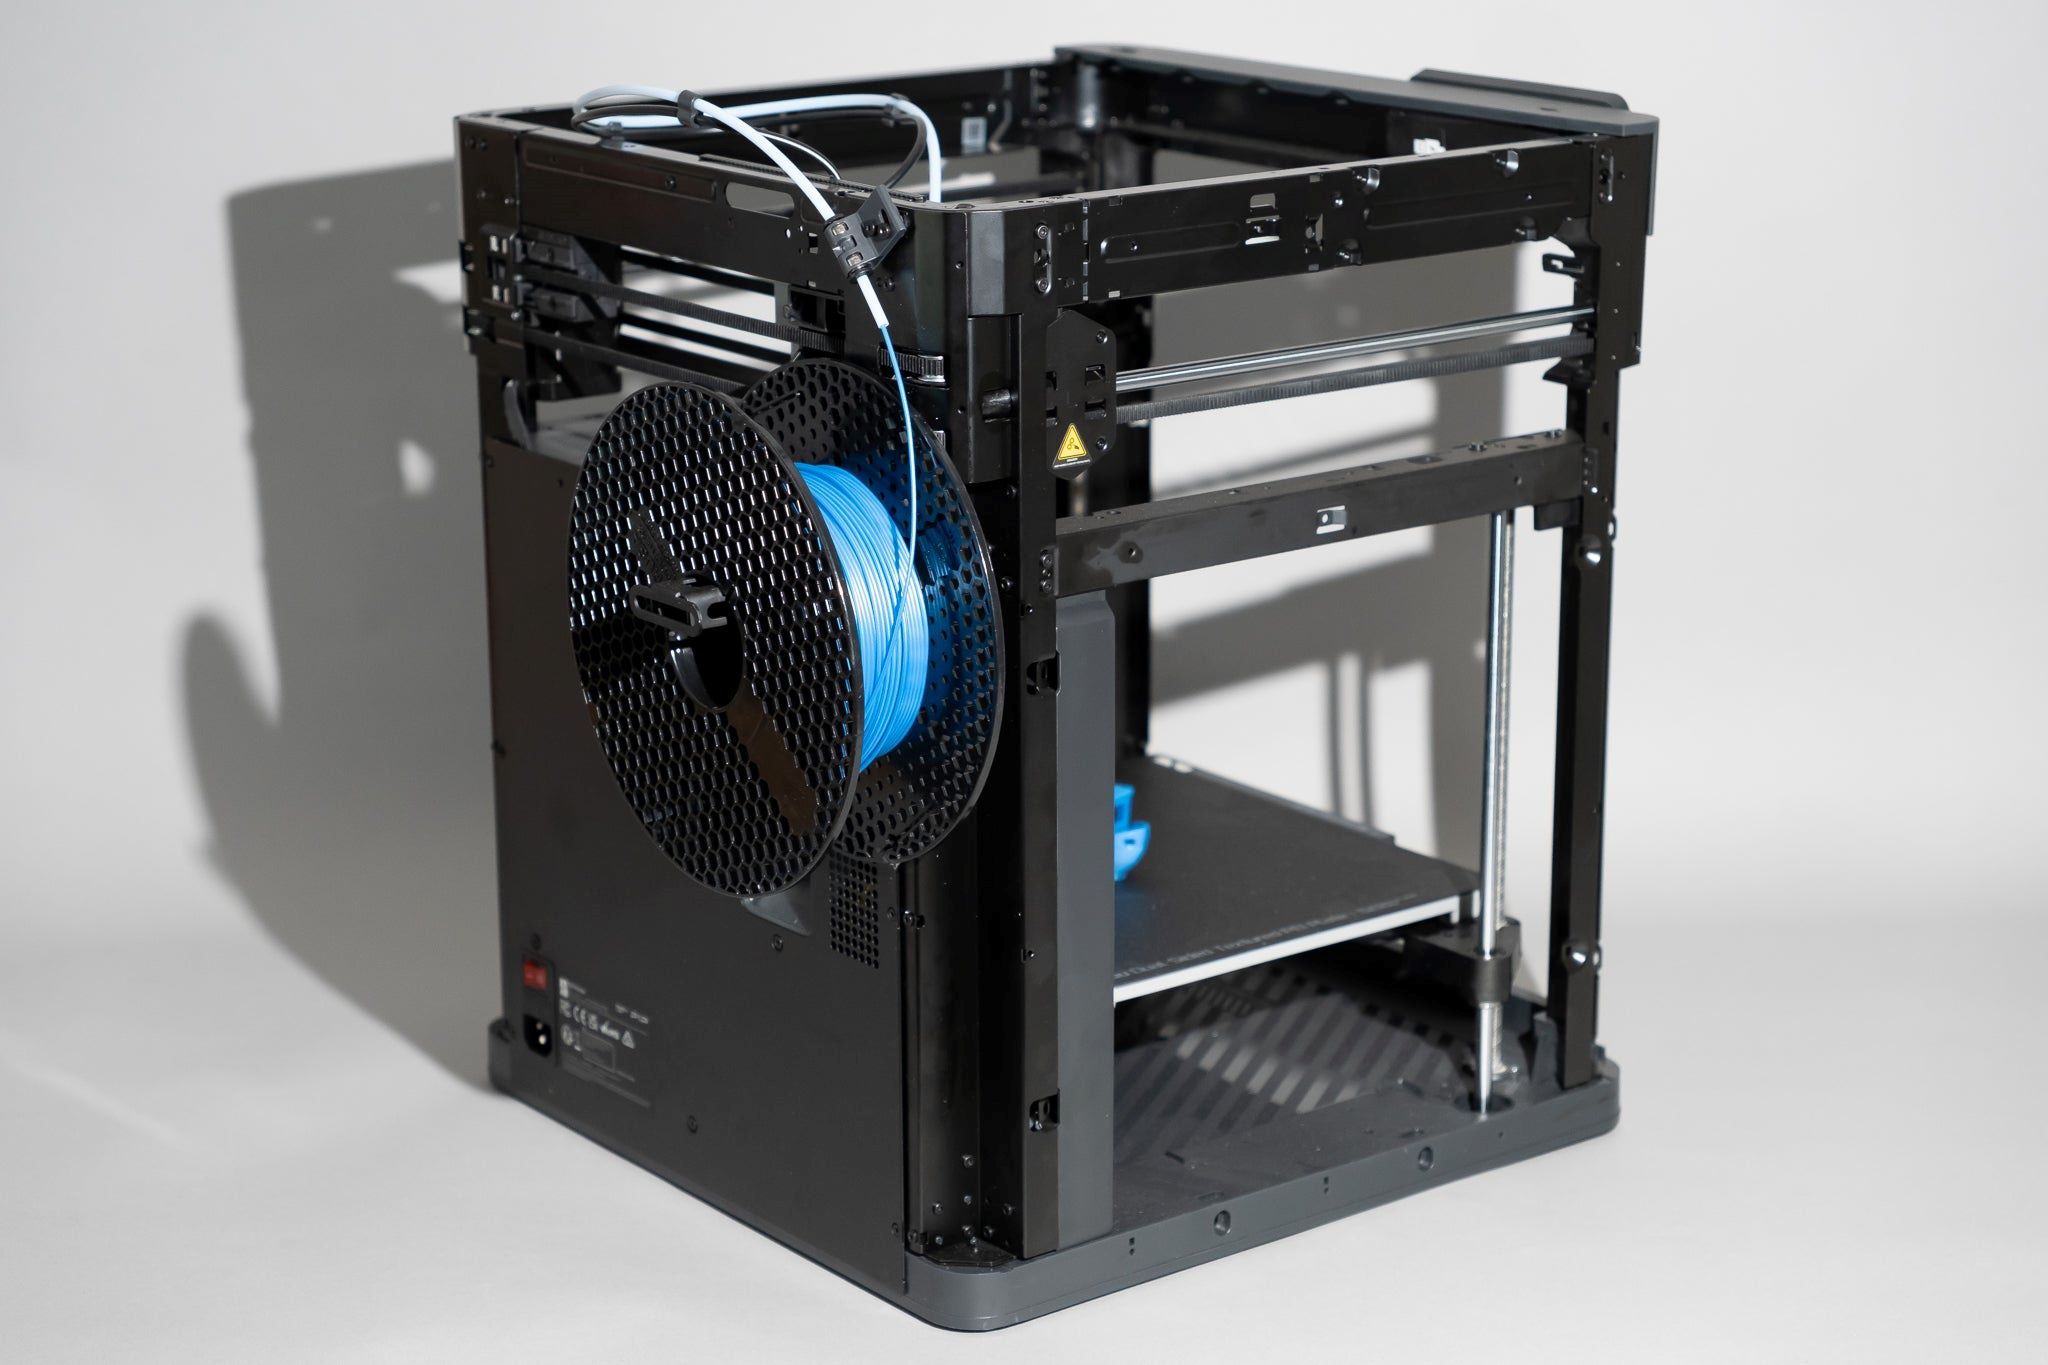
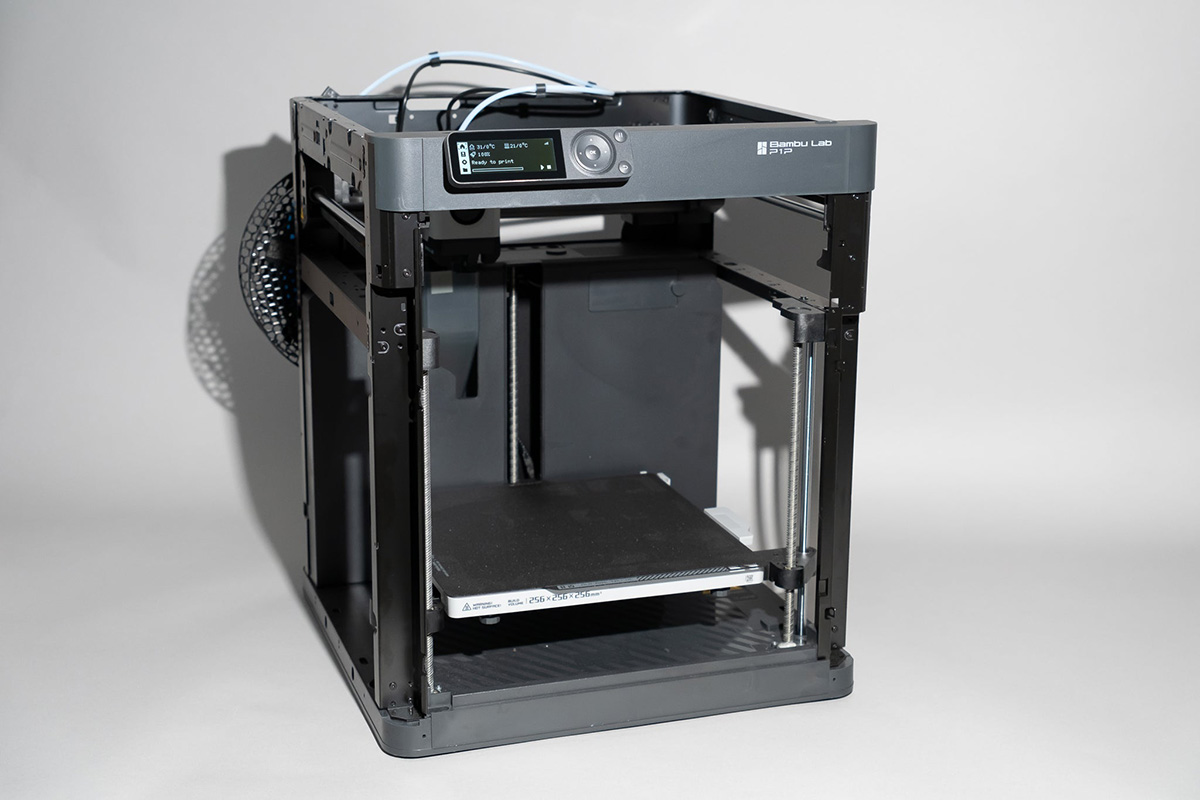
Preparing the 3D Printer
Before embarking on a 3D printing journey, it’s crucial to ensure that the printer is properly set up and calibrated for optimal performance. This involves several preparatory steps that lay the foundation for successful printing and high-quality results.
The first step is to carefully inspect the 3D printer, checking for any signs of damage, loose components, or foreign objects that could impede its operation. It’s essential to follow the manufacturer’s guidelines for assembly and maintenance to guarantee the printer’s reliability and longevity.
Next, the print bed, which serves as the foundation for the printed object, should be leveled to ensure uniform adhesion and precise layering. Proper bed leveling is critical for preventing issues such as warping, uneven surfaces, and failed prints. Most 3D printers feature manual or automatic bed leveling mechanisms, and it’s important to follow the specific instructions provided by the manufacturer.
Calibrating the printer’s extruder is another essential step in the preparation process. This involves adjusting the extrusion rate and temperature to achieve accurate deposition of the printing material. Proper extruder calibration contributes to the dimensional accuracy and structural integrity of the printed objects.
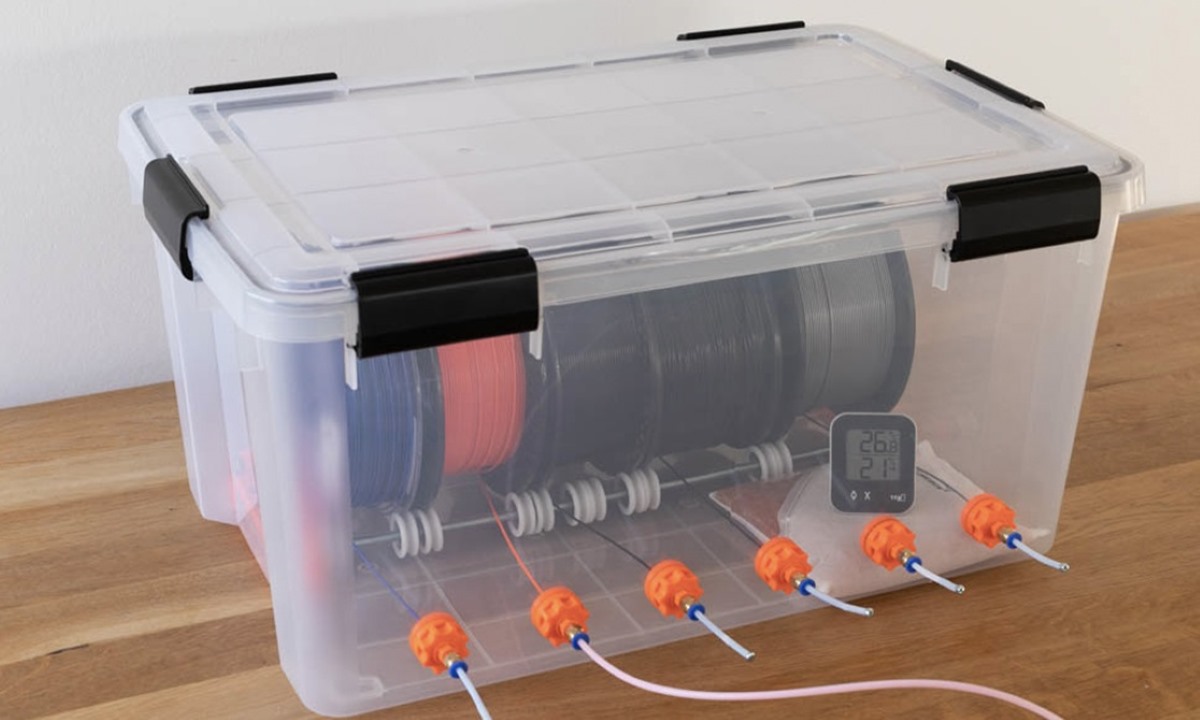
Furthermore, loading the appropriate printing material, whether it’s filament for FDM printers or resin for SLA printers, is a fundamental aspect of preparing the 3D printer. Understanding the material’s properties, such as temperature requirements and compatibility with the printer, is crucial for achieving successful prints and maximizing material efficiency.
Additionally, ensuring that the printer’s firmware and slicing software are up to date is essential for accessing the latest features, enhancements, and compatibility improvements. Regular software updates help optimize the printing process and address potential issues related to slicing, file compatibility, and printer communication.
By meticulously preparing the 3D printer through thorough inspection, bed leveling, extruder calibration, material loading, and software updates, users can establish a solid foundation for seamless and successful 3D printing experiences. With the printer primed and ready, the next step involves creating or obtaining a 3D model for printing, which we will explore in the following section.
Designing or Downloading a 3D Model
Once the 3D printer is prepared and ready for action, the next crucial step is to obtain a digital 3D model for printing. There are two primary avenues for acquiring a 3D model: designing it from scratch using 3D modeling software or downloading a pre-existing model from online repositories or marketplaces.
For those with a flair for creativity and design, 3D modeling software such as Blender, Autodesk Fusion 360, or Tinkercad provides a versatile platform for crafting original 3D models. Whether it’s sculpting organic shapes, engineering precise mechanical components, or conceptualizing artistic structures, 3D modeling software empowers users to bring their unique ideas to fruition in the digital realm.
On the other hand, a vast array of 3D models is readily available for download from online platforms such as Thingiverse, MyMiniFactory, and Cults. These repositories feature a diverse collection of user-generated and professionally crafted 3D models, ranging from functional tools and gadgets to intricate sculptures and decorative pieces. Users can browse through categories, filter by criteria, and select the desired 3D model based on their specific preferences and project requirements.
When choosing or creating a 3D model for printing, factors such as printability, scale, complexity, and intended use should be taken into consideration. Ensuring that the selected model is suitable for the capabilities of the 3D printer, whether in terms of size, detail, or structural integrity, is essential for achieving successful prints.
Moreover, optimizing the 3D model for printing involves preparing it for the slicing process, which converts the digital model into printable layers. This may entail adjusting the orientation, adding support structures for overhangs, and optimizing the overall geometry to enhance print quality and minimize material usage.
Whether designing a custom 3D model or downloading one from online repositories, the process of obtaining a digital model sets the stage for the subsequent steps of setting up the 3D printer and initiating the printing process. With the 3D model at hand, the focus shifts to configuring the printer and preparing for the exciting moment of bringing the digital design into physical reality.
Setting Up the 3D Printer
With a 3D model selected or created, the next phase involves configuring the 3D printer to translate the digital design into a physical object. This entails several key steps to prepare the printer for the printing process and optimize the settings for the specific 3D model.
The first consideration is selecting the appropriate printing parameters, including layer height, infill density, print speed, and temperature settings. These parameters directly influence the structural integrity, surface quality, and material usage of the printed object. Understanding the implications of each parameter and tailoring them to suit the desired outcome is crucial for achieving the intended results.
Once the printing parameters are determined, the 3D model is processed through slicing software, which generates the instructions for the printer based on the chosen parameters. Slicing involves dividing the 3D model into layers and generating the toolpaths that dictate the printer’s movements and material deposition. It also involves configuring support structures, if necessary, to ensure the successful fabrication of overhanging features.
After the slicing process is completed, the resulting set of instructions, known as G-code, is transferred to the 3D printer. This involves either saving the G-code to a memory card or directly transmitting it to the printer via a USB connection, depending on the printer’s capabilities and user preference.
Before initiating the printing process, it’s essential to verify that the printer’s build plate or platform is clean and properly prepared for adhesion. Depending on the printing material and bed surface, techniques such as applying adhesion promoters or using specialized build surfaces may be employed to ensure secure adhesion throughout the print.
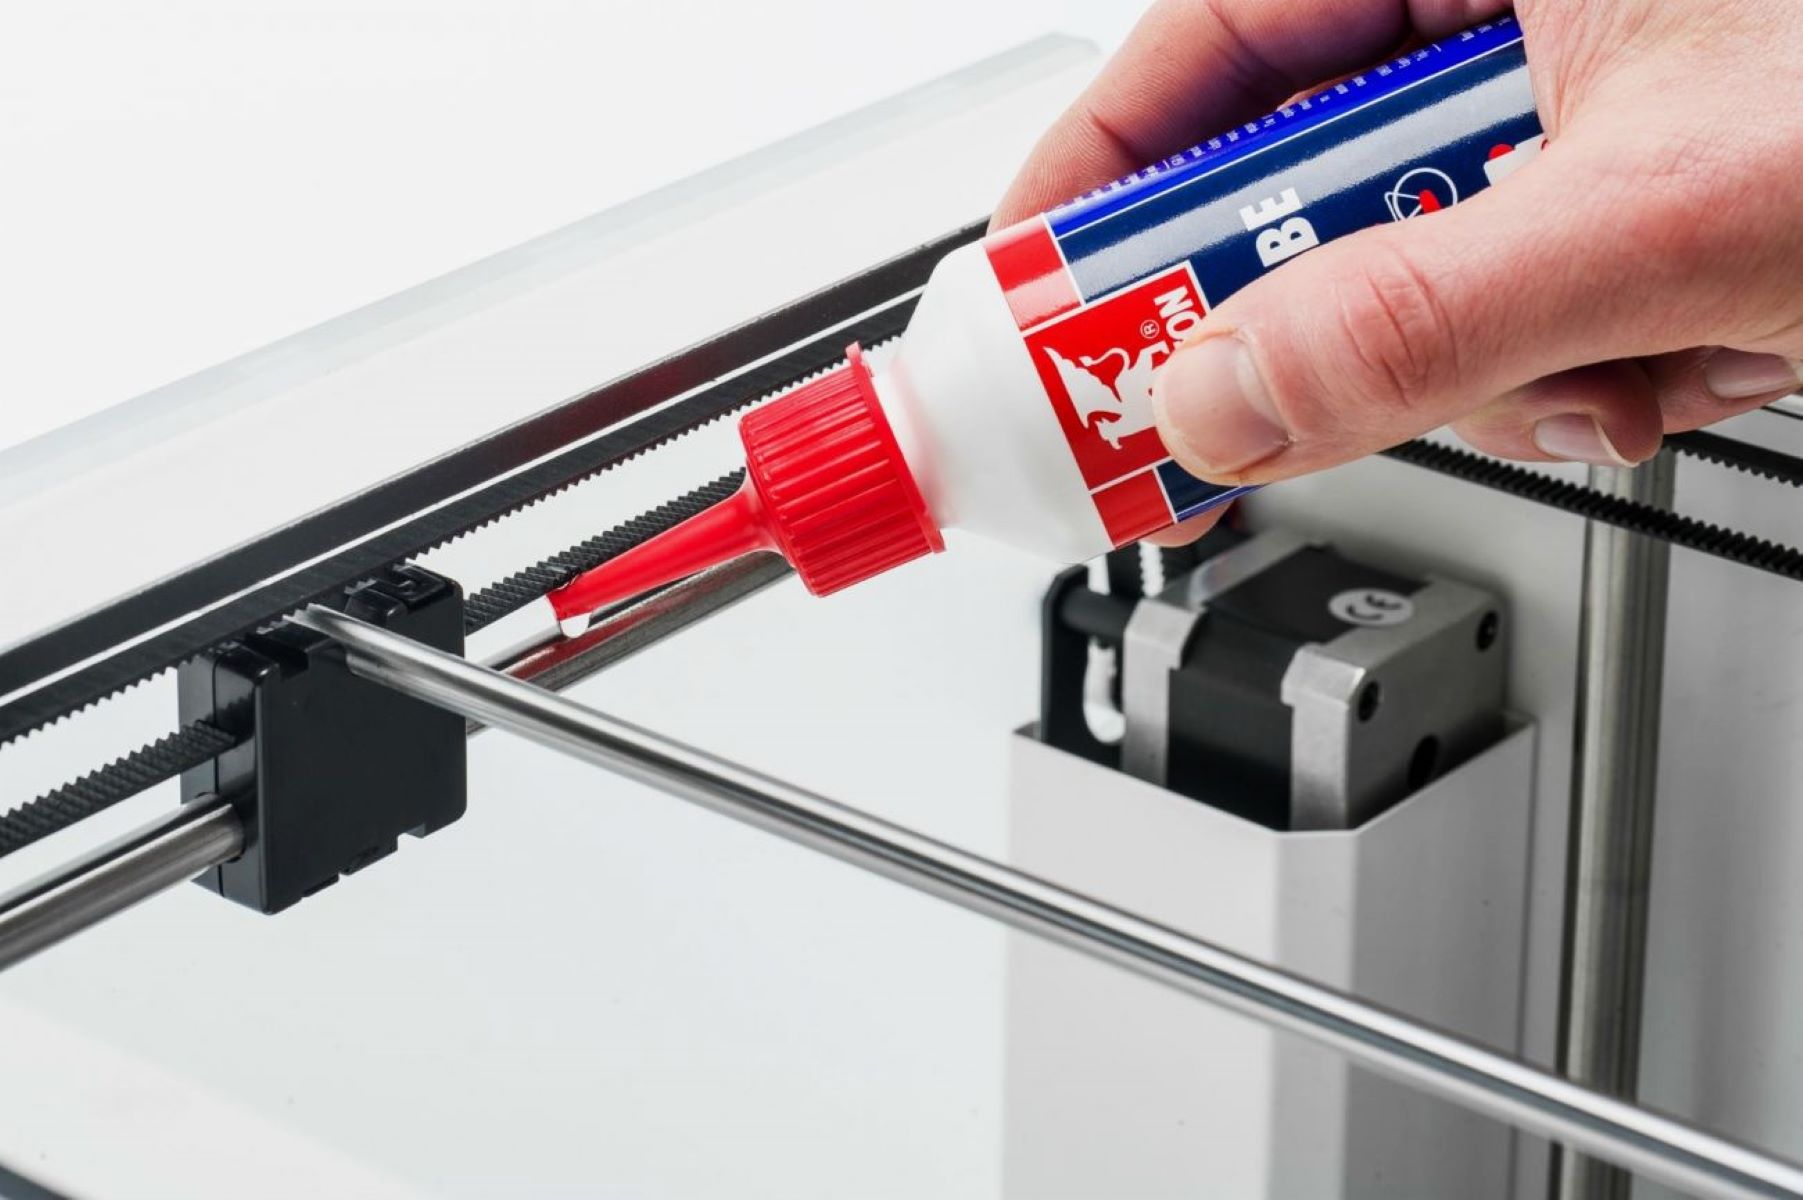
Furthermore, performing a final check of the printer’s mechanical components, such as belts, pulleys, and extruder assembly, helps identify any potential issues that could affect the print quality or overall performance. Ensuring that the printer is well-maintained and free from obstructions contributes to a smooth and trouble-free printing experience.
By meticulously setting up the 3D printer, configuring the printing parameters, processing the 3D model through slicing software, and preparing the printer for the printing process, users lay the groundwork for transforming digital designs into tangible objects with precision and finesse. With the printer primed and the 3D model prepared, the stage is set for the exhilarating moment of witnessing the physical manifestation of the digital creation.
When using a 3D printer, make sure to level the build plate before starting a print. This ensures that the first layer of your print sticks properly and the final result is high quality.
Read more: How Do You Make 3D Printer Files
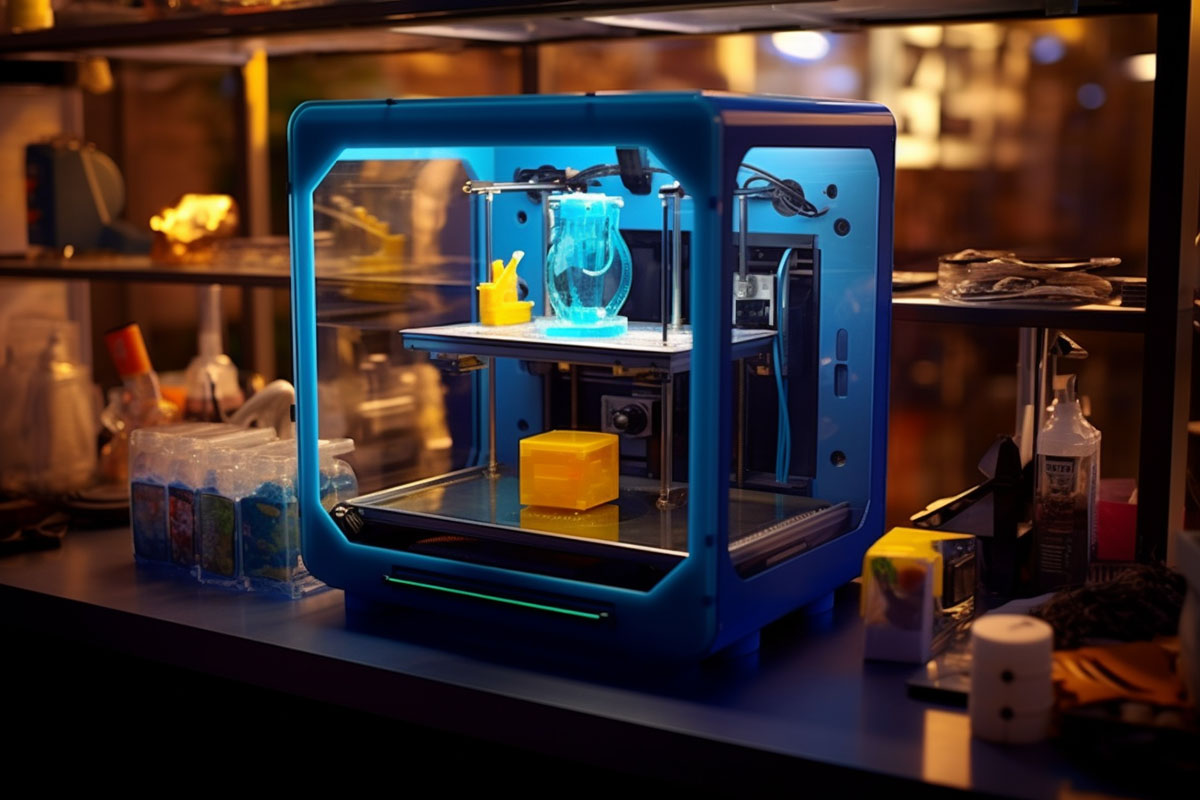
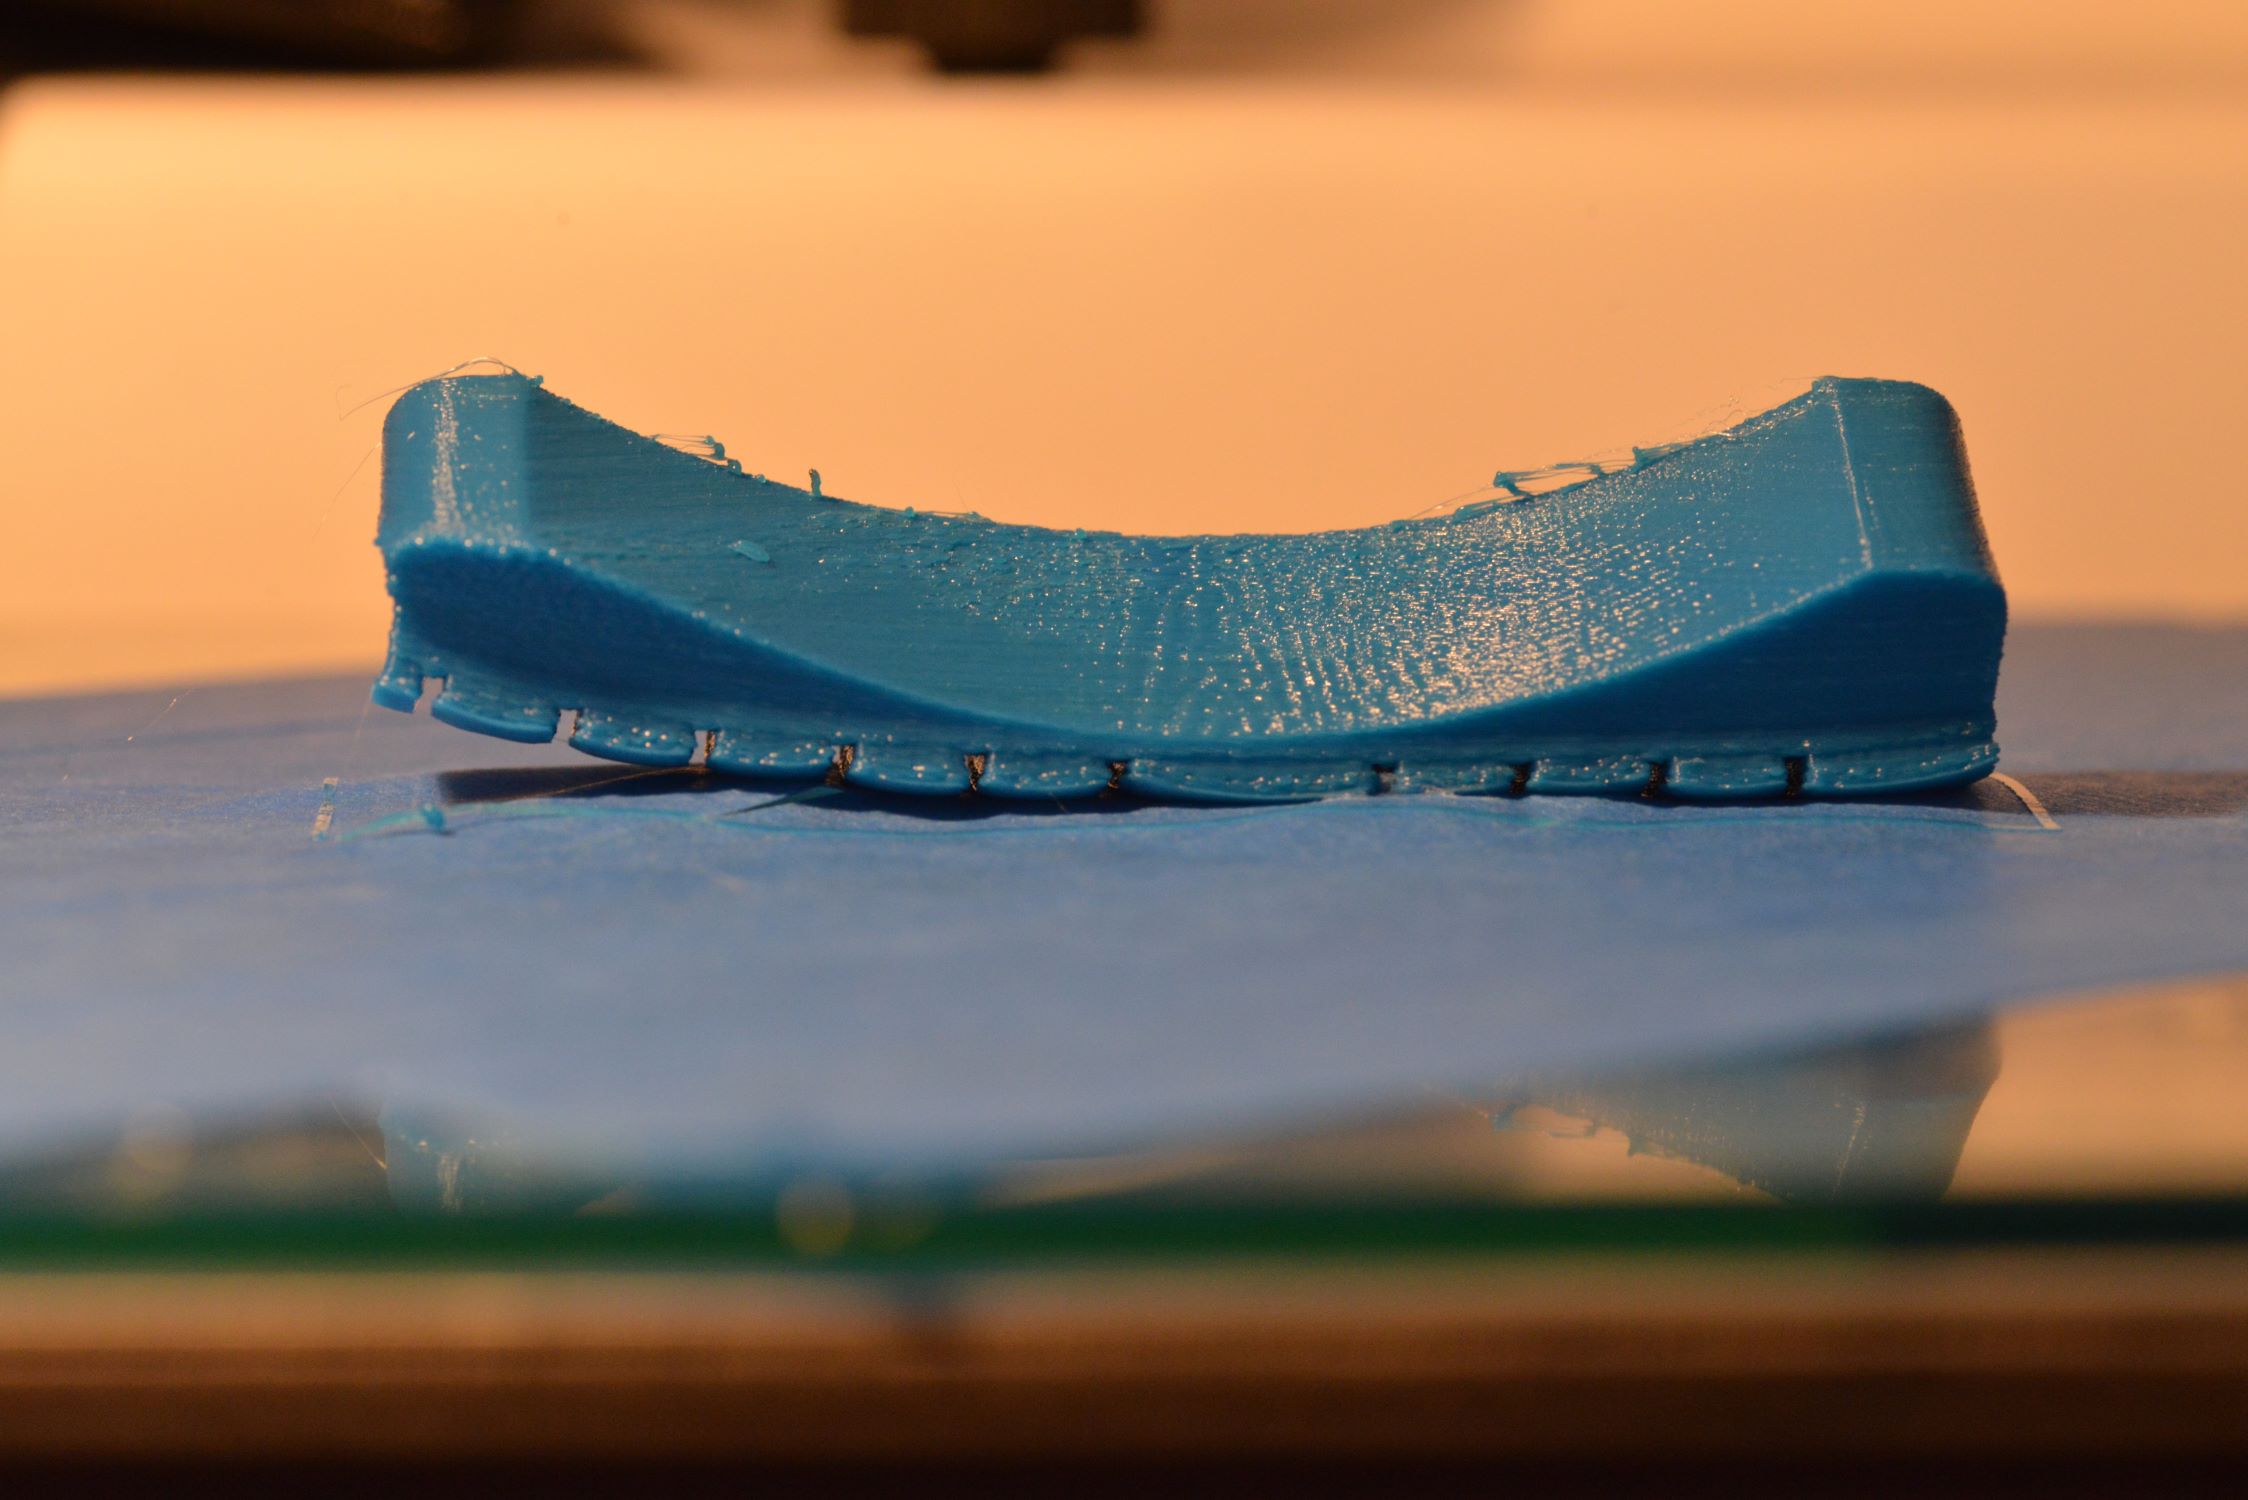
Printing the 3D Model
As the 3D printer is primed and the digital model is prepared, the eagerly anticipated moment arrives to commence the printing process. This pivotal stage involves initiating the 3D printer and overseeing the gradual material deposition and layer-by-layer fabrication of the physical object.
The first step in printing the 3D model is to ensure that the printer is powered on and the necessary connections are established, including the filament or resin being loaded and the printing material’s temperature reaching the optimal range for extrusion or solidification.
Once the printer is prepared, the G-code file generated during the slicing process is selected and initiated, prompting the printer to begin executing the predetermined toolpaths and material deposition sequences. During the initial layers of the print, it’s essential to monitor the adhesion and overall print quality to address any issues that may arise, such as warping, misalignment, or insufficient material flow.
Throughout the printing process, periodic checks on the printer’s status and the evolving print are advisable to promptly address any anomalies or irregularities. Observing the layer-by-layer progression provides insights into the print’s adherence to the digital model and allows for real-time adjustments, if necessary, to optimize the print quality and structural integrity.
Depending on the complexity and scale of the 3D model, the printing process may span several hours or even days for intricate and large-scale objects. During this time, maintaining a stable printing environment, free from vibrations, drafts, or temperature fluctuations, contributes to consistent and reliable print outcomes.
Additionally, adhering to proper safety precautions, such as ensuring adequate ventilation for printers utilizing resin-based materials and observing the printer’s operation from a safe distance, is essential for a secure and controlled printing environment.
Once the printing process nears completion, the printer’s cooling and material solidification phase commences, culminating in the gradual emergence of the fully realized 3D model. As the printer’s movements cease and the object is unveiled, a sense of accomplishment and anticipation accompanies the physical realization of the digital design.
By navigating the intricacies of the printing process, from initiating the print and monitoring its progression to ensuring a conducive printing environment and prioritizing safety, users witness the transformation of digital concepts into tangible creations, marking the culmination of the 3D printing journey.
Post-Processing and Finishing Touches
Following the completion of the 3D printing process, the newly fabricated object undergoes post-processing and finishing touches to refine its appearance, enhance its functionality, and prepare it for its intended use or display. This phase involves a series of meticulous steps to ensure that the printed object meets the desired specifications and quality standards.
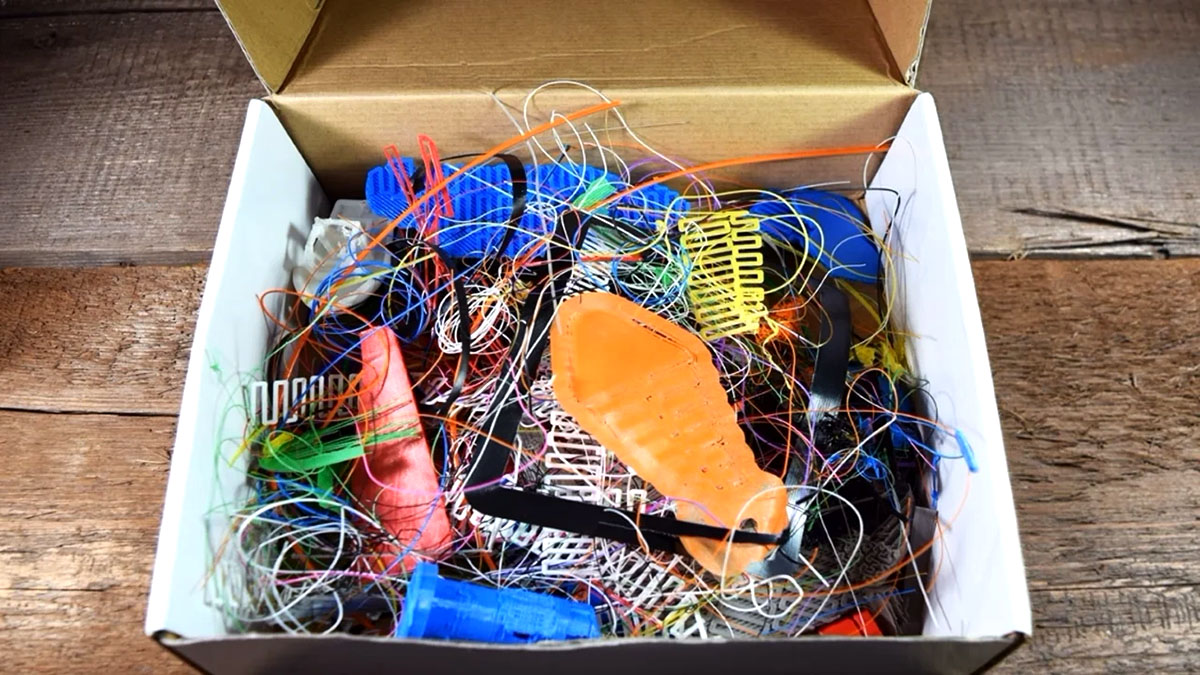
The first consideration in post-processing involves removing the printed object from the build plate or platform. Depending on the adhesion method and the type of build surface used, this may require carefully detaching the object to avoid damage or deformation. For FDM prints, removing any support structures and rafts is also part of this initial stage.
Next, the printed object undergoes cleaning, which may involve removing residual support material, excess filament strands, or uncured resin, depending on the printing technology and material used. This step aims to refine the object’s surface and ensure that it is free from artifacts that could compromise its visual appeal or functionality.
For FDM prints, post-processing may include sanding or filing to smooth rough surfaces and eliminate layer lines, resulting in a more polished and professional finish. This step is particularly valuable for achieving aesthetically pleasing results, especially for prints intended for display or presentation.
Additionally, certain 3D printing materials, such as resin-based prints, may require post-curing processes involving exposure to UV light to solidify the material fully and enhance its mechanical properties. This post-curing stage contributes to the overall durability and stability of the printed object.
Finishing touches may involve applying surface treatments, coatings, or paint to customize the appearance of the printed object, adding color, texture, or protective layers as desired. This step allows for personalization and creative expression, transforming the raw print into a refined and visually captivating piece.
Furthermore, functional prints may require assembly, integration of additional components, or fine-tuning to ensure proper functionality and compatibility with other parts or systems. This phase involves verifying dimensions, tolerances, and mechanical interfaces to guarantee seamless integration and optimal performance.
By meticulously navigating the post-processing and finishing touches, from removing the printed object and cleaning it to refining its surface, applying treatments, and ensuring functional integrity, users elevate the 3D printed creations to a level of quality and craftsmanship that aligns with their vision and purpose. With the finishing touches complete, the printed object is ready to embark on its intended role, whether as a functional prototype, an artistic masterpiece, or a custom-designed tool.
Troubleshooting Common Issues
While 3D printing offers a remarkable avenue for materializing digital designs, it is not without its potential challenges and setbacks. Understanding and addressing common issues that may arise during the printing process is essential for maintaining print quality, minimizing wastage, and optimizing the overall 3D printing experience.
One prevalent issue encountered in FDM printing is poor bed adhesion, resulting in prints detaching or warping during the printing process. This can be mitigated by ensuring that the print bed is properly leveled and adequately prepared with adhesion aids such as adhesive sprays, tapes, or specialized build surfaces.
Extrusion-related issues, such as under-extrusion or over-extrusion, can lead to inconsistent layer adhesion, surface defects, or dimensional inaccuracies in the printed object. Calibrating the extruder’s steps per millimeter and adjusting the flow rate can help rectify these issues, ensuring precise material deposition.
Layer adhesion problems, manifested as delamination or weak bonds between printed layers, may stem from inadequate print cooling, excessive print speed, or insufficient material flow. Optimizing the print cooling settings, adjusting print speeds, and fine-tuning the extrusion parameters can address these challenges and enhance the object’s structural integrity.
Another common issue involves the generation of support structures that are challenging to remove or leave behind unsightly marks on the printed object. Refining the support settings in the slicing software, such as modifying the support density and interface layers, can facilitate the generation of easily removable and clean support structures.
Print artifacts, such as stringing, blobs, or zits, can detract from the visual appeal of the printed object and compromise its surface finish. Adjusting retraction settings, optimizing print temperatures, and fine-tuning travel movements can help minimize these imperfections and achieve smoother, more refined prints.
Resin-based printing technologies may encounter issues related to incomplete curing, insufficient layer adhesion, or resin spillage. Ensuring adequate exposure to curing light, optimizing support structures for resin prints, and implementing proper resin handling and cleanup procedures are essential for addressing these challenges and achieving high-quality resin prints.
By familiarizing themselves with these common issues and implementing targeted solutions, users can navigate the intricacies of 3D printing with confidence, troubleshooting potential hurdles that may arise and refining their printing processes to consistently produce exceptional results. With a proactive approach to addressing common issues, the 3D printing journey becomes a rewarding and fulfilling endeavor, characterized by continuous improvement and mastery of the craft.
Conclusion
The realm of 3D printing encompasses a captivating fusion of creativity, technology, and craftsmanship, offering boundless opportunities for materializing digital concepts into tangible objects. Throughout this comprehensive guide, we have embarked on a journey through the intricacies of using a 3D printer, from understanding the underlying technology to navigating the practical steps of preparing, printing, and refining 3D models.
By gaining insight into the diverse 3D printing technologies, materials, and applications, users are empowered to harness the full potential of this transformative manufacturing process, whether for prototyping, customization, production, or artistic expression. The versatility and adaptability of 3D printing present a dynamic canvas for innovation across various domains, from engineering and design to healthcare, education, and beyond.
Preparing the 3D printer involves meticulous attention to detail, ensuring that the printer is primed for optimal performance and reliability. From leveling the print bed to calibrating the extruder and loading the appropriate printing material, these preparatory steps lay the groundwork for successful and high-quality prints.
Obtaining a 3D model, whether through designing custom creations or downloading pre-existing models, marks the inception of the physicalization process. This pivotal step involves selecting or crafting a digital representation of the intended object, setting the stage for the subsequent stages of configuring the printer and commencing the printing process.
Setting up the 3D printer encompasses tailoring the printing parameters, processing the 3D model through slicing software, and preparing the printer for the fabrication process. This phase involves fine-tuning the printer’s settings to align with the specific requirements of the 3D model, culminating in the exciting moment of initiating the print and witnessing the gradual materialization of the digital design.
Printing the 3D model unfolds as a transformative journey, from the initial material deposition to the gradual emergence of the fully realized object. This phase involves overseeing the printer’s operation, ensuring a stable printing environment, and maintaining vigilance to address any anomalies or irregularities that may arise during the printing process.
Post-processing and finishing touches elevate the printed object to a level of refinement and quality that aligns with the creator’s vision and purpose. From cleaning and refining the object’s surface to applying treatments, coatings, or assembly, this phase adds the final touches that enhance the object’s visual appeal, functionality, and overall impact.
Troubleshooting common issues represents an integral aspect of the 3D printing journey, enabling users to navigate potential challenges and refine their printing processes. By addressing issues such as bed adhesion, extrusion-related anomalies, support structures, and print artifacts, users can optimize their printing experiences and consistently produce exceptional results.
As we conclude this exploration of using a 3D printer, it’s evident that 3D printing transcends mere fabrication; it embodies a convergence of innovation, precision, and boundless creativity. Whether it’s bringing intricate designs to life, engineering functional prototypes, or contributing to groundbreaking advancements, 3D printing continues to shape the landscape of modern manufacturing and inspire a new wave of inventive possibilities.
With a solid understanding of the fundamentals and a spirit of exploration, users are poised to embark on their own 3D printing odyssey, channeling their imagination and technical prowess to realize remarkable creations that leave an indelible mark on the world of innovation and craftsmanship.
Frequently Asked Questions about How Do You Use A 3D Printer
Was this page helpful?
At Storables.com, we guarantee accurate and reliable information. Our content, validated by Expert Board Contributors, is crafted following stringent Editorial Policies. We're committed to providing you with well-researched, expert-backed insights for all your informational needs.


0 thoughts on “How Do You Use A 3D Printer”