Home>Technology>Smart Home Devices>How To Connect A Cell Phone To A Wi-Fi Router

Smart Home Devices
How To Connect A Cell Phone To A Wi-Fi Router
Modified: January 4, 2024
Learn how to connect your smart home devices to a Wi-Fi router for seamless integration and enhanced functionality. Follow our step-by-step guide for easy setup.
(Many of the links in this article redirect to a specific reviewed product. Your purchase of these products through affiliate links helps to generate commission for Storables.com, at no extra cost. Learn more)
Introduction
Welcome to the digital age, where staying connected is essential for both work and play. With the proliferation of smart devices, connecting your cell phone to a Wi-Fi router has become a fundamental aspect of daily life. Whether you’re at home, in a coffee shop, or at the airport, accessing a Wi-Fi network allows you to browse the internet, stream content, and communicate with others without relying solely on cellular data.
In this comprehensive guide, we’ll walk you through the simple process of connecting your cell phone to a Wi-Fi router. By following the steps outlined below, you’ll be able to establish a stable and secure connection, enabling you to harness the full potential of your cell phone’s capabilities.
So, grab your cell phone and let’s embark on this journey to seamless connectivity!
Key Takeaways:
- Stay connected anywhere by following simple steps to connect your cell phone to a Wi-Fi router. Enjoy seamless browsing, streaming, and communication without relying solely on cellular data.
- Prioritize security and reliability when selecting Wi-Fi networks. Safeguard your online activities and personal information by exercising caution, especially in public spaces.
Step 1: Turn on Wi-Fi on Your Cell Phone
The first step in connecting your cell phone to a Wi-Fi router is to ensure that the Wi-Fi feature on your device is activated. This process may vary slightly depending on the operating system of your cell phone, but the general steps are quite similar.
For Android devices, navigate to the “Settings” menu, usually represented by a gear icon, and select “Wi-Fi.” Toggle the switch to turn on Wi-Fi, and your device will automatically start scanning for available networks in the vicinity. Once the Wi-Fi feature is activated, you will be able to view a list of nearby Wi-Fi networks.
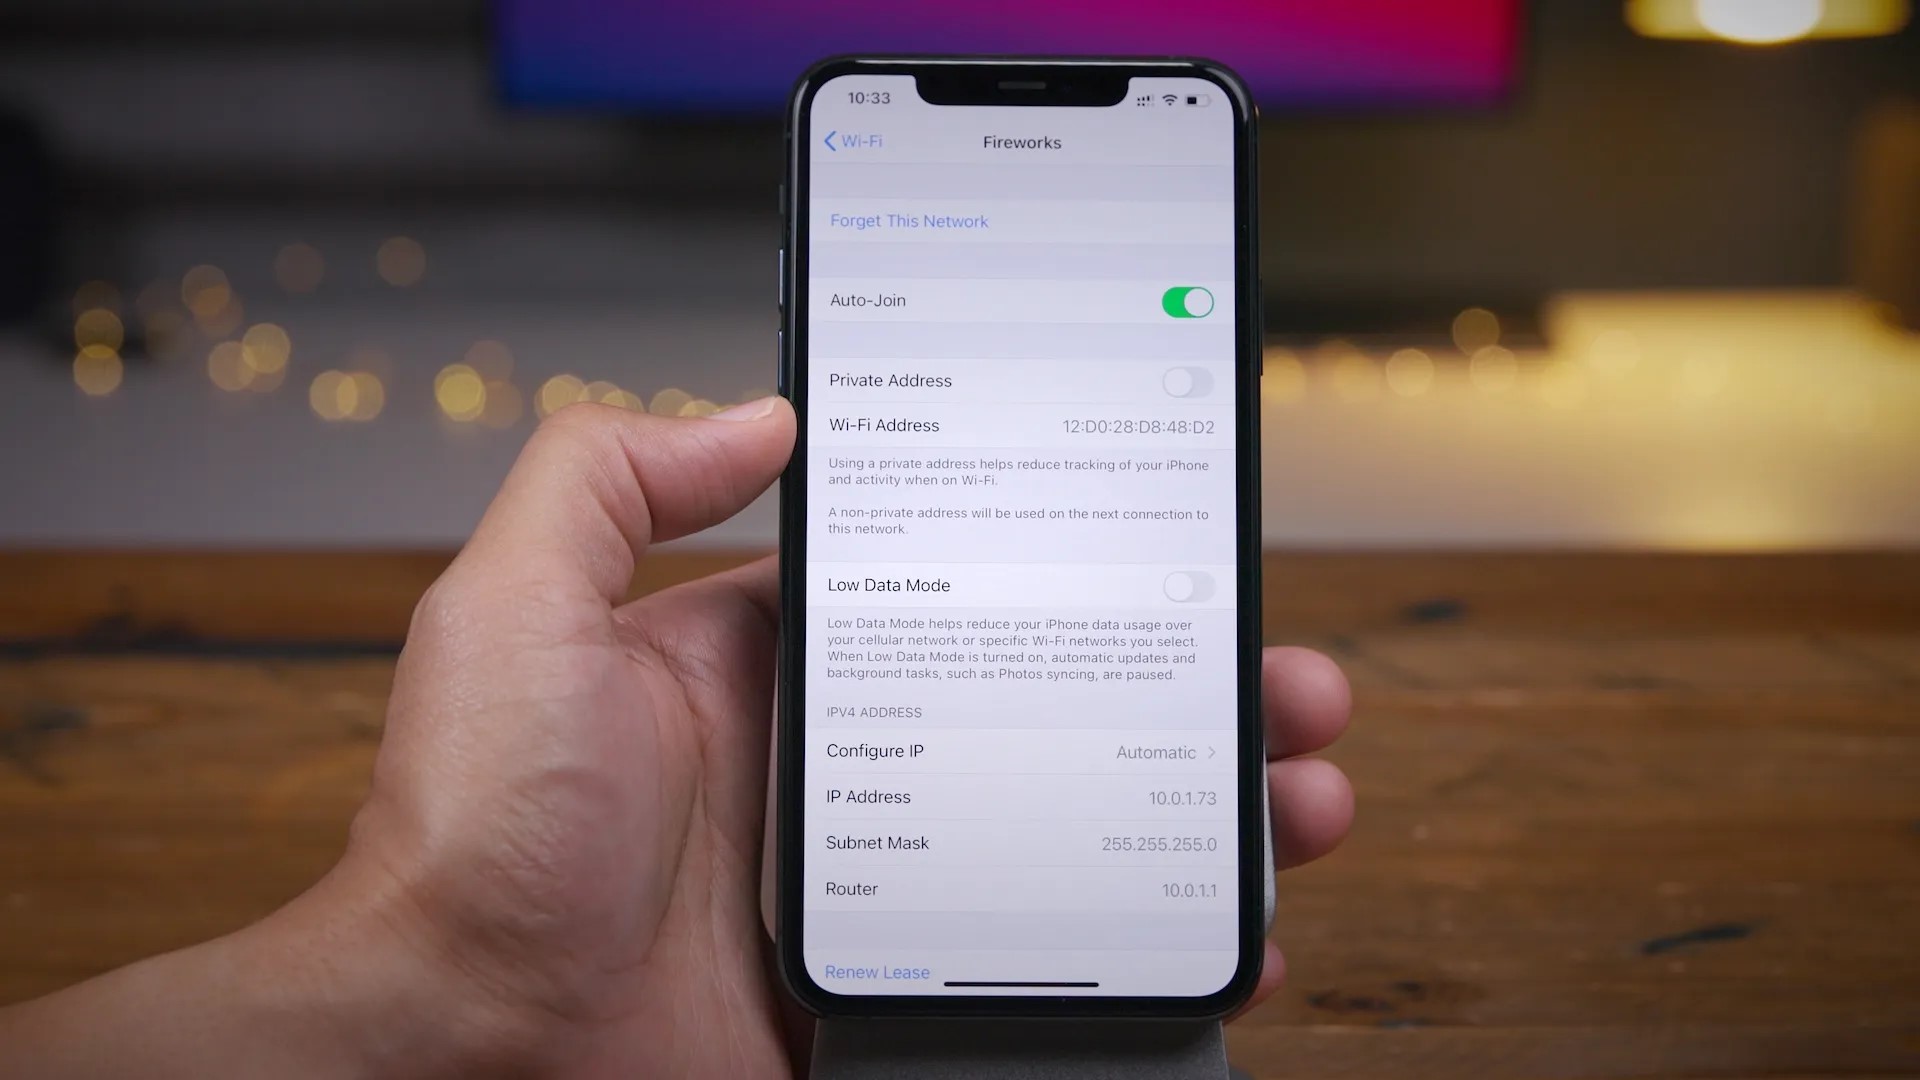
If you’re using an iPhone, access the “Settings” app and tap on “Wi-Fi.” Slide the Wi-Fi toggle to the right to enable it. As with Android devices, your iPhone will begin searching for accessible Wi-Fi networks once the feature is activated.
By turning on Wi-Fi on your cell phone, you’re paving the way for the next crucial step: selecting the Wi-Fi network to which you wish to connect. This simple yet vital process sets the stage for seamless connectivity and access to a world of digital possibilities.
Step 2: Select the Wi-Fi Network
After activating the Wi-Fi feature on your cell phone, the next step is to select the Wi-Fi network to which you want to connect. When you access the list of available networks on your device, you’ll likely encounter a range of options, including those from nearby homes, businesses, and public hotspots.
When choosing a Wi-Fi network, it’s important to prioritize security and reliability. If you’re at home or in a familiar environment, you’ll likely see your personal Wi-Fi network listed among the options. Select your home network from the list by tapping on its name. If you’re in a public space, you may need to seek permission or use a password to connect to the network, especially if it’s a secure or private connection.
When connecting to a public Wi-Fi network, exercise caution and ensure that you’re connecting to a legitimate and secure network. Avoid connecting to networks with generic names like “Free Wi-Fi” or “Public Wi-Fi” unless they are provided by reputable establishments.
By selecting the appropriate Wi-Fi network, you’re taking a significant step toward establishing a reliable and secure connection. The next phase involves entering the Wi-Fi password, which is essential for accessing and utilizing the chosen network.
To connect your cell phone to a Wi-Fi router, go to your phone’s settings, select Wi-Fi, and choose the network you want to connect to. Enter the password if required, and you’re good to go!
Step 3: Enter the Wi-Fi Password
Once you’ve selected the Wi-Fi network on your cell phone, the next crucial step is to enter the Wi-Fi password, also known as the network key or passphrase. This password is essential for securing your connection and preventing unauthorized access to the network.
When connecting to your home Wi-Fi network, you will need to enter the password that was set up during the initial configuration of the router. This password is usually provided by the internet service provider or set by the network administrator. If you’re in a public setting, such as a cafe or airport, you may need to request the Wi-Fi password from the establishment’s staff or check for posted signage.
It’s important to enter the password accurately, taking care to differentiate between uppercase and lowercase letters, as well as any numbers or special characters. Most cell phones will display the entered characters as bullet points or asterisks to ensure privacy and security. Double-check the password before proceeding to ensure that it is input correctly, as an incorrect password will result in a failed connection attempt.
By entering the Wi-Fi password correctly, you’re one step closer to establishing a secure and stable connection to the Wi-Fi router. The final phase involves connecting to the Wi-Fi network, which will enable you to harness the full potential of your cell phone’s online capabilities.
Step 4: Connect to the Wi-Fi Router
With the Wi-Fi network selected and the password entered, the final step is to connect your cell phone to the Wi-Fi router. This process solidifies the link between your device and the chosen network, allowing you to access the internet, stream media, and engage in online activities with ease.
Upon entering the correct Wi-Fi password, your cell phone will initiate the connection process. You may notice a brief loading icon or a message indicating that the device is attempting to connect to the network. Once the connection is established, your cell phone will display a confirmation message, indicating that it is now connected to the Wi-Fi network.
When connected to a Wi-Fi network, your cell phone will typically display the network’s name, signal strength, and possibly an icon indicating the strength of the connection. This visual feedback provides reassurance that you are successfully linked to the Wi-Fi router and can begin utilizing the network for various online activities.
By completing the connection to the Wi-Fi router, you have unlocked a world of possibilities for your cell phone. From seamless web browsing and social media interaction to streaming music and video content, a stable Wi-Fi connection enhances your device’s functionality and ensures a smooth and enjoyable user experience.
Congratulations! You have successfully connected your cell phone to a Wi-Fi router, empowering yourself with the ability to stay connected, informed, and entertained in the digital realm.
Read more: How To Connect Verizon Wi-Fi Router
Conclusion
Connecting your cell phone to a Wi-Fi router opens the door to a myriad of online opportunities, allowing you to harness the full potential of your device’s capabilities. By following the simple yet essential steps outlined in this guide, you have successfully established a secure and reliable connection, enabling seamless access to the digital world.
From the initial activation of Wi-Fi on your cell phone to the selection of a trusted Wi-Fi network, entering the password, and finally connecting to the Wi-Fi router, each step plays a crucial role in ensuring a stable and secure connection. This connection empowers you to browse the internet, communicate with others, and enjoy media content without solely relying on cellular data.
As you navigate the digital landscape with your newly established Wi-Fi connection, remember to prioritize security and choose trusted networks, especially when connecting in public spaces. By exercising caution and vigilance, you can safeguard your online activities and protect your personal information from potential security threats.
Embrace the convenience and versatility of a Wi-Fi-connected cell phone, and explore the endless possibilities that come with seamless connectivity. Whether you’re working, studying, or simply unwinding with your favorite online content, a stable and secure Wi-Fi connection enhances your digital experience and keeps you connected to the world at your fingertips.
So, go ahead, make the most of your Wi-Fi-connected cell phone, and embark on a journey of digital exploration and connectivity. Stay connected, stay informed, and enjoy the boundless opportunities that await in the online realm.
Frequently Asked Questions about How To Connect A Cell Phone To A Wi-Fi Router
Was this page helpful?
At Storables.com, we guarantee accurate and reliable information. Our content, validated by Expert Board Contributors, is crafted following stringent Editorial Policies. We're committed to providing you with well-researched, expert-backed insights for all your informational needs.

0 thoughts on “How To Connect A Cell Phone To A Wi-Fi Router”