Home>Technology>Smart Home Devices>How To Connect Internet Cable To Wi-Fi Router
Smart Home Devices
How To Connect Internet Cable To Wi-Fi Router
Modified: January 4, 2024
Learn how to connect internet cable to Wi-Fi router for seamless integration of smart home devices. Follow our step-by-step guide for easy setup.
(Many of the links in this article redirect to a specific reviewed product. Your purchase of these products through affiliate links helps to generate commission for Storables.com, at no extra cost. Learn more)
Introduction
In the era of digital connectivity, the significance of a robust and reliable internet connection cannot be overstated. Whether for work, entertainment, or communication, a seamless online experience has become an essential part of modern life. Central to this experience is the Wi-Fi router, which serves as the gateway to the digital world within our homes. However, for the router to function optimally, it must be connected to the internet via an appropriate cable.
In this comprehensive guide, we will delve into the process of connecting an internet cable to a Wi-Fi router, demystifying the technical jargon and providing practical insights for users of all levels of expertise. By the end of this journey, you will gain a clear understanding of the steps involved in this essential setup, empowering you to establish a reliable and high-speed internet connection within your home.
So, let's embark on this enlightening expedition, unraveling the intricacies of internet cable connections and Wi-Fi router configurations. Whether you are a tech enthusiast seeking to expand your knowledge or a novice navigating the digital landscape, this guide is designed to equip you with the know-how to seamlessly integrate your Wi-Fi router with the internet, paving the way for a connected and enriched digital lifestyle.
Key Takeaways:
- Connecting your Wi-Fi router to the internet with the right cable is crucial for a reliable and high-speed connection. Understanding cable types and following the connection process ensures seamless digital access at home.
- Configuring your Wi-Fi router and testing the connection are essential steps for optimizing performance and ensuring a stable network. With the right setup, you can confidently enjoy the benefits of a connected digital lifestyle.
Read also: 12 Amazing Internet Wi-Fi Router For 2025
Understanding Internet Cables
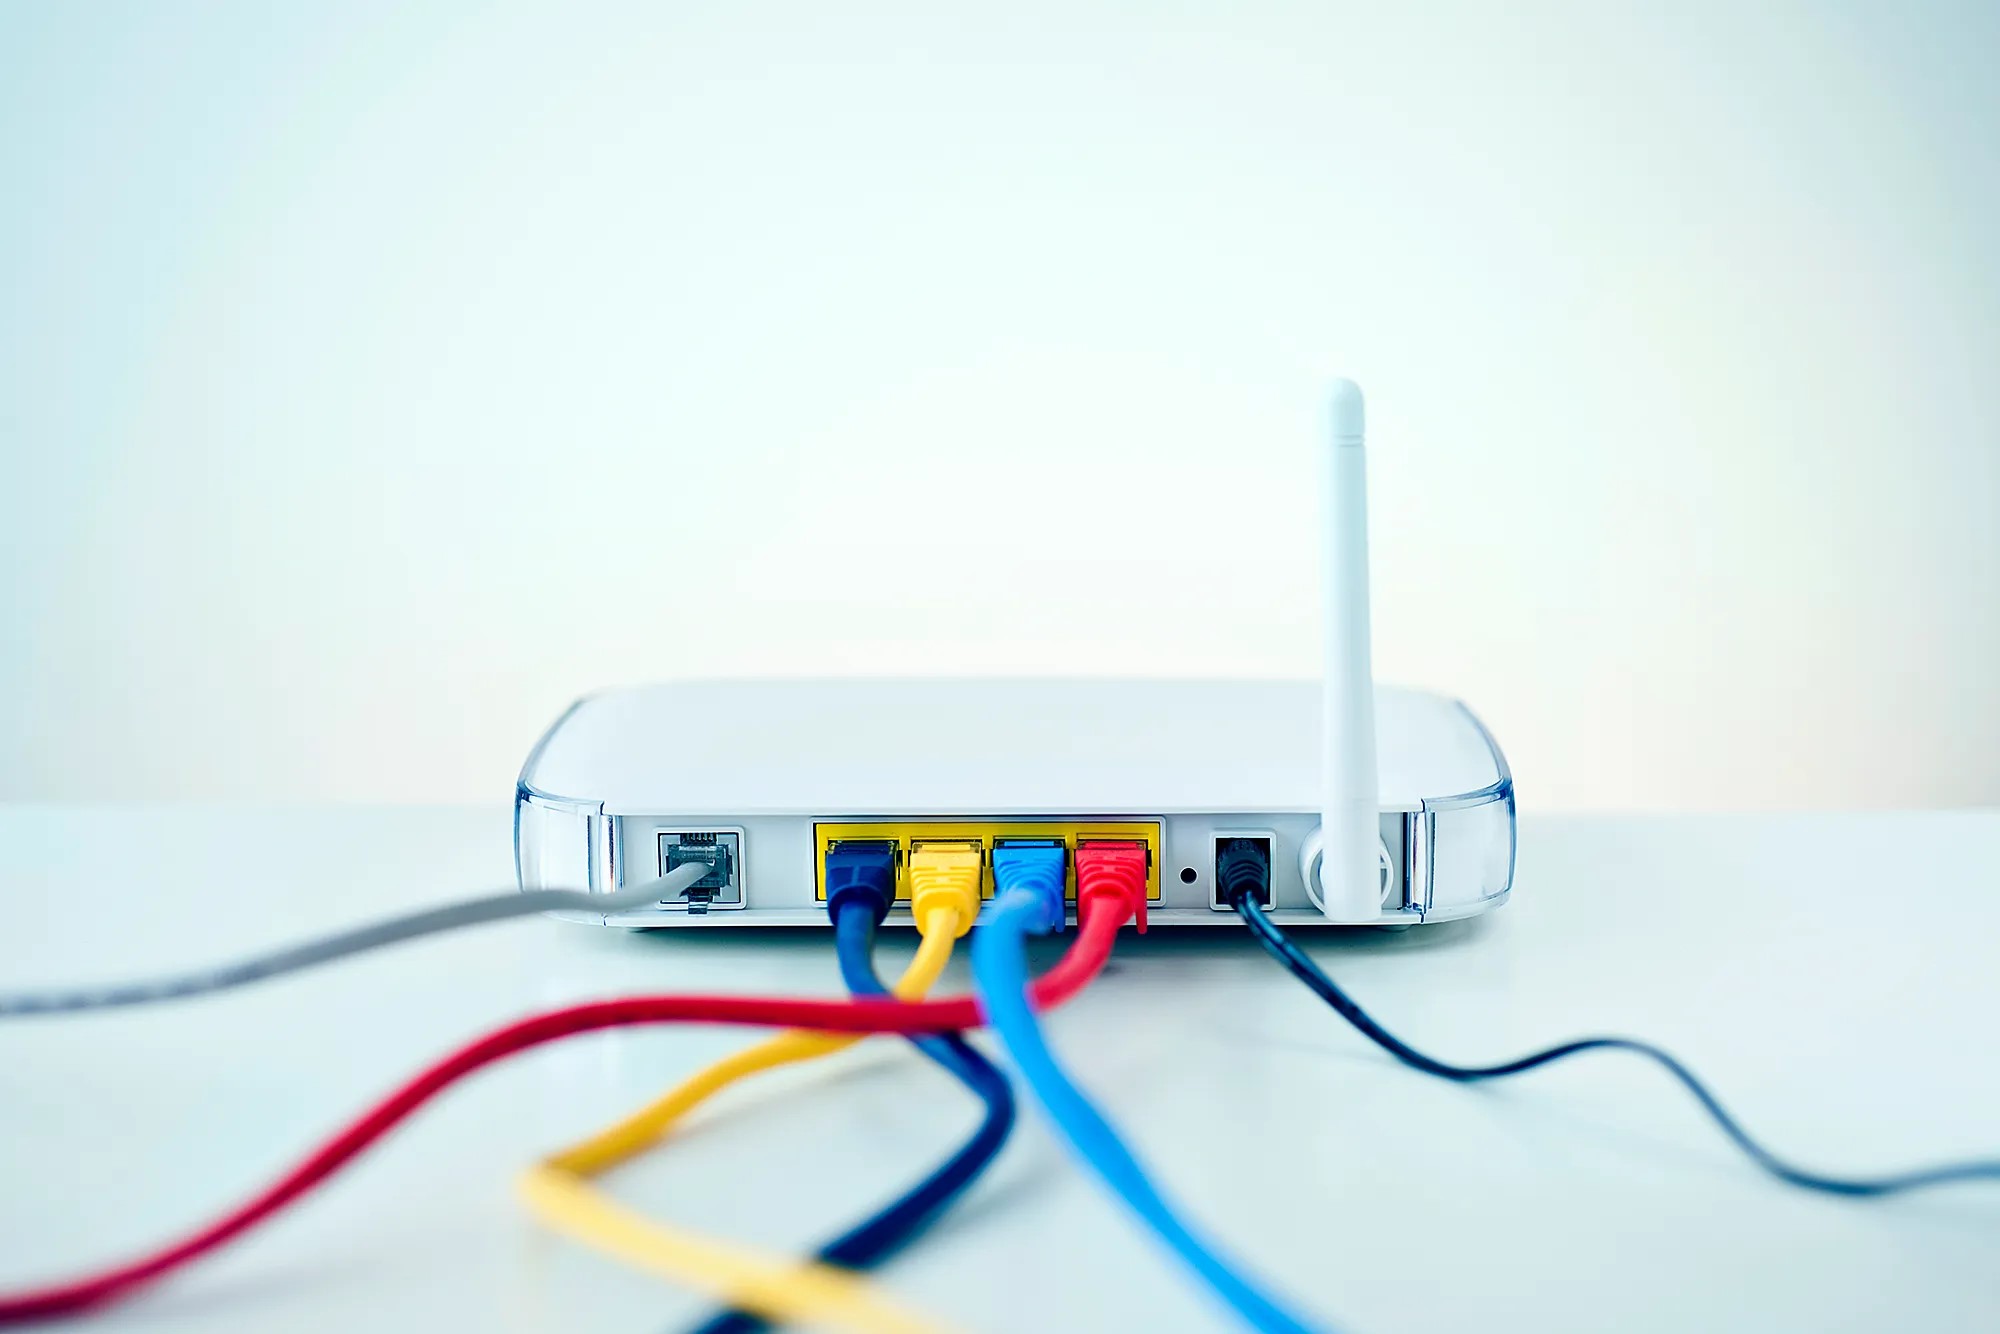
Before we embark on the process of connecting the internet cable to the Wi-Fi router, it is essential to grasp the fundamental role of internet cables in facilitating high-speed data transmission. Internet cables, also known as Ethernet cables, serve as the physical conduit through which data travels between the modem, router, and various connected devices.
There are several types of internet cables, each with distinct characteristics and applications. The most common type is the Category 5e (Cat5e) cable, renowned for its versatility and ability to support data transfer speeds of up to 1,000 Mbps. This makes it suitable for connecting devices that require high-speed internet access, such as computers, gaming consoles, and smart TVs.
For even faster data transfer rates, the Category 6 (Cat6) cable is a popular choice. With its enhanced performance capabilities, the Cat6 cable can support speeds of up to 10,000 Mbps, making it well-suited for demanding applications, including streaming high-definition video and online gaming.
Understanding the distinctions between these cable types is crucial for selecting the most suitable option based on your specific internet requirements. Additionally, it is important to consider the length of the cable, as excessive distance can lead to signal degradation and reduced performance. Therefore, it is advisable to measure the distance between the router and the connected device to determine the appropriate cable length for optimal connectivity.
Moreover, internet cables come in various colors, which can aid in organizing and identifying connections within a network setup. While the color does not affect the cable’s performance, it can simplify the management of multiple cables and facilitate efficient troubleshooting and maintenance.
By comprehending the characteristics and capabilities of different internet cables, users can make informed decisions when establishing or expanding their home network. Armed with this knowledge, we are now primed to explore the process of connecting the internet cable to the Wi-Fi router, laying the groundwork for a seamless and robust internet connection.
Connecting the Internet Cable to the Wi-Fi Router
Now that we have a solid understanding of internet cables, it’s time to embark on the pivotal step of connecting the internet cable to the Wi-Fi router. This process is essential for establishing a reliable and high-speed internet connection within your home. By following the steps outlined below, you can seamlessly integrate your Wi-Fi router with the internet, enabling seamless access to the digital realm.
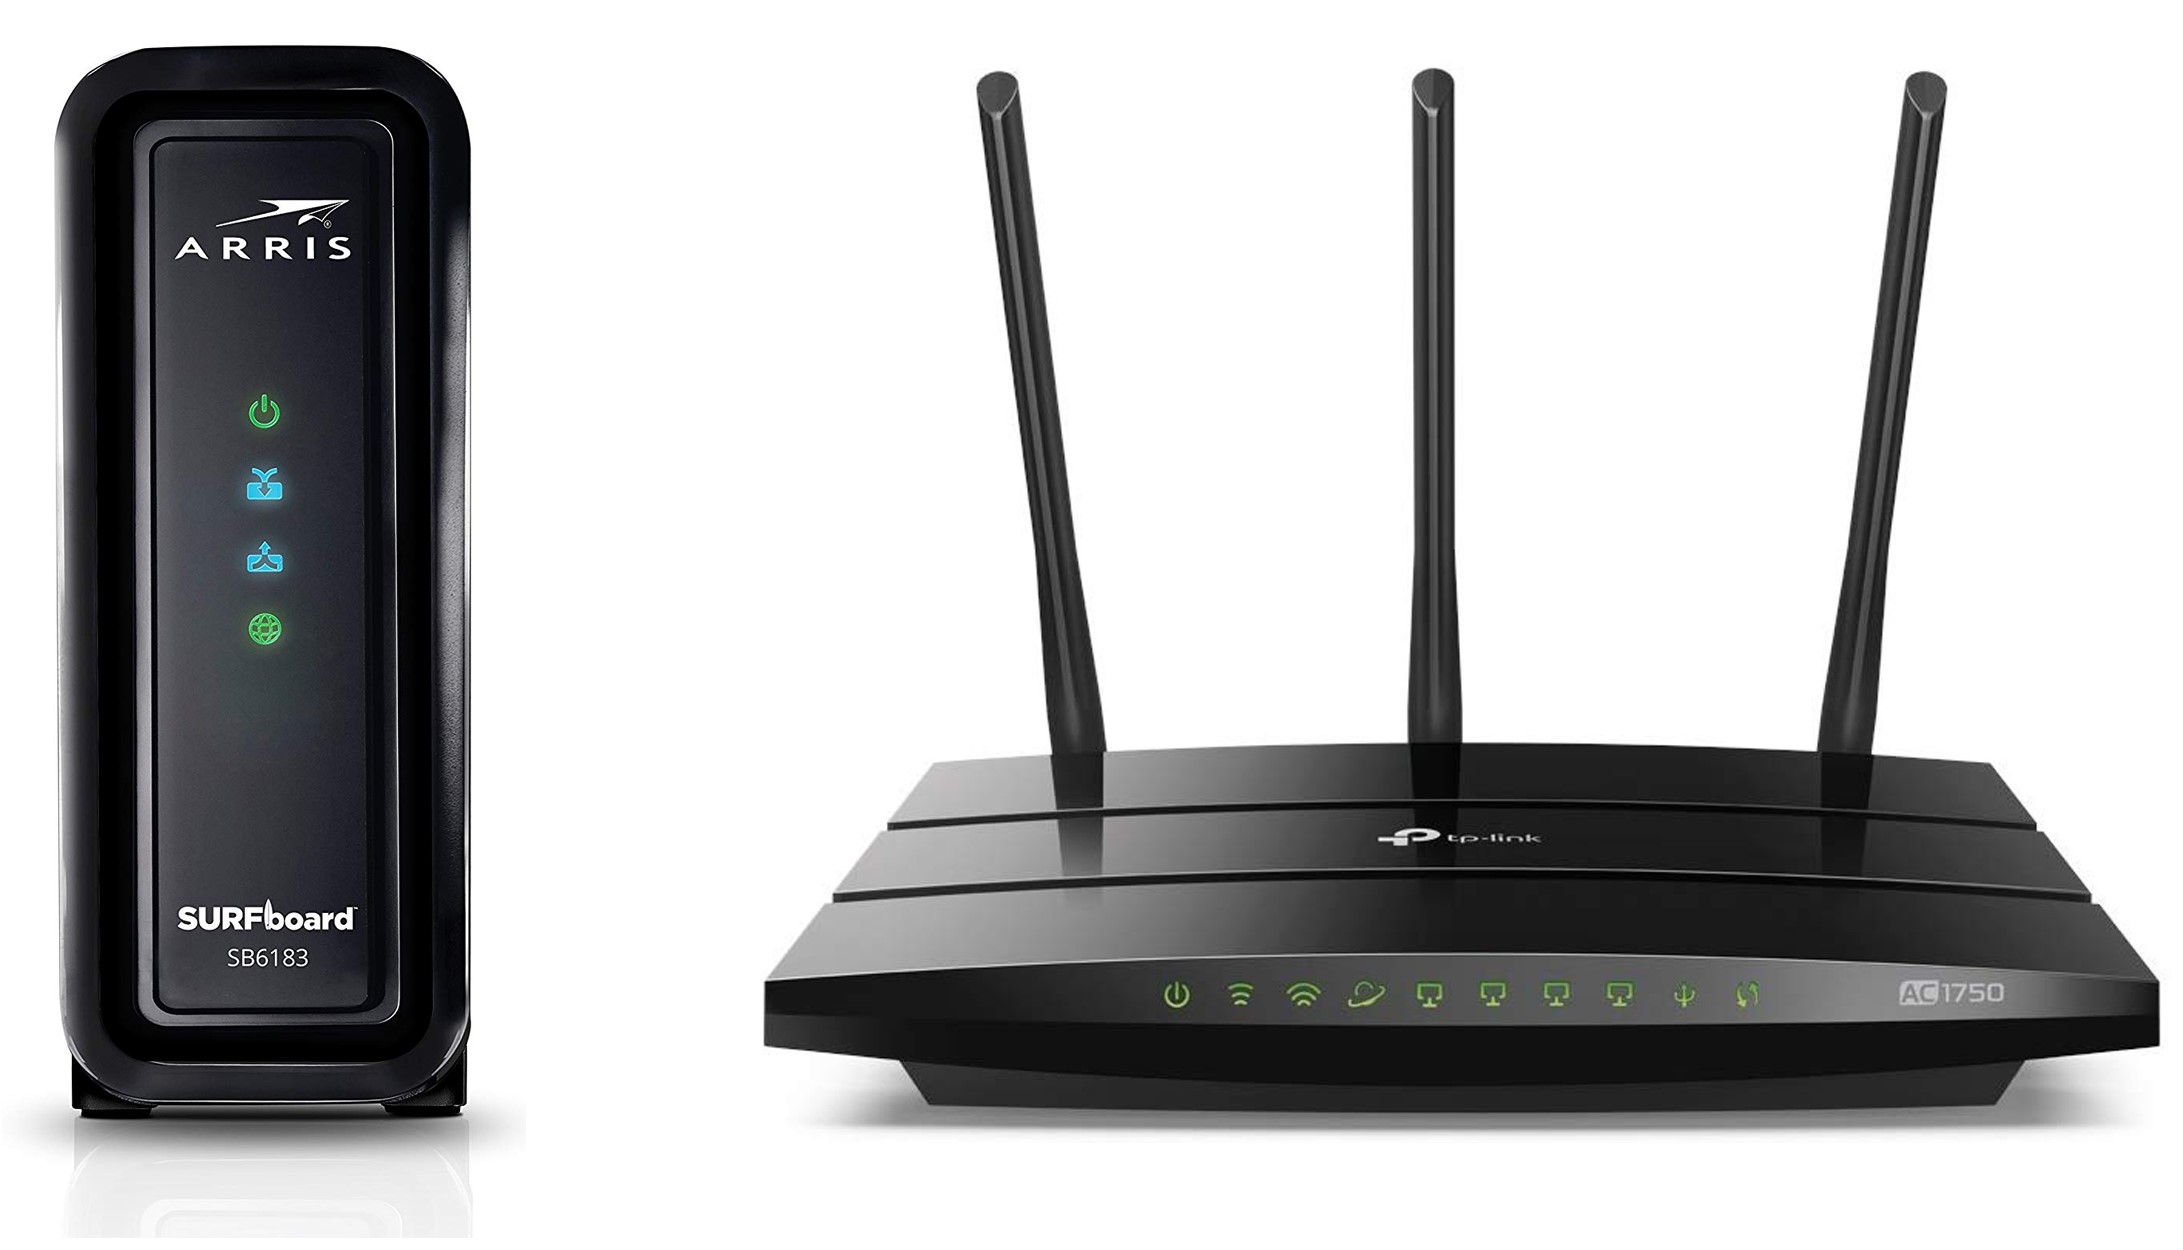
Step 1: Gather the Necessary Equipment
Prior to commencing the connection process, ensure that you have the required equipment readily available. This includes the Wi-Fi router, the internet cable (Ethernet cable), and the modem. Verify that the router and modem are powered on and ready for the setup process.
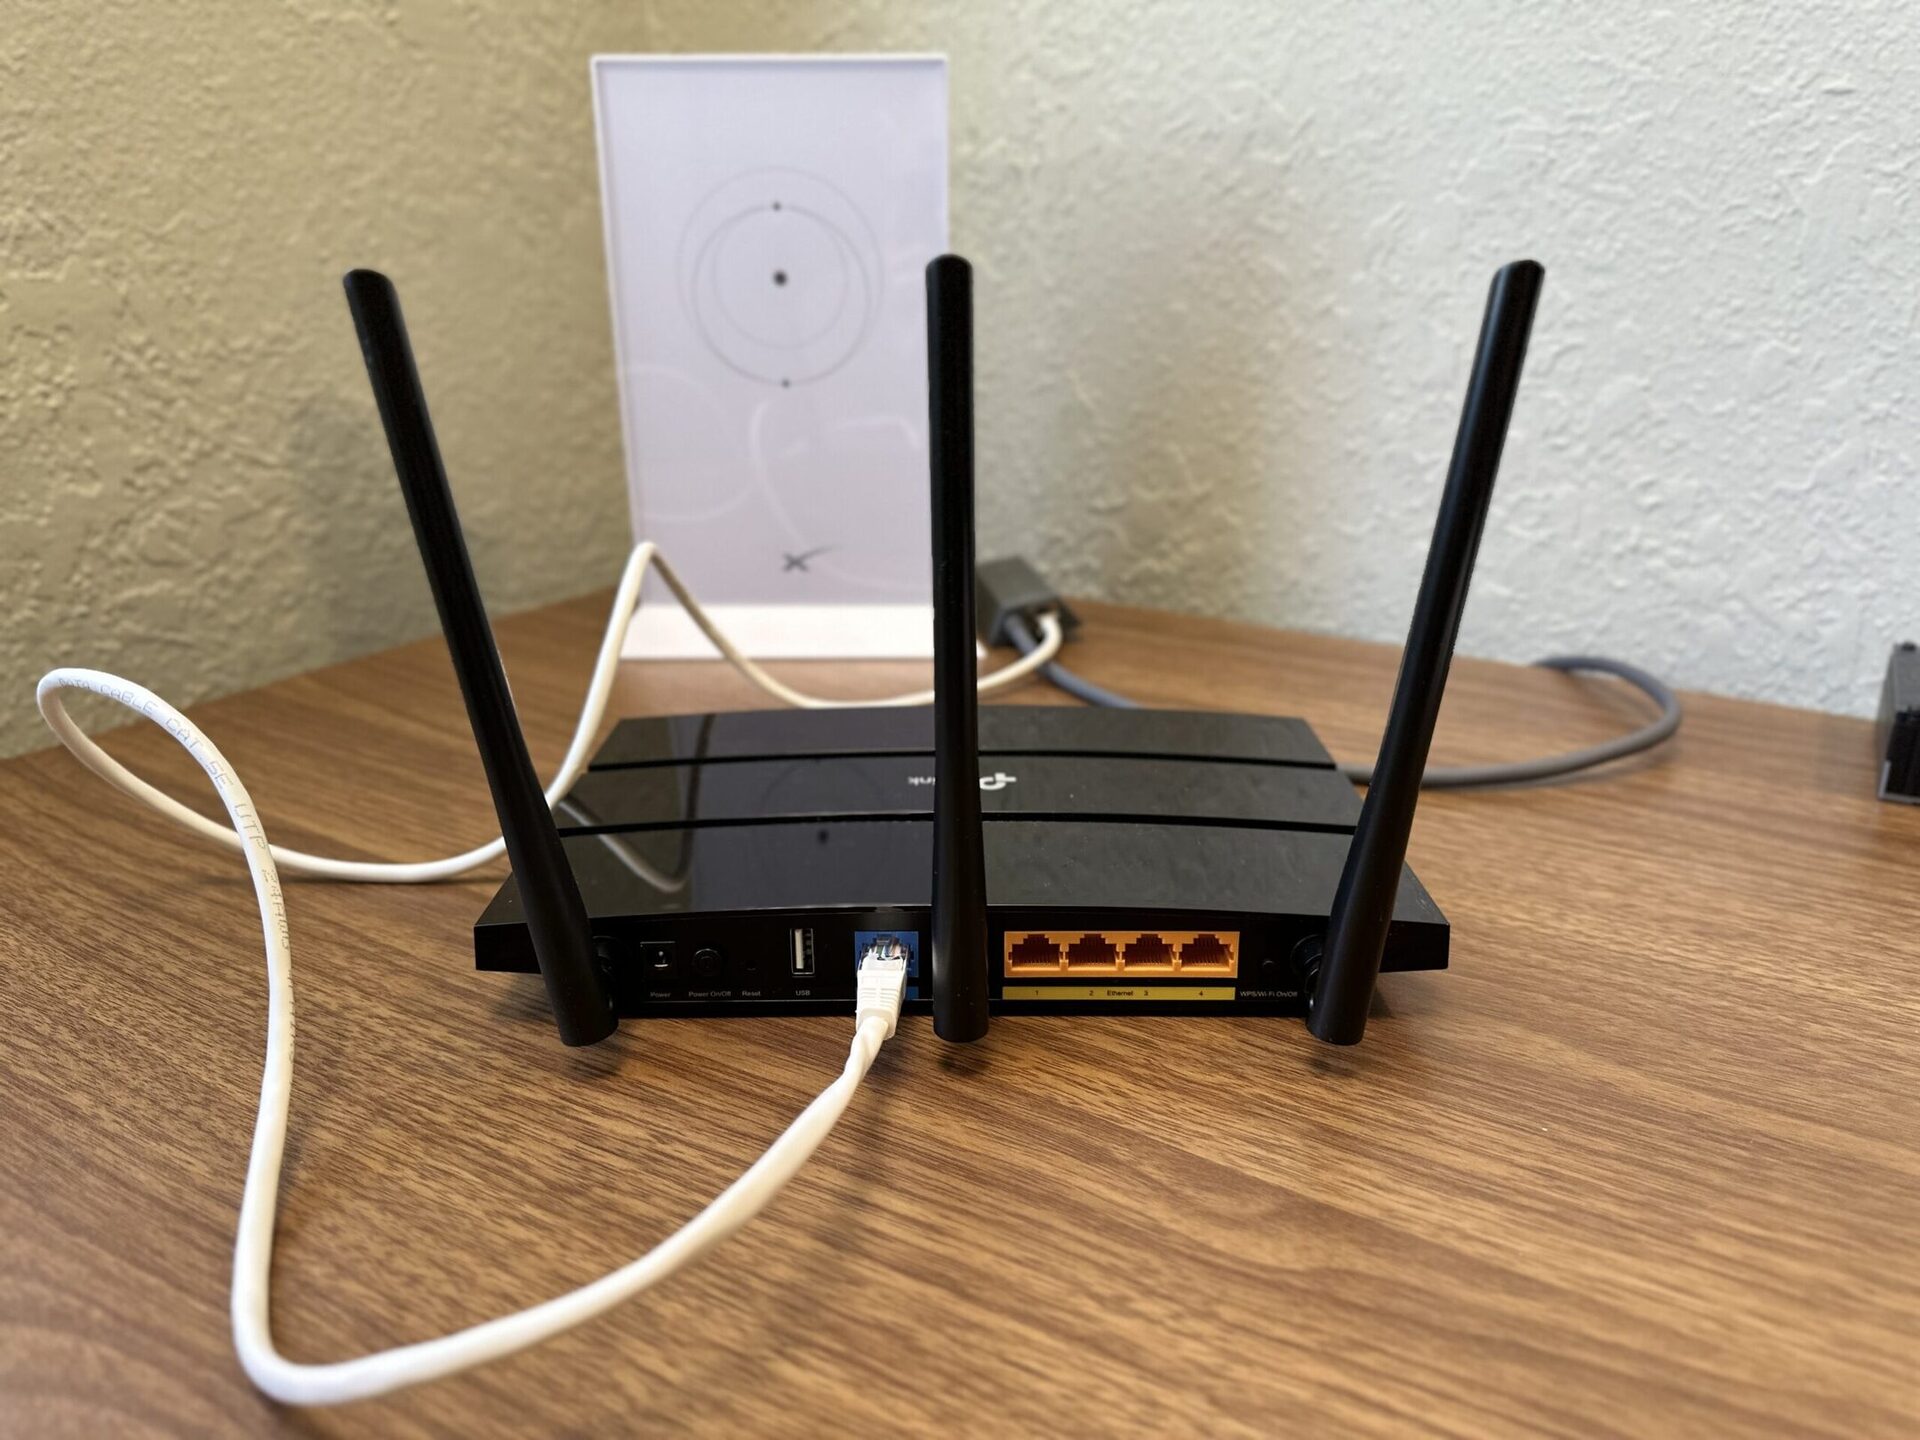
Step 2: Locate the WAN Port
Identify the WAN (Wide Area Network) port on the Wi-Fi router. This port is specifically designated for connecting the router to the internet via the Ethernet cable. It is typically distinguished from the other ports by its distinct labeling and positioning.
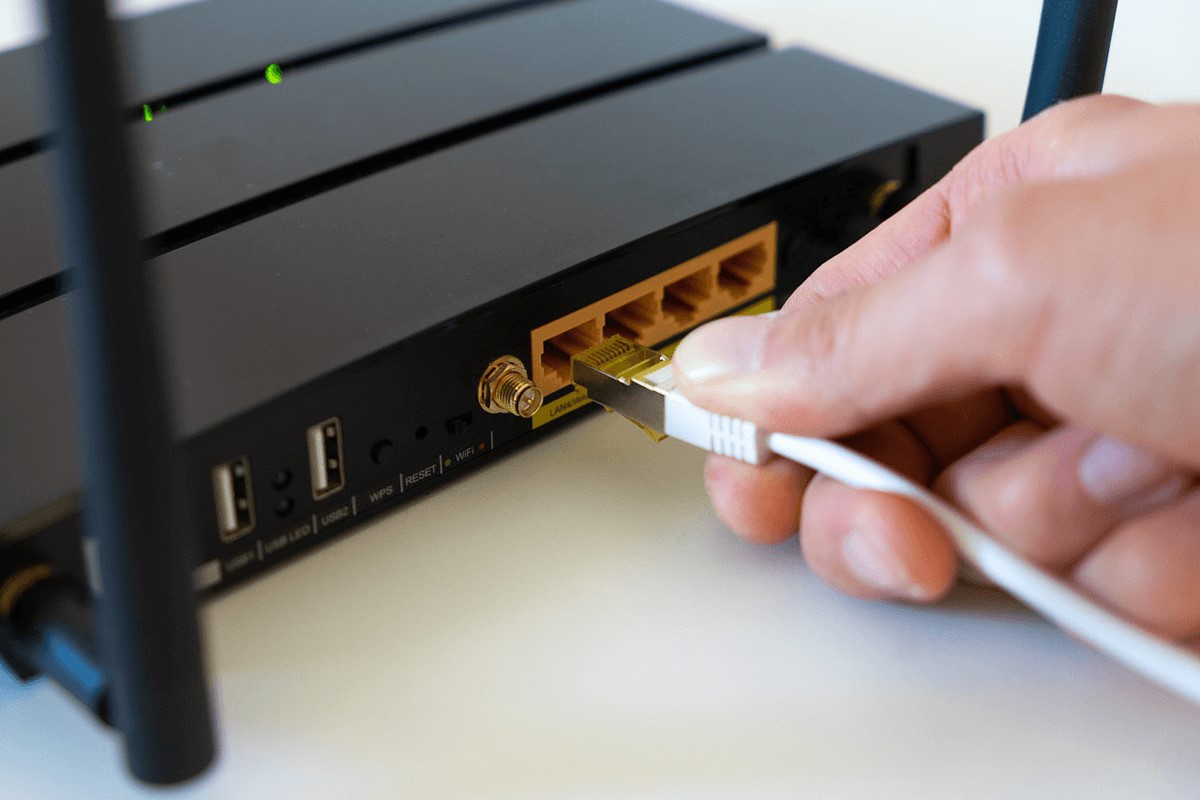
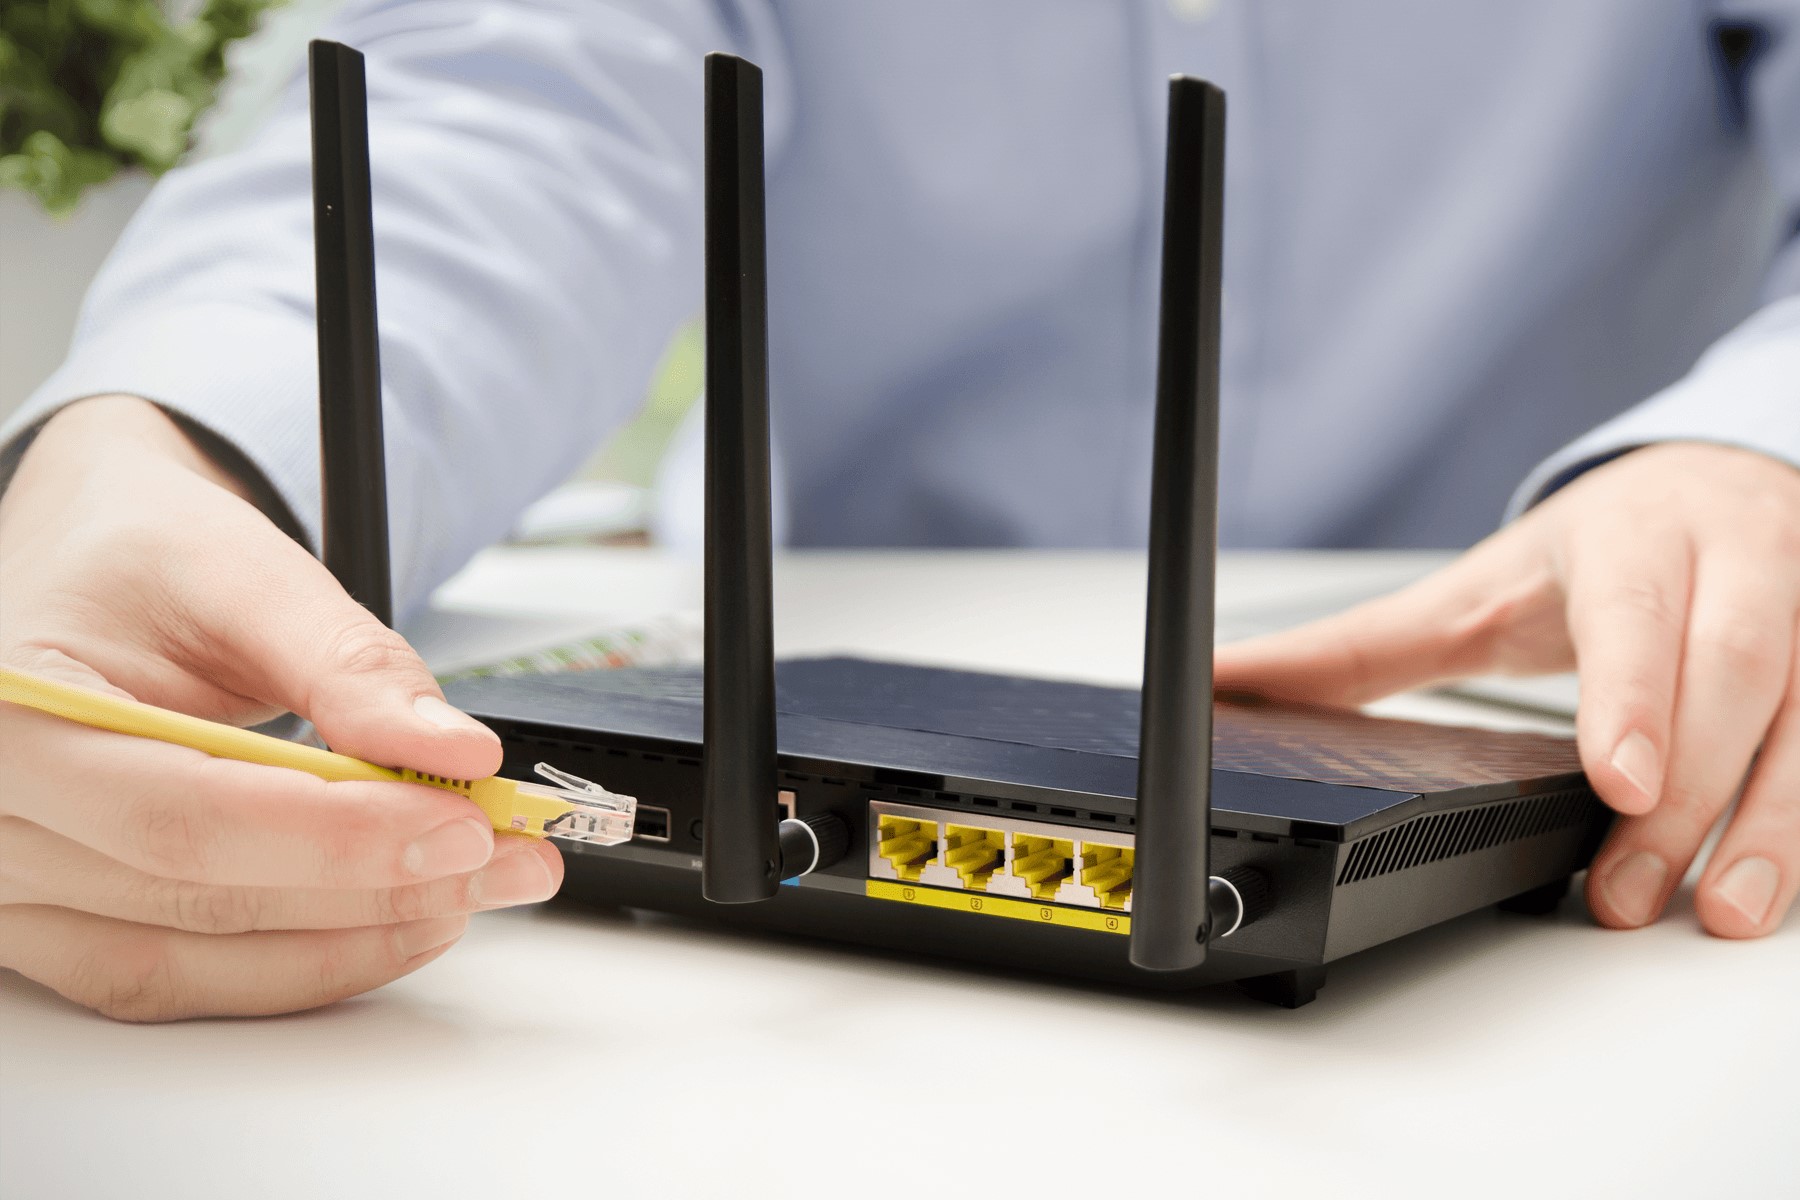
Step 3: Connect the Internet Cable
Take the Ethernet cable and insert one end into the WAN port on the Wi-Fi router. Ensure that the connection is secure to prevent any potential disconnections or signal interruptions. The sturdy click of the cable’s connector when inserted indicates a successful connection.
Step 4: Connect the Modem
Next, locate the Ethernet port on the modem, which is often labeled as “Ethernet” or “Internet.” Connect the other end of the cable to this port, establishing the link between the modem and the Wi-Fi router. Once again, ensure that the connection is secure to maintain stable data transmission.
Step 5: Power Up the Devices
After establishing the physical connections, power up the modem and Wi-Fi router. Allow the devices to initialize and synchronize, enabling them to communicate effectively and establish the internet connection.
Step 6: Verify the Connection
Once the devices have powered up, check the status indicators on the router to confirm that the internet connection has been successfully established. Many routers feature LED indicators that illuminate to signify a stable internet connection.
By diligently following these steps, you can effectively connect the internet cable to the Wi-Fi router, paving the way for a seamless and reliable internet connection within your home. With this crucial connection in place, we are now poised to configure the Wi-Fi router to optimize its performance and security settings, which we will explore in the subsequent section.
When connecting an internet cable to a Wi-Fi router, make sure to plug one end of the cable into the router’s WAN port and the other end into the modem. This will allow the router to receive internet signal and distribute Wi-Fi to your devices.
Configuring the Wi-Fi Router
With the internet cable successfully connected to the Wi-Fi router, the next vital step involves configuring the router to ensure optimal performance, security, and accessibility. By customizing the router’s settings, users can tailor their network to meet their specific requirements, safeguard against potential threats, and maximize the efficiency of their internet connection. Let’s delve into the essential steps for configuring the Wi-Fi router:
Step 1: Access the Router’s Settings
To begin the configuration process, access the router’s settings interface through a web browser. Typically, this involves entering the router’s IP address into the browser’s address bar. The router’s IP address and login credentials are usually provided in the router’s documentation or can be found on the manufacturer’s website.
Step 2: Customize the Wi-Fi Network Name (SSID)
Once logged into the router’s settings interface, customize the Wi-Fi network name, also known as the Service Set Identifier (SSID). Choose a unique and easily identifiable name for your network, as this will be visible to devices when they search for available Wi-Fi connections.
Step 3: Set a Strong Password
Ensure that your Wi-Fi network is secure by setting a strong password. A robust password should be a combination of uppercase and lowercase letters, numbers, and special characters. This helps prevent unauthorized access and protects your network from potential security breaches.
Step 4: Enable Encryption
Enable WPA2 (Wi-Fi Protected Access 2) encryption to secure your wireless network. This encryption protocol provides a high level of security and is essential for safeguarding sensitive data transmitted over the network.
Step 5: Configure Guest Network (Optional)
If your router supports it, consider setting up a guest network to provide internet access to visitors while keeping your primary network secure. Guest networks typically have limited access and can help prevent unauthorized users from accessing sensitive information on your primary network.
Step 6: Update Firmware
Check for firmware updates for your router and ensure that it is running the latest version. Firmware updates often include security patches and performance enhancements, contributing to a more secure and efficient network.
Step 7: Save and Apply Settings
After customizing the router’s settings, be sure to save and apply the changes. This ensures that the configured parameters are implemented and that your network operates according to your preferences.
By following these crucial steps, you can effectively configure your Wi-Fi router to optimize its performance, enhance security, and provide a seamless and reliable internet experience for all connected devices. With the router now configured, the next step involves testing the connection to ensure that everything is functioning as intended, which we will explore in the following section.
Testing the Connection
After connecting the internet cable to the Wi-Fi router and configuring its settings, it is essential to conduct a comprehensive test to ensure that the network is functioning optimally. Testing the connection involves verifying the internet speed, assessing wireless coverage, and confirming the stability of the network. By performing these tests, users can identify and address any potential issues, ultimately ensuring a seamless and reliable internet experience.
Step 1: Internet Speed Test
Begin by conducting an internet speed test using a reliable online speed testing tool. This test measures the upload and download speeds of your internet connection, providing valuable insights into its performance. Compare the obtained speeds with the expected values from your internet service provider to ensure that you are receiving the promised bandwidth.
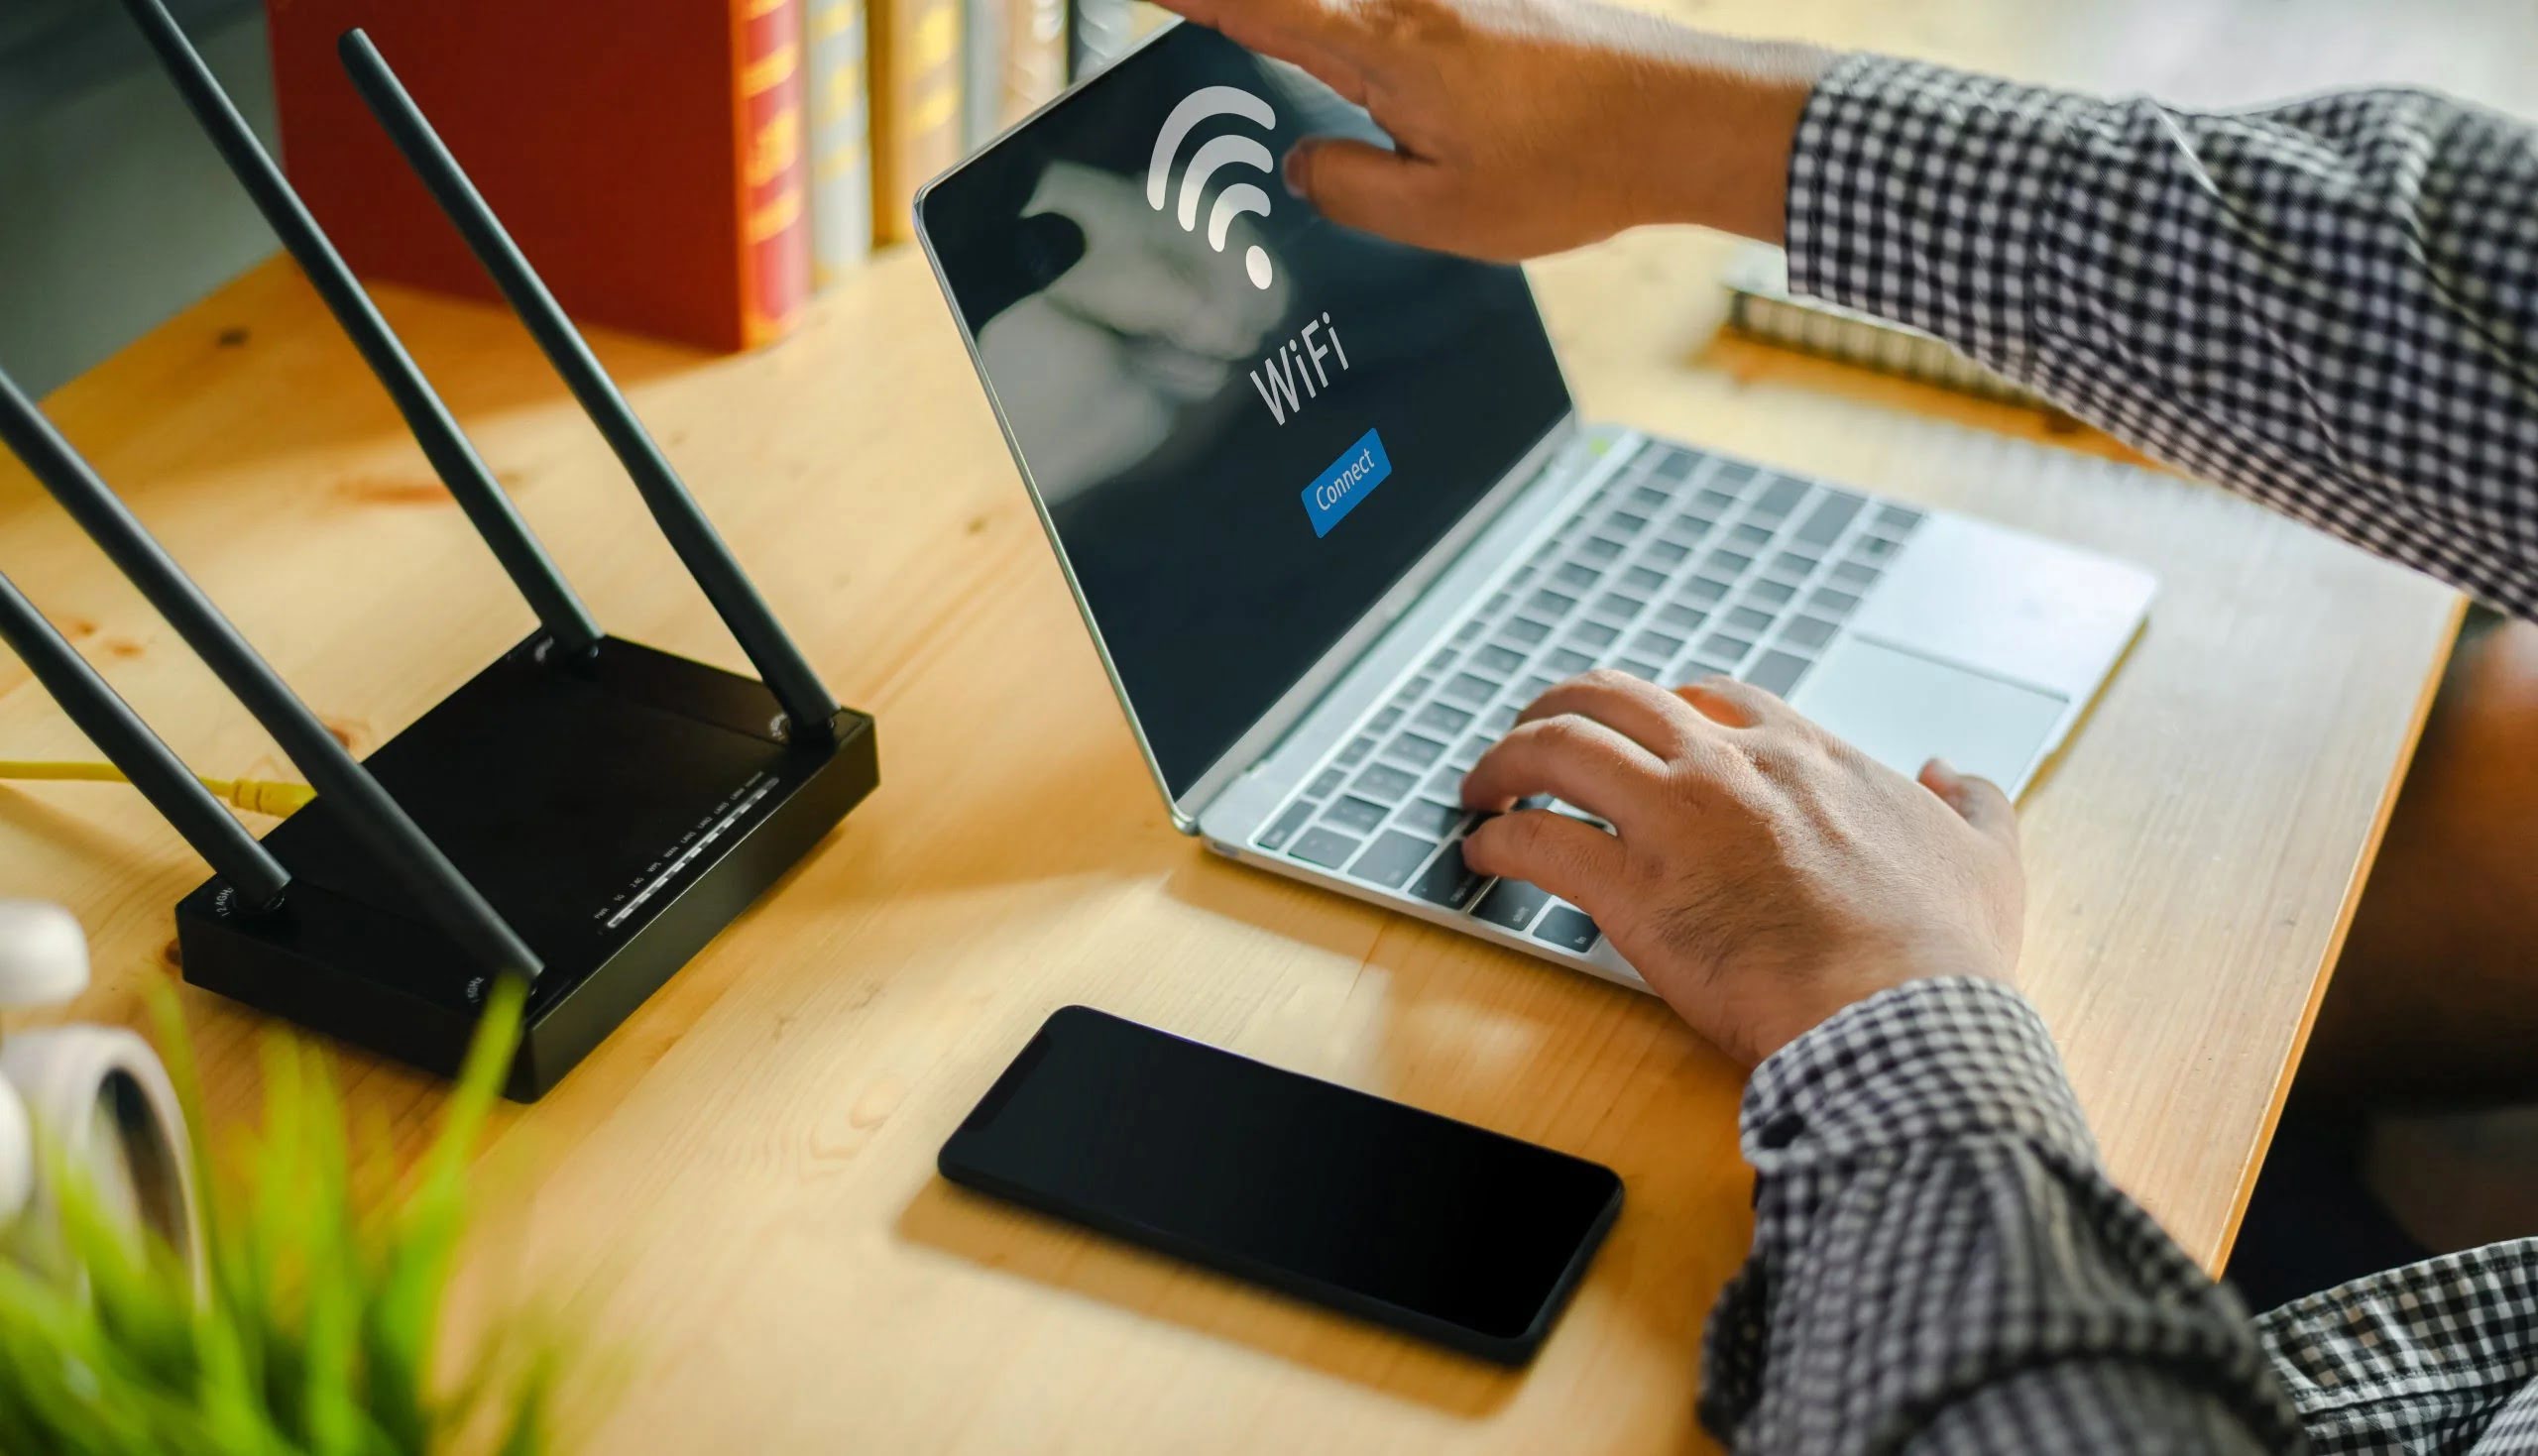
Step 2: Wireless Coverage Assessment
Assess the wireless coverage of your network by moving to different areas within your home and checking the signal strength on various devices. Identify any areas with weak or inconsistent coverage, as this may indicate the need for additional Wi-Fi range extenders or adjustments to the router’s placement for optimal coverage.
Step 3: Device Connectivity Test
Verify the connectivity of all devices within your network, including computers, smartphones, smart TVs, and other connected devices. Ensure that each device can seamlessly connect to the Wi-Fi network and access the internet without encountering connectivity issues.
Step 4: Stability and Reliability Check
Test the stability and reliability of the network by streaming high-definition video content, conducting video calls, and engaging in online gaming, if applicable. Assess the network’s ability to handle bandwidth-intensive activities without experiencing buffering, latency, or disconnections.
Step 5: Security Audit
Perform a security audit by checking the router’s logs and reviewing connected devices to ensure that no unauthorized devices have gained access to the network. Verify that the security settings, including encryption and password protection, are effectively safeguarding the network against potential threats.
Step 6: Troubleshooting Potential Issues
If any issues are identified during the testing process, troubleshoot them by referring to the router’s documentation, seeking assistance from the manufacturer’s support resources, or consulting with a qualified IT professional if necessary. Addressing any detected issues promptly can contribute to a more stable and reliable network.
By diligently conducting these tests and addressing any identified issues, users can ascertain the effectiveness of the internet connection, the stability of the network, and the security of their Wi-Fi setup. With a thorough testing process complete, you can have confidence in the reliability and performance of your home network, enabling seamless access to the digital world.
Read more: How To Connect Verizon Wi-Fi Router
Conclusion
As we conclude this enlightening journey into the realm of connecting internet cables to Wi-Fi routers, we have gained a comprehensive understanding of the essential steps involved in establishing a reliable and high-speed internet connection within our homes. From grasping the nuances of internet cables to configuring the Wi-Fi router and conducting thorough testing, we have equipped ourselves with the knowledge and insights necessary to navigate the intricacies of home networking with confidence.
By comprehending the distinct characteristics of internet cables, including their types, lengths, and applications, we have empowered ourselves to make informed decisions when selecting and deploying these essential conduits of digital connectivity. Understanding the significance of proper cable connections and the role they play in facilitating seamless data transmission has laid the foundation for a robust home network setup.
Furthermore, by delving into the process of connecting the internet cable to the Wi-Fi router and configuring the router’s settings, we have embarked on a journey of customization and optimization. Tailoring the network’s parameters, securing wireless connections, and ensuring reliable coverage have all contributed to the creation of a stable and secure digital environment within our homes.
Finally, through the comprehensive testing of the network, we have validated the integrity and performance of our internet connection, addressing potential issues and ensuring a seamless user experience across all connected devices. This meticulous testing process has provided us with the assurance that our home network is capable of meeting the demands of modern digital lifestyles.
As we bid adieu to this exploration of internet cable connections and Wi-Fi router configurations, we carry with us the knowledge and expertise to navigate the ever-evolving landscape of home networking. Whether for work, entertainment, or communication, a reliable and high-speed internet connection is now within our grasp, enabling us to seamlessly access the boundless opportunities of the digital world.
Armed with this newfound knowledge, we are poised to embark on a connected and enriched digital journey, confident in our ability to establish and maintain a robust home network that serves as the gateway to a world of possibilities.
Frequently Asked Questions about How To Connect Internet Cable To Wi-Fi Router
Was this page helpful?
At Storables.com, we guarantee accurate and reliable information. Our content, validated by Expert Board Contributors, is crafted following stringent Editorial Policies. We're committed to providing you with well-researched, expert-backed insights for all your informational needs.


0 thoughts on “How To Connect Internet Cable To Wi-Fi Router”