Home>Technology>Smart Home Devices>How To Connect Wi-Fi Router To TV

Smart Home Devices
How To Connect Wi-Fi Router To TV
Modified: January 4, 2024
Learn how to connect your Wi-Fi router to your TV and other smart home devices with our easy step-by-step guide. Enhance your home entertainment setup today!
(Many of the links in this article redirect to a specific reviewed product. Your purchase of these products through affiliate links helps to generate commission for Storables.com, at no extra cost. Learn more)
Introduction
As technology continues to advance, the integration of smart devices into our daily lives has become increasingly prevalent. One such device that has revolutionized home entertainment is the smart TV. These innovative televisions are designed to connect to the internet, allowing users to stream their favorite shows, access online content, and enjoy a host of interactive features. To harness the full potential of a smart TV, it is essential to establish a reliable and seamless internet connection. In this guide, we will explore the process of connecting a Wi-Fi router to a TV, enabling you to unlock a world of digital entertainment from the comfort of your living room.
Key Takeaways:
- Connecting your smart TV to a Wi-Fi router is essential for enjoying seamless streaming and online content. Gather the necessary equipment, follow the setup steps, and test the connection for an enhanced home entertainment experience.
- Once your smart TV is connected to the Wi-Fi network, you can explore a world of digital entertainment, from streaming movies to browsing the web. Optimize your network settings and embrace the seamless integration for a personalized and immersive entertainment experience.
Read more: How To Connect Verizon Wi-Fi Router
Step 1: Gather the Necessary Equipment
Before embarking on the journey to connect your Wi-Fi router to your TV, it is crucial to ensure that you have all the essential equipment at your disposal. Here’s a list of items you will need:
- Smart TV: Ensure that you have a smart TV that is equipped with Wi-Fi connectivity capabilities. Most modern smart TVs come with built-in Wi-Fi functionality, allowing for seamless wireless connections.
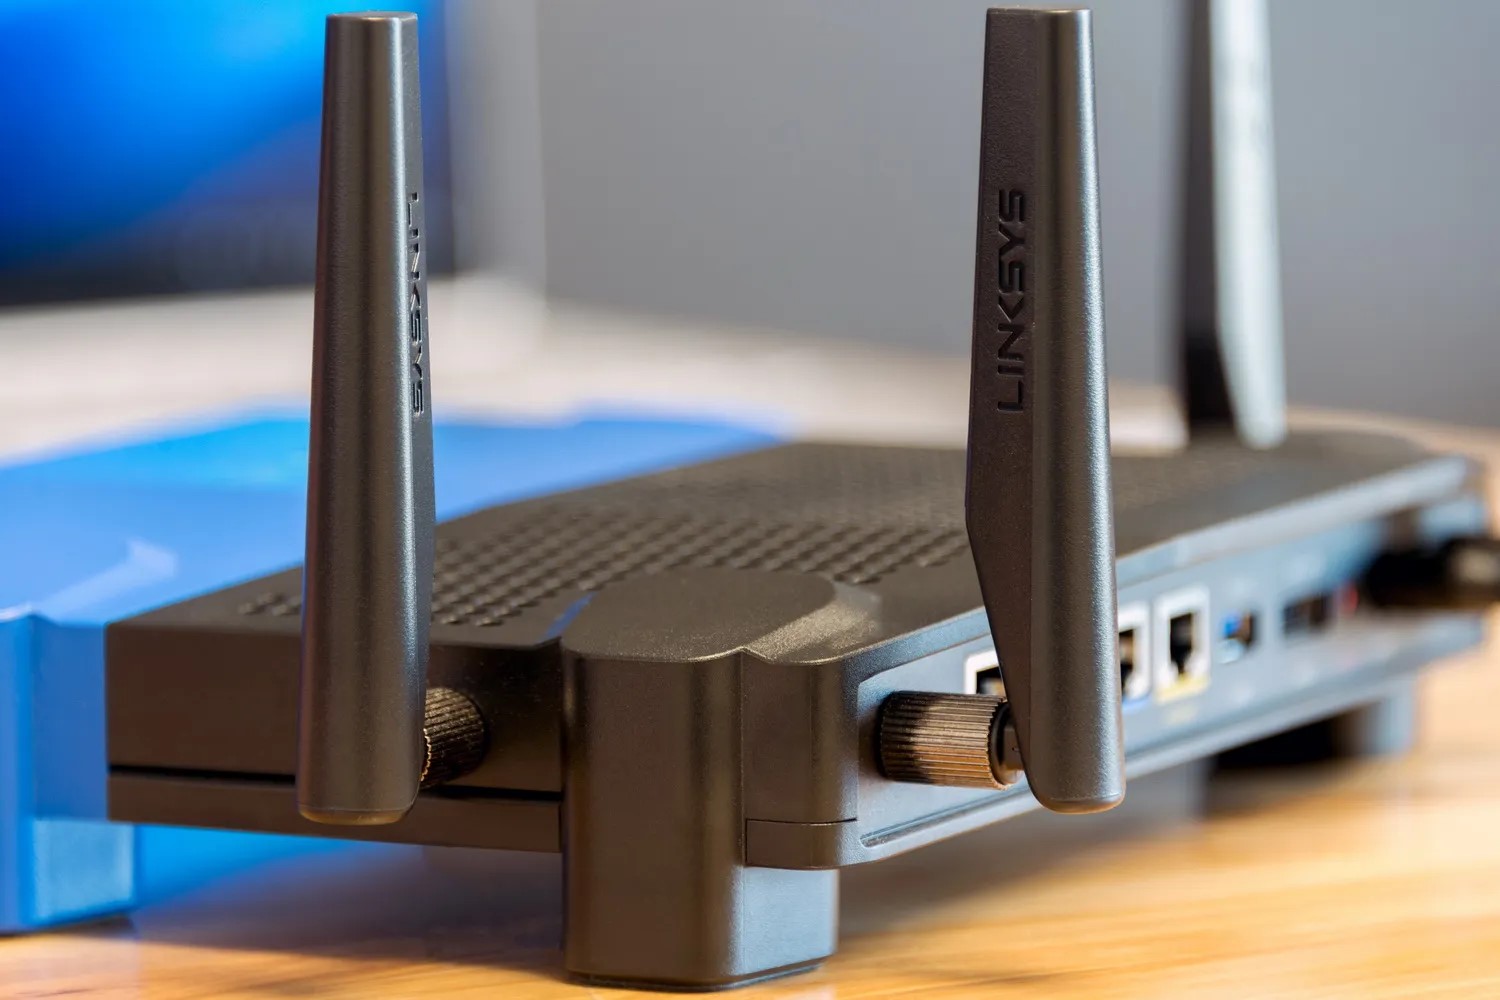
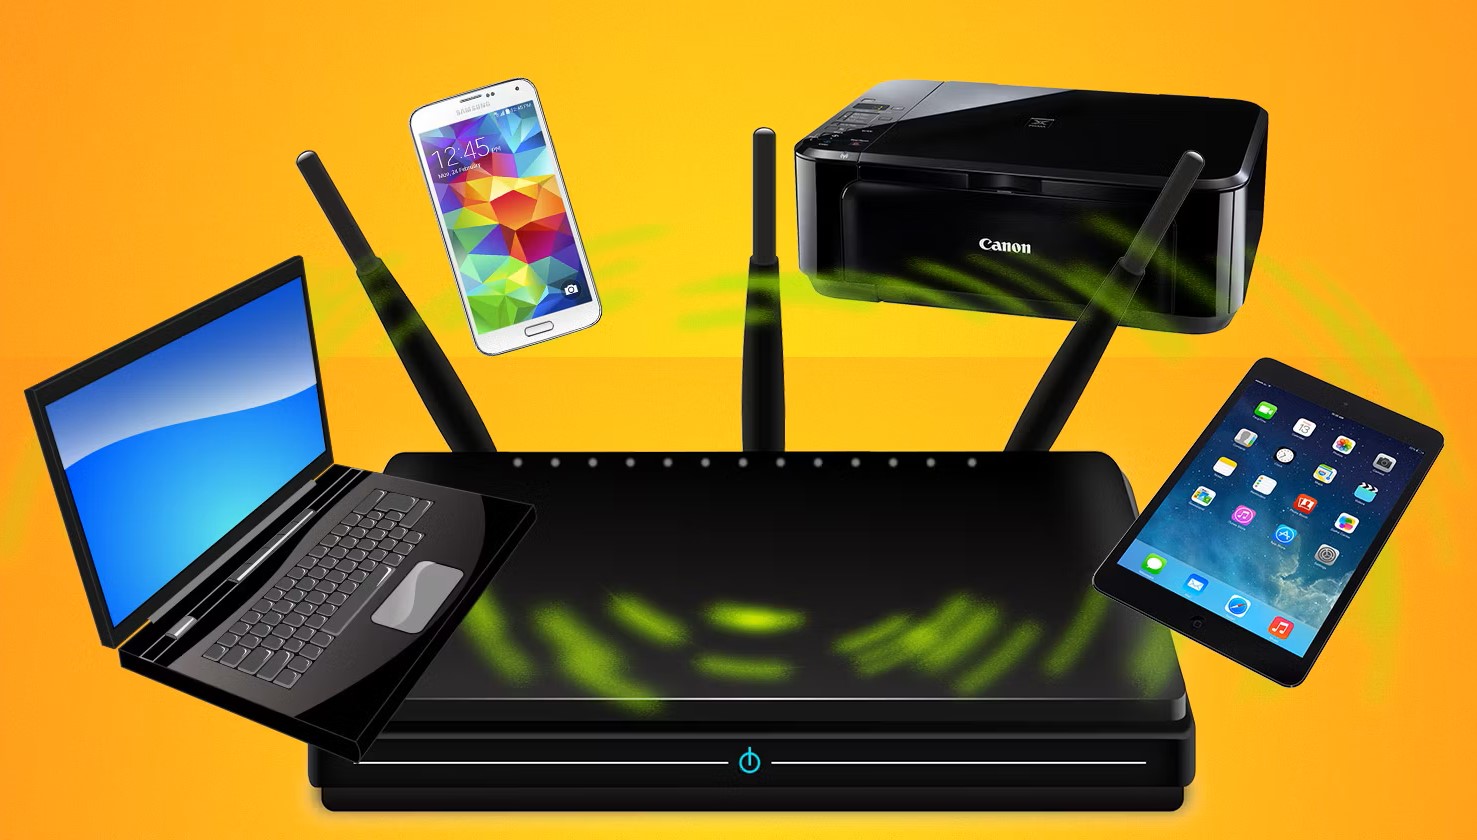
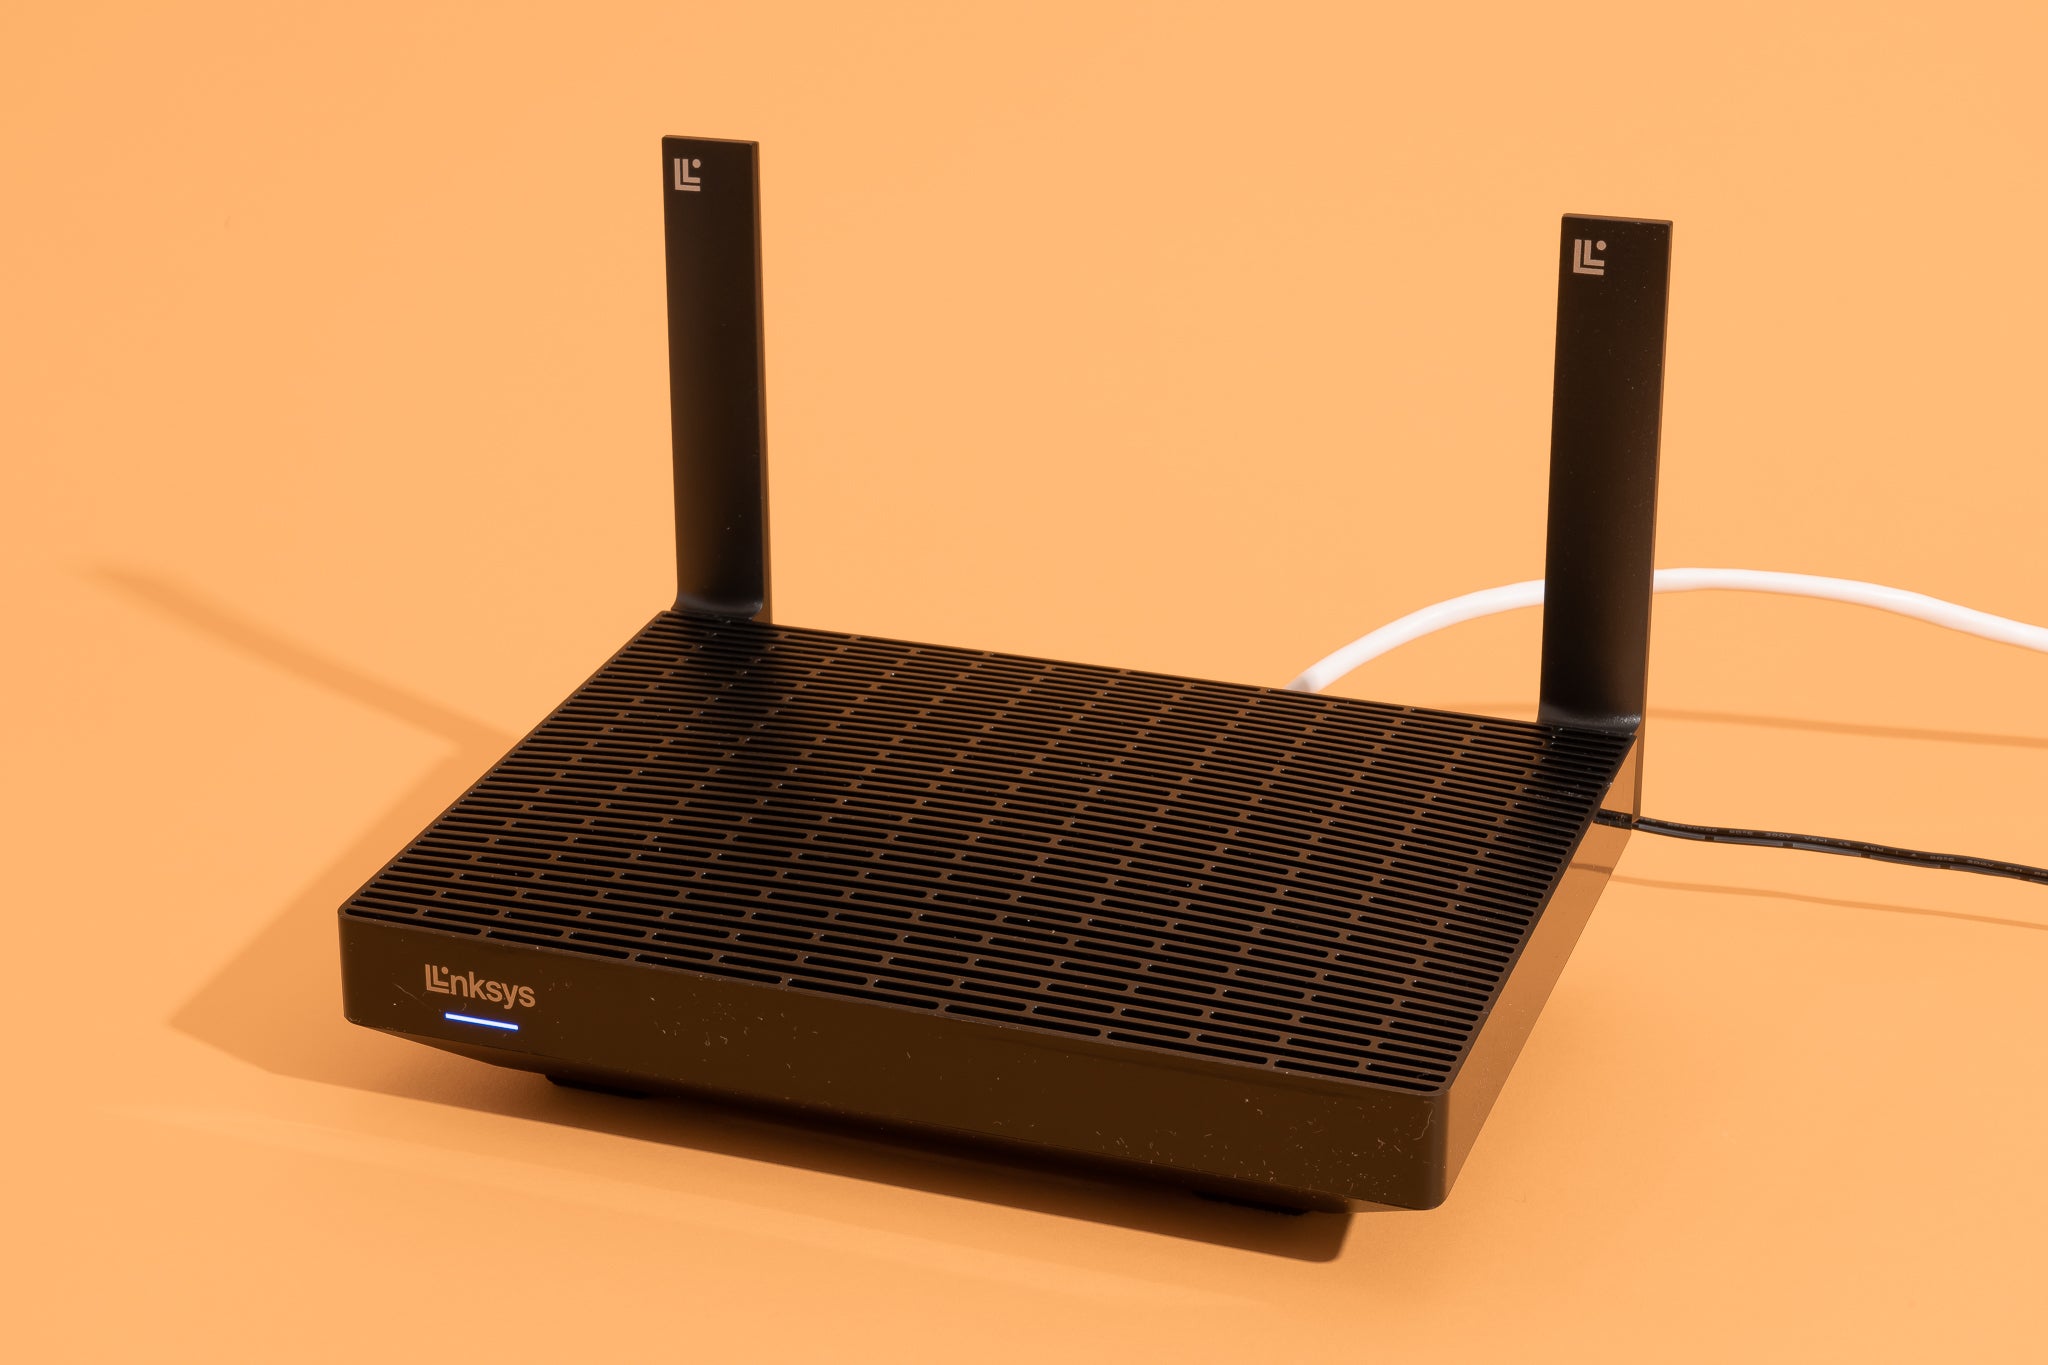
- Wi-Fi Router: A reliable Wi-Fi router is the cornerstone of a stable internet connection for your smart TV. If you don’t already have a Wi-Fi router, you can easily obtain one from an electronics store or online retailer.
- Internet Connection: Make sure that you have an active internet connection with a suitable bandwidth to support streaming and online content consumption. Contact your internet service provider if you need to upgrade your plan.
- Power Cables and Adapters: Ensure that you have the necessary power cables and adapters for both your smart TV and Wi-Fi router. It’s important to have a reliable power source for uninterrupted functionality.
- Remote Control: Keep the remote control for your smart TV handy, as you may need to access certain settings and menus during the setup process.
- Mobile Device or Computer: Having a mobile device or computer on hand can be beneficial for configuring the Wi-Fi settings on your smart TV, as some models may require initial setup through a companion app or web interface.
By ensuring that you have all the necessary equipment ready, you can proceed with confidence to the next step of the setup process, knowing that you are well-prepared to establish a seamless connection between your Wi-Fi router and smart TV.
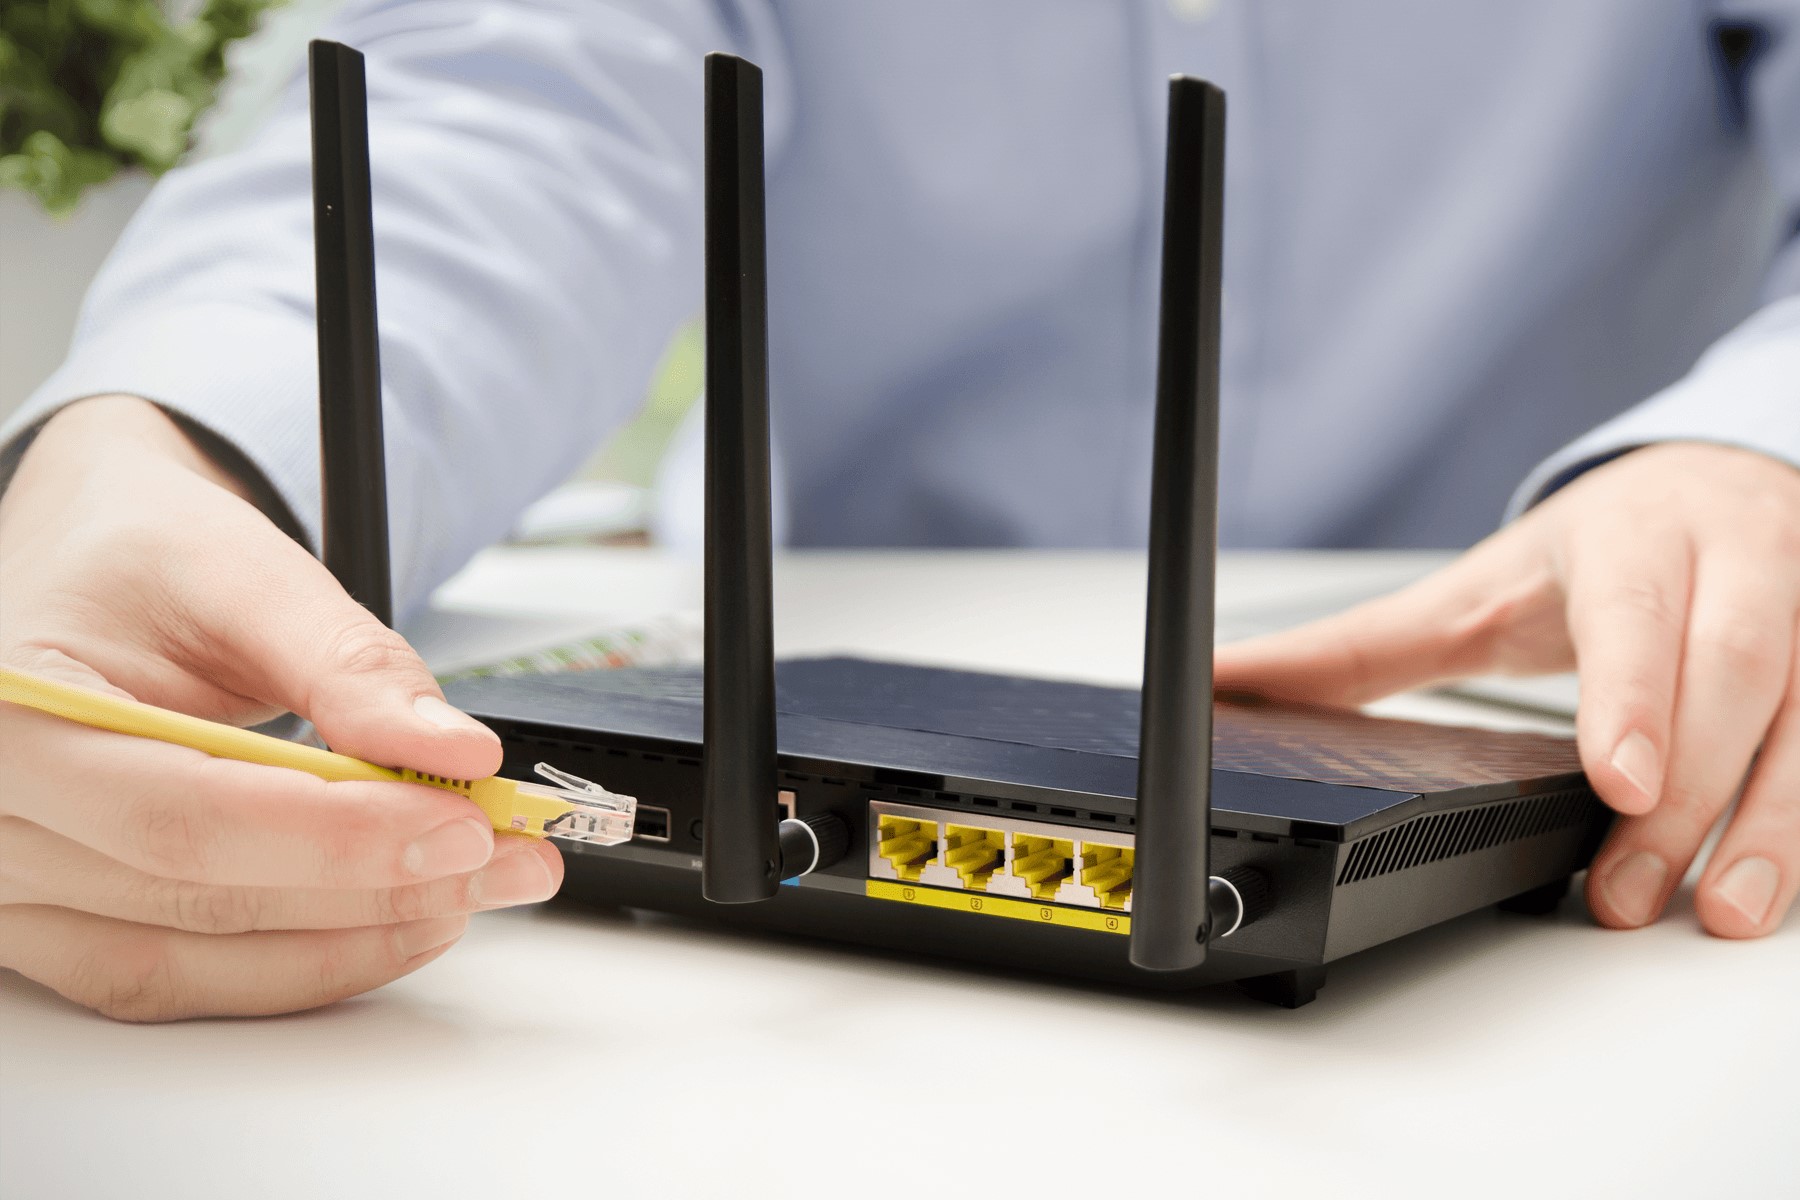
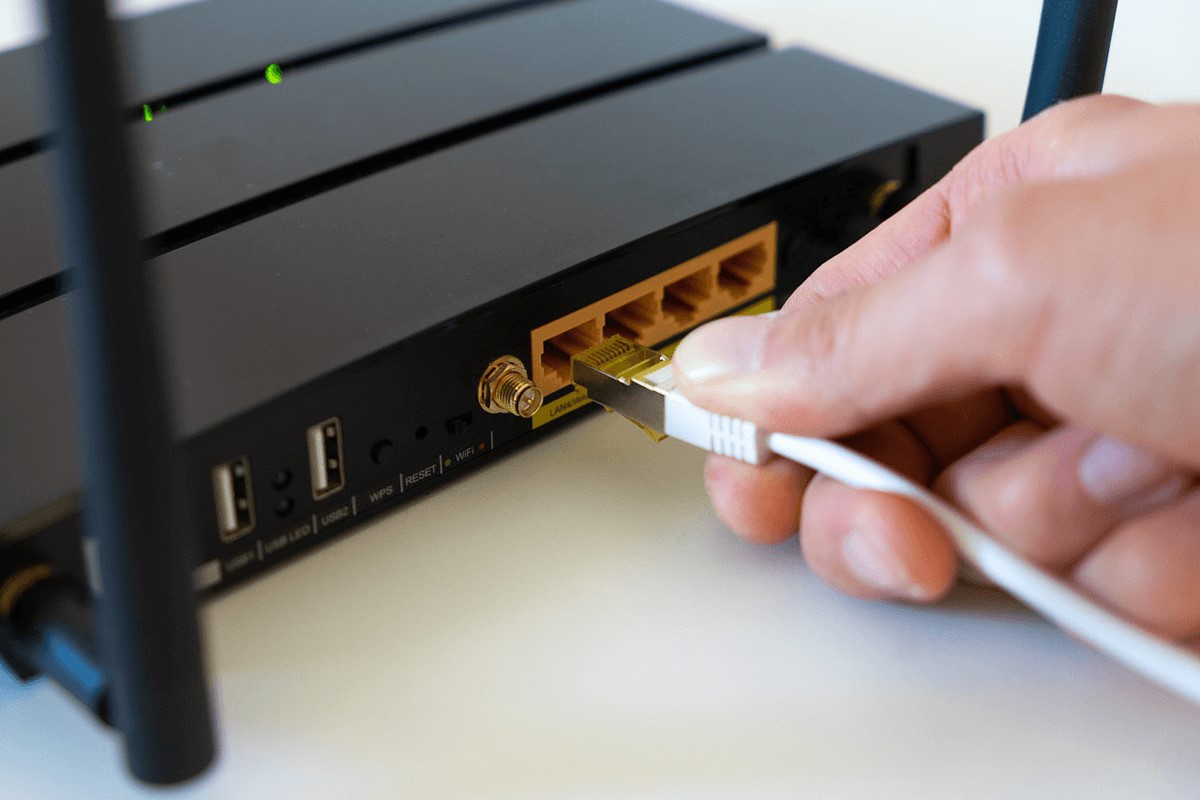
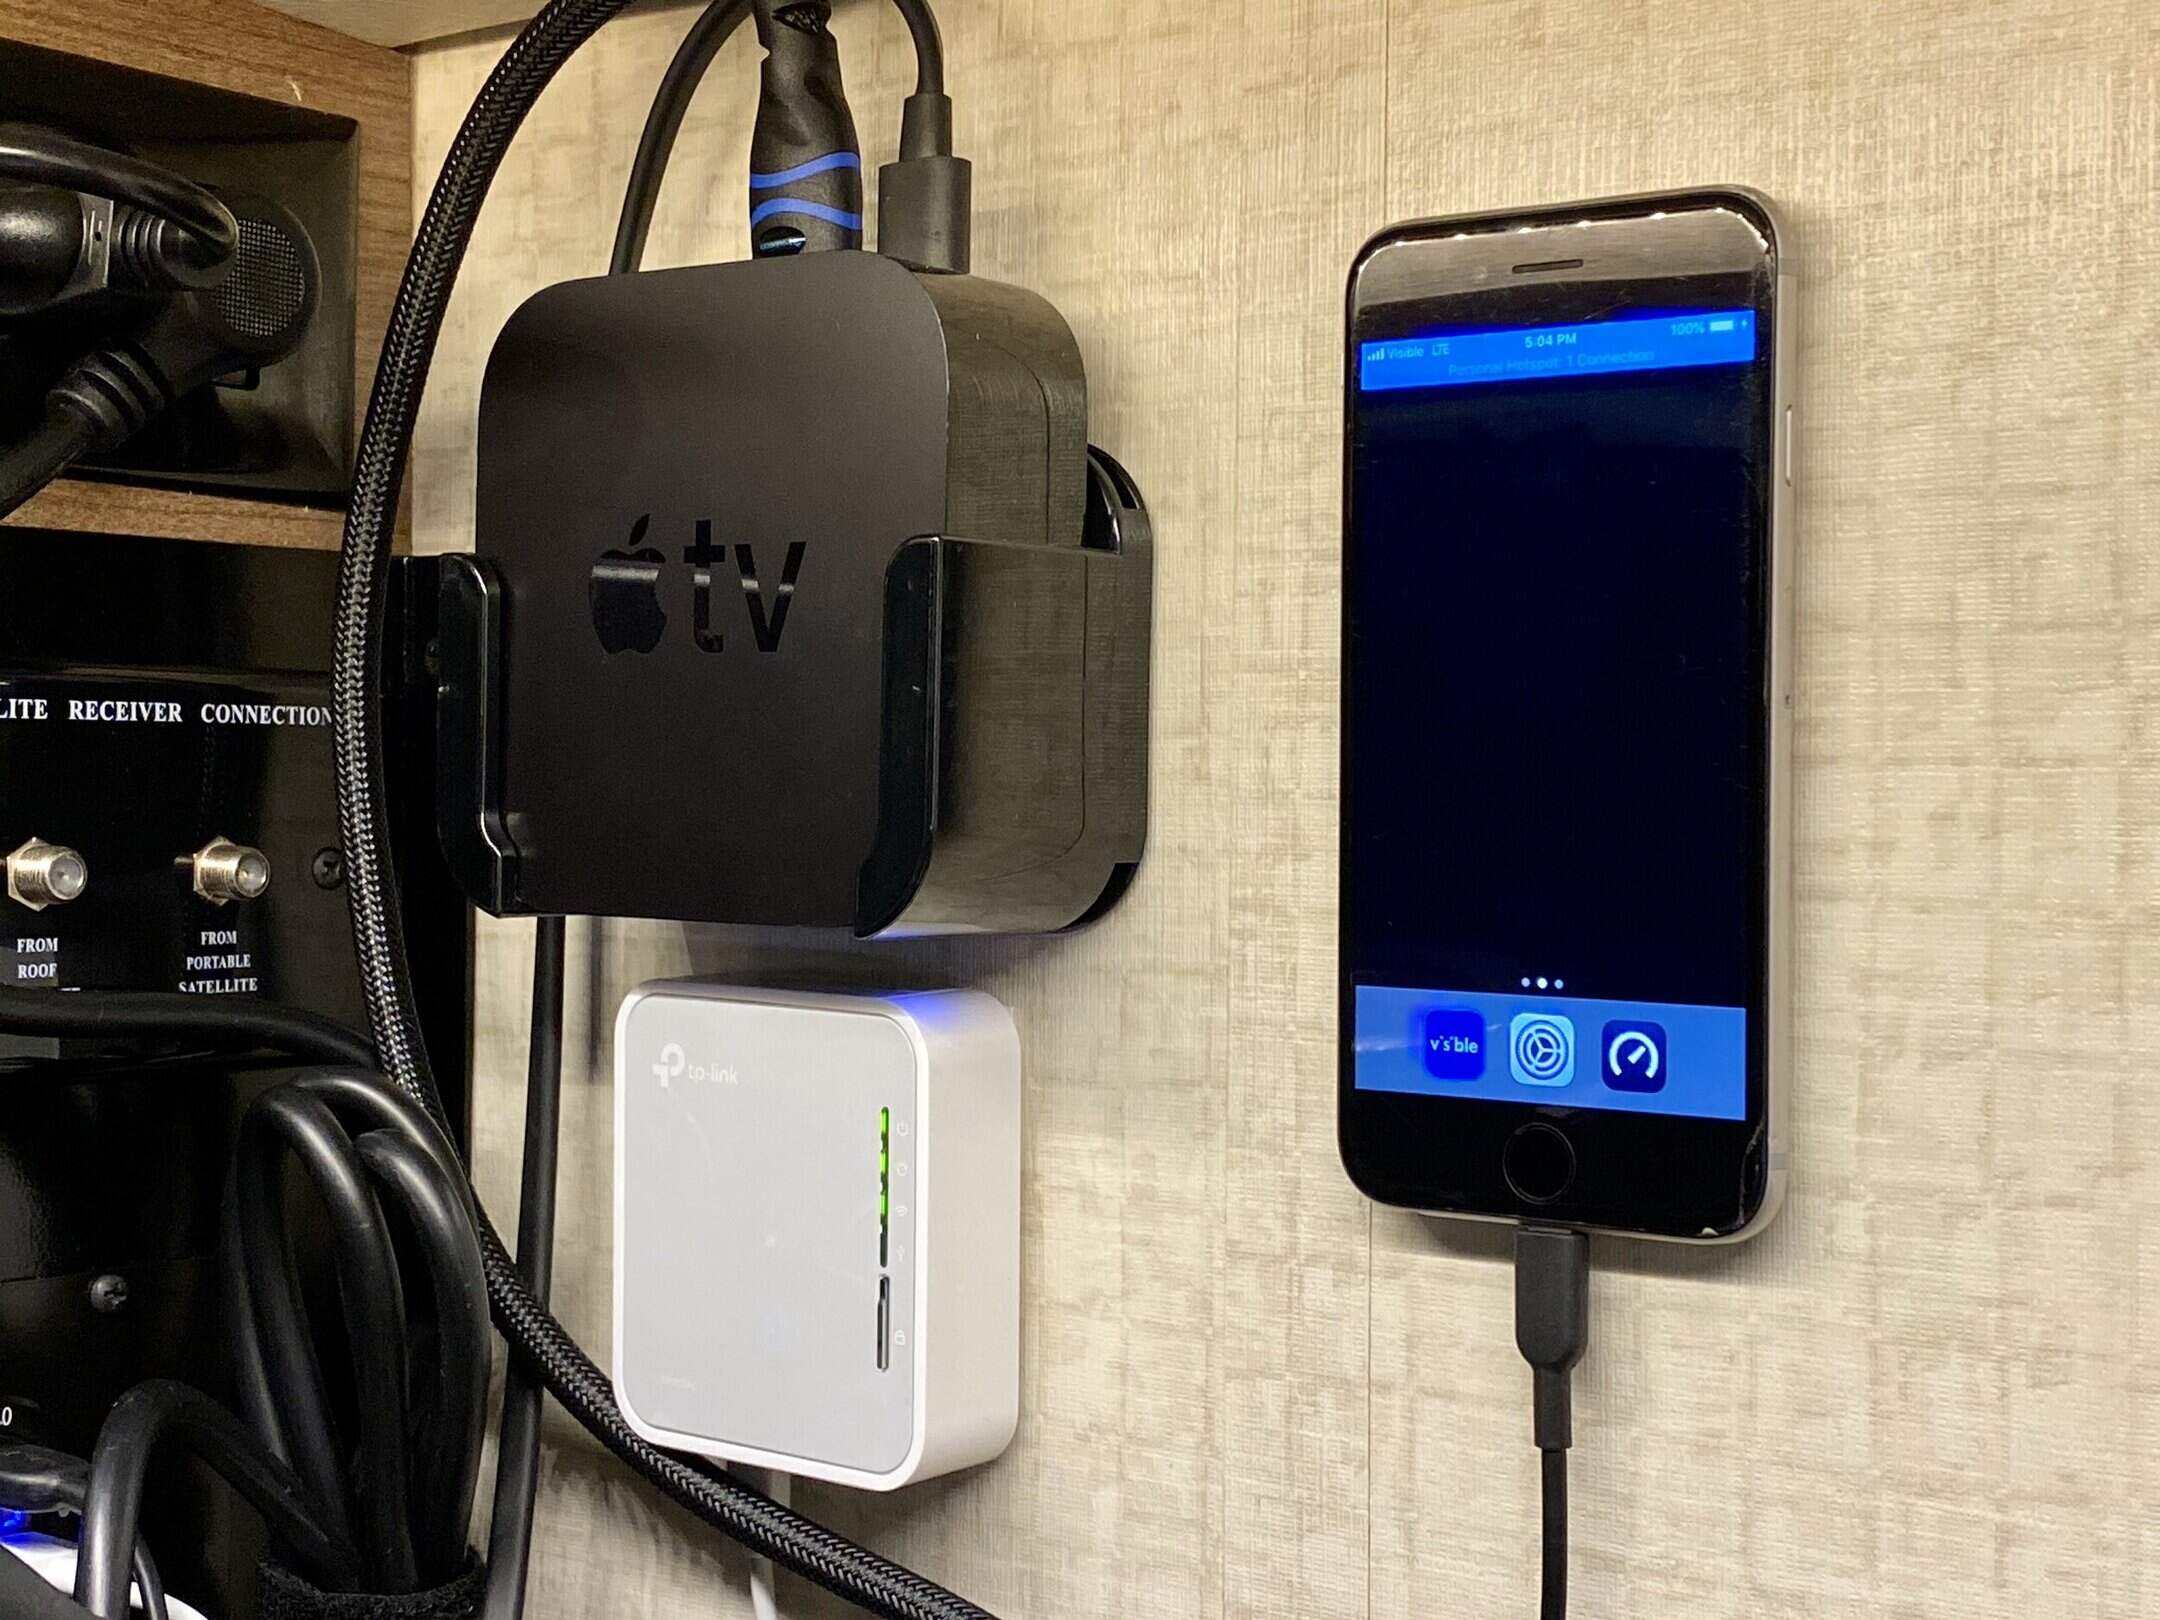
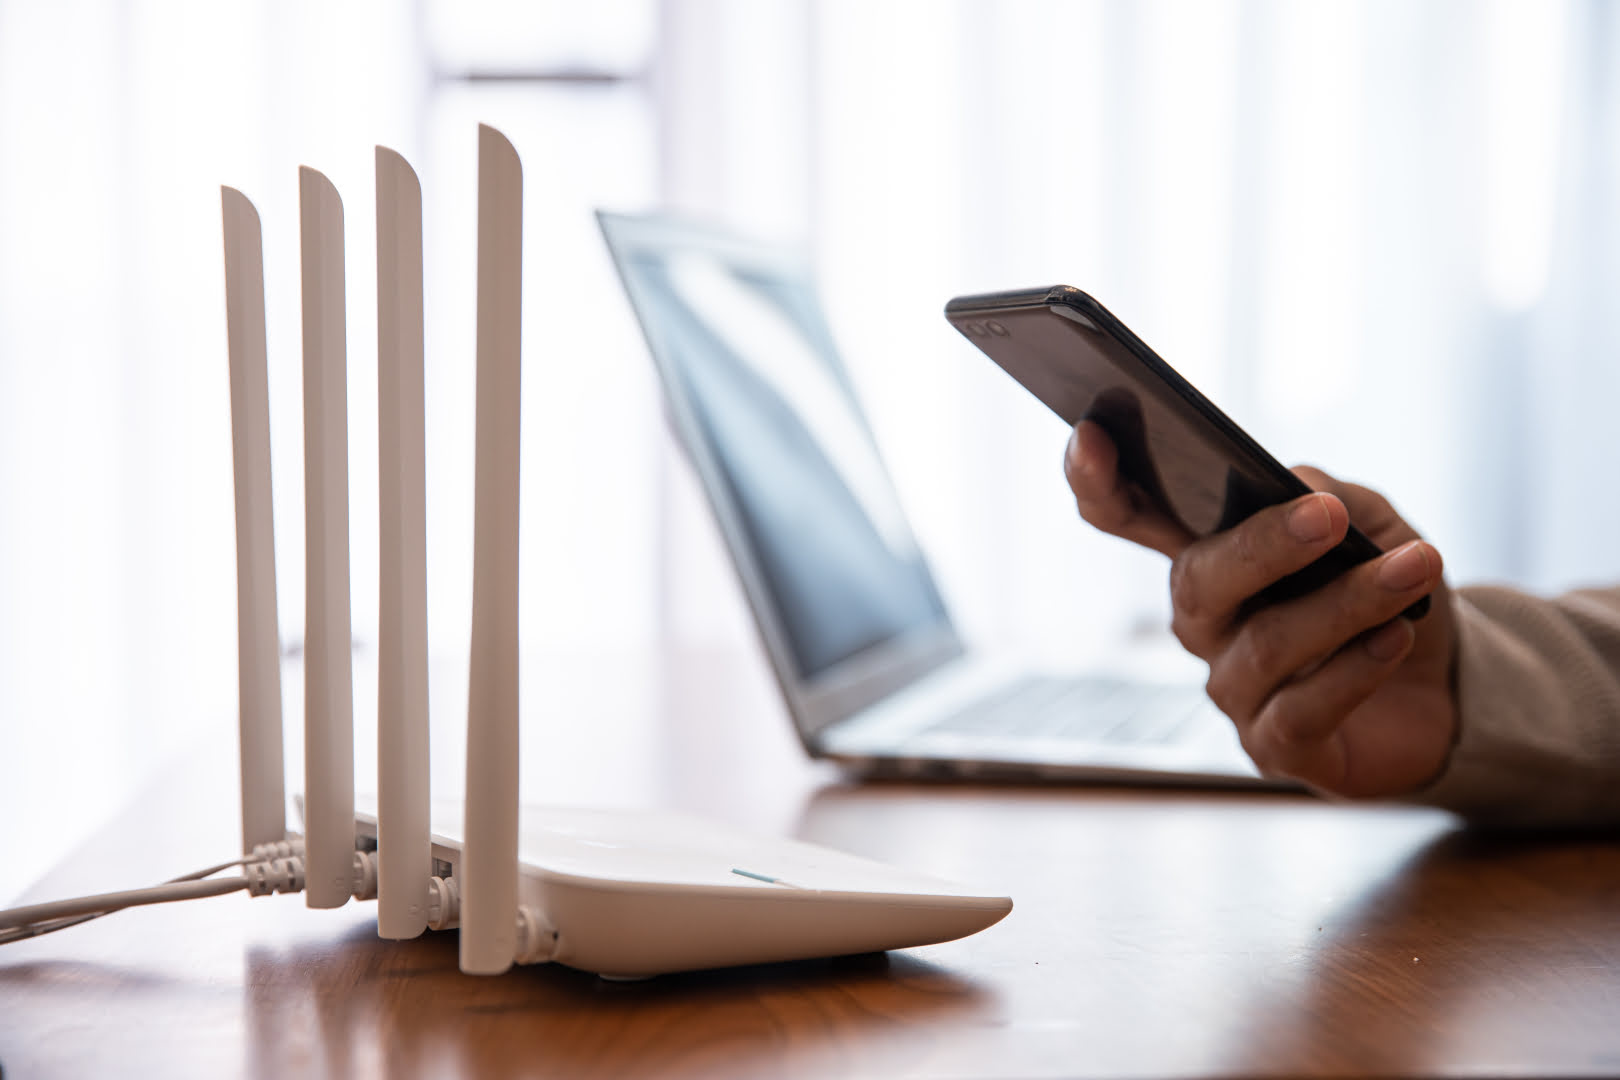
Step 2: Connect the Wi-Fi Router to the TV
With the essential equipment gathered, it’s time to initiate the process of connecting your Wi-Fi router to your smart TV. Follow these steps to establish the physical connection:
- Positioning the Devices: Place your smart TV and Wi-Fi router in close proximity to each other to ensure a strong and stable wireless signal. Ideally, there should be minimal obstructions between the two devices to optimize the Wi-Fi connection.
- Power On: Ensure that both the smart TV and Wi-Fi router are powered on and functioning properly. Check that the indicator lights on the Wi-Fi router indicate an active internet connection.
- Locate the Wi-Fi Settings on Your TV: Using the remote control for your smart TV, navigate to the settings menu and locate the Wi-Fi or network settings. The exact steps to access these settings may vary based on the brand and model of your smart TV.
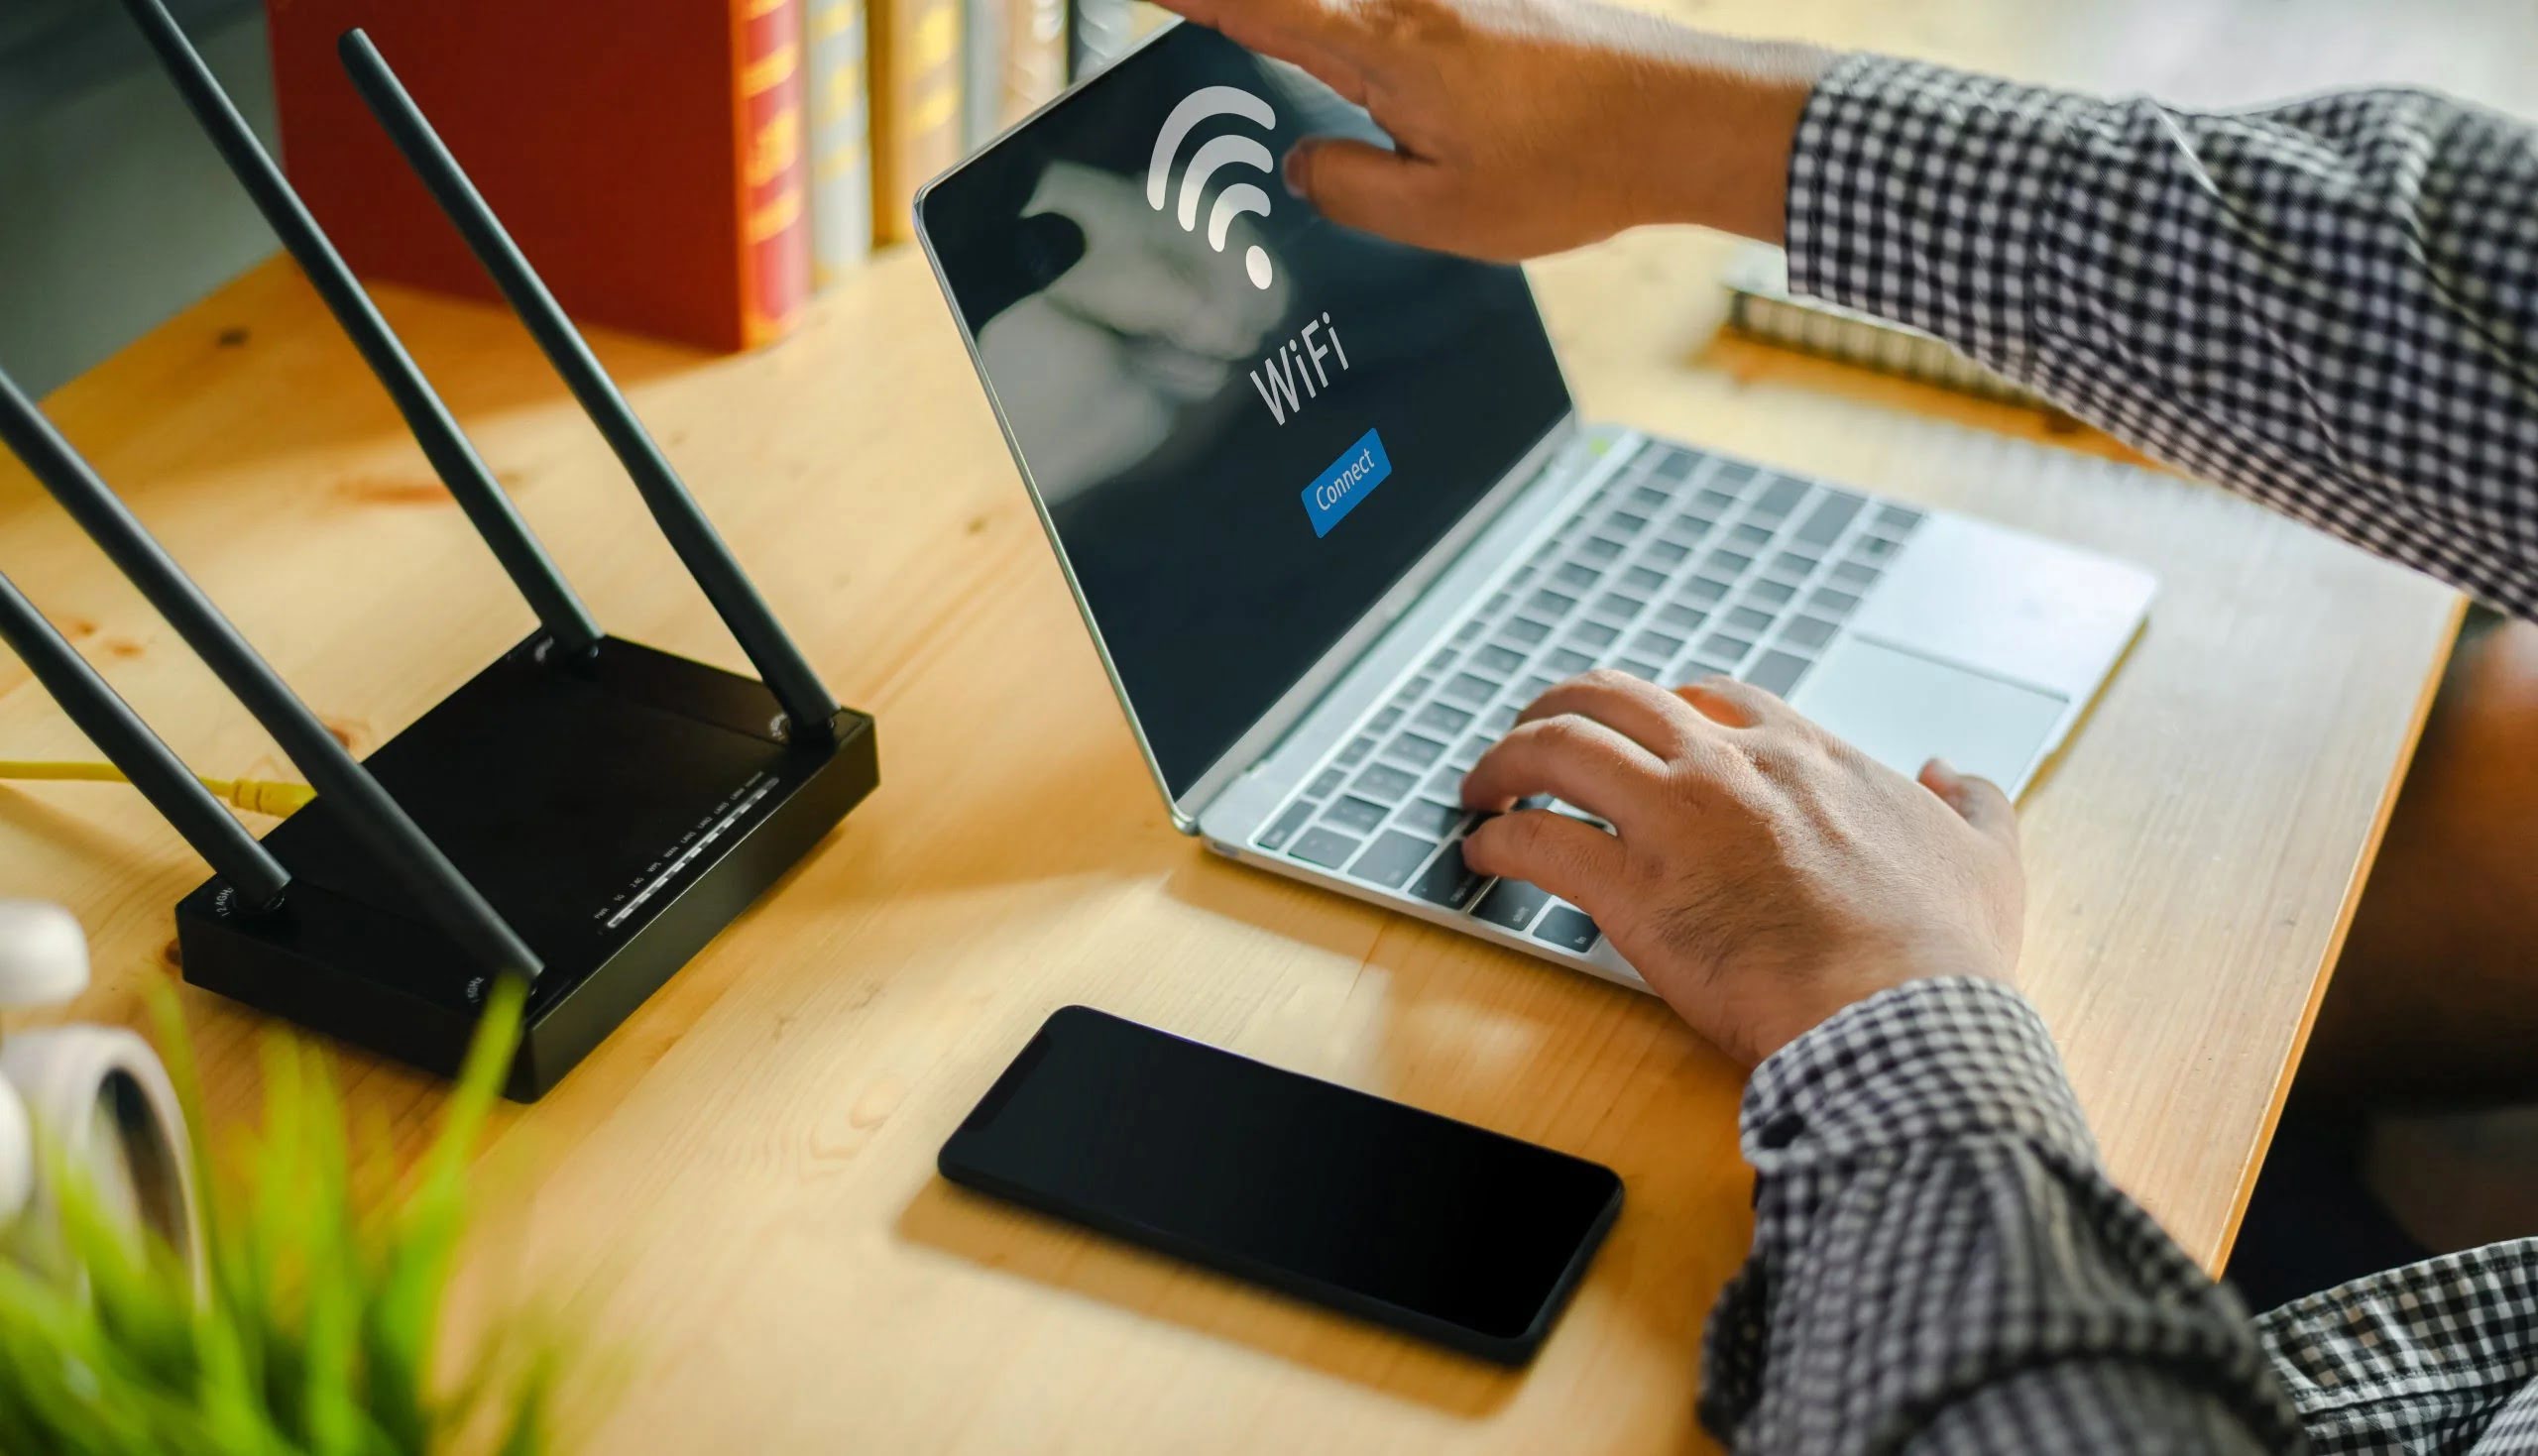
- Scan for Wi-Fi Networks: Within the Wi-Fi settings on your smart TV, initiate a scan for available Wi-Fi networks. Your Wi-Fi router’s network should appear in the list of available connections.
- Connect to the Wi-Fi Network: Select your Wi-Fi network from the list and enter the required credentials, such as the Wi-Fi password, if prompted. Follow the on-screen instructions to establish the connection between your smart TV and the Wi-Fi router.
- Confirmation of Connection: Once the connection is successfully established, your smart TV should display a confirmation message or indicator to signify that it is now connected to the Wi-Fi network. This indicates that the physical connection between the Wi-Fi router and the smart TV has been successfully established.
By following these steps, you can ensure that your smart TV is physically connected to your Wi-Fi router, setting the stage for the next phase of the setup process, which involves configuring the Wi-Fi connection on the TV itself.
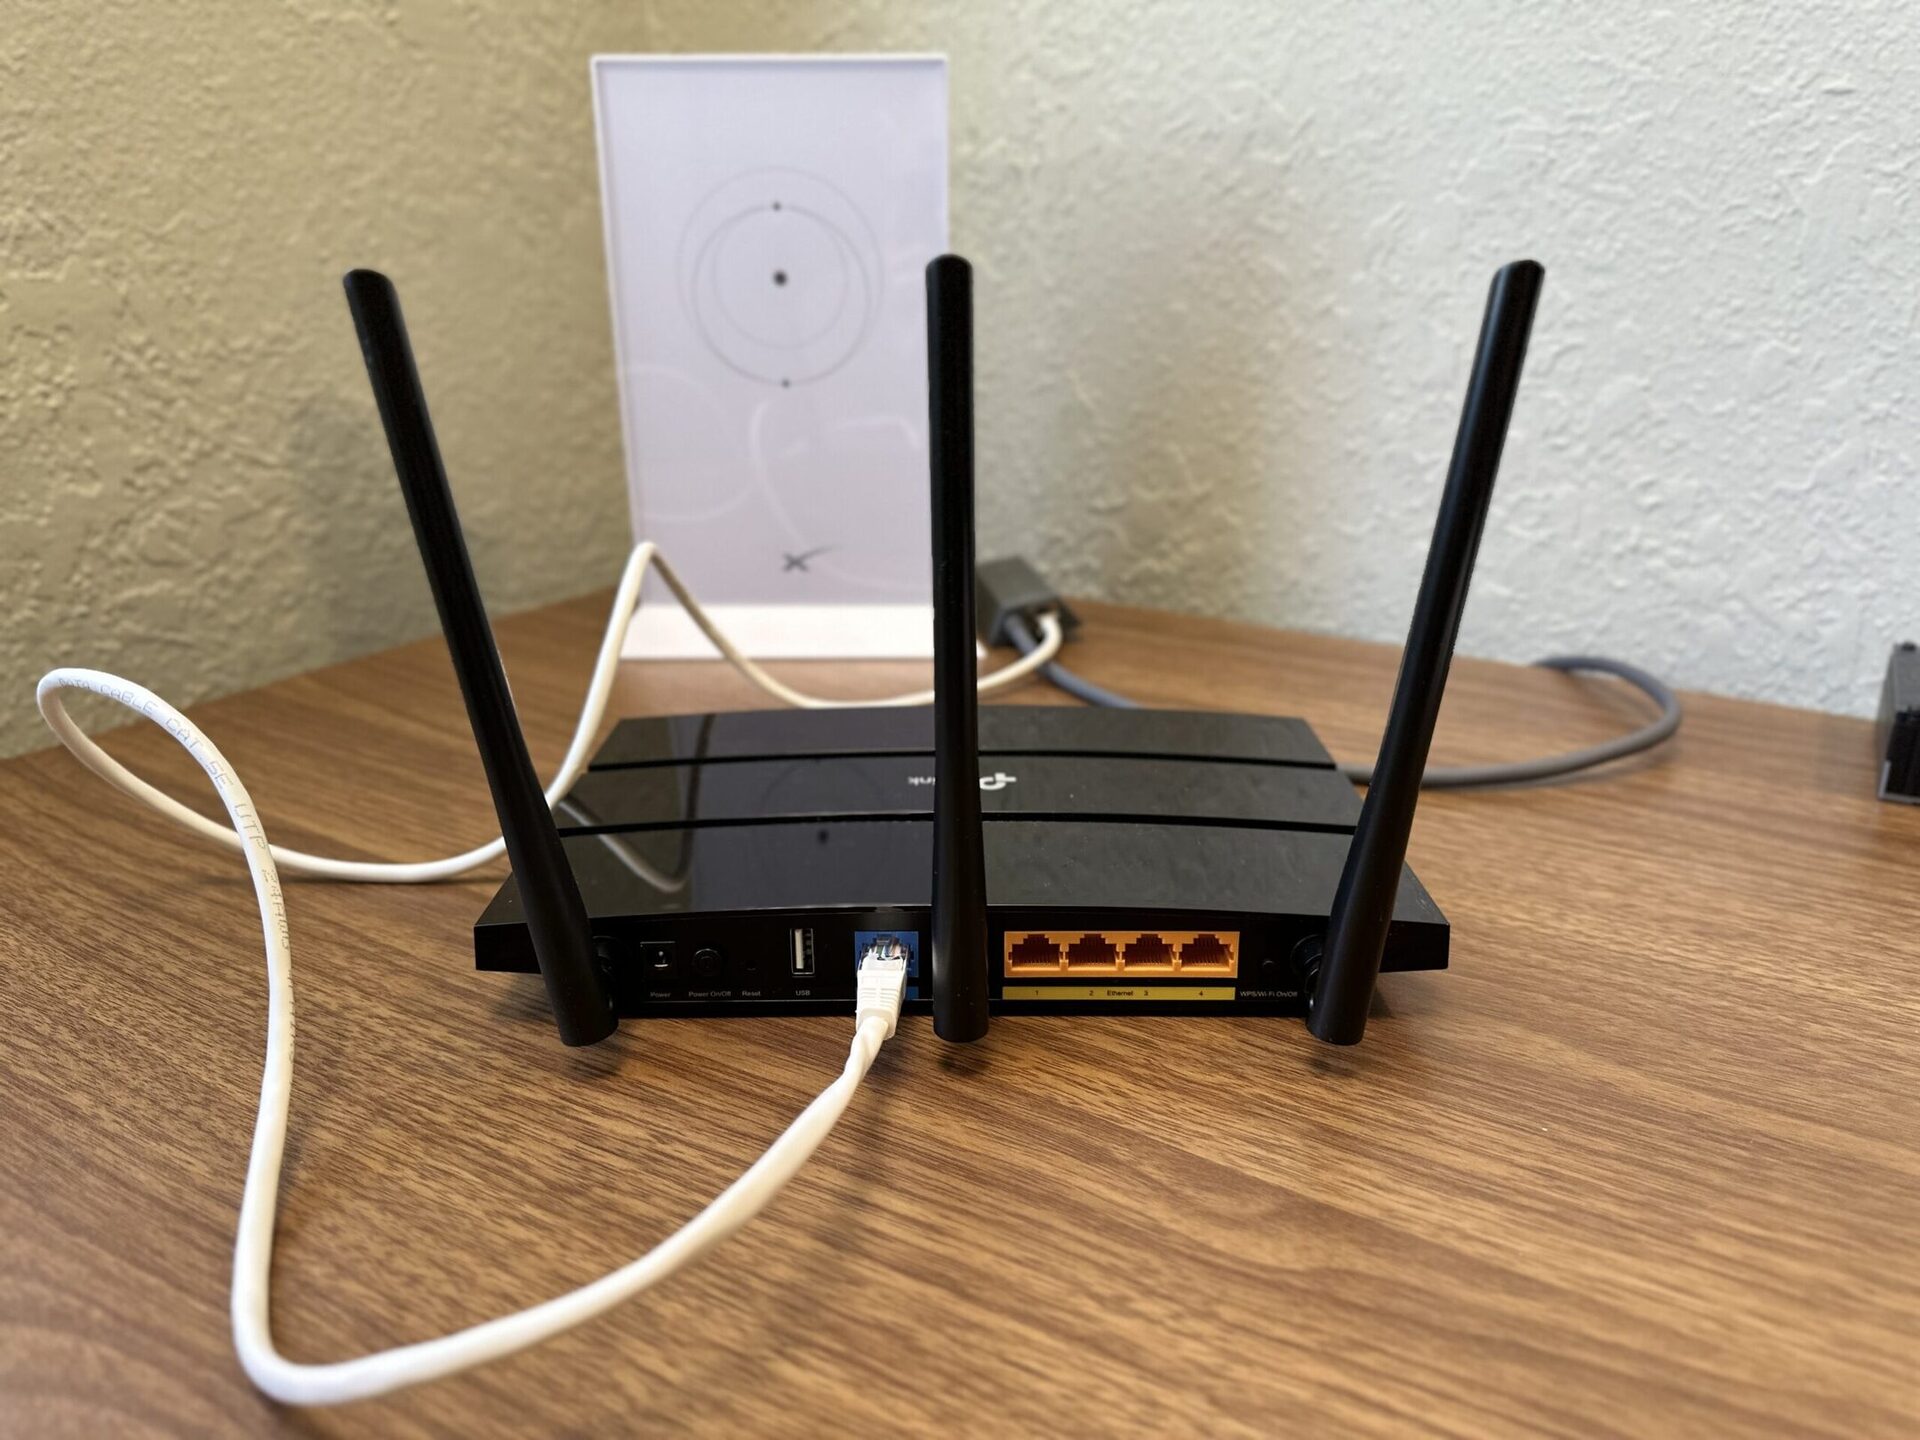
Make sure your TV has a built-in Wi-Fi or an available Ethernet port. Connect the router to the TV using an Ethernet cable or by entering the Wi-Fi password in the TV’s settings.
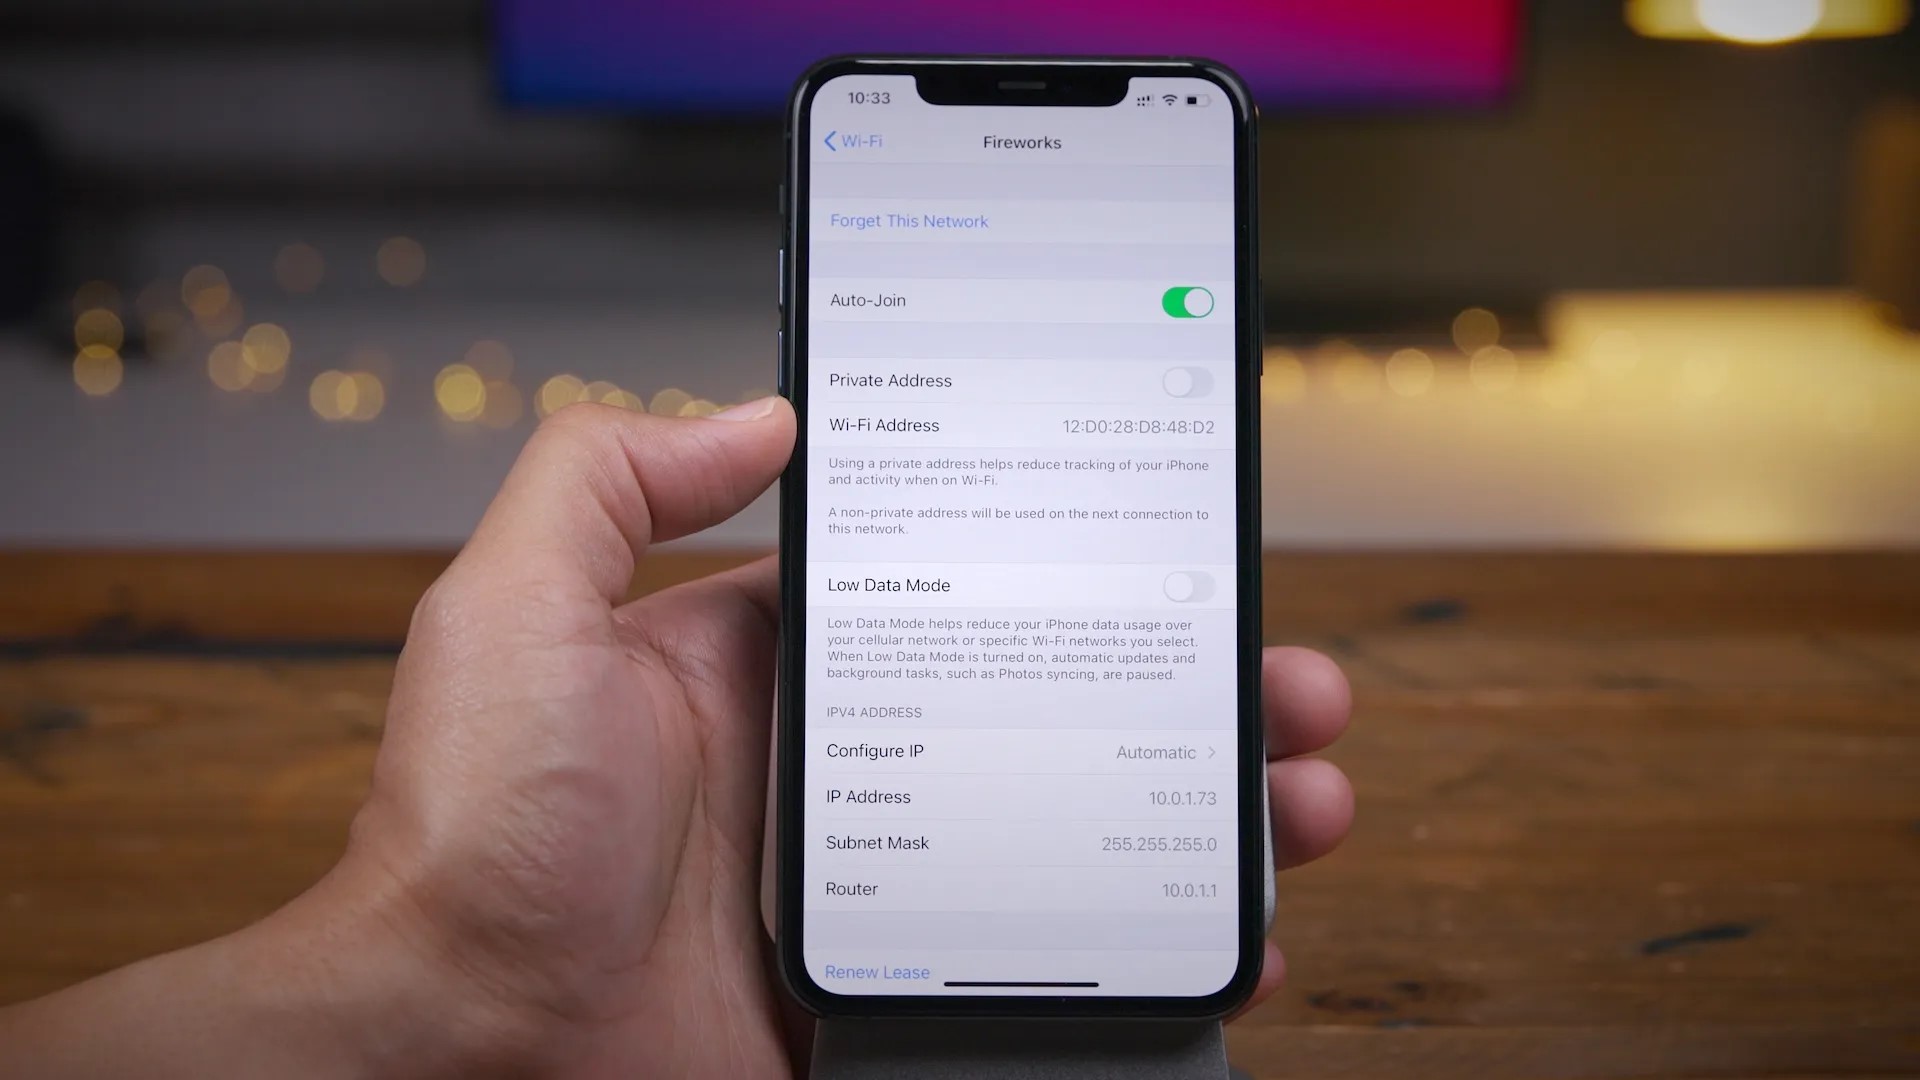
Step 3: Configure the Wi-Fi Connection on the TV
After physically connecting your Wi-Fi router to your smart TV, the next crucial step is to configure the Wi-Fi connection on the TV itself. This process involves fine-tuning the settings to ensure a seamless and reliable wireless connection. Follow these steps to configure the Wi-Fi connection on your smart TV:
- Accessing the Network Settings: Using the remote control, navigate back to the network or Wi-Fi settings menu on your smart TV. Look for options related to network configuration and wireless connectivity.
- Choosing the Wi-Fi Network: Within the network settings, locate the option to manage or select the connected Wi-Fi network. Ensure that the correct Wi-Fi network name (SSID) is displayed, indicating that your smart TV is connected to the intended Wi-Fi router.
- Advanced Settings (if applicable): Depending on the smart TV model, there may be advanced settings related to Wi-Fi configuration, such as channel selection, security protocols, and DNS settings. Review these settings to optimize the wireless connection based on your specific network environment.
- Signal Strength and Quality: Some smart TVs provide visual indicators of the Wi-Fi signal strength and quality. Take note of these indicators to ensure that the wireless connection is robust and stable, minimizing potential issues during streaming and online content consumption.
- Network Testing and Troubleshooting: Many smart TVs offer built-in network testing and troubleshooting tools. Take advantage of these features to verify the connection quality and address any potential issues that may arise during the configuration process.
- Save and Confirm: Once you have reviewed and adjusted the necessary Wi-Fi settings, save the configuration changes and confirm that the smart TV is successfully connected to the Wi-Fi network. Look for on-screen prompts or indicators that signify a stable and reliable Wi-Fi connection.
By meticulously configuring the Wi-Fi connection on your smart TV, you can ensure that the wireless communication between the TV and the Wi-Fi router is optimized for seamless performance, setting the stage for an enhanced home entertainment experience.
Step 4: Test the Connection
With the Wi-Fi router physically connected to your smart TV and the Wi-Fi configuration fine-tuned, it’s time to put the connection to the test. By verifying the connection and conducting a series of checks, you can ensure that your smart TV is ready to deliver a seamless and immersive online entertainment experience. Follow these steps to test the Wi-Fi connection:
- Streaming Test: Launch a streaming app or service on your smart TV and select a video or content to stream. Monitor the playback experience to ensure that the streaming is smooth and uninterrupted. Pay attention to factors such as video quality, buffering, and overall playback performance.
- App Downloads and Updates: If your smart TV supports app downloads and updates, initiate the download or update of a popular app to gauge the download speed and overall app management experience. A stable Wi-Fi connection should facilitate swift downloads and updates.
- Online Browsing: Use the built-in web browser on your smart TV to visit various websites and online platforms. Assess the loading times, navigation fluidity, and overall browsing experience to ensure that the Wi-Fi connection supports online activities beyond streaming.
- Interactive Features: If your smart TV offers interactive features such as online gaming, social media integration, or content sharing, explore these features to gauge their responsiveness and functionality in relation to the Wi-Fi connection.
- Multi-Device Connectivity: If applicable, test the simultaneous connectivity of multiple devices to the Wi-Fi network while streaming content on your smart TV. Assess the network’s ability to handle concurrent connections without compromising performance.
- Signal Stability: Monitor the Wi-Fi signal stability over an extended period, taking note of any fluctuations or disruptions in the wireless connection. A stable and consistent signal is essential for uninterrupted online entertainment.
By conducting these tests, you can validate the strength and reliability of the Wi-Fi connection between your smart TV and the Wi-Fi router, ensuring that your home entertainment setup is primed for a seamless digital experience.
Read more: How To Connect My Wi-Fi Router
Conclusion
Connecting your Wi-Fi router to your smart TV opens a gateway to a world of digital entertainment, allowing you to stream your favorite shows, access online content, and enjoy interactive features from the comfort of your living room. By following the steps outlined in this guide, you have successfully established a reliable and seamless Wi-Fi connection, paving the way for an enhanced home entertainment experience.
As technology continues to evolve, the integration of smart devices into our daily lives has redefined the way we consume and interact with digital content. Smart TVs, with their internet connectivity and advanced features, have become a centerpiece of modern home entertainment setups, offering unparalleled convenience and versatility.
With your smart TV now connected to your Wi-Fi router, you have unlocked the potential for immersive streaming, seamless app management, and seamless online browsing. Whether it’s streaming the latest blockbuster movie, accessing on-demand content, or engaging in interactive experiences, your smart TV’s connectivity to the Wi-Fi network empowers you to tailor your entertainment choices to your preferences and schedule.
As you continue to explore the capabilities of your smart TV and leverage its connectivity to the Wi-Fi network, consider optimizing your network settings, exploring additional features and apps, and staying abreast of firmware updates to ensure that you are maximizing the potential of your home entertainment setup.
By embracing the seamless integration of your smart TV with your Wi-Fi network, you have embarked on a journey towards a more personalized and immersive entertainment experience, tailored to your unique preferences and lifestyle.
As you settle in to enjoy the endless array of digital content at your fingertips, take pride in the seamless connection you have established, knowing that your smart TV and Wi-Fi router are working in harmony to deliver a captivating and enriching home entertainment experience.
Frequently Asked Questions about How To Connect Wi-Fi Router To TV
Was this page helpful?
At Storables.com, we guarantee accurate and reliable information. Our content, validated by Expert Board Contributors, is crafted following stringent Editorial Policies. We're committed to providing you with well-researched, expert-backed insights for all your informational needs.


0 thoughts on “How To Connect Wi-Fi Router To TV”