Home>Technology>Smart Home Devices>How To Connect Tata Photon To Wi-Fi Router

Smart Home Devices
How To Connect Tata Photon To Wi-Fi Router
Modified: January 7, 2024
Learn how to easily connect your Tata Photon to a Wi-Fi router and expand your smart home devices. Enhance your connectivity with this simple guide.
(Many of the links in this article redirect to a specific reviewed product. Your purchase of these products through affiliate links helps to generate commission for Storables.com, at no extra cost. Learn more)
**
Introduction
**
In the rapidly evolving landscape of smart home devices, the ability to seamlessly connect various gadgets to a Wi-Fi network has become a fundamental aspect of modern living. This connectivity not only enhances convenience but also facilitates the smooth operation of smart home devices. When it comes to connecting the Tata Photon to a Wi-Fi router, there are several key considerations and steps to ensure a successful setup. In this comprehensive guide, we will delve into the intricacies of connecting Tata Photon to a Wi-Fi router, providing valuable insights and practical tips to streamline the process. Whether you are a tech-savvy enthusiast or a novice in the realm of smart home technology, this guide aims to demystify the process and empower you to harness the full potential of your Tata Photon device within your home network. So, let's embark on this enlightening journey to seamlessly integrate Tata Photon with your Wi-Fi router, unlocking a world of interconnected possibilities.
**
Key Takeaways:
- Connecting Tata Photon to a Wi-Fi router is like creating a digital orchestra in your home, where devices harmoniously interact. Understanding the devices and setting up the router are crucial for seamless connectivity.
- Optimizing signal strength, updating firmware, and proactive troubleshooting are key to ensuring a smooth and reliable internet experience with Tata Photon and the Wi-Fi router in your smart home.
Read more: How To Connect Verizon Wi-Fi Router
Understanding Tata Photon
**
Before delving into the process of connecting Tata Photon to a Wi-Fi router, it is essential to grasp the fundamental characteristics of the Tata Photon device. Tata Photon is a popular wireless broadband internet service offered by Tata Teleservices, providing high-speed internet access through its USB dongles or Wi-Fi routers. The device leverages cutting-edge technology to deliver reliable internet connectivity, making it an ideal choice for both personal and professional use.
The Tata Photon device operates on the CDMA or GSM platform, utilizing advanced network infrastructure to ensure seamless data transmission. Whether you opt for the USB dongle or the Wi-Fi router variant, Tata Photon empowers users to access the internet on the go, bridging the gap between digital connectivity and mobility.
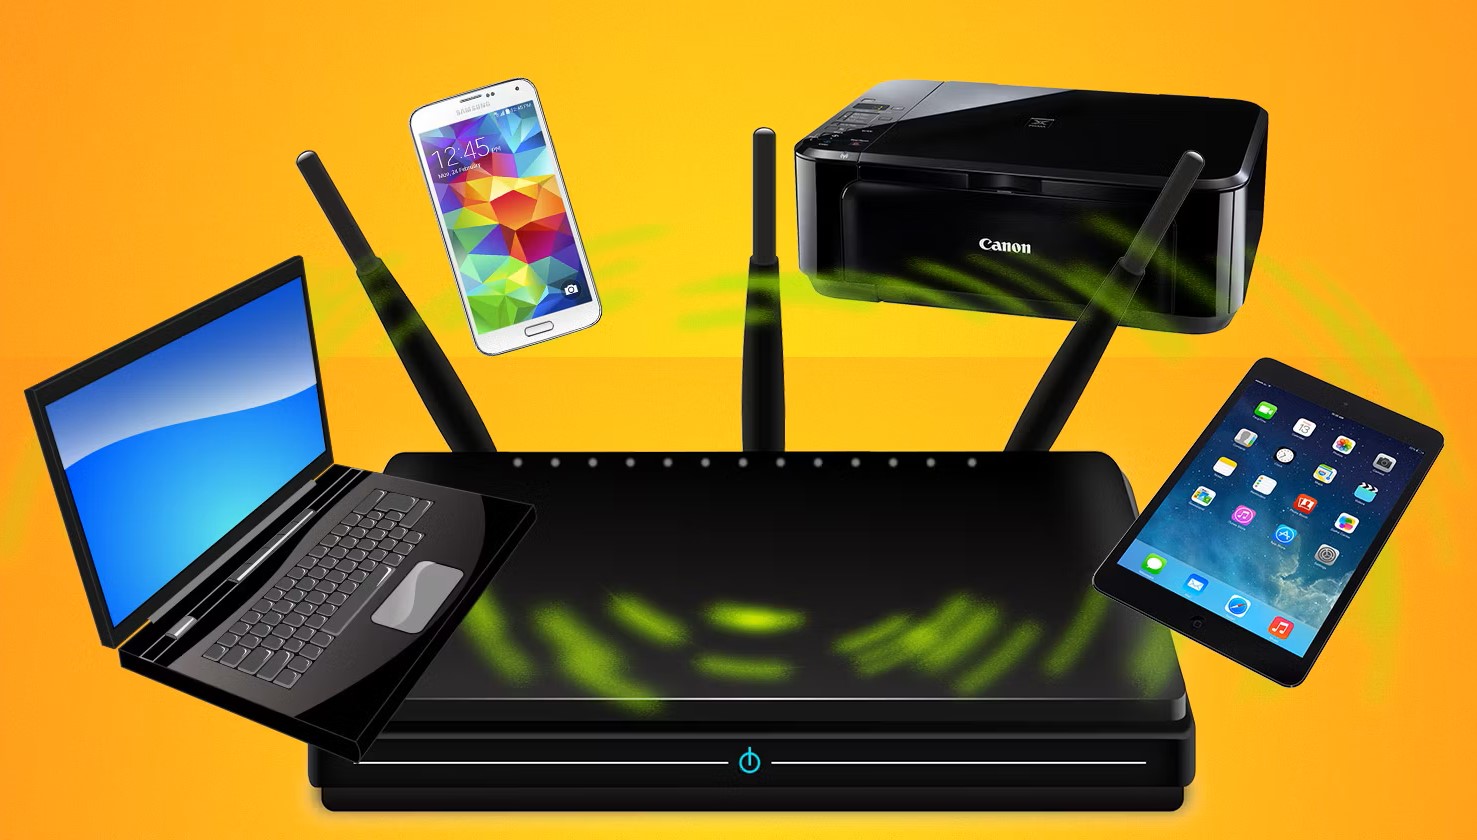
One of the key advantages of Tata Photon is its portability, allowing users to stay connected while traveling or in areas with limited wired internet infrastructure. Additionally, the device offers flexibility in terms of usage, enabling multiple devices to connect to the internet simultaneously, thereby catering to the diverse connectivity needs of modern households and businesses.
Furthermore, Tata Photon is renowned for its user-friendly interface and intuitive setup process, making it accessible to individuals with varying levels of technical expertise. Whether you are a tech enthusiast seeking high-speed internet for gaming and streaming or a professional requiring reliable connectivity for remote work, Tata Photon is designed to meet your digital demands with efficiency and reliability.
By understanding the core features and capabilities of Tata Photon, users can harness its full potential within their home network, paving the way for a seamless integration with a Wi-Fi router. This foundational knowledge sets the stage for a smooth and optimized connectivity experience, ensuring that Tata Photon becomes an indispensable component of your smart home ecosystem.
**
Setting up the Wi-Fi Router
**
When embarking on the journey of connecting Tata Photon to a Wi-Fi router, the initial step involves setting up the Wi-Fi router itself. This pivotal stage lays the groundwork for establishing a robust and interconnected network that seamlessly integrates Tata Photon into the ecosystem. Here are the essential steps to set up the Wi-Fi router:
-
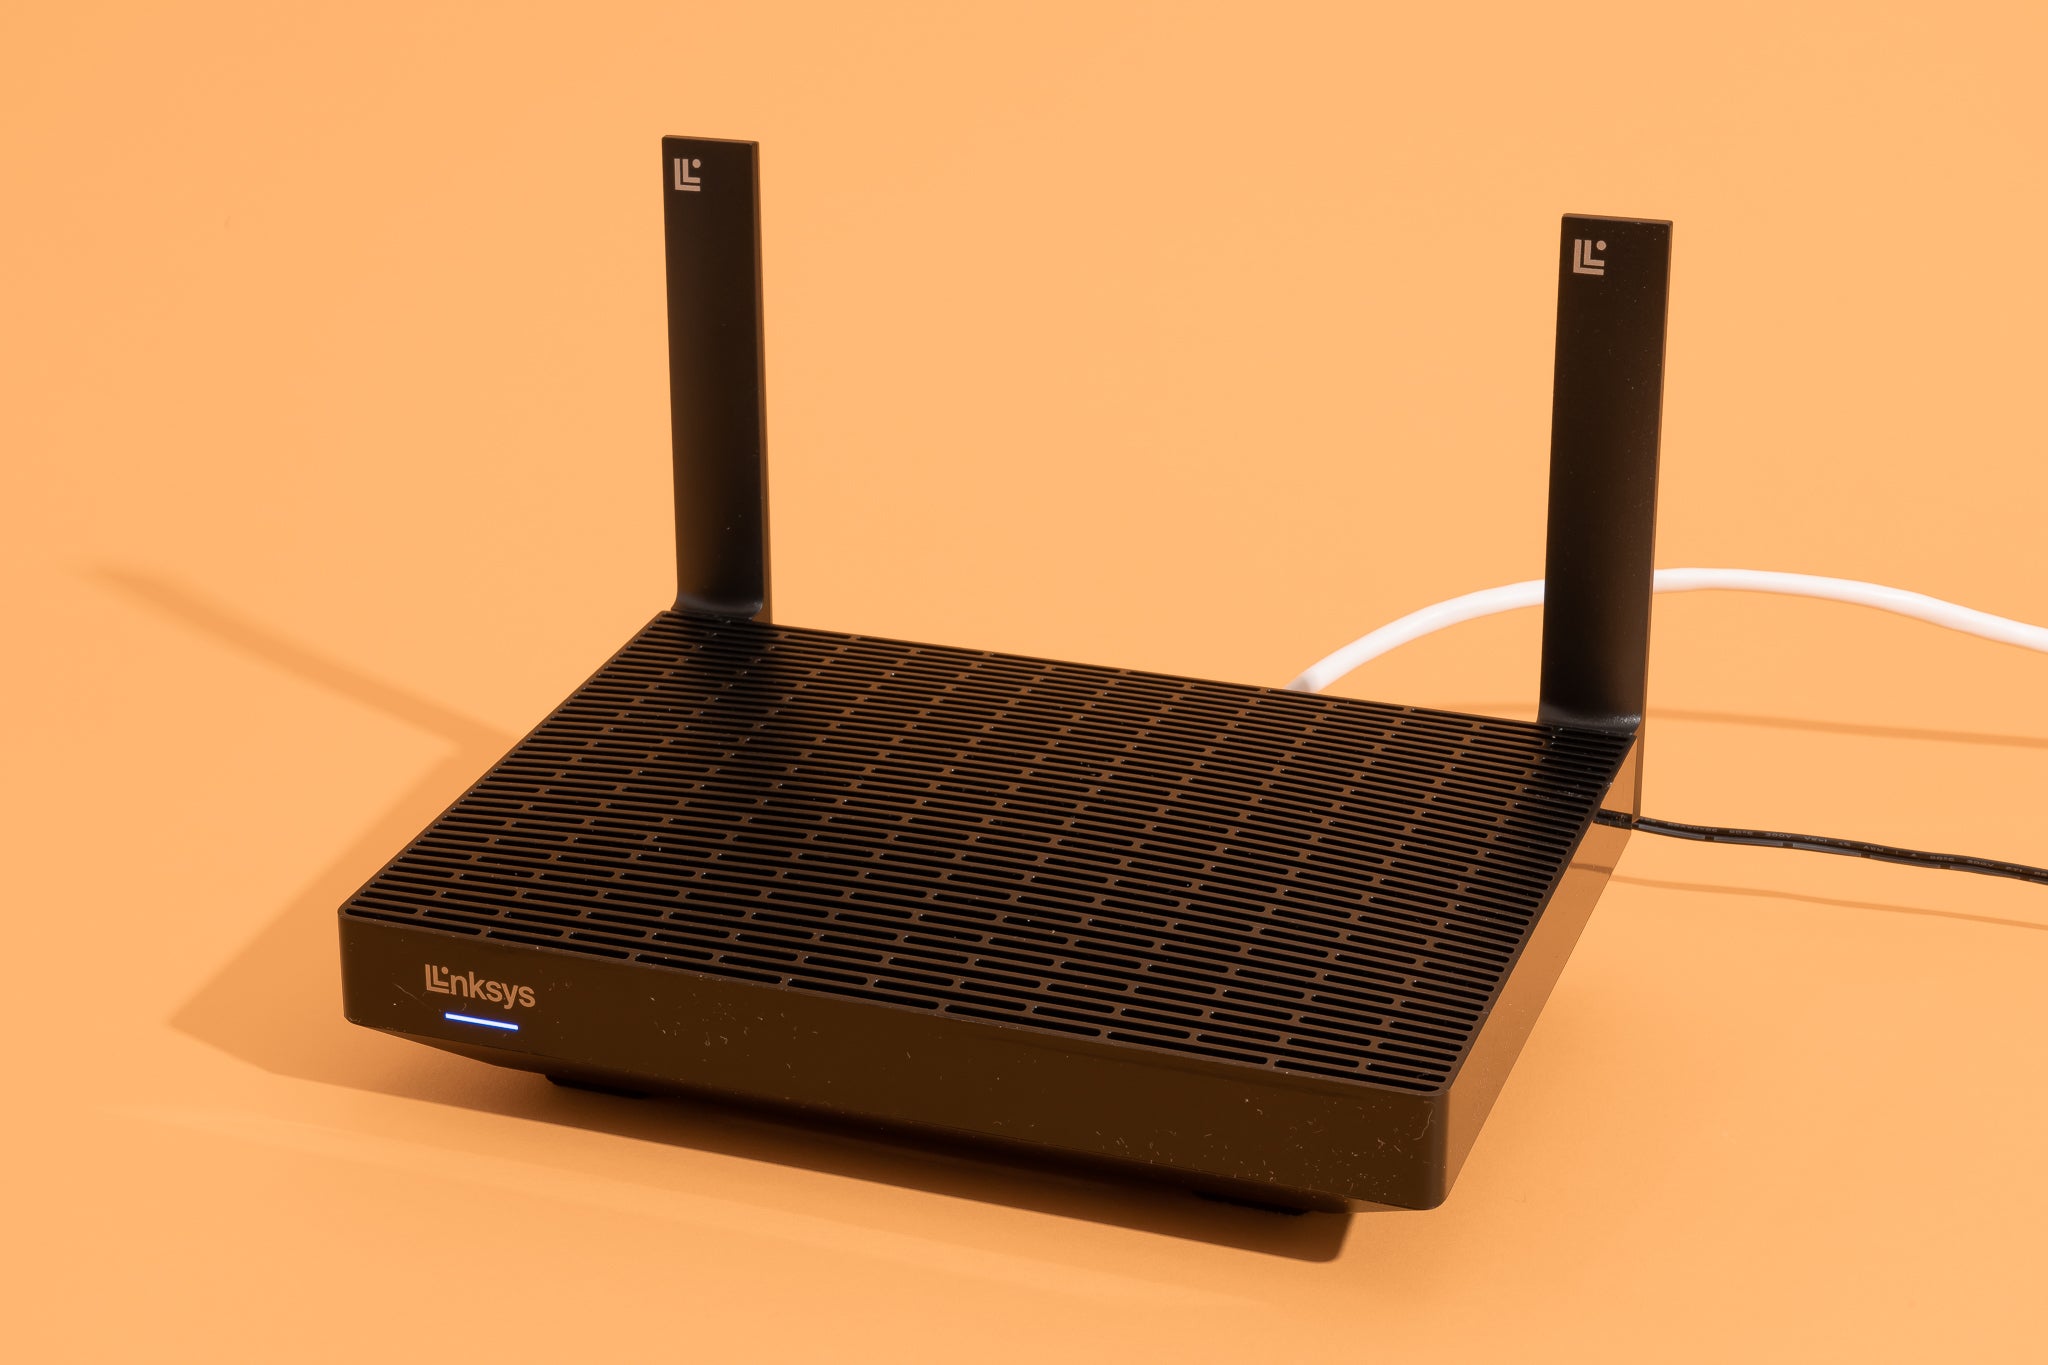
Selecting an Optimal Location: Choose a strategic location for the Wi-Fi router that ensures optimal coverage throughout your living space. Positioning the router in a central area can help minimize signal obstructions and maximize the reach of the Wi-Fi network.
-
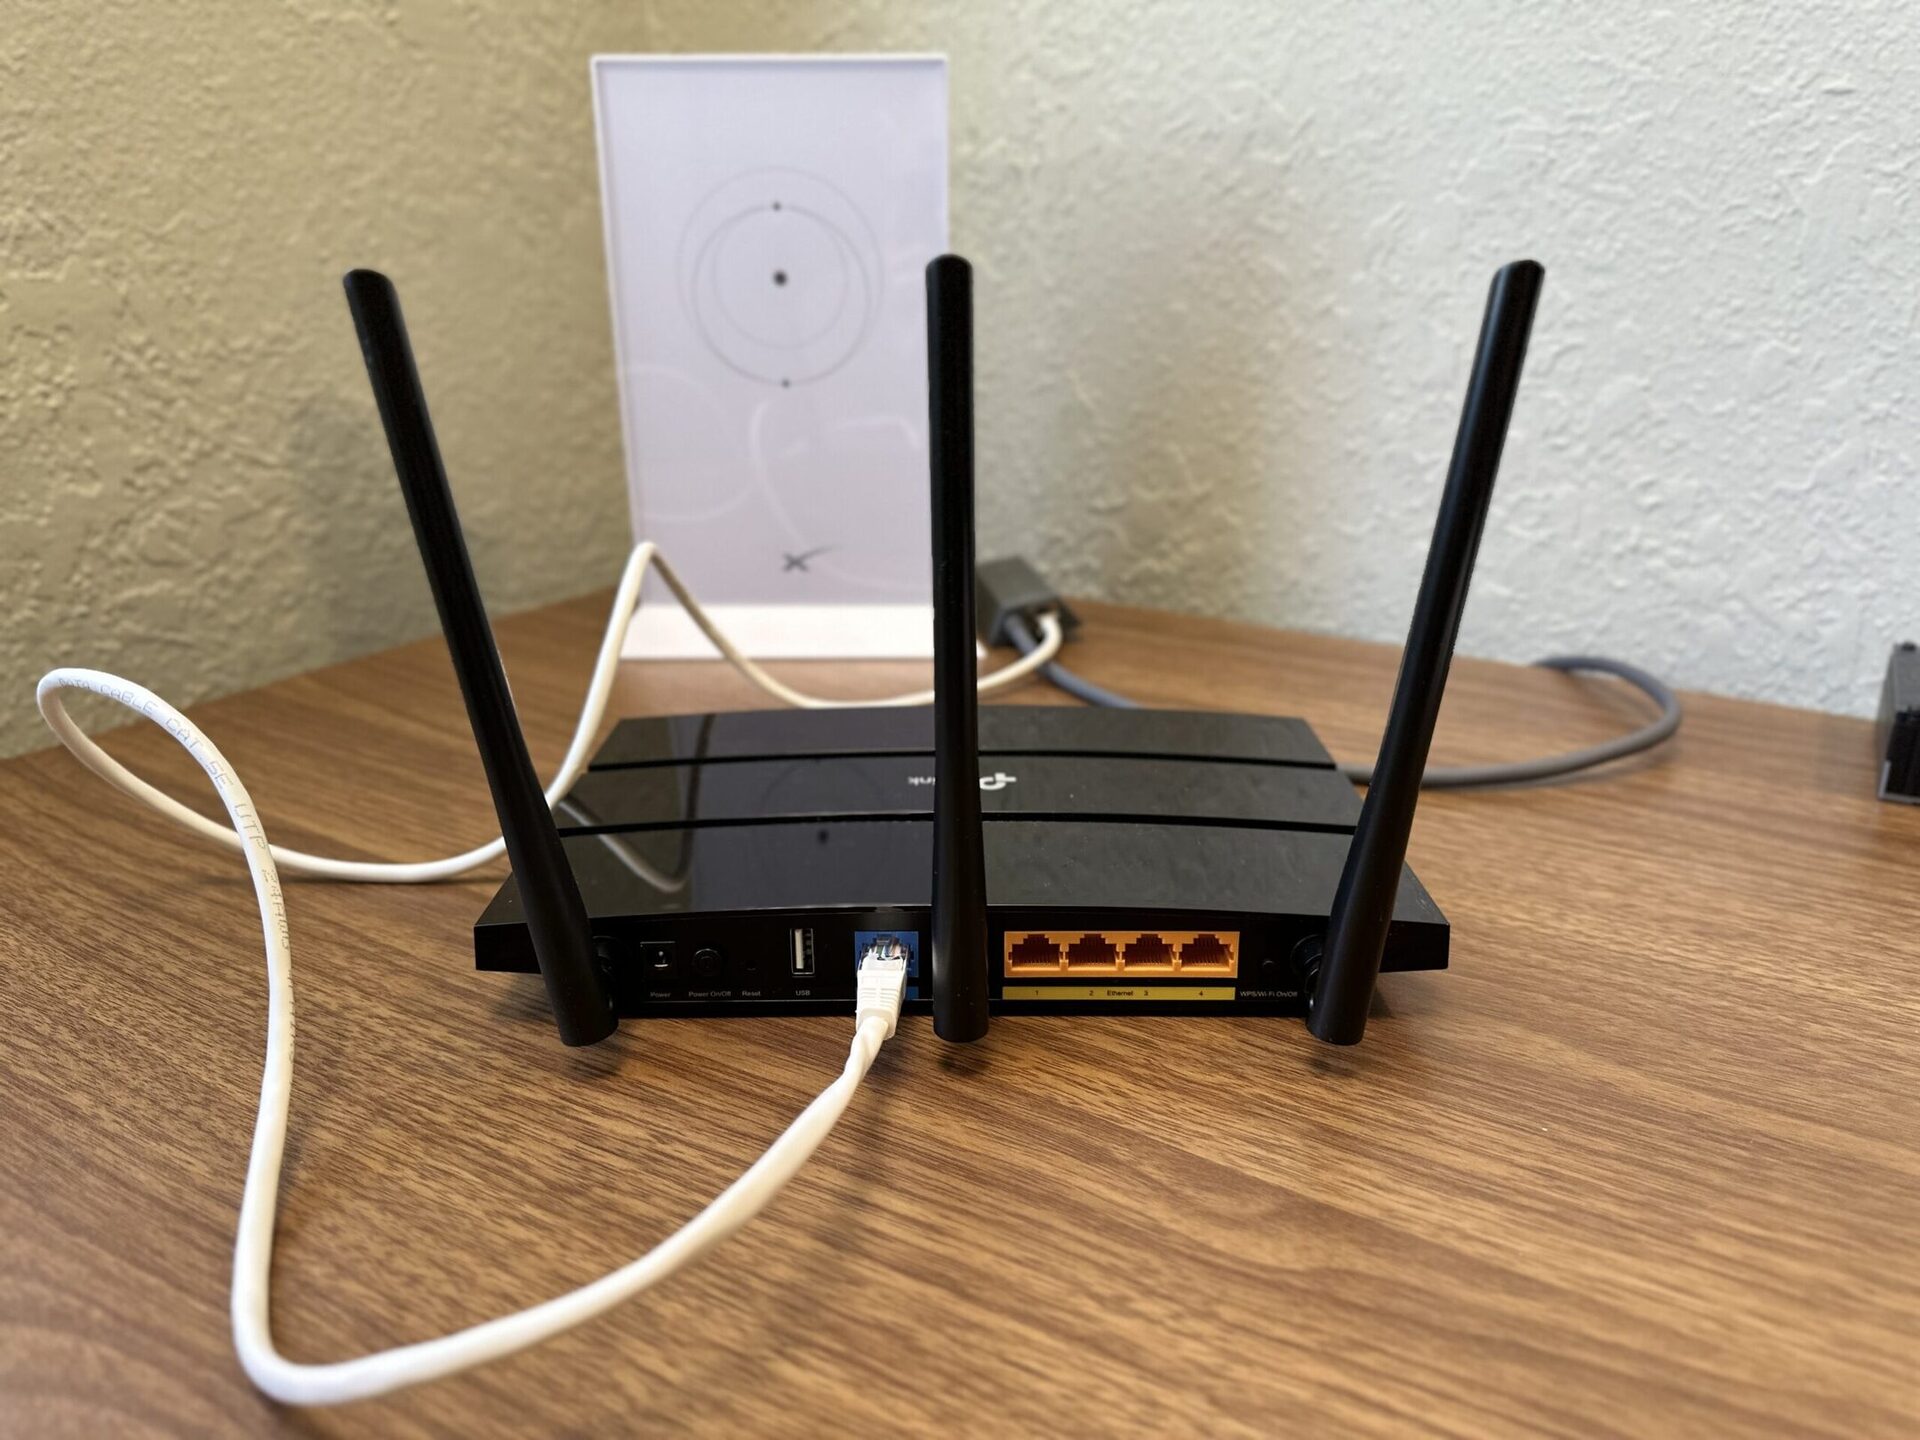
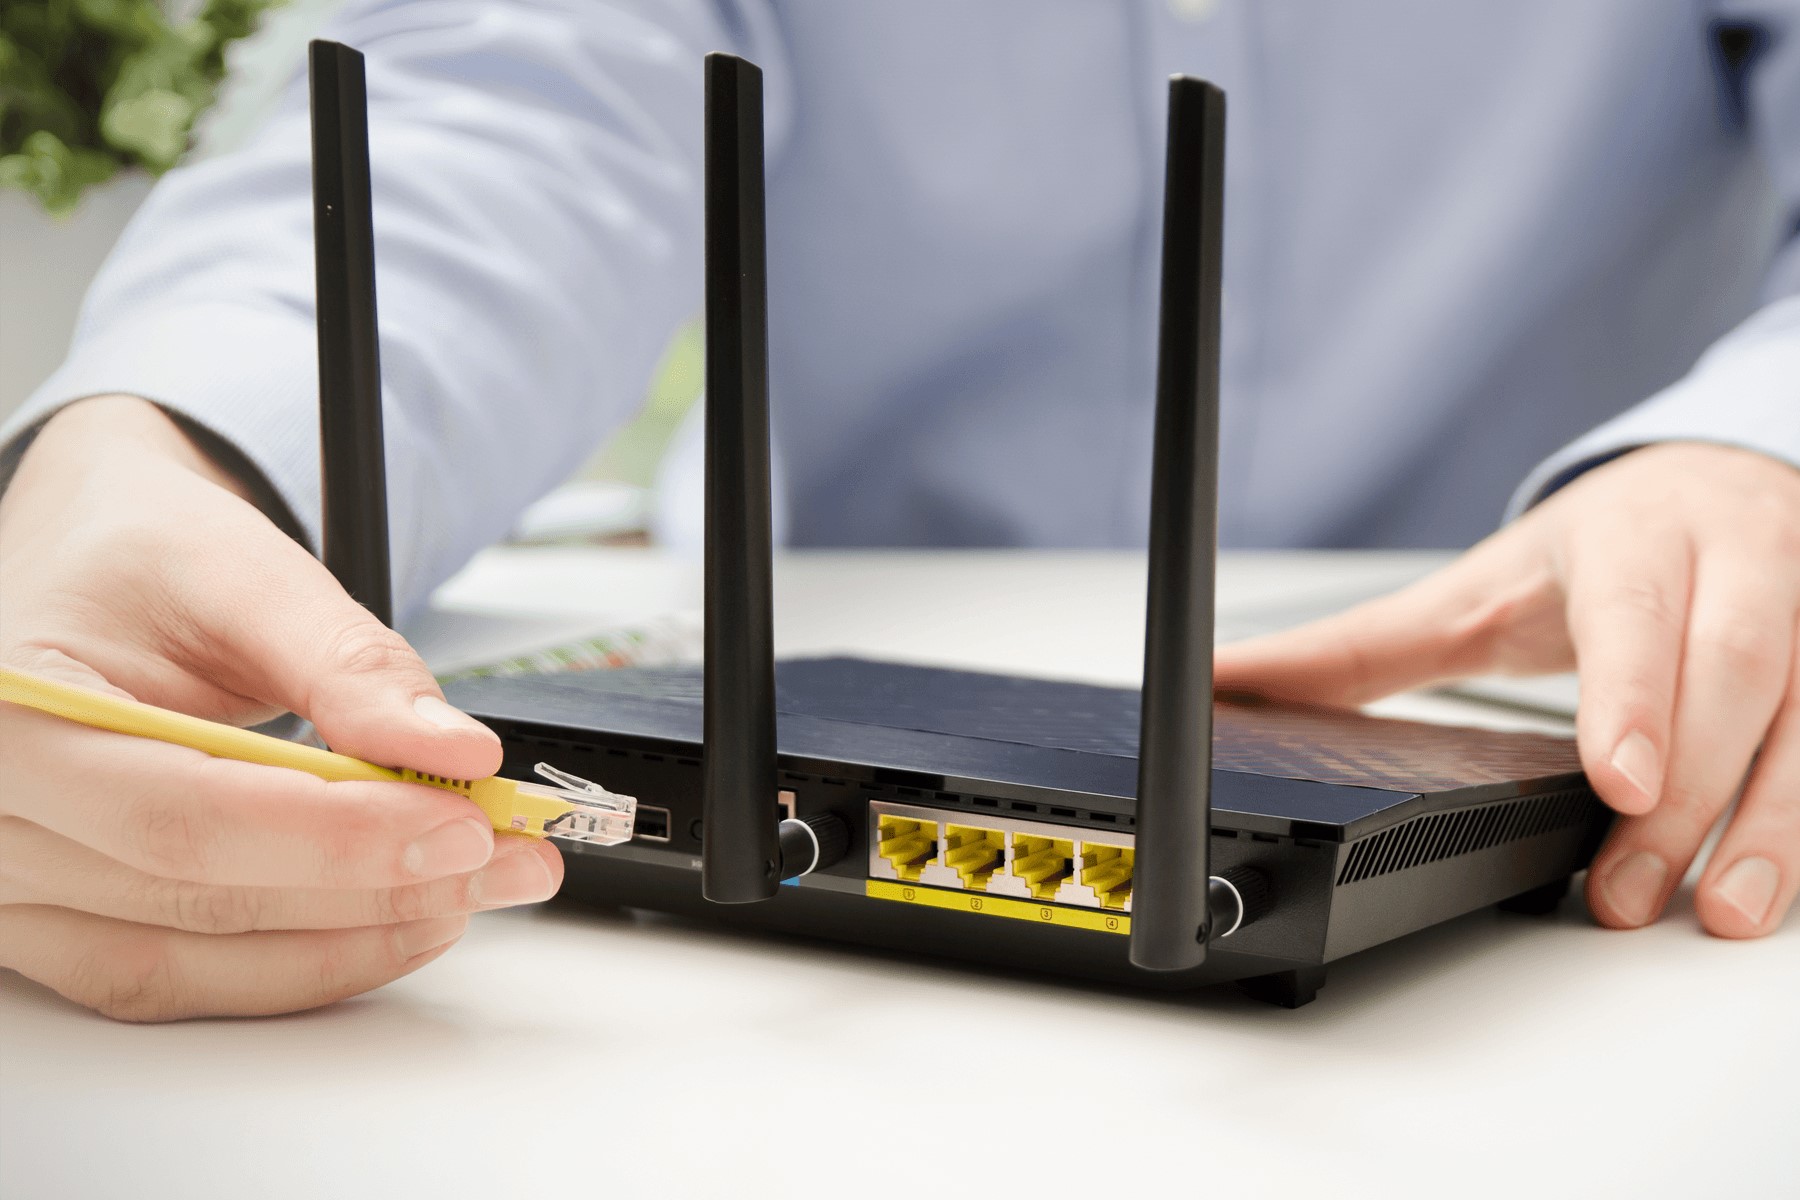
Power and Connectivity: Connect the Wi-Fi router to a power source and the designated internet port using the provided cables. Ensure a stable power supply and secure connectivity to initiate the setup process.
-
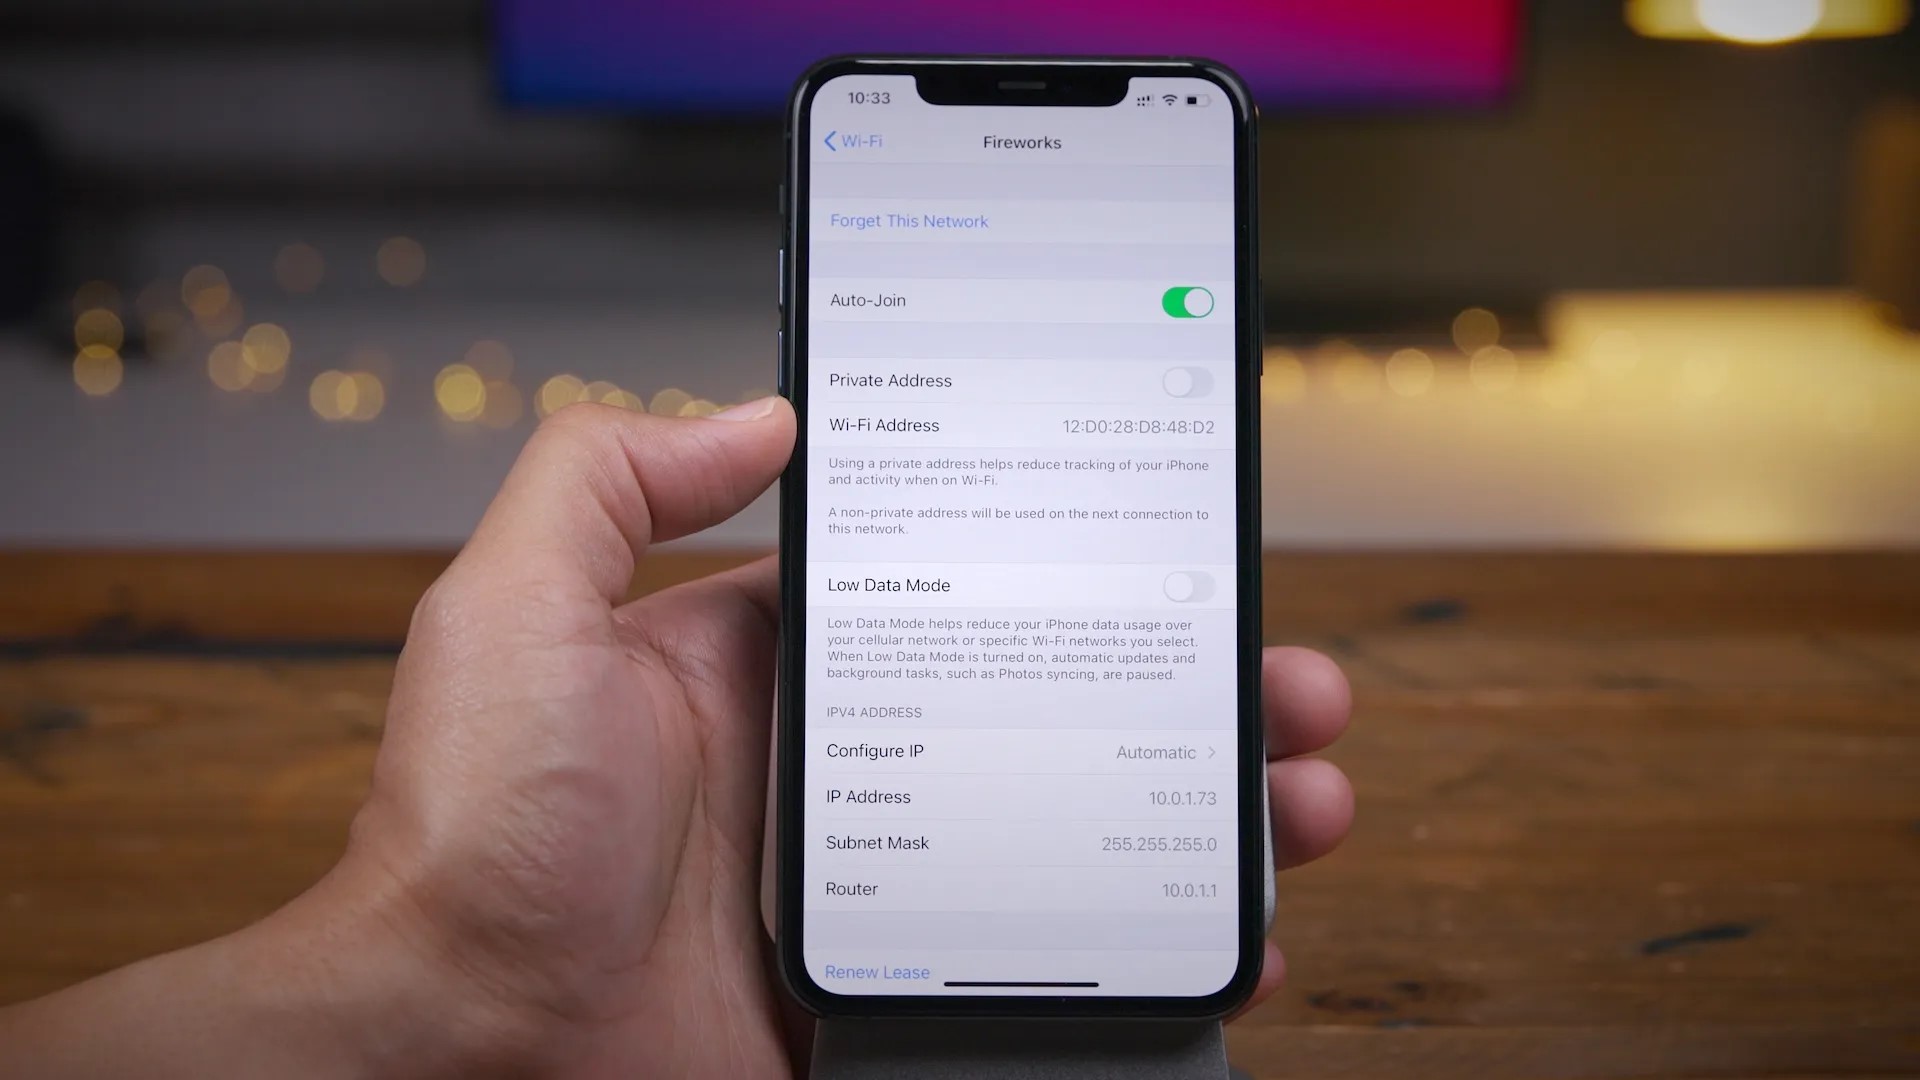
Accessing the Router Settings: Access the router's settings by typing the default IP address into a web browser. This grants access to the router's configuration interface, where you can customize network settings and security parameters.
-
Configuring Wi-Fi Network: Set up the Wi-Fi network by assigning a unique SSID (Service Set Identifier) and a secure password. Customizing these credentials enhances the security and personalization of your Wi-Fi network.
-
Optimizing Network Settings: Fine-tune network settings such as channel selection and bandwidth allocation to optimize the performance and stability of the Wi-Fi network.
-
Enabling Security Features: Activate robust security features such as WPA2 encryption and MAC address filtering to fortify the Wi-Fi network against unauthorized access and potential security threats.
By meticulously setting up the Wi-Fi router, you establish a solid foundation for accommodating the seamless integration of Tata Photon into your home network. This preparatory phase ensures that the Wi-Fi router is primed to facilitate the connectivity and interaction between Tata Photon and other smart home devices, fostering a cohesive and efficient digital ecosystem within your living space.
**
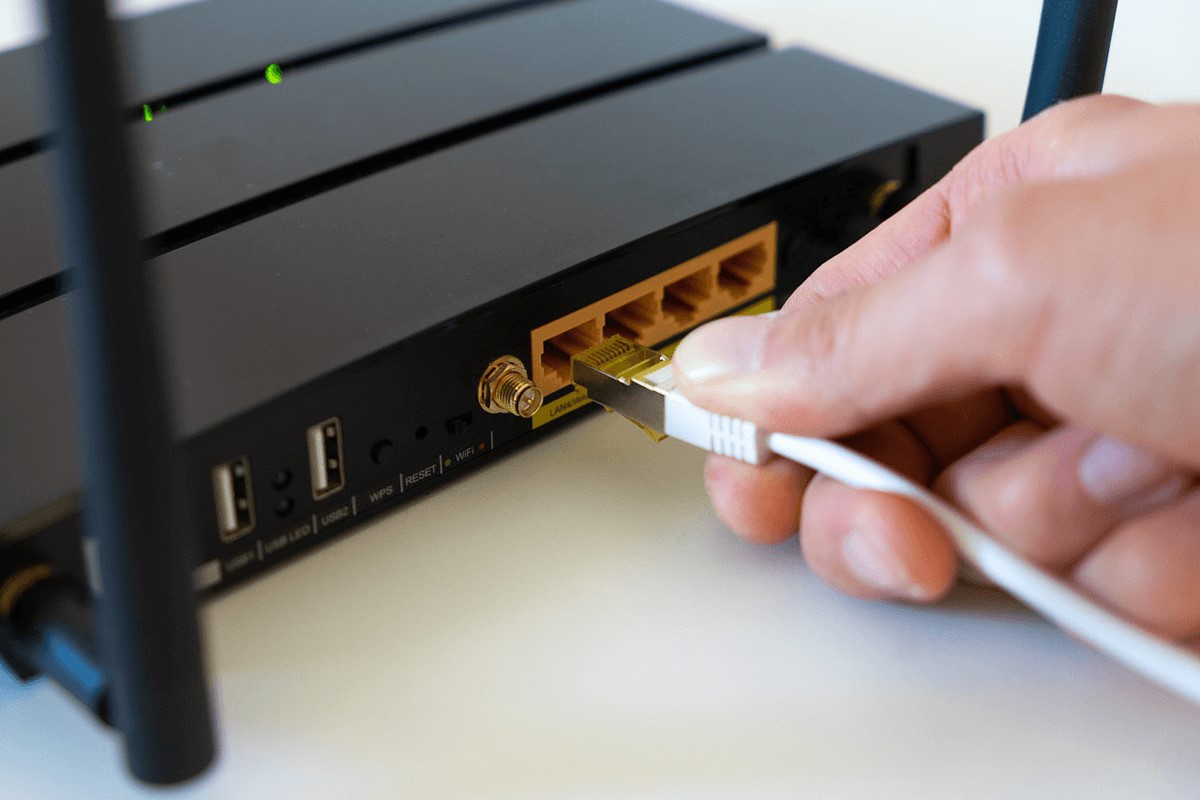
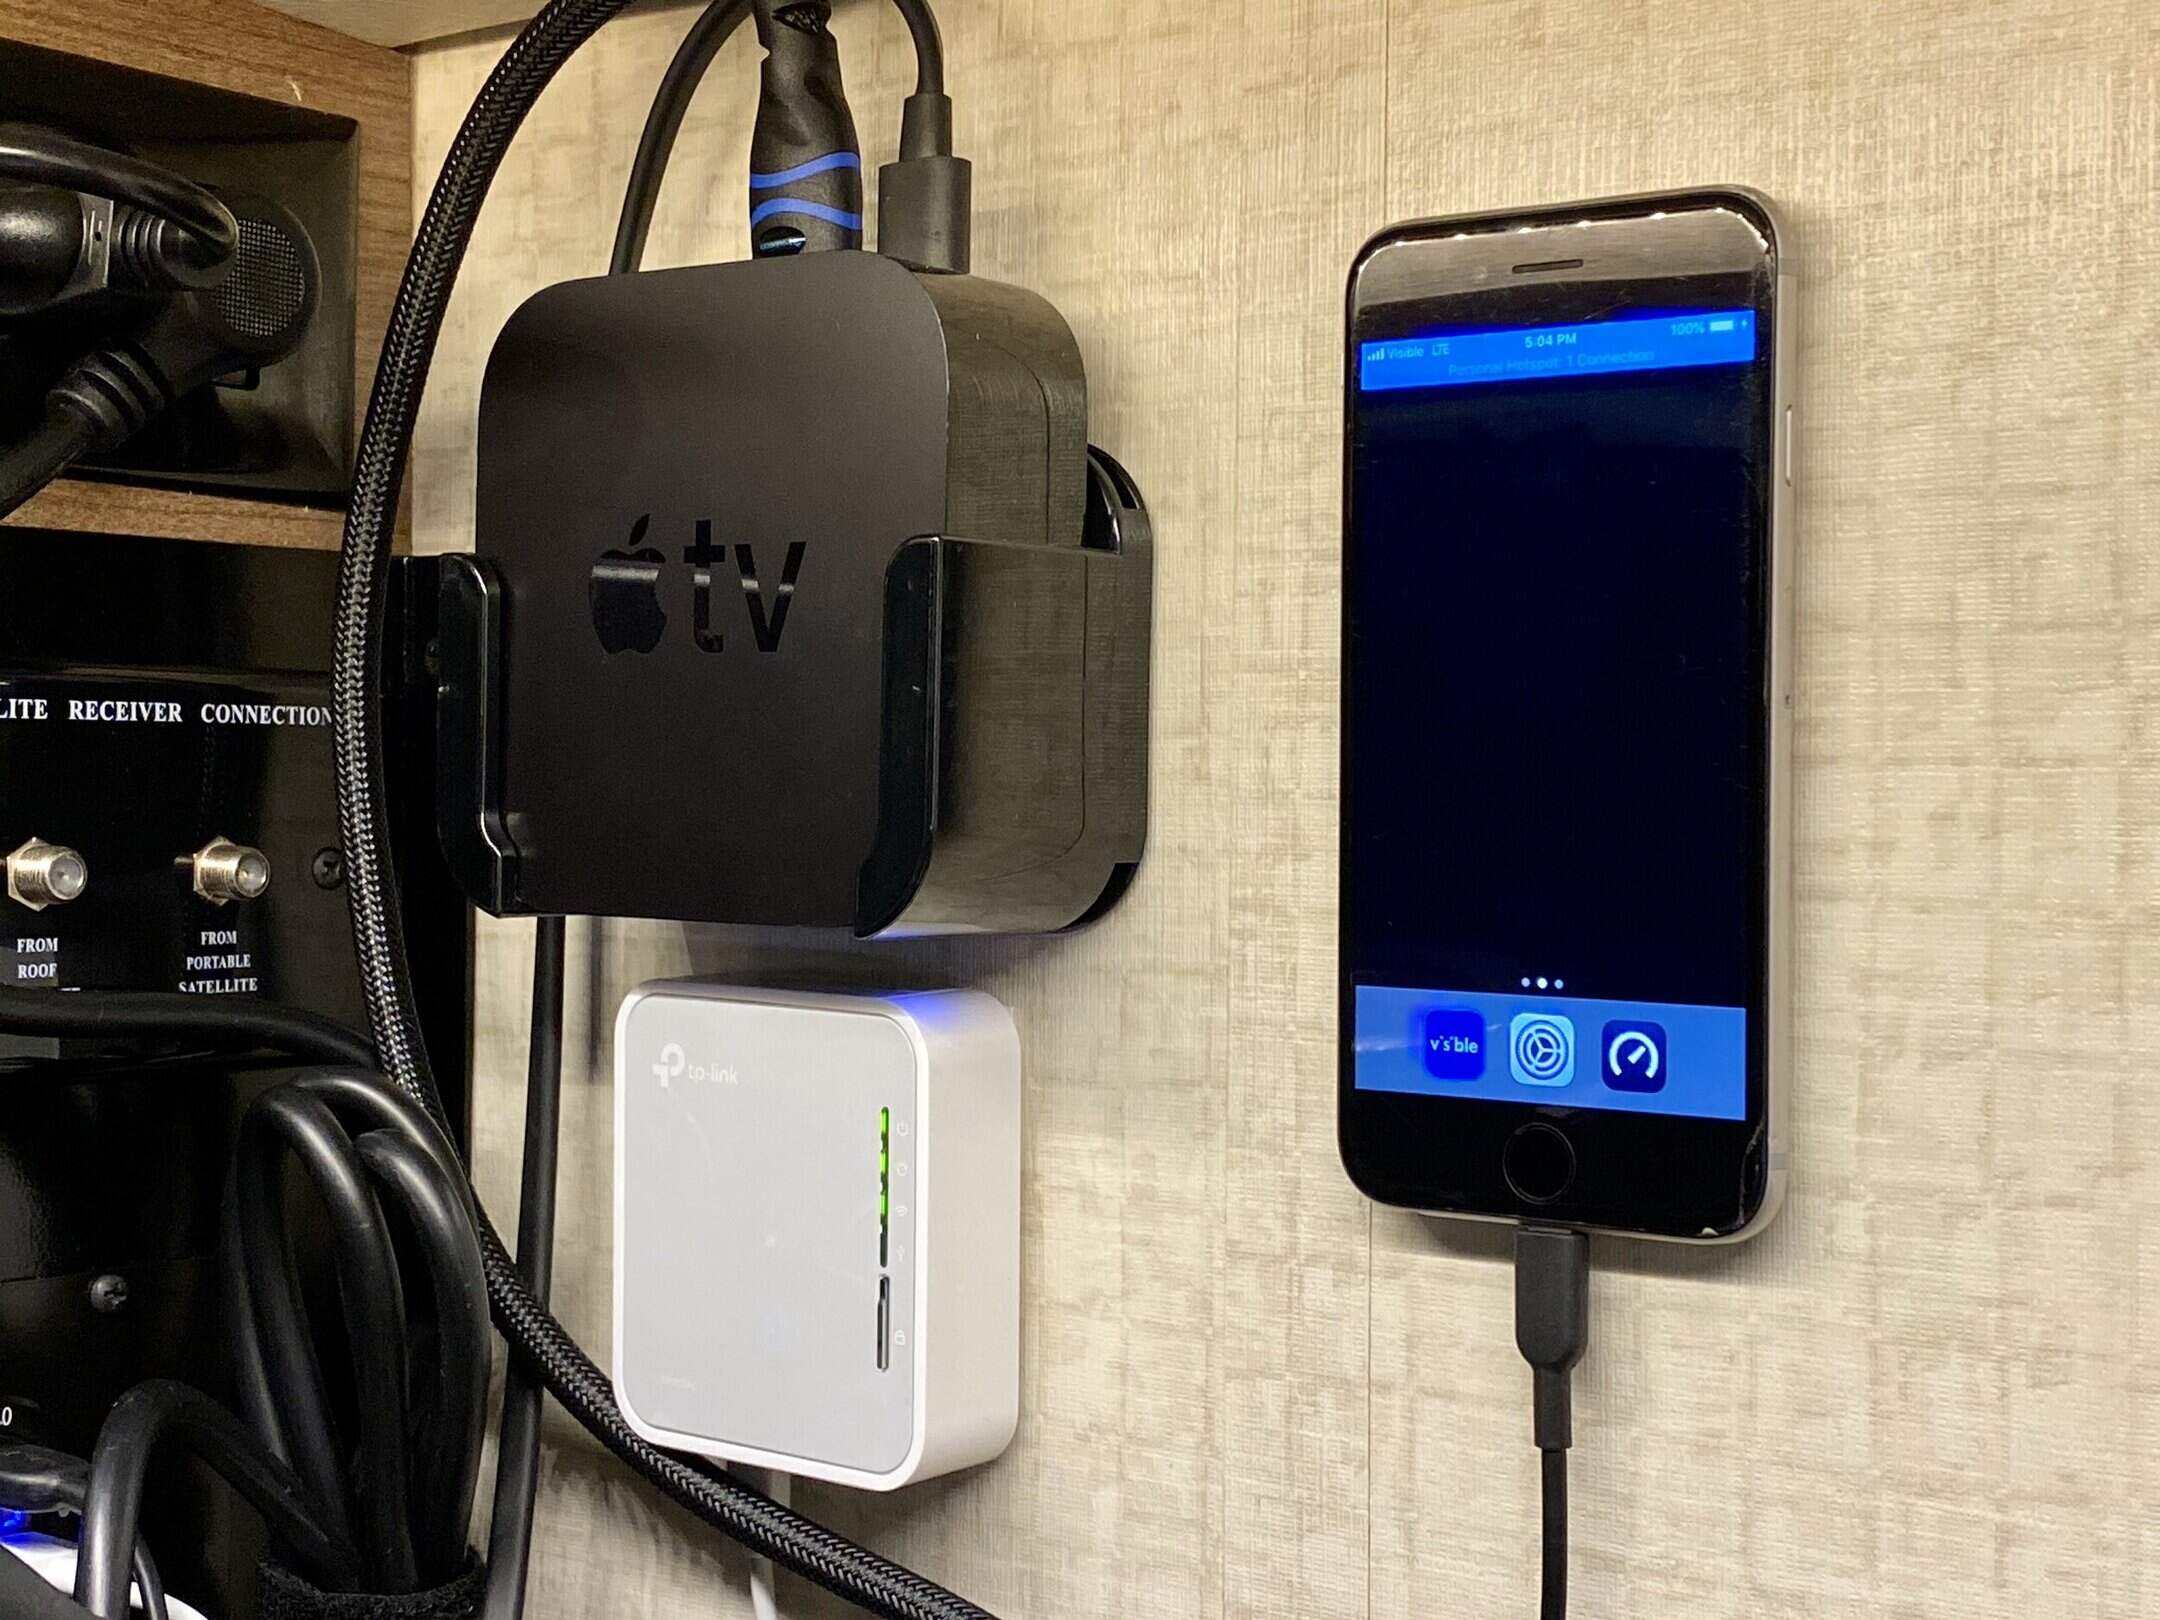
To connect Tata Photon to a Wi-Fi router, you can use a Wi-Fi dongle that plugs into the router’s USB port. Then, follow the router’s instructions to set up the connection.
Connecting Tata Photon to the Wi-Fi Router
**
With the Wi-Fi router set up and ready to orchestrate the interconnected web of smart home devices, the next crucial step is to seamlessly integrate Tata Photon into the network. This process involves configuring the Tata Photon device to establish a harmonious connection with the Wi-Fi router, enabling seamless internet access and interaction with other devices. Here’s a comprehensive guide to connecting Tata Photon to the Wi-Fi router:
-
Powering On Tata Photon: Ensure that the Tata Photon device is powered on and operational, ready to initiate the setup process.
-
Accessing Tata Photon Settings: Depending on the specific model of Tata Photon, access the device’s settings interface through a web browser or dedicated software provided by the manufacturer.
-
Configuring Wi-Fi Settings: Within the Tata Photon settings, navigate to the Wi-Fi configuration section and select the option to connect to an existing Wi-Fi network.
-
Network Discovery: Allow Tata Photon to scan for available Wi-Fi networks and select the SSID corresponding to your configured Wi-Fi network from the list of detected networks.
-
Authentication and Password: Enter the Wi-Fi network password when prompted, ensuring that the credentials match the security parameters configured for the Wi-Fi network.
-
Establishing Connection: Upon successful authentication, Tata Photon establishes a secure connection to the Wi-Fi router, enabling seamless internet access and data transmission within the network.
By following these steps, you can seamlessly integrate Tata Photon into your Wi-Fi network, leveraging its high-speed internet capabilities to enrich your smart home experience. This integration empowers Tata Photon to function as a pivotal node within the interconnected network, enabling seamless communication with other smart devices and facilitating a cohesive digital ecosystem within your living space.
**
Troubleshooting and Tips
**
While the process of connecting Tata Photon to a Wi-Fi router is designed to be straightforward, encountering potential challenges or seeking optimization opportunities is not uncommon. To ensure a seamless integration and optimal performance, here are some troubleshooting tips and valuable insights to enhance the connectivity experience:
-
Signal Strength Optimization: Position the Wi-Fi router and Tata Photon device in proximity to minimize signal interference and optimize signal strength, thereby enhancing the stability and speed of the wireless connection.
-
Firmware Updates: Regularly check for firmware updates for both the Wi-Fi router and Tata Photon device to ensure compatibility, performance enhancements, and the resolution of potential connectivity issues.
-
Network Congestion Management: In environments with multiple Wi-Fi networks, consider adjusting the Wi-Fi channel settings on the router to mitigate network congestion and optimize signal reliability.
-
Security Auditing: Periodically review and update the security settings of the Wi-Fi network and Tata Photon device to fortify protection against potential cyber threats and unauthorized access.
-
Reset and Reconfiguration: In the event of persistent connectivity issues, consider performing a reset of the Wi-Fi router and reconfiguring the Tata Photon settings to rectify potential configuration conflicts.
-
Technical Support Engagement: If encountering persistent challenges, leverage the technical support resources provided by Tata Teleservices or the Wi-Fi router manufacturer to seek expert guidance and resolution for complex issues.
By implementing these troubleshooting tips and proactive measures, you can optimize the connectivity between Tata Photon and the Wi-Fi router, ensuring a seamless and reliable internet experience within your smart home environment. These insights empower you to proactively address potential challenges and elevate the performance of your interconnected network, fostering a harmonious digital ecosystem that aligns with your evolving connectivity needs.
**
Read more: How To Connect My Wi-Fi Router
Conclusion
**
As we conclude this enlightening journey into the realm of connecting Tata Photon to a Wi-Fi router, it is evident that the seamless integration of these technologies holds the key to unlocking a world of interconnected possibilities within the smart home ecosystem. By understanding the core features of Tata Photon and meticulously setting up the Wi-Fi router, you establish a robust foundation for facilitating a harmonious union between these devices, enabling seamless internet access and interaction with other smart home gadgets.
The process of connecting Tata Photon to a Wi-Fi router transcends mere technical configuration; it represents the convergence of innovation and convenience, empowering individuals to harness the full potential of their smart home devices. Whether you are streaming content, engaging in remote work, or controlling smart appliances, the cohesive connectivity facilitated by Tata Photon and the Wi-Fi router enriches your digital lifestyle with unparalleled convenience and efficiency.
Furthermore, the troubleshooting tips and proactive measures outlined in this guide equip you with the knowledge and insights to optimize the connectivity experience, ensuring a seamless and reliable internet connection within your living space. By leveraging these insights, you can proactively address potential challenges and elevate the performance of your interconnected network, fostering a harmonious digital ecosystem that aligns with your evolving connectivity needs.
Ultimately, the integration of Tata Photon with a Wi-Fi router transcends the realm of mere connectivity; it embodies the seamless fusion of technology and lifestyle, empowering individuals to embrace the transformative potential of a truly interconnected smart home environment. As you embark on this journey, may the seamless connectivity between Tata Photon and the Wi-Fi router pave the way for a future where every aspect of your digital lifestyle seamlessly converges, creating a harmonious symphony of interconnected possibilities within your home.
Frequently Asked Questions about How To Connect Tata Photon To Wi-Fi Router
Was this page helpful?
At Storables.com, we guarantee accurate and reliable information. Our content, validated by Expert Board Contributors, is crafted following stringent Editorial Policies. We're committed to providing you with well-researched, expert-backed insights for all your informational needs.


0 thoughts on “How To Connect Tata Photon To Wi-Fi Router”