Home>Technology>Smart Home Devices>How To Connect DVR To Wi-Fi Router Without Cable
Smart Home Devices
How To Connect DVR To Wi-Fi Router Without Cable
Modified: January 4, 2024
Learn how to connect your DVR to a Wi-Fi router without using cables and enjoy seamless access to your smart home devices. Simplify your setup with our step-by-step guide.
(Many of the links in this article redirect to a specific reviewed product. Your purchase of these products through affiliate links helps to generate commission for Storables.com, at no extra cost. Learn more)
Introduction
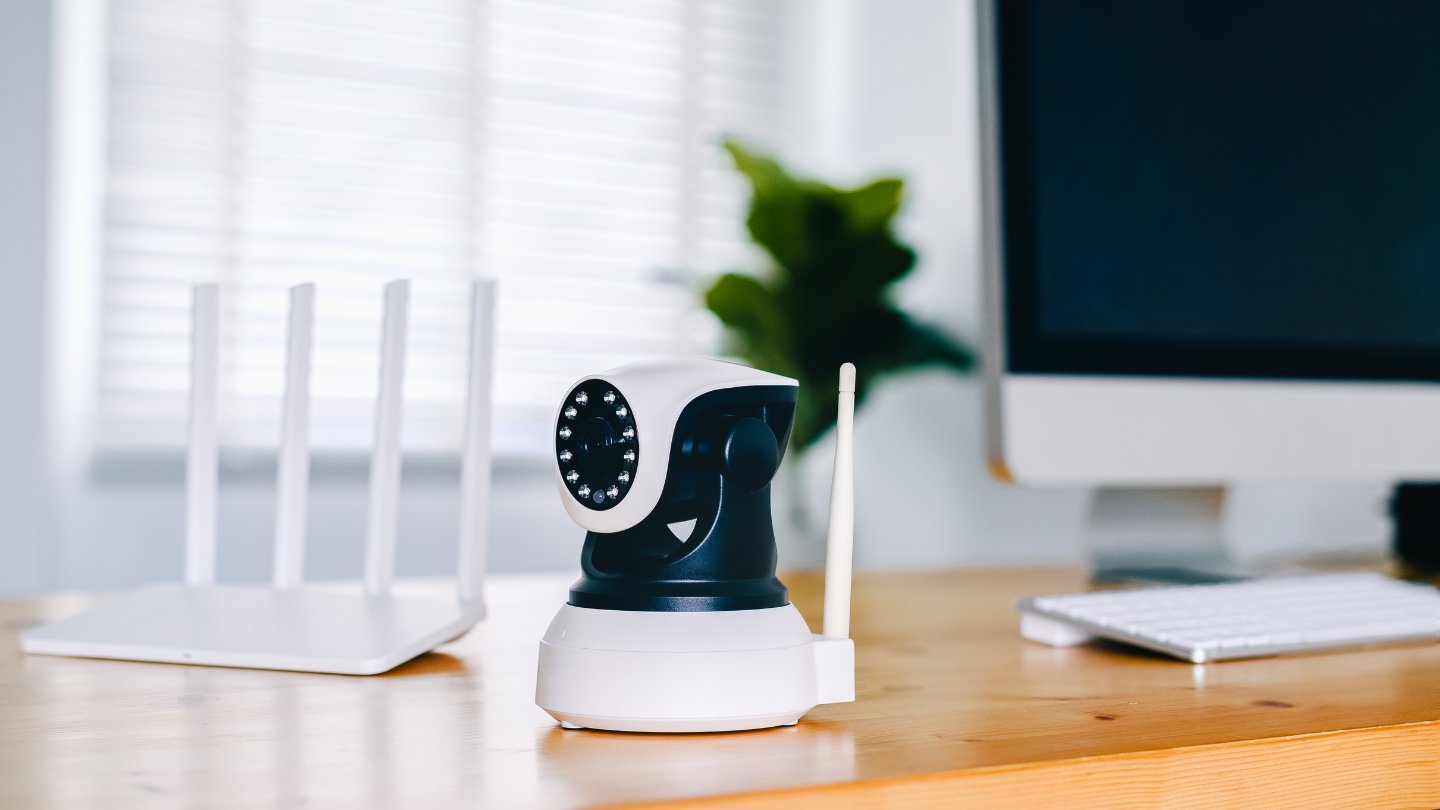
In the era of smart homes and interconnected devices, security cameras have become an integral part of safeguarding our homes and businesses. However, in order to access the full functionality of a Digital Video Recorder (DVR), it's essential to connect it to a Wi-Fi router. This connection allows for remote access, enabling users to monitor their premises from anywhere with an internet connection.
Traditionally, the connection between a DVR and a router has been achieved using physical cables. However, with the advancements in technology, it's now possible to establish this connection wirelessly. This not only offers convenience but also eliminates the need for extensive wiring, making the installation process more streamlined and adaptable to various environments.
In this guide, we'll walk through the steps to connect a DVR to a Wi-Fi router without using cables. Whether you're a homeowner looking to enhance your security system or a business owner aiming to bolster your surveillance setup, this comprehensive tutorial will equip you with the knowledge to seamlessly integrate your DVR into your wireless network. Let's dive into the step-by-step process to achieve this wireless connection and unlock the full potential of your DVR system.
Key Takeaways:
- You can connect your DVR to your Wi-Fi router without using cables by following simple steps. This allows you to monitor your home or business from anywhere with an internet connection, providing convenience and flexibility.
- After connecting your DVR to Wi-Fi, configuring its settings is crucial for optimal performance. You can then test the connection to ensure reliability and functionality, empowering you to seamlessly manage your surveillance system.
Step 1: Check Your DVR
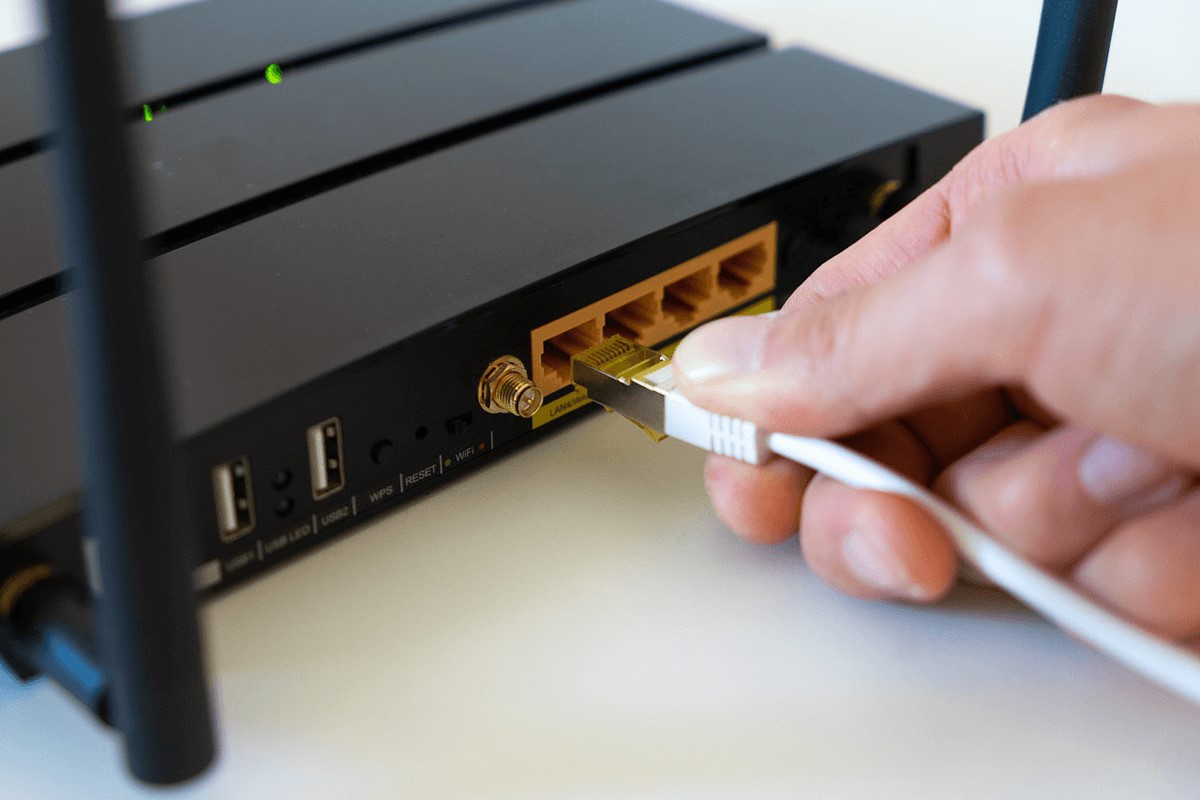
Before embarking on the process of connecting your DVR to a Wi-Fi router, it’s crucial to ensure that your DVR is equipped with the necessary hardware and features to support wireless connectivity. Here are the key aspects to consider:
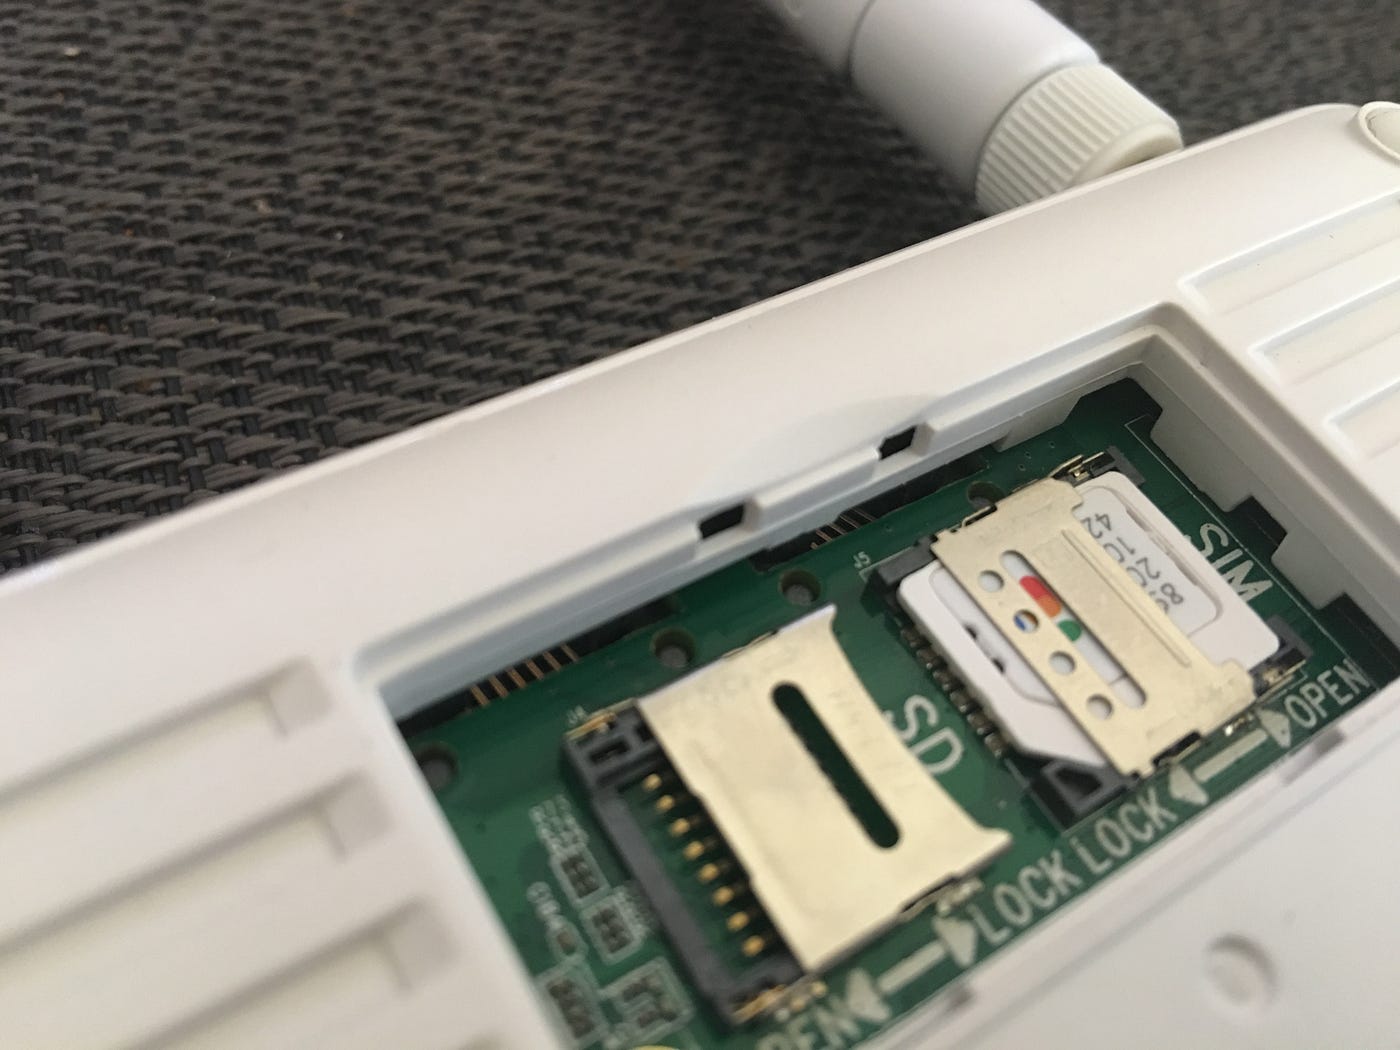
- Wi-Fi Capability: Verify whether your DVR has built-in Wi-Fi functionality. Some modern DVR models are designed with integrated Wi-Fi adapters, allowing them to connect to wireless networks without the need for additional hardware.
- Network Compatibility: Check if your DVR is compatible with the Wi-Fi network frequency and security protocols used by your router. It’s essential to ensure that your DVR supports the same Wi-Fi standards (e.g., 802.11ac, 802.11n) and encryption methods (WPA, WPA2) as your router to establish a seamless connection.
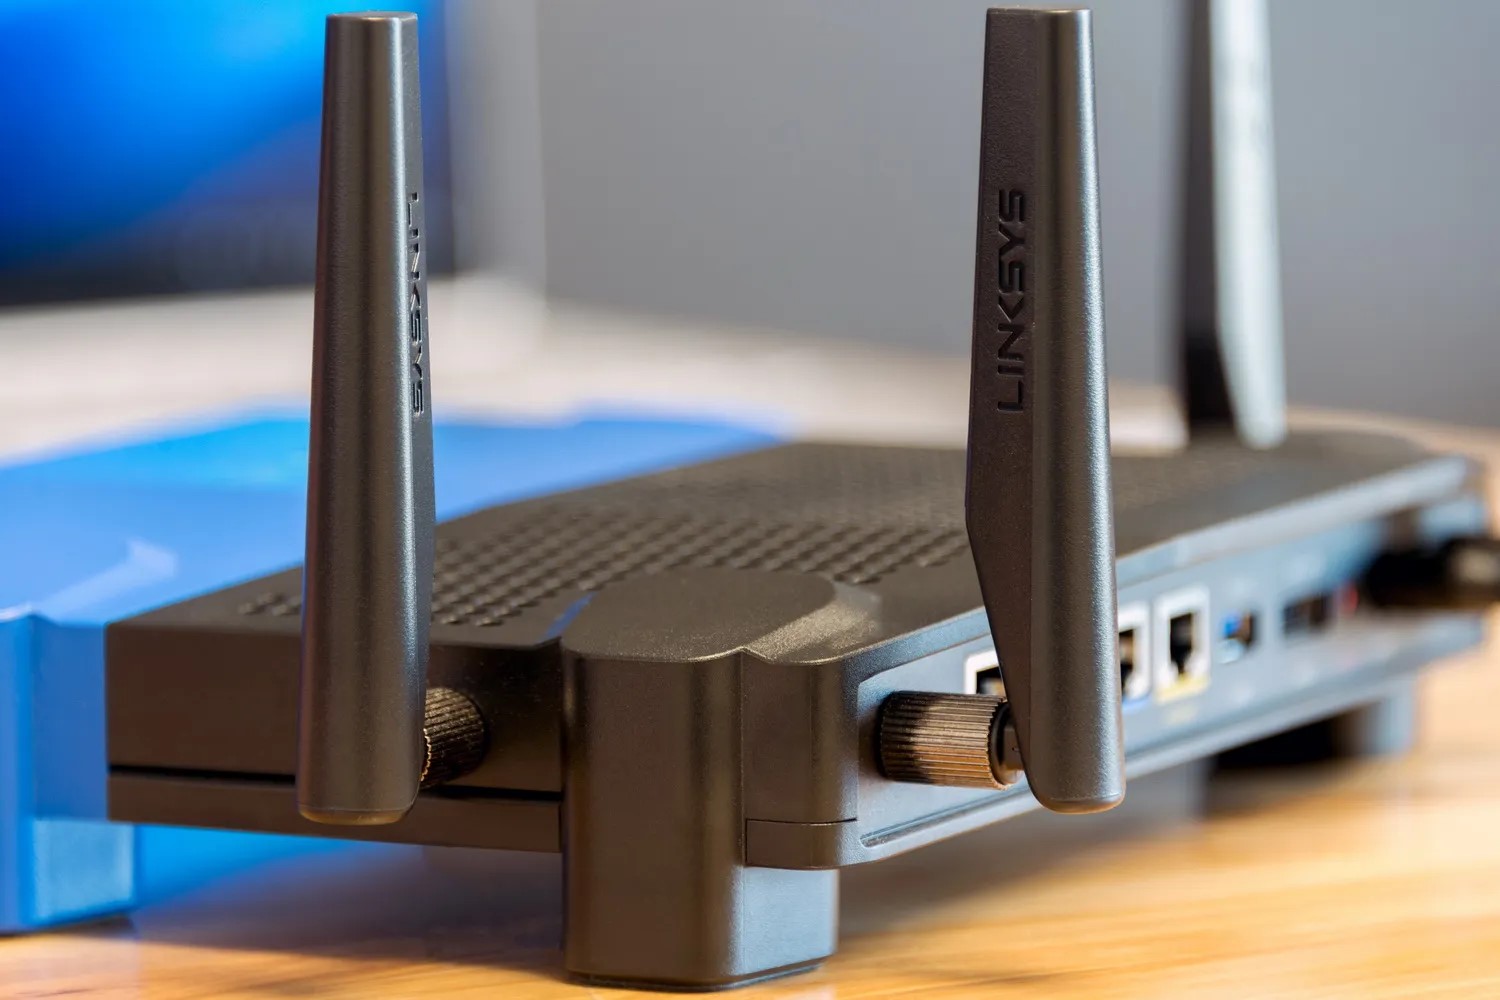
- Antenna and Signal Strength: If your DVR features an external Wi-Fi antenna, inspect its condition and positioning. Ensure that the antenna is securely attached and oriented for optimal signal reception. Additionally, assess the Wi-Fi signal strength in the vicinity of your DVR installation location to guarantee reliable wireless connectivity.
- Network Configuration Interface: Confirm whether your DVR is equipped with a user-friendly interface for configuring wireless network settings. Accessing and navigating the network setup menu should be intuitive, allowing you to input Wi-Fi credentials and adjust network parameters with ease.
By thoroughly evaluating these aspects, you can ascertain the readiness of your DVR for wireless connectivity. If your DVR lacks built-in Wi-Fi capabilities, you may need to consider alternative solutions, such as using a Wi-Fi adapter or bridge to enable wireless connectivity. Once you’ve confirmed that your DVR is equipped to support a wireless connection, you can proceed to the next steps to establish the link between your DVR and Wi-Fi router.
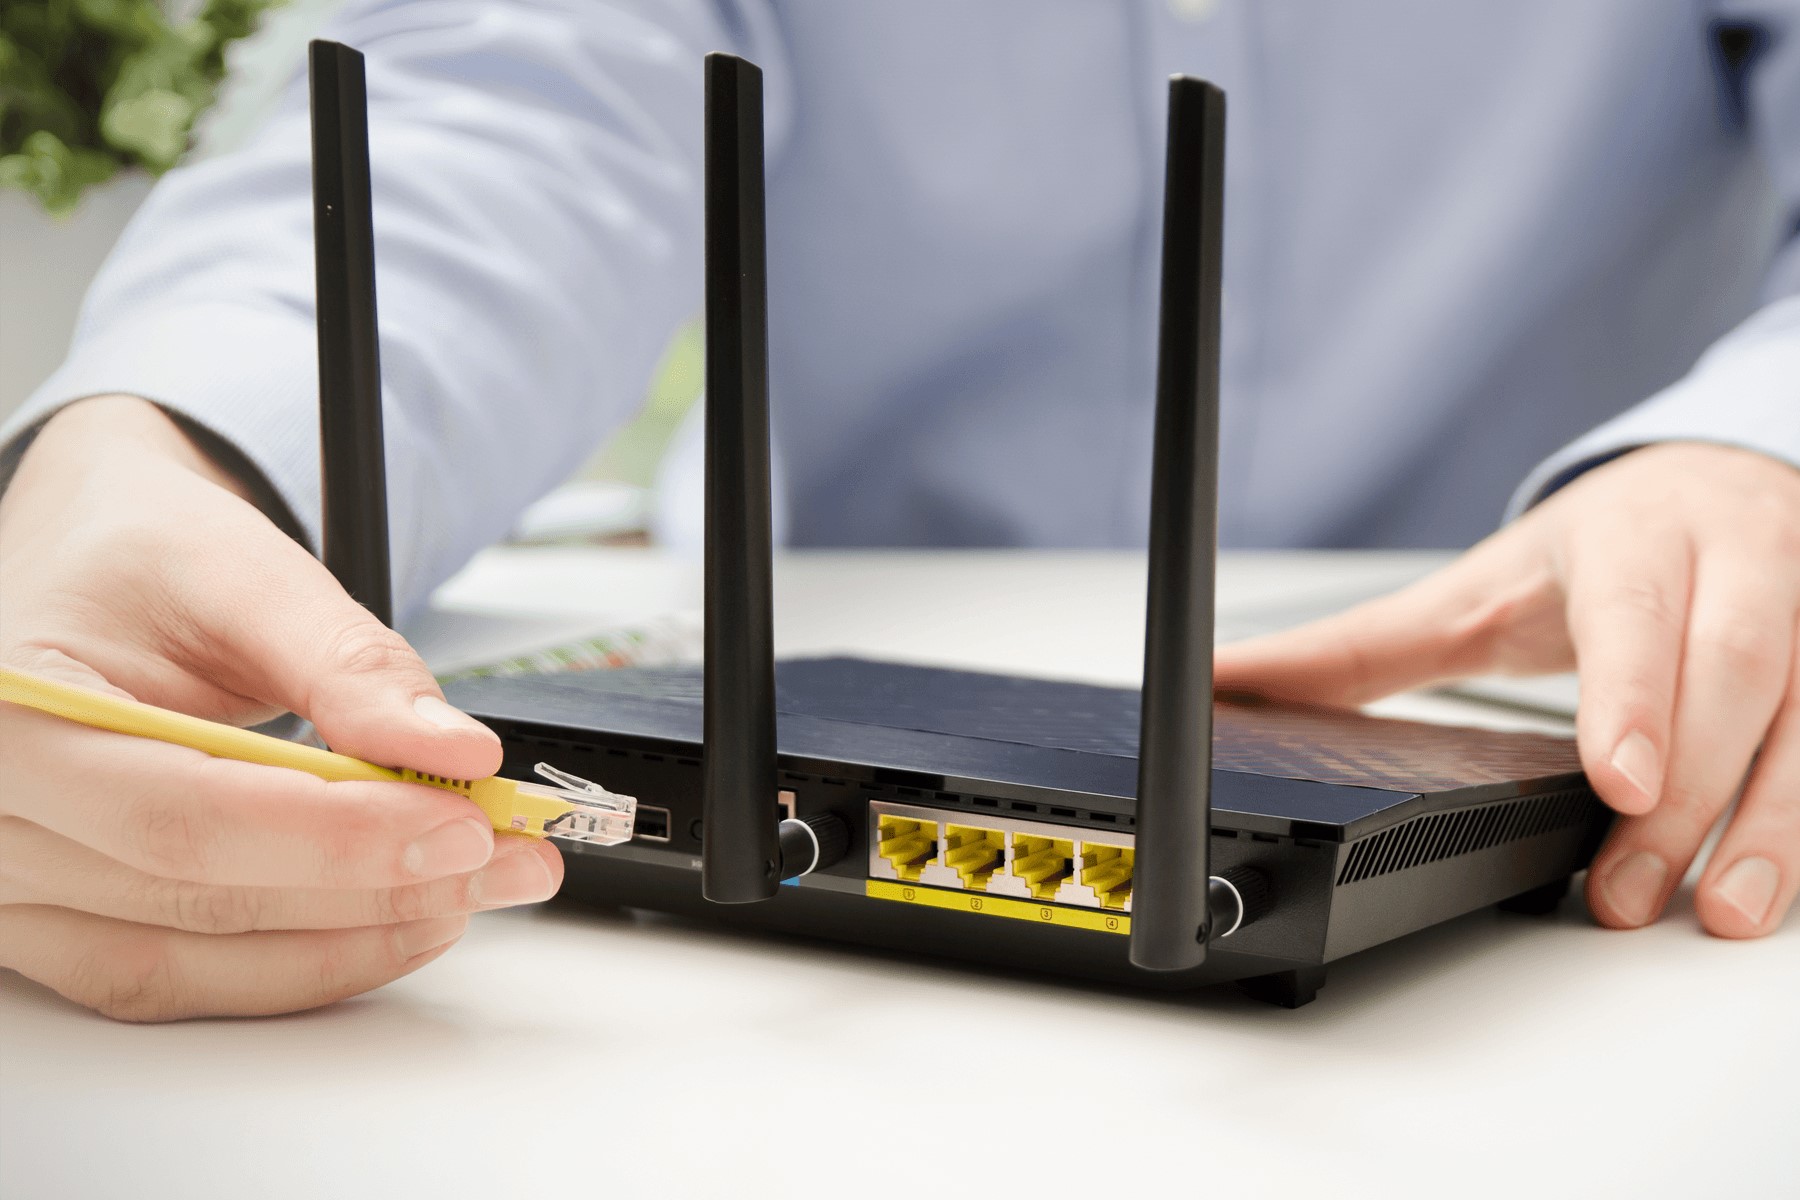
Step 2: Connect DVR to Wi-Fi
Now that you’ve confirmed your DVR’s compatibility with wireless connectivity, it’s time to initiate the process of connecting your DVR to your Wi-Fi router. Follow these steps to establish a seamless wireless link:
- Access Network Setup: Begin by accessing the network setup menu on your DVR. This interface is where you’ll input the essential Wi-Fi network details to enable the wireless connection. Navigate to the network settings section using the on-screen display or the DVR’s remote control.
- Scan for Wi-Fi Networks: Within the network setup menu, initiate a scan for available Wi-Fi networks. Your DVR should detect nearby wireless networks, including your own Wi-Fi router. Select your router’s SSID (Service Set Identifier) from the list of detected networks to proceed with the connection process.
- Enter Wi-Fi Credentials: Upon selecting your Wi-Fi network, you’ll be prompted to input the network’s security key (password). Carefully enter the Wi-Fi password using the on-screen keyboard or the DVR’s input method, ensuring accuracy to avoid connectivity issues.
- Establish Connection: After entering the correct Wi-Fi credentials, initiate the connection process. Your DVR will attempt to establish a wireless link with your router using the provided network details. Allow the DVR a few moments to complete the connection process, during which it will authenticate with the router and obtain an IP address for network access.
- Verify Connection Status: Once the connection process is complete, verify the status of the wireless connection on your DVR. Look for indicators or on-screen messages that confirm a successful connection to your Wi-Fi network. Additionally, check the signal strength and network stability to ensure reliable wireless communication.
By following these steps, you can effectively connect your DVR to your Wi-Fi router without the need for physical cables. This wireless integration empowers your DVR with remote accessibility and enhanced flexibility, allowing you to monitor your surveillance feeds from various devices within your network’s range. With the wireless connection established, you’re now ready to proceed with configuring the DVR settings to optimize its performance and accessibility.
To connect a DVR to a Wi-Fi router without a cable, make sure the DVR has built-in Wi-Fi capability or use a Wi-Fi adapter. Access the DVR’s settings menu to connect to the Wi-Fi network and enter the network’s password.
Step 3: Configure DVR Settings
With your DVR successfully connected to your Wi-Fi router, it’s essential to configure its settings to ensure optimal performance and seamless integration within your network. The following steps will guide you through the process of configuring your DVR settings post Wi-Fi connection:
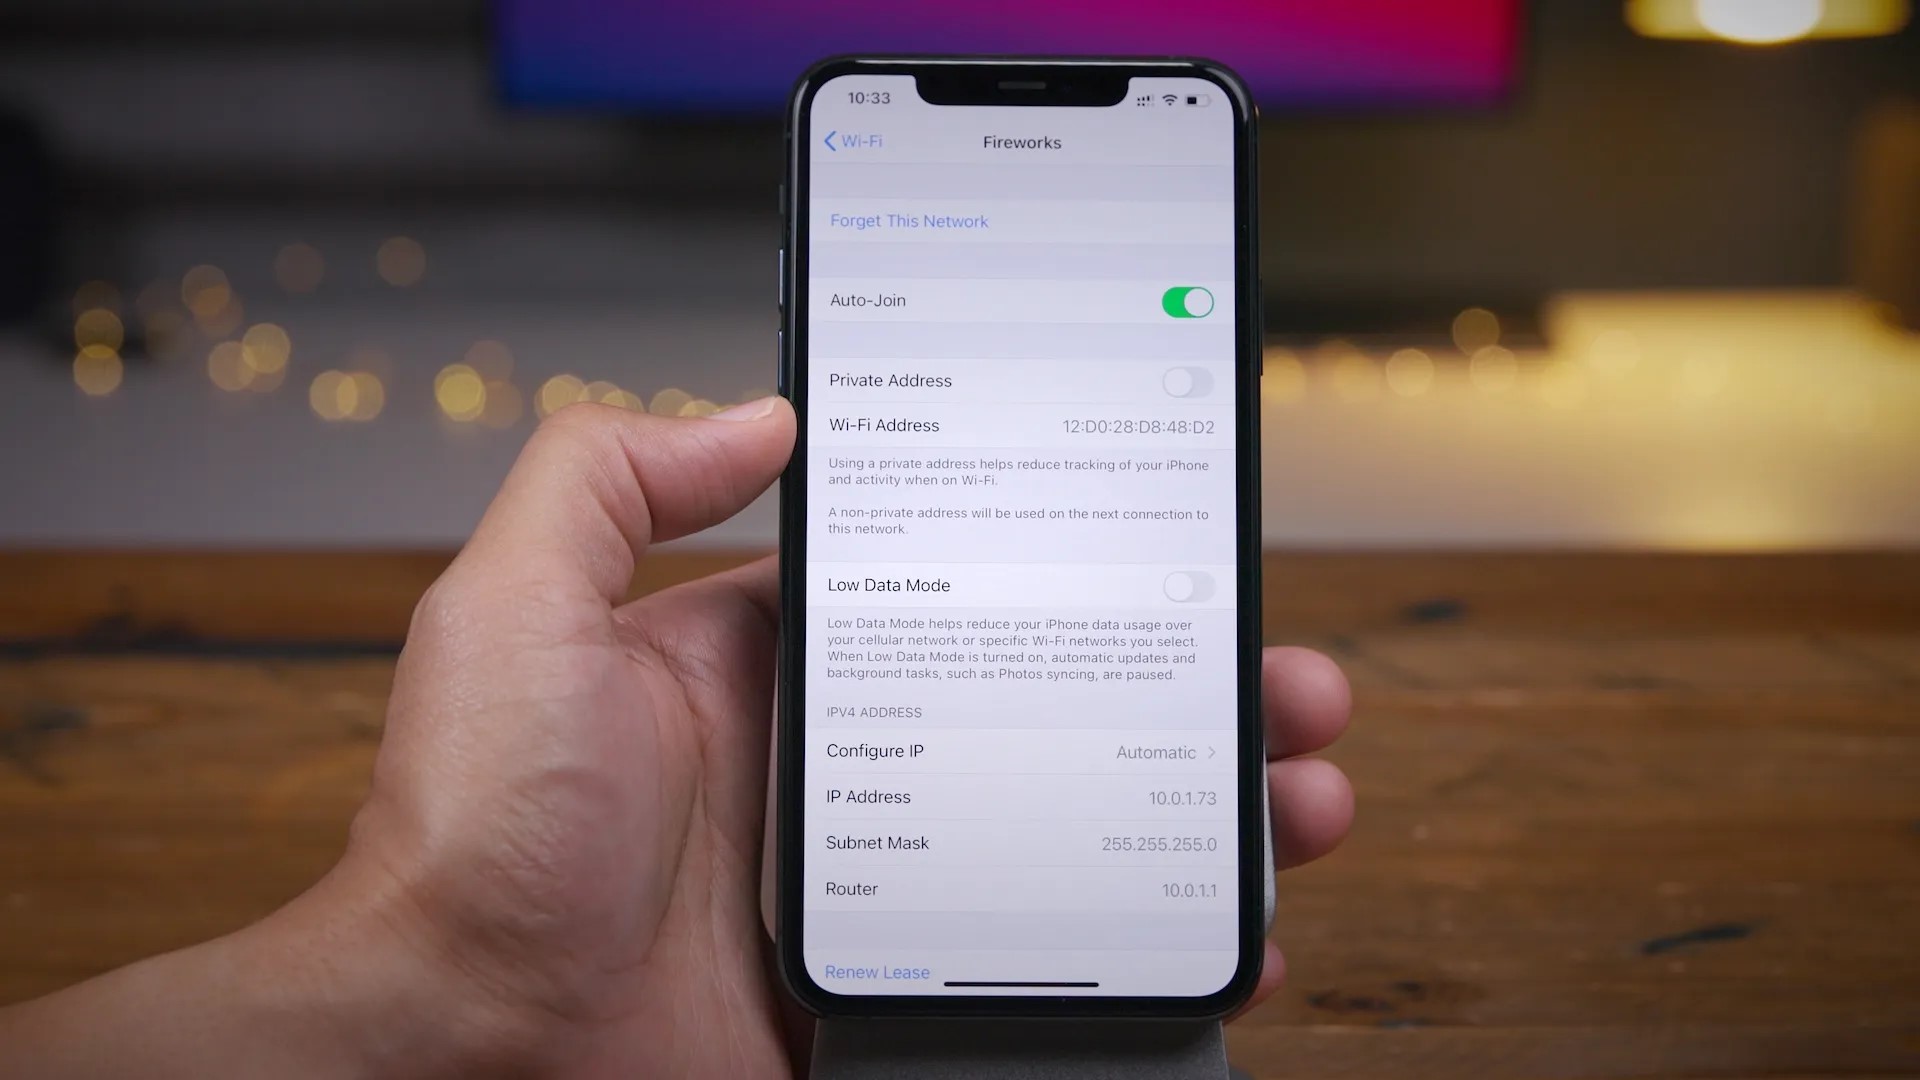
- Network Configuration: Access the network settings menu on your DVR to review and adjust network-related parameters. Ensure that the DVR is assigned a unique IP address within your local network to facilitate communication with other devices and enable remote access.
- Port Forwarding: If you intend to access your DVR remotely over the internet, consider configuring port forwarding on your router. This allows external access to your DVR’s interface and video streams. Consult your router’s documentation or online resources for guidance on setting up port forwarding for your DVR’s specific requirements.
- Remote Access Setup: Enable remote access features on your DVR to facilitate viewing and management from external locations. This typically involves configuring dynamic DNS (Domain Name System) settings or utilizing a cloud-based service provided by the DVR manufacturer to establish a consistent and secure method for accessing your surveillance feeds remotely.
- Video Quality and Storage: Adjust the video recording quality and storage settings on your DVR to align with your preferences and storage capacity. Consider optimizing the video resolution, frame rate, and compression settings to balance video quality with storage efficiency, ensuring that your DVR operates optimally within your network’s capabilities.
- Security Measures: Implement robust security measures to safeguard your DVR and surveillance system. Set up strong login credentials, enable encryption for remote access, and consider enabling motion detection and email alerts to enhance the security and monitoring capabilities of your DVR system.
By meticulously configuring these settings, you can harness the full potential of your DVR within your wireless network, enabling seamless remote access and efficient surveillance management. Additionally, optimizing the DVR settings ensures that it operates in accordance with your specific requirements and network infrastructure, delivering a tailored and reliable surveillance solution for your home or business.
Step 4: Test the Connection
After completing the configuration of your DVR settings, it’s crucial to conduct a comprehensive test of the wireless connection to ensure its reliability and functionality. Follow these steps to verify the seamless integration of your DVR within your Wi-Fi network:
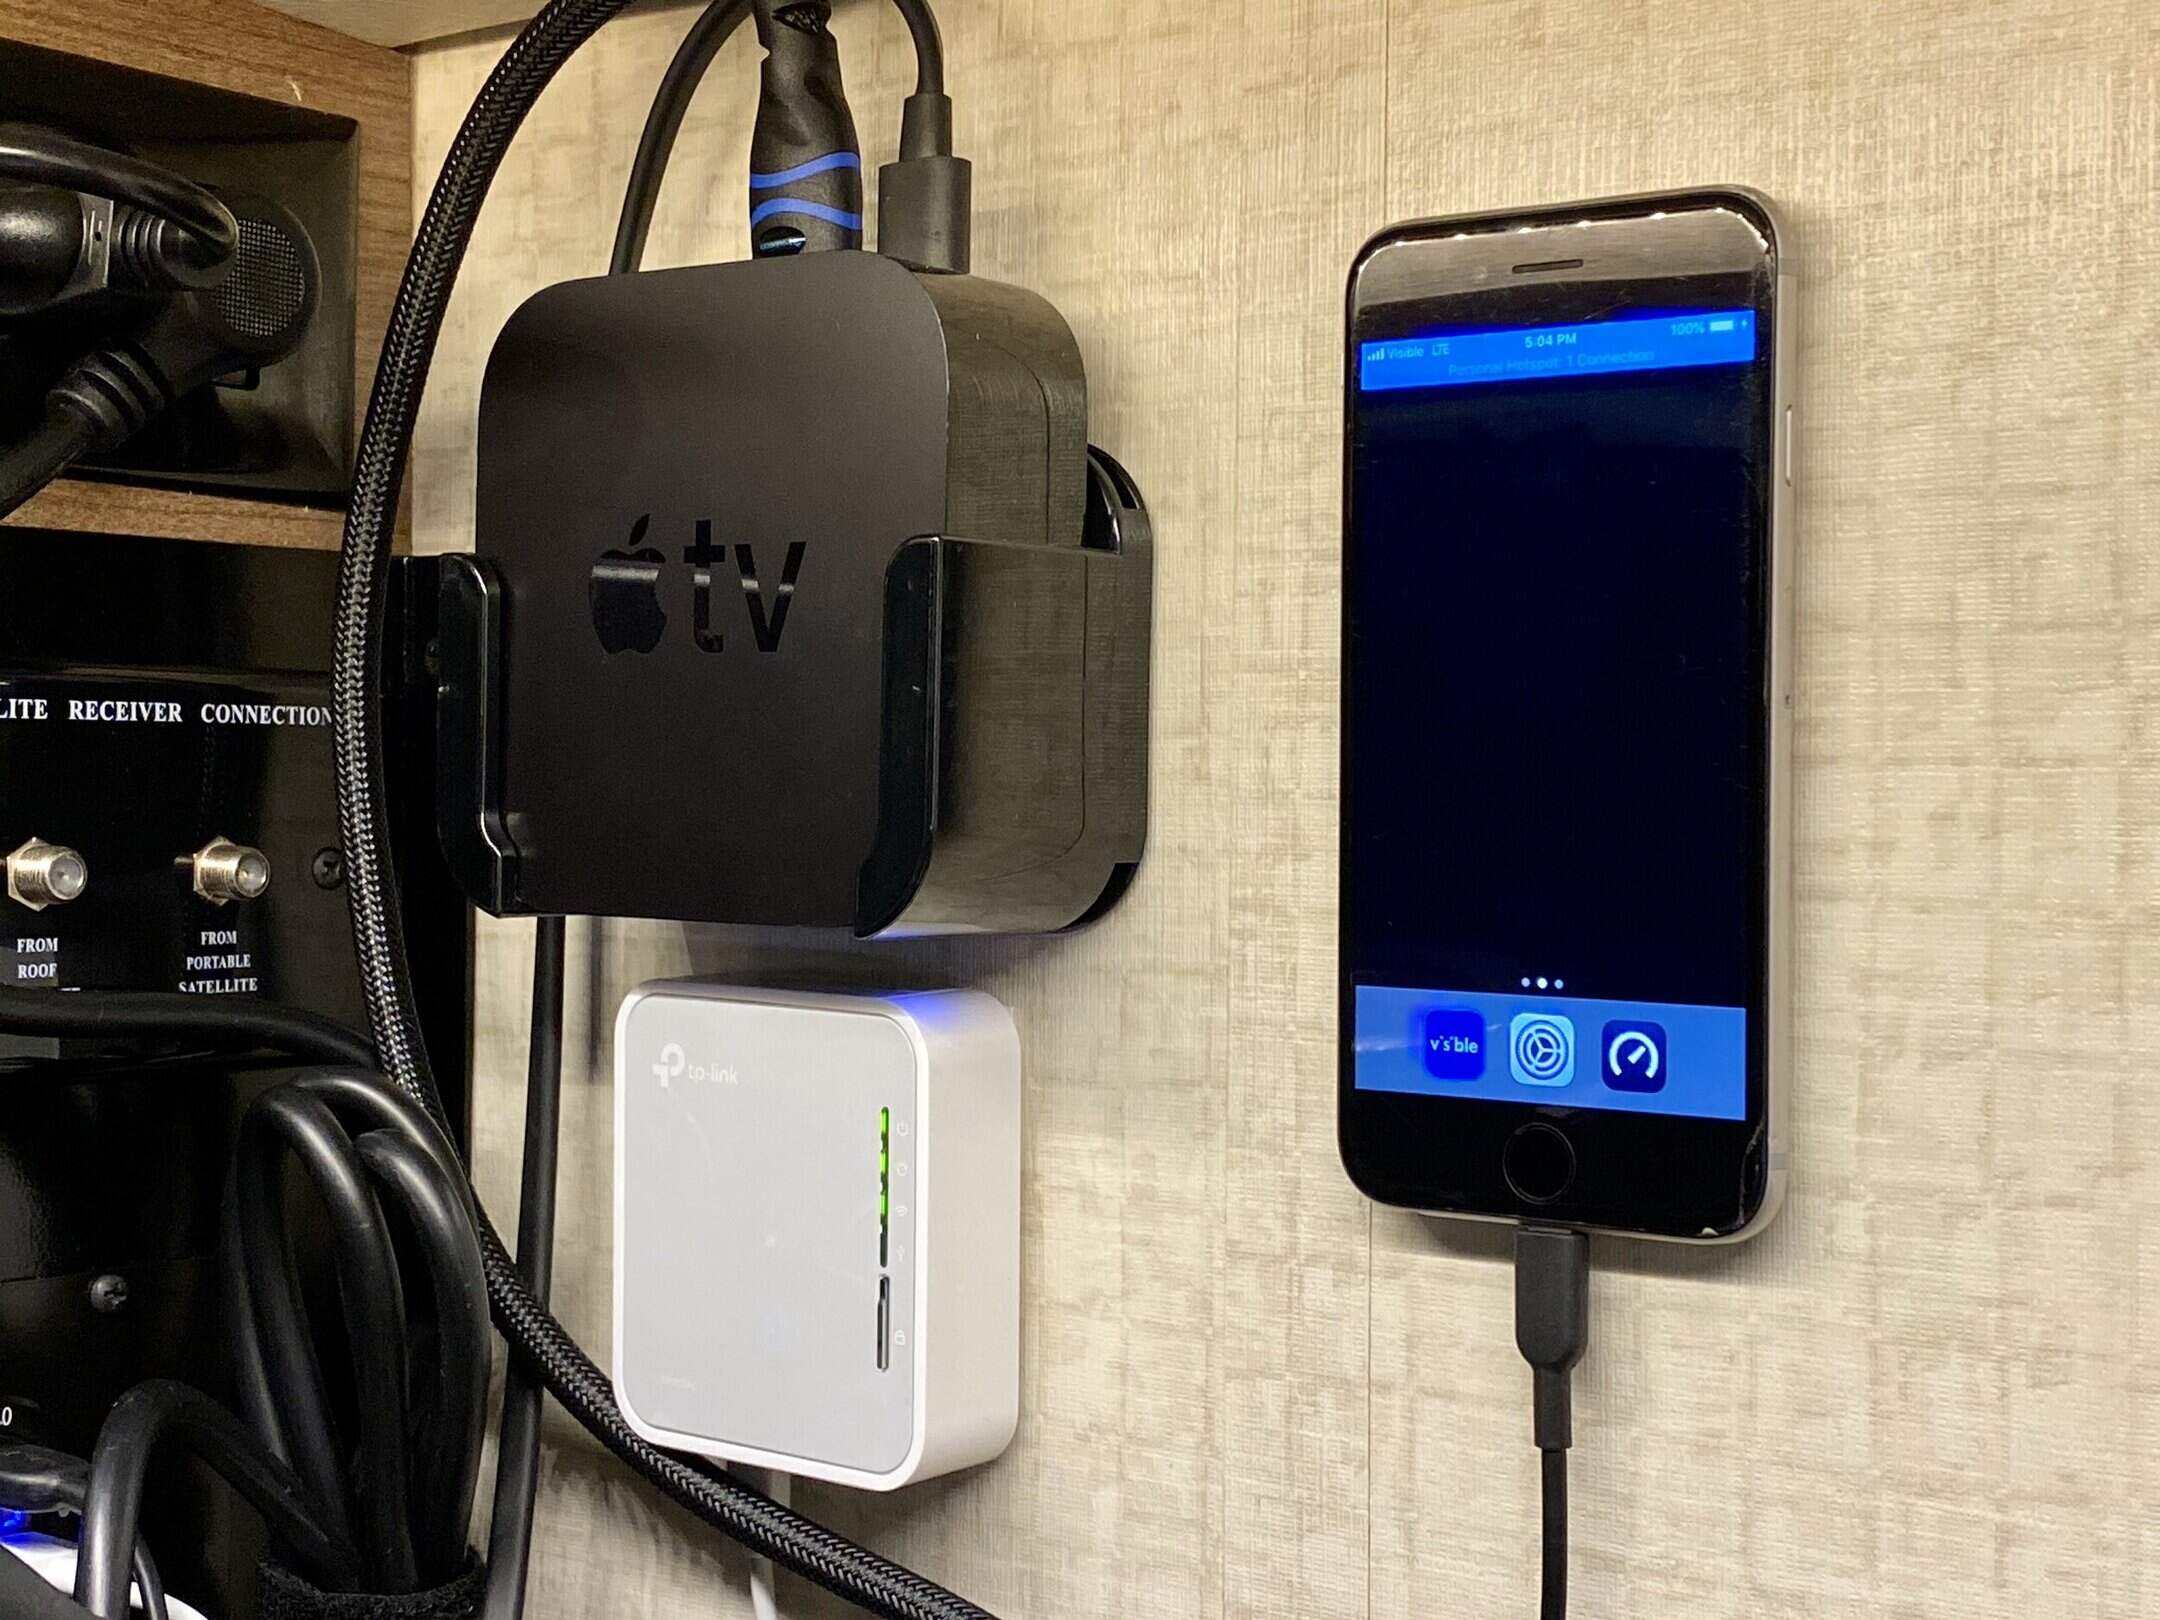
- Remote Access Testing: Utilize a computer, smartphone, or tablet to remotely access your DVR’s interface and live video feeds. Connect to your home or business Wi-Fi network or use a mobile data connection to access the DVR from an external location. Verify that you can securely log in to the DVR and view the surveillance feeds without encountering connectivity issues.
- Mobile App Integration: If your DVR is compatible with a dedicated mobile app, download and install the app on your smartphone or tablet. Use the app to access your DVR’s live video streams and explore its remote management features. Ensure that the app seamlessly communicates with your DVR over the Wi-Fi network, allowing you to monitor your premises with ease.
- Event Trigger Testing: Trigger test events, such as motion detection or scheduled recordings, to assess the DVR’s responsiveness and communication with your Wi-Fi network. Confirm that the DVR accurately captures and stores video footage based on the configured event triggers, demonstrating its effective integration and functionality within your wireless environment.
- Network Stability Assessment: Monitor the stability and performance of the wireless connection between your DVR and Wi-Fi router over an extended period. Assess the signal strength, latency, and reliability of the connection to identify any potential issues or areas for improvement. Address any connectivity challenges to maintain a robust and consistent wireless link for your DVR.
By conducting these comprehensive tests, you can validate the successful integration of your DVR within your Wi-Fi network, ensuring reliable remote access and efficient surveillance management. Address any identified issues or performance concerns to optimize the wireless connection and enhance the overall functionality of your DVR system.
Read more: How To Connect A Wi-Fi Router To A Modem
Conclusion
Connecting your DVR to a Wi-Fi router without the need for physical cables opens up a world of possibilities for seamless surveillance management and remote accessibility. By following the steps outlined in this guide, you’ve successfully integrated your DVR into your wireless network, empowering you to monitor your premises with enhanced convenience and flexibility.
From verifying your DVR’s wireless capabilities to configuring its network settings and conducting comprehensive tests, you’ve navigated the process of establishing a reliable and efficient wireless connection. This wireless integration not only eliminates the constraints of physical cabling but also enables remote access, mobile app integration, and event-triggered surveillance, enhancing the overall functionality of your DVR system.
With your DVR seamlessly connected to your Wi-Fi router, you can remotely access live video feeds, manage surveillance settings, and receive alerts from anywhere with an internet connection. Whether you’re at home, in the office, or traveling, the wireless connectivity of your DVR ensures that you can stay connected to your security system and maintain peace of mind.
As you continue to utilize and optimize your wireless DVR setup, consider exploring additional features and integrations, such as cloud storage, smart home compatibility, and remote monitoring capabilities. Embracing these advancements can further elevate the effectiveness and convenience of your surveillance solution, aligning it with the evolving landscape of smart home technology.
By harnessing the power of wireless connectivity, you’ve seamlessly integrated your DVR into your modern home or business environment, unlocking a new level of control and accessibility for your surveillance needs.
Embrace the freedom and flexibility of wireless DVR connectivity, and enjoy the peace of mind that comes with staying connected to your security system anytime, anywhere.
Frequently Asked Questions about How To Connect DVR To Wi-Fi Router Without Cable
Was this page helpful?
At Storables.com, we guarantee accurate and reliable information. Our content, validated by Expert Board Contributors, is crafted following stringent Editorial Policies. We're committed to providing you with well-researched, expert-backed insights for all your informational needs.


0 thoughts on “How To Connect DVR To Wi-Fi Router Without Cable”