Home>Technology>Smart Home Devices>How To Connect Star TSP100 Printer To Wi-Fi
Smart Home Devices
How To Connect Star TSP100 Printer To Wi-Fi
Modified: February 18, 2024
Learn how to easily connect your Star TSP100 printer to Wi-Fi for seamless integration with your smart home devices. Simplify your printing process today!
(Many of the links in this article redirect to a specific reviewed product. Your purchase of these products through affiliate links helps to generate commission for Storables.com, at no extra cost. Learn more)
Introduction
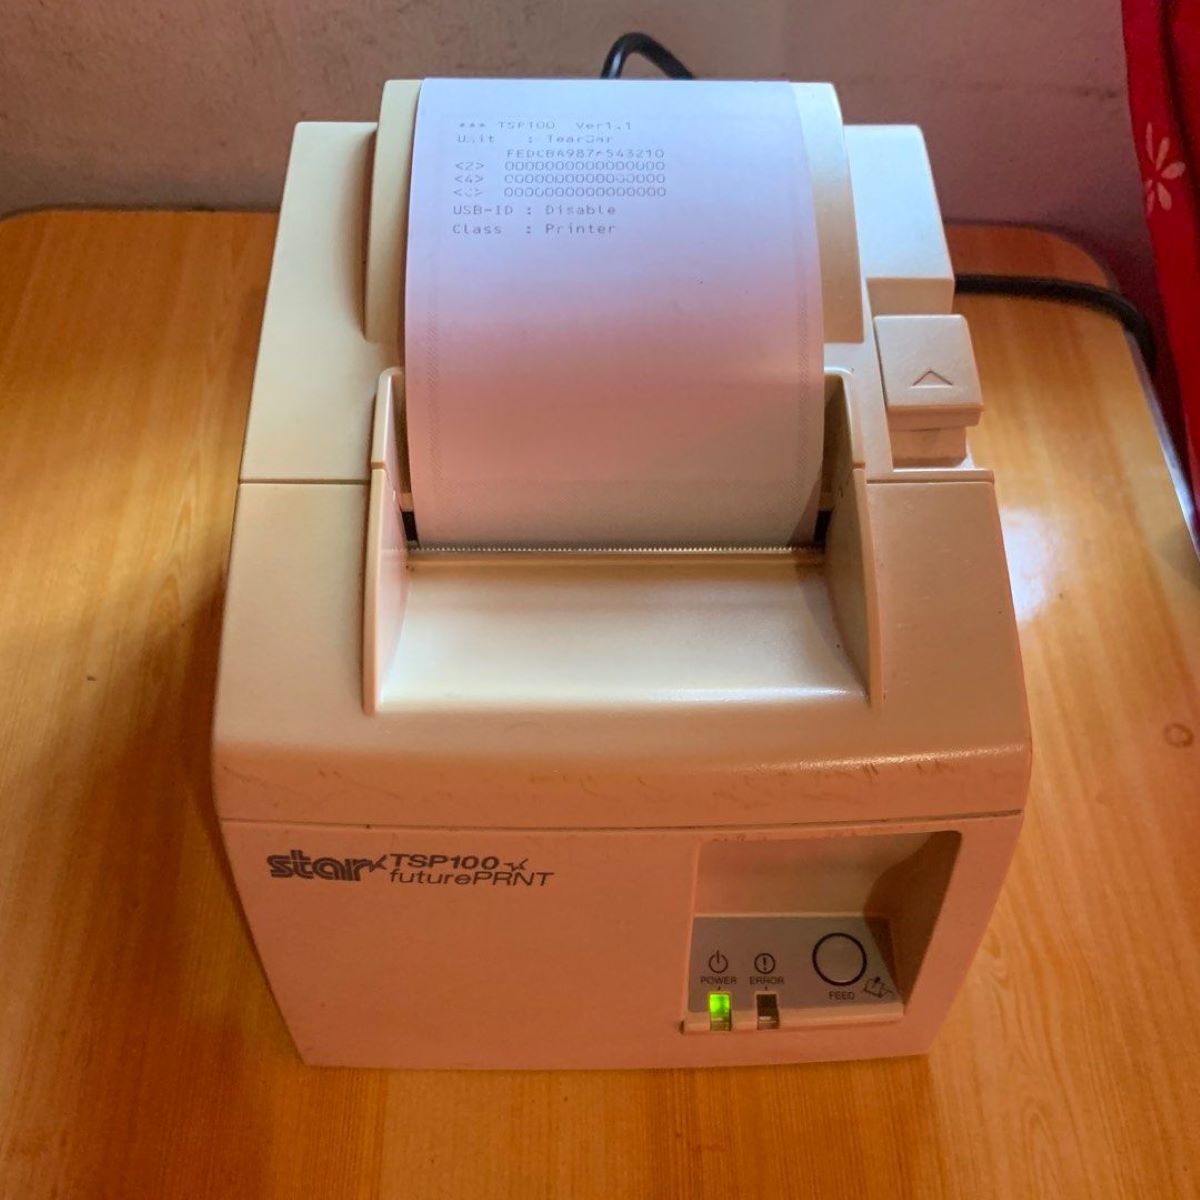
In this digital age, the seamless integration of smart devices into our daily lives has become increasingly prevalent. Among these devices, the Star TSP100 printer stands out as a versatile and efficient tool for generating high-quality prints. However, to fully utilize its capabilities, connecting the Star TSP100 printer to a Wi-Fi network is essential. This enables convenient printing from multiple devices and locations within the network, enhancing overall productivity and flexibility.
In this comprehensive guide, we will delve into the step-by-step process of connecting the Star TSP100 printer to a Wi-Fi network. By following these instructions, you will be able to harness the full potential of this innovative printer, allowing for effortless printing from various devices connected to the same Wi-Fi network. Let's embark on this journey to seamlessly integrate the Star TSP100 printer into your smart home or office environment.
Key Takeaways:
- Connecting the Star TSP100 printer to Wi-Fi allows for easy printing from multiple devices within the network, enhancing productivity and convenience in smart home or office environments.
- By following the step-by-step process, you can seamlessly integrate the Star TSP100 printer into your Wi-Fi network, ensuring efficient and reliable printing experiences.
Read more: How To Connect Printer To Wi-Fi
Step 1: Gather the Necessary Materials
Before initiating the process of connecting your Star TSP100 printer to a Wi-Fi network, it is crucial to ensure that you have all the essential materials at your disposal. Gathering these items beforehand will streamline the setup process, allowing for a seamless transition to the subsequent steps.
Here’s a list of the materials you will need:
- Star TSP100 Printer: Ensure that the printer is in proper working condition and has adequate paper and ink or toner.
- Power Cable: The power cable is essential for providing electricity to the printer.
- Wi-Fi Network Information: You will need the SSID (Service Set Identifier) and password of the Wi-Fi network to which you intend to connect the printer.
- Computer or Mobile Device: A computer or mobile device with Wi-Fi capabilities will be necessary for accessing the printer’s settings and configuring the connection.
- Internet Access: Ensure that you have access to the internet to troubleshoot any connectivity issues during the setup process.
By ensuring that you have all the necessary materials ready, you can proceed with confidence to the subsequent steps, knowing that you are fully equipped to connect your Star TSP100 printer to a Wi-Fi network.
Step 2: Connect the Printer to Power
Once you have gathered all the necessary materials, the next step is to connect your Star TSP100 printer to a power source. This fundamental step is essential for ensuring that the printer is operational and ready for the subsequent configuration process.
Follow these simple guidelines to connect the printer to power:
- Locate a Power Outlet: Identify a nearby power outlet where you can plug in the printer. Ensure that the outlet is easily accessible and provides a stable source of electricity.
- Insert the Power Cable: Take the power cable that accompanies the Star TSP100 printer and insert the appropriate end into the power input port on the printer. This is typically located at the rear or side of the printer.
- Plug into the Power Outlet: Once the power cable is securely connected to the printer, plug the other end into the power outlet. Ensure that the connection is firm to prevent any power interruptions during the setup process.
- Power On the Printer: After securely connecting the power cable, power on the printer using the designated power button or switch. Wait for the printer to initialize and indicate that it is ready for configuration.
By following these steps, you will successfully connect your Star TSP100 printer to a power source, laying the foundation for the subsequent configuration process to connect the printer to a Wi-Fi network. This ensures that the printer is powered and ready for seamless integration into your smart home or office environment.
Step 3: Access the Printer’s Wi-Fi Settings
With the Star TSP100 printer powered on, the next crucial step is to access the printer’s Wi-Fi settings. This will allow you to configure the printer to connect to your desired Wi-Fi network, enabling seamless printing from various devices within the network.
Follow these steps to access the printer’s Wi-Fi settings:
- Locate the Control Panel: Depending on the model of your Star TSP100 printer, the control panel may be located on the front or top of the printer. It typically consists of a display screen and navigation buttons for menu access.
- Access the Menu: Use the navigation buttons on the control panel to access the printer’s menu. Navigate to the networking or connectivity settings to locate the Wi-Fi configuration options.
- Select Wi-Fi Setup: Once in the networking or connectivity settings, select the option for Wi-Fi setup. This will initiate the process of configuring the printer to connect to a Wi-Fi network.
- Scan for Wi-Fi Networks: The printer will scan for available Wi-Fi networks within range. Once the scan is complete, a list of detected networks will be displayed on the screen.
- Choose the Desired Wi-Fi Network: From the list of detected networks, select your desired Wi-Fi network. You will be prompted to enter the network’s password or security key to proceed with the connection.
- Enter the Wi-Fi Password: Using the control panel or an on-screen keyboard if available, enter the password for your Wi-Fi network. Take care to input the correct characters to ensure a successful connection.
- Confirm and Save Settings: Once the password is entered, confirm the settings and save the Wi-Fi configuration. The printer will attempt to connect to the selected Wi-Fi network using the provided credentials.
By successfully accessing the printer’s Wi-Fi settings and initiating the connection process, you are one step closer to seamlessly integrating the Star TSP100 printer into your Wi-Fi network. The next step involves confirming the successful connection and testing the printer’s functionality within the network environment.
To connect your Star TSP100 printer to Wi-Fi, you will need to use the StarPRNT Configuration Utility to set up the Wi-Fi connection. Make sure to have your network information ready before starting the process.
Step 4: Connect to the Wi-Fi Network
After accessing the Wi-Fi settings of your Star TSP100 printer, the next pivotal step is to connect the printer to your designated Wi-Fi network. This process enables the printer to communicate with other devices within the network, facilitating convenient and efficient printing from various sources.
Follow these steps to connect the printer to the Wi-Fi network:
- Wait for Connection Confirmation: After saving the Wi-Fi settings on the printer, wait for the device to confirm a successful connection to the designated Wi-Fi network. This may be indicated on the printer’s display screen or through LED indicators.
- Verify Network Connection: On your computer or mobile device, verify that the Star TSP100 printer appears as an available device within the Wi-Fi network. This confirms that the printer has successfully connected to the network.
- Install Printer Drivers (if necessary): If you are connecting the printer to a computer for the first time, you may need to install the appropriate printer drivers. These drivers allow the computer to communicate with the printer and enable seamless printing.
- Configure Printer Settings (if necessary): Depending on your specific printing requirements, you may need to configure the printer settings on your computer or mobile device to ensure optimal performance and compatibility with the connected printer.
- Test Print: To confirm the successful connection and functionality of the printer within the Wi-Fi network, initiate a test print from your computer or mobile device. This will validate the seamless communication between the devices and the printer.
By following these steps, you will effectively connect your Star TSP100 printer to the designated Wi-Fi network, paving the way for effortless printing from multiple devices within the network. This integration enhances the versatility and accessibility of the printer, contributing to a more streamlined and connected work environment.
Read more: How To Connect Wi-Fi On Epson Printer
Step 5: Test the Connection
Upon successfully connecting your Star TSP100 printer to the designated Wi-Fi network, it is essential to conduct a comprehensive test to ensure the seamless functionality and communication between the printer and the connected devices. This step serves as a crucial validation of the setup process, confirming that the printer is ready for efficient and convenient printing within the Wi-Fi network environment.
Follow these guidelines to test the connection and validate the printer’s functionality:
- Print a Test Page: Initiate a test print from your computer or mobile device to generate a sample page from the connected Star TSP100 printer. This will confirm that the printer is able to receive print commands and produce output via the Wi-Fi network.
- Verify Print Quality: Inspect the test print for quality and clarity. Ensure that the text is legible, graphics are accurately rendered, and the overall printout meets your expectations in terms of resolution and precision.
- Test from Multiple Devices: Conduct test prints from multiple devices within the Wi-Fi network to confirm that the printer can seamlessly communicate with various sources. This validates the printer’s accessibility and responsiveness across the network.
- Check for Consistency: Verify that the printer consistently responds to print commands from different devices, maintaining a high level of performance and reliability in generating printed output.
- Troubleshoot Any Issues: If you encounter any issues during the test prints, troubleshoot the connectivity and printer settings to address any potential obstacles. This may involve verifying the Wi-Fi connection, reconfiguring settings, or updating printer drivers if necessary.
By thoroughly testing the connection and functionality of your Star TSP100 printer within the Wi-Fi network, you can confidently ensure that the setup process has been successful. This validation process sets the stage for seamless and efficient printing from various devices, enhancing productivity and convenience within your smart home or office environment.
Conclusion
Connecting your Star TSP100 printer to a Wi-Fi network unlocks a myriad of benefits, empowering you to seamlessly print from multiple devices within your network environment. By following the step-by-step process outlined in this guide, you have successfully integrated the printer into your smart home or office setup, enhancing productivity and convenience.
Throughout this journey, you have gathered the necessary materials, connected the printer to power, accessed the printer’s Wi-Fi settings, connected it to the Wi-Fi network, and thoroughly tested the connection to ensure seamless functionality. This comprehensive approach has equipped you with the knowledge and confidence to harness the full potential of the Star TSP100 printer within your Wi-Fi-enabled environment.
As you embark on this printing revolution, remember to periodically check for firmware updates and optimize the printer settings to further enhance its performance and compatibility within your Wi-Fi network. Additionally, explore the diverse printing capabilities offered by the Star TSP100 printer, ranging from receipts and labels to tickets and more, to fully leverage its versatility in meeting your specific printing needs.
By embracing the seamless connectivity and convenience offered by the Star TSP100 printer within your Wi-Fi network, you are poised to elevate your printing experience to new heights. Whether in a bustling office setting or the comfort of your smart home, the integration of this innovative printer ensures that your printing needs are met with efficiency, flexibility, and reliability.
Embrace the power of Wi-Fi connectivity and the versatility of the Star TSP100 printer as you embark on a future of effortless and connected printing experiences.
Frequently Asked Questions about How To Connect Star TSP100 Printer To Wi-Fi
Was this page helpful?
At Storables.com, we guarantee accurate and reliable information. Our content, validated by Expert Board Contributors, is crafted following stringent Editorial Policies. We're committed to providing you with well-researched, expert-backed insights for all your informational needs.


0 thoughts on “How To Connect Star TSP100 Printer To Wi-Fi”