Home>Technology>Smart Home Devices>How To Connect Printer To Wi-Fi
Smart Home Devices
How To Connect Printer To Wi-Fi
Published: January 21, 2024
Learn how to easily connect your printer to Wi-Fi and integrate it with your smart home devices. Follow these simple steps for seamless wireless printing. Discover the convenience of a wireless printer setup today!
(Many of the links in this article redirect to a specific reviewed product. Your purchase of these products through affiliate links helps to generate commission for Storables.com, at no extra cost. Learn more)
**
Introduction
**
Welcome to the era of wireless connectivity, where the convenience of Wi-Fi empowers us to seamlessly integrate our devices into our homes. Connecting your printer to Wi-Fi not only eliminates the hassle of tangled cables but also allows you to print from any corner of your home or office. Whether you're a tech enthusiast or a novice user, this comprehensive guide will walk you through the simple steps to connect your printer to Wi-Fi and unleash its full potential.
In today's fast-paced world, the ability to print documents, photos, and more from your smartphone, tablet, or laptop is a game-changer. By leveraging your Wi-Fi network, you can transform your printer into a versatile tool that caters to your printing needs with unparalleled ease. This guide is designed to demystify the process, providing you with clear and concise instructions to ensure a smooth and successful setup.
As we delve into the intricacies of connecting your printer to Wi-Fi, you'll discover that the process is far from daunting. With a few simple steps and a touch of technological finesse, you'll be on your way to enjoying the freedom and flexibility that a wireless printer offers. So, let's embark on this journey together and unlock the boundless potential of Wi-Fi printing.
**
Key Takeaways:
- Embrace the freedom of wireless printing by connecting your printer to Wi-Fi. Enjoy the convenience of printing from any device, anywhere in your home or office, without the hassle of tangled cables.
- Ensure a seamless setup by checking your printer’s compatibility, connecting it to power, accessing the control panel, and selecting and entering your Wi-Fi network details. Revel in the newfound convenience of wireless printing.
Read more: How To Connect Zebra Printer To Wi-Fi
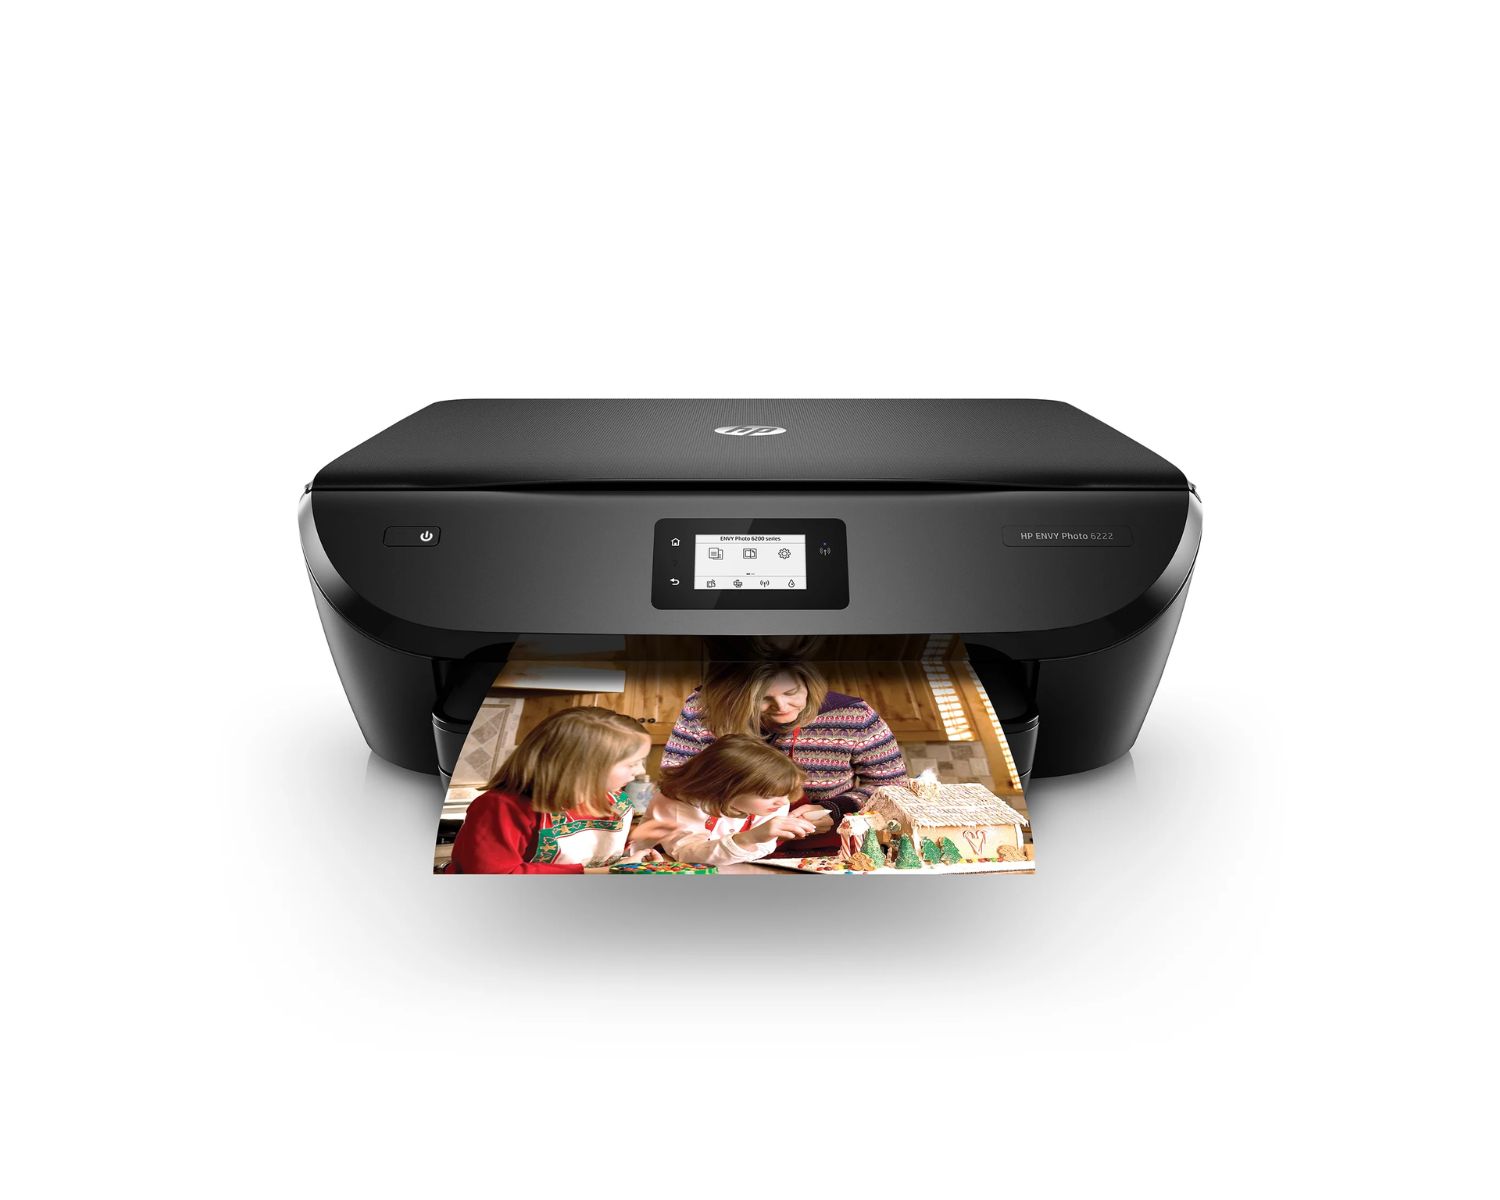
Step 1: Check Your Printer’s Compatibility
**
Before embarking on the journey to connect your printer to Wi-Fi, it’s crucial to ensure that your printer is compatible with wireless connectivity. Most modern printers are equipped with Wi-Fi capabilities, but it’s always wise to double-check before diving into the setup process.
Start by consulting your printer’s manual or visiting the manufacturer’s website to verify if your specific printer model supports wireless connectivity. Look for terms such as “Wi-Fi enabled,” “wireless printing,” or “network connectivity” in the specifications. Additionally, you can check for wireless connectivity indicators on the printer itself, such as Wi-Fi icons or LED lights that denote wireless functionality.
If you’re unable to locate the manual or if it’s not readily available, a quick online search using your printer’s model number should yield valuable information regarding its wireless capabilities. Some older printer models may require additional hardware, such as a wireless print server, to enable Wi-Fi connectivity. In such cases, it’s essential to assess the feasibility and cost-effectiveness of upgrading your printer’s connectivity.
Furthermore, consider the compatibility of your existing devices with wireless printing. Ensure that the smartphones, tablets, laptops, or desktop computers from which you intend to print are compatible with your printer’s wireless features. Most modern operating systems, such as Windows, macOS, iOS, and Android, seamlessly integrate with wireless printers, but it’s prudent to confirm compatibility to avoid any unforeseen compatibility issues.
By verifying your printer’s compatibility with Wi-Fi connectivity and assessing the compatibility of your devices, you lay a solid foundation for a successful wireless printing experience. With this essential preliminary step complete, you’re now ready to proceed with the subsequent stages of connecting your printer to Wi-Fi.
**
Step 2: Connect the Printer to Power
**
Before delving into the intricacies of Wi-Fi connectivity, it’s crucial to ensure that your printer is adequately powered. Start by locating a suitable power outlet in close proximity to your printer. Position the printer in a well-ventilated area with easy access to the power source, ensuring that the power cable can be connected without strain or obstruction.
Once you’ve identified the ideal location for your printer, carefully unravel the power cable and plug it into the designated power input on the printer. Take care to insert the plug securely to establish a stable power connection. Avoid using extension cords or power strips unless they are explicitly recommended by the printer’s manufacturer, as these accessories can introduce power fluctuations that may impact the printer’s performance.
After connecting the power cable to the printer, proceed to plug the other end into the power outlet. Ensure that the power outlet is functional by testing it with another electronic device or using a power indicator. Once the printer is connected to a reliable power source, power it on using the designated power button or switch.
As the printer powers on, you may hear mechanical noises or witness the initialization of the printer’s display panel. This indicates that the printer is successfully receiving power and is preparing to undergo the subsequent setup steps. Allow the printer to complete its startup process, which may involve the calibration of internal components and the initialization of wireless connectivity features, if applicable.
By ensuring that your printer is properly connected to power, you establish the fundamental groundwork for the upcoming steps in the Wi-Fi setup process. With the printer powered on and ready for action, you’re now poised to navigate through the printer’s control panel and initiate the wireless connectivity configuration.
**
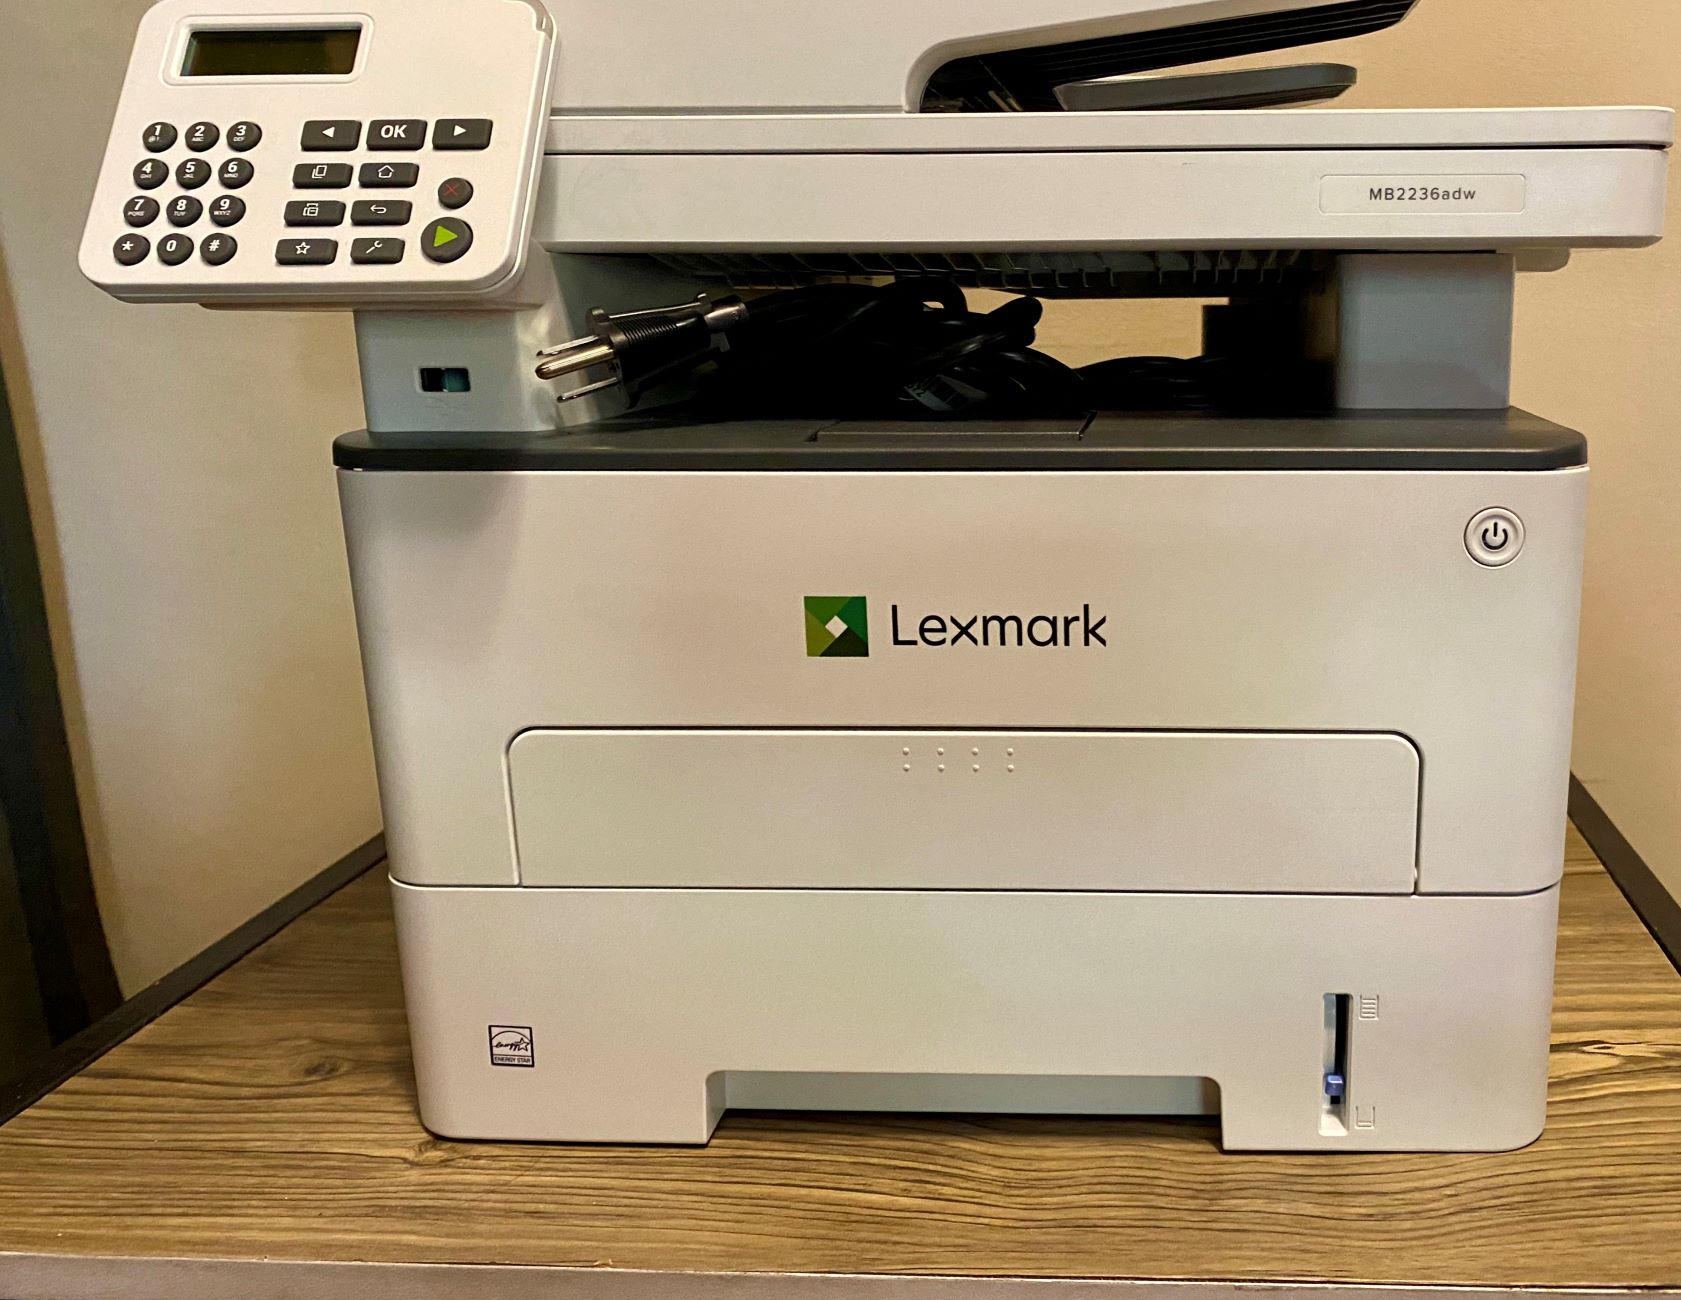
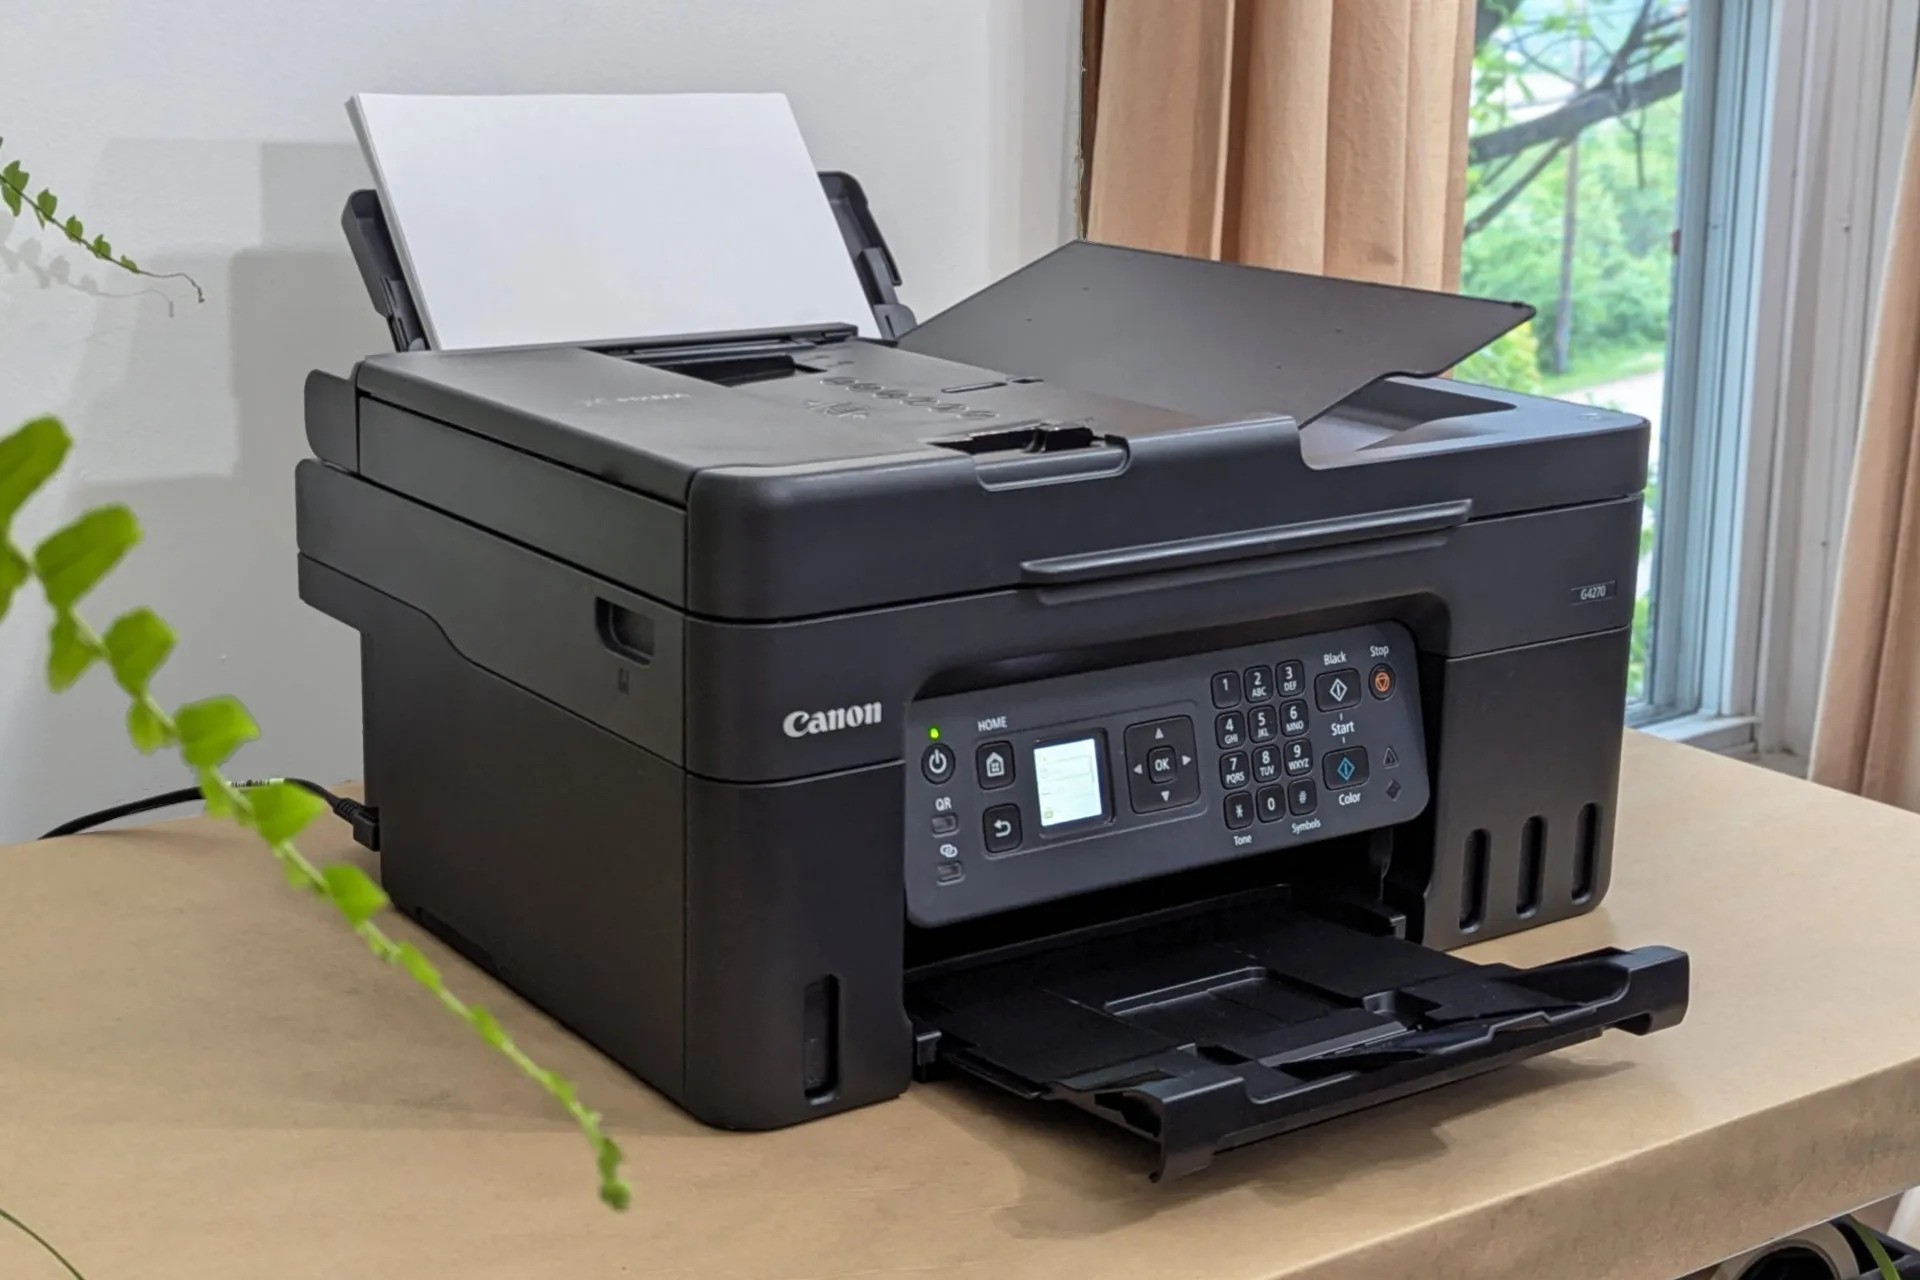
Step 3: Access the Printer’s Control Panel
**
With your printer powered on and primed for configuration, the next step in connecting it to Wi-Fi involves accessing the printer’s control panel. The control panel serves as the gateway to the printer’s settings, allowing you to navigate through the wireless setup options and configure the Wi-Fi connectivity with ease.
Locate the control panel on your printer, which is typically positioned on the front or top of the device. The control panel may comprise a touchscreen display, physical buttons, LED indicators, and navigation controls, depending on the model and manufacturer. If your printer features a touchscreen display, gently tap or press the display to activate it and access the main menu.
If your printer utilizes physical buttons and LED indicators, familiarize yourself with their functions by referring to the printer’s manual or on-screen prompts. Commonly, printers with physical control panels feature dedicated buttons for navigation, menu access, and selection, along with LED indicators that convey the printer’s status and prompts during setup.
Once you’ve accessed the control panel, navigate to the settings or setup menu, where you’ll find options related to wireless connectivity, network settings, or Wi-Fi setup. Depending on the printer model, these options may be labeled as “Wireless Setup,” “Network Settings,” “Wi-Fi Configuration,” or similar terms. Select the appropriate option to initiate the wireless setup process.
As you delve into the wireless setup menu, you’ll be presented with a series of prompts and options that guide you through the configuration of your printer’s Wi-Fi connectivity. These prompts typically include the selection of your Wi-Fi network, the input of your Wi-Fi password, and the finalization of the wireless setup. By accessing the printer’s control panel and navigating to the wireless setup menu, you’re now ready to embark on the next phase of the Wi-Fi connection process.
**
Step 4: Select Wi-Fi Setup
**
As you navigate through the printer’s control panel and delve into the wireless setup options, the next crucial step is to select the Wi-Fi setup feature. This pivotal stage paves the way for your printer to identify and connect to the available Wi-Fi networks in its vicinity, ultimately enabling seamless wireless printing from your devices.
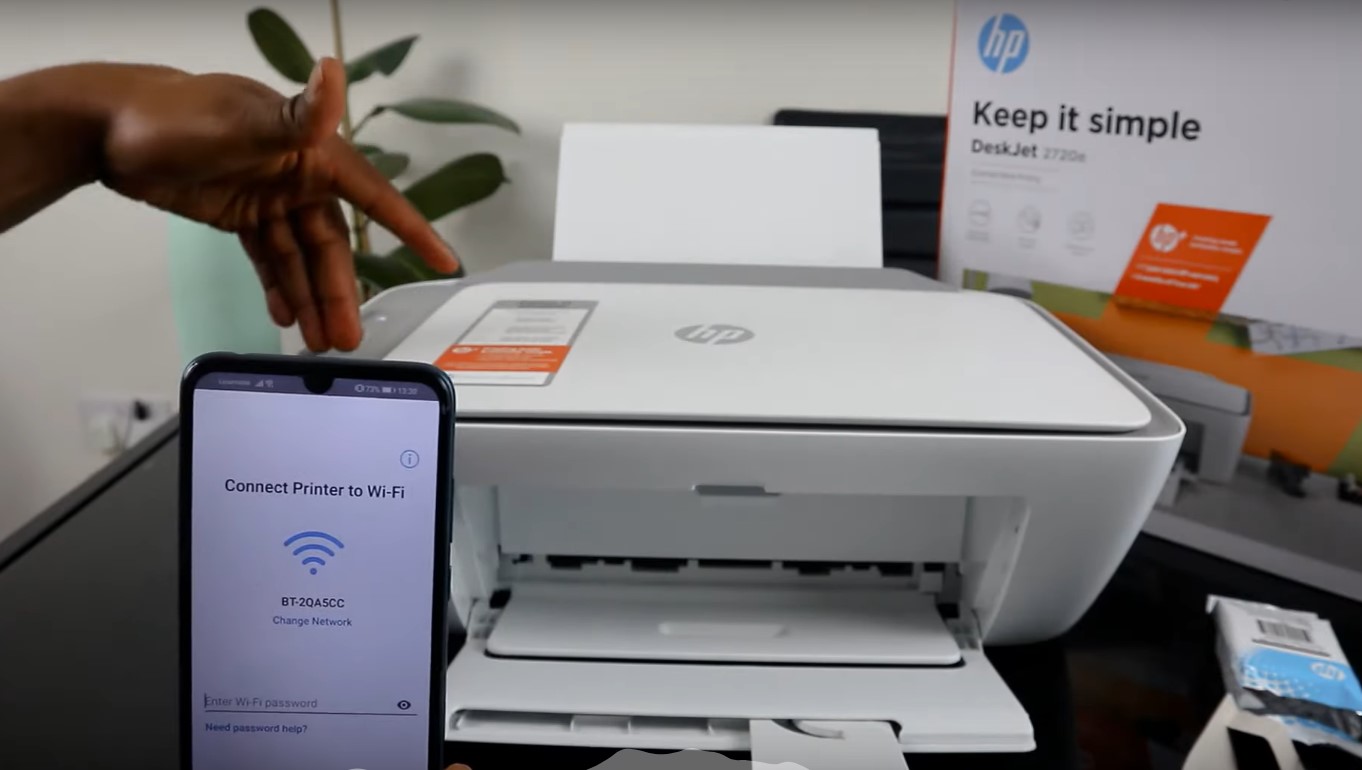
Upon accessing the wireless setup menu on your printer’s control panel, you’ll likely encounter an option specifically labeled as “Wi-Fi Setup,” “Wireless LAN Setup,” or a similar variant. Select this option to initiate the process of configuring your printer’s connection to a Wi-Fi network.
Upon selecting the Wi-Fi setup option, your printer will commence scanning for available Wi-Fi networks within range. This scanning process may take a few moments, during which the printer’s display or indicators will convey the progress of the network search. Once the available Wi-Fi networks are identified, they will be displayed on the printer’s control panel for your selection.
Review the list of available Wi-Fi networks and locate your personal Wi-Fi network among the displayed options. The network names, also known as SSIDs, should correspond to the Wi-Fi network to which your devices are connected. If you’re uncertain about your Wi-Fi network’s name, refer to your smartphone, tablet, or computer’s list of available Wi-Fi networks to confirm the SSID.
After identifying your Wi-Fi network, select it from the list presented on the printer’s control panel. Depending on the printer model, this selection may involve using navigation buttons, a touchscreen interface, or a combination of input methods to highlight and confirm your Wi-Fi network selection.
By successfully selecting the Wi-Fi setup option and identifying your personal Wi-Fi network on the printer’s control panel, you’ve taken a significant stride towards establishing a seamless and robust wireless connection for your printer. With the Wi-Fi network chosen, you’re now poised to proceed to the subsequent steps, bringing you closer to the culmination of the Wi-Fi setup process.
**
When connecting a printer to Wi-Fi, make sure to have the network name and password handy. Use the printer’s control panel to navigate to the Wi-Fi settings and select your network. Enter the password when prompted and wait for the connection to be established.
Read more: How To Connect Ricoh Printer To Wi-Fi
Step 5: Choose Your Wi-Fi Network
**
With the Wi-Fi setup option selected on your printer’s control panel, the subsequent step entails choosing your specific Wi-Fi network from the list of available networks displayed on the printer’s interface. This pivotal selection aligns your printer with your personal Wi-Fi network, paving the way for seamless wireless communication and printing.
Upon accessing the Wi-Fi network selection screen, carefully review the list of available networks to identify your personal Wi-Fi network. The network names, also known as SSIDs, should correspond to the name of the Wi-Fi network to which your devices are connected. If you’re unsure about your Wi-Fi network’s name, reference your smartphone, tablet, or computer’s list of available Wi-Fi networks to confirm the SSID.
Once you’ve identified your personal Wi-Fi network, select it from the list presented on the printer’s control panel. Depending on the printer model, this selection may involve using navigation buttons, a touchscreen interface, or a combination of input methods to highlight and confirm your Wi-Fi network choice.
After choosing your Wi-Fi network, the printer will prompt you to input the necessary credentials to authenticate and establish the connection. This typically involves entering your Wi-Fi network’s password, also known as the WPA key or Wi-Fi passphrase. Carefully input the password using the printer’s interface, ensuring accuracy and attention to uppercase and lowercase characters, as well as special symbols, if applicable.
Upon entering the Wi-Fi network password, proceed to confirm and initiate the connection process. Your printer will then endeavor to establish a secure connection to your chosen Wi-Fi network, leveraging the provided credentials to authenticate and join the network. The printer’s display or indicators will convey the progress of the connection process, culminating in the successful establishment of the Wi-Fi connection.
By choosing your Wi-Fi network and inputting the requisite credentials, you’ve propelled your printer closer to seamless integration with your wireless network, unlocking the potential for effortless printing from your connected devices. With the Wi-Fi network selected and the connection process initiated, you’re now primed to proceed to the final stages of the Wi-Fi setup, bringing you one step closer to a fully connected printing experience.
**
Step 6: Enter Your Wi-Fi Password
**
As you progress through the process of connecting your printer to Wi-Fi, the next pivotal step involves entering your Wi-Fi network’s password into the printer’s interface. This essential credential enables your printer to securely authenticate and establish a seamless connection to your personal Wi-Fi network, facilitating effortless wireless printing from your connected devices.
Upon selecting your Wi-Fi network from the list of available networks on the printer’s control panel, the interface will prompt you to input the Wi-Fi network’s password, also known as the WPA key or Wi-Fi passphrase. Carefully enter the password using the printer’s interface, ensuring precision and attention to uppercase and lowercase characters, as well as any special symbols that constitute your Wi-Fi password.
When inputting the Wi-Fi password, bear in mind that accuracy is paramount to ensure a successful connection. Take care to verify the characters as you input them, as any discrepancies in the password may impede the printer’s ability to authenticate and join your Wi-Fi network. If necessary, utilize the printer’s on-screen keyboard or input method to enter special symbols or non-alphanumeric characters present in your Wi-Fi password.
After entering the Wi-Fi network password, proceed to confirm and initiate the connection process. Your printer will leverage the provided credentials to authenticate and establish a secure connection to your chosen Wi-Fi network. The printer’s display or indicators will convey the progress of the connection process, culminating in the successful establishment of the Wi-Fi connection.
By entering your Wi-Fi network’s password into the printer’s interface, you’ve facilitated the crucial step of enabling your printer to securely join your personal Wi-Fi network. This seamless integration sets the stage for effortless wireless printing, empowering you to harness the full potential of your printer from any connected device within your network. With the Wi-Fi password entered and the connection process underway, you’re now poised to proceed to the final stages of the Wi-Fi setup, bringing you one step closer to a fully connected printing experience.
**
Step 7: Complete the Setup
**
As you approach the culmination of the Wi-Fi setup process for your printer, the final step entails completing the configuration to solidify the seamless connection to your personal Wi-Fi network. By navigating through this pivotal stage, you’ll ensure that your printer is fully integrated with your wireless network, ready to cater to your printing needs with unparalleled convenience and flexibility.
Upon entering your Wi-Fi network’s password and initiating the connection process, your printer will endeavor to establish a secure and robust connection to your chosen Wi-Fi network. The printer’s display or indicators will convey the progress of the connection process, providing real-time feedback on the status of the wireless setup. Allow the printer to complete the connection process, ensuring that it successfully joins your Wi-Fi network.
Upon successful completion of the connection process, your printer will convey a confirmation message or indicator, signifying that it is now securely connected to your personal Wi-Fi network. This confirmation serves as a testament to the successful integration of your printer with your wireless network, laying the groundwork for effortless wireless printing from your connected devices.
With the Wi-Fi setup completed, you can now embark on a test print from your smartphone, tablet, or computer to verify the seamless functionality of your wireless printer. Select a document, photo, or webpage on your device and initiate the print process, ensuring that your printer responds promptly and produces the desired output without the need for physical connectivity.
As your printer effortlessly executes the test print, revel in the convenience and freedom that wireless printing affords. Embrace the seamless integration of your printer with your Wi-Fi network, knowing that you can effortlessly print from any corner of your home or office, unencumbered by the constraints of traditional wired connections.
By completing the Wi-Fi setup for your printer, you’ve ushered in a new era of printing convenience, where the boundaries of connectivity dissolve, and your printing needs are met with unparalleled ease. With the setup process finalized, you can now harness the full potential of your wireless printer, embracing a future where printing knows no bounds.
**
Conclusion
**
Congratulations on successfully connecting your printer to Wi-Fi, unlocking a world of convenience and flexibility in your printing endeavors. By navigating through the seamless setup process, you’ve empowered your printer to seamlessly integrate with your personal Wi-Fi network, paving the way for effortless wireless printing from your connected devices.
As you embark on this wireless printing journey, revel in the freedom to print from any corner of your home or office, unencumbered by the constraints of traditional wired connections. Embrace the convenience of wirelessly sending print jobs from your smartphone, tablet, or computer, knowing that your printer stands ready to fulfill your printing needs with unparalleled ease.
With your printer now seamlessly connected to your Wi-Fi network, you’ve transcended the limitations of physical connectivity, embracing a future where printing knows no bounds. Whether it’s documents, photos, or creative projects, your wireless printer stands poised to bring your digital content to life, enhancing your productivity and creativity in equal measure.
As you navigate the landscape of wireless printing, remember the simplicity and convenience that this connectivity affords. Gone are the days of tethered connections and limited printing locations. Embrace the freedom to print from your favorite devices, secure in the knowledge that your wireless printer is a steadfast ally in your quest for seamless and efficient printing.
May your wireless printer serve as a beacon of convenience and reliability, effortlessly transforming your digital content into tangible, printed masterpieces. With each print job, may you relish the seamless integration of technology and convenience, knowing that your wireless printer stands as a testament to the boundless possibilities of modern connectivity.
As you revel in the newfound freedom of wireless printing, remember the simplicity of the setup process that brought you to this juncture. Embrace the potential of your wireless printer, and may each print be a testament to the seamless fusion of technology and convenience that you’ve cultivated through the simple yet transformative act of connecting your printer to Wi-Fi.
Frequently Asked Questions about How To Connect Printer To Wi-Fi
Was this page helpful?
At Storables.com, we guarantee accurate and reliable information. Our content, validated by Expert Board Contributors, is crafted following stringent Editorial Policies. We're committed to providing you with well-researched, expert-backed insights for all your informational needs.


0 thoughts on “How To Connect Printer To Wi-Fi”