Home>Technology>Smart Home Devices>How To Connect My PIXMA Printer To Wi-Fi
Smart Home Devices
How To Connect My PIXMA Printer To Wi-Fi
Published: January 12, 2024
Learn how to connect your PIXMA printer to Wi-Fi and integrate it with your smart home devices. Follow our step-by-step guide for seamless connectivity.
(Many of the links in this article redirect to a specific reviewed product. Your purchase of these products through affiliate links helps to generate commission for Storables.com, at no extra cost. Learn more)
Introduction
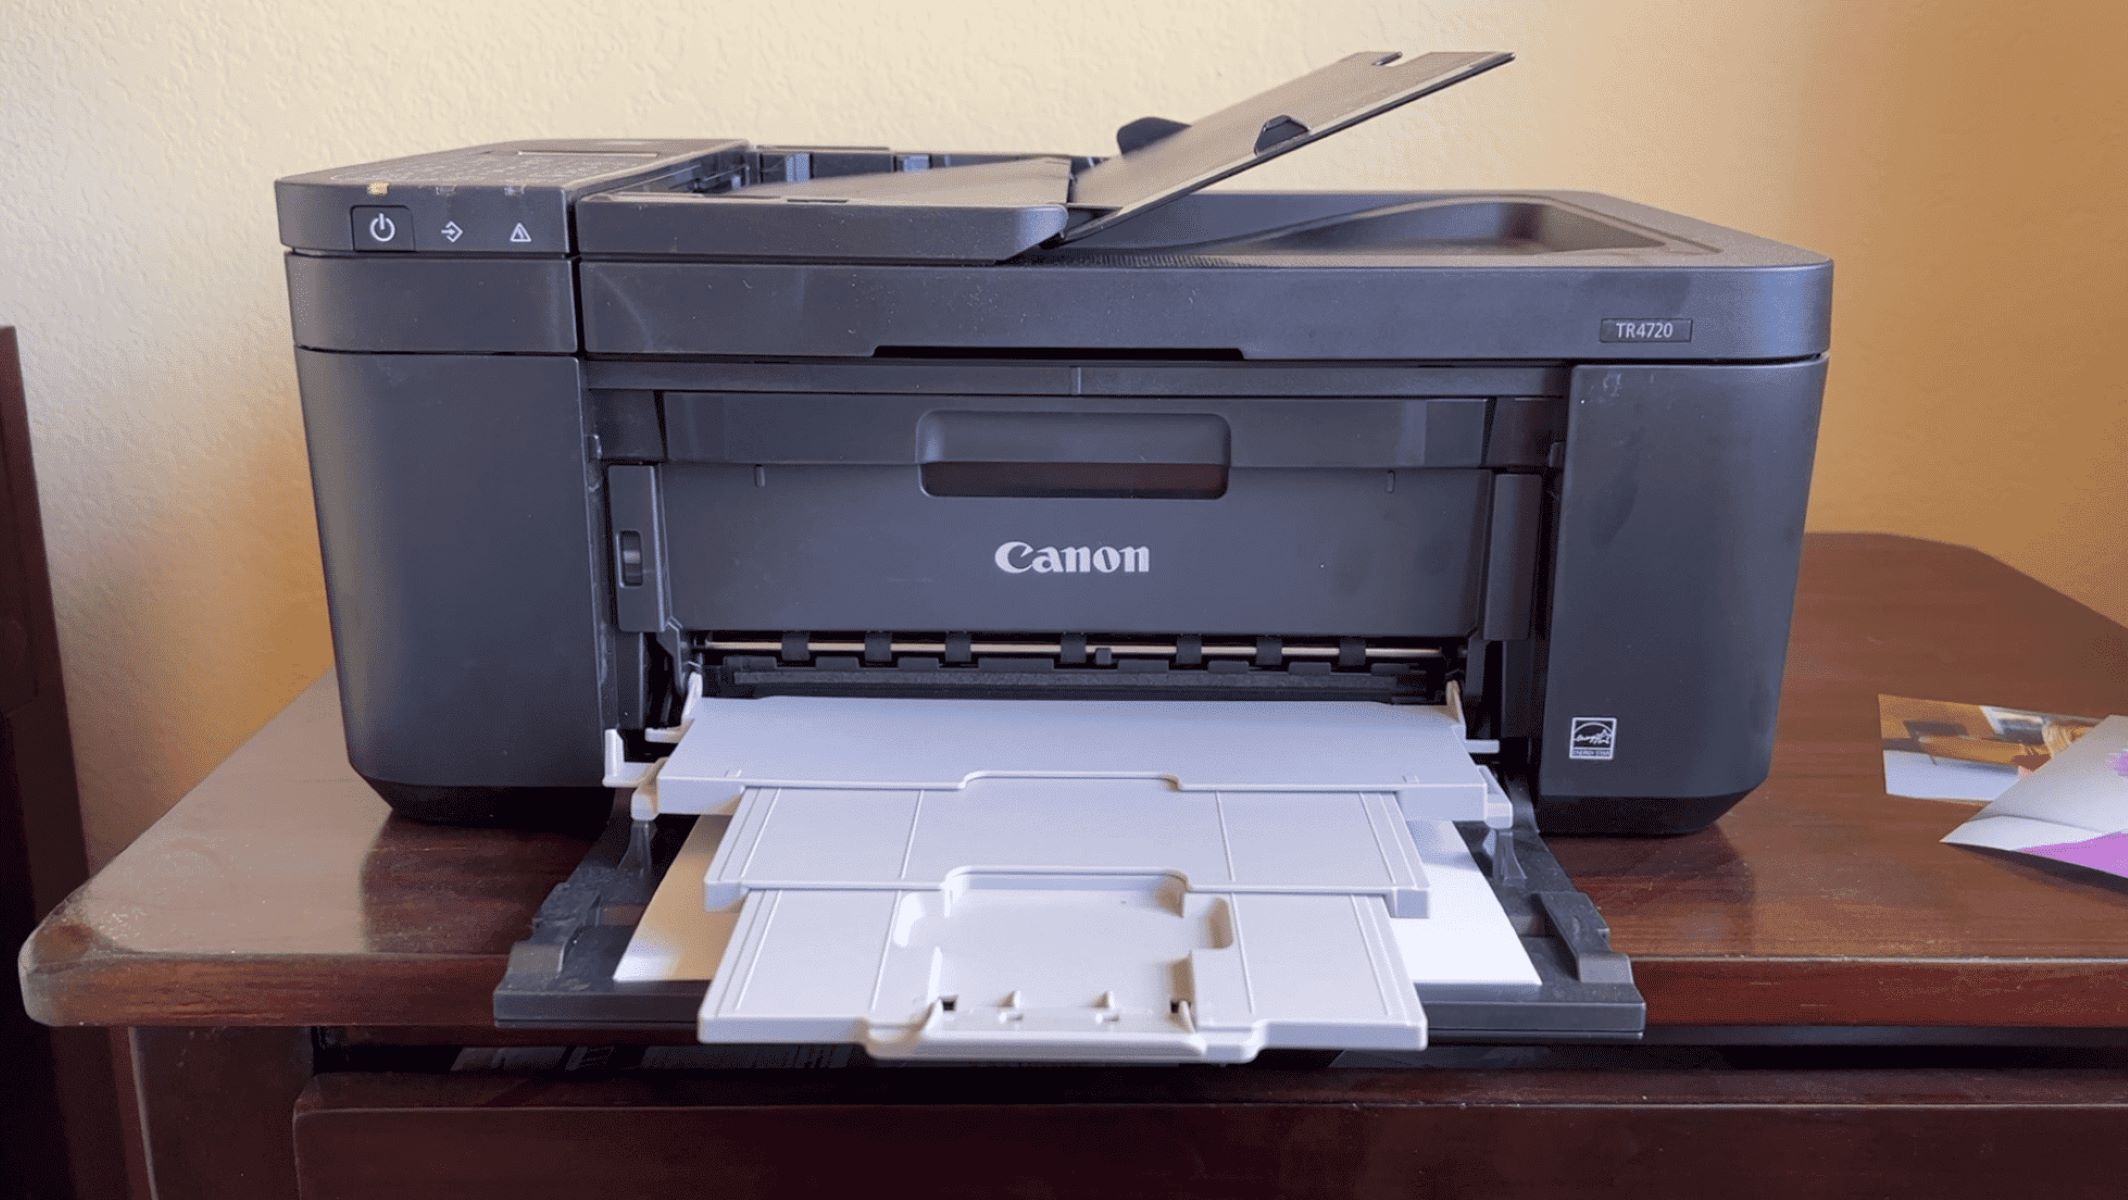
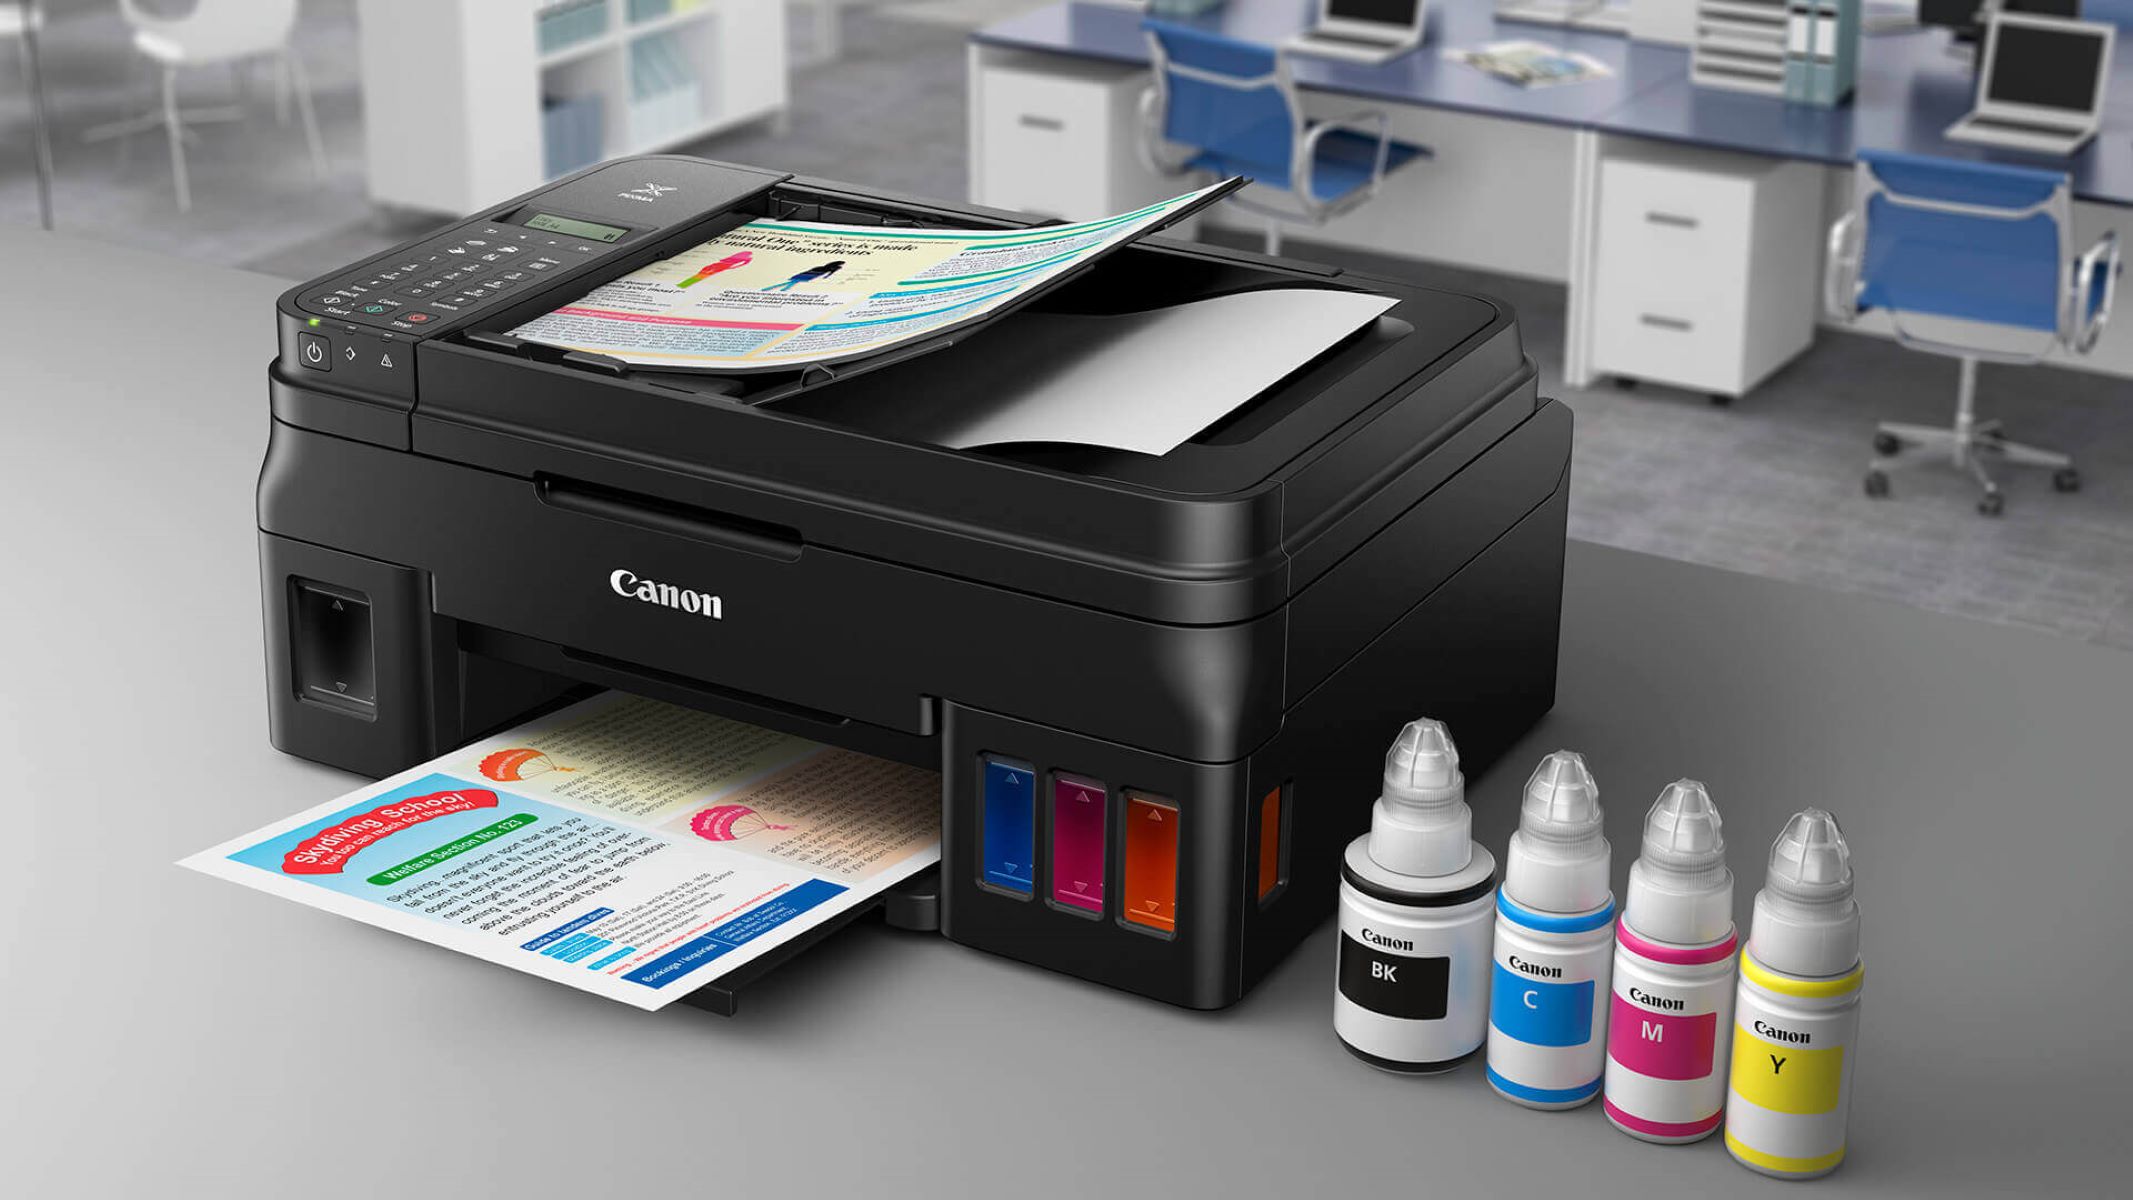
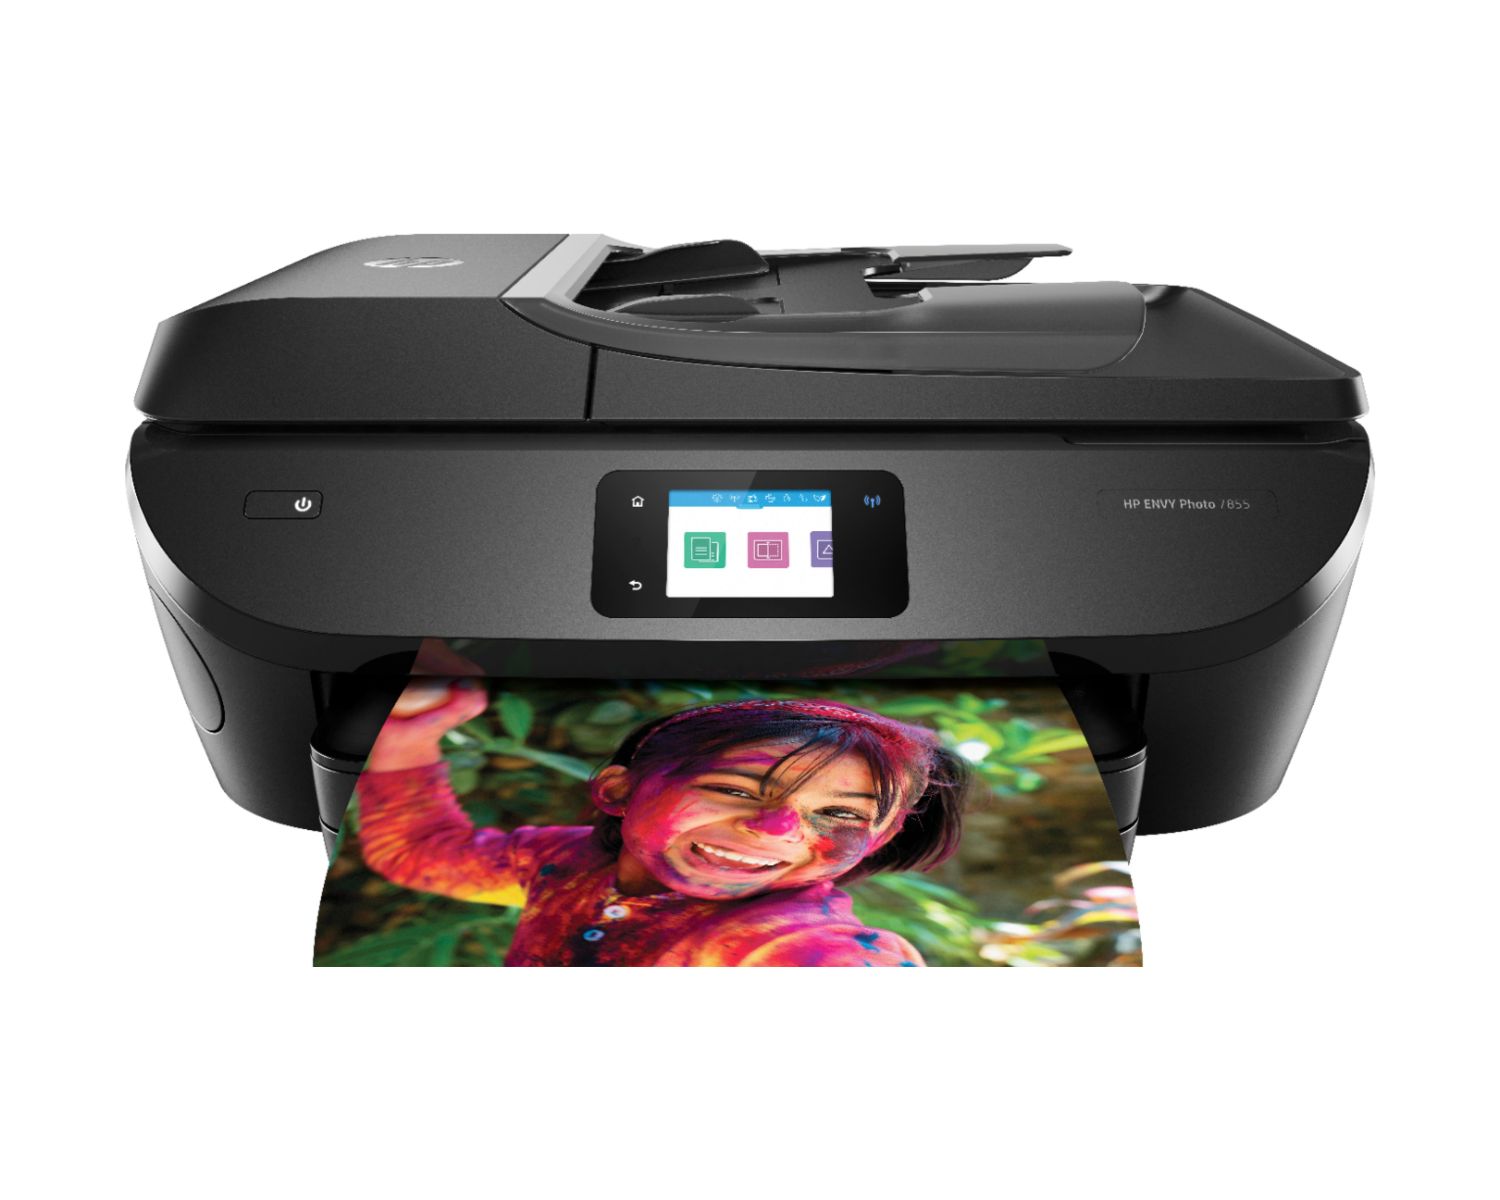
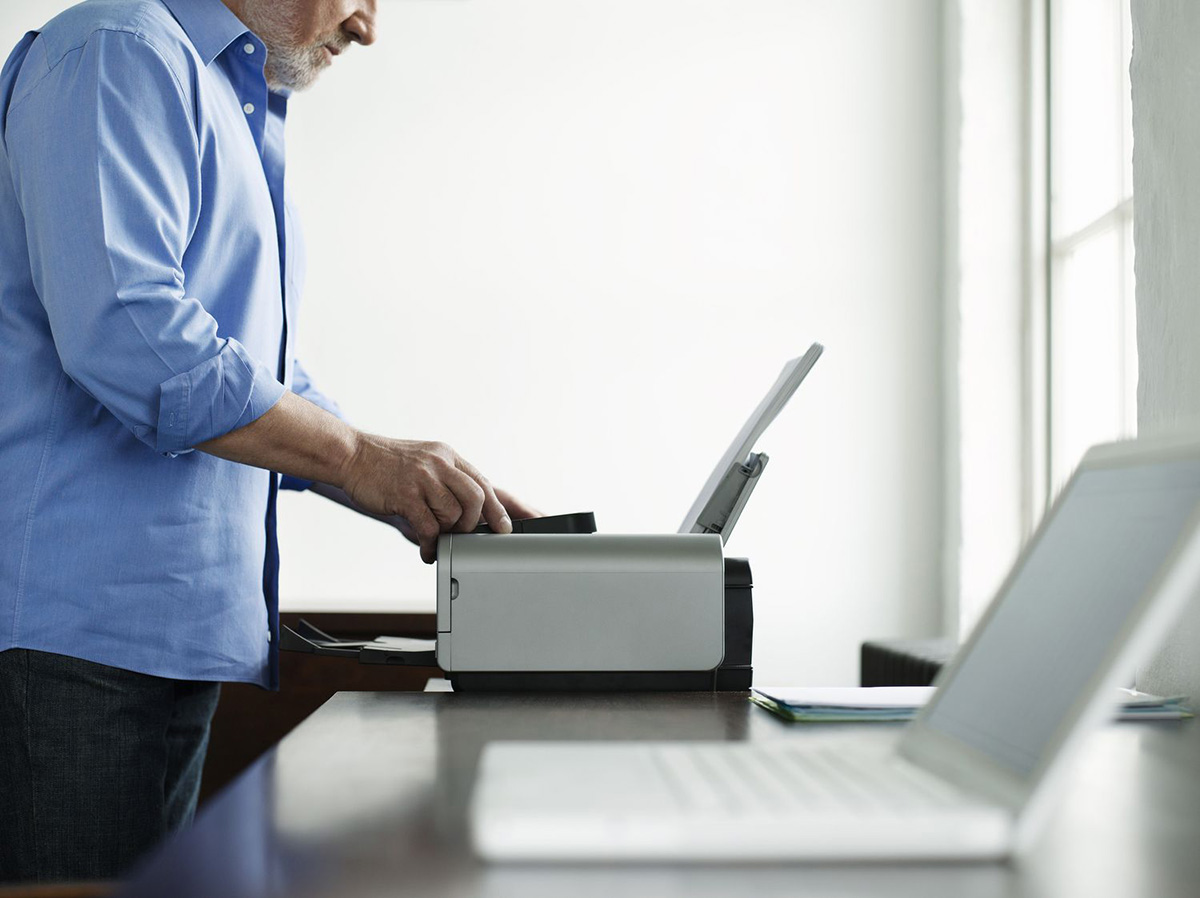
Welcome to the world of smart home devices, where convenience and connectivity intersect to simplify our lives. Among these innovative gadgets, the PIXMA printer stands out as a versatile and user-friendly tool for all your printing needs. By connecting your PIXMA printer to Wi-Fi, you can unleash its full potential, enabling seamless printing from multiple devices and locations within your home or office.
In this comprehensive guide, we will walk you through the process of connecting your PIXMA printer to Wi-Fi, ensuring that you can effortlessly harness the power of wireless printing. Whether you're a tech enthusiast or a novice user, this step-by-step tutorial will equip you with the knowledge and confidence to set up your PIXMA printer for wireless connectivity.
So, grab your favorite beverage, settle into a comfortable spot, and let's embark on this journey to elevate your printing experience to new heights. With our guidance, you'll soon be reveling in the convenience and flexibility of wirelessly printing from your PIXMA printer. Let's dive in and make the most of your smart home printing capabilities!
Key Takeaways:
- Get ready to unleash the power of wireless printing by connecting your PIXMA printer to Wi-Fi. Just follow the simple steps to prepare, connect, and test your printer for seamless wireless printing convenience.
- Once your PIXMA printer is connected to Wi-Fi, you can print from multiple devices without being tied down by cables. Enjoy the freedom of wireless printing and explore advanced features for a convenient printing experience.
Read more: How To Connect My Printer To Wi-Fi
Step 1: Prepare Your Printer
Before diving into the Wi-Fi connection process, it’s essential to ensure that your PIXMA printer is adequately prepared for the setup. Follow these steps to prime your printer for the wireless connection:
- Power Up: Start by powering up your PIXMA printer. Ensure that it is plugged into a power source and turned on. This step is crucial for initiating the setup process.
- Check Ink and Paper: Verify that your printer has an adequate supply of ink or toner and is loaded with paper. This ensures that you can seamlessly carry out test prints and complete the setup without interruptions.
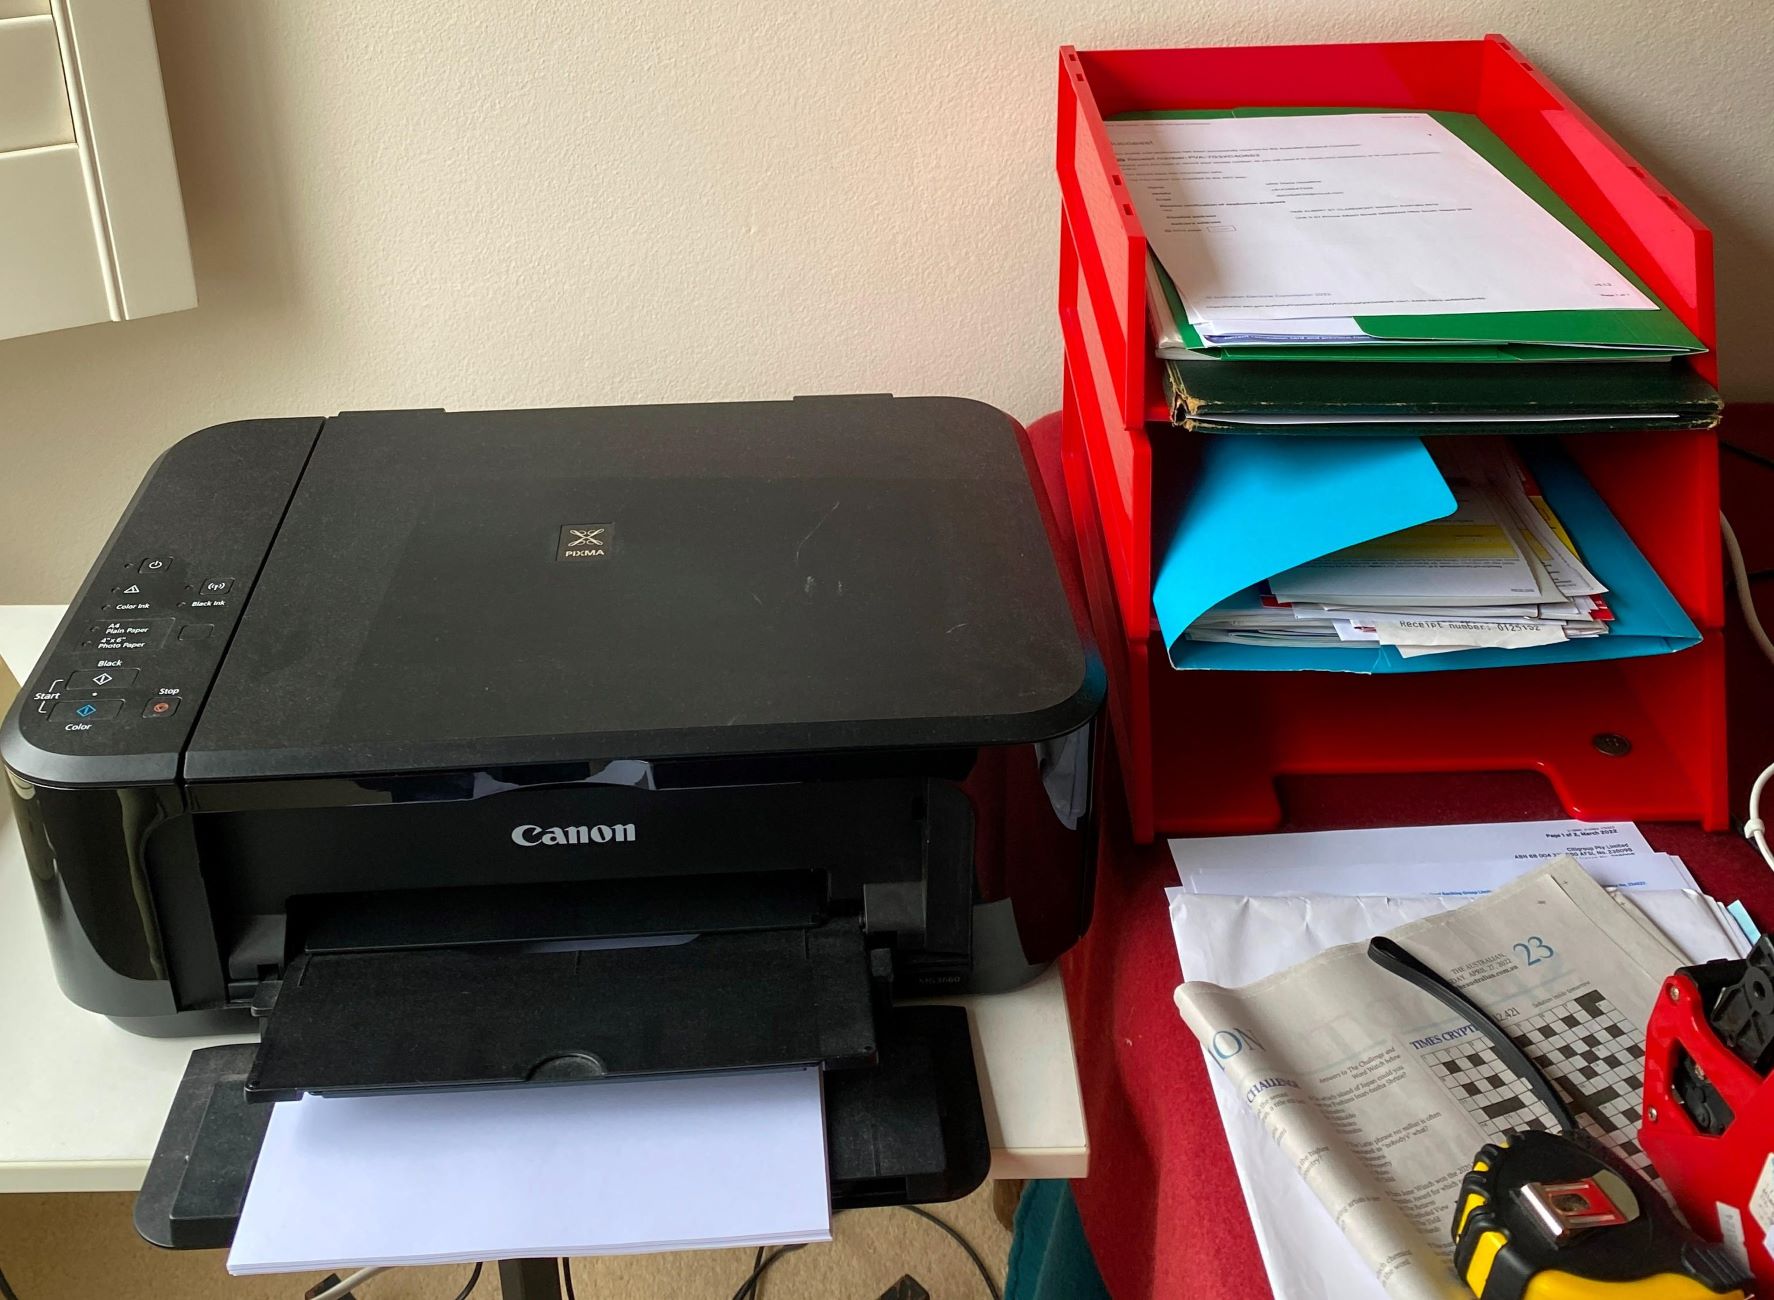
- Access Control Panel: Navigate to the control panel of your PIXMA printer. Familiarize yourself with the display and buttons, as you may need to interact with them during the setup process.
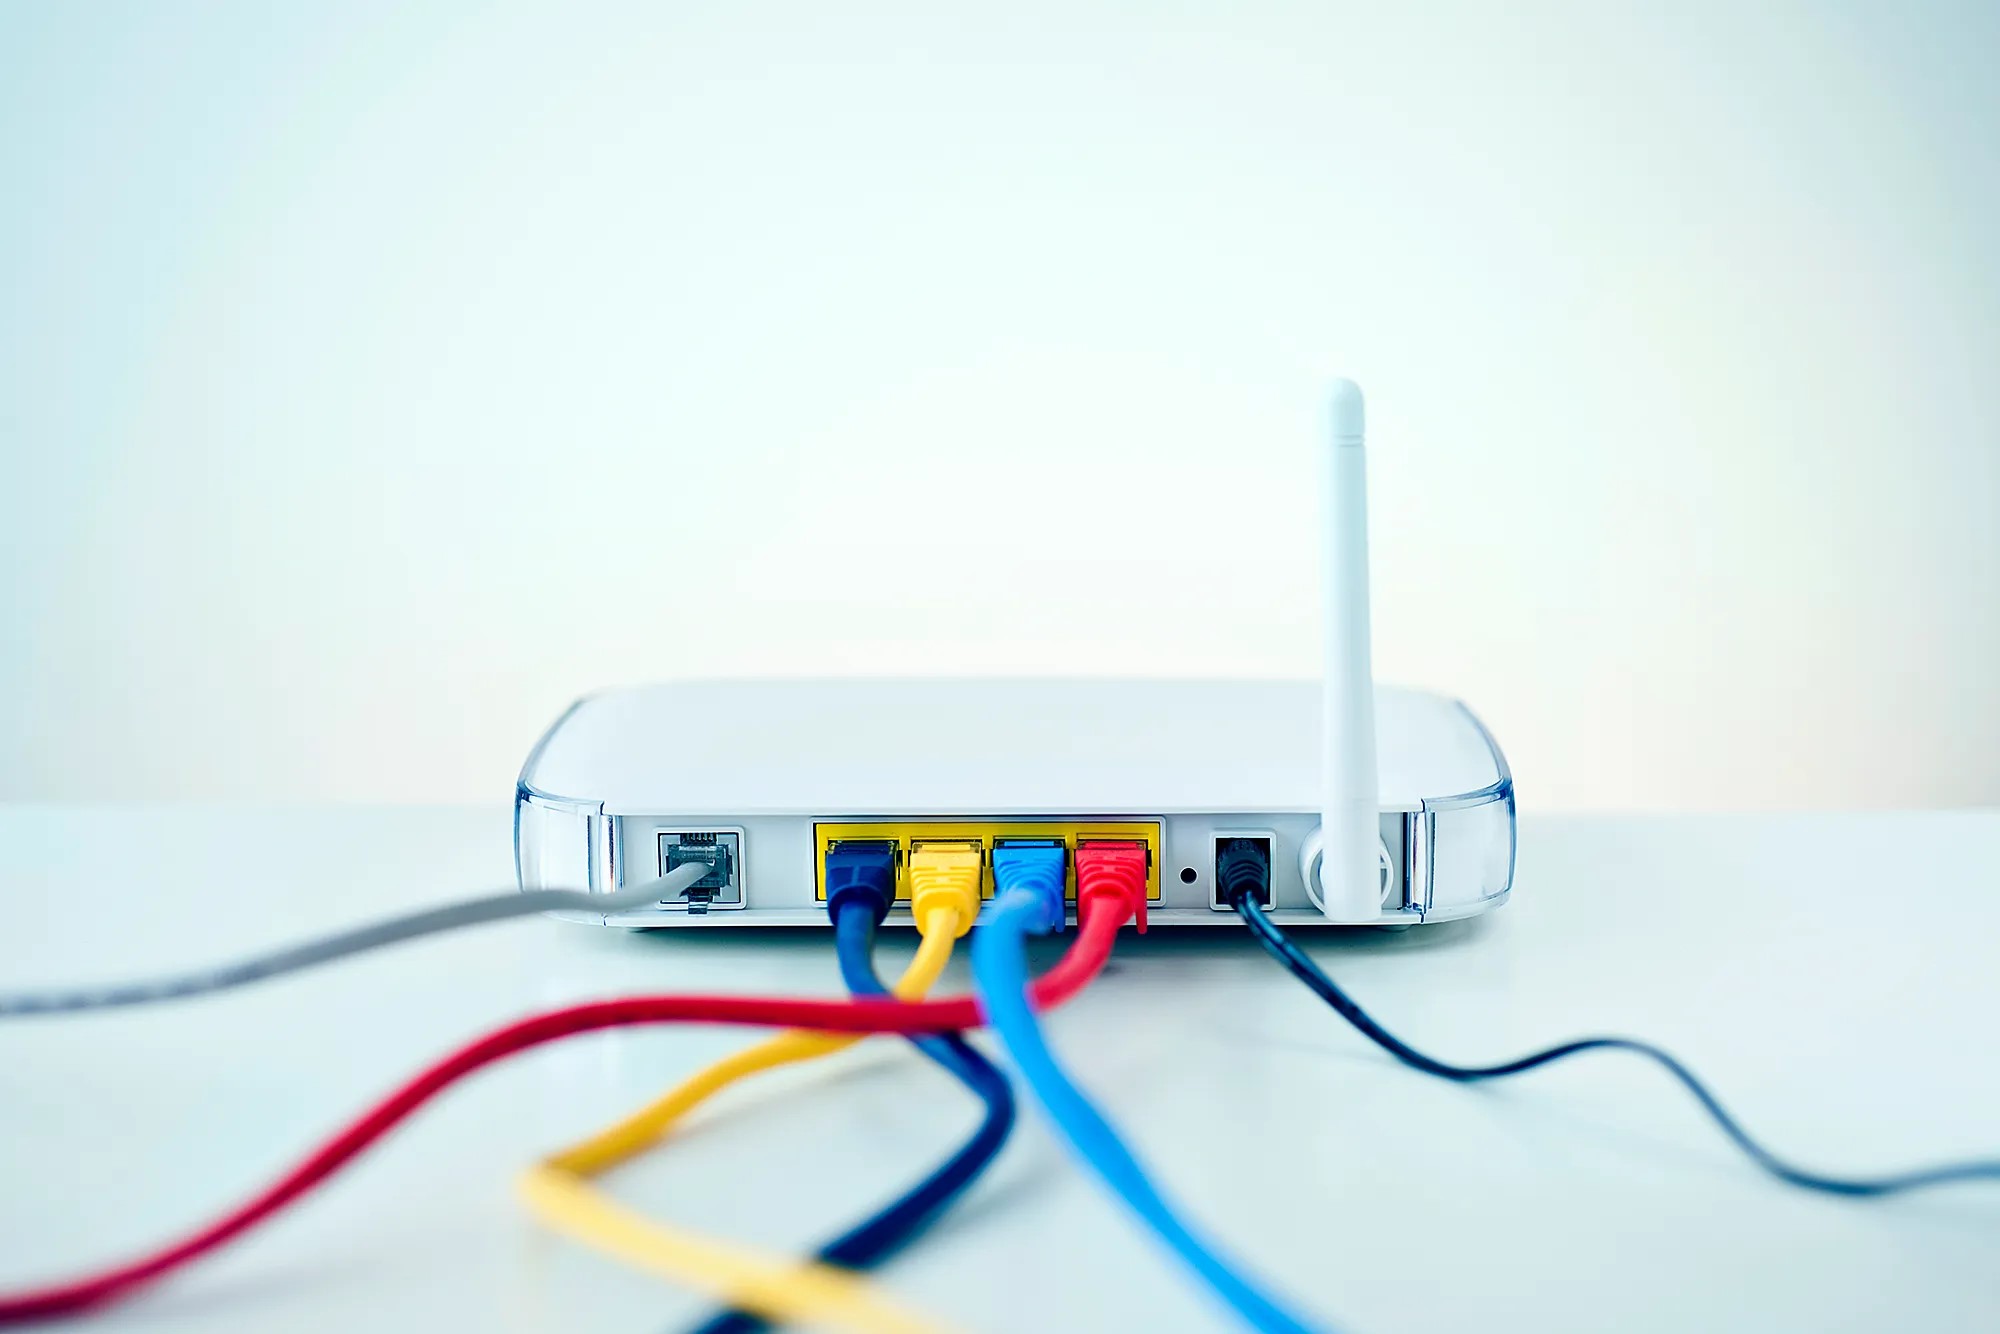
- Network Requirements: Identify the Wi-Fi network to which you intend to connect your printer. Ensure that you have the network name (SSID) and password at hand, as you will need this information during the setup.
By meticulously preparing your PIXMA printer and gathering the necessary network details, you are laying a solid foundation for the seamless integration of your printer into your Wi-Fi network. With these preliminary steps completed, you are now ready to embark on the next phase of the setup process.
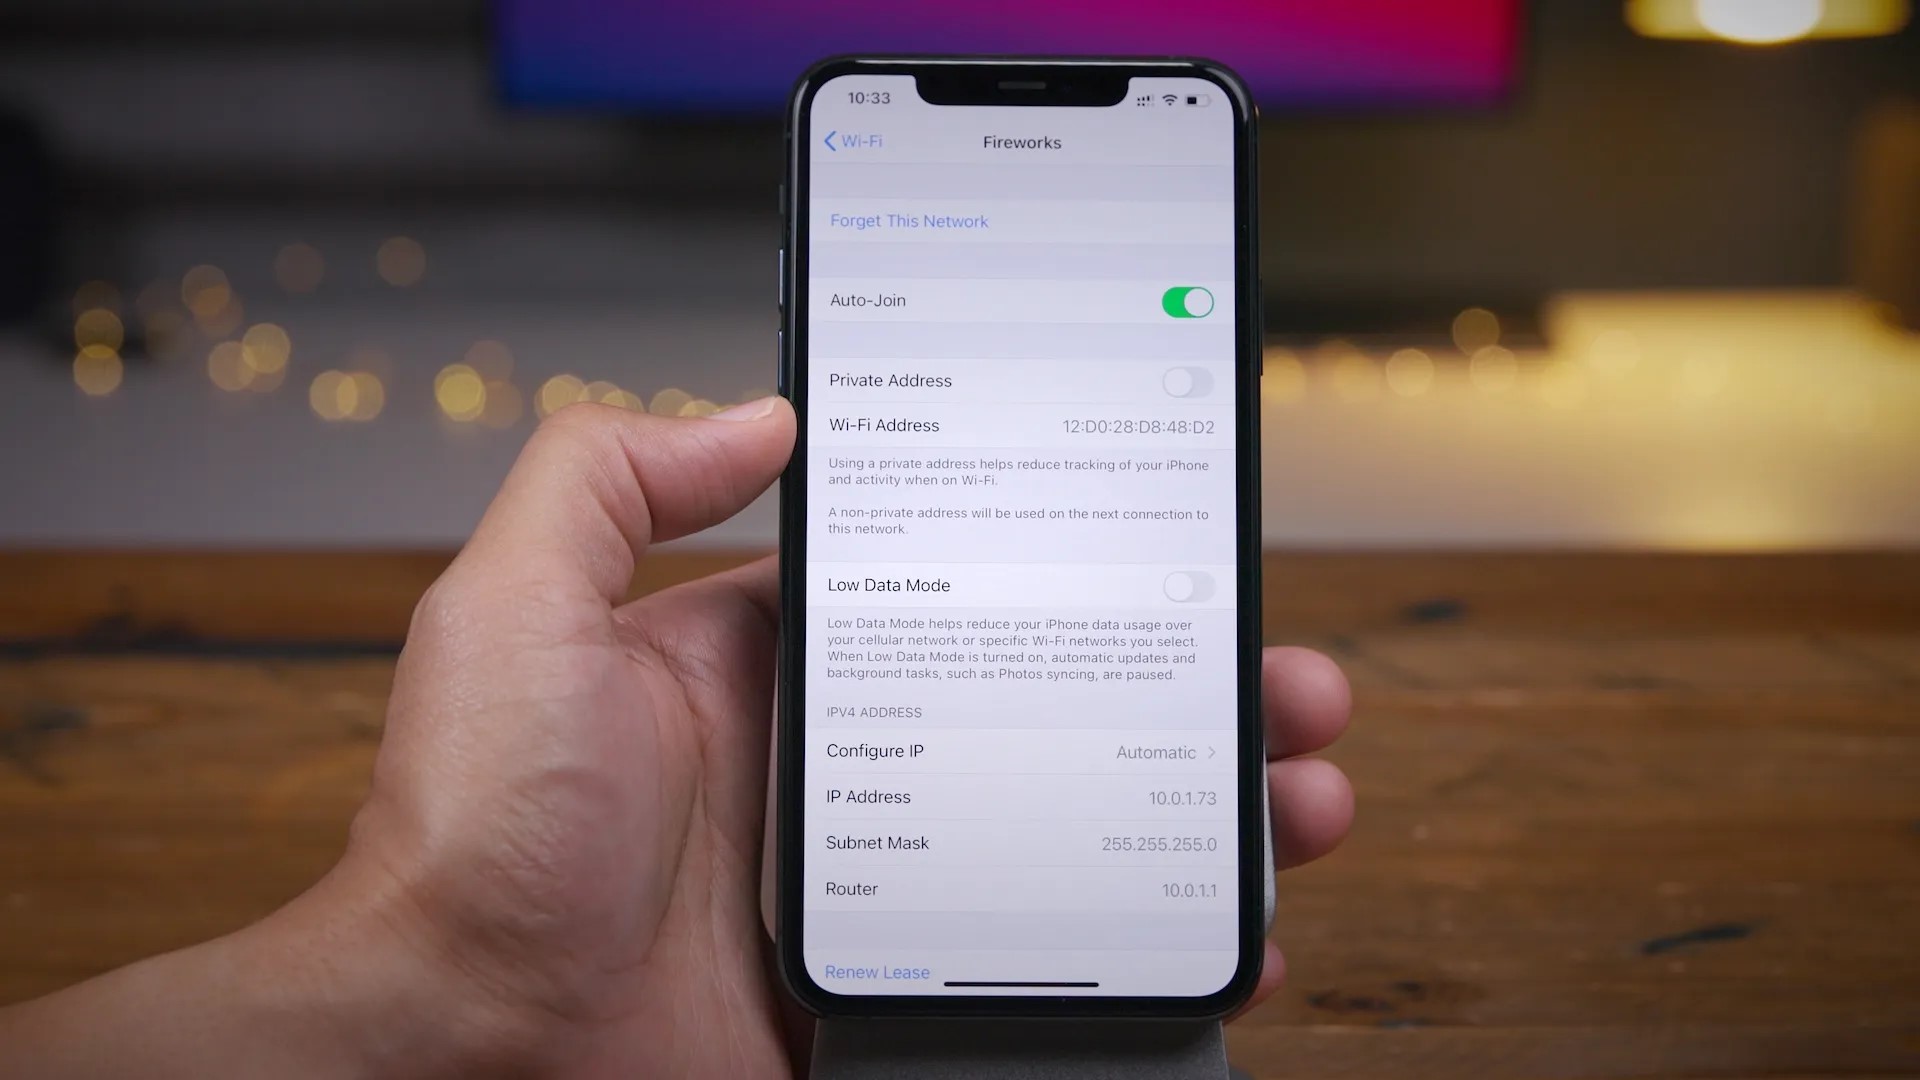
Step 2: Connect to Wi-Fi Network
Now that your PIXMA printer is primed and ready, it’s time to establish a wireless connection to your Wi-Fi network. Follow these steps to seamlessly link your printer to your home or office Wi-Fi:
- Access Settings: Navigate to the settings or setup menu on your PIXMA printer’s control panel. Look for the option to connect to a wireless network. This may vary based on the specific model of your printer, so consult the user manual for precise instructions.
- Select Network: Upon accessing the wireless setup menu, your printer will scan for available Wi-Fi networks. Once the scan is complete, select your preferred network from the list of available options.
- Enter Network Password: If your Wi-Fi network is secured (as it should be for privacy and security reasons), you will be prompted to enter the network password. Carefully input the password using the printer’s control panel interface. Take your time to ensure accurate entry, as any errors can hinder the connection process.
- Establish Connection: After entering the network password, initiate the connection process. Your PIXMA printer will attempt to establish a secure link with the selected Wi-Fi network. This may take a few moments, so be patient as the connection is established.
- Confirmation: Once the connection is successfully established, your printer will display a confirmation message or indicator to signify that it is now linked to your Wi-Fi network. This marks the successful completion of the wireless connection setup.
By following these steps, you have seamlessly connected your PIXMA printer to your Wi-Fi network, paving the way for convenient and flexible printing from various devices. With the wireless link established, your printer is now poised to become an integral part of your smart home ecosystem, offering effortless printing capabilities from any connected device within the network.
To connect your PIXMA printer to Wi-Fi, press the Wi-Fi button on the printer, then navigate to your router’s settings on your computer or mobile device. Select your network and enter the password to complete the connection.
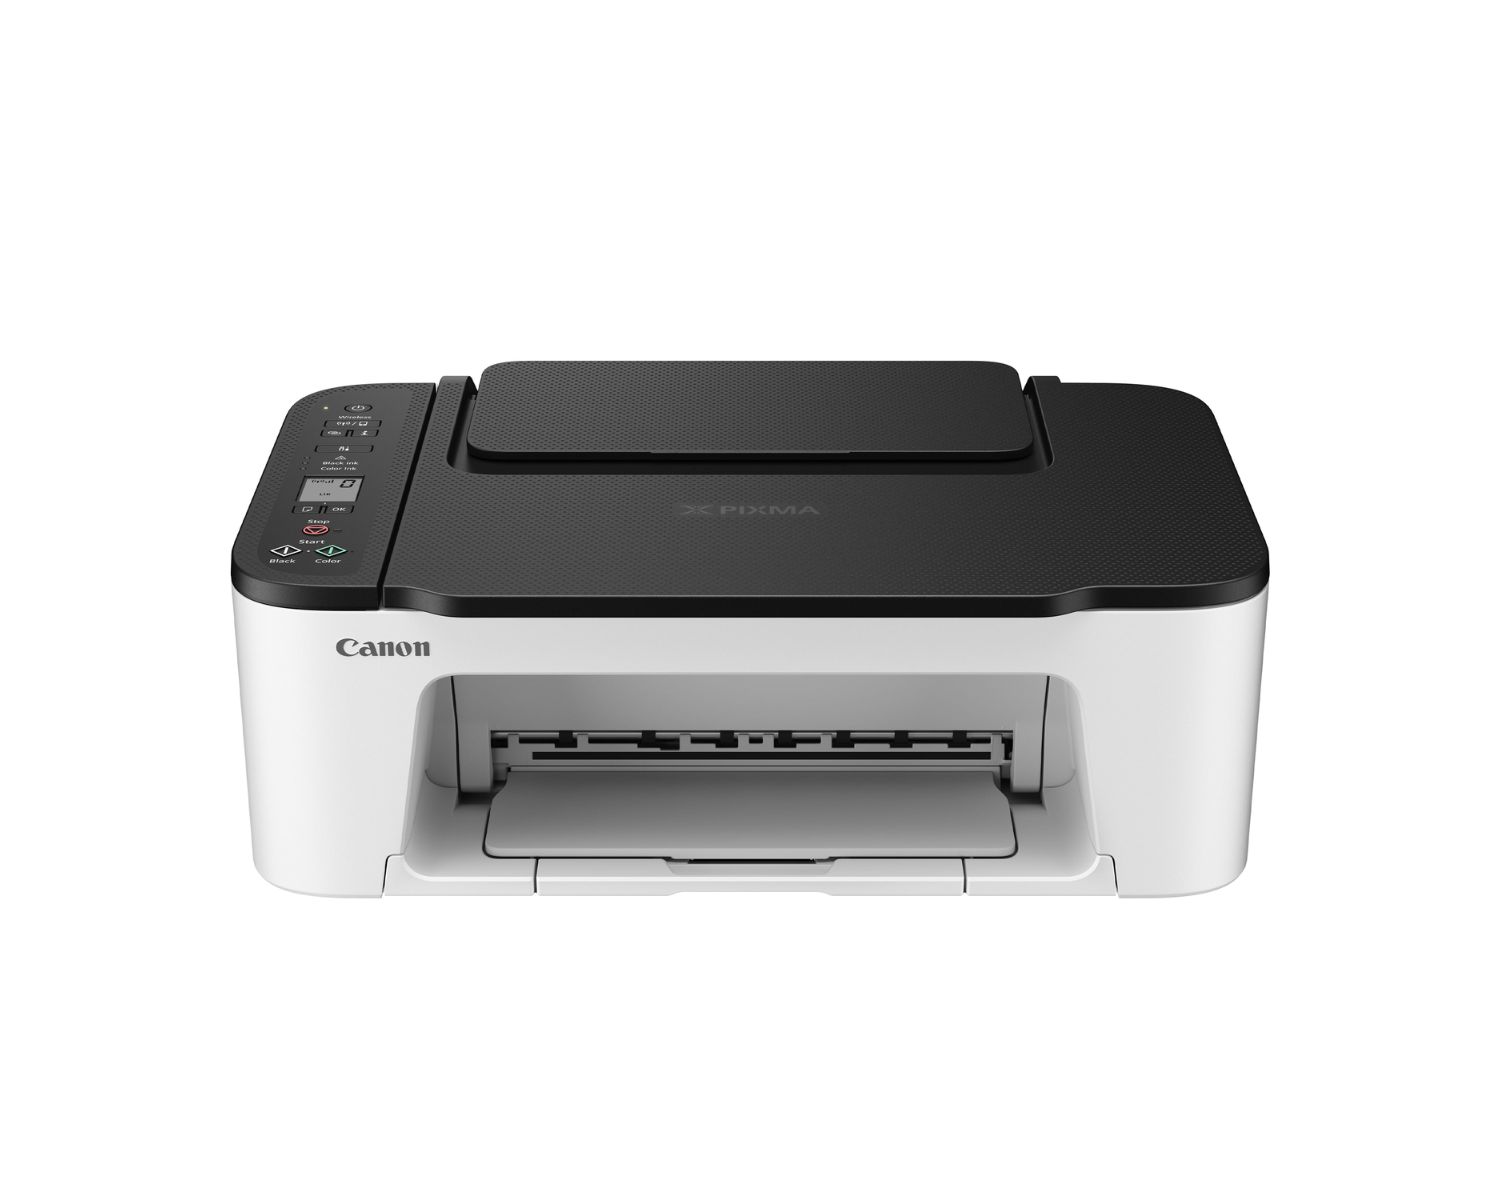
Step 3: Install Printer Software
With your PIXMA printer successfully connected to your Wi-Fi network, the next crucial step is to install the necessary printer software on your desired devices. This software enables seamless communication between your devices and the printer, allowing for efficient printing and access to advanced features. Follow these steps to install the printer software:
- Device Selection: Determine the devices from which you intend to print to your PIXMA printer. This may include computers, laptops, smartphones, or tablets. The printer software needs to be installed on each of these devices to enable wireless printing.
- Download Software: Visit the official Canon website or use the installation CD that came with your printer to download the appropriate printer software for each of your devices. Ensure that you select the software compatible with your printer model and the operating system of your devices.
- Installation Process: Run the downloaded printer software installation file on each device. Follow the on-screen instructions to complete the installation. This typically involves agreeing to the terms and conditions, selecting the installation location, and allowing the software to configure the printer connection.
- Network Detection: During the installation process, the printer software will detect the PIXMA printer connected to your Wi-Fi network. It will establish a secure link between the device and the printer, ensuring seamless printing capabilities.
- Test Print: Once the installation is complete, perform a test print from each device to verify that the printer software is functioning correctly. This test ensures that the devices can communicate with the printer over the Wi-Fi network.
By diligently installing the printer software on your devices, you are empowering them to effortlessly communicate with your PIXMA printer, enabling wireless printing from any location within the network. This seamless integration of printer software enhances your printing experience, allowing for convenient and versatile printing capabilities across your array of connected devices.
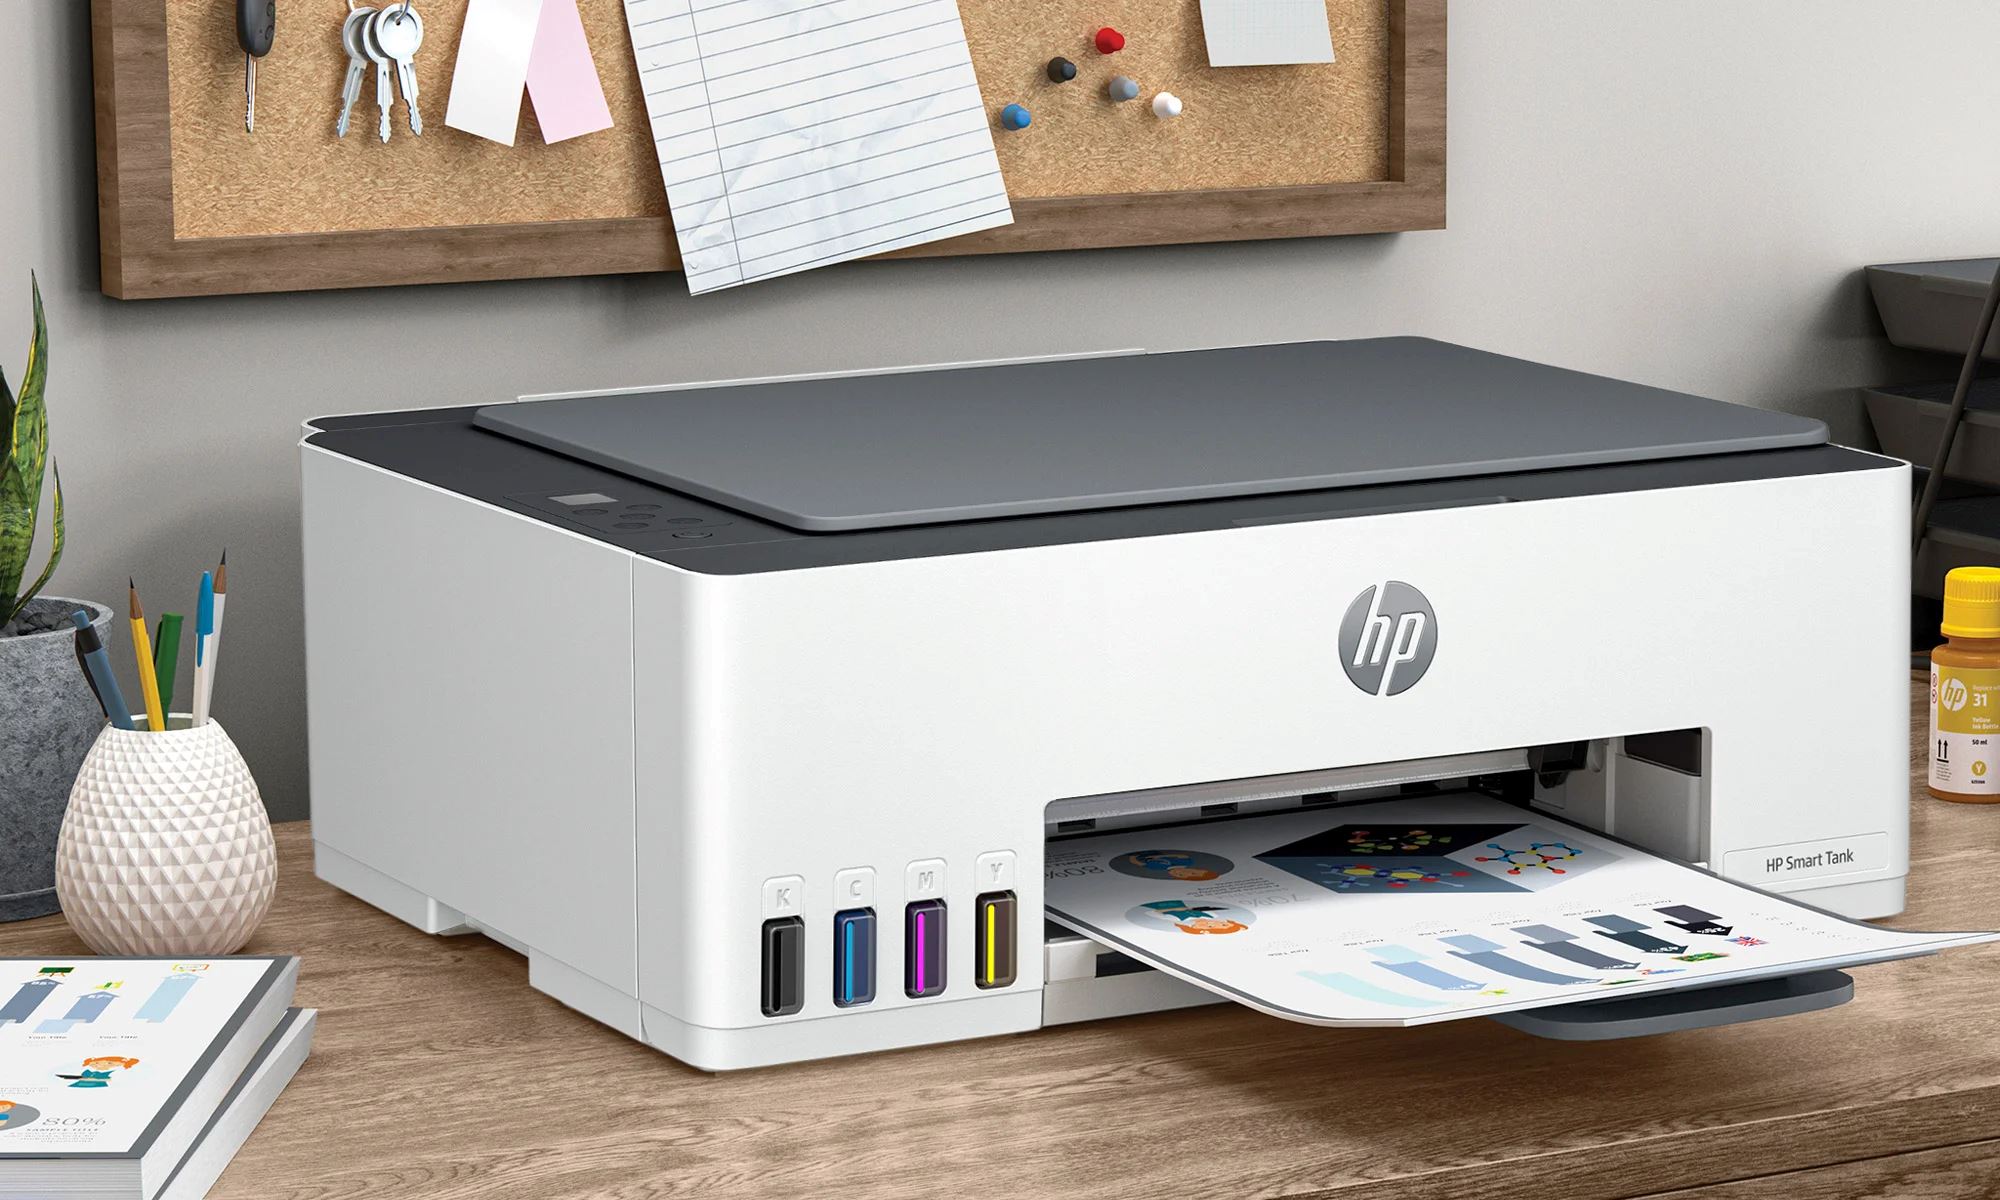
Step 4: Test Your Connection
With the PIXMA printer connected to your Wi-Fi network and the printer software installed on your devices, it’s time to put the wireless setup to the test. Follow these steps to ensure that your printer is fully operational and capable of seamless wireless printing:
- Print Test Page: Initiate a test print from one of your connected devices to verify that the printer is responsive and can successfully receive print commands over the Wi-Fi network. This test page serves as a confirmation of the successful wireless connection.
- Check Print Quality: Examine the test print for quality and clarity. Ensure that the text is sharp, the colors are vibrant (if applicable), and there are no smudges or streaks. This assessment ensures that the wireless connection does not compromise print quality.
- Explore Advanced Features: Take the opportunity to explore the advanced features of your PIXMA printer, such as duplex printing, borderless printing, or photo printing capabilities. Test these features to ensure that they function seamlessly over the Wi-Fi connection.
- Mobile Printing: If you have installed the printer software on your smartphone or tablet, attempt a print job from your mobile device. Verify that the wireless connection enables convenient printing from your handheld devices without any complications.
- Multiple Devices: Test the printer’s ability to handle simultaneous print requests from multiple connected devices. This scenario mimics real-world usage, ensuring that the wireless connection can efficiently manage print jobs from various sources.
By rigorously testing your wireless connection, you can confidently ascertain that your PIXMA printer is seamlessly integrated into your smart home ecosystem. The successful completion of these tests signifies that your printer is ready to cater to your printing needs with the convenience and flexibility afforded by wireless connectivity.
Conclusion
Congratulations! You’ve successfully navigated the process of connecting your PIXMA printer to your Wi-Fi network, unlocking a world of wireless printing convenience. By meticulously preparing your printer, establishing a secure Wi-Fi connection, installing the necessary printer software, and conducting comprehensive tests, you have seamlessly integrated your PIXMA printer into your smart home setup.
With this wireless connection in place, you can now enjoy the flexibility of printing from multiple devices, whether it’s your computer, laptop, smartphone, or tablet. The seamless communication between your devices and the PIXMA printer ensures that printing is no longer confined to a specific location, granting you the freedom to initiate print jobs from anywhere within your Wi-Fi network.
Furthermore, the installation of printer software on your devices has enriched your printing experience, offering access to advanced features and ensuring effortless communication with your PIXMA printer. Whether you’re printing documents, photos, or creative projects, the wireless setup empowers you to unleash the full potential of your printer without being tethered by physical connections.
As you revel in the convenience of wireless printing, remember to periodically check for firmware updates for your PIXMA printer and its associated software. Staying up to date with the latest enhancements and security patches ensures that your printing experience remains optimized and secure.
Embrace the newfound freedom and convenience that wireless printing brings to your smart home environment. With your PIXMA printer seamlessly connected to your Wi-Fi network, you are poised to embark on a printing journey marked by flexibility, convenience, and enhanced productivity.
Here’s to a future filled with effortless wireless printing and the seamless integration of smart home devices into your daily life.
Frequently Asked Questions about How To Connect My PIXMA Printer To Wi-Fi
Was this page helpful?
At Storables.com, we guarantee accurate and reliable information. Our content, validated by Expert Board Contributors, is crafted following stringent Editorial Policies. We're committed to providing you with well-researched, expert-backed insights for all your informational needs.

0 thoughts on “How To Connect My PIXMA Printer To Wi-Fi”