Home>Technology>Smart Home Devices>How To Connect TS3522 Canon Printer To Wi-Fi
Smart Home Devices
How To Connect TS3522 Canon Printer To Wi-Fi
Modified: August 28, 2024
Learn how to easily connect your TS3522 Canon printer to Wi-Fi for seamless printing from smart home devices. Follow our step-by-step guide.
(Many of the links in this article redirect to a specific reviewed product. Your purchase of these products through affiliate links helps to generate commission for Storables.com, at no extra cost. Learn more)
Introduction
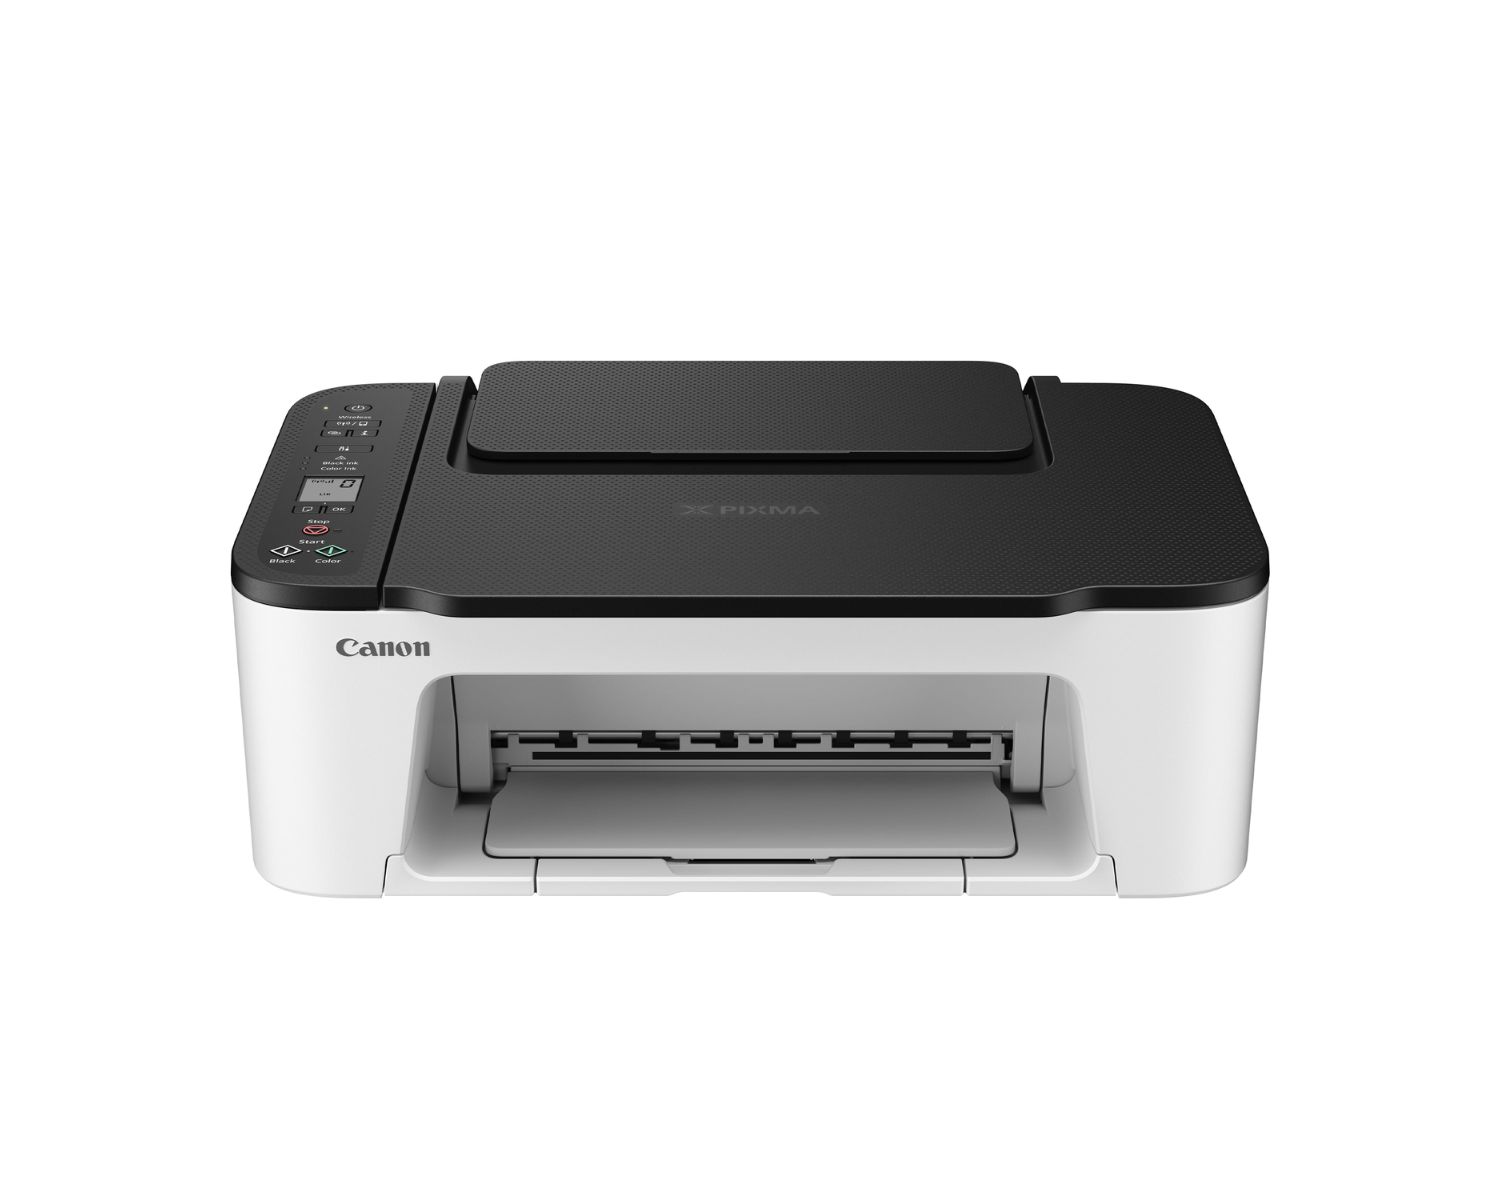
Welcome to the world of smart home devices, where convenience and innovation intersect to simplify our daily lives. Among the myriad of smart devices, the Canon TS3522 printer stands out as a versatile and efficient addition to any modern home or office. With its wireless connectivity capabilities, the TS3522 printer allows users to effortlessly print from various devices, including computers, smartphones, and tablets, without the hassle of tangled cords or cumbersome connections.
In this comprehensive guide, we will walk you through the seamless process of connecting your Canon TS3522 printer to Wi-Fi, enabling you to harness the full potential of this cutting-edge device. Whether you're a tech-savvy individual or a newcomer to the realm of smart home devices, this step-by-step tutorial will equip you with the knowledge and confidence to set up your printer with ease.
By the end of this guide, you will have successfully connected your Canon TS3522 printer to Wi-Fi, empowering you to unleash its printing capabilities from any corner of your home or office. So, let's embark on this journey together and unlock the boundless convenience and efficiency that the Canon TS3522 printer has to offer.
Key Takeaways:
- Connecting your Canon TS3522 printer to Wi-Fi is a breeze! Just follow the simple steps to prepare the printer, establish a wireless connection, and install the software for seamless wireless printing from any device.
- Once connected, your TS3522 printer opens up a world of convenience and creativity. Enjoy wireless printing, scanning, and access to advanced features, all from the comfort of your home or office.
Step 1: Prepare Your Canon TS3522 Printer
Before diving into the process of connecting your Canon TS3522 printer to Wi-Fi, it’s essential to ensure that the printer is properly prepared for the setup. Taking the time to complete these preliminary steps will streamline the connectivity process and pave the way for a seamless transition to wireless printing.
1. Unbox and Power On: If you’ve just acquired the Canon TS3522 printer, begin by carefully unboxing it and removing all protective materials. Once unboxed, place the printer on a stable surface near a power outlet. Connect the power cord to the printer and plug it into the power outlet. Power on the printer by pressing the power button, which is typically located on the control panel.
2. Load Paper: To avoid interruptions during the setup process, ensure that the printer is loaded with an ample supply of paper. Open the paper output tray and extend the paper support. Adjust the paper guides to fit the size of the paper you’re using, then load the paper into the rear tray. Be mindful of the paper capacity to prevent jams or feeding issues.
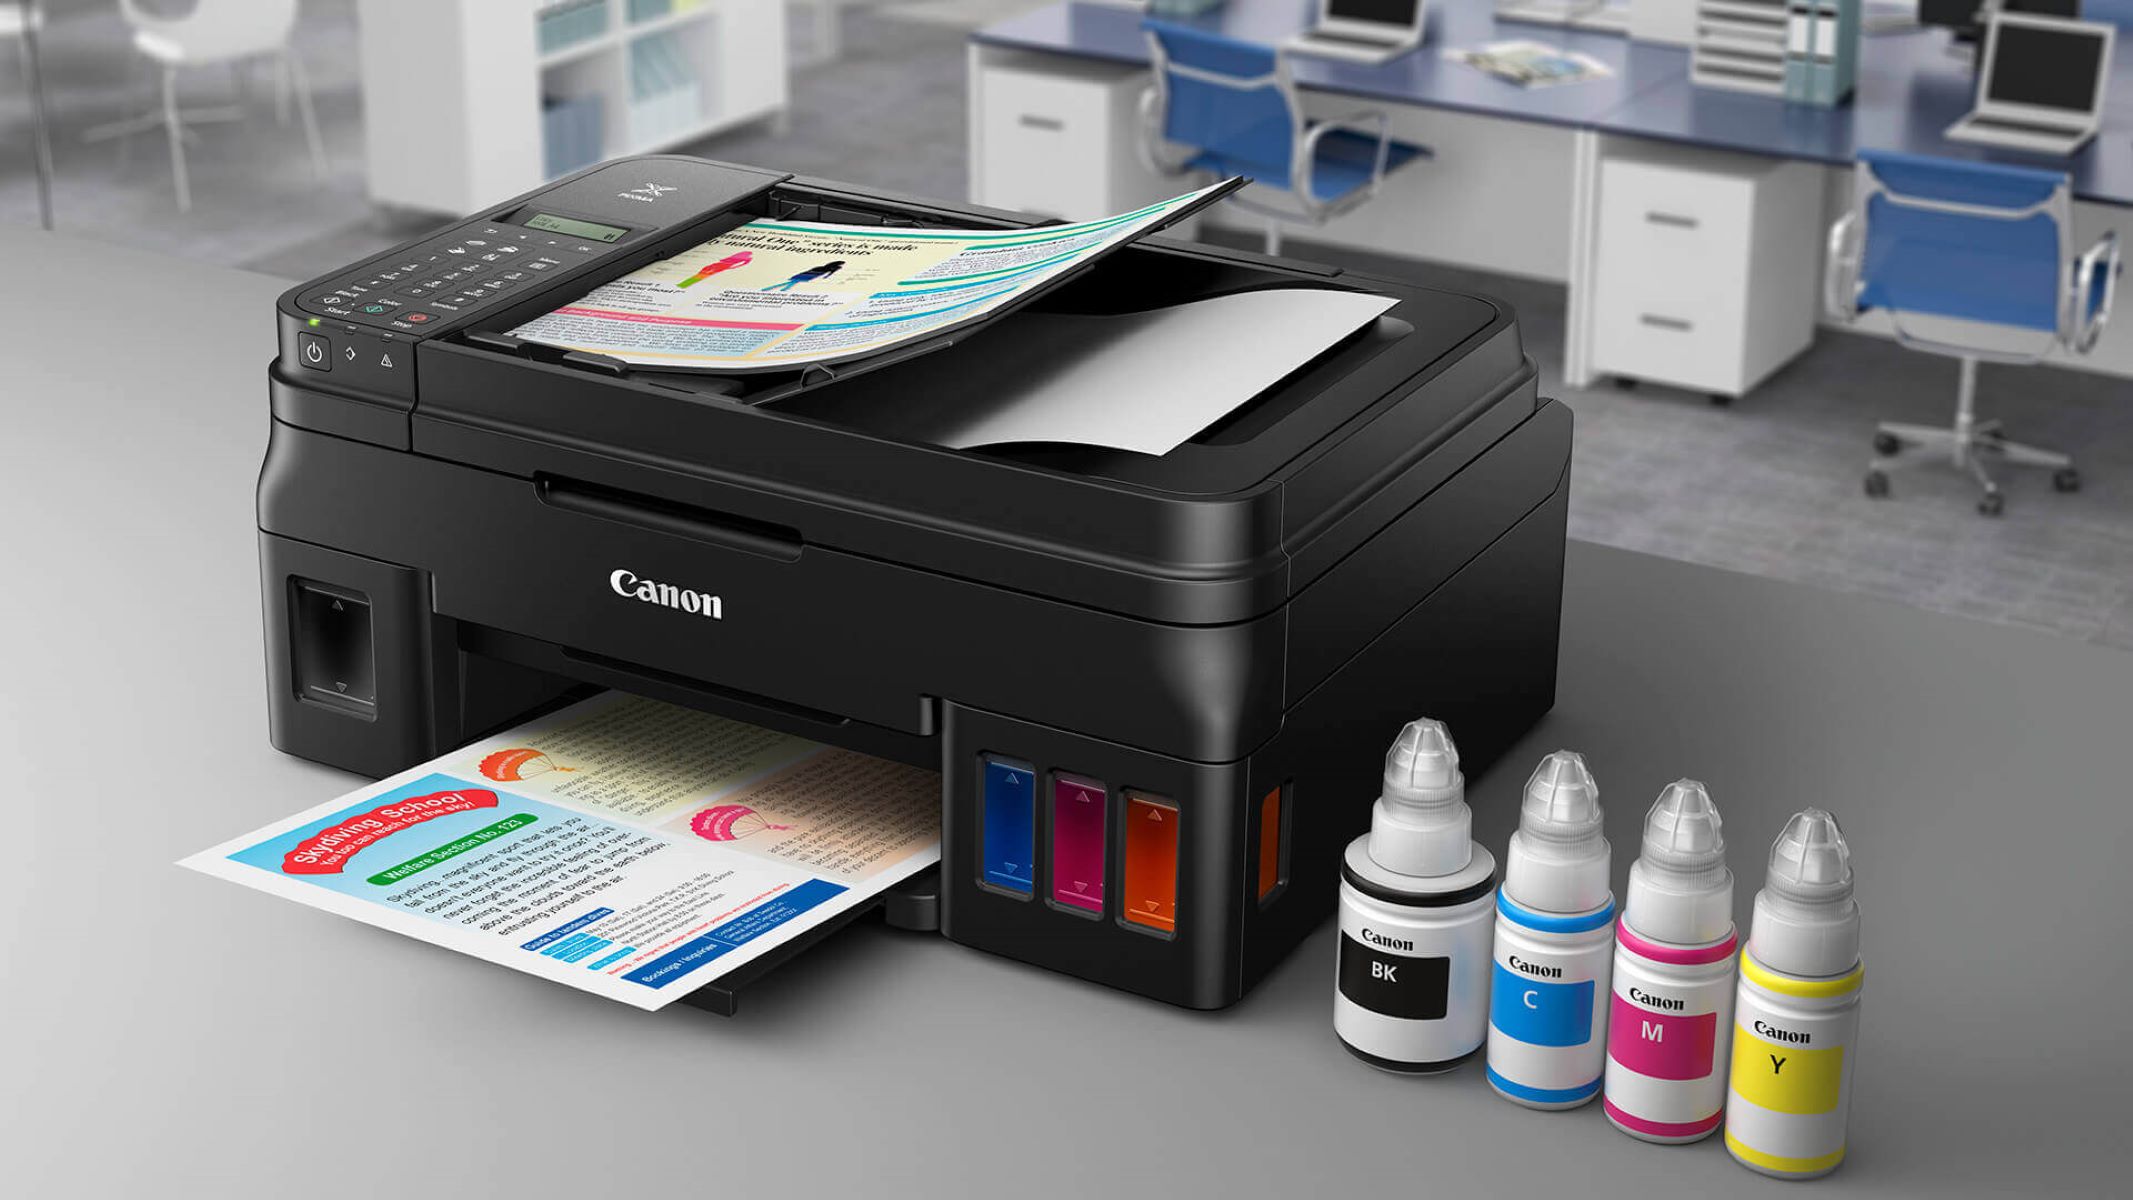
3. Install Ink Cartridges: The next crucial step is to install the ink cartridges. Lift the printer’s top cover to access the cartridge holder. Remove the protective tape from the new cartridges and insert them into their respective slots, ensuring that they are securely in place. Close the top cover once the cartridges are installed.
4. Perform Initial Setup: Upon powering on the printer, it will prompt you to perform the initial setup, which may include selecting the language, region, and time. Follow the on-screen instructions to complete this setup, and ensure that the printer’s display indicates that it is ready for the next steps.
By meticulously preparing your Canon TS3522 printer, you’ve laid a solid foundation for the subsequent steps of connecting it to Wi-Fi. With the printer powered on and primed for setup, you’re now ready to embark on the next phase of the process, which involves establishing a wireless connection to unleash the printer’s full potential.
Step 2: Connect the Printer to Wi-Fi
With your Canon TS3522 printer prepared and powered on, the next pivotal step is to establish a wireless connection, enabling seamless printing from various devices within your home or office network. The TS3522 printer offers multiple methods for connecting to Wi-Fi, providing flexibility to accommodate different preferences and network configurations.
1. Access the Network Settings: Begin by accessing the printer’s control panel, where you can navigate to the network settings. Depending on the printer model, this may involve pressing the “Wi-Fi” or “Network” button to initiate the setup process. Once in the network settings menu, select the option to set up a wireless connection.
2. Select Wi-Fi Network: Upon initiating the wireless setup, the printer will scan for available Wi-Fi networks in the vicinity. From the list of detected networks, locate and select your home or office Wi-Fi network. If your network is not visible, you may need to manually enter the network name (SSID) and password to proceed with the connection.
3. Enter Wi-Fi Password: If your Wi-Fi network is secured with a password, the printer will prompt you to enter the password to authenticate the connection. Use the printer’s control panel to input the password, ensuring accuracy to avoid connectivity issues. Once the password is entered, proceed to confirm and initiate the connection process.
4. Establish Connection: After entering the Wi-Fi password, the printer will attempt to establish a connection to the selected network. This process may take a few moments as the printer communicates with the Wi-Fi router and obtains the necessary network settings. Once successfully connected, the printer will display a confirmation message, indicating that it is now linked to the Wi-Fi network.
5. Verify Connection: To ensure that the connection is stable and functional, you can print a network configuration report from the printer’s control panel. This report provides details about the printer’s network settings, including the IP address and connection status. By reviewing this report, you can verify that the printer is successfully connected to the Wi-Fi network.
By following these steps, you have effectively connected your Canon TS3522 printer to your Wi-Fi network, unlocking the freedom to print wirelessly from your computer, smartphone, or tablet. With the wireless connection established, you’re now ready to proceed with the final phase of the setup process, which involves installing the printer software to enable seamless printing and access to advanced features.
To connect your TS3522 Canon printer to Wi-Fi, start by pressing and holding the Wi-Fi button on the printer until the alarm light flashes once. Then, use the WPS button on your router to complete the connection.
Step 3: Install the Printer Software
Now that your Canon TS3522 printer is successfully connected to your Wi-Fi network, the final step in the setup process involves installing the necessary printer software on your computer or mobile device. By installing the printer software, you’ll gain access to a range of features, including wireless printing, scanning capabilities, and the ability to monitor the printer’s status and ink levels.
1. Download the Software: To initiate the software installation, visit the Canon official website or use the installation CD that came with the printer to download the appropriate software for your operating system. Canon provides comprehensive support for various operating systems, ensuring compatibility with Windows, macOS, iOS, and Android platforms.
2. Run the Installation Wizard: Once the software is downloaded, launch the installation wizard to begin the setup process. Follow the on-screen instructions to install the printer software on your computer or mobile device. The installation wizard will guide you through the necessary steps, including selecting the desired software components and confirming the installation location.
3. Connect to the Printer: During the software installation, the wizard will prompt you to select the connection method. Choose the option for wireless or Wi-Fi connection to enable seamless printing from your device to the Canon TS3522 printer. The installation wizard will search for the printer on the network and establish the necessary connections.
4. Complete the Installation: After selecting the connection method, the installation wizard will proceed to complete the installation of the printer software. Once the installation is finished, you’ll receive a confirmation message indicating that the software has been successfully installed and the printer is ready for use.
5. Test the Printing Function: To ensure that the printer software is functioning correctly, initiate a test print from your computer or mobile device. Select a document or image to print and send the print job to the Canon TS3522 printer. If the printer successfully receives and prints the document, it indicates that the software installation and wireless connection are operational.
With the printer software successfully installed on your device and the wireless connection established, you’ve completed the setup process for your Canon TS3522 printer. You can now enjoy the convenience of wirelessly printing documents, photos, and more, while also accessing the printer’s advanced features and settings with ease.
Conclusion
Congratulations! You’ve successfully navigated the process of connecting your Canon TS3522 printer to Wi-Fi, unlocking a world of wireless printing convenience and efficiency. By following the comprehensive steps outlined in this guide, you’ve seamlessly integrated your printer into your home or office network, paving the way for effortless printing from a diverse array of devices.
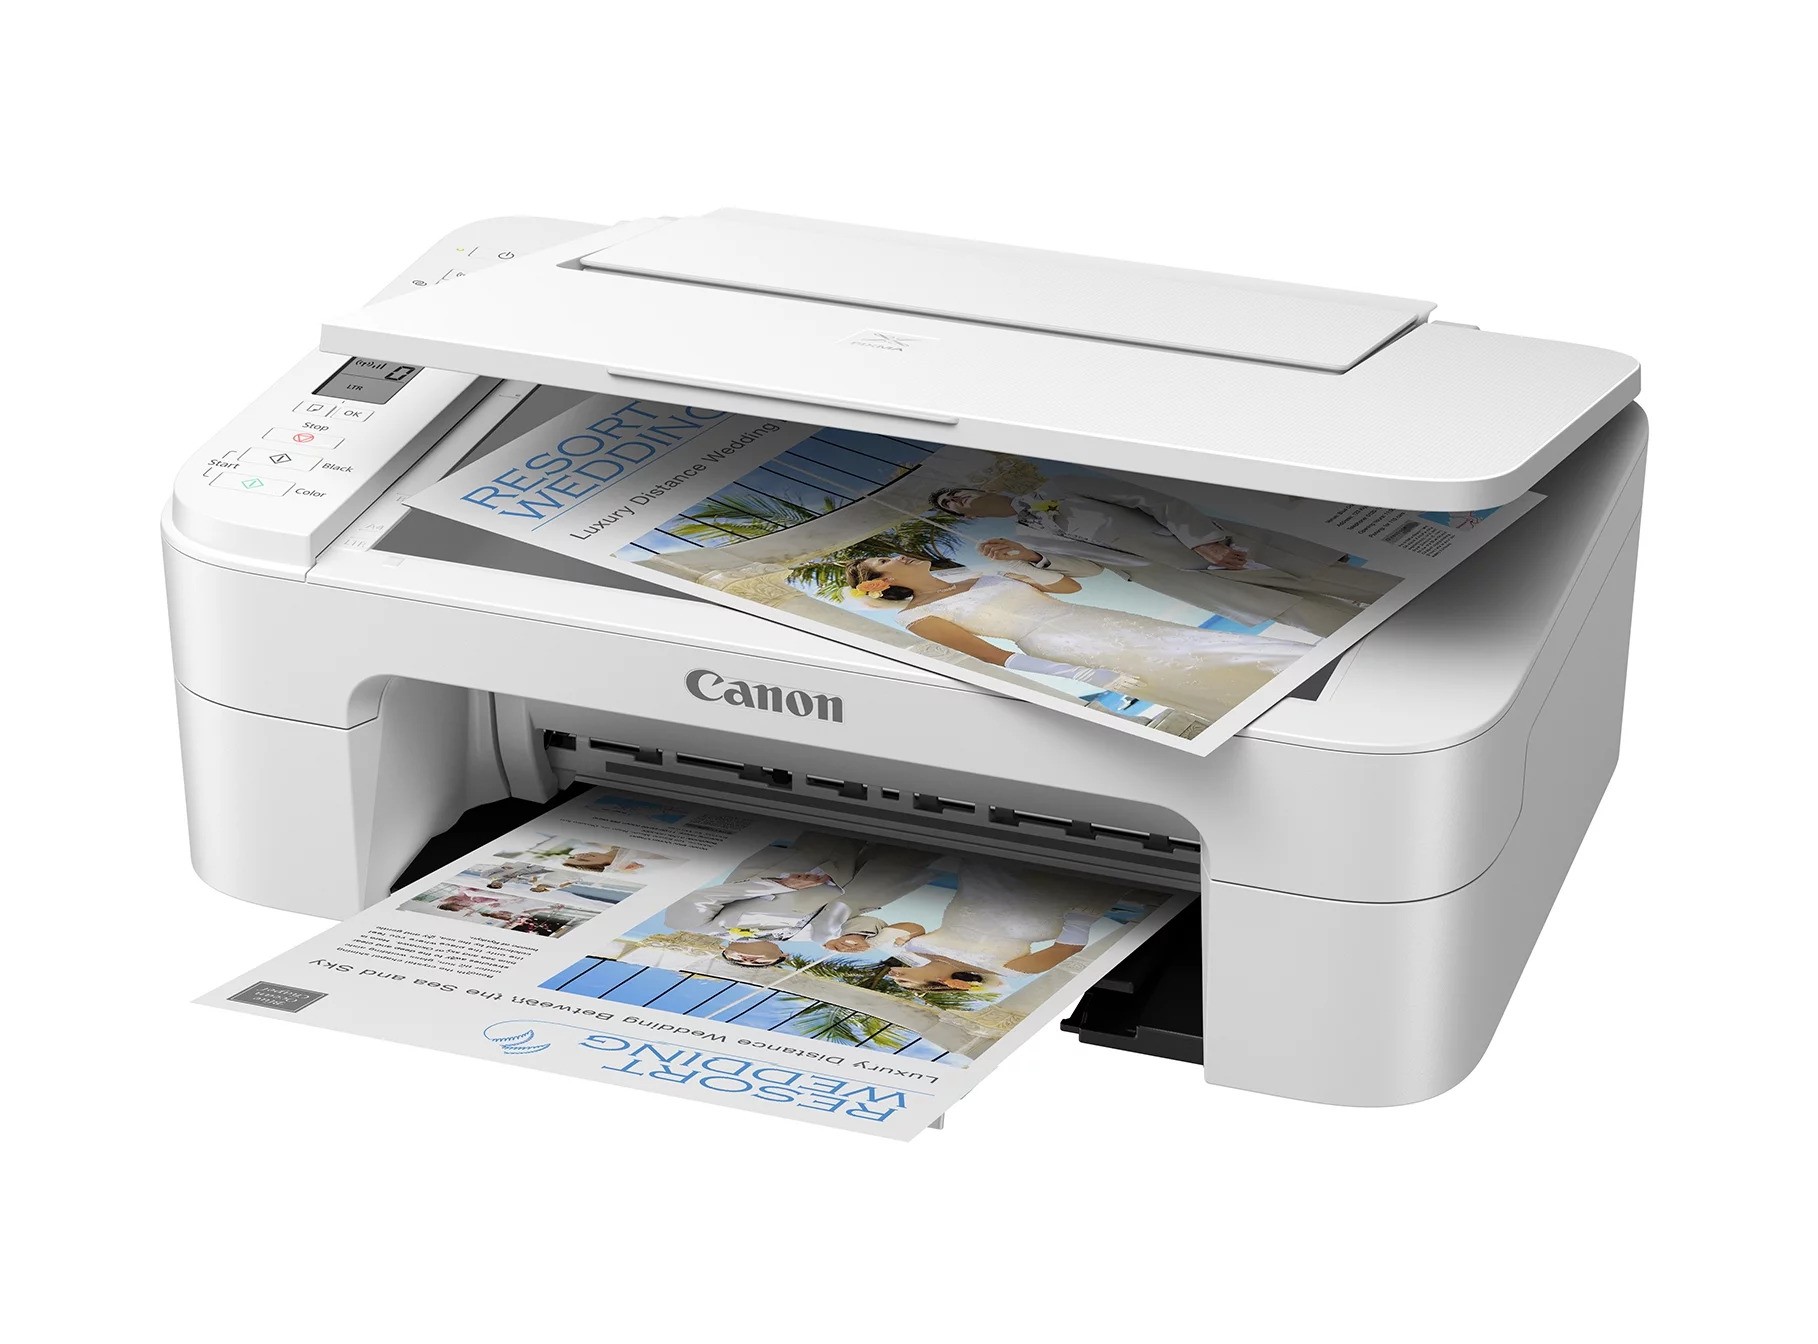
As you bask in the convenience of wireless printing, it’s important to remember that the Canon TS3522 printer offers a myriad of features beyond its basic printing capabilities. With the ability to scan documents, print borderless photos, and access cloud-based printing services, this versatile printer is poised to elevate your productivity and creativity.
Furthermore, the seamless connectivity of the TS3522 printer empowers you to print from virtually anywhere within your Wi-Fi network, eliminating the constraints of traditional wired connections and expanding your printing possibilities. Whether you’re working from a home office, collaborating in a shared workspace, or simply seeking the convenience of wireless printing at home, the TS3522 printer is a valuable ally in your daily tasks.
As you continue to explore the capabilities of your Canon TS3522 printer, don’t hesitate to delve into its advanced settings and features, such as mobile printing apps, automatic duplex printing, and compatibility with various paper types and sizes. By harnessing the full potential of your printer, you can maximize its utility and adapt it to suit your specific printing needs.
In the dynamic landscape of smart home devices, the Canon TS3522 printer stands as a testament to innovation, blending cutting-edge technology with user-friendly functionality. Its seamless integration into your Wi-Fi network exemplifies the convergence of convenience and modernity, offering a glimpse into the future of printing technology.
With your Canon TS3522 printer primed for wireless printing, you’re poised to embark on a journey of enhanced productivity and creativity, where the boundaries of traditional printing are transcended by the power of seamless connectivity. Embrace the freedom of wireless printing, and let your Canon TS3522 printer be the catalyst for seamless, efficient, and delightful printing experiences.
Frequently Asked Questions about How To Connect TS3522 Canon Printer To Wi-Fi
Was this page helpful?
At Storables.com, we guarantee accurate and reliable information. Our content, validated by Expert Board Contributors, is crafted following stringent Editorial Policies. We're committed to providing you with well-researched, expert-backed insights for all your informational needs.


0 thoughts on “How To Connect TS3522 Canon Printer To Wi-Fi”