Home>Technology>Smart Home Devices>How To Set A Default Printer In Windows 11
Smart Home Devices
How To Set A Default Printer In Windows 11
Modified: August 17, 2024
Learn how to set a default printer in Windows 11 for seamless printing with your smart home devices. Follow our step-by-step guide for easy setup.
(Many of the links in this article redirect to a specific reviewed product. Your purchase of these products through affiliate links helps to generate commission for Storables.com, at no extra cost. Learn more)
**
Introduction
**
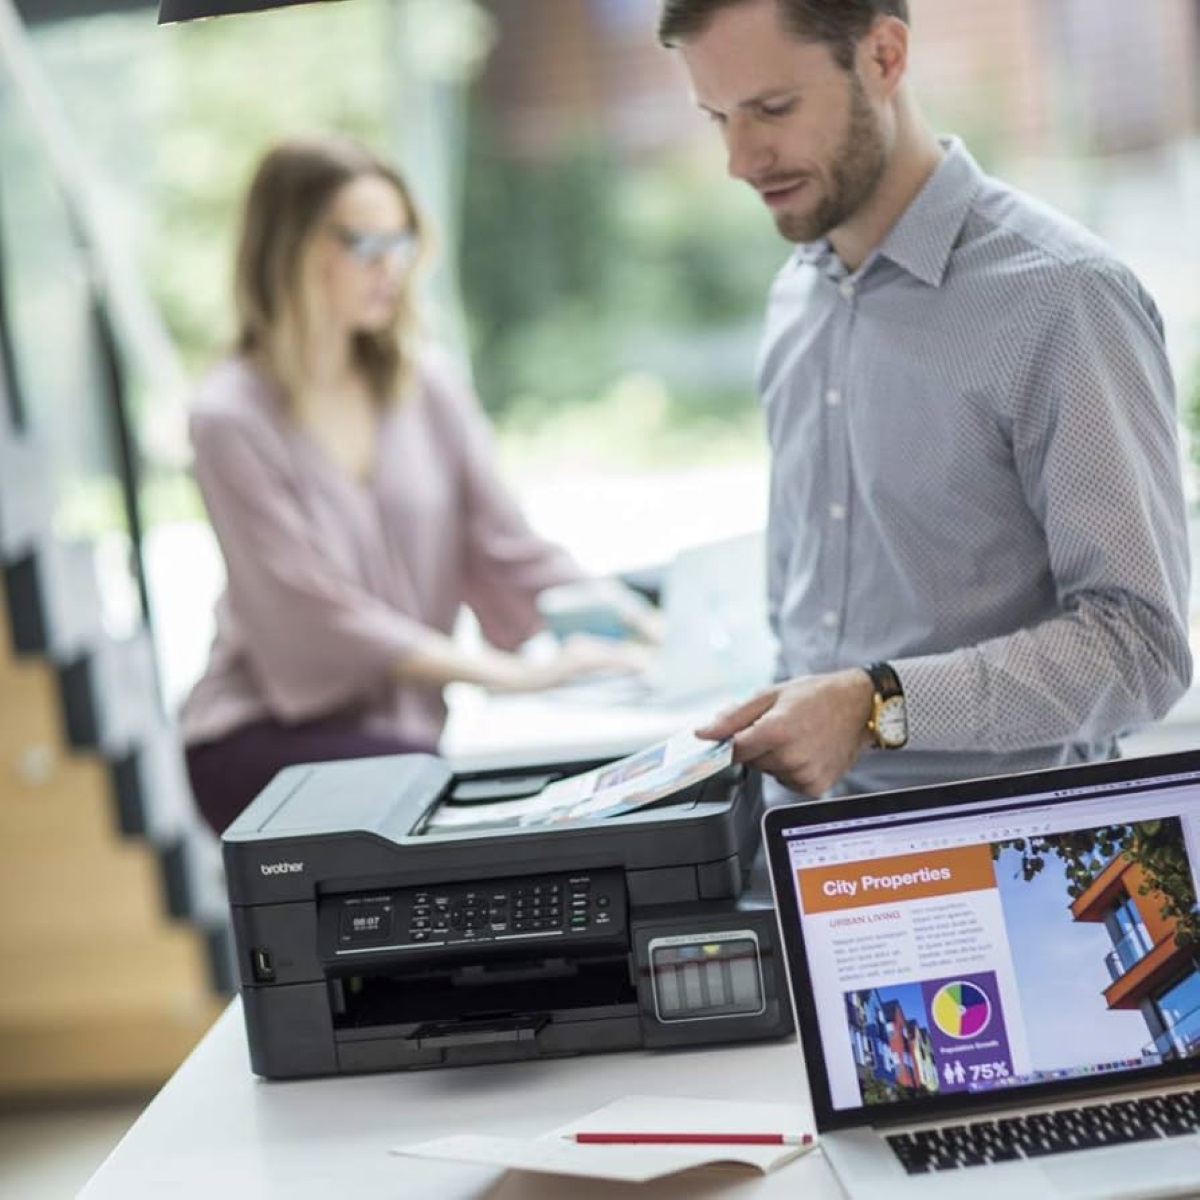
Setting a default printer in Windows 11 can significantly streamline your printing process, ensuring that your documents effortlessly land in the right place. Whether you're using a home printer or a shared office device, knowing how to set a default printer in Windows 11 can save you time and frustration. In this guide, we'll walk through the steps to access printer settings and set a default printer in Windows 11, empowering you to take control of your printing experience. Let's dive in!
**
Key Takeaways:
- Setting a default printer in Windows 11 is easy and saves time. Access printer settings, choose your preferred printer, and set it as default to streamline your printing process.
- You can change your default printer anytime. This flexibility allows you to adapt to different printing needs and preferences, ensuring you always have control over your printing environment.
Read more: How To Set A Default Printer In Windows 10
Accessing Printer Settings in Windows 11
**
Accessing printer settings in Windows 11 is a straightforward process that allows you to manage and customize your printing preferences. To begin, navigate to the Windows 11 desktop and click on the Start button, typically located in the lower-left corner of the screen. From the Start menu, select “Settings” by clicking on the gear icon, which will open the Windows 11 Settings window.
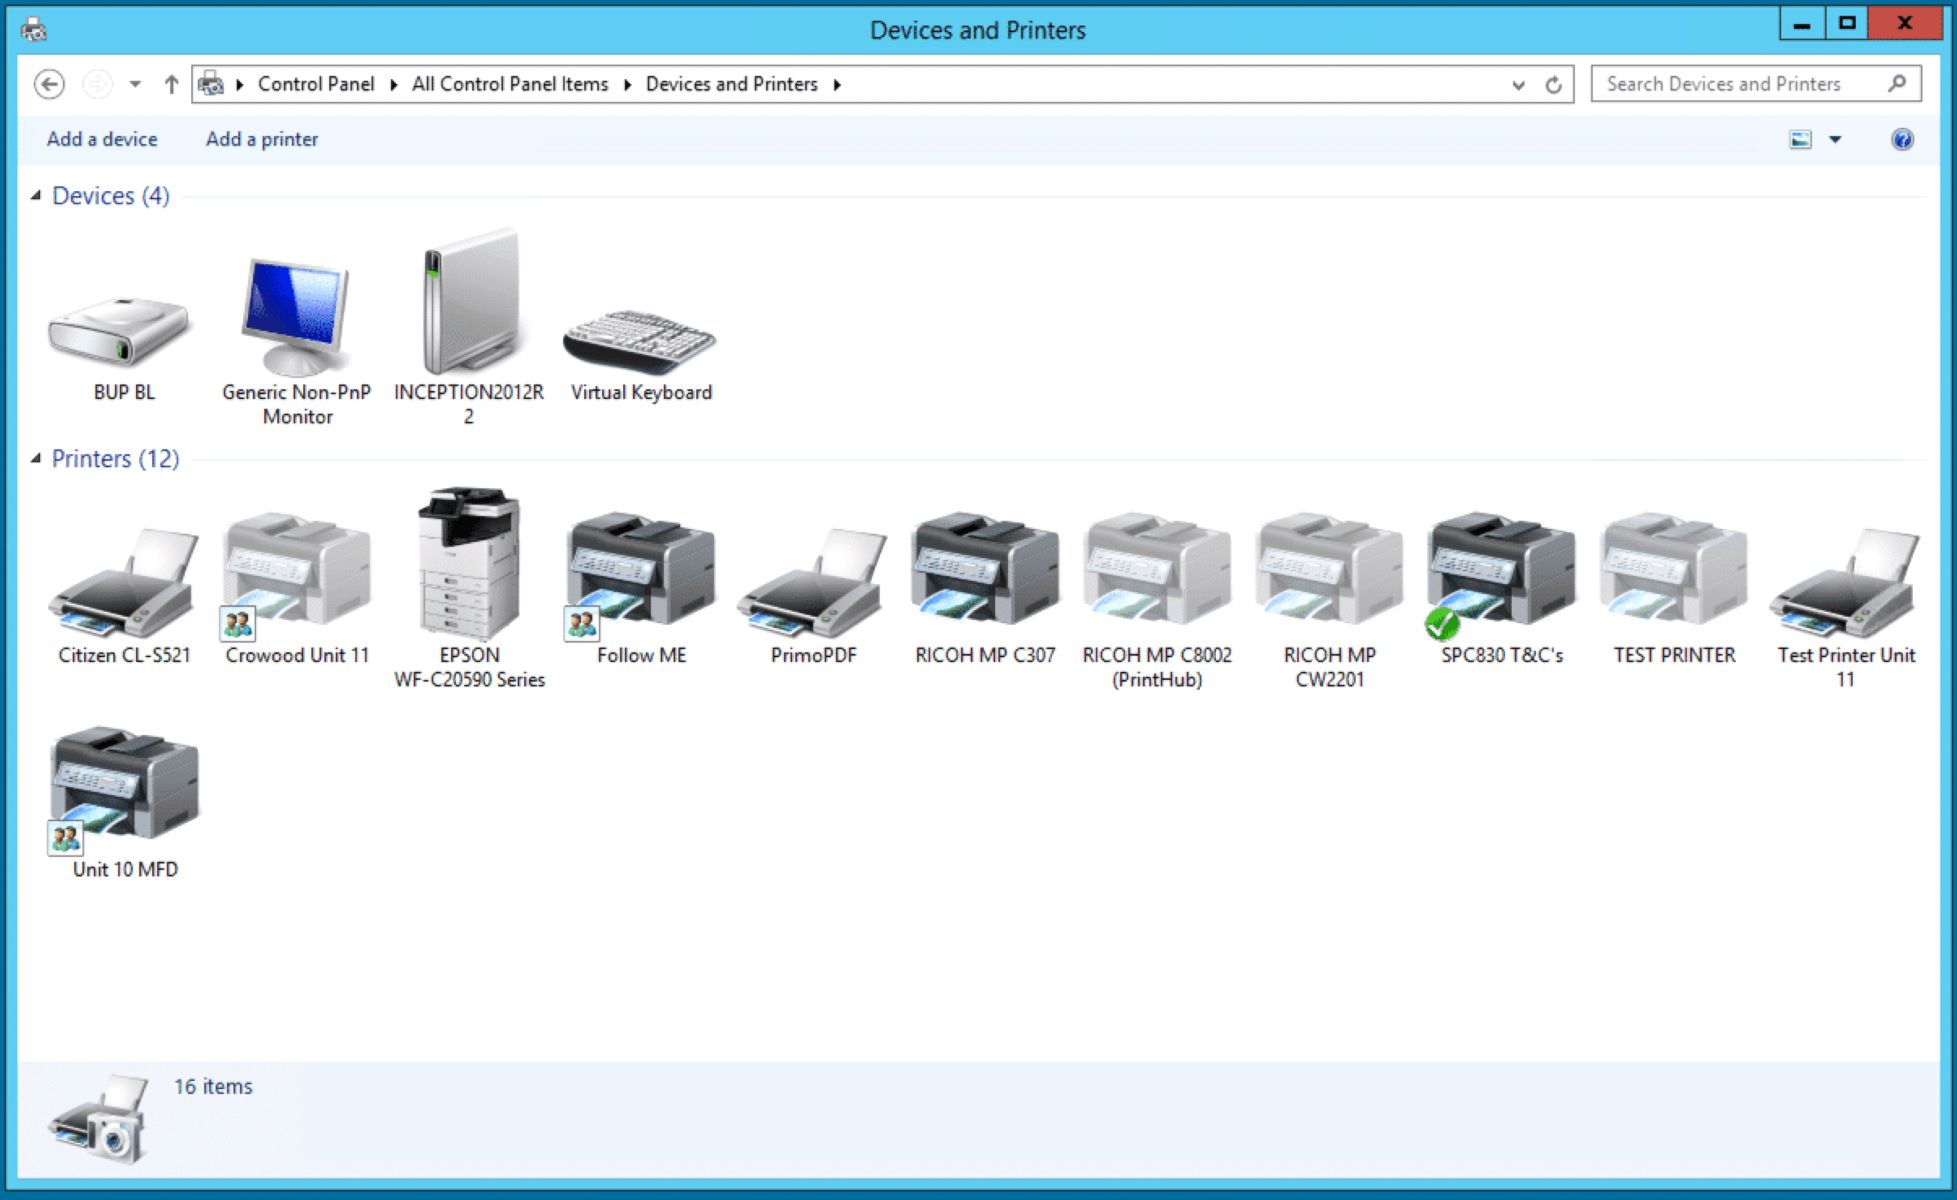
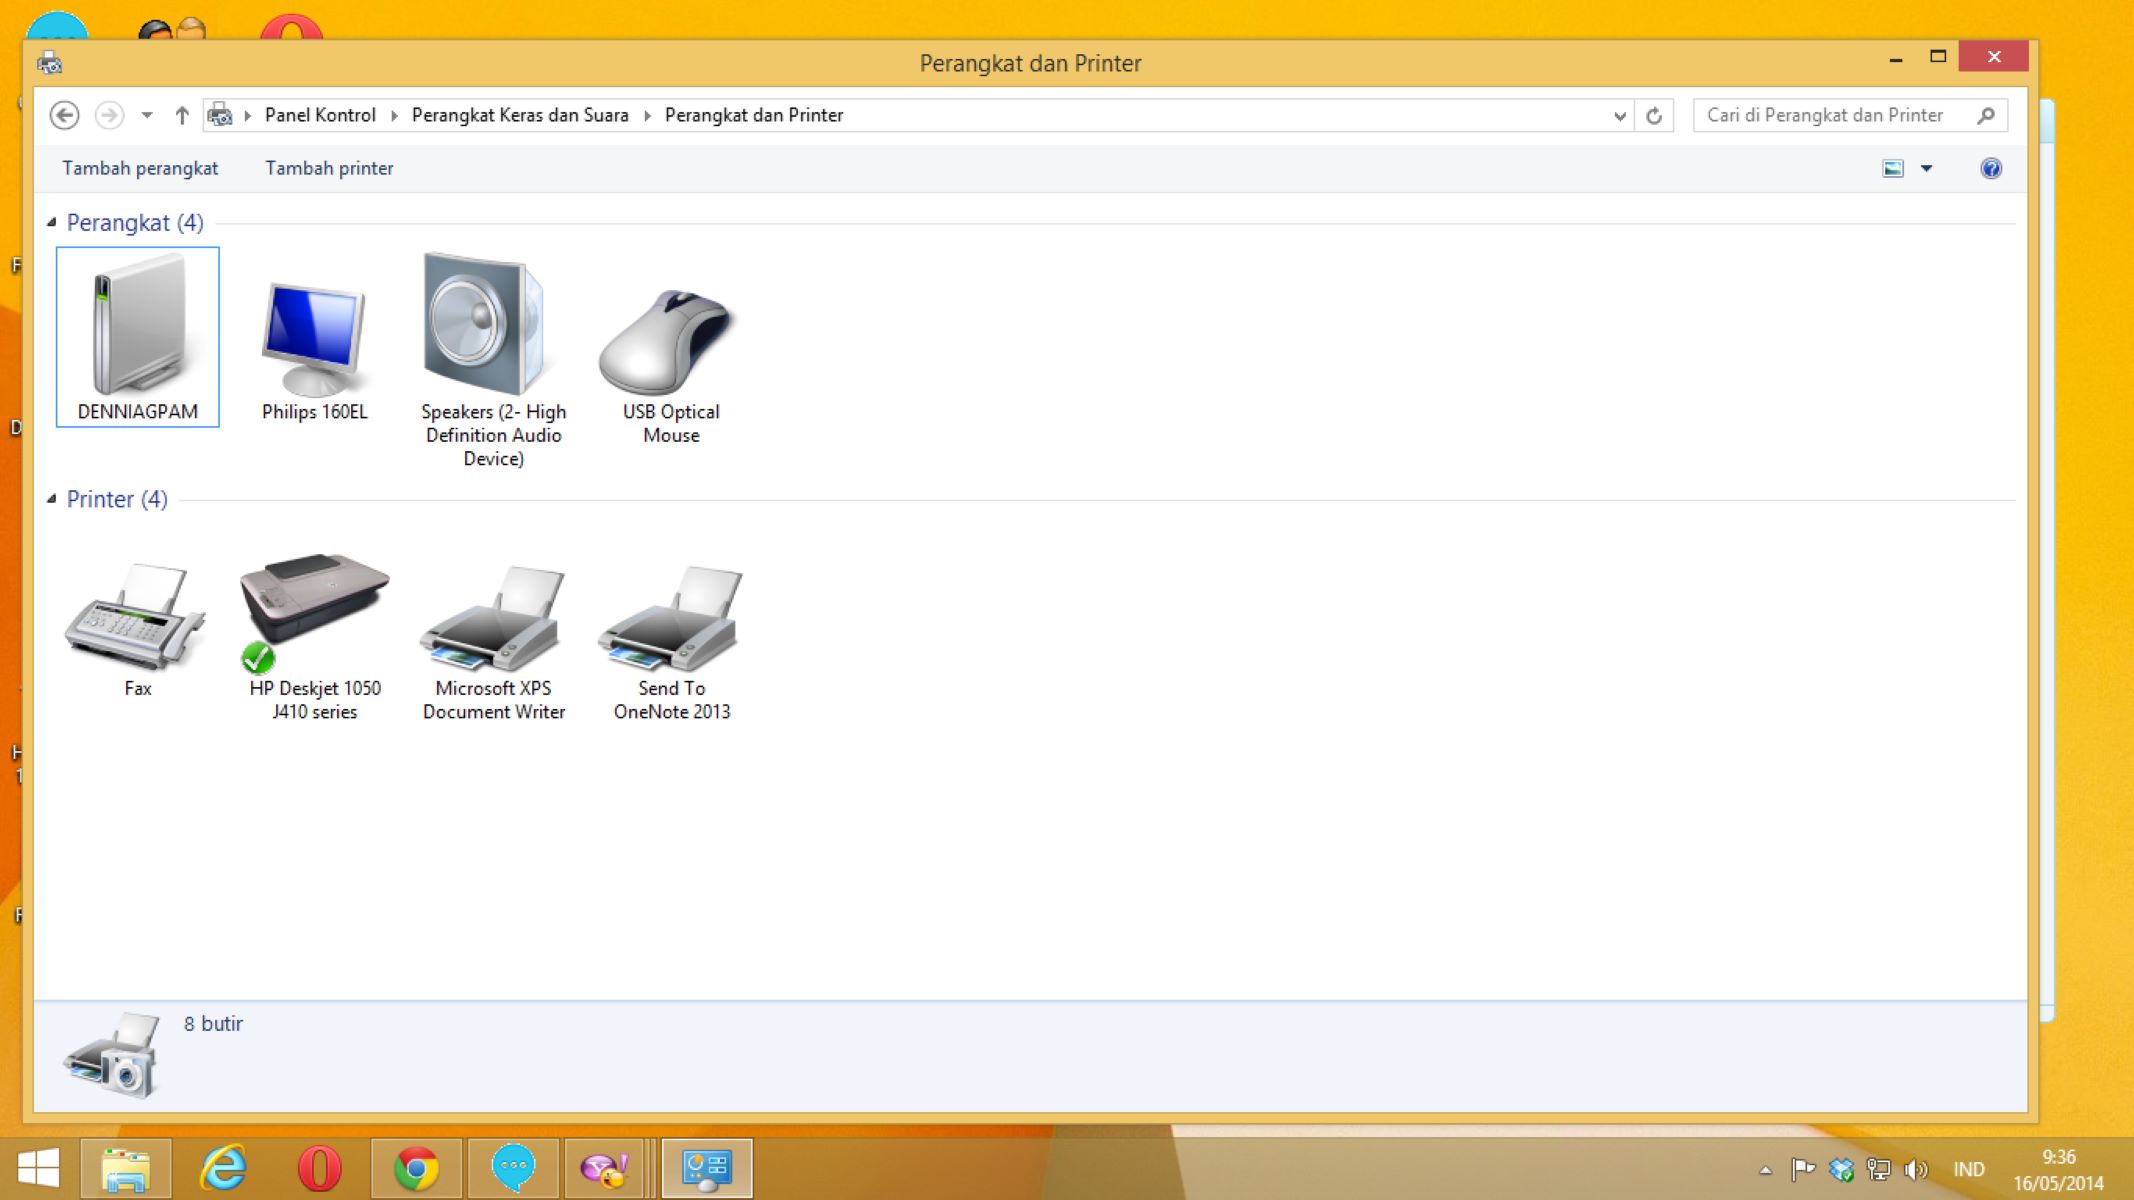
Once you’re in the Settings window, locate and click on the “Devices” option. This will take you to the Devices settings, where you can manage various hardware devices, including printers. Within the Devices settings, select “Printers & scanners” from the menu on the left-hand side of the window. This will display a list of available printers and scanners connected to your Windows 11 device.
If the printer you want to set as the default is not listed, you can add it by clicking on the “Add devices” button. Windows 11 will then search for available printers and scanners and present them for you to select and install. Once your printer is listed in the Printers & scanners settings, you can proceed to set it as the default printer for your device.
Accessing printer settings in Windows 11 is an essential first step in customizing your printing experience and ensuring that your documents are sent to the correct printer. By familiarizing yourself with the Devices settings and the Printers & scanners menu, you can effortlessly manage your printing preferences and streamline your workflow.
**
To set a default printer in Windows 11, go to Settings > Devices > Printers & scanners. Select your preferred printer and click “Set as default.” This will make it the default printer for all your printing needs.
Setting a Default Printer in Windows 11
**
Setting a default printer in Windows 11 is a simple yet valuable customization that can save you time and effort when printing documents. After accessing the Devices settings and navigating to the Printers & scanners menu, you can proceed to set your preferred printer as the default option.
From the list of available printers and scanners in the Printers & scanners settings, locate the printer that you want to set as the default. Click on the printer to reveal additional options and select “Manage.” This will open the printer’s management window, where you can access specific settings and configurations.
Within the printer’s management window, locate the “Set as default” option and click on it to designate the selected printer as the default for your Windows 11 device. Once set as the default printer, any print jobs initiated from your device will automatically be sent to this printer unless you specify an alternative destination during the printing process.
By setting a default printer in Windows 11, you can streamline your printing workflow and ensure that your documents are consistently directed to the desired printer. Whether you’re printing reports, photos, or important correspondence, having a default printer set up can enhance your overall productivity and efficiency.
It’s important to note that you can change your default printer at any time by revisiting the Printers & scanners settings and selecting a different printer to set as the default. This flexibility allows you to adapt to changing printing needs and preferences, ensuring that you always have control over your printing environment.
Setting a default printer in Windows 11 is a valuable customization that empowers you to manage your printing preferences and optimize your workflow. By following these simple steps, you can establish a default printer that aligns with your specific printing needs and enhances your overall user experience.
**
Conclusion
**
Mastering the process of setting a default printer in Windows 11 can significantly improve your printing experience, providing a seamless and efficient way to manage your printing preferences. By accessing the Devices settings and navigating to the Printers & scanners menu, you can easily designate your preferred printer as the default option, ensuring that your print jobs consistently land in the right place.
Whether you’re using a personal printer at home, a shared office printer, or multiple printers for different tasks, setting a default printer in Windows 11 empowers you to streamline your printing workflow and enhance your overall productivity. The ability to change your default printer at any time provides flexibility and adaptability, allowing you to cater to evolving printing needs and preferences.
As you become familiar with accessing printer settings in Windows 11 and setting a default printer, you gain greater control over your printing environment, enabling a more efficient and tailored approach to managing your print jobs. This simple yet valuable customization can save you time and effort, ensuring that your documents consistently reach the intended destination with minimal manual intervention.
By following the steps outlined in this guide, you can confidently navigate the process of setting a default printer in Windows 11, harnessing the power to optimize your printing experience and tailor it to your specific requirements. Whether you’re printing documents, photos, or other materials, having a default printer set up ensures a smooth and reliable printing process, allowing you to focus on your tasks with confidence.
Setting a default printer in Windows 11 is a practical and empowering customization that aligns with the user-friendly nature of the operating system, offering a seamless way to manage your printing preferences and enhance your overall user experience. With the ability to effortlessly control your default printer, you can take charge of your printing environment and enjoy a more efficient and personalized approach to handling your print jobs.
Frequently Asked Questions about How To Set A Default Printer In Windows 11
Was this page helpful?
At Storables.com, we guarantee accurate and reliable information. Our content, validated by Expert Board Contributors, is crafted following stringent Editorial Policies. We're committed to providing you with well-researched, expert-backed insights for all your informational needs.


0 thoughts on “How To Set A Default Printer In Windows 11”