Home>Technology>Smart Home Devices>How To Set Up A Canon Printer MG2522
Smart Home Devices
How To Set Up A Canon Printer MG2522
Modified: May 6, 2024
Learn how to set up a Canon MG2522 printer effortlessly to enhance your smart home devices. Follow our step-by-step guide for seamless installation.
(Many of the links in this article redirect to a specific reviewed product. Your purchase of these products through affiliate links helps to generate commission for Storables.com, at no extra cost. Learn more)
Introduction
Setting up a Canon printer MG2522 is a straightforward process that can be accomplished with ease. Whether you're a tech-savvy individual or a novice in the world of smart home devices, this step-by-step guide will walk you through the entire setup process, ensuring that you can start printing in no time.
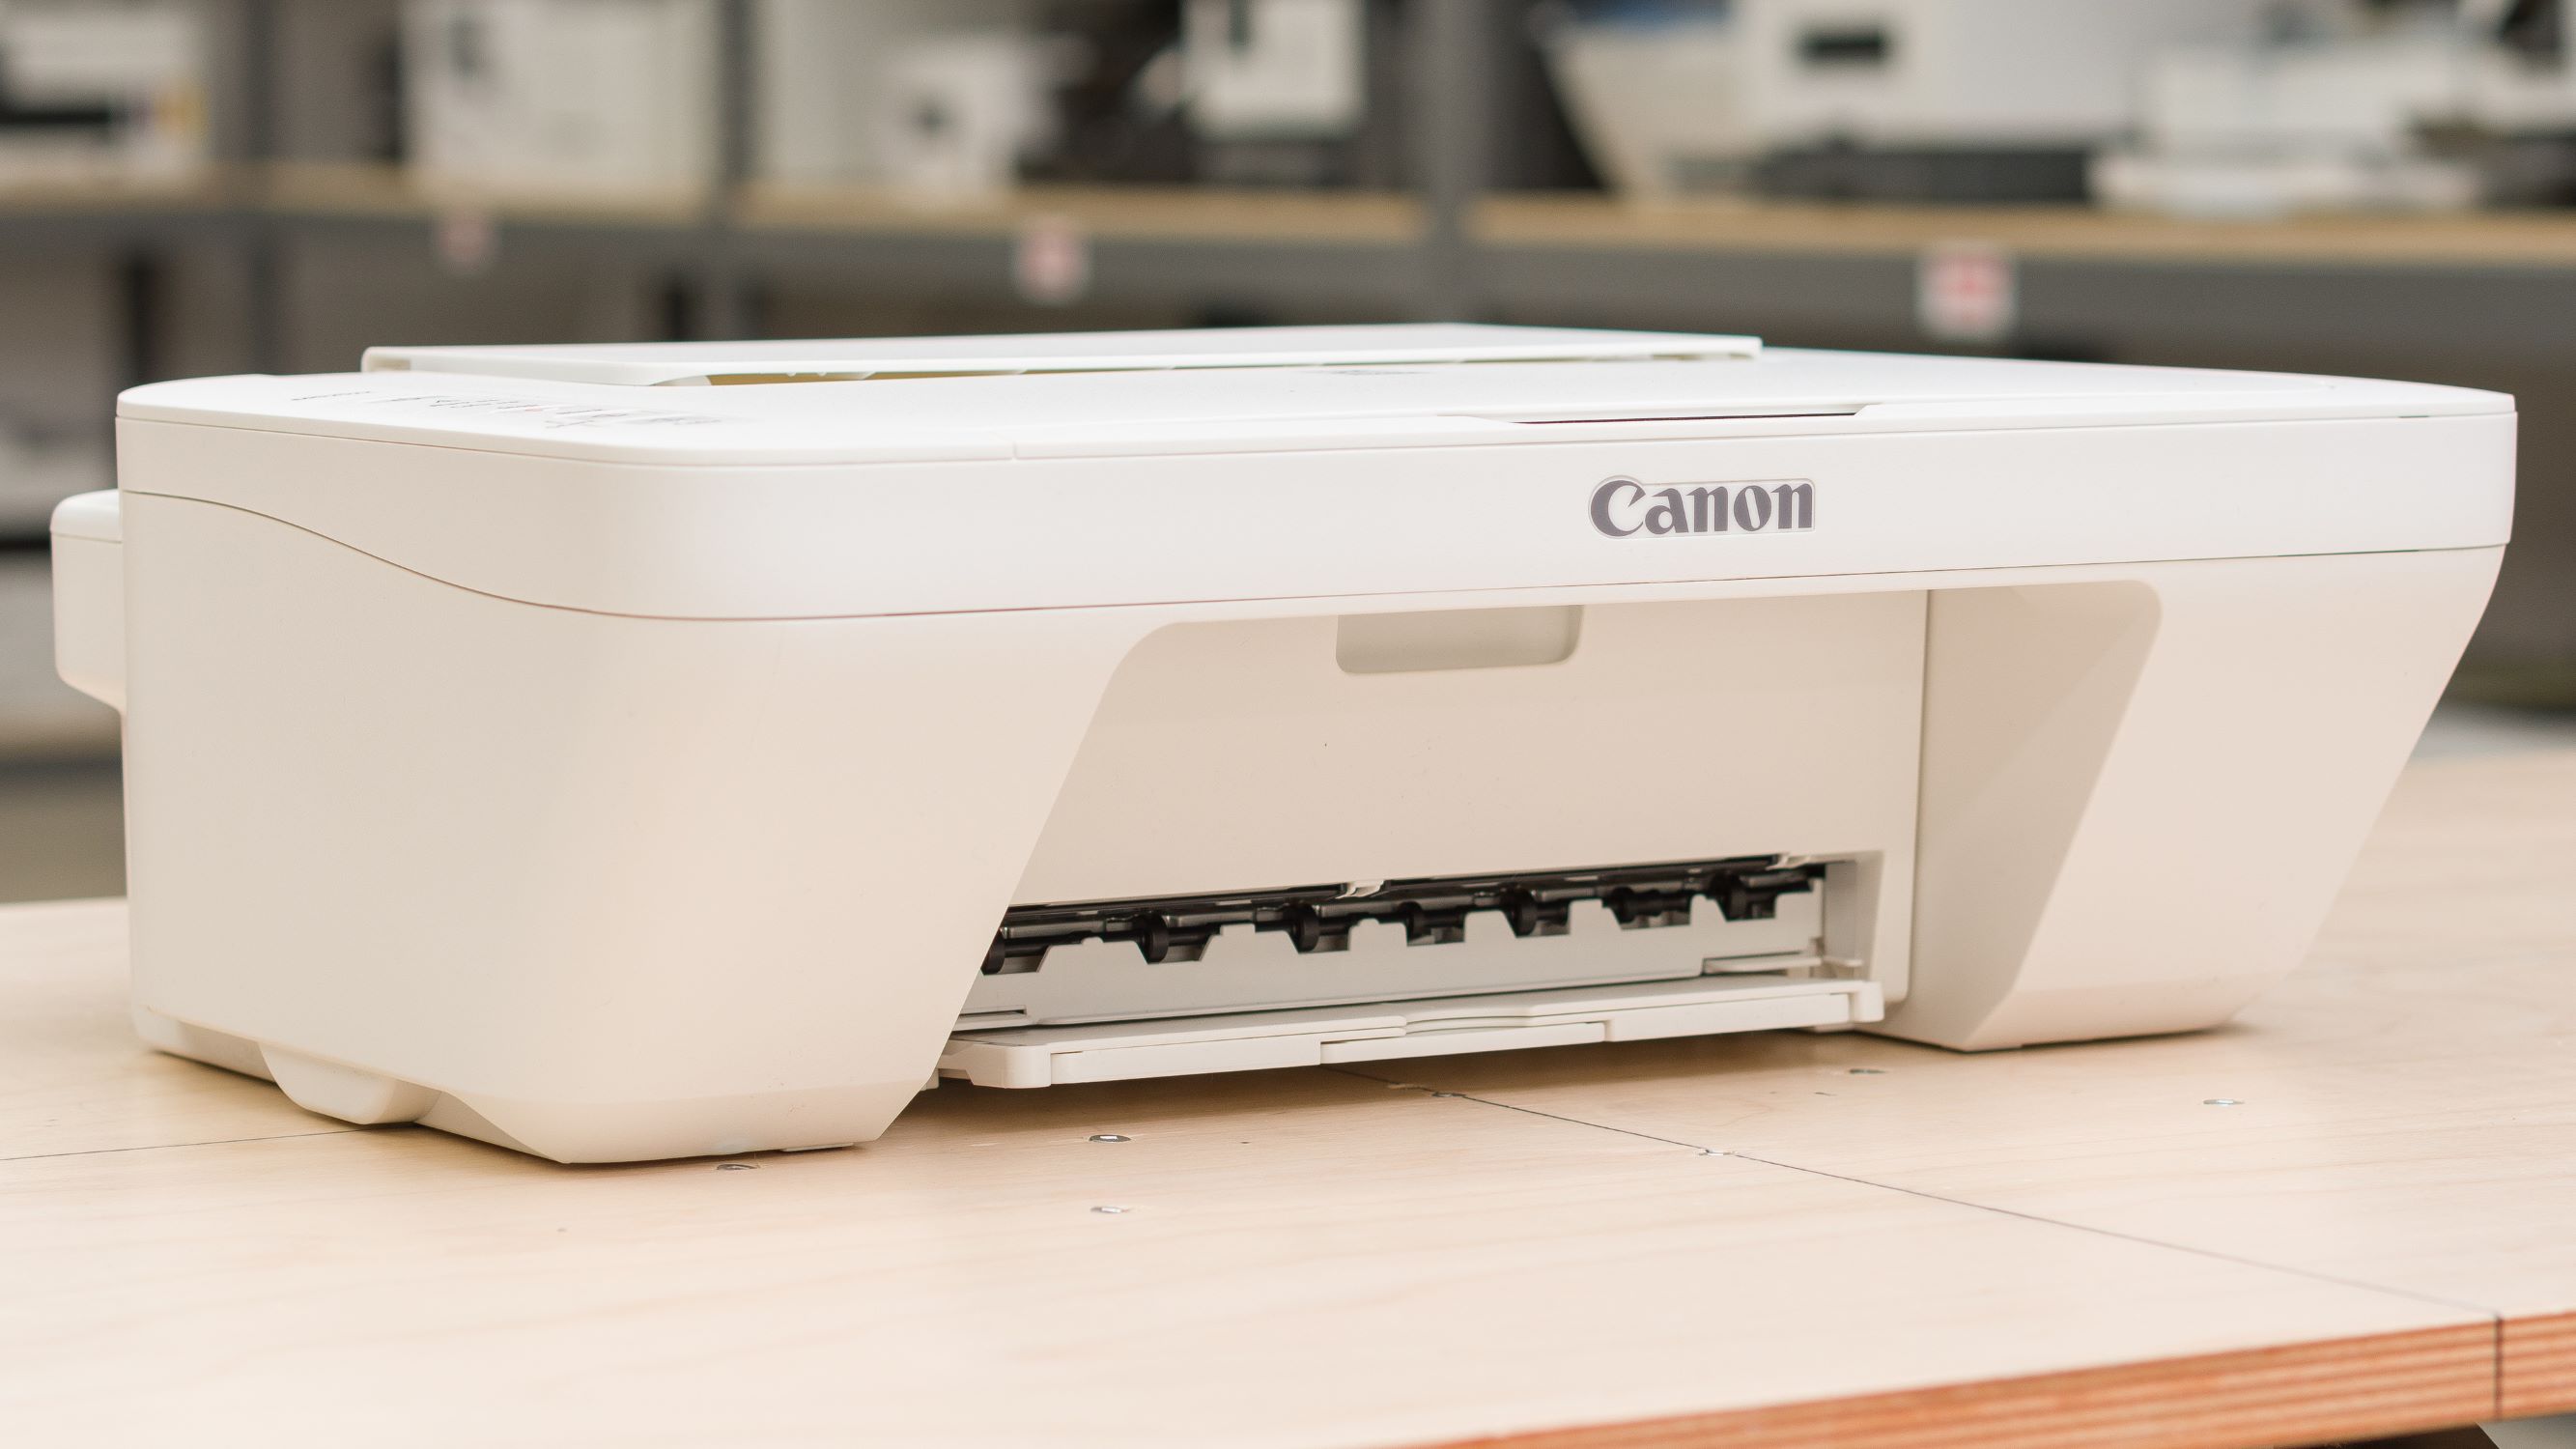
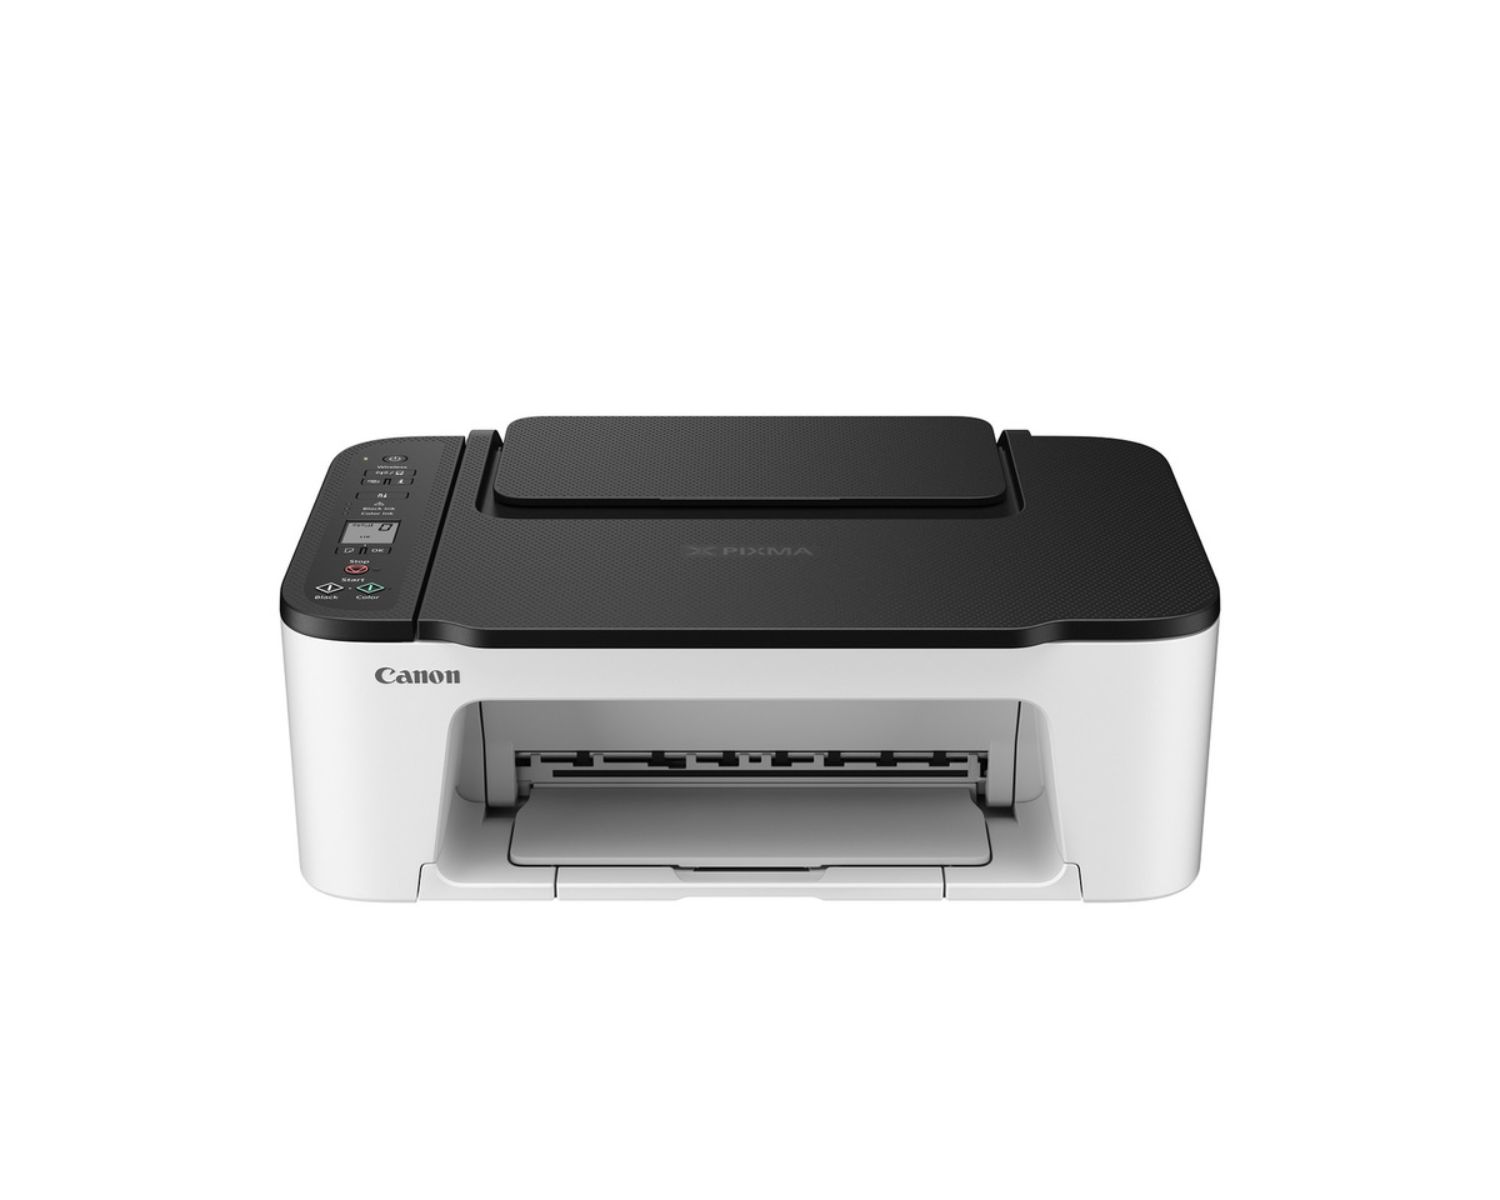
The Canon MG2522 printer is a versatile and reliable device that offers high-quality printing, scanning, and copying capabilities. With its user-friendly design and seamless integration with various devices, this printer is an excellent addition to any home or office setup.
In this comprehensive guide, we will cover everything you need to know to set up your Canon MG2522 printer, from unboxing the device to troubleshooting common issues. By the end of this article, you will have the knowledge and confidence to set up and use your Canon printer effectively.
So, without further ado, let's dive into the exciting world of smart home printing and unleash the full potential of your Canon MG2522 printer.
Key Takeaways:
- Setting up the Canon MG2522 printer is a simple process, from unboxing to connecting to power and your computer. With its user-friendly design, you’ll be printing in no time!
- Troubleshooting common printer issues, such as paper jams and print quality problems, can help maintain the performance of your Canon MG2522 printer. Don’t hesitate to reach out to Canon customer support for further assistance.
Read more: How To Connect Canon Mg2522 Printer To Phone
Unboxing and Setting Up
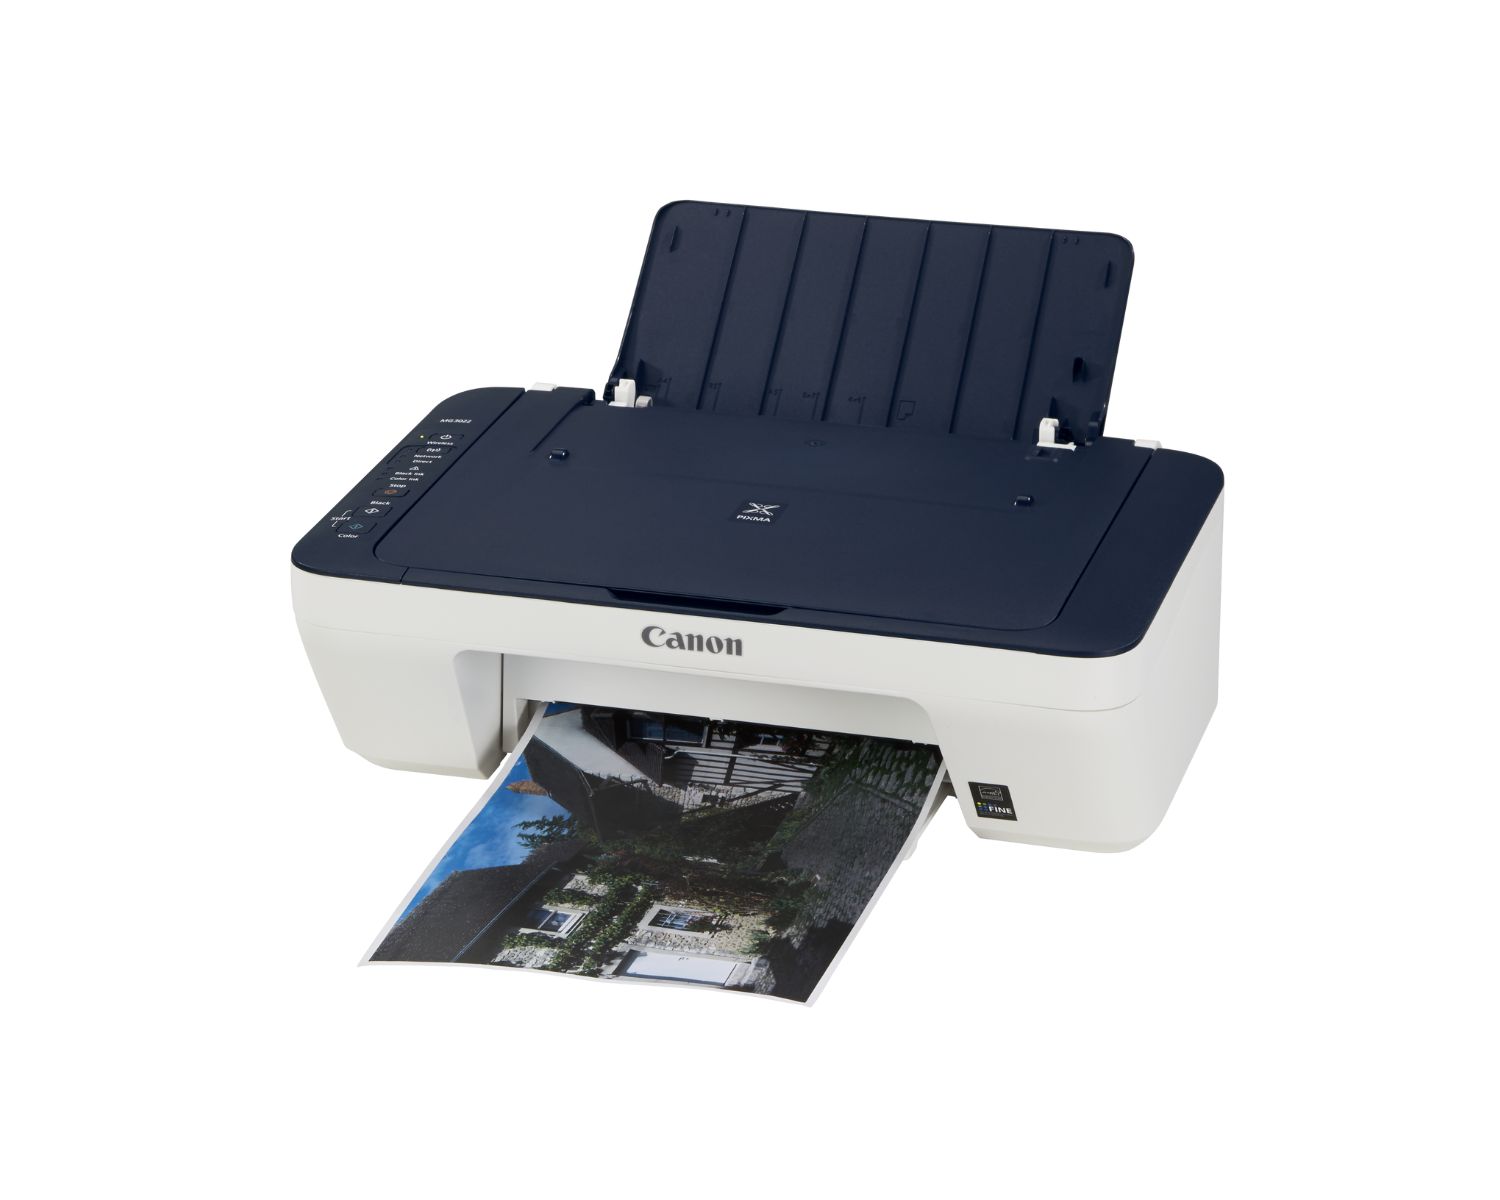
Unboxing your new Canon MG2522 printer is an exciting first step toward enhancing your home or office printing experience. When you first open the packaging, you will find the Canon MG2522 printer, a set of ink cartridges, a power cord, and the user manual. Take a moment to familiarize yourself with the components before proceeding with the setup.
Once you have identified all the components, find a suitable location for your printer. Ensure that it is placed on a flat, stable surface near a power outlet and within reach of your computer or wireless network, depending on your preferred connection method.
Next, carefully remove all the protective tapes and materials from the printer. Open the printer cover and remove any packaging materials inside, such as protective foam or tape. Close the cover and prepare to install the ink cartridges.
Before inserting the ink cartridges, it is essential to shake each cartridge gently to distribute the ink evenly. Then, open the ink cartridge access door, wait for the cartridge holder to move to the center, and insert the cartridges into their respective slots. Ensure that each cartridge is securely in place before closing the access door.
With the ink cartridges installed, you can proceed to load paper into the printer's input tray. Adjust the paper guides to fit the size of the paper you are using, whether it's letter, legal, or photo paper. Once the paper is loaded, you are ready to connect the printer to power and your computer or wireless network.
Unboxing and setting up your Canon MG2522 printer is an exciting and straightforward process that sets the stage for seamless printing and scanning experiences. With the physical setup complete, you are now ready to power on the printer and connect it to your preferred devices.
Installing Ink Cartridges
Installing ink cartridges in your Canon MG2522 printer is a crucial step that ensures you can produce vibrant and high-quality prints. The ink cartridge installation process is designed to be user-friendly and straightforward, allowing you to complete the setup with ease.
To begin, ensure that the printer is powered on and the cover is open to access the ink cartridge compartment. The Canon MG2522 printer utilizes a black ink cartridge (PG-245) and a color ink cartridge (CL-246). These cartridges are designed to deliver exceptional print quality and reliability.
Before inserting the ink cartridges, it is important to remove them from their packaging and handle them with care. Avoid touching the electrical contacts or ink nozzles to prevent potential ink clogs or electrical failures. Once the cartridges are unpacked, gently shake each cartridge to distribute the ink evenly.
With the cartridges prepared, carefully insert the black ink cartridge into the left slot and the color ink cartridge into the right slot. Ensure that each cartridge is securely in place before closing the ink cartridge access door. The printer will automatically recognize the newly installed cartridges, and you may receive a prompt to align the cartridges for optimal print quality.
Once the ink cartridges are successfully installed, the Canon MG2522 printer is ready to produce stunning prints, whether they are documents, photos, or creative projects. By following the simple steps for installing ink cartridges, you can ensure that your printer is primed for exceptional performance and reliable output.
With the ink cartridges securely in place, you are one step closer to unleashing the full potential of your Canon MG2522 printer and enjoying a seamless printing experience.
Loading Paper
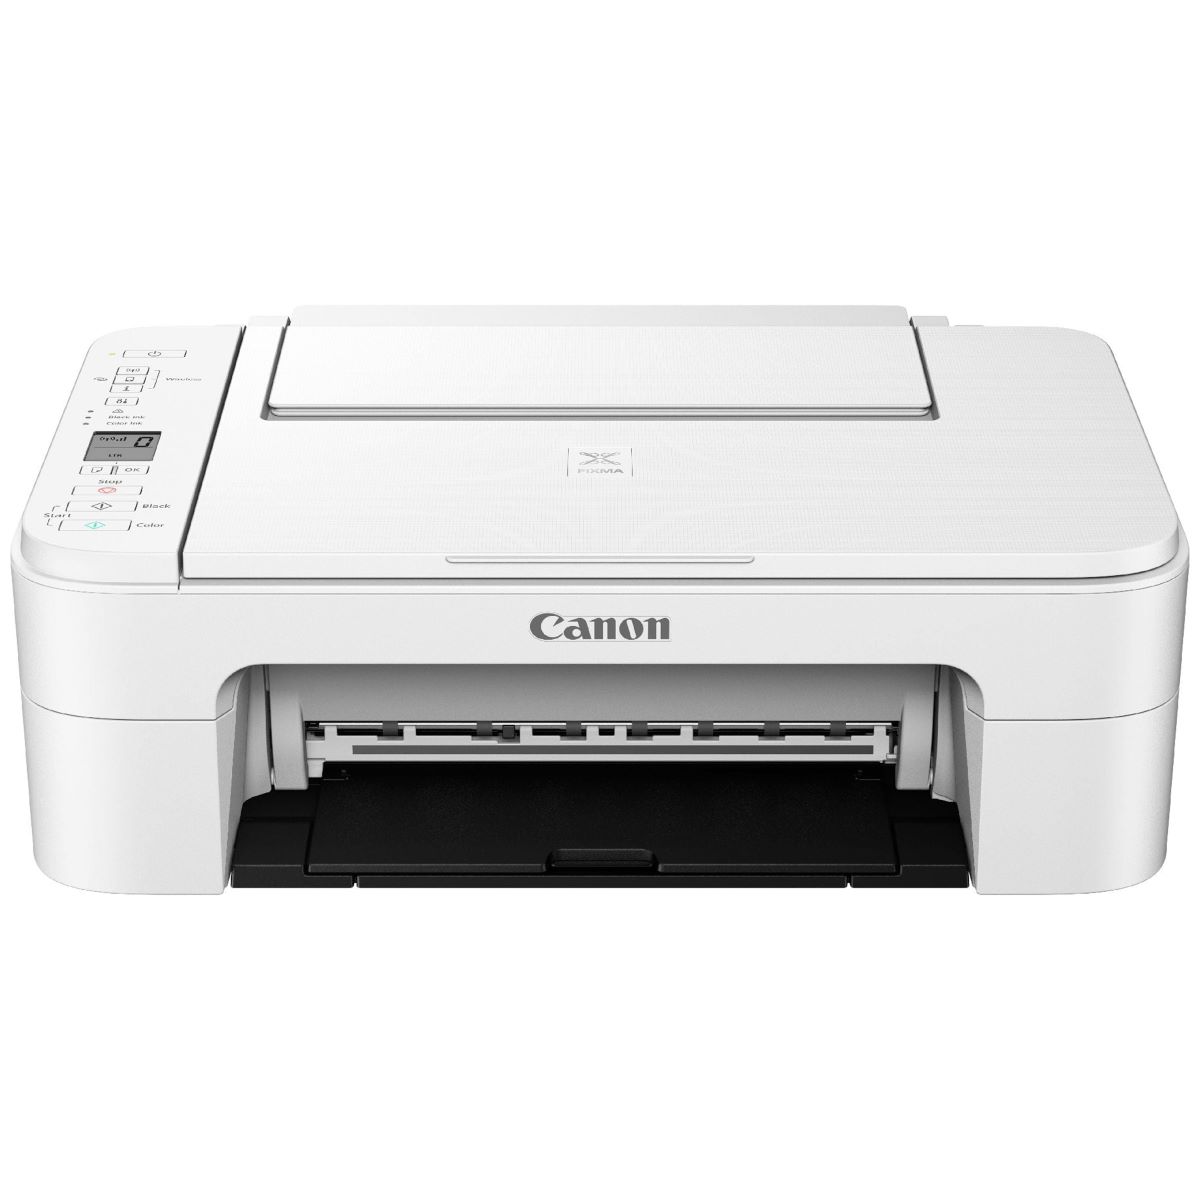
Properly loading paper into your Canon MG2522 printer is essential for achieving consistent and high-quality prints. Whether you are printing documents, photos, or creative projects, ensuring that the paper is loaded correctly will contribute to the overall printing experience.
To begin, open the paper output tray and the paper support. Adjust the position of the paper guides to match the width of the paper you are using. Whether you are using letter, legal, or photo paper, it is important to align the guides to prevent paper misfeeds and ensure accurate printing.
Next, take a stack of paper and gently tap it on a flat surface to align the sheets and prevent potential paper jams. Load the paper into the input tray with the print side facing down. Be mindful not to overload the tray, as this can lead to paper jams and inconsistent feeding.
Once the paper is loaded, adjust the paper guides snugly against the edges of the paper to prevent any misalignment during the printing process. It is important to avoid forcing the paper into the tray, as this can lead to feeding issues and potential damage to the printer.
After loading the paper, you can adjust the output tray extension to support the printed pages as they are ejected from the printer. This will help prevent the pages from falling onto the floor and keep them organized as they are printed.
By following these simple steps for loading paper into your Canon MG2522 printer, you can ensure that your printing projects are executed smoothly and efficiently. Whether you are printing single-page documents or multi-page reports, proper paper loading is essential for consistent and reliable printing results.
With the paper loaded and the printer prepared for printing, you are ready to embark on a seamless printing journey with your Canon MG2522 printer, producing exceptional prints with every task.
Connecting to Power
Connecting your Canon MG2522 printer to power is a fundamental step in the setup process, ensuring that the printer is ready to fulfill your printing, scanning, and copying needs. By following the simple steps for connecting the printer to power, you can establish a reliable and consistent power source for seamless printing experiences.
To connect the printer to power, begin by locating the power cord that was included in the packaging. Ensure that the printer is placed near a power outlet and that the cord can reach the outlet without tension or strain. Once you have identified a suitable location for the printer, plug one end of the power cord into the corresponding port on the printer.
With the power cord securely connected to the printer, plug the other end of the cord into a grounded power outlet. It is important to use a grounded outlet to provide the printer with a stable and reliable power source, minimizing the risk of electrical issues and ensuring consistent performance.
Once the power cord is connected, you can power on the printer by pressing the power button, typically located on the control panel of the printer. The printer will initialize and prepare for operation, indicating that it is powered on and ready to be connected to your computer or wireless network.
By ensuring that your Canon MG2522 printer is connected to a stable power source, you can embark on a seamless printing journey, producing exceptional prints with every task. With the printer powered on and ready for action, you are one step closer to experiencing the full capabilities of this versatile and reliable device.
With the printer connected to power, you are now prepared to establish the necessary connections to enable printing from your computer or wireless devices, further enhancing the functionality and convenience of your Canon MG2522 printer.
Connecting to Computer
Connecting your Canon MG2522 printer to your computer is a pivotal step in maximizing the printer’s functionality and convenience. By establishing a direct connection between the printer and your computer, you can seamlessly print documents, photos, and other materials without hassle. Follow these simple steps to connect your Canon MG2522 printer to your computer.
First, ensure that your computer is powered on and running the appropriate operating system. The Canon MG2522 printer is compatible with various operating systems, including Windows and macOS, allowing for versatile connectivity options.
Next, locate the USB cable that was included with your printer. One end of the USB cable features a standard USB Type-A connector, while the other end features a USB Type-B connector, which is designed to fit into the corresponding port on the printer.
With your computer and printer powered on, connect the USB cable to the USB port on your computer. If prompted, install any necessary printer drivers or software to enable seamless communication between the printer and your computer.
Once the USB cable is securely connected to your computer, connect the other end of the cable to the USB port on the printer. The printer will recognize the connection and establish communication with your computer, allowing you to print directly from your computer to the Canon MG2522 printer.
If your computer does not have a USB port, you can also connect the printer to your computer using a USB hub or a USB port replicator. These devices provide additional USB ports and can facilitate the connection between your computer and the printer.
By following these simple steps, you can establish a direct and reliable connection between your computer and the Canon MG2522 printer, enabling seamless printing experiences and efficient document management. With the printer connected to your computer, you are ready to unleash the full potential of this versatile and user-friendly device.
With the printer successfully connected to your computer, you can now explore the various printing options and features offered by the Canon MG2522 printer, from basic document printing to high-quality photo printing, all with the convenience of direct computer connectivity.
Installing Software
Installing the appropriate software for your Canon MG2522 printer is essential for unlocking its full range of features and capabilities. By installing the recommended software, you can seamlessly integrate the printer with your computer and access advanced printing, scanning, and maintenance functions. Follow these simple steps to install the necessary software for your Canon MG2522 printer.
Begin by visiting the official Canon website or using the installation CD included with your printer to access the software and driver downloads for the Canon MG2522 printer. Locate the specific software package that corresponds to your operating system, whether it is Windows or macOS.
Once you have identified the correct software package, download and run the installation file on your computer. Follow the on-screen prompts to initiate the installation process, ensuring that you carefully review and accept the terms and conditions associated with the software.
During the installation process, you may be prompted to connect the printer to your computer using the provided USB cable. This step is crucial for establishing the initial connection and enabling the software to detect and configure the printer for seamless operation.
After the software installation is complete, you may be prompted to restart your computer to finalize the setup. Follow any additional instructions provided by the software to ensure that the installation process is completed successfully.
Once the software is installed and the printer is connected to your computer, you can access the full range of printing and scanning features offered by the Canon MG2522 printer. From basic document printing to advanced photo printing and scanning, the installed software will enable you to harness the printer’s capabilities effectively.
By following these simple steps to install the necessary software for your Canon MG2522 printer, you can ensure that your printing experiences are seamless, efficient, and tailored to your specific needs. With the software installed and the printer configured, you are ready to embark on a productive and enjoyable printing journey with your Canon MG2522 printer.
Test Print
Conducting a test print with your Canon MG2522 printer is a crucial step in ensuring that the device is set up correctly and capable of producing high-quality prints. A test print allows you to verify the printer’s functionality, print quality, and alignment, providing confidence in its performance for future printing tasks. Follow these simple steps to conduct a test print with your Canon MG2522 printer.
Begin by ensuring that the printer is powered on and properly connected to your computer or wireless network, depending on your preferred printing method. Additionally, confirm that the printer has ample paper loaded in the input tray and that the ink cartridges are securely installed.
On your computer, open a document, image, or webpage that you would like to use for the test print. This can be a simple text document, a colorful image, or a test page specifically designed for printer calibration and alignment.
Once you have selected the content for the test print, access the print dialog on your computer. Ensure that the Canon MG2522 printer is selected as the default or designated printer for the print job. Adjust any print settings, such as paper size, orientation, and quality, to align with your preferences.
Initiate the print job from your computer, and observe the printer as it processes the print job. You will be able to monitor the printing process and assess the printer’s performance, including its speed, print quality, and overall output.
Upon completion of the test print, carefully examine the printed output for any issues or imperfections. Verify that the text is sharp and legible, the colors are vibrant and accurate, and the overall print quality meets your expectations. Additionally, check for any misalignment or smudging that may indicate calibration or ink distribution issues.
If the test print meets your standards for print quality and alignment, congratulations! Your Canon MG2522 printer is ready to fulfill your printing needs effectively. If any issues are identified during the test print, consider performing a printer alignment or calibration process to optimize the print quality and consistency.
By conducting a thorough test print with your Canon MG2522 printer, you can ensure that the device is primed for exceptional performance and reliable output. Whether you are printing documents, photos, or creative projects, a successful test print sets the stage for seamless and satisfying printing experiences.
When setting up a Canon MG2522 printer, make sure to carefully follow the instructions in the user manual. Connect the printer to a power source, install the ink cartridges, and then connect it to your computer using a USB cable or Wi-Fi. Follow the on-screen prompts to complete the setup process.
Troubleshooting
While setting up and using your Canon MG2522 printer, you may encounter occasional issues that can be resolved through simple troubleshooting steps. By addressing common printer issues proactively, you can maintain the printer’s performance and minimize disruptions to your printing tasks. Here are some troubleshooting tips to help you address potential issues with your Canon MG2522 printer.
Printer Not Powering On
If your printer is not powering on, ensure that the power cord is securely connected to the printer and the power outlet. Verify that the outlet is functioning by testing it with another device. If the printer still does not power on, consider trying a different power cord or outlet to isolate the issue.
Paper Jams
If you experience paper jams, carefully remove any jammed paper from the printer, following the manufacturer’s guidelines. Ensure that the paper is loaded correctly and that the paper guides are snug against the edges of the paper. Avoid overloading the input tray, as this can lead to paper jams.
Print Quality Issues
If you notice issues with print quality, such as faded prints or streaks on the pages, consider performing a printer alignment or cleaning process. Additionally, ensure that the ink cartridges are properly installed and have sufficient ink levels. If the issue persists, consider replacing the ink cartridges with genuine Canon cartridges.
Communication Errors
If you encounter communication errors between the printer and your computer, ensure that the USB cable or wireless connection is secure and properly configured. Restart both the printer and the computer to reset the connection, and verify that the correct printer drivers are installed on your computer.
Read more: How To Set Up A Canon Printer
Wireless Connectivity Issues
If you are using the wireless printing feature and experience connectivity issues, ensure that the printer is within range of the wireless network and that the network signal is strong. Verify the network settings on the printer and re-establish the wireless connection if necessary.
Software Installation Problems
If you encounter issues during the software installation process, ensure that you are using the correct software package for your operating system. Consider downloading the software from the official Canon website or using the installation CD provided with the printer. Follow the installation instructions carefully, and restart your computer if prompted.
By addressing potential issues with your Canon MG2522 printer through proactive troubleshooting, you can maintain the printer’s performance and ensure a seamless printing experience. If you encounter persistent issues that cannot be resolved through troubleshooting, consider contacting Canon customer support for further assistance.
Conclusion
Congratulations on successfully setting up your Canon MG2522 printer! By following the comprehensive guide provided in this article, you have gained the knowledge and confidence to maximize the capabilities of your printer and embark on a seamless printing journey.
The Canon MG2522 printer offers a versatile and user-friendly platform for producing high-quality prints, whether you are printing documents, photos, or creative projects. With its intuitive design and reliable performance, this printer is an excellent addition to any home or office environment.
From unboxing and setting up the printer to installing ink cartridges, loading paper, and establishing connections, you have navigated through each step with ease, ensuring that the printer is primed for exceptional performance. Additionally, by installing the necessary software and conducting a thorough test print, you have verified the printer’s functionality and print quality.
As you continue to use your Canon MG2522 printer, remember that occasional troubleshooting may be necessary to address common issues and maintain the printer’s performance. By approaching potential issues proactively and following the troubleshooting tips provided, you can ensure that your printing experiences remain smooth and efficient.
With your Canon MG2522 printer set up and ready for action, you are well-equipped to explore the full range of printing, scanning, and copying features offered by this versatile device. Whether you are printing everyday documents, cherished family photos, or professional materials, the Canon MG2522 printer is poised to meet your needs effectively.
As you embark on your printing journey with the Canon MG2522 printer, remember to explore the various print settings, maintenance options, and creative possibilities offered by the printer. Experiment with different paper types, print resolutions, and color profiles to unleash the full potential of your printer and achieve stunning results with every task.
Thank you for joining us on this exciting journey of setting up and optimizing the Canon MG2522 printer. We hope that this guide has empowered you to make the most of your printing experiences and enjoy the convenience and reliability offered by this exceptional device. Happy printing!
Excited about your new Canon printer but not sure where to start? If you've mastered setting up the MG2522 model, why stop there? Dive into our comprehensive guide on setting up any Canon printer. This detailed walkthrough ensures you get every step right, from unboxing to your first printout, without a hitch. Perfect for beginners and tech enthusiasts alike, this guide simplifies the process, making your tech setup a breeze. Ready to get your devices running smoothly? Check out our easy-to-follow guide now!
Frequently Asked Questions about How To Set Up A Canon Printer MG2522
Was this page helpful?
At Storables.com, we guarantee accurate and reliable information. Our content, validated by Expert Board Contributors, is crafted following stringent Editorial Policies. We're committed to providing you with well-researched, expert-backed insights for all your informational needs.

0 thoughts on “How To Set Up A Canon Printer MG2522”