Home>Technology>Smart Home Devices>How To Set Up A Canon Ts3322 Printer
Smart Home Devices
How To Set Up A Canon Ts3322 Printer
Modified: May 6, 2024
Learn how to set up your Canon TS3322 printer effortlessly and start enjoying the convenience of printing from your smart home devices. Simplify your printing experience today!
(Many of the links in this article redirect to a specific reviewed product. Your purchase of these products through affiliate links helps to generate commission for Storables.com, at no extra cost. Learn more)
Introduction
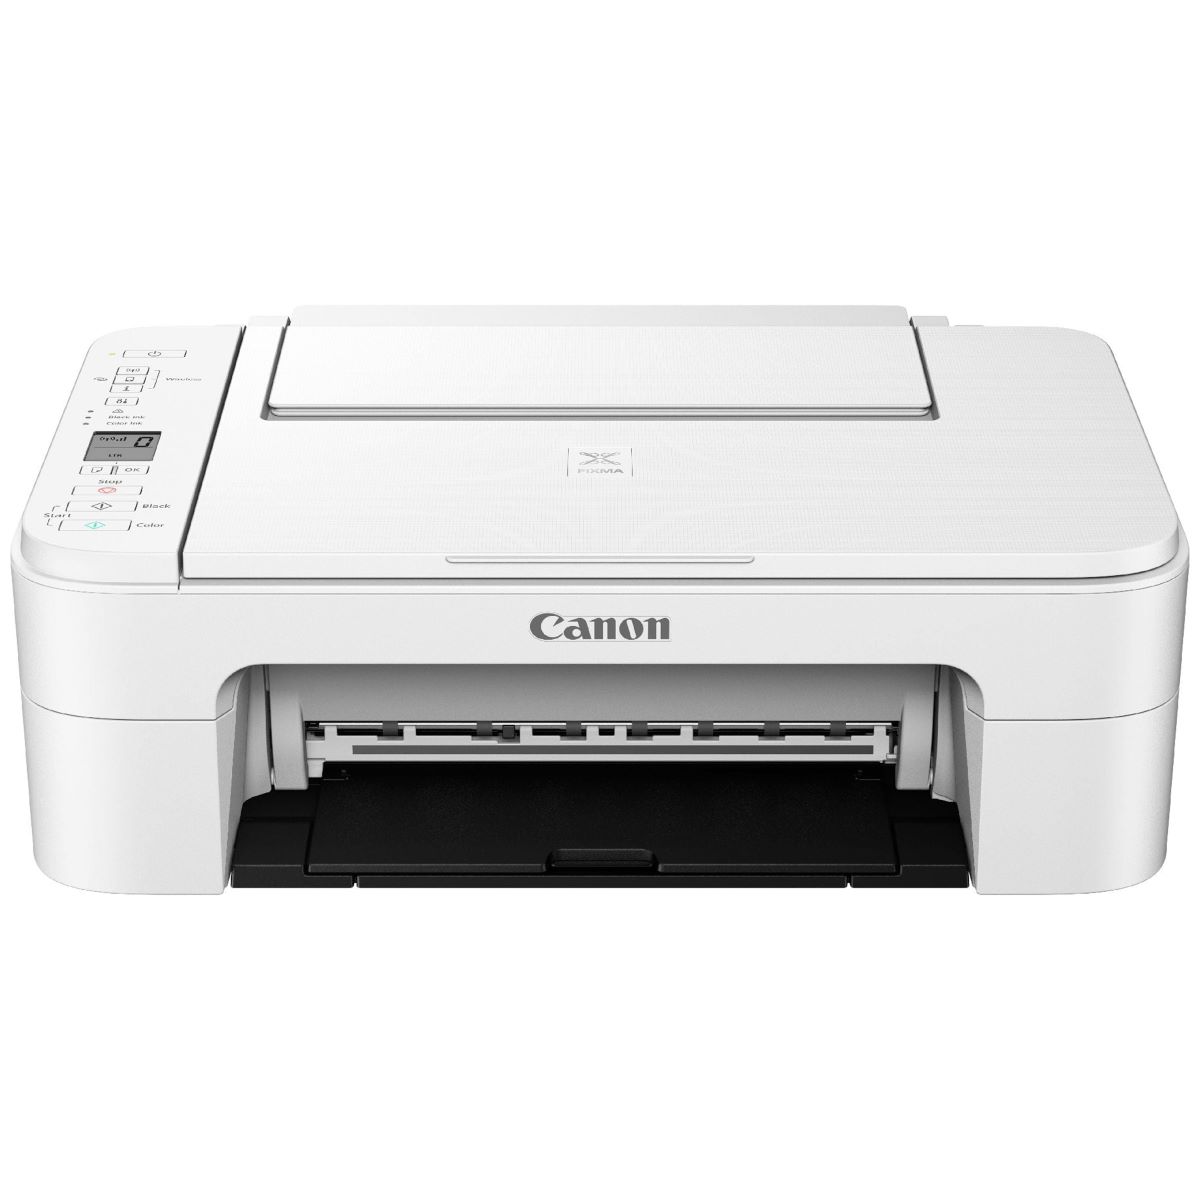
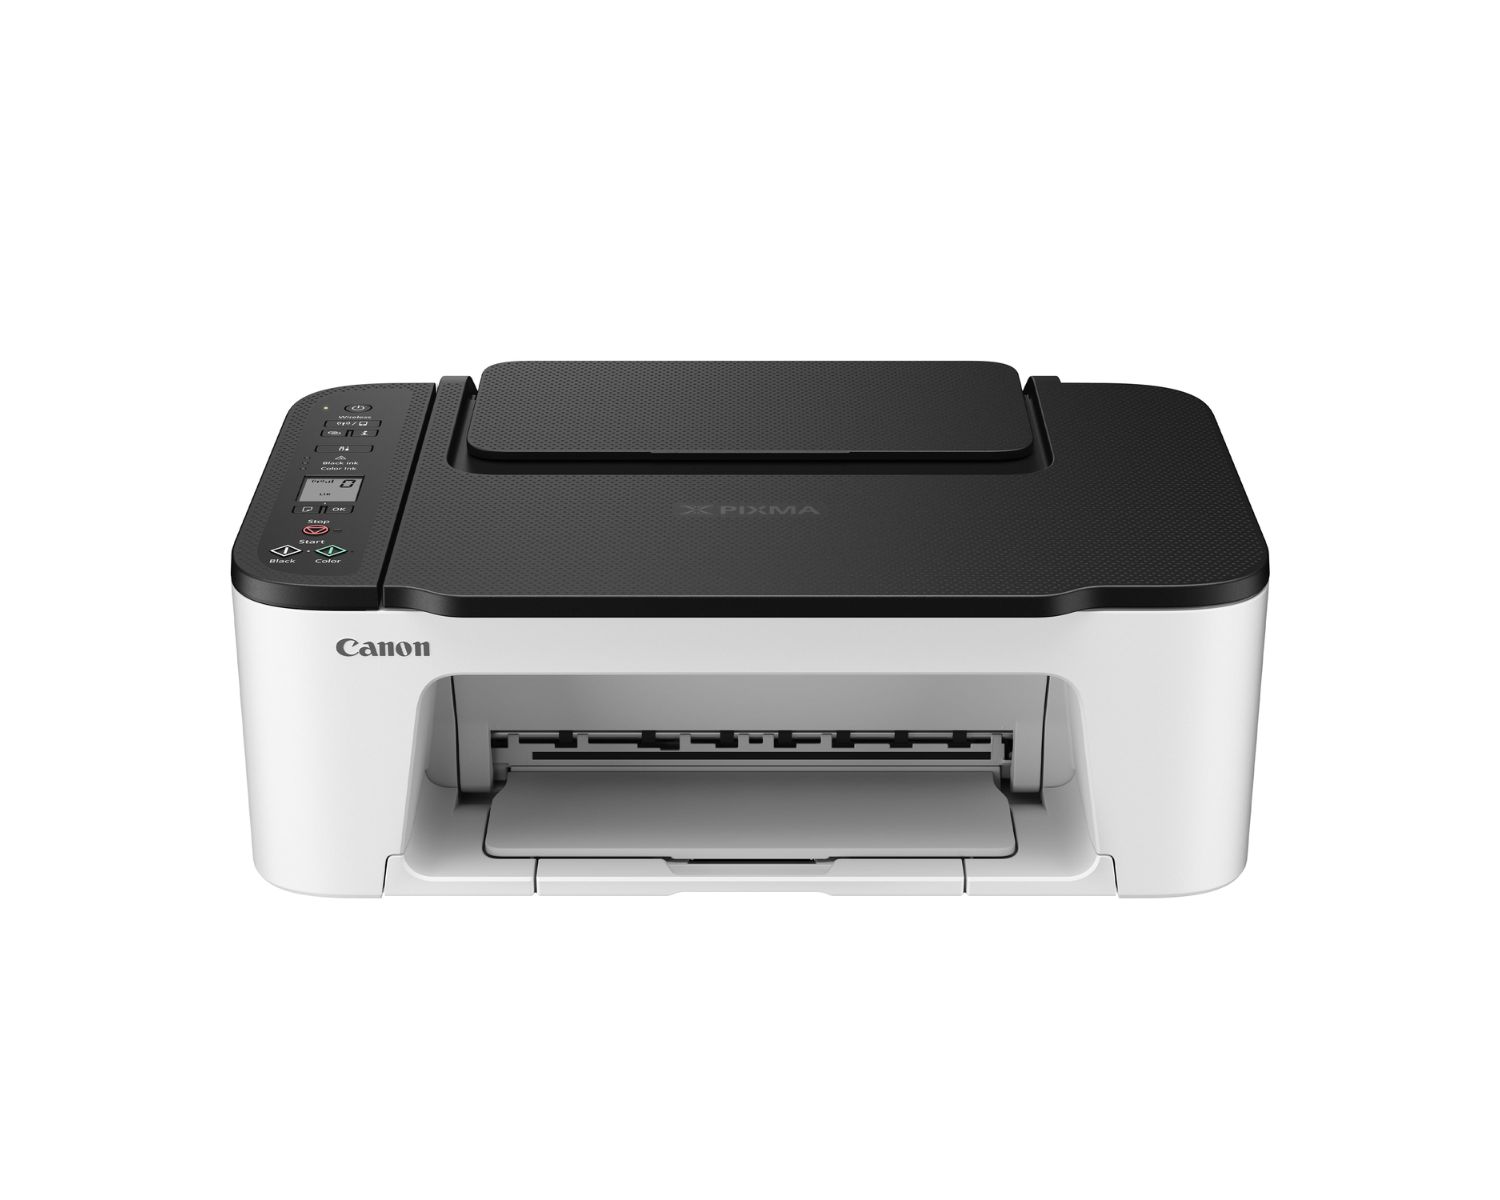
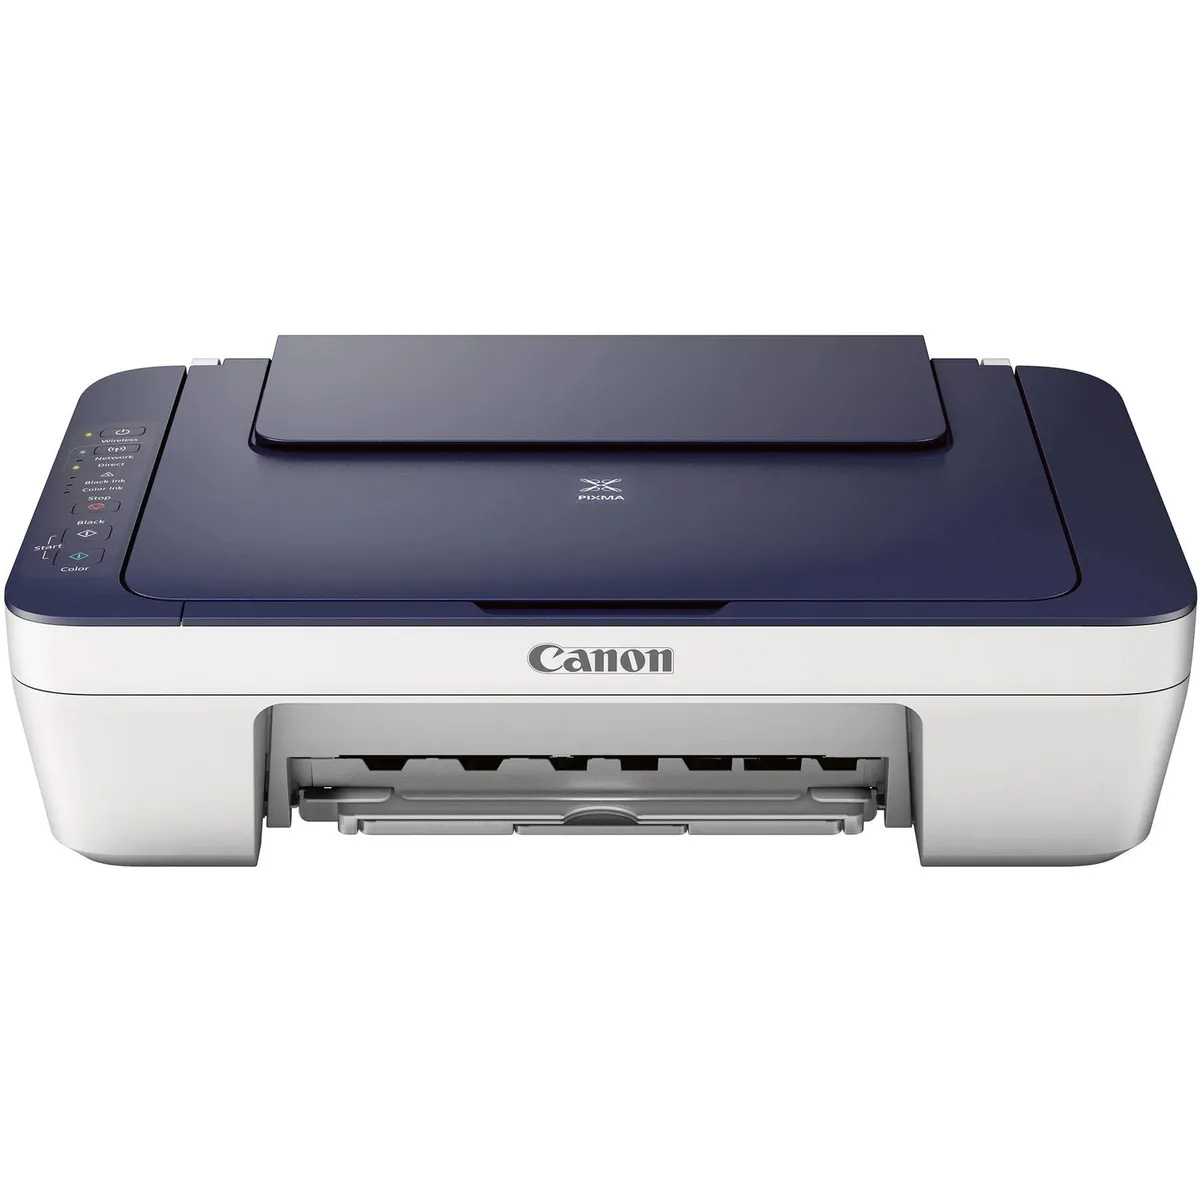
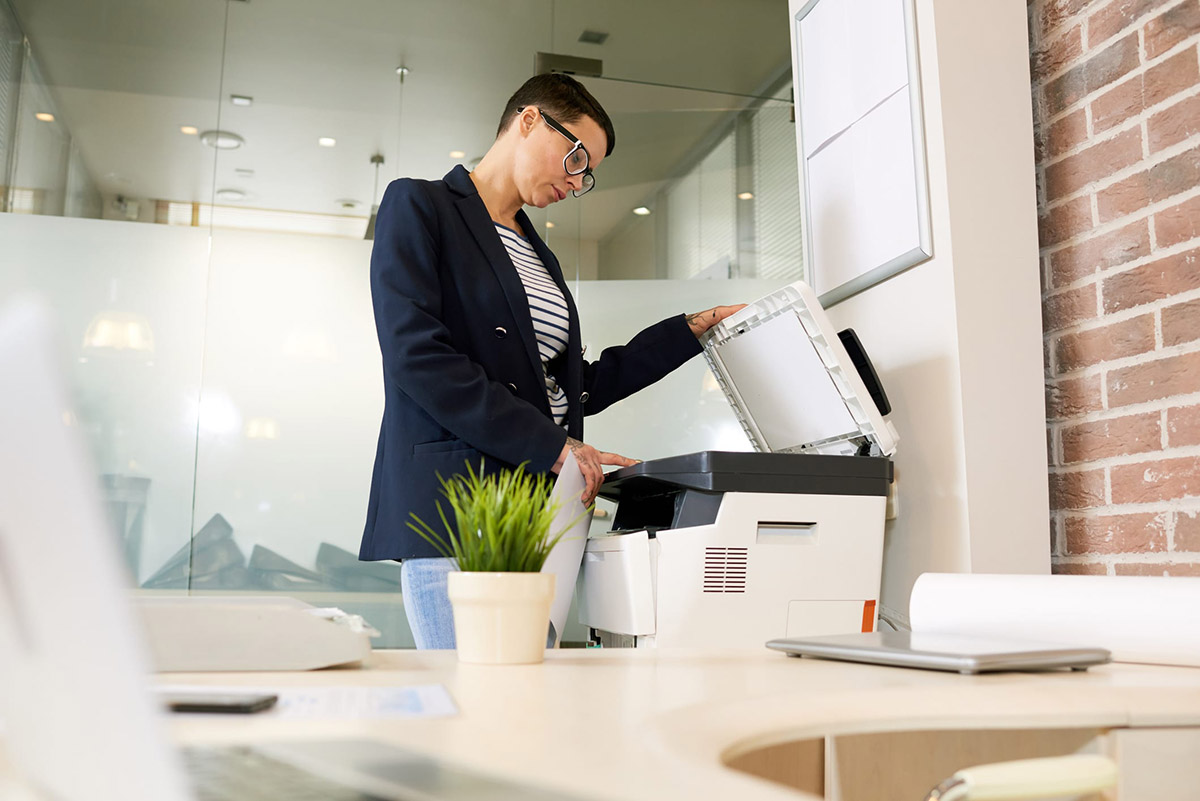
Setting up a new printer can be an exciting yet daunting task, especially if you're not familiar with the process. The Canon TS3322 printer is a versatile and user-friendly device that can effortlessly handle your printing needs. In this comprehensive guide, we will walk you through the step-by-step process of setting up the Canon TS3322 printer, from unboxing to printing your first document. By the end of this article, you'll be equipped with the knowledge and confidence to seamlessly integrate this printer into your home or office setup.
The Canon TS3322 printer is renowned for its high-quality prints, user-friendly interface, and seamless connectivity options. Whether you're looking to print documents, photos, or labels, this printer is designed to deliver exceptional results with ease. Additionally, its compact design and wireless capabilities make it an ideal choice for modern homes and offices.
In the following sections, we will delve into the unboxing process, connecting the printer to power, installing the ink cartridges, loading paper, connecting the printer to Wi-Fi, installing the necessary drivers, and finally, testing the printer. Each step will be accompanied by clear instructions and helpful tips to ensure a smooth and hassle-free setup experience.
So, grab your new Canon TS3322 printer, and let's embark on this setup journey together. Whether you're a tech enthusiast or a novice user, this guide is tailored to provide you with the confidence and expertise needed to set up your Canon TS3322 printer like a pro. Let's dive in and unlock the full potential of this impressive printing device.
Key Takeaways:
- Setting up the Canon TS3322 printer is a breeze, with its user-friendly interface and wireless connectivity, making it a perfect addition to any home or office. Enjoy high-quality prints effortlessly!
- The Canon TS3322 printer offers seamless integration and exceptional print quality, making it a reliable companion for all your printing needs. Its intuitive design and wireless capabilities ensure a hassle-free printing experience.
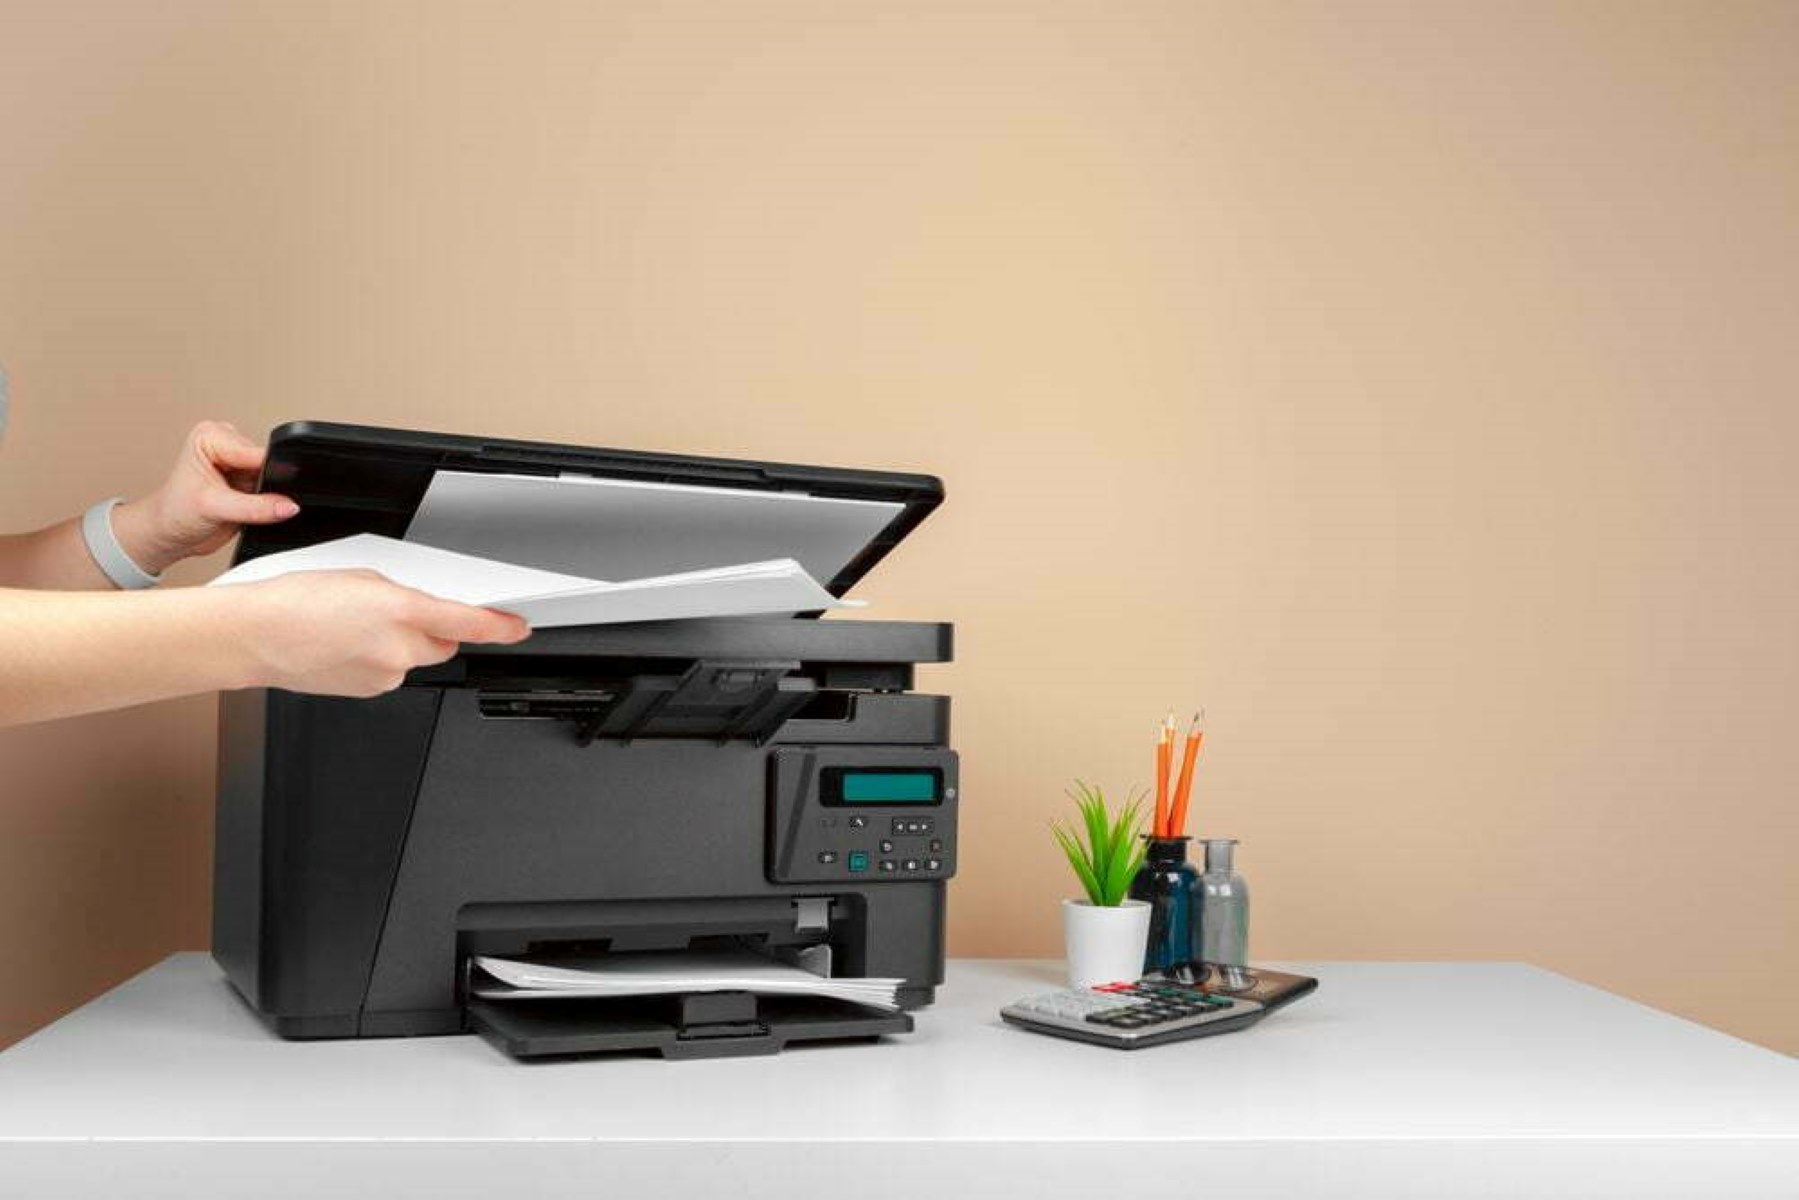
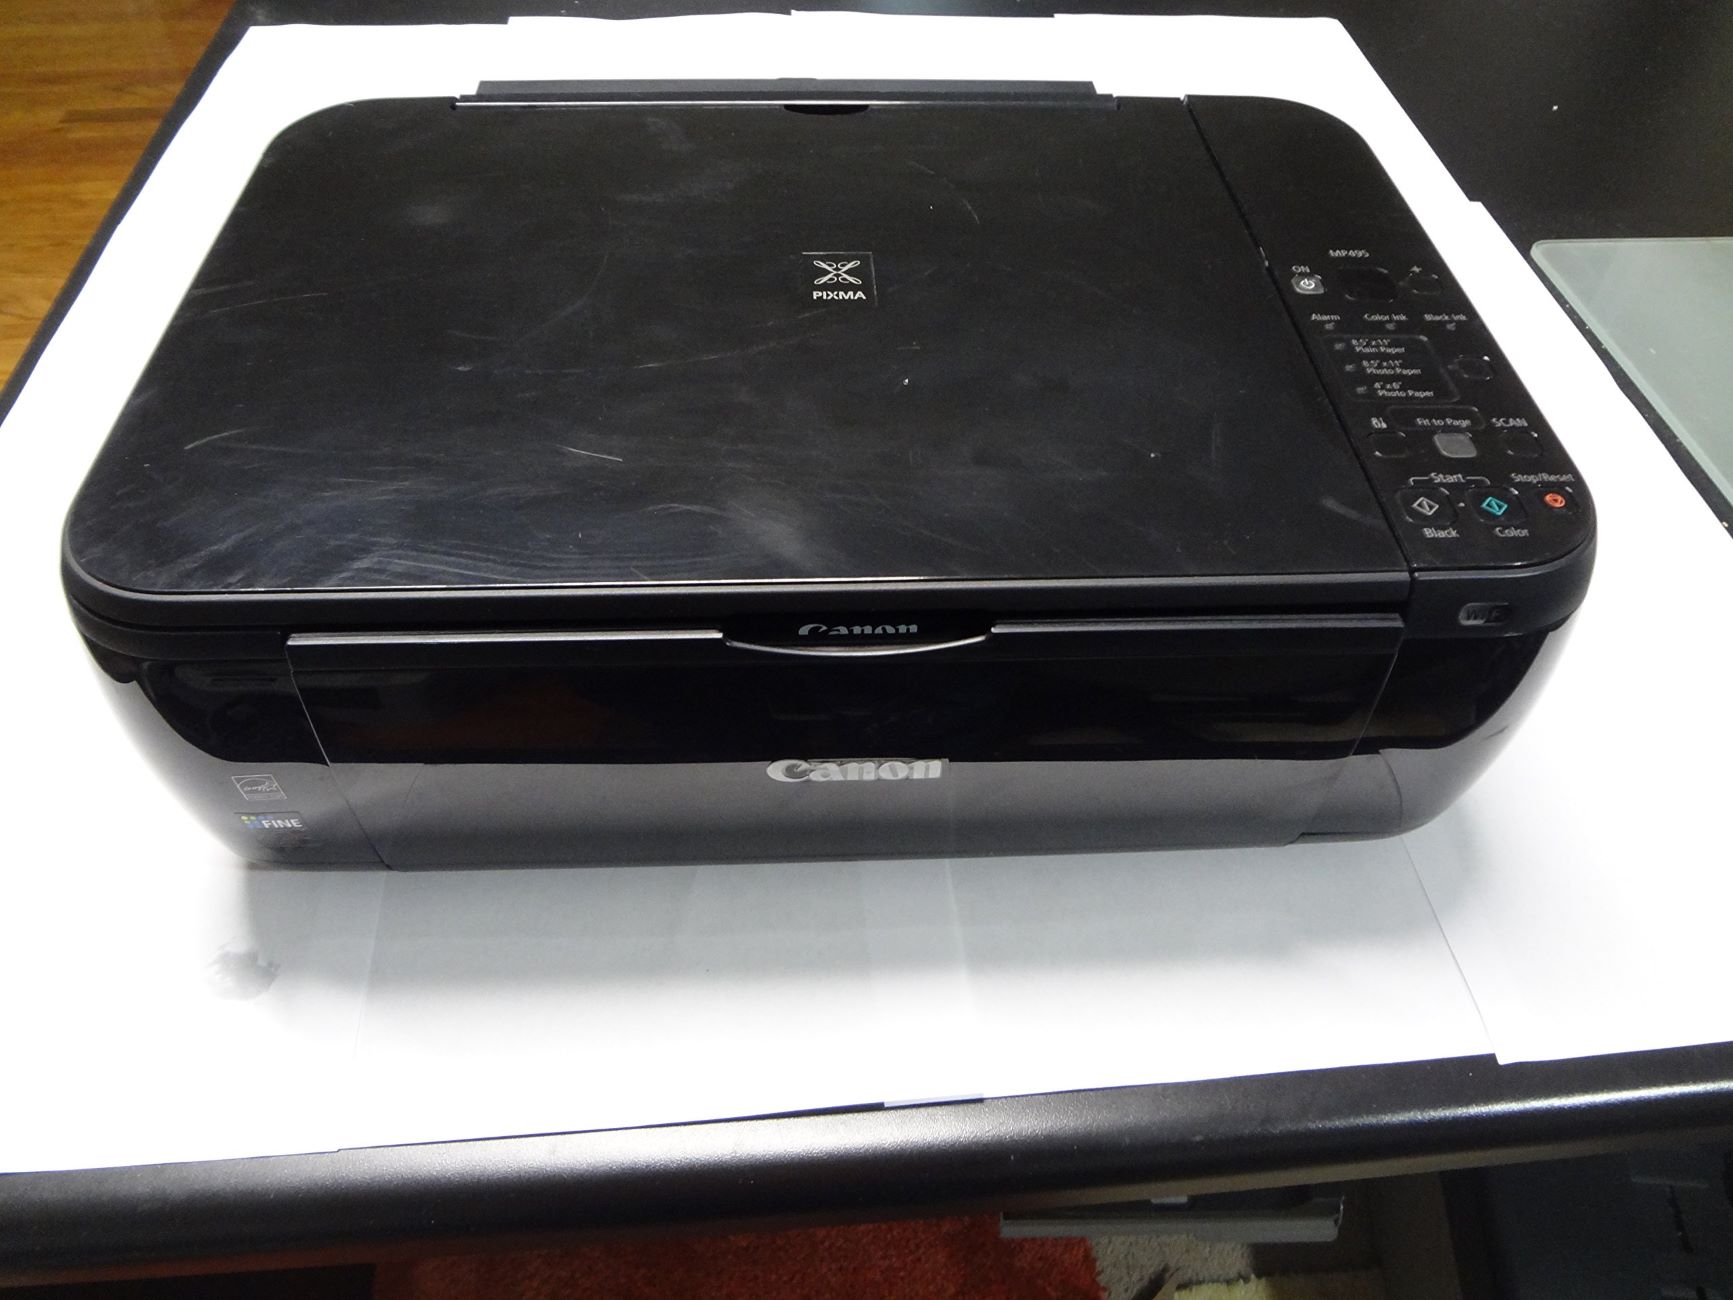
Unboxing the Canon TS3322 Printer
Unboxing a new device is always an exciting experience, and the Canon TS3322 printer is no exception. The packaging is designed to ensure the printer arrives safely and securely, ready for setup. As you open the box, you'll find the Canon TS3322 printer nestled snugly within protective packaging, along with essential components and documentation.
First, carefully remove the printer from the box, ensuring that you lift it by the designated handles or areas to avoid causing any damage. Once the printer is out of the box, you'll notice the included components such as the power cord, ink cartridges, setup CD, and user manual. Take a moment to familiarize yourself with these components, as they will be essential for the setup process.
Next, remove any protective tapes or materials from the printer. These are often placed to secure moving parts during transportation. Be gentle and thorough in removing these materials to prevent any potential obstructions during setup or operation. Once the printer is free from these restraints, place it on a flat and stable surface in the desired location for setup.
It’s important to ensure that the printer is positioned within close proximity to a power outlet and a Wi-Fi router, as these will be crucial for the subsequent setup steps. With the printer unboxed and ready to go, you’re now prepared to move on to the next steps in the setup process, which will involve connecting the printer to power and installing the ink cartridges.
Unboxing the Canon TS3322 printer sets the stage for an efficient and enjoyable setup experience. By taking the time to carefully unpack and prepare the printer, you’re laying the foundation for seamless integration into your home or office environment. With the printer unboxed and positioned for setup, you’re now ready to proceed to the next steps in bringing this impressive device to life.
Connecting the Printer to Power
Once the Canon TS3322 printer is unboxed and positioned in the desired location, the next step is to connect it to power. This straightforward process ensures that the printer is ready to be powered on and configured for use. To accomplish this, follow the simple steps outlined below:
- Locate the Power Cord: The power cord is typically included in the printer’s packaging. It is essential for providing the necessary electrical connection to the printer. Find the power cord and ensure that it is free from any tangles or damage.
- Identify the Power Inlet: On the rear or side of the printer, you will find the power inlet. This is where the power cord will be connected to supply the printer with electricity. The power inlet is designed to securely accommodate the power cord, ensuring a stable connection.
- Connect the Power Cord: With the power inlet identified, carefully plug one end of the power cord into the corresponding port on the printer. Ensure that the connection is secure and that the power cord is not strained or bent at sharp angles. The other end of the power cord should be plugged into a nearby power outlet.
- Power On the Printer: Once the power cord is securely connected to the printer and the power outlet, it’s time to power on the printer. Locate the power button, usually positioned on the control panel or near the printer’s display. Press the power button to initiate the startup sequence.
By following these steps, you will successfully connect the Canon TS3322 printer to power, preparing it for the subsequent setup procedures. It’s important to ensure that the power cord is safely and securely connected, and that the printer is positioned within reach of a power outlet. With the printer powered on, you’re now ready to proceed to the next steps in the setup process, which will involve installing the ink cartridges to prepare the printer for operation.
Connecting the printer to power is a fundamental step in the setup process, and by following these simple instructions, you can ensure that the Canon TS3322 printer is ready to be powered on and configured for use. With the printer now connected to power, you’re one step closer to experiencing the impressive capabilities of this versatile printing device.
Installing the Ink Cartridges
With the Canon TS3322 printer connected to power, the next crucial step is to install the ink cartridges. These cartridges are essential for producing high-quality prints and are designed to be easily installed in the printer. Follow the steps below to seamlessly install the ink cartridges:
- Open the Cartridge Access Door: Depending on the printer model, the cartridge access door is typically located at the front of the printer. Gently open this door to reveal the cartridge compartment. The printer may also have a designated position for the cartridge access door to be opened for easy access.
- Prepare the Cartridges: Remove the new ink cartridges from their packaging. Be cautious not to touch the contacts or ink nozzles to prevent potential ink smearing or electrical issues. It’s essential to handle the cartridges carefully to maintain their integrity.
- Insert the Cartridges: Each ink cartridge slot is color-coded to correspond with the respective ink color. Match each cartridge to the correct slot based on the color indicators. Gently insert the cartridges into their designated slots, ensuring they are securely in place. You may hear a subtle click when the cartridges are properly inserted.
- Close the Cartridge Access Door: Once the cartridges are securely in place, gently close the cartridge access door. Ensure that it is fully closed and latched to maintain the integrity of the cartridge compartment and prevent any potential errors during printing.
With the ink cartridges successfully installed, the Canon TS3322 printer is now primed and ready to deliver exceptional print results. It’s important to verify that the cartridges are securely inserted and that the cartridge access door is closed before proceeding to the next steps in the setup process.
Installing the ink cartridges is a pivotal step in preparing the Canon TS3322 printer for operation. By following these straightforward instructions, you can ensure that the printer is equipped with the necessary ink supply to produce vibrant and high-quality prints. With the ink cartridges installed, you’re now prepared to move on to the next steps in the setup process, which will involve loading paper into the printer and connecting it to Wi-Fi.
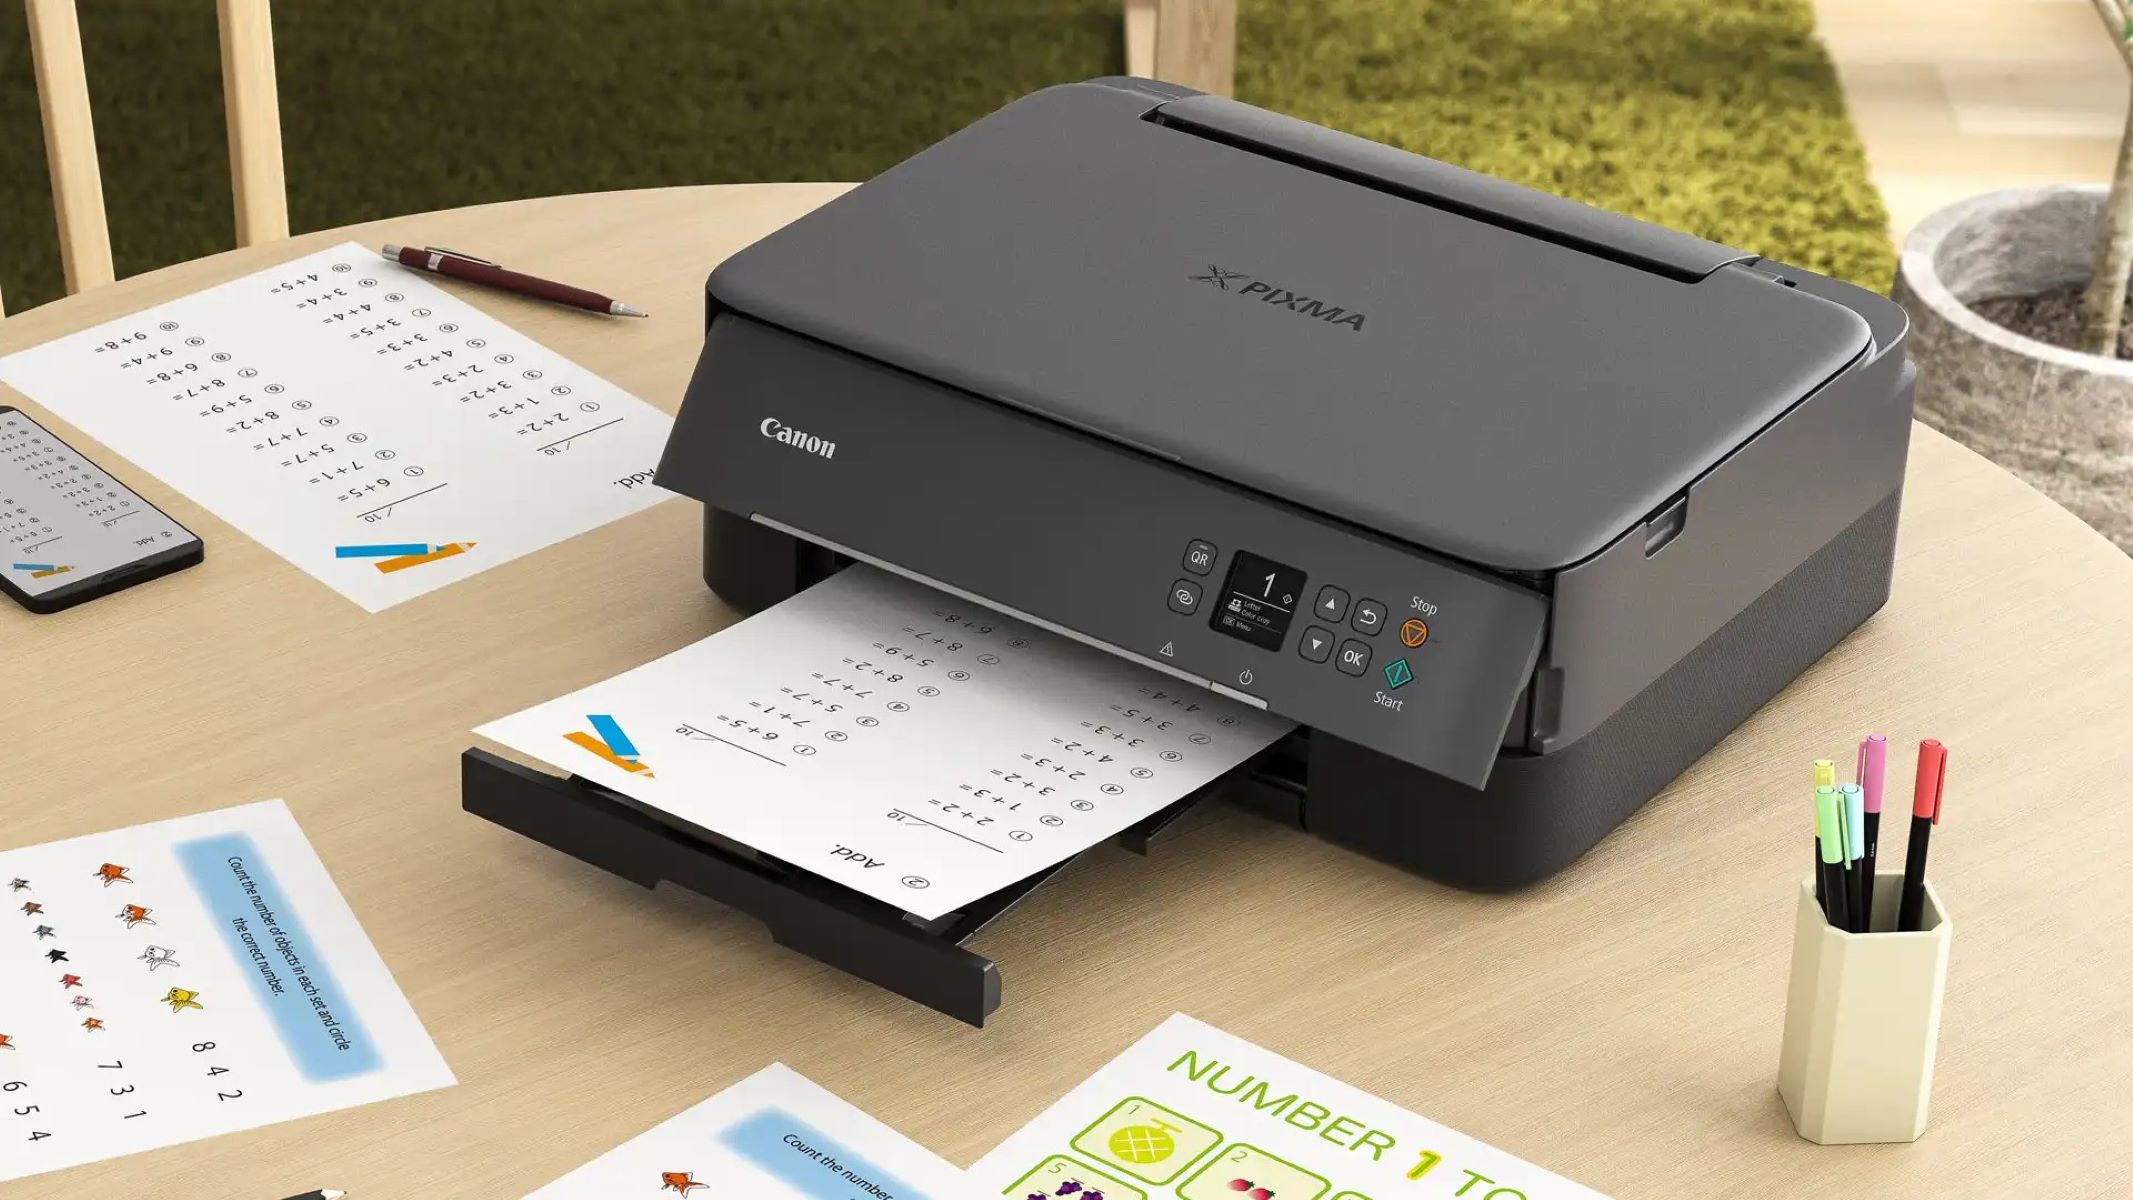
Loading Paper into the Printer
With the ink cartridges successfully installed, the next step in setting up the Canon TS3322 printer is to load paper into the paper tray. This straightforward process ensures that the printer is ready to handle printing tasks with ease. Follow the steps below to seamlessly load paper into the printer:
- Locate the Paper Input Tray: The paper input tray is typically located at the rear or front of the printer, accessible once the tray is pulled out or a cover is opened. Familiarize yourself with the location and design of the paper input tray to prepare for paper loading.
- Adjust the Paper Guides: Before loading the paper, adjust the paper guides to match the width of the paper being used. This ensures that the paper is aligned properly and prevents potential misfeeds or alignment issues during printing. Most printers feature adjustable paper guides to accommodate different paper sizes.
- Load the Paper: Take a stack of paper and align it neatly. Insert the stack into the paper input tray, ensuring that it is positioned snugly against the paper guides. It’s important to avoid overfilling the tray, as this can lead to paper jams or feeding issues. Be mindful of the recommended paper capacity for the specific printer model.
- Adjust the Paper Type Settings: Once the paper is loaded, adjust the paper type settings on the printer’s control panel or interface to match the type and size of the loaded paper. This ensures that the printer’s settings are aligned with the paper being used, resulting in optimal print quality and performance.
With the paper successfully loaded into the printer, the Canon TS3322 is now equipped to handle printing tasks with precision and efficiency. It’s important to ensure that the paper is loaded neatly and that the paper guides are adjusted to prevent misfeeds or alignment issues during printing.
By following these steps, you can seamlessly load paper into the Canon TS3322 printer, setting the stage for effortless printing operations. With the paper loaded and the printer prepared for printing tasks, you’re now ready to proceed to the next crucial step in the setup process, which involves connecting the printer to Wi-Fi for seamless wireless printing capabilities.
Make sure to carefully follow the setup instructions provided with your Canon Ts3322 printer. Connect the printer to power, install the ink cartridges, load paper, and follow the on-screen prompts to complete the setup process.
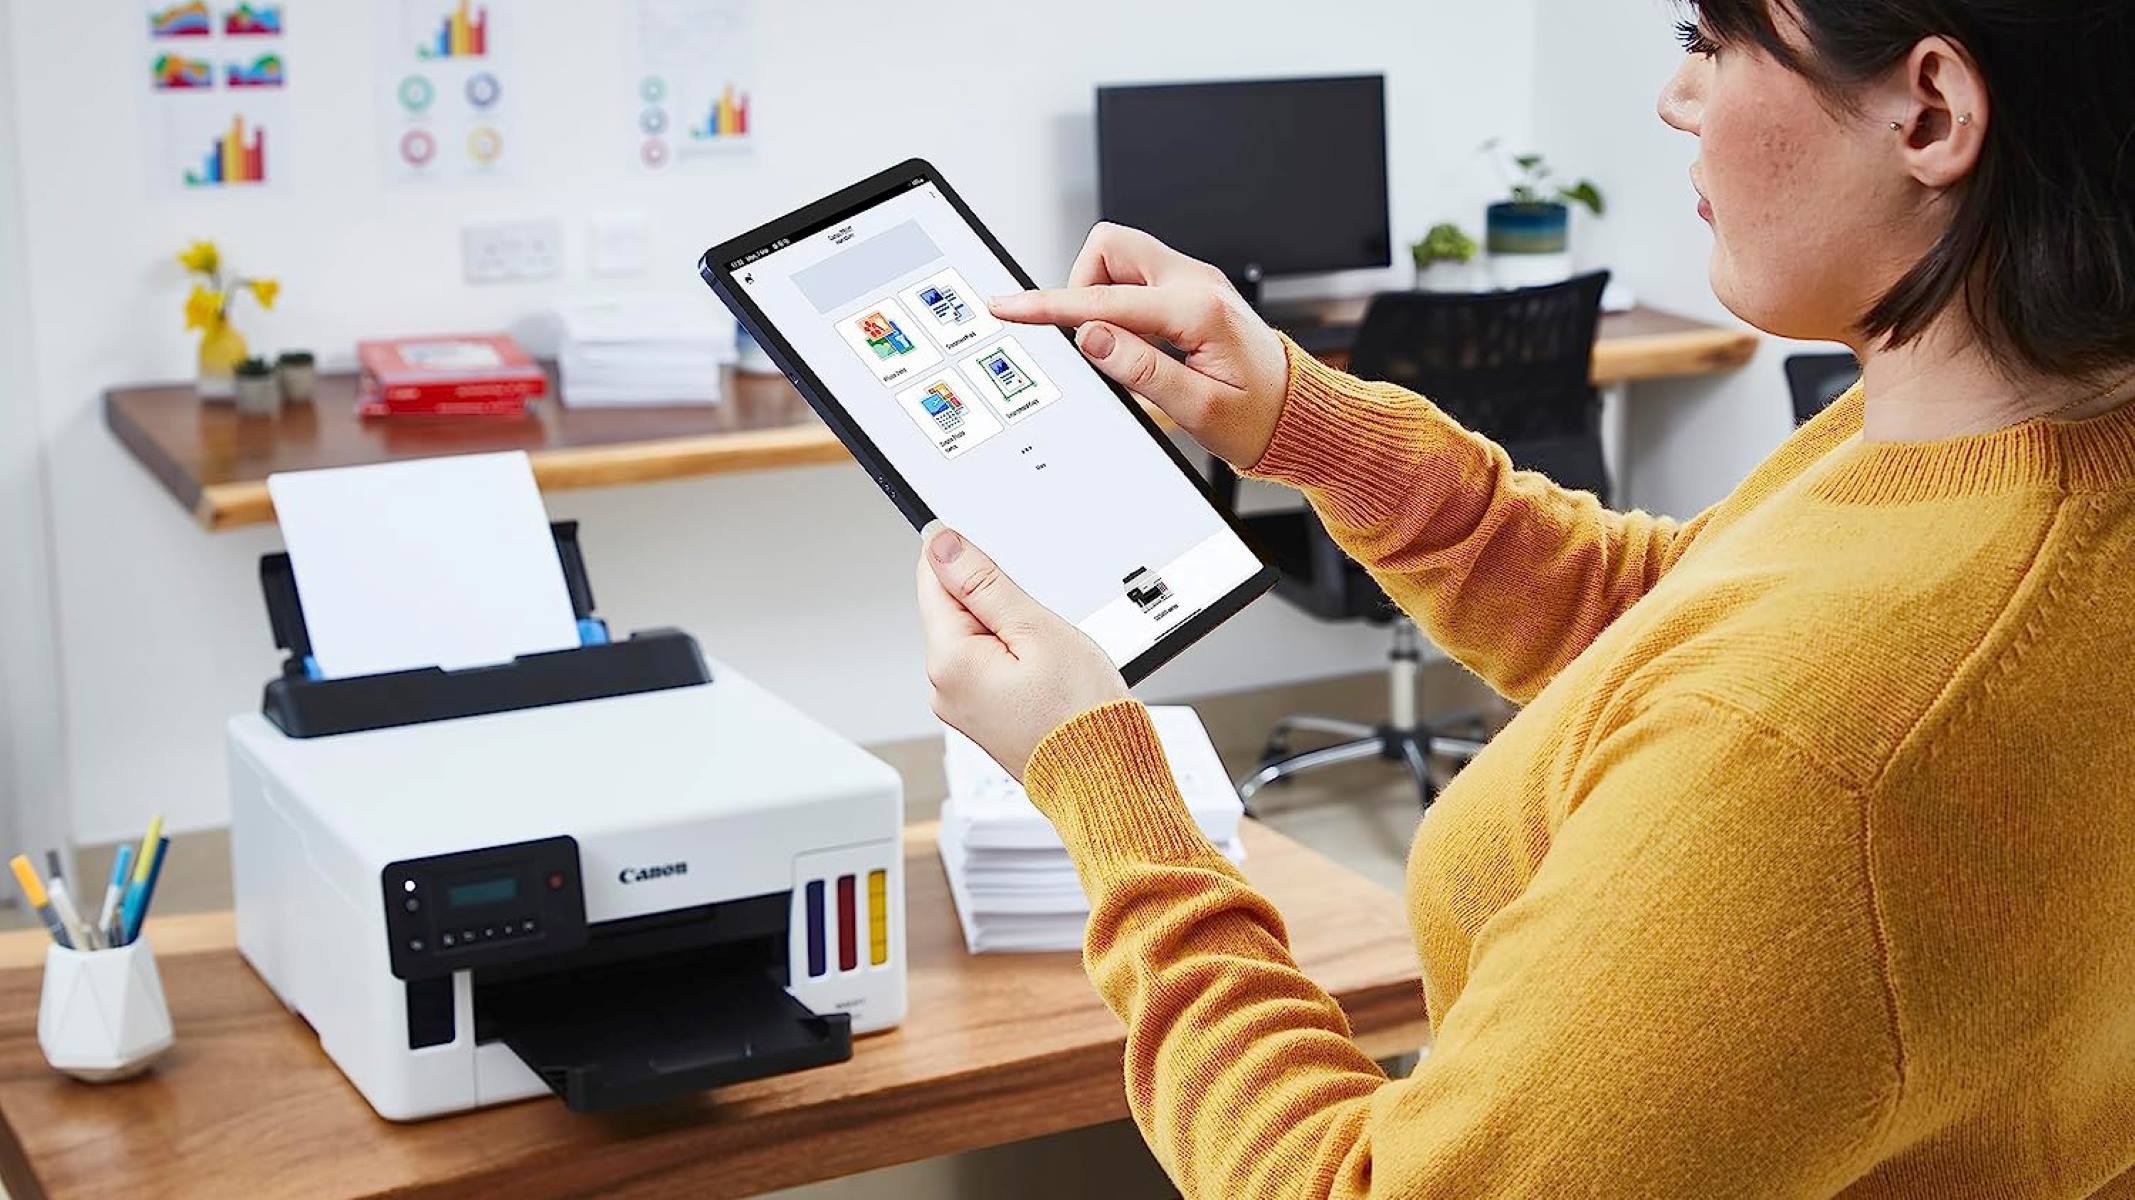
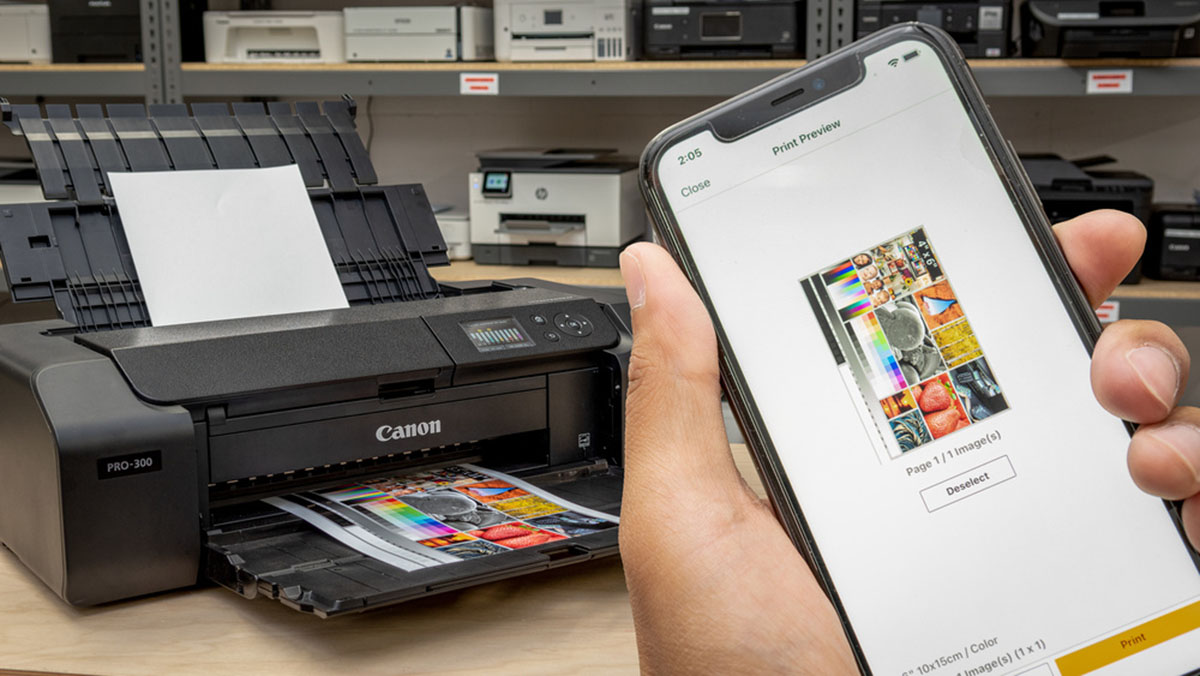
Connecting the Printer to Wi-Fi
One of the standout features of the Canon TS3322 printer is its wireless connectivity, allowing for convenient printing from various devices. Connecting the printer to Wi-Fi is a crucial step in unleashing its full potential. Follow the steps below to seamlessly connect the printer to your Wi-Fi network:
- Access the Wi-Fi Setup Menu: On the printer’s control panel or display, navigate to the Wi-Fi setup menu. This menu is designed to guide you through the process of connecting the printer to your wireless network. Follow the on-screen prompts to initiate the setup process.
- Select Your Wi-Fi Network: Once in the Wi-Fi setup menu, select your Wi-Fi network from the list of available networks. You may need to enter your Wi-Fi password to authenticate the connection. The printer will then attempt to establish a secure connection to your network.
- Complete the Connection: After selecting your Wi-Fi network and entering the password, the printer will proceed to establish the connection. Once successfully connected, the printer will display a confirmation message, indicating that it is now connected to your Wi-Fi network.
- Verify the Connection: To ensure that the connection is successful, attempt to print a test page or document wirelessly from a connected device, such as a computer or smartphone. If the printer successfully receives and prints the document, the wireless connection is functioning properly.
With the Canon TS3322 printer successfully connected to your Wi-Fi network, you can now enjoy the convenience of wireless printing from various devices throughout your home or office. It’s important to verify that the wireless connection is stable and that the printer is readily accessible from your connected devices.
By following these steps, you can seamlessly connect the Canon TS3322 printer to your Wi-Fi network, unlocking its wireless printing capabilities. With the printer now connected to Wi-Fi, you’re prepared to move on to the next essential step in the setup process, which involves installing the necessary drivers to ensure seamless communication between the printer and your devices.
Installing the Printer Drivers
With the Canon TS3322 printer connected to Wi-Fi, the next crucial step is to install the necessary printer drivers on your devices. These drivers facilitate seamless communication between your devices and the printer, enabling you to send print jobs with ease. Follow the steps below to install the printer drivers:
- Download the Drivers: Visit the Canon support website or use the installation CD included with the printer to download the appropriate printer drivers for your operating system. Ensure that you select the correct drivers compatible with your specific device and operating system version.
- Run the Installer: Once the drivers are downloaded, run the installer program to initiate the installation process. Follow the on-screen prompts to proceed with the installation. It’s important to carefully review and accept any license agreements or terms of use presented during the installation.
- Connect the Printer: During the installation process, you may be prompted to connect the printer to your device via USB for the initial setup. Follow the instructions to establish the USB connection between your device and the printer. This step is essential for the initial driver installation.
- Complete the Installation: Once the drivers are successfully installed, you may be prompted to restart your device to finalize the setup. It’s important to complete this step to ensure that the printer drivers are fully integrated with your operating system.
With the printer drivers successfully installed on your devices, you’re now equipped to send print jobs to the Canon TS3322 printer seamlessly. It’s important to verify that the printer is listed as an available device on your connected devices and that it is ready to receive print commands.
By following these steps, you can ensure that the necessary printer drivers are installed, enabling efficient communication between your devices and the Canon TS3322 printer. With the drivers in place, you’re now prepared to move on to the final step in the setup process, which involves testing the printer to verify its functionality and print quality.
Testing the Printer
With the Canon TS3322 printer set up, connected to Wi-Fi, and the necessary drivers installed on your devices, it’s time to put the printer to the test. Testing the printer ensures that it is fully operational and capable of producing high-quality prints. Follow the steps below to conduct a comprehensive test of the printer:
- Print a Test Page: Initiate the printing of a test page from your computer or mobile device to assess the printer’s functionality. This test page can help identify any potential issues with print quality, alignment, or color accuracy.
- Verify Wireless Printing: If you’re conducting the test from a wireless device, such as a smartphone or tablet, ensure that the printer receives the print job wirelessly and produces the desired output. This step confirms the seamless wireless connectivity of the printer.
- Assess Print Quality: Examine the test page closely to evaluate the print quality, including text clarity, image sharpness, and color vibrancy. This assessment can help identify and address any potential issues related to print quality and ink distribution.
- Check for Alignment and Margins: Verify that the printed content is aligned correctly on the page and that the margins are consistent with the document settings. This step ensures that the printer is accurately reproducing the intended content.
By conducting a thorough test of the Canon TS3322 printer, you can gain confidence in its capabilities and identify any potential issues that may require adjustment or troubleshooting. It’s important to address any issues related to print quality, alignment, or wireless connectivity to ensure a seamless printing experience.
With the printer successfully tested and verified, you can now proceed with confidence, knowing that the Canon TS3322 printer is ready to meet your printing needs with precision and reliability. By following these steps, you can ensure that the printer is fully operational and capable of delivering exceptional print results.
Conclusion
Congratulations! You’ve successfully navigated through the comprehensive setup process of the Canon TS3322 printer. From unboxing the printer to conducting a thorough test, you’ve gained valuable insights into the seamless integration and operation of this versatile printing device. As you reflect on the setup journey, it’s important to acknowledge the following key takeaways:
- Effortless Setup: The setup process of the Canon TS3322 printer is designed to be user-friendly and straightforward, allowing you to seamlessly prepare the printer for operation.
- Wireless Connectivity: The printer’s Wi-Fi capabilities enable convenient and efficient wireless printing from various devices, enhancing your printing experience.
- High-Quality Prints: With the ink cartridges installed and the printer tested, you can trust the Canon TS3322 to consistently deliver high-quality prints, whether it’s documents, photos, or creative projects.
- User-Friendly Interface: The intuitive control panel and interface of the printer make it easy to navigate settings and initiate printing tasks with confidence.
As you embark on your printing journey with the Canon TS3322, remember that ongoing maintenance and care will contribute to the longevity and performance of the printer. Regularly replacing ink cartridges, keeping the printer clean, and staying updated with the latest software enhancements will ensure a seamless and reliable printing experience over time.
Whether you’re using the printer for personal projects, professional documents, or creative endeavors, the Canon TS3322 is poised to be a valuable and dependable companion in your printing endeavors. Its versatility, wireless capabilities, and commitment to print quality make it an essential addition to any home or office environment.
With the setup process now complete, you’re ready to embark on a seamless printing journey with the Canon TS3322 printer. As you explore its capabilities and unleash your creativity through its printing prowess, may you find joy and efficiency in every print task. The Canon TS3322 printer is poised to elevate your printing experience and empower you to bring your ideas to life with unparalleled convenience and quality.
Excited about getting your Canon TS3322 up and running? You’re on the right track, but why stop there? Mastering your device is just the beginning. Extend your expertise with our detailed guide on setting up any Canon printer. Whether it's a model you already own or one you're dreaming of next, these steps ensure hassle-free installation and smooth printing sessions. Don't miss out on maximizing your printer's potential!
Frequently Asked Questions about How To Set Up A Canon Ts3322 Printer
Was this page helpful?
At Storables.com, we guarantee accurate and reliable information. Our content, validated by Expert Board Contributors, is crafted following stringent Editorial Policies. We're committed to providing you with well-researched, expert-backed insights for all your informational needs.

0 thoughts on “How To Set Up A Canon Ts3322 Printer”