Articles
Antarctic Star Ice Maker How To Clean
Modified: August 16, 2024
Learn how to clean your Antarctic Star ice maker with these helpful articles. Keep your ice maker running smoothly and producing clean ice.
(Many of the links in this article redirect to a specific reviewed product. Your purchase of these products through affiliate links helps to generate commission for Storables.com, at no extra cost. Learn more)
Introduction
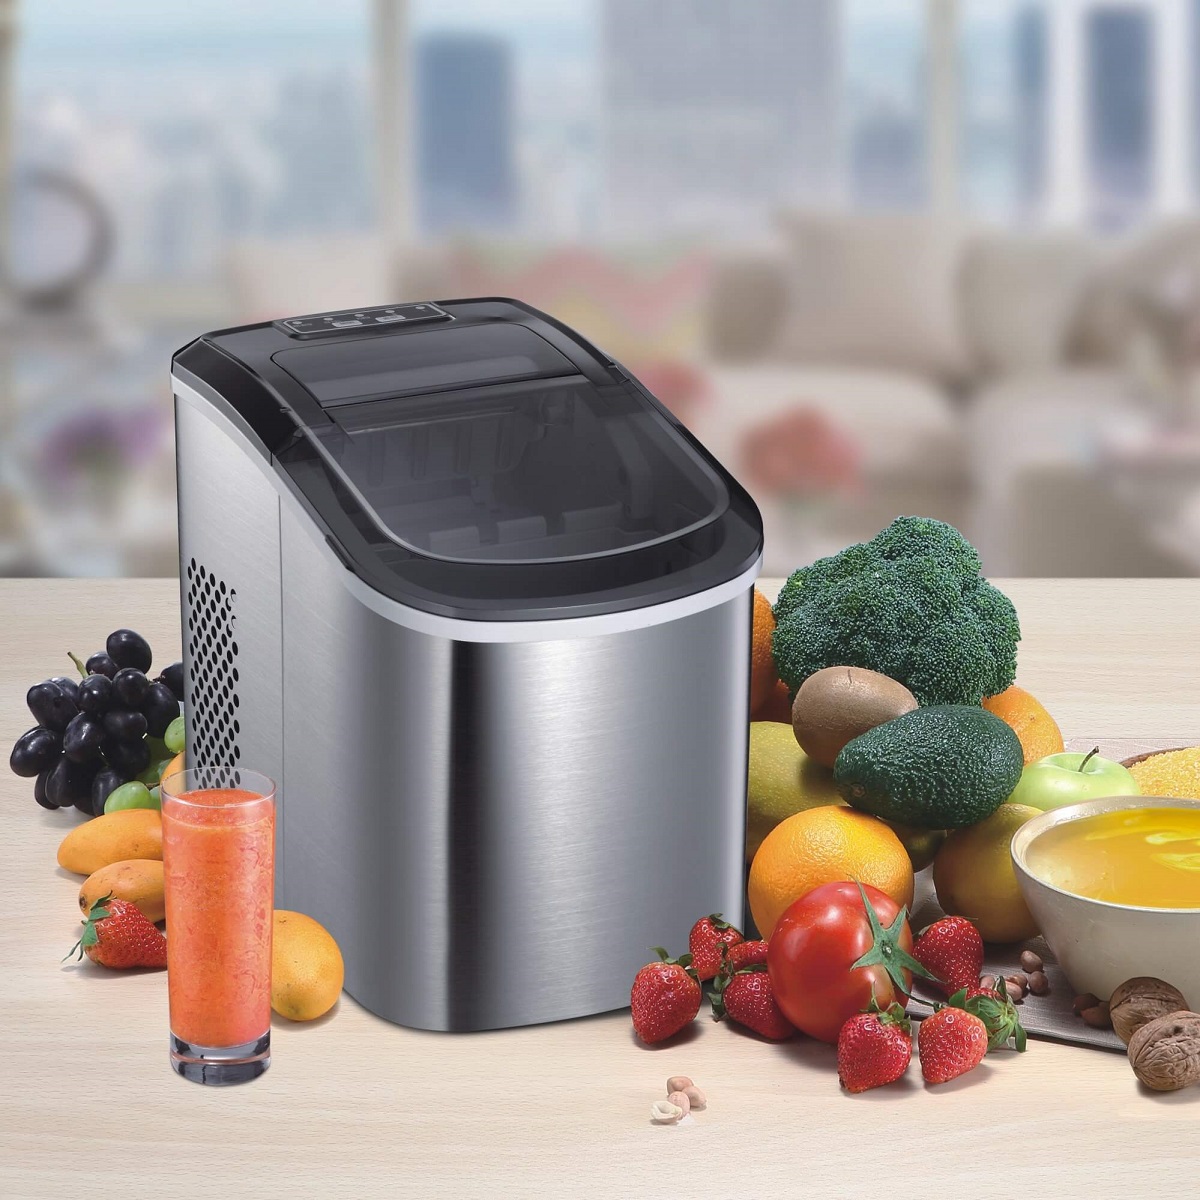
Welcome to the comprehensive guide on how to clean your Antarctic Star Ice Maker. Ice makers are a convenient appliance that provide us with a constant supply of ice for our cold beverages or to keep our perishable items chilled. However, over time, they can accumulate dirt, mineral deposits, and even mold, which can affect the quality and taste of the ice it produces. Regular cleaning of your ice maker is essential to maintain its performance and ensure that the ice it produces is safe for consumption.
Cleaning your Antarctic Star Ice Maker is a simple and straightforward process that can be done with just a few basic supplies. This guide will walk you through each step, from gathering the necessary materials to reassembling and restarting your ice maker. By following these steps, you can ensure that your ice maker remains clean, hygienic, and ready to provide you with refreshing ice whenever you need it.
It is important to note that before you begin the cleaning process, you should consult the user manual provided by the manufacturer. The manufacturer may have specific instructions or recommendations for cleaning that may differ from this guide. Following the manufacturer’s guidelines will ensure that you clean your Antarctic Star Ice Maker in the most effective and safest way.
Now, let’s get started with the first step: gathering the necessary materials.
Key Takeaways:
- Regularly cleaning your Antarctic Star Ice Maker is essential to maintain its performance, prolong its lifespan, and ensure the quality and safety of the ice it produces. Follow the step-by-step guide to easily clean both the interior and exterior of your ice maker.
- Before cleaning your Antarctic Star Ice Maker, gather all necessary materials, including warm water, a mild cleaning solution, a soft cloth or sponge, a toothbrush or soft-bristle brush, and a towel or dishcloth. Avoid abrasive cleaners or harsh chemicals that could damage the ice maker.
Read more: How To Clean A Igloo Ice Maker
Step 1: Gathering the necessary materials – What you’ll need
Before you begin the cleaning process, it’s important to gather all the necessary materials. Having everything on hand will make the process more efficient and prevent you from interrupting your cleaning to search for missing items. Here’s what you’ll need:
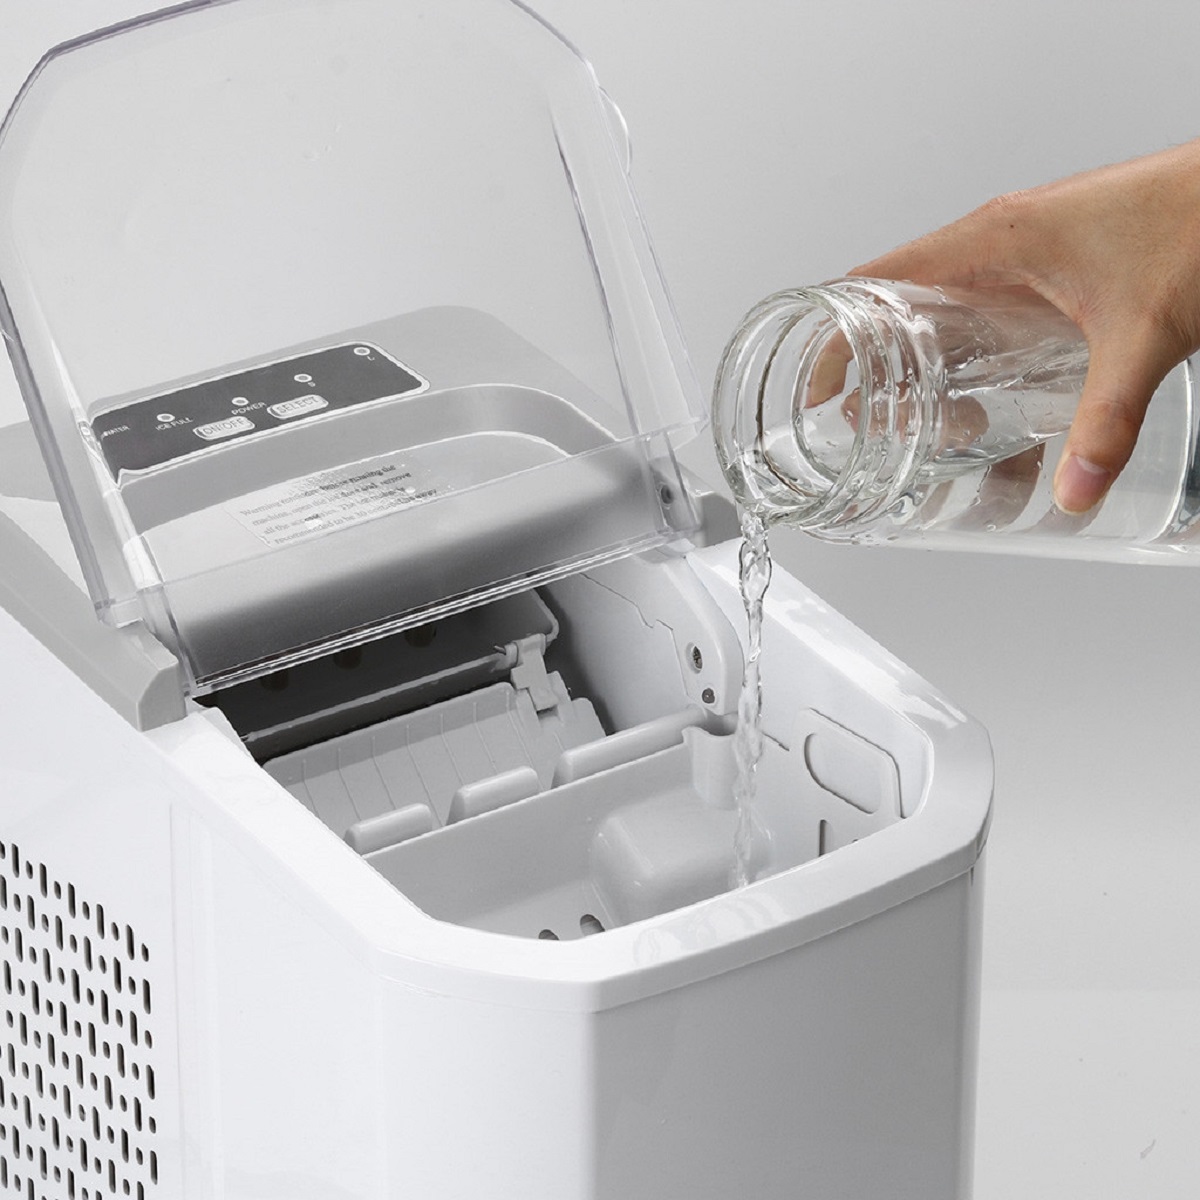
- Warm water: You’ll need a sufficient amount of warm water to clean the ice maker.
- Mild cleaning solution: A mild cleaning solution, such as a mixture of dish soap and water or a solution specifically designed for cleaning ice makers, should be used to clean the interior and exterior surfaces.
- Soft cloth or sponge: A soft cloth or sponge will help in wiping down the surfaces of the ice maker without damaging them.
- Toothbrush or soft-bristle brush: This will be useful for scrubbing away any stubborn debris or residue.
- Towel or dishcloth: To dry the ice maker after cleaning.
It’s important to note that you should avoid using abrasive cleaners, bleach, or harsh chemicals when cleaning your Antarctic Star Ice Maker, as they can damage the surfaces and affect the taste and quality of the ice it produces.
Before using any cleaning agents, read their instructions and make sure they are safe to use on the materials of your ice maker. If you have any doubts, consult the manufacturer’s guidelines or contact their customer support for clarification.
Once you have gathered all the necessary materials, you’ll be ready to move on to the next step: Unplugging and draining the ice maker.
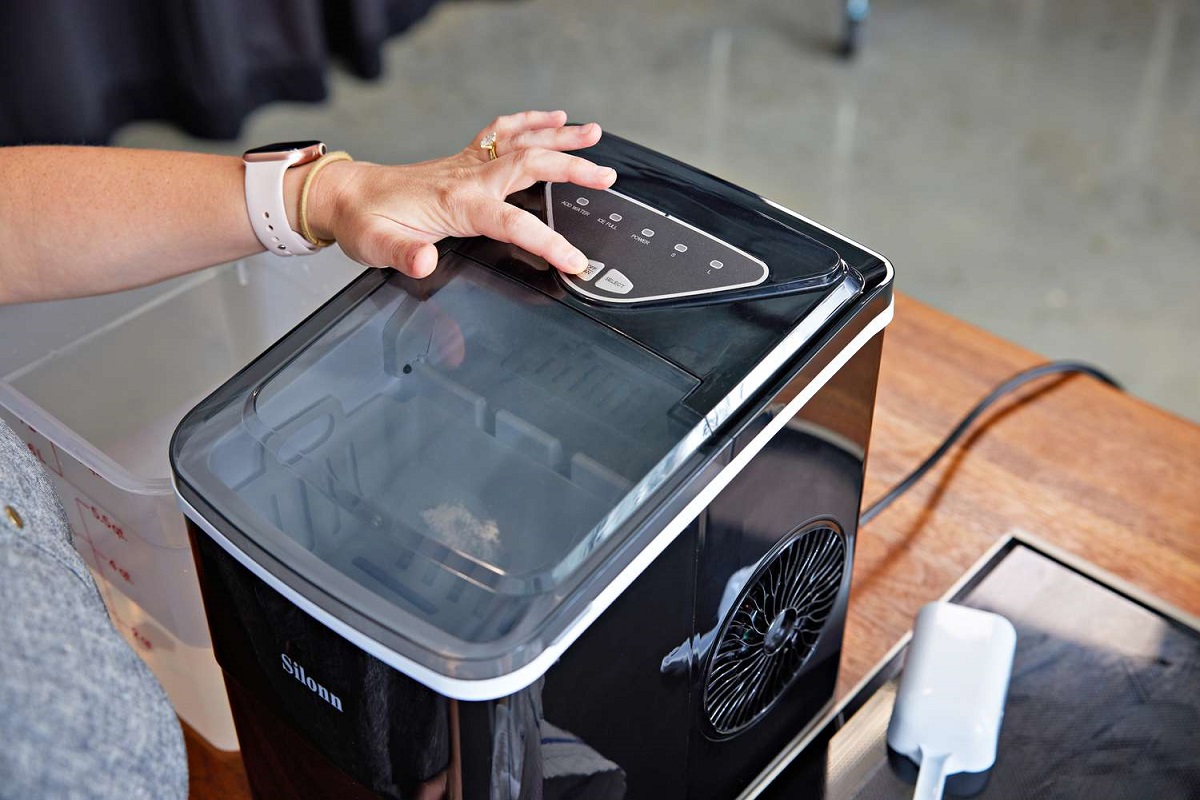
Step 2: Unplugging and draining the ice maker – Safely disconnecting the power – Emptying the ice maker
Before you start cleaning your Antarctic Star Ice Maker, it’s crucial to ensure your safety by disconnecting the power. Follow these steps to safely disconnect the power and empty the ice maker:
- Safely disconnecting the power:
- Emptying the ice maker:
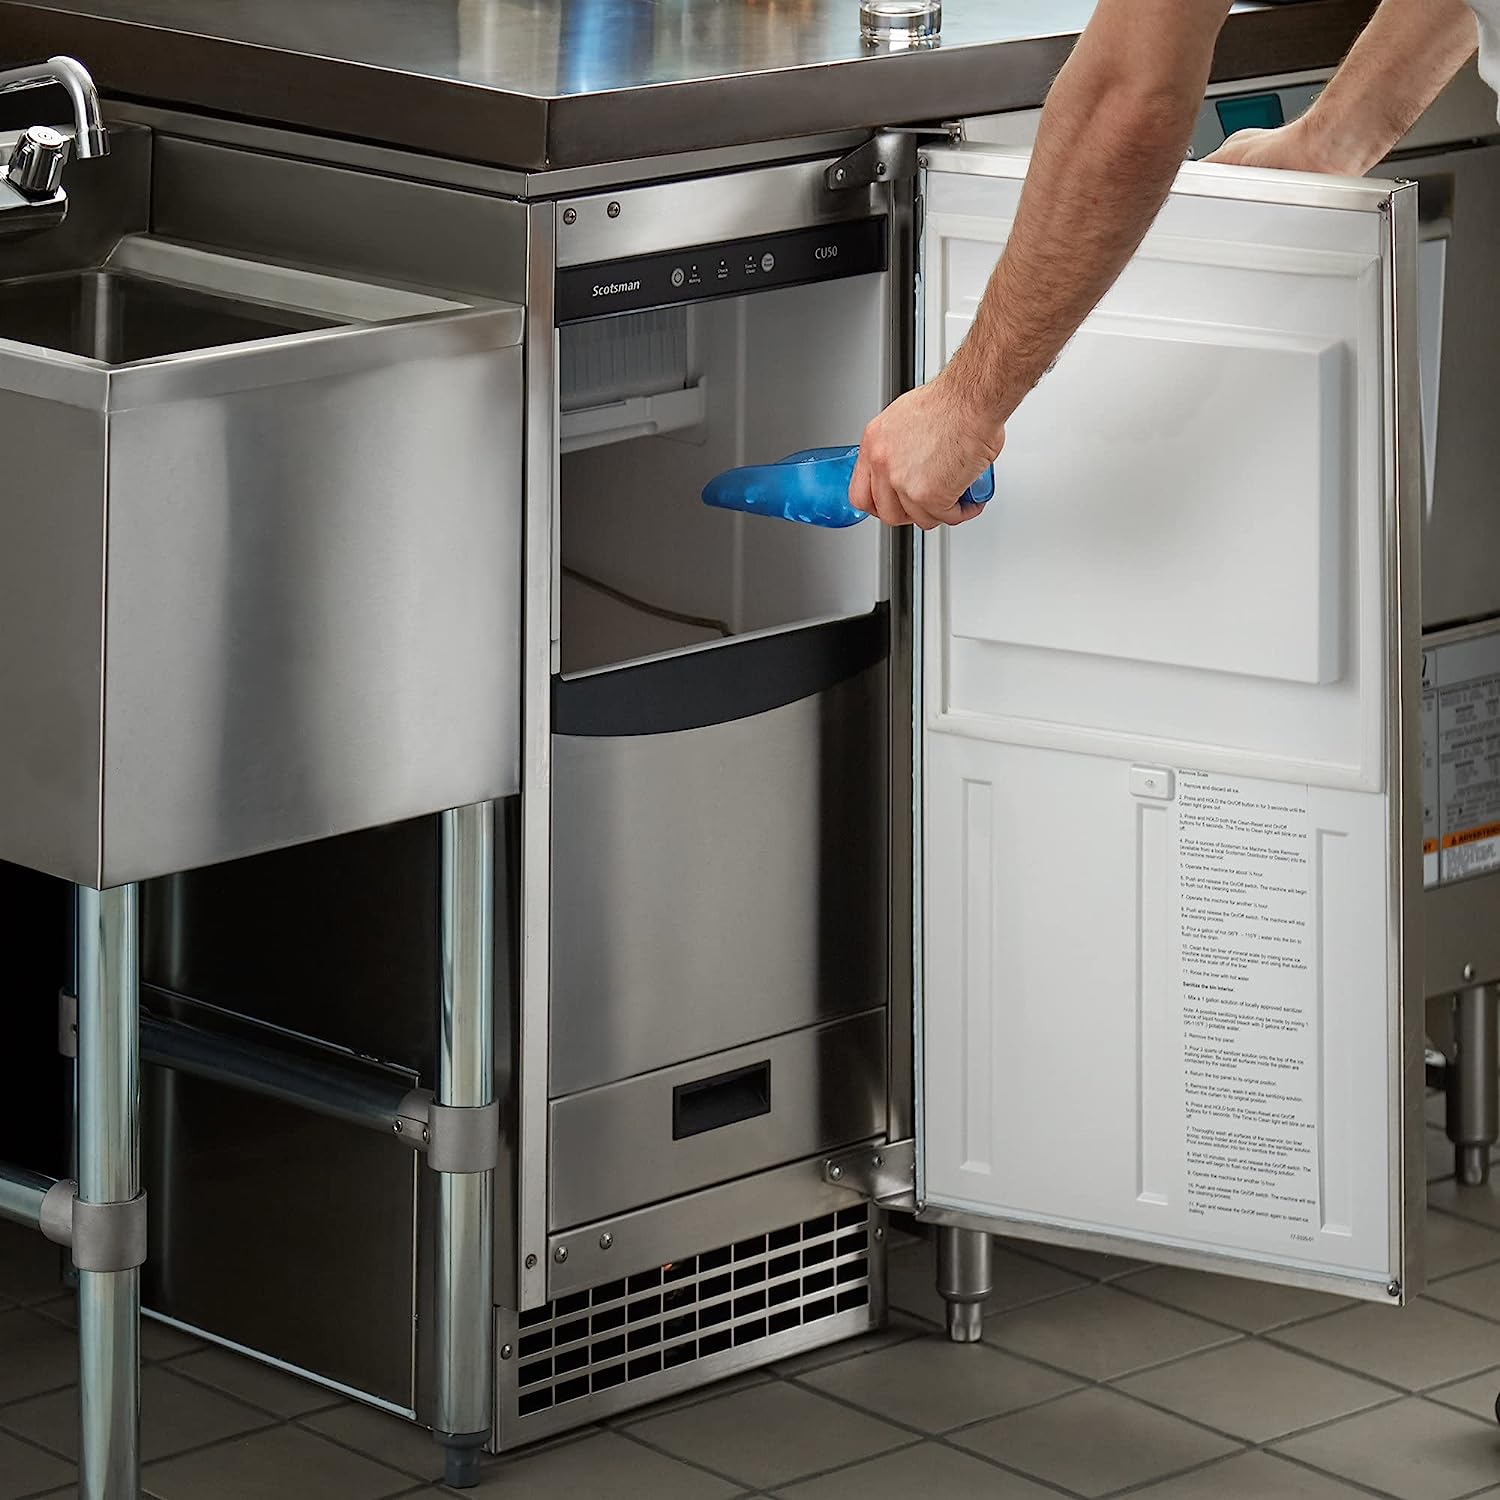
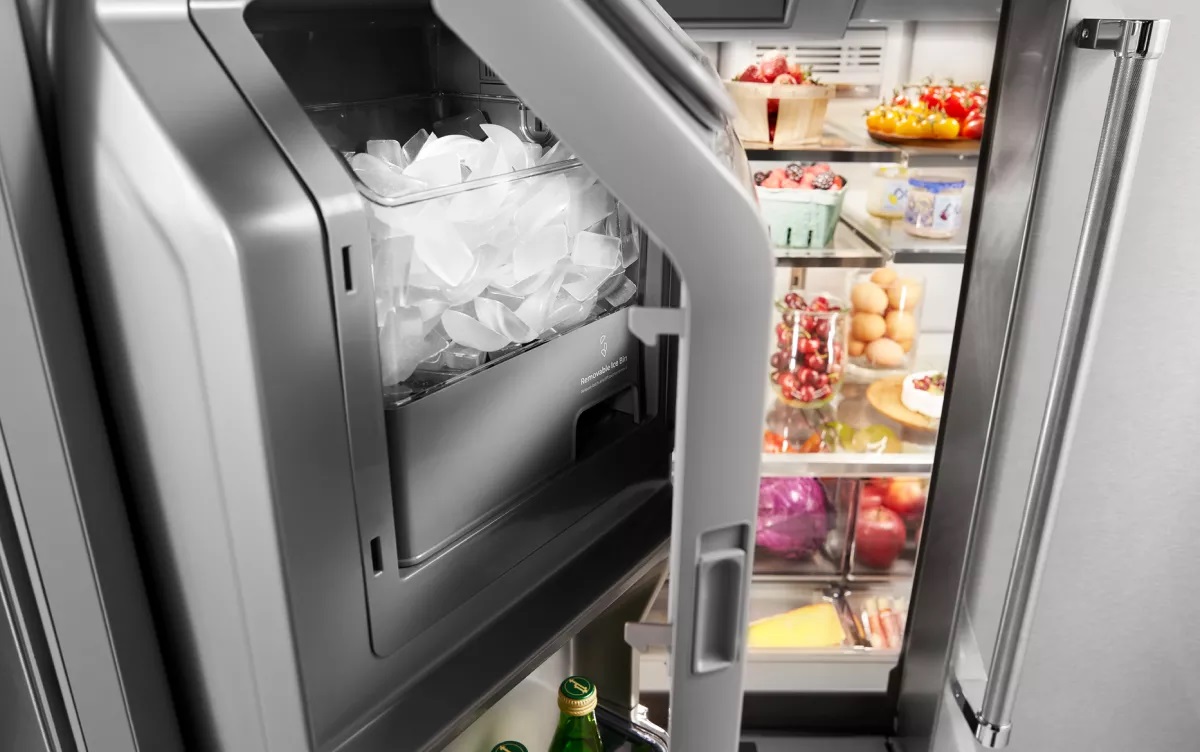
- If your ice maker has a manual ice removal system, use a scoop or similar tool to remove all the ice from the ice bin. Be careful not to damage any of the interior parts while doing this.
- If your ice maker has an automatic ice removal system, follow the instructions provided by the manufacturer to empty the ice bin. Typically, this involves pressing a button or flipping a lever to release the ice into a container.
- Taking out the ice tray:
- Cleaning the ice tray:
- Wiping down the interior surfaces:
- Removing any debris or residue:
- Using a mild cleaning solution:
- Wiping down the exterior surfaces:
- Drying the exterior surfaces:
- Placing the ice tray back in:
- Connecting the power:
- Starting the ice maker:
- Allowing the ice maker to clean itself:
Locate the power cord of your ice maker and unplug it from the electrical outlet. This step will prevent any potential electrocution or accidents while cleaning.
Next, you’ll need to empty the ice maker of any existing ice. This step will make it easier to clean the interior components thoroughly.
Depending on the model of your ice maker, you may have a manual or automatic ice removal system.
Make sure to discard the ice you remove from the ice maker. It’s recommended not to use this ice for consumption, as it may have been sitting in the machine for some time and could potentially contain impurities.
Once you have safely disconnected the power and emptied the ice maker, you’re ready to move on to the next step: Removing and cleaning the ice tray.
Step 3: Removing and cleaning the ice tray – Taking out the ice tray – Cleaning the ice tray
In this step, we will focus on removing the ice tray from your Antarctic Star Ice Maker and then cleaning it thoroughly. Follow these steps:
Start by locating the ice tray inside the ice maker. The ice tray is where the water freezes and forms ice cubes.
Depending on your ice maker model, you may need to lift, slide, or twist the ice tray to remove it.
Take extra care when removing the ice tray to avoid any damage to the tray or other components. Refer to the user manual for specific instructions if needed.
Once you have removed the ice tray, it’s time to clean it to remove any accumulated dirt, mineral deposits, or residue.
Fill your sink or a basin with warm water and add a few drops of a mild cleaning solution. Stir the solution to create a soapy mixture.
Place the ice tray into the soapy water and let it soak for a few minutes. This will help loosen any stubborn debris.
Using a soft cloth or sponge, gently scrub the ice tray to remove any dirt or residue. Pay attention to the corners and hard-to-reach areas.
If there are any stubborn stains or mineral deposits, you can use a toothbrush or soft-bristle brush to scrub them away. Be gentle to avoid damaging the ice tray.
Rinse the ice tray thoroughly with warm water to remove any soap residue.
Inspect the ice tray for any remaining dirt or debris. If necessary, repeat the cleaning process until the tray is completely clean.
Once you have finished cleaning the ice tray, set it aside to dry completely. Make sure it is completely dry before placing it back into the ice maker.
With the ice tray cleaned and ready, you’re now prepared to move on to the next step: Cleaning the interior of the ice maker.
To clean your Antarctic Star ice maker, mix equal parts of water and white vinegar and run it through a cleaning cycle. Then, wipe down the interior with a soft cloth and warm, soapy water. Finally, rinse the interior with clean water and dry thoroughly before using again.
Step 4: Cleaning the interior of the ice maker – Wiping down the interior surfaces – Removing any debris or residue
In this step, we will focus on cleaning the interior of your Antarctic Star Ice Maker to ensure that it is free from any dirt, debris, or residue. Follow these steps to clean the interior surfaces:
Start by dampening a soft cloth or sponge with warm water. Make sure the cloth or sponge is not dripping wet, as excess moisture can harm the electrical components of the ice maker.
Gently wipe down the interior surfaces of the ice maker, including the walls, shelves, and any other components.
Pay extra attention to areas that may have accumulated dirt, such as corners or crevices.
Be thorough in your cleaning, ensuring that you cover all surfaces. This will help remove any dust or grime that may have accumulated.
Inspect the interior of the ice maker for any debris or residue that may be present.
If you notice any loose debris or residue, use a soft cloth or sponge to gently remove it. Be careful not to scratch or damage any surfaces.
If there are any stubborn stains or residue, you can moisten a cloth with a mild cleaning solution and gently scrub the affected area.
Ensure that all debris and residue have been completely removed from the interior of the ice maker.
Once you have finished wiping down the interior surfaces and removing any debris or residue, take a moment to inspect the cleanliness of the interior. If needed, repeat the cleaning process until the interior is spotless.
With the interior of the ice maker cleaned, you’re now ready to move on to the next step: Cleaning the exterior of the ice maker.
Read more: How To Clean Out An Ice Maker
Step 5: Cleaning the exterior of the ice maker – Using a mild cleaning solution – Wiping down the exterior surfaces
In this step, we will focus on cleaning the exterior of your Antarctic Star Ice Maker. The exterior surfaces can accumulate dust, smudges, or fingerprints over time. Follow these steps to clean the exterior surfaces:
Prepare a mild cleaning solution by mixing a small amount of dish soap or a specific cleaning solution for ice makers with warm water.
Dip a soft cloth or sponge into the cleaning solution, ensuring it is damp but not soaking wet.
Gently wipe down the exterior surfaces of the ice maker, including the front panel, buttons, and any other accessible areas.
Pay attention to areas that may have accumulated dirt or smudges, such as around the control panel or door handle.
Be thorough in your cleaning, ensuring that you cover all visible surfaces.
Use gentle, even strokes to wipe away any dirt or smudges, avoiding excess pressure that could damage the surface.
After wiping down the exterior surfaces, use a clean, dry cloth or towel to carefully dry the ice maker.
Make sure to remove any remaining moisture to prevent water spots or streaks from forming.
While cleaning the exterior, take care not to let any liquid or cleaning solution come into contact with the electrical components or any openings of the ice maker.
Once you have finished cleaning and drying the exterior surfaces, take a moment to admire the refreshed appearance of your Antarctic Star Ice Maker.
With the exterior of the ice maker cleaned, you’re now ready to move on to the next step: Reassembling and restarting the ice maker.
Step 6: Reassembling and restarting the ice maker – Placing the ice tray back in – Connecting the power
In this final step, we will focus on reassembling your Antarctic Star Ice Maker and getting it ready for use. Follow these steps to reassemble and restart the ice maker:
Take the dry and clean ice tray and carefully place it back into the ice maker. Ensure that it is properly aligned and fits securely into its designated spot.
Double-check that the ice tray is fully inserted and seated correctly, as any misalignment can affect the ice-making process.
Locate the power cord of your ice maker and plug it back into the electrical outlet. Ensure that the power cord is securely connected and not loose.
Once the power is restored, locate the power button or switch on your ice maker.
Press the power button or flip the switch to turn on the ice maker.
Wait for the ice maker to go through its startup process, which may include running the initial cycle, filling the water reservoir, and preparing for ice making. Refer to the user manual for specific instructions on starting your ice maker.
Some ice makers have a self-cleaning mode or a cleaning cycle that removes any residual cleaning solution or debris from the system.
If your ice maker has this feature, follow the manufacturer’s instructions to activate the self-cleaning mode or run the cleaning cycle.
Allow the ice maker to complete the cleaning process as per the recommended duration.
Once the ice maker has completed its startup and cleaning process, it should be ready to produce fresh and clean ice cubes. Be patient, as it may take some time for the ice maker to start producing ice depending on the model and its specific operation.
Congratulations! You have successfully cleaned your Antarctic Star Ice Maker and reassembled it. You can now enjoy the pleasure of having crisp and refreshing ice whenever you need it.
Remember, regular cleaning of your ice maker is essential to maintain its performance, prolong its lifespan, and ensure the quality and safety of the ice it produces. It’s recommended to clean your ice maker every few months or as per the manufacturer’s recommendations.
Conclusion
Cleaning your Antarctic Star Ice Maker is a necessary task to ensure that it continues to produce clean and refreshing ice cubes. By following the step-by-step guide provided in this article, you can easily clean both the interior and exterior of your ice maker, allowing it to function optimally and maintain its performance over time.
Remember to gather all the necessary materials before starting the cleaning process, including warm water, a mild cleaning solution, a soft cloth or sponge, a toothbrush or soft-bristle brush, and a towel or dishcloth. Avoid using any abrasive cleaners or harsh chemicals that could damage the ice maker.
Begin by safely disconnecting the power and emptying the ice maker of any existing ice. Proceed to remove the ice tray and clean it thoroughly using warm, soapy water. Wipe down the interior surfaces of the ice maker, removing any debris or residue that may have accumulated. Then, clean the exterior of the ice maker using a mild cleaning solution and gently wiping down the surfaces.
After cleaning, reassemble the ice maker by placing the ice tray back in and securely connecting the power. Start the ice maker and allow it to go through its startup process, which may include a self-cleaning mode or a cleaning cycle to ensure that any residual cleaning solution or debris is removed from the system.
Regularly cleaning your Antarctic Star Ice Maker not only helps maintain its performance but also ensures the quality and safety of the ice it produces. Be sure to consult the user manual provided by the manufacturer for any specific instructions or recommendations regarding cleaning.
Now that you are equipped with the knowledge of how to clean your Antarctic Star Ice Maker, you can enjoy the peace of mind knowing that your ice maker is clean, hygienic, and ready to provide you with refreshing ice cubes whenever you need them.
Frequently Asked Questions about Antarctic Star Ice Maker How To Clean
Was this page helpful?
At Storables.com, we guarantee accurate and reliable information. Our content, validated by Expert Board Contributors, is crafted following stringent Editorial Policies. We're committed to providing you with well-researched, expert-backed insights for all your informational needs.
0 thoughts on “Antarctic Star Ice Maker How To Clean”