Home>Gardening & Outdoor>Outdoor Structures>How To Build A Pergola Roof
Outdoor Structures
How To Build A Pergola Roof
Modified: February 17, 2024
Learn how to build a stunning pergola roof for your outdoor space with our expert tips and guidance. Create a beautiful and functional outdoor structure with our step-by-step instructions.
(Many of the links in this article redirect to a specific reviewed product. Your purchase of these products through affiliate links helps to generate commission for Storables.com, at no extra cost. Learn more)
Introduction
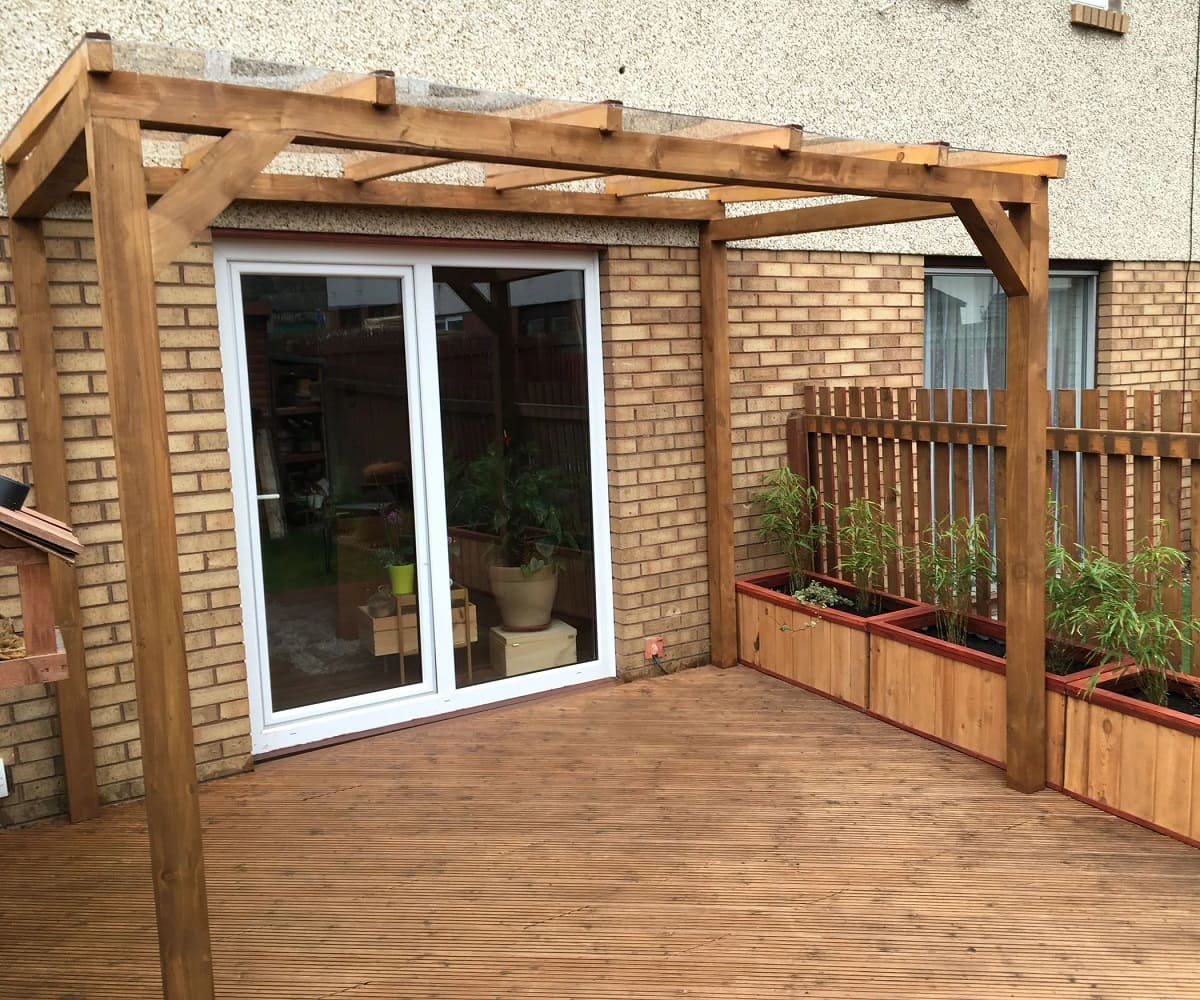
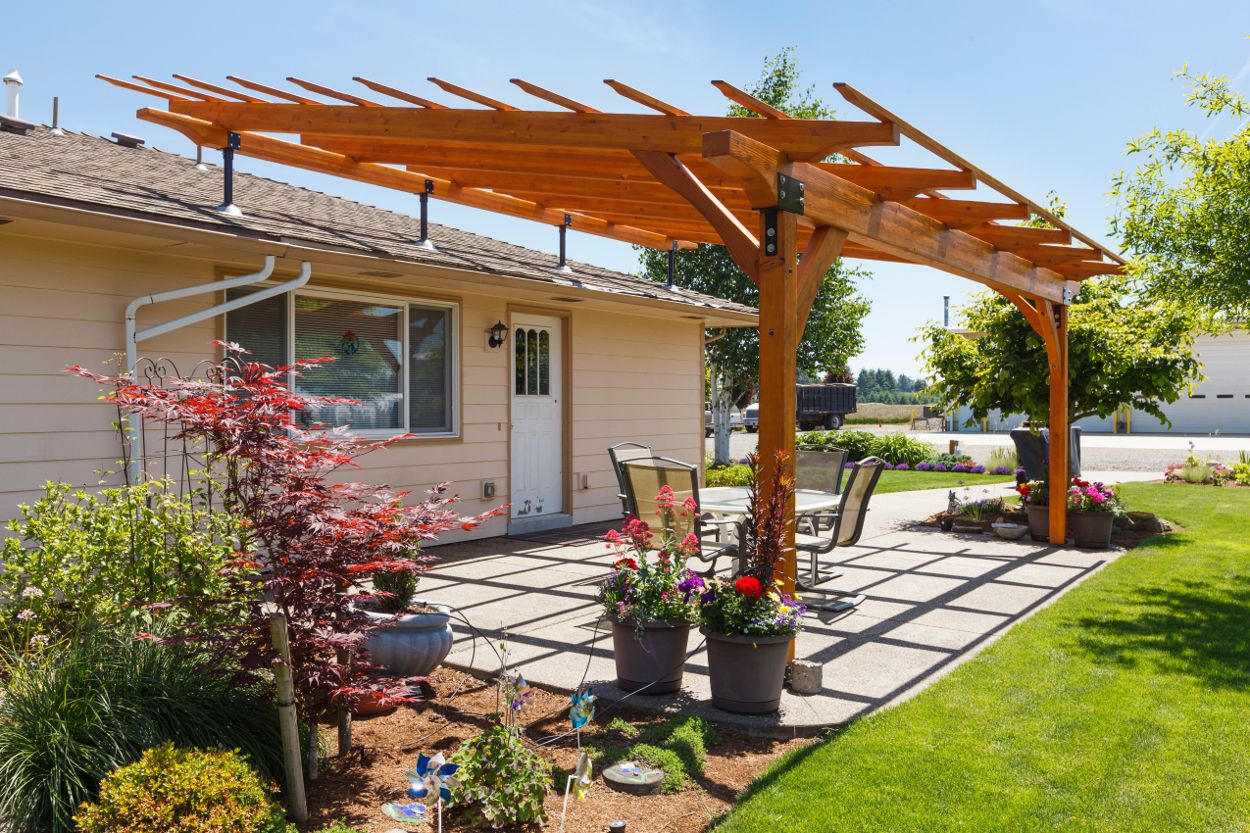
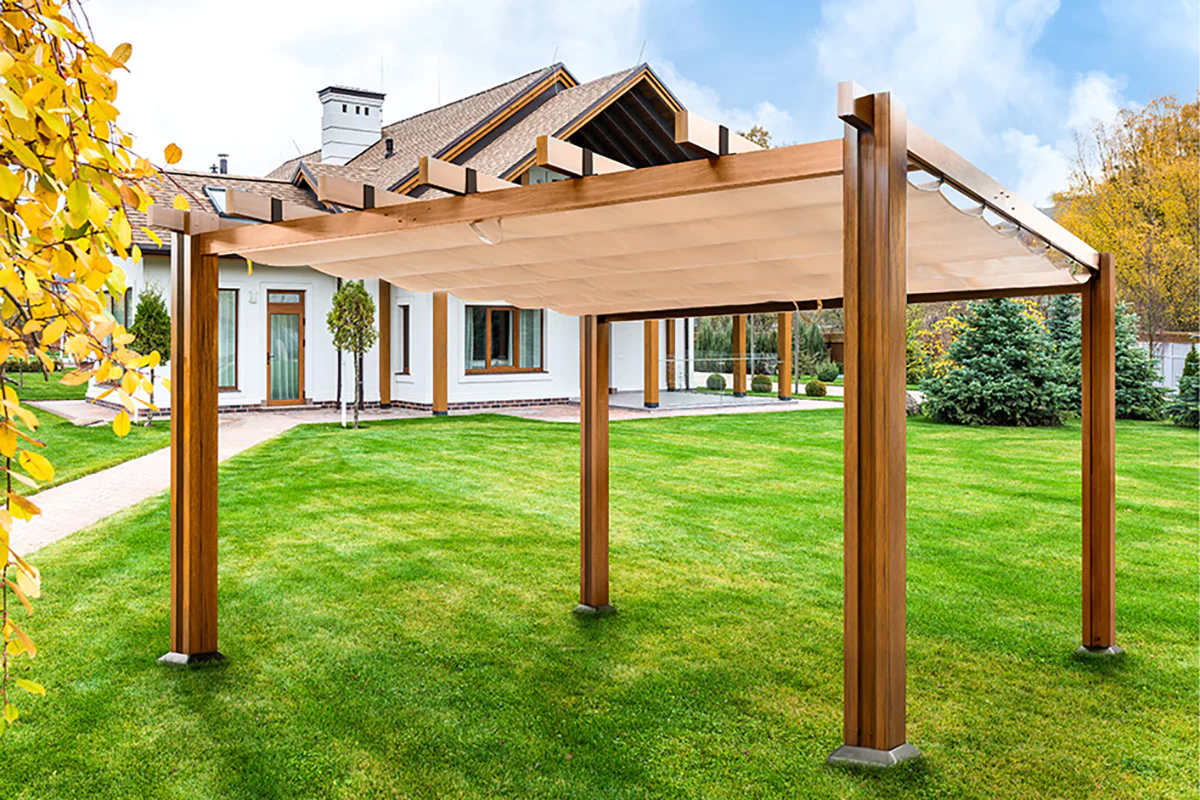
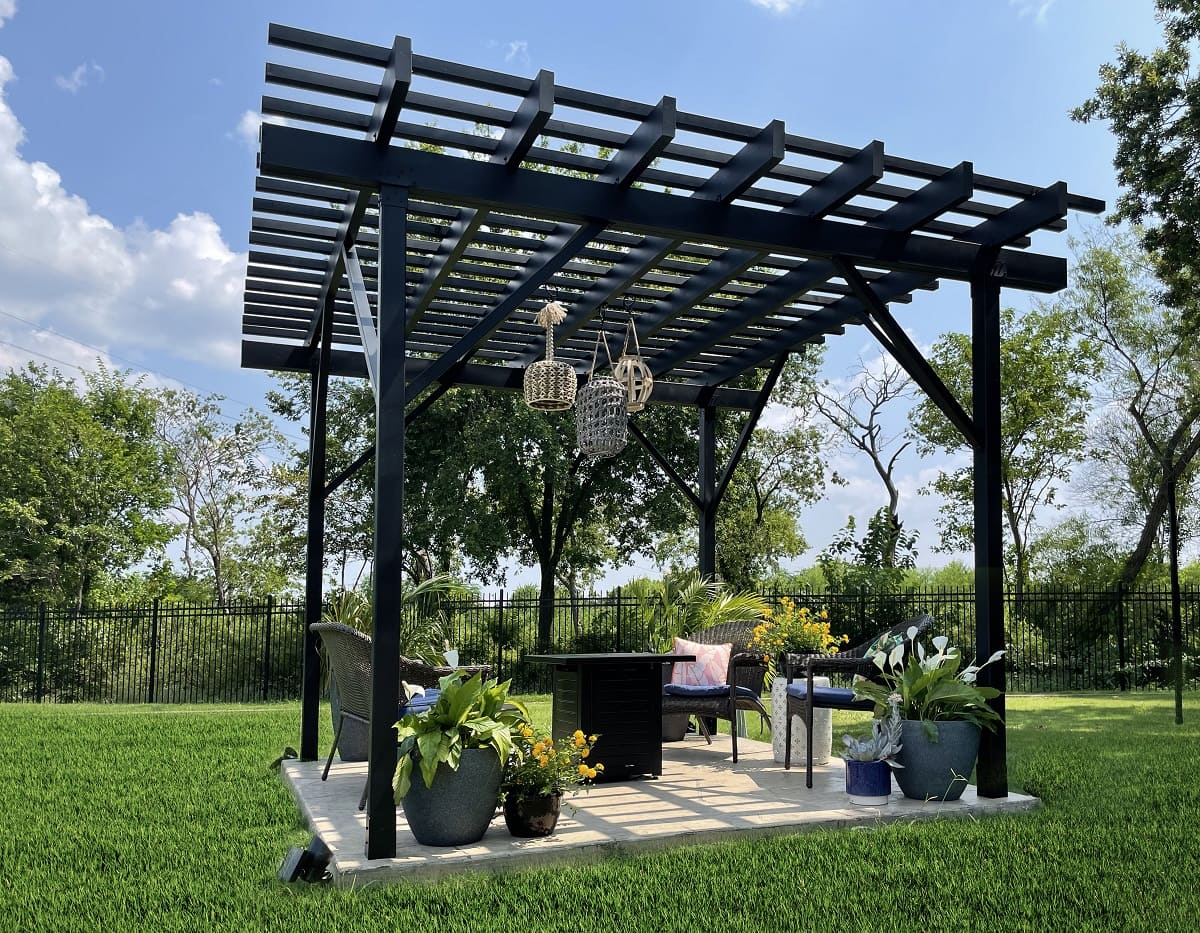
Welcome to the world of outdoor living, where the gentle breeze and warm sunshine invite you to create a tranquil haven in your own backyard. One of the most charming and functional additions to any outdoor space is a pergola with a beautifully crafted roof. A pergola roof not only enhances the aesthetic appeal of your outdoor area but also provides much-needed shade and protection from the elements, allowing you to savor the serenity of nature in comfort.
In this comprehensive guide, we will take you through the step-by-step process of building a pergola roof, empowering you to transform your outdoor space into a captivating retreat. Whether you are a seasoned DIY enthusiast or a novice looking to embark on your first outdoor construction project, this guide is designed to equip you with the knowledge and confidence to bring your vision to life.
From meticulous planning and material selection to precise measurements and expert assembly techniques, each stage of building a pergola roof plays a crucial role in ensuring the structural integrity and visual allure of the final product. By following the detailed instructions and insightful tips provided in this guide, you will be well-prepared to embark on this enriching endeavor and create a stunning pergola roof that complements your outdoor lifestyle.
So, roll up your sleeves, gather your tools, and let's embark on this rewarding journey of crafting a pergola roof that will not only elevate the allure of your outdoor space but also provide a cozy haven for relaxation, entertainment, and cherished moments with loved ones. Let's dive into the first step: planning and preparation.
Key Takeaways:
- Planning and preparation are crucial for building a pergola roof. Assess your space, define your design, check regulations, gather tools, and create a detailed plan to ensure a smooth construction process.
- Choosing the right materials and adding finishing touches are essential for a durable and visually appealing pergola roof. Prioritize durability, weather resistance, and aesthetic coherence to create a captivating outdoor retreat.
Read more: How To Build A Pergola Roof
Step 1: Planning and Preparation
Before diving into the construction of your pergola roof, it is essential to lay a solid foundation through meticulous planning and thorough preparation. This initial step sets the stage for a smooth and successful building process, ensuring that every subsequent stage unfolds with precision and efficiency.
Assess Your Outdoor Space: Begin by surveying your outdoor area to determine the ideal location for your pergola. Consider factors such as sunlight exposure, existing landscaping, and the proximity to your home. This assessment will help you envision how the pergola roof will integrate seamlessly with its surroundings while maximizing its functionality and visual appeal.
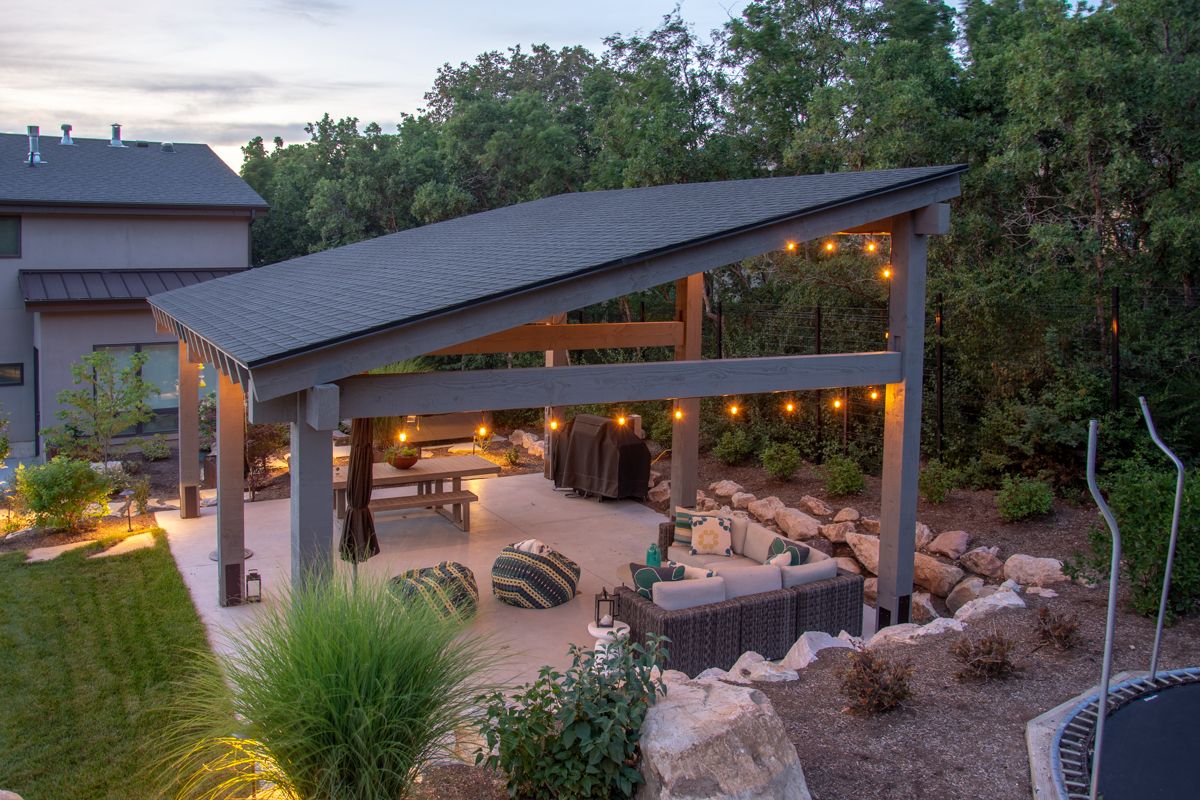
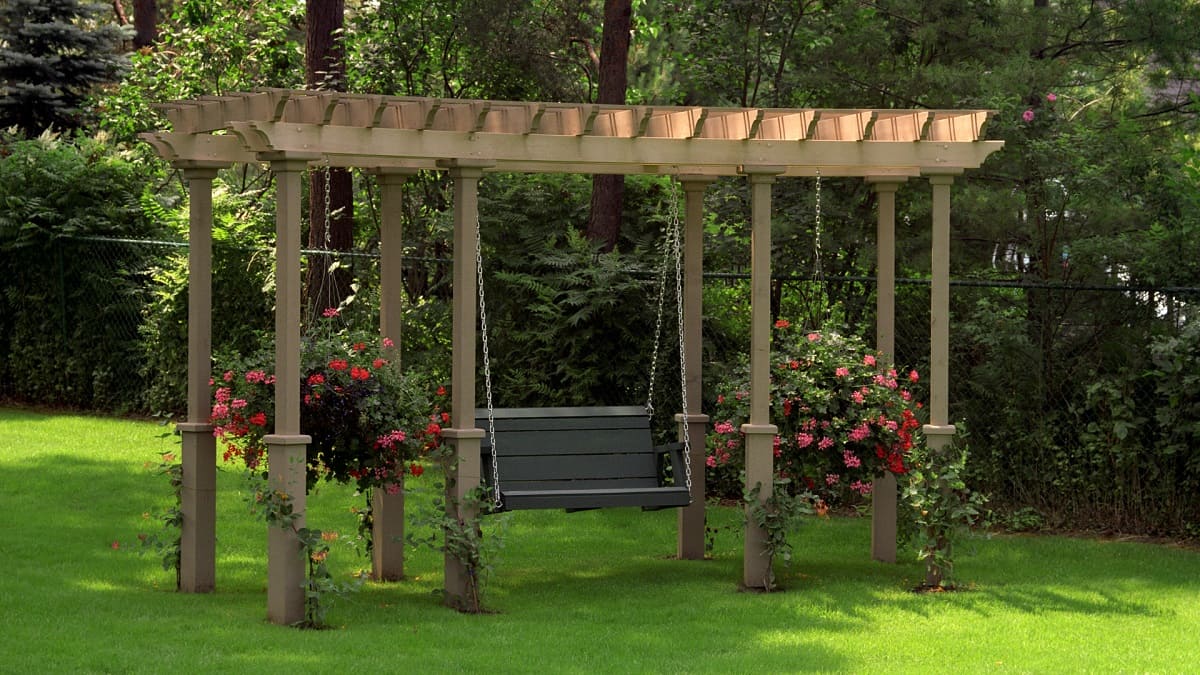
Define Your Design and Purpose: Envision the style and purpose of your pergola roof. Are you aiming for a cozy retreat with climbing vines adorning the structure, or do you envision a sleek, modern design that complements your outdoor decor? Additionally, consider the intended use of the pergola, whether it’s for dining, lounging, or entertaining guests. This clarity will guide your material selection and construction approach.
Check Local Regulations: Before commencing construction, familiarize yourself with local building codes and regulations pertaining to outdoor structures. Some areas may have specific requirements regarding the size, height, and placement of pergolas. Ensuring compliance with these regulations will prevent potential setbacks and ensure the safety and legality of your project.
Gather Essential Tools and Materials: Compile a comprehensive list of tools and materials required for the construction of the pergola roof. This may include lumber, fasteners, a level, saw, drill, and protective gear. Ensuring that you have all the necessary items on hand will streamline the building process and minimize interruptions.
Create a Detailed Plan: Sketch out a detailed plan for your pergola roof, specifying dimensions, structural details, and the placement of support posts. This plan will serve as a valuable reference throughout the construction process, guiding your measurements and ensuring that the final structure aligns with your vision.
By investing time and attention in the planning and preparation phase, you are laying a sturdy foundation for the construction of your pergola roof. With a clear vision, compliance with regulations, and the essential tools at your disposal, you are ready to move on to the next pivotal step: choosing the right materials.
Step 2: Choosing the Right Materials
When it comes to building a durable and visually appealing pergola roof, the selection of materials plays a pivotal role. From sturdy support beams to the roofing material that will shield you from the elements, each component contributes to the structural integrity and aesthetic charm of the finished pergola. Here’s a comprehensive guide to choosing the right materials for your pergola roof:
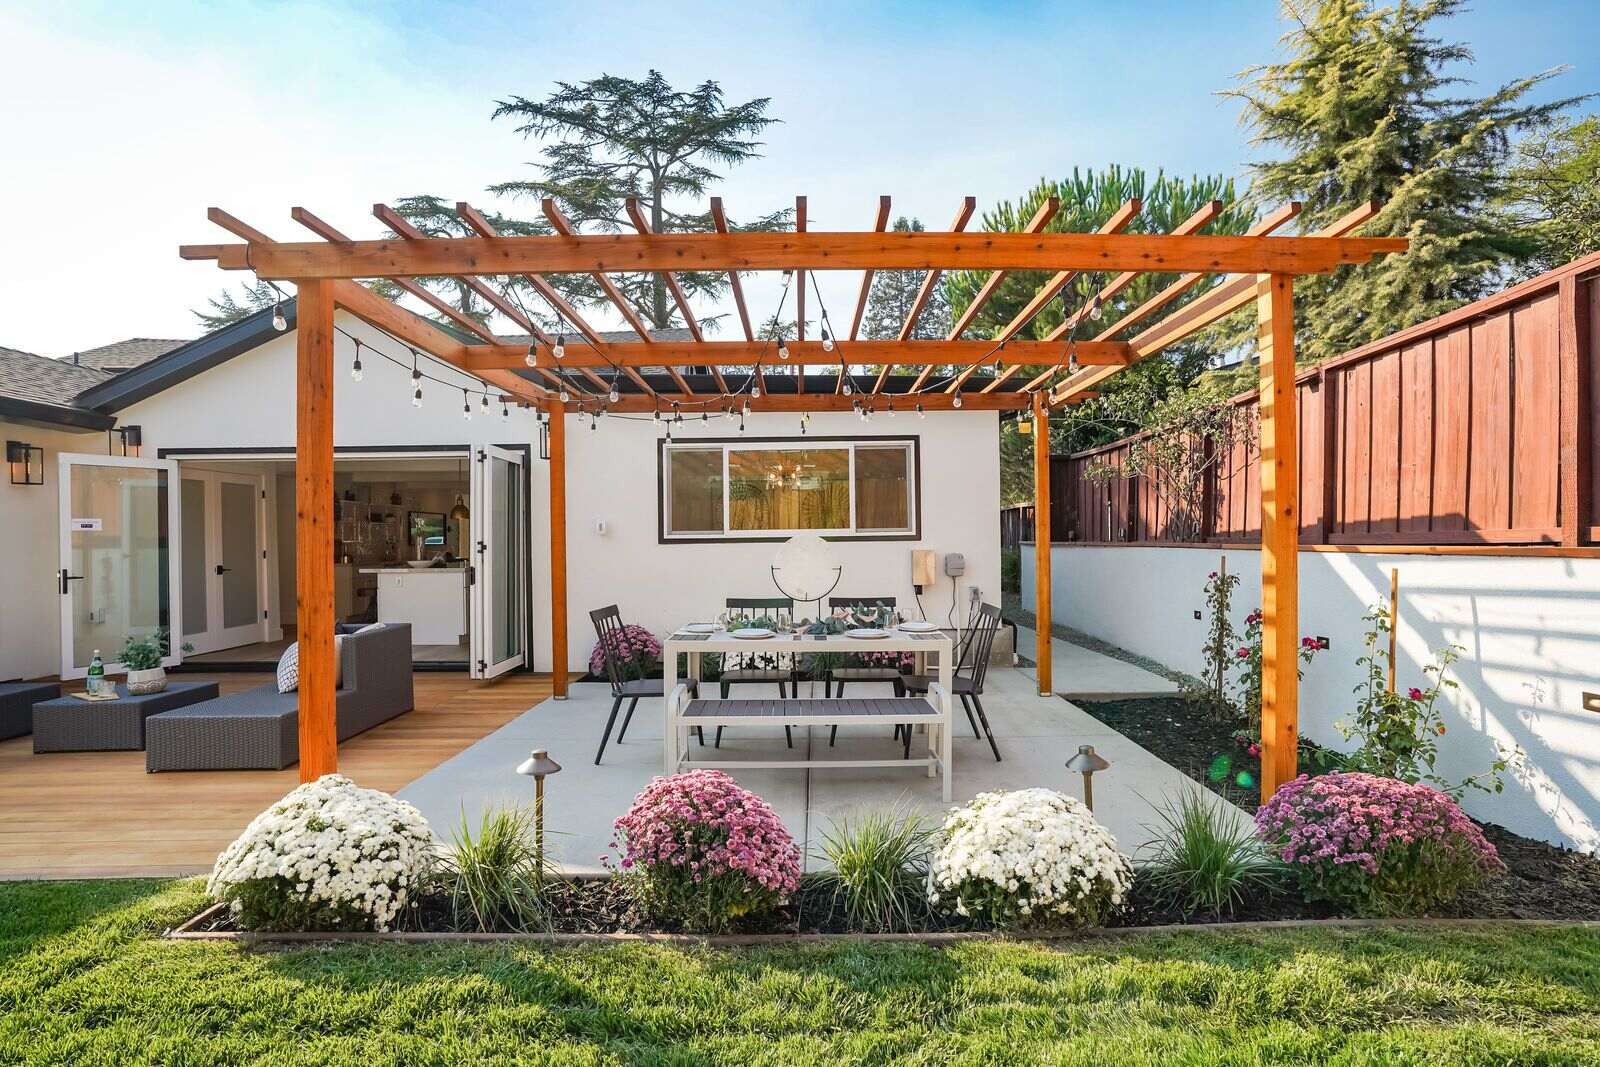
- Lumber Selection: Opt for high-quality, weather-resistant lumber for the main structural elements of the pergola, such as the support posts, beams, and rafters. Cedar and redwood are popular choices due to their natural resistance to decay and insects, along with their appealing aesthetic qualities.
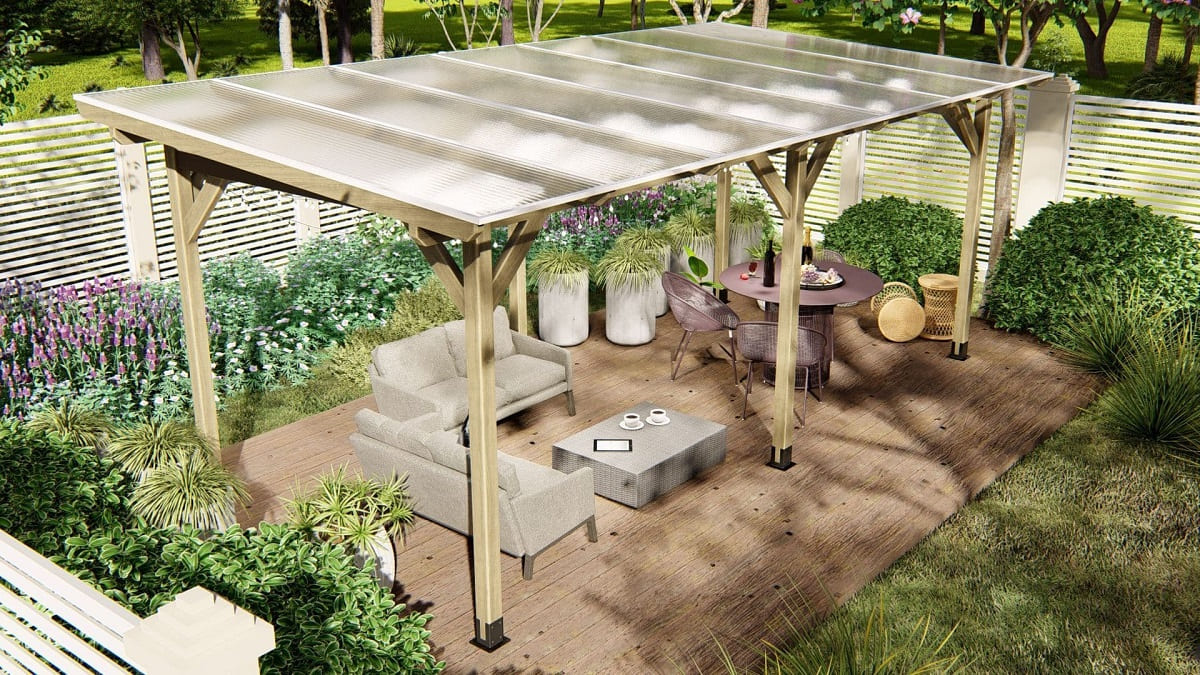
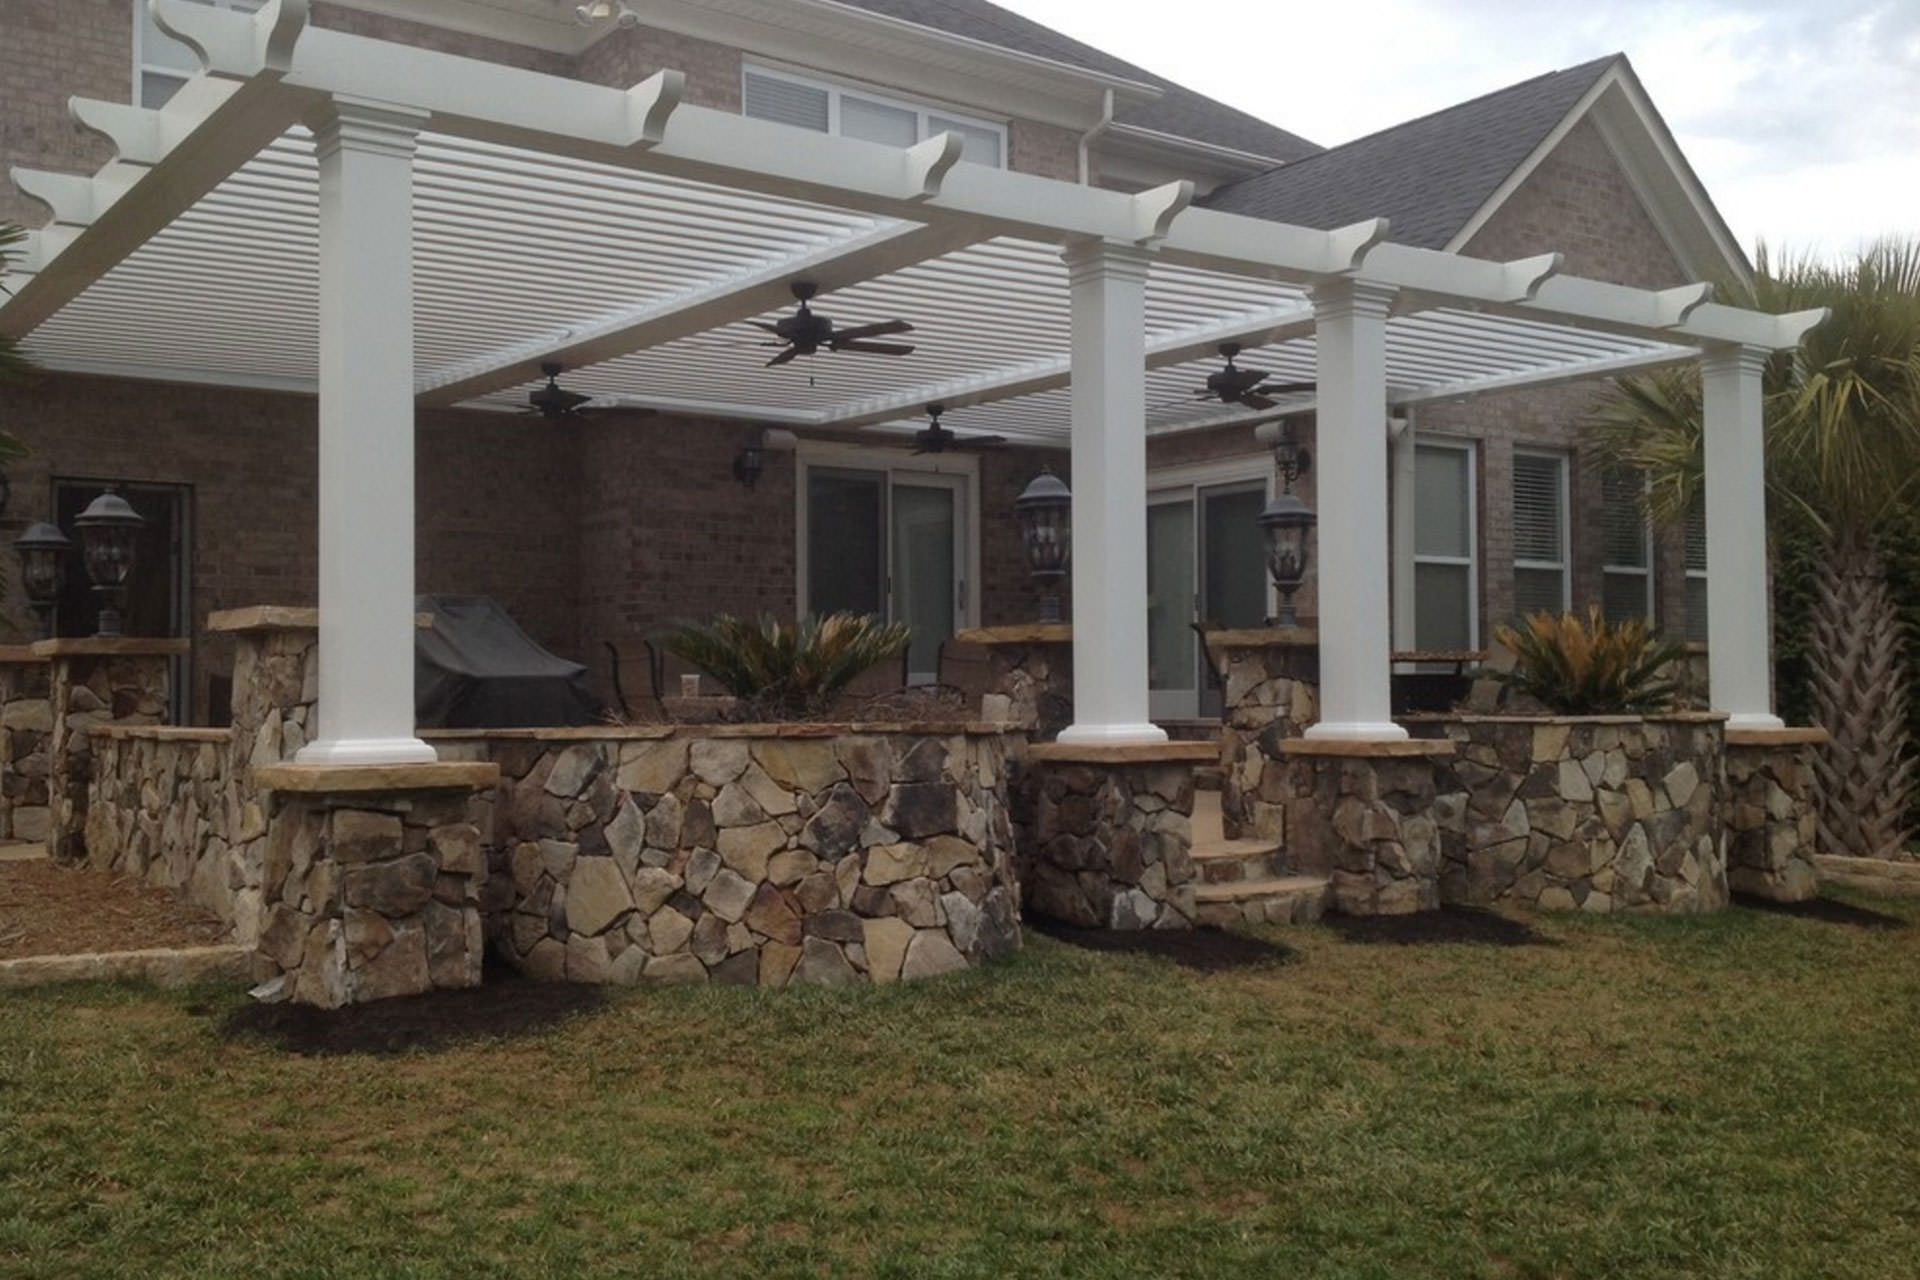
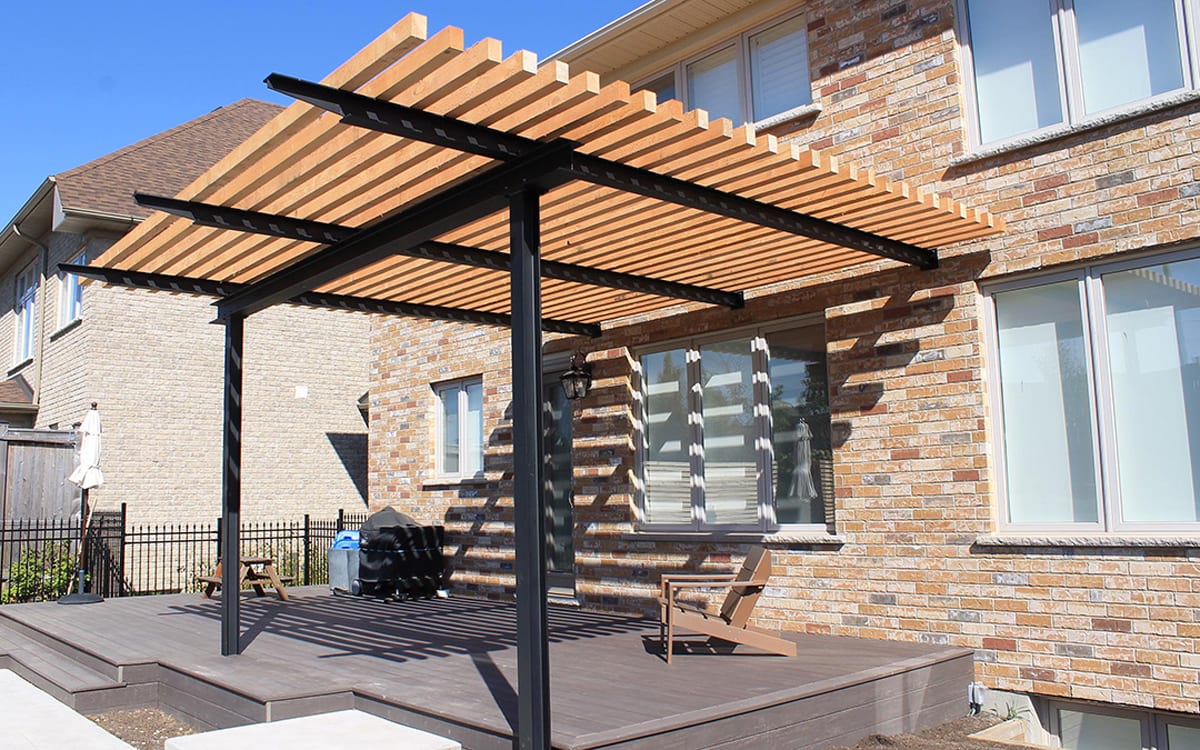
- Roofing Material: Consider various options for the roofing material, such as polycarbonate panels, metal sheets, or traditional wooden slats. Each material offers distinct advantages in terms of durability, light transmission, and aesthetic appeal. Polycarbonate panels, for instance, provide UV protection and are lightweight, while metal sheets offer exceptional longevity and a modern aesthetic.
- Fasteners and Hardware: Select corrosion-resistant fasteners and hardware to ensure the longevity and stability of the pergola roof. Stainless steel or galvanized screws and bolts are ideal for outdoor applications, as they withstand exposure to the elements without corroding.
- Decorative Elements: If you intend to incorporate decorative elements, such as ornamental brackets or lattice panels, choose materials that complement the overall design of your outdoor space. These details can add character and charm to your pergola roof while accentuating its visual appeal.
When choosing materials, it’s essential to prioritize durability, weather resistance, and visual coherence with your outdoor environment. Additionally, consider the maintenance requirements of each material to ensure that your pergola roof remains a stunning and functional feature of your outdoor space for years to come.
With the right materials in hand, you are poised to embark on the next phase of the construction process: measuring and cutting the components that will bring your pergola roof to life.
Step 3: Measuring and Cutting
Precision is paramount when it comes to crafting the components of your pergola roof, and this begins with accurate measurements and meticulous cutting of the materials. Whether you are working with lumber for the support structure or specialized roofing materials, the following steps will guide you through the crucial process of measuring and cutting with finesse:
- Accurate Measurements: Begin by carefully measuring the dimensions for the support posts, beams, rafters, and roofing materials. Use a reliable tape measure and ensure that each measurement is precise, accounting for any variations in the terrain or existing structures.
- Marking and Layout: Mark the measured lumber according to the dimensions required for each component. Use a square to ensure that the cuts are perpendicular, and lay out the components in a clear, organized manner to streamline the cutting process.
- Cutting Techniques: Employ the appropriate cutting tools, such as a circular saw or miter saw, to make clean and accurate cuts. Follow the marked lines carefully, and prioritize safety by wearing protective eyewear and using secure work surfaces during the cutting process.
- Precision with Roofing Materials: If working with specialized roofing materials such as polycarbonate panels or metal sheets, adhere to the manufacturer’s guidelines for cutting to ensure proper fit and weatherproofing.
By meticulously measuring and cutting the components of your pergola roof, you are laying the groundwork for a precise and visually appealing structure. Each cut made with care and accuracy brings you closer to the assembly phase, where the individual elements will seamlessly come together to form the captivating framework of your pergola roof.
With the components ready to take shape, the next step involves assembling the roof structure, where the vision of your pergola roof begins to materialize into a tangible and enchanting outdoor feature.
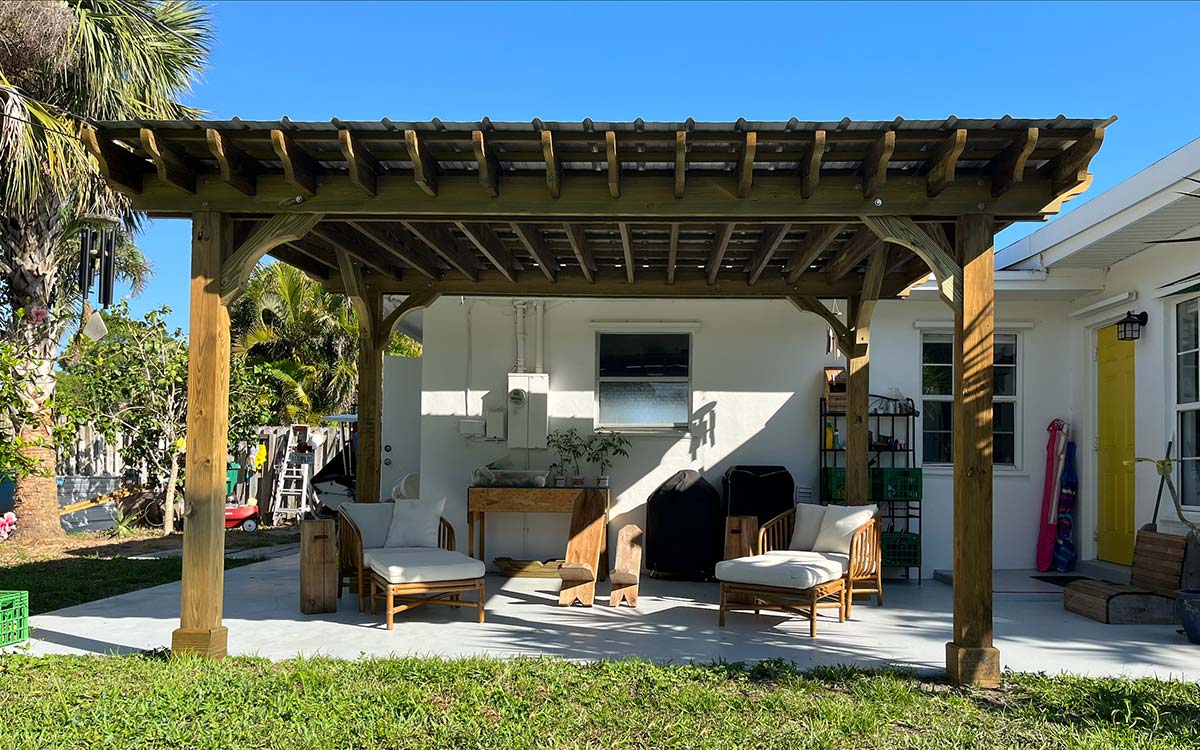
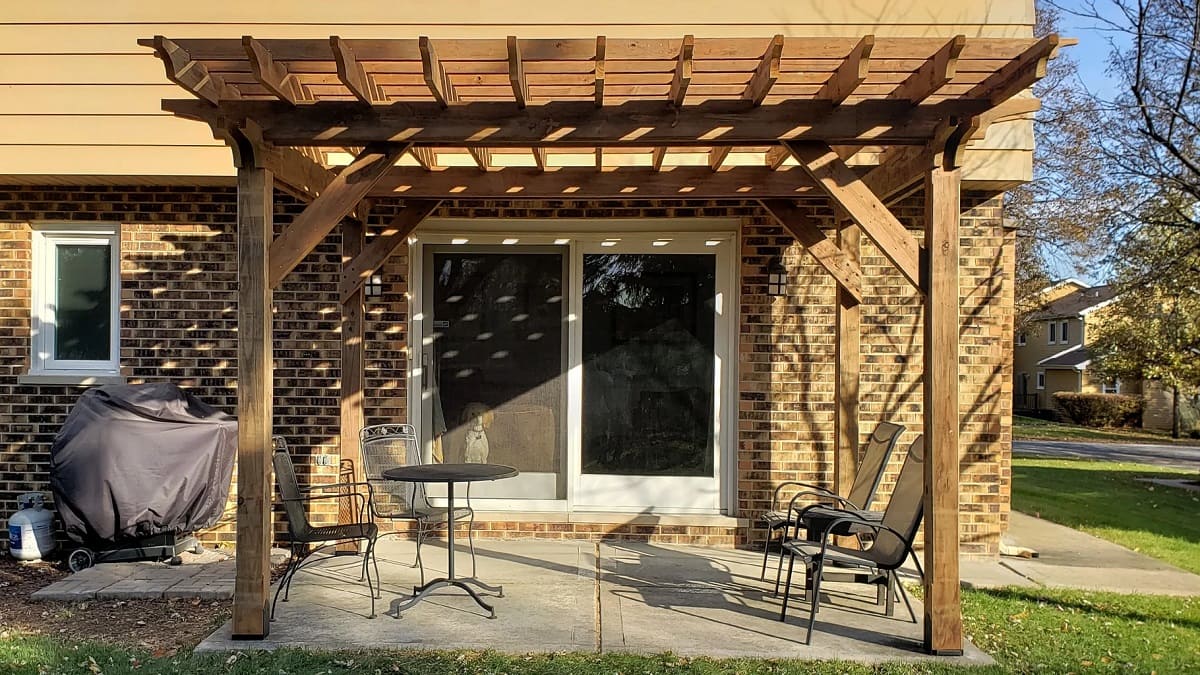
When building a pergola roof, make sure to use durable and weather-resistant materials such as cedar or pressure-treated wood to ensure longevity and protection from the elements.
Step 4: Assembling the Roof Structure
As you embark on the assembly phase of building your pergola roof, the individual components you’ve meticulously prepared will come together to form the sturdy and elegant framework that defines this outdoor structure. Here’s a step-by-step guide to assembling the roof structure of your pergola:
- Setting the Support Posts: Begin by positioning and securing the support posts in accordance with your initial plan and measurements. Use a level to ensure that the posts are plumb and properly aligned, providing a stable foundation for the roof structure.
- Attaching the Beams and Rafters: With the support posts in place, proceed to attach the horizontal beams and rafters, following the layout and spacing outlined in your design plan. Secure these elements with the appropriate fasteners, ensuring a strong and uniform connection.
- Installing the Roofing Material: If you’ve opted for a specific roofing material such as polycarbonate panels or metal sheets, carefully install them according to the manufacturer’s instructions. Ensure that the roofing material is securely fixed and provides adequate coverage for the designated area.
- Structural Reinforcement: Consider reinforcing the connections and joints within the roof structure to enhance its stability and longevity. This may involve additional bracing or fastening methods to fortify the overall integrity of the pergola roof.
As each component is seamlessly integrated into the structure, the pergola roof begins to take shape, embodying the vision and functionality you envisioned for your outdoor space. The assembly phase marks a significant milestone in the construction process, as the pergola evolves from a collection of materials into a captivating architectural feature that enhances your outdoor environment.
With the roof structure assembled, the next pivotal step involves attaching the roof to the pergola, uniting the two elements to create a harmonious and inviting outdoor retreat.
Read more: How To Build A Louvered Pergola Roof
Step 5: Attaching the Roof to the Pergola
With the roof structure expertly assembled, the next crucial phase of building your pergola involves seamlessly integrating the roof with the existing framework. This step requires precision and attention to detail to ensure a secure and visually cohesive union between the roof and the pergola. Here’s a comprehensive guide to attaching the roof to the pergola:
- Positioning the Roof Structure: Carefully position the assembled roof structure onto the designated area of the pergola, ensuring that it aligns with the support posts, beams, and rafters as planned. Enlist the assistance of others if needed to ensure safe and accurate placement.
- Securing the Connections: Utilize appropriate fasteners and hardware to securely attach the roof structure to the pergola framework. Ensure that the connections are robust and stable, providing the necessary support for the roof while maintaining the structural integrity of the entire assembly.
- Weathertight Sealing: If applicable to your chosen roofing material, implement effective weathertight sealing methods to prevent water infiltration and enhance the durability of the pergola roof. This may involve the application of sealants or gaskets at critical junctions and seams.
- Finishing Touches: Inspect the attached roof structure for any adjustments or finishing touches required to achieve a polished and seamless integration with the pergola. This may include trim installation, decorative elements, or additional reinforcement as needed.
By skillfully attaching the roof to the pergola, you are bringing your vision to fruition, creating a captivating and functional outdoor space that reflects your craftsmanship and attention to detail. The successful integration of the roof with the pergola marks a significant milestone in the construction process, paving the way for the final step: adding finishing touches to complete your pergola roof with finesse.
Step 6: Adding Finishing Touches
As you approach the final phase of building your pergola roof, adding finishing touches serves to elevate the aesthetic appeal, functionality, and overall allure of this outdoor structure. These thoughtful details contribute to a polished and inviting space, where every element harmonizes to create a captivating retreat. Here’s a guide to adding the finishing touches to your pergola roof:
- Staining or Painting: Consider applying a protective stain or paint to the lumber components of the pergola roof to enhance their resilience and complement your outdoor decor. Choose a finish that harmonizes with the existing color scheme of your outdoor space.
- Decorative Elements: Incorporate decorative elements such as ornamental brackets, lattice panels, or climbing vines to infuse character and charm into the pergola roof. These details add a personalized touch and contribute to the visual appeal of the structure.
- Shade Solutions: If desired, explore options for shading solutions such as retractable canopies or fabric panels to provide additional protection from the sun and create a versatile outdoor living space.
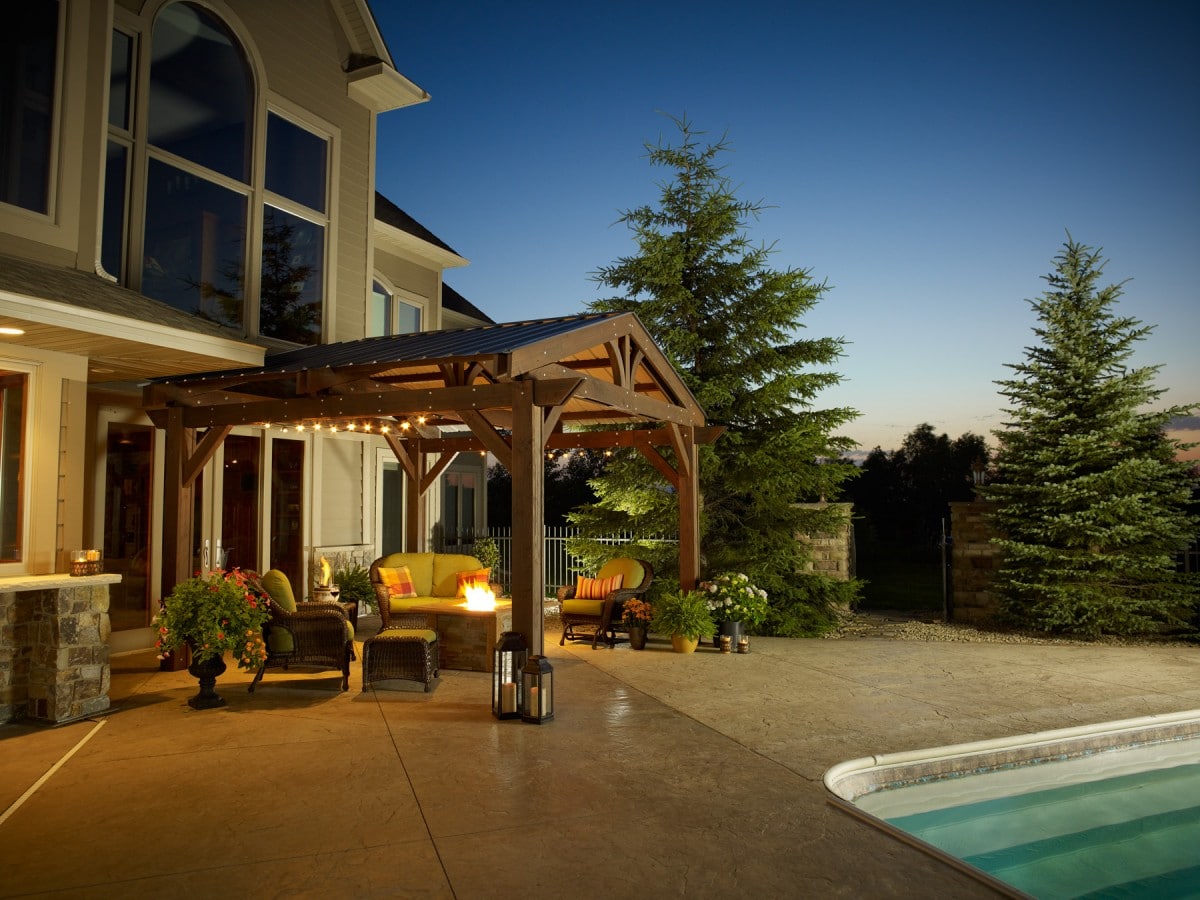
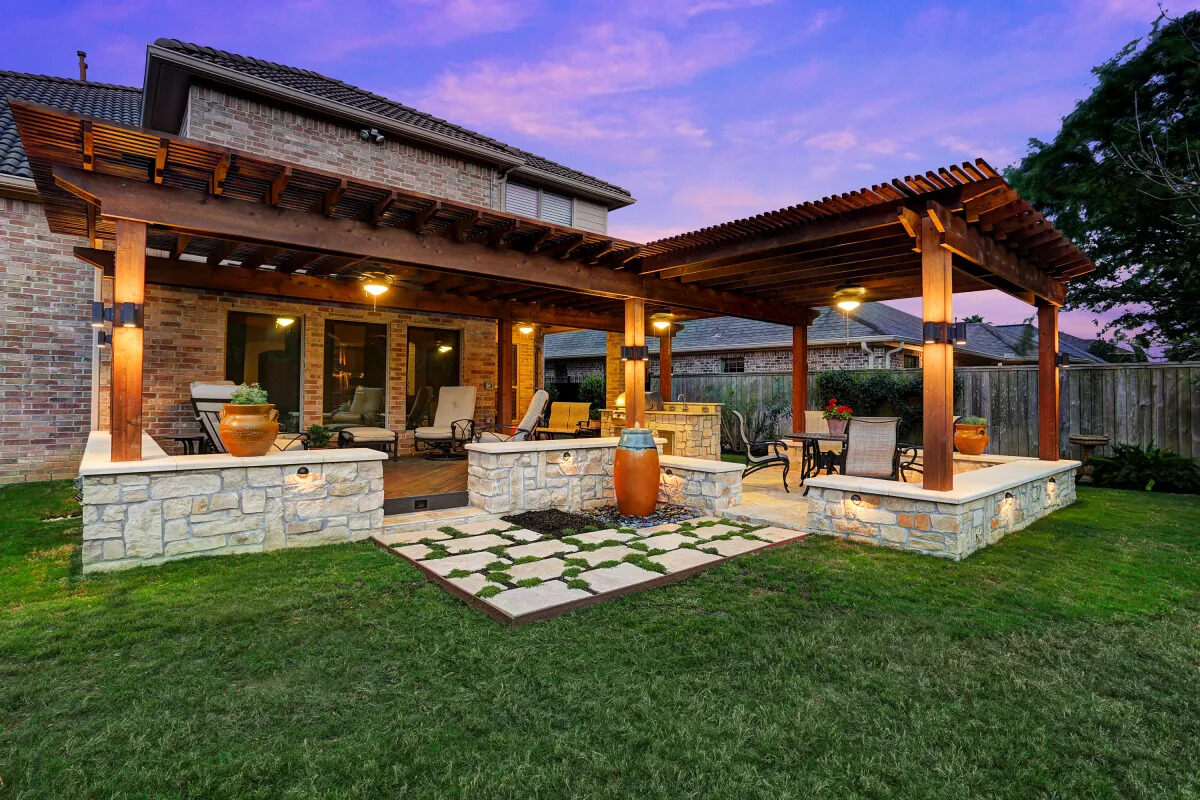
- Lighting Integration: Enhance the ambiance of your pergola by integrating lighting elements such as string lights, lanterns, or recessed fixtures. Thoughtfully placed lighting transforms the space into an enchanting oasis for evening gatherings and relaxation.
- Furnishing and Greenery: Complete the ambiance of the pergola by adding comfortable outdoor furniture, vibrant cushions, and potted plants. These elements infuse warmth and comfort, inviting you and your guests to savor the tranquility of the outdoor retreat.
As you add the finishing touches, envision the pergola as a seamless extension of your indoor living space, where every detail contributes to a welcoming and harmonious environment. By attending to these elements with care and creativity, you are transforming the pergola into a captivating focal point of your outdoor landscape, ready to host memorable gatherings and cherished moments.
With the finishing touches in place, your pergola roof stands as a testament to your craftsmanship and vision, offering a haven of beauty and relaxation in your outdoor sanctuary.
Conclusion
Congratulations on completing the construction of your pergola roof, a captivating addition to your outdoor space that embodies craftsmanship, functionality, and timeless allure. Through meticulous planning, precise execution, and thoughtful detailing, you have transformed your outdoor environment into a welcoming retreat where moments of relaxation and connection await.
As you bask in the shade of your pergola roof, surrounded by the natural beauty of your surroundings, take pride in the artistry and dedication that have culminated in this enchanting outdoor structure. The journey of building a pergola roof extends beyond the construction process; it encapsulates the fulfillment of a vision, the creation of a sanctuary, and the cultivation of cherished memories.
May your pergola roof serve as a backdrop for laughter-filled gatherings, tranquil moments of solitude, and the joyful rhythm of outdoor living. Embrace the versatility of this space, where lazy afternoons transition seamlessly into starlit evenings, and the gentle rustle of leaves provides a soothing soundtrack to your outdoor lifestyle.
As you continue to enrich your outdoor sanctuary, consider the evolving possibilities for personalization and enhancement. Whether it’s the addition of comfortable furnishings, the integration of vibrant greenery, or the adaptation of lighting solutions, your pergola roof remains a canvas for creativity and expression, reflecting your unique style and preferences.
With each passing season, your pergola roof will stand as a steadfast companion, offering respite from the sun’s embrace, shelter from passing showers, and a timeless backdrop for the tapestry of outdoor living. Embrace the changing hues of nature, the fragrant blooms of each season, and the enduring charm of your pergola roof, which evolves in harmony with the ebb and flow of the natural world.
As you embark on this enriching journey of outdoor living, may your pergola roof be a source of inspiration, relaxation, and cherished moments, weaving its enchanting presence into the fabric of your outdoor lifestyle.
Here’s to the enduring beauty and allure of your pergola roof, a testament to the artistry and vision that have transformed your outdoor space into a captivating haven.
Frequently Asked Questions about How To Build A Pergola Roof
Was this page helpful?
At Storables.com, we guarantee accurate and reliable information. Our content, validated by Expert Board Contributors, is crafted following stringent Editorial Policies. We're committed to providing you with well-researched, expert-backed insights for all your informational needs.

0 thoughts on “How To Build A Pergola Roof”