Home>Furniture>Outdoor Furniture>How To Build Planters Out Of Decking
Outdoor Furniture
How To Build Planters Out Of Decking
Modified: March 7, 2024
Learn how to create beautiful and durable planters using decking material. Enhance your outdoor space with custom-made outdoor furniture.
(Many of the links in this article redirect to a specific reviewed product. Your purchase of these products through affiliate links helps to generate commission for Storables.com, at no extra cost. Learn more)
Introduction
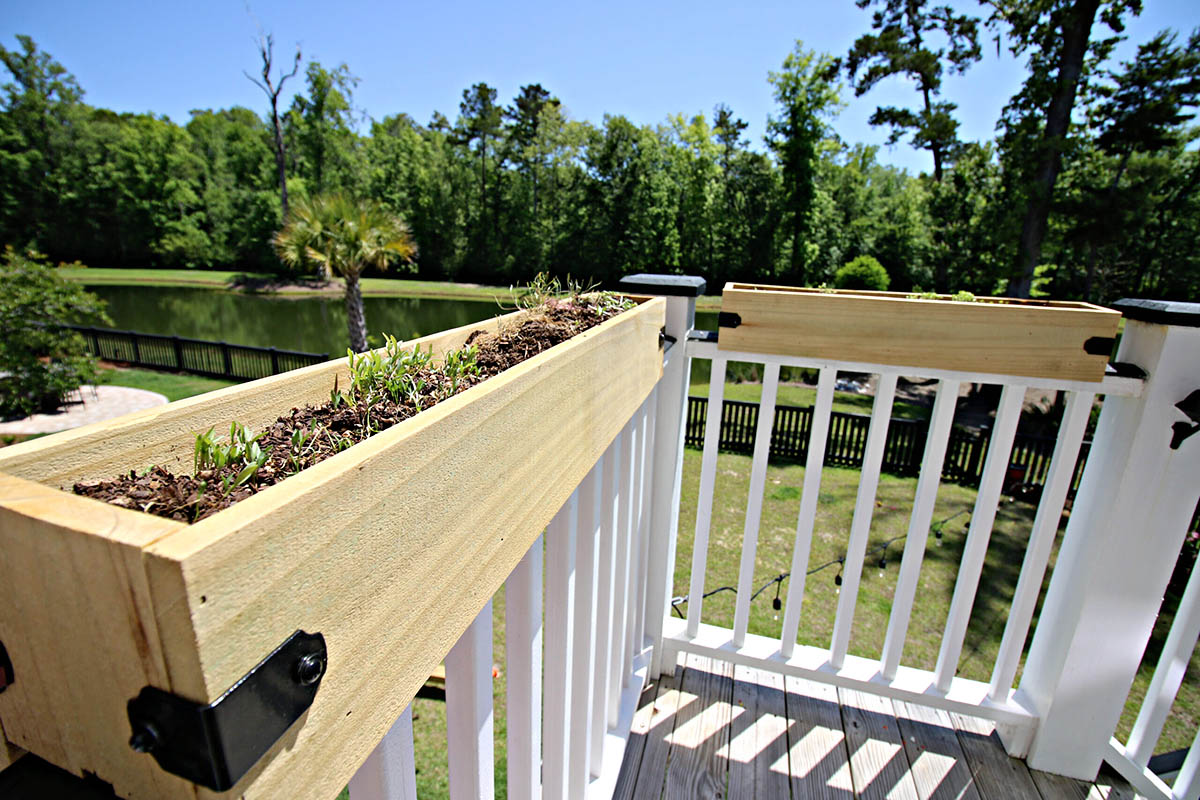
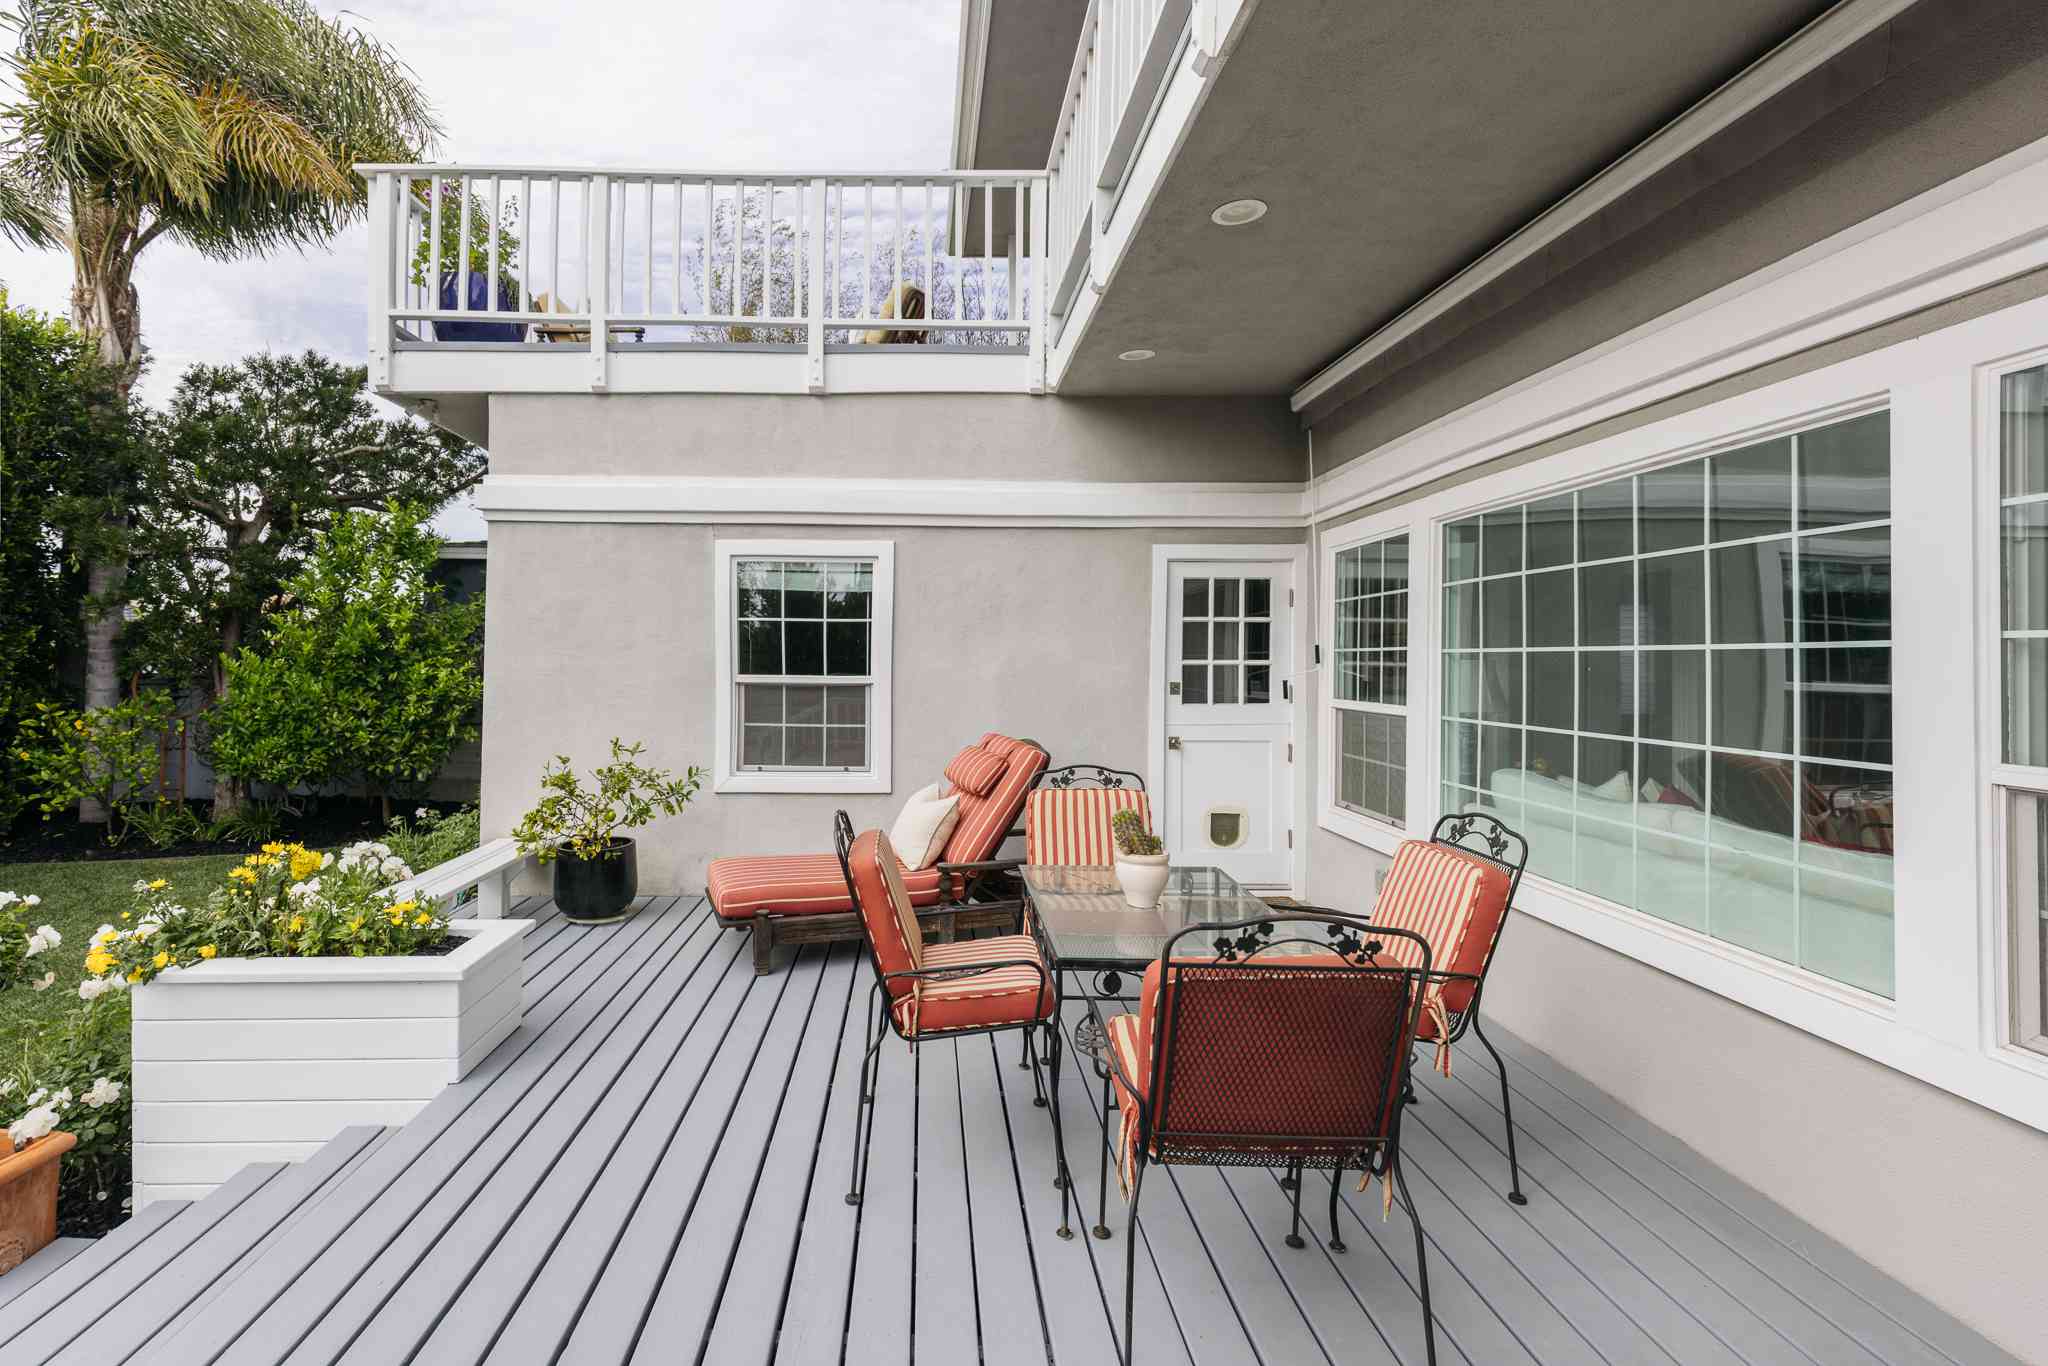
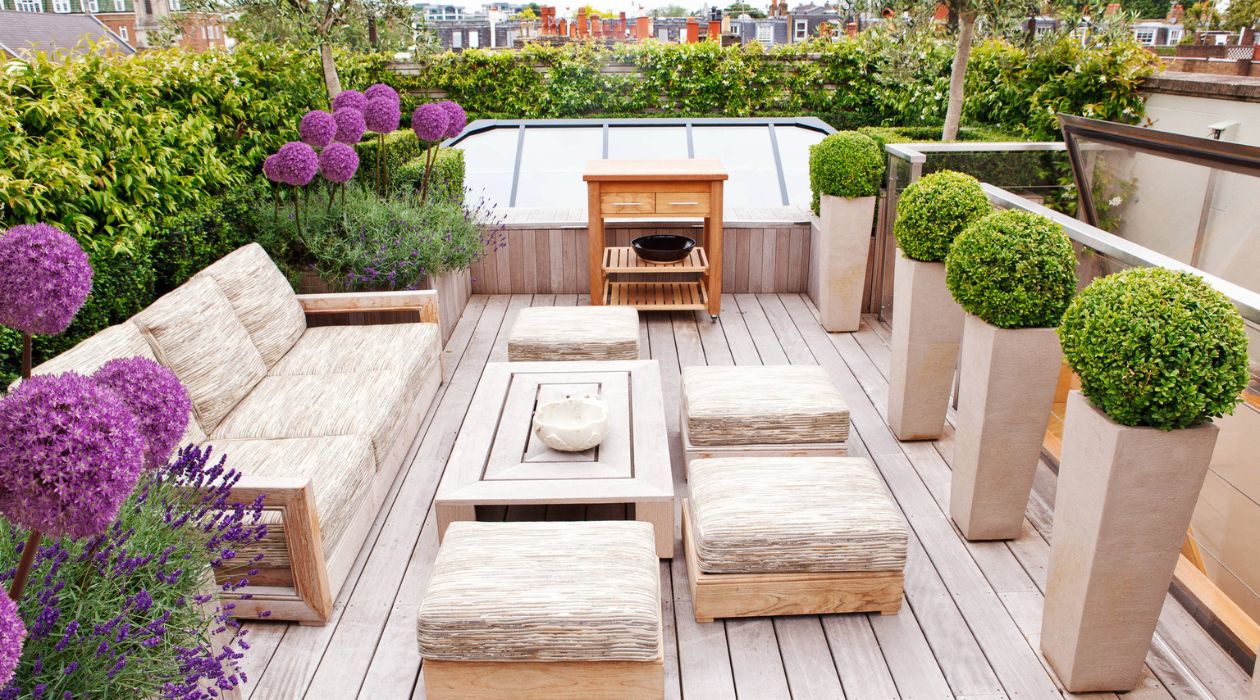
Welcome to our guide on how to build planters out of decking! If you’re looking to add a touch of greenery to your outdoor living space, building your own planters can be a fulfilling and cost-effective option. Using decking boards not only ensures durability but also creates a cohesive look if you have a deck or patio made of the same material.
Planters made from decking boards offer a stylish and practical solution for growing flowers, herbs, or even vegetables. They can be customized to fit your space and personal style, giving you the freedom to create unique and eye-catching plant displays.
In this step-by-step guide, we’ll walk you through the process of building your own planters out of decking boards. We’ll provide you with a list of materials and tools you’ll need, as well as detailed instructions to ensure a successful project.
Before you begin, it’s important to have a basic understanding of DIY construction and woodworking techniques. Make sure you have the necessary safety equipment, such as gloves and safety glasses, to protect yourself during the project.
So, let’s get started on creating beautiful planters that will enhance your outdoor space and bring a touch of nature to your home!
Key Takeaways:
- Building planters out of decking boards is a fun and cost-effective way to add greenery to your outdoor space. With careful planning and assembly, you can create personalized planters that bring nature to your home.
- Proper placement of the planters on your deck or patio is essential for plant health and visual appeal. Consider sunlight, accessibility, and arrangement to create a beautiful and thriving outdoor display.
Read more: How To Build A Decking
Materials and Tools
Before you begin building your planters out of decking boards, gather the following materials and tools:
Materials:
- Decking boards
- 2×2 boards for the frame (optional)
- Decking screws
- Landscape fabric
- Drainage gravel
- Soil
- Plants
Tools:
- Tape measure
- Pencil
- Circular saw or miter saw
- Drill
- Screwdriver bit
- Sandpaper or sander
- Staple gun
- Level
- Gardening gloves
- Safety glasses
Having all the necessary materials and tools ready before you start will ensure a smooth and efficient building process. Decking boards are an excellent choice for constructing planters due to their durability and resistance to outdoor elements. You can choose different lengths and widths of decking boards based on the size and design of the planters you want to create.
If you prefer a sturdier structure, you can add 2×2 boards to create a frame for extra support. This step is optional but recommended for larger or longer planters to prevent the boards from bowing or warping over time. Make sure to choose boards that are suitable for outdoor use.
Make sure you have enough screws, preferably decking screws, capable of securing the decking boards together firmly. Landscape fabric will help prevent weeds from growing through the planter’s bottom and allow water to drain properly. Drainage gravel at the bottom of the planter will aid in preventing waterlogged soil, which can be harmful to the plants.
Lastly, don’t forget to gather suitable soil for your plants and decide on the type of plants you want to grow in your planters. With all the materials and tools ready, you’re now prepared to begin building your planters out of decking boards. Let’s move on to the next step, where we’ll guide you through the process of measuring and planning.
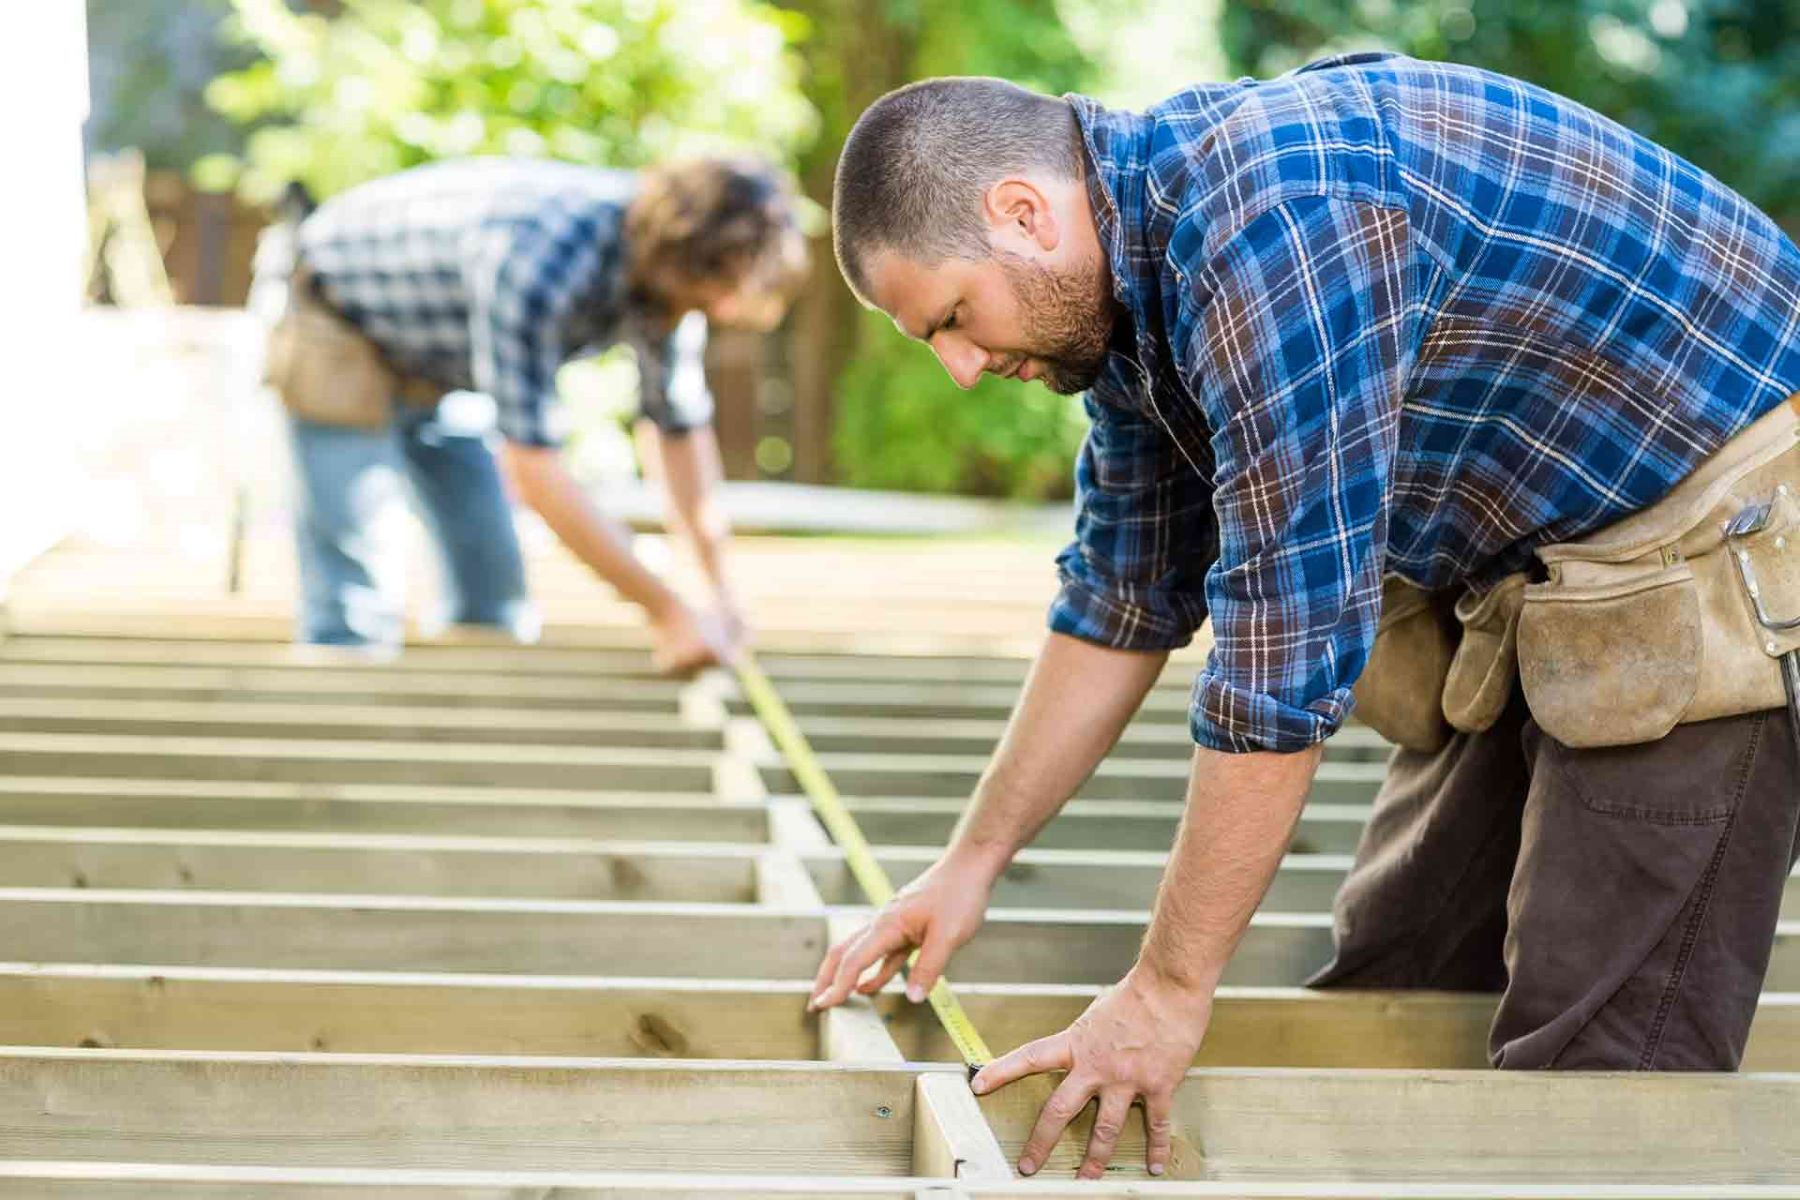
Step 1: Measure and Plan
Before you start cutting and assembling your decking boards, it’s essential to measure and plan the design of your planters. This step will help you determine the size of the planters, the number of decking boards needed, and the overall layout.
Here’s how to proceed with measuring and planning:
- Choose the desired size and shape: Decide on the dimensions and shape of your planters. Consider the available space on your deck or patio, as well as the types of plants you want to grow.
- Measure the space: Use a tape measure to determine the length, width, and height of your planters. Ensure that the measurements align with your overall design concept and fit well within the designated area.
- Create a cutting list: Based on your measurements, create a cutting list to determine the number of decking boards you’ll need. Take into account the thickness of the boards and the desired spacing between them.
- Sketch a plan: Create a rough sketch or use a design software to visualize how the planters will look. This can help you make adjustments and ensure that you’re satisfied with the planned design.
- Consider additional features: Think about any additional features you may want to incorporate, such as trellises or decorative accents. Take note of these features in your plan.
It’s crucial to plan and measure accurately to avoid unnecessary mistakes and ensure that your planters fit the space perfectly. Be meticulous in determining the number of decking boards needed to avoid wasting material or having insufficient quantities.
Once you’ve completed the measurement and planning stage, you’re ready to move on to the next step: cutting the decking boards. In the following section, we’ll guide you through the process of cutting the boards to the desired lengths.
Read more: How To Build A Deck With Composite Decking
Step 2: Cut the Decking Boards
Now that you have measured and planned the design of your planters, it’s time to proceed with cutting the decking boards. This step will ensure that you have properly sized boards to assemble your planters.
Follow these steps to cut the decking boards:
- Prepare your workspace: Set up a clean and well-lit area to work on. Ensure that you have enough space to lay out the decking boards and operate the saw safely.
- Take accurate measurements: Refer to your cutting list and measure the required lengths for each decking board. Use a tape measure and a pencil to mark the exact measurements on the boards.
- Secure the boards: Clamp the boards securely to a workbench or sawhorses to prevent them from moving during the cutting process.
- Choose the appropriate cutting tool: Depending on your preference and the availability of tools, you can use a circular saw or a miter saw to make the cuts. Make sure to use a blade suitable for cutting through decking boards.
- Align the blade: Adjust the saw’s blade depth to match the thickness of the decking boards. Double-check the alignment to ensure that the cuts will be straight and accurate.
- Cut the boards: With safety glasses and gloves on, carefully make the cuts along the marked lines. Take your time to ensure precision and keep your fingers clear of the blade.
- Label the cut pieces: As you cut each decking board, label the pieces for easy identification during the assembly process. This will help you stay organized and maintain the correct orientation of the boards.
Remember to prioritize safety throughout the cutting process. Always follow the manufacturer’s instructions for operating the saw and wear appropriate protective gear.
Once you have cut all the decking boards to the desired lengths, you’re ready to move on to the next step: assembling the planters. In the following section, we will guide you through the process of assembling the planters using the cut decking boards.
Step 3: Assemble the Planters
With your decking boards cut to size, it’s time to start assembling the planters. This step involves joining the boards together to create the framework of your planters.
Follow these steps to assemble the planters:
- Gather the cut decking boards: Collect the decking boards you’ve cut, ensuring that they are labeled for easy identification.
- Create the sides and ends: Lay two of the cut boards flat on a work surface, arranging them so that the flush ends meet at a right angle. Join them together with screws, using a drill and screwdriver bit to secure the connection. Repeat this step to create the other side of the planter.
- Attach the sides to the ends: Position one of the end pieces between the side pieces, ensuring that they form a rectangular shape. Drive screws through the side boards into the end boards to connect them securely. Repeat this step on the other end of the planter.
- Check for squareness: Use a level or a carpenter’s square to ensure that the corners of the planter are perfectly square. Adjust if necessary by applying gentle pressure to the corners.
- Continue assembling: Depending on the desired height of your planters, you may need to attach additional cut boards to create multiple tiers. Follow the same process of joining the boards together to create the additional levels.
- Reinforce the structure (optional): If you prefer added stability or are building larger planters, you can add 2×2 boards along the top edges or as additional supports inside the framework. Use screws to secure these reinforcement pieces in place.
As you assemble the planters, make sure the boards are aligned and flush with each other to create a clean and professional look. Take your time to ensure that the connections are secure and sturdy.
Before moving on to the next step, take a moment to admire your newly assembled planters. You’re one step closer to bringing greenery and life to your outdoor space. In the following section, we’ll guide you through adding bottom support to the planters for optimal drainage and stability.
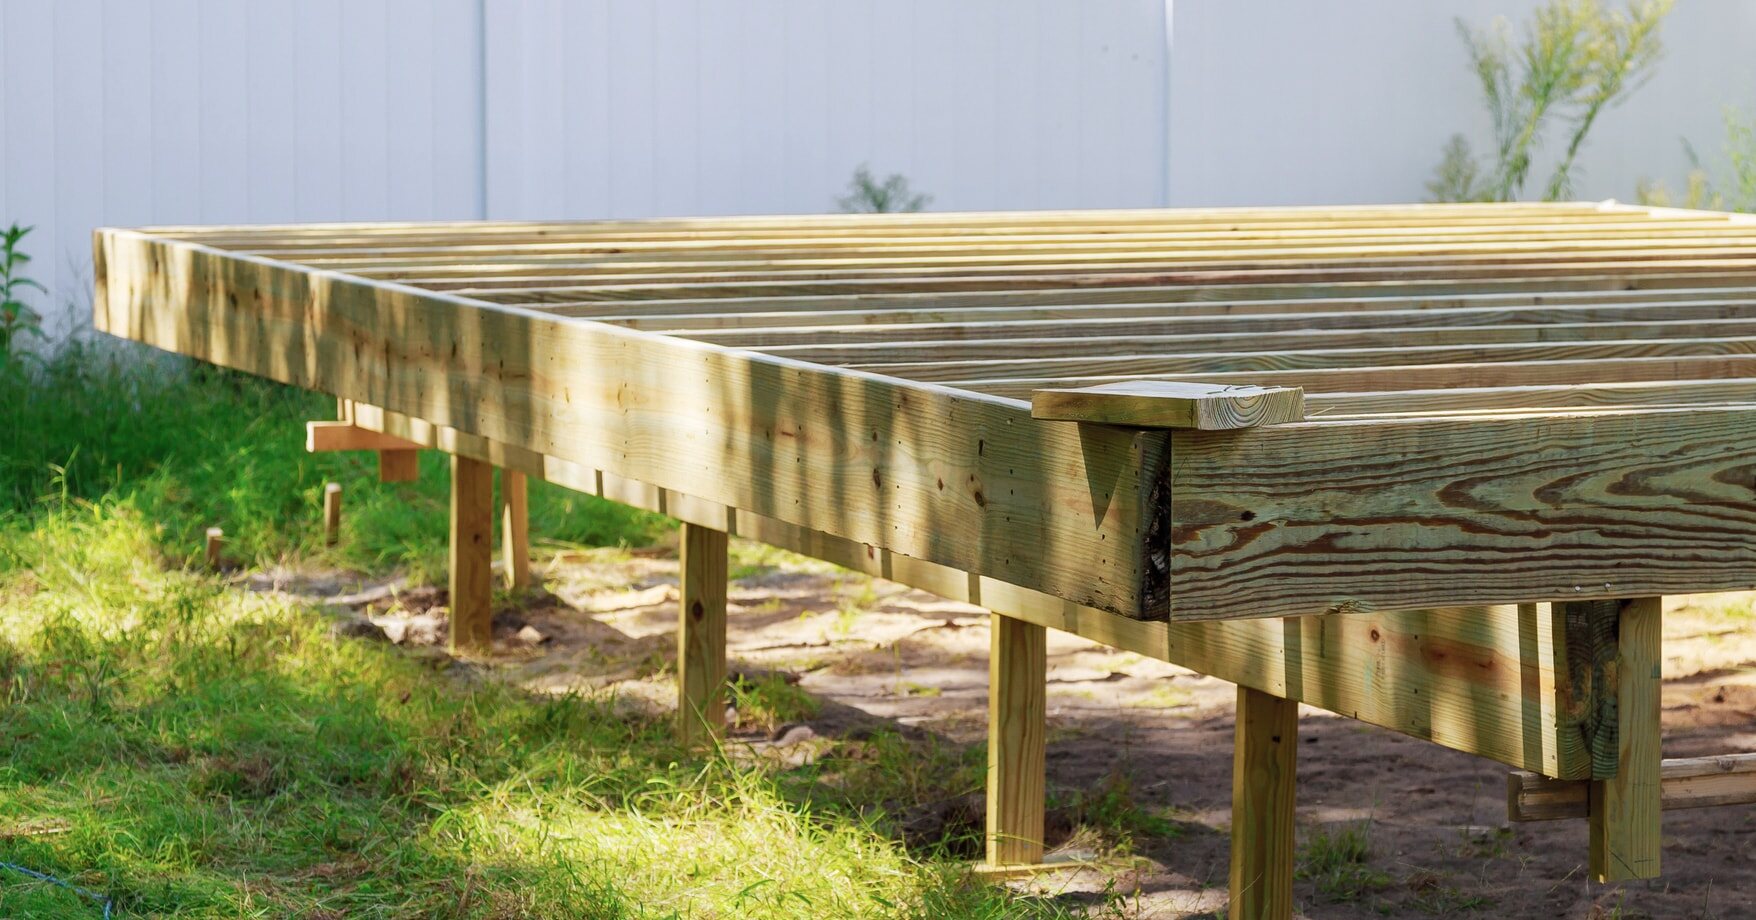
Step 4: Add Bottom Support
Once you have assembled the framework of your planters, it’s important to add bottom support to ensure proper drainage and stability. This step will prevent water from pooling and damaging the plants, while also providing a sturdy base for the planters.
Follow these steps to add bottom support to your planters:
- Measure and cut the support boards: Measure and cut additional decking boards or 2×2 boards to fit the dimensions of the inside of the planter. These boards will be placed across the bottom to provide support.
- Position the support boards: Lay the cut support boards across the width of the planter, spacing them evenly apart. They should rest on top of the side boards.
- Secure the support boards: Use screws to attach the support boards to the side boards, ensuring a secure connection. Drive the screws through the side boards and into the support boards.
- Consider adding additional drainage holes (optional): To further enhance drainage, you can drill small holes in the support boards. This will allow excess water to flow through and prevent waterlogging.
Adding bottom support to your planters will help distribute the weight of the soil and plants evenly, reducing the risk of sagging or bowing over time. It also ensures that excess water can drain freely, promoting healthier plant growth.
Take a moment to ensure that the support boards are securely attached and that they rest flush against the sides of the planter. This will provide a stable and reliable base for your planters.
With the bottom support in place, your planters are now ready for the next step: sanding and finishing. In the following section, we’ll guide you through the process of creating a smooth and polished surface for your planters.
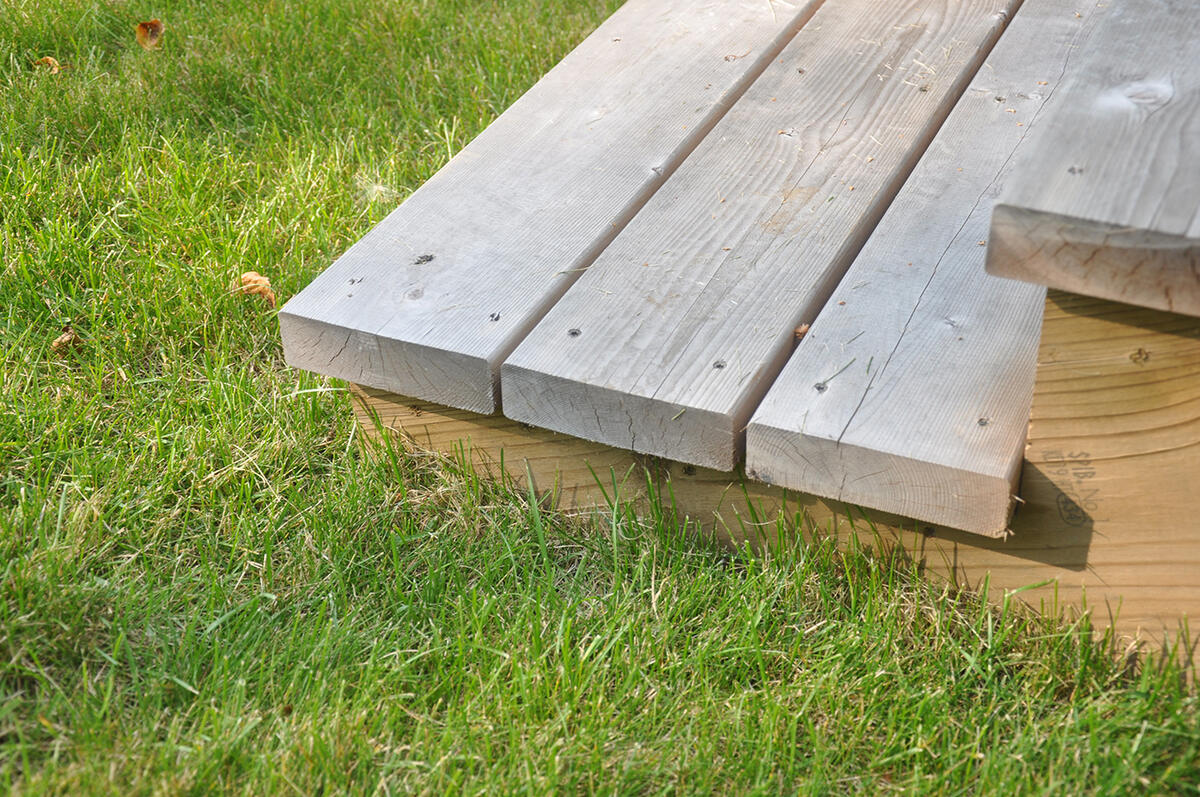
When building planters out of decking, make sure to use pressure-treated wood to prevent rot and decay. Also, consider adding a liner to protect the wood from moisture and soil.
Step 5: Sand and Finish
After assembling and adding bottom support to your planters, it’s time to sand and finish the surfaces. This step will ensure a smooth and polished look, as well as provide protection against weathering and wear.
Follow these steps to sand and finish your planters:
- Prepare your work area: Set up a well-ventilated space or work outside to avoid inhaling dust particles. Place a drop cloth or old newspapers under the planters to protect the surface.
- Sand the surfaces: Use sandpaper or a power sander to smooth out any rough edges or splinters on the planters. Start with a coarse grit sandpaper and gradually move to a finer grit for a polished finish.
- Pay attention to detail: Sand all visible surfaces, including the edges and corners, to achieve a consistent and refined look. Take your time to ensure that the entire planter feels smooth to the touch.
- Remove dust: Use a brush or a damp cloth to remove any sanding residue or dust particles from the surface of the planters. This will ensure a clean and even application of the finish.
- Choose a finish: Decide on the type of finish you want for your planters. Options include paint, stain, or a weather-resistant sealant. Consider both the aesthetic appeal and the durability of the finish.
- Apply the finish: Follow the manufacturer’s instructions to apply the chosen finish to the planters. Use a brush or a roller for paint or stain, and a cloth or sponge for a sealant. Apply multiple coats if necessary, allowing each coat to dry before applying the next.
- Allow for drying time: After applying the finish, allow sufficient drying time as per the manufacturer’s recommendations. This will ensure that the finish fully cures and provides optimal protection for your planters.
Sanding and finishing not only enhances the appearance of your planters but also provides a protective barrier against moisture and UV rays. This step is crucial to prolong the lifespan of your planters and maintain their beauty over time.
Once the finish has completely dried, you can move on to the next step: installing drainage holes in the planters. In the following section, we’ll guide you through this important step for plant health and proper water management.
Read more: How To Build Vegetable Planter Boxes
Step 6: Install Drainage Holes
Proper drainage is essential for the health of your plants and to prevent waterlogging in the planters. In this step, we’ll guide you through the process of installing drainage holes to ensure that excess water can flow out of the planters.
Follow these steps to install drainage holes in your planters:
- Choose the right size: Consider the size of your planters and the types of plants you’ll be growing to determine the appropriate size for the drainage holes. Generally, 1/4 to 1/2 inch holes are suitable for most planters.
- Mark the hole locations: Use a pencil or marker to mark the desired locations for the drainage holes on the bottom of the planters. Ensure that the holes are evenly spaced for proper water distribution.
- Drill the holes: Using a drill with a drill bit suitable for the size of the holes, carefully drill through the marked locations on the bottom of the planters. Apply gentle pressure and avoid pressing too hard to prevent damage to the wood.
- Check for clogs: After drilling the drainage holes, inspect the inside of the planters to ensure there are no wood fragments or debris obstructing the holes. Use a small brush or a toothpick to clear any potential clogs.
Installing drainage holes is vital to promote proper water drainage and prevent overwatering, which can lead to root rot and other plant health issues. These holes will also allow excess water to escape during heavy rainfall or watering, preventing the planters from becoming waterlogged.
Take a moment to double-check that the drainage holes are evenly spaced and free from obstructions. This will ensure optimal water management and help maintain a healthy growing environment for your plants.
With the drainage holes in place, it’s time to move on to the final step: placing the planters on your deck or patio. In the next section, we’ll guide you on the proper placement and arrangement of your planters.
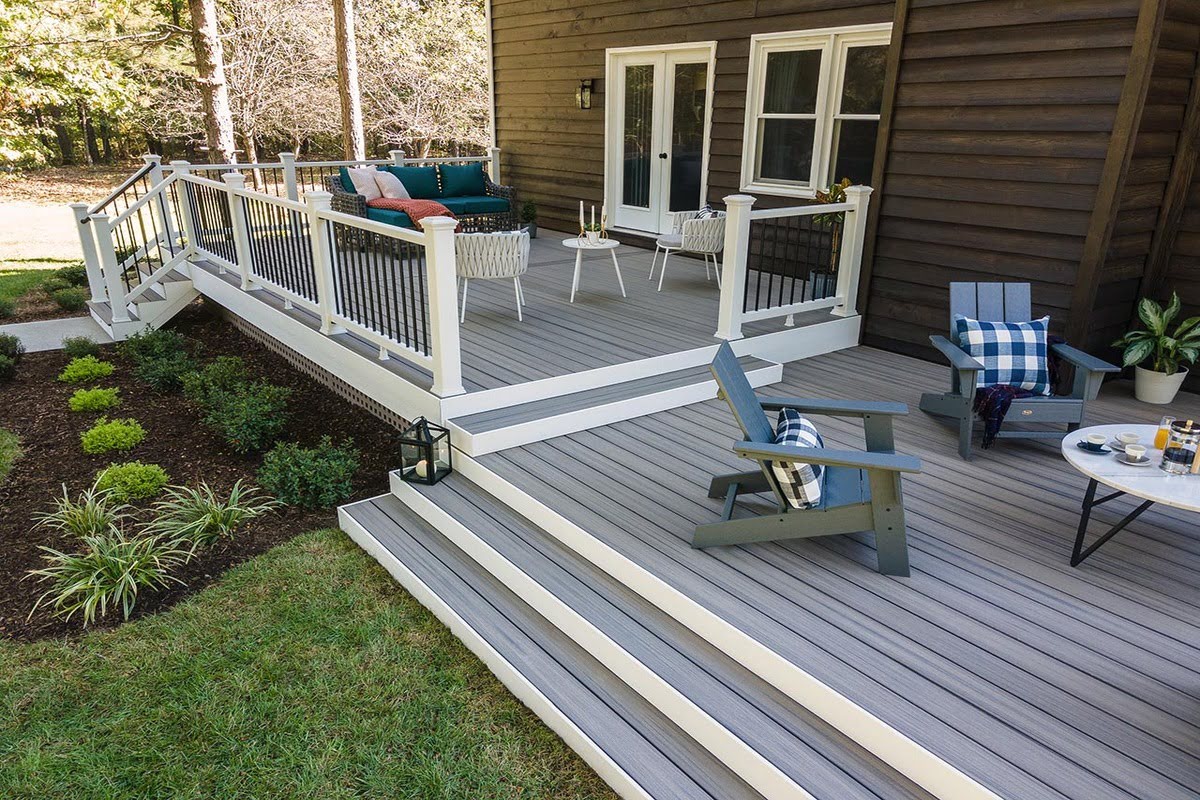
Step 7: Place the Planters on the Deck or Patio
Now that you have built and prepared your planters, it’s time to find the perfect spot to showcase them on your deck or patio. Placing the planters strategically not only adds beauty to your outdoor space but also allows your plants to thrive in their new home.
Follow these steps to place your planters on the deck or patio:
- Consider sunlight requirements: Evaluate the sunlight conditions on your deck or patio. Different plants have varying sunlight needs – some thrive in full sun, while others prefer partial shade. Choose a location that meets the sunlight requirements of the plants you have chosen to grow.
- Create a visually appealing arrangement: Arrange your planters in a way that is visually pleasing and enhances the aesthetic appeal of your outdoor space. Consider grouping planters together for a cohesive look or place them strategically to create focal points.
- Leave space for plant growth: Make sure to leave enough space between each planter to allow the plants to grow and spread naturally. This will prevent overcrowding and ensure that the plants receive adequate airflow and sunlight.
- Consider the accessibility: Think about the convenience of accessing your planters for watering, maintenance, and harvesting. Ensure that the planters are easily accessible and that any pathways or walkways remain clear and unobstructed.
- Utilize different heights: If you have planters of varying sizes, consider placing taller planters towards the back or in corners to create depth and visual interest. This will add dimension to your deck or patio display.
- Monitor water runoff: Pay attention to how water drains from the planters to prevent any damage to your deck or patio surface. Consider using trays or saucers under the planters to catch excess water and protect your outdoor flooring.
By carefully considering these factors, you can create an inviting and harmonious display of your planters that elevates the beauty of your outdoor living space. Remember to regularly water and care for your plants according to their specific needs for optimal growth and health.
With your planters in the perfect position, step back and admire the beautiful transformation you have made to your deck or patio. Now, you can fully enjoy the greenery and natural beauty of your flourishing plants.
Congratulations on completing the process of building and placing your planters! You have created stunning, customizable spaces for gardening and decoration that will bring joy and life to your outdoor area for years to come.
Remember to regularly maintain and care for your planters, ensuring proper watering, fertilizing, and pruning as needed. Enjoy the vibrant colors, refreshing scents, and the sense of accomplishment that comes with successfully building your own planters out of decking boards!
Thank you for following our guide, and may your planters flourish with lush greenery and beautiful blooms!
Conclusion
Congratulations on completing your journey of building planters out of decking boards! Through careful planning, measuring, cutting, assembling, and finishing, you have created beautiful and functional planters to enhance your outdoor space.
By utilizing decking boards, you have not only ensured durability but also maintained a cohesive aesthetic if you have a deck or patio made of the same material. These planters offer an opportunity to showcase your creativity while bringing a touch of nature to your home.
Remember to regularly care for your plants by watering, fertilizing, and pruning them as needed. The proper placement of your planters on the deck or patio is crucial to meet the sunlight requirements of your plants and create an aesthetically pleasing arrangement.
With your planters in place, sit back and enjoy the beauty and serenity they add to your outdoor living space. Take pride in knowing that you have created a personalized haven for growing flowers, herbs, or even vegetables.
We hope that this guide has been informative and helpful in your journey to build planters out of decking boards. Now, it’s time to embrace the joy and satisfaction of gardening and watch as your plants flourish and bring life to your surroundings.
Thank you for choosing to embark on this DIY project with us. We wish you happy gardening and many memorable moments spent enjoying the fruits of your labor!
If you've enjoyed crafting your planters, why not tackle more woodworking projects? Our guide on the best woodworking techniques offers plenty of inspiration, with tips perfect for any skill level. Whether you're looking to refine your craft or just starting out, these woodworking secrets are sure to spark your creativity and help you create stunning pieces. Ready to saw, sand, and stain your way to impressive, functional art? Dive into our detailed woodworking guide and let your hands create magic.
Frequently Asked Questions about How To Build Planters Out Of Decking
Was this page helpful?
At Storables.com, we guarantee accurate and reliable information. Our content, validated by Expert Board Contributors, is crafted following stringent Editorial Policies. We're committed to providing you with well-researched, expert-backed insights for all your informational needs.


0 thoughts on “How To Build Planters Out Of Decking”