
Articles
How Do You Replace A Garage Door Opener
Modified: October 19, 2024
Looking for articles on how to replace a garage door opener? Find expert tips and step-by-step guidance in this comprehensive guide.
(Many of the links in this article redirect to a specific reviewed product. Your purchase of these products through affiliate links helps to generate commission for Storables.com, at no extra cost. Learn more)
Introduction
Welcome to our comprehensive guide on how to replace a garage door opener. A properly functioning garage door opener is essential for the smooth operation of your garage door, providing convenience, security, and peace of mind. Whether your current opener is malfunctioning or you simply want to upgrade to a newer model, this step-by-step tutorial will walk you through the process of replacing your garage door opener.
Before we get started, it’s important to note that working with garage door openers involves electrical components and potentially heavy lifting. If you’re not comfortable with these tasks or unsure about your abilities, it’s always best to consult a professional garage door technician. Safety should be your top priority.
Now, let’s dive into the step-by-step process of replacing your garage door opener. We will cover everything from gathering the necessary materials and tools to testing and adjusting the new opener. By following this guide, you’ll be well-equipped to successfully complete this project and enjoy the benefits of a new garage door opener.
Key Takeaways:
- Replacing a garage door opener involves gathering the right tools, disconnecting the old opener, and carefully installing the new one. Thorough testing and adjustments ensure safe and efficient operation.
- Safety is paramount when replacing a garage door opener. Following manufacturer’s instructions, testing the functionality, and making necessary adjustments are crucial for a successful installation.
Step 1: Gather Materials and Tools
Before you begin the process of replacing your garage door opener, it’s important to gather all the necessary materials and tools. By having everything on hand, you’ll be able to work efficiently and avoid any unnecessary delays. Here are the essential items you’ll need:
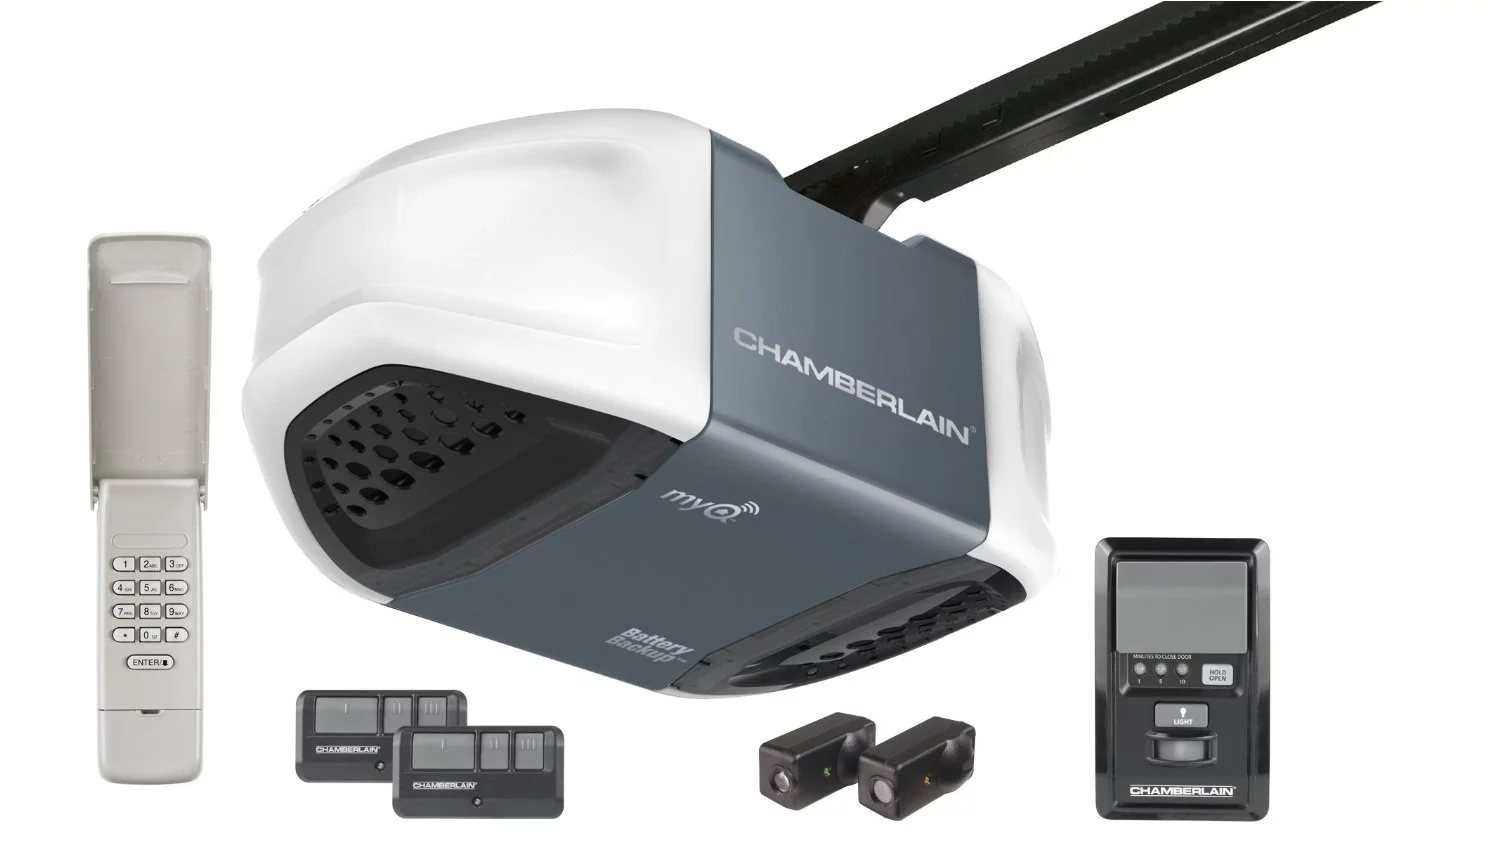
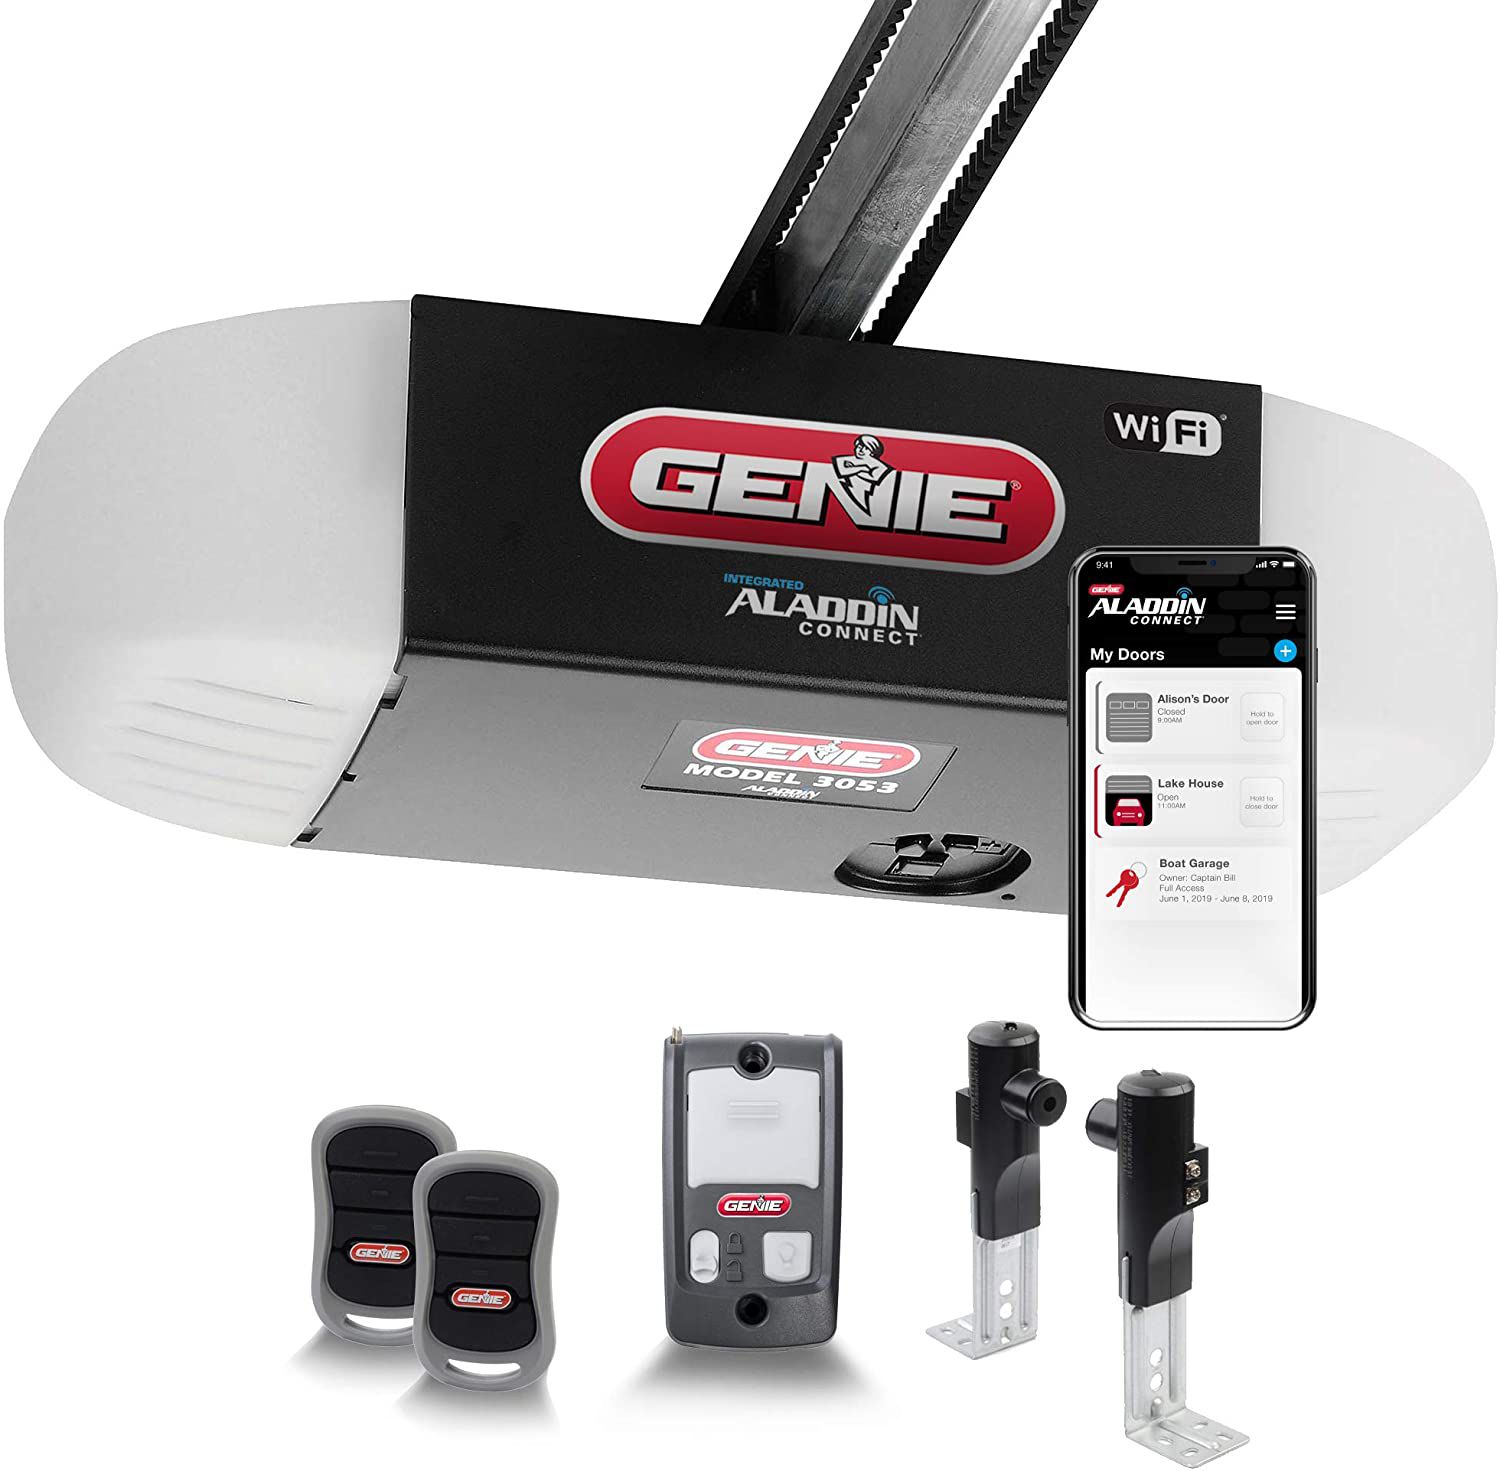
- A new garage door opener: Choose a model that meets your specific needs and fits your garage door. Consider factors such as the horsepower, drive type, and additional features.
- Mounting hardware: This includes brackets, bolts, and screws to securely install the new opener.
- Garage door opener remote: Ensure that the new opener comes with at least one remote control for easy operation.
- Wall control panel: This panel allows you to operate the garage door opener from inside the garage.
- Safety sensors: Most modern garage door openers come with safety sensors that detect obstructions in the door’s path. Make sure to include them in your list.
- Wire cutters and strippers: These tools will come in handy when dealing with electrical connections.
- Screwdriver set: Have a set of screwdrivers of various sizes to handle different types of screws and bolts.
- Adjustable wrench: This tool will allow you to tighten nuts and bolts securely.
- Level: Use a level to ensure that the opener is installed straight and level.
- Tape measure: You’ll need this to measure and confirm the proper positioning of the opener and other components.
- Power drill: A power drill will help you drive screws and bolts into place more quickly and efficiently.
Having all these materials and tools ready will save you time and frustration during the installation process. Take a moment to double-check your list and make sure you have everything you need before moving on to the next step.
Step 2: Disconnect the Old Garage Door Opener
Before installing the new garage door opener, you need to disconnect the old one. Follow these steps to ensure a safe and smooth disconnection:
- Power off the opener: Locate the power source for the garage door opener and turn it off. This may involve disconnecting the power cord from an electrical outlet or flipping the circuit breaker that controls the garage door opener.
- Unplug any cords: If your garage door opener is connected to any power cords or extension cords, unplug them from the outlet.
- Release the emergency release handle: Most garage door openers have an emergency release handle that disengages the opener from the door. It’s usually located near the top of the door track. Pull down on the handle to disengage the opener.
- Disconnect the opener from the door: Locate the brackets that attach the opener to the door and track. Use a wrench or screwdriver to remove the bolts or screws securing the brackets. Once the brackets are removed, lower the opener gently to the ground.
- Remove any remaining components: Depending on the type of opener you have, there may be additional components that need to be removed, such as safety sensors or control panels. Follow the manufacturer’s instructions to remove these components carefully.
- Label and organize the components: As you remove the old garage door opener, it’s a good idea to label and organize the components. This will make it easier when it comes time to install the new opener. Use sticky notes or plastic bags to keep track of bolts, screws, and other small parts.
By following these steps, you will safely disconnect the old garage door opener from your door. Make sure to take your time and be cautious when working with electrical components. Once the old opener is disconnected, you’re ready to move on to the next step: preparing the new garage door opener.
Step 3: Prepare the New Garage Door Opener
Now that the old garage door opener has been disconnected, it’s time to prepare the new one for installation. This step involves unpacking the new opener and familiarizing yourself with its components. Follow these guidelines to ensure a smooth preparation process:
- Read the manufacturer’s instructions: Before doing anything else, carefully read the manufacturer’s instructions that came with your new garage door opener. Familiarize yourself with the specific guidelines and requirements for your model.
- Inspect the components: Carefully inspect the contents of the package to ensure that all the necessary components are included. Check for any damage or missing parts. If you notice any issues, contact the manufacturer or retailer to address the problem.
- Identify the main unit: Locate the main unit of the opener, which is usually a motor housing with a power cord attached. Keep this in a safe and easily accessible location, as it will be the main piece you’ll be installing.
- Check the accessories: Take inventory of the accessories that come with the opener, such as the remote control, wall control panel, safety sensors, and any other additional features. Make sure everything is in working order.
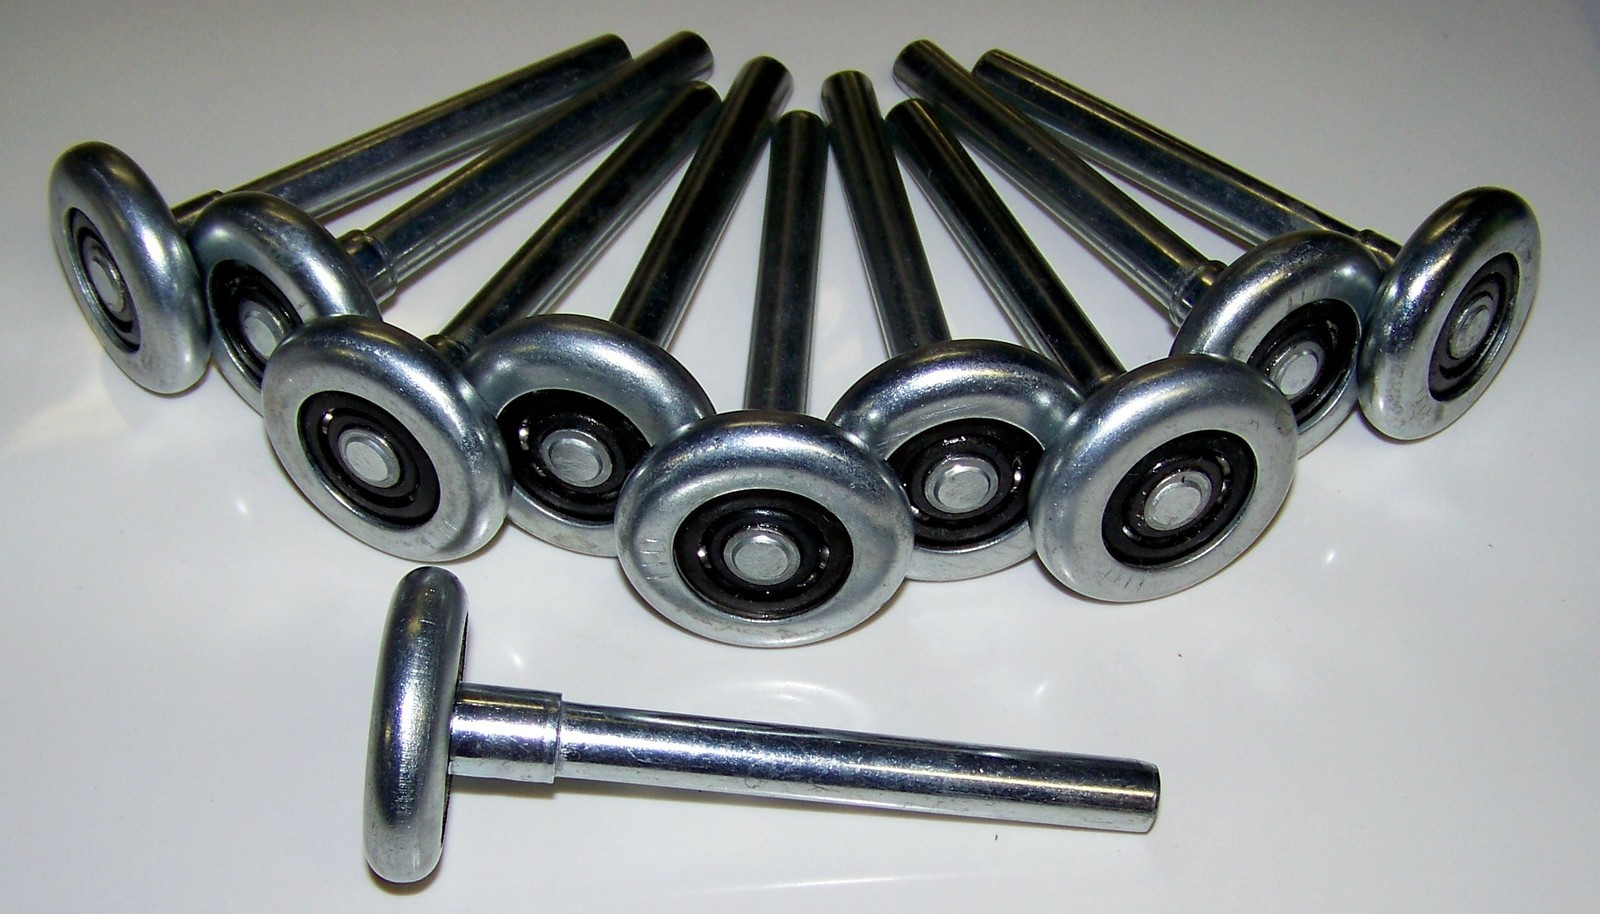
- Inspect the rails and chains: If your garage door opener uses rails and chains, inspect them for any signs of damage or wear. Ensure that they are in good condition and ready to be installed.
- Prep the mounting brackets: If your new opener requires the use of mounting brackets, locate them in the package and inspect them. Ensure that they are in good condition and ready for installation.
By following these steps, you will be well-prepared to install your new garage door opener. Take your time to thoroughly inspect the components and familiarize yourself with the manufacturer’s instructions. This will help ensure a successful and efficient installation process in the next step.
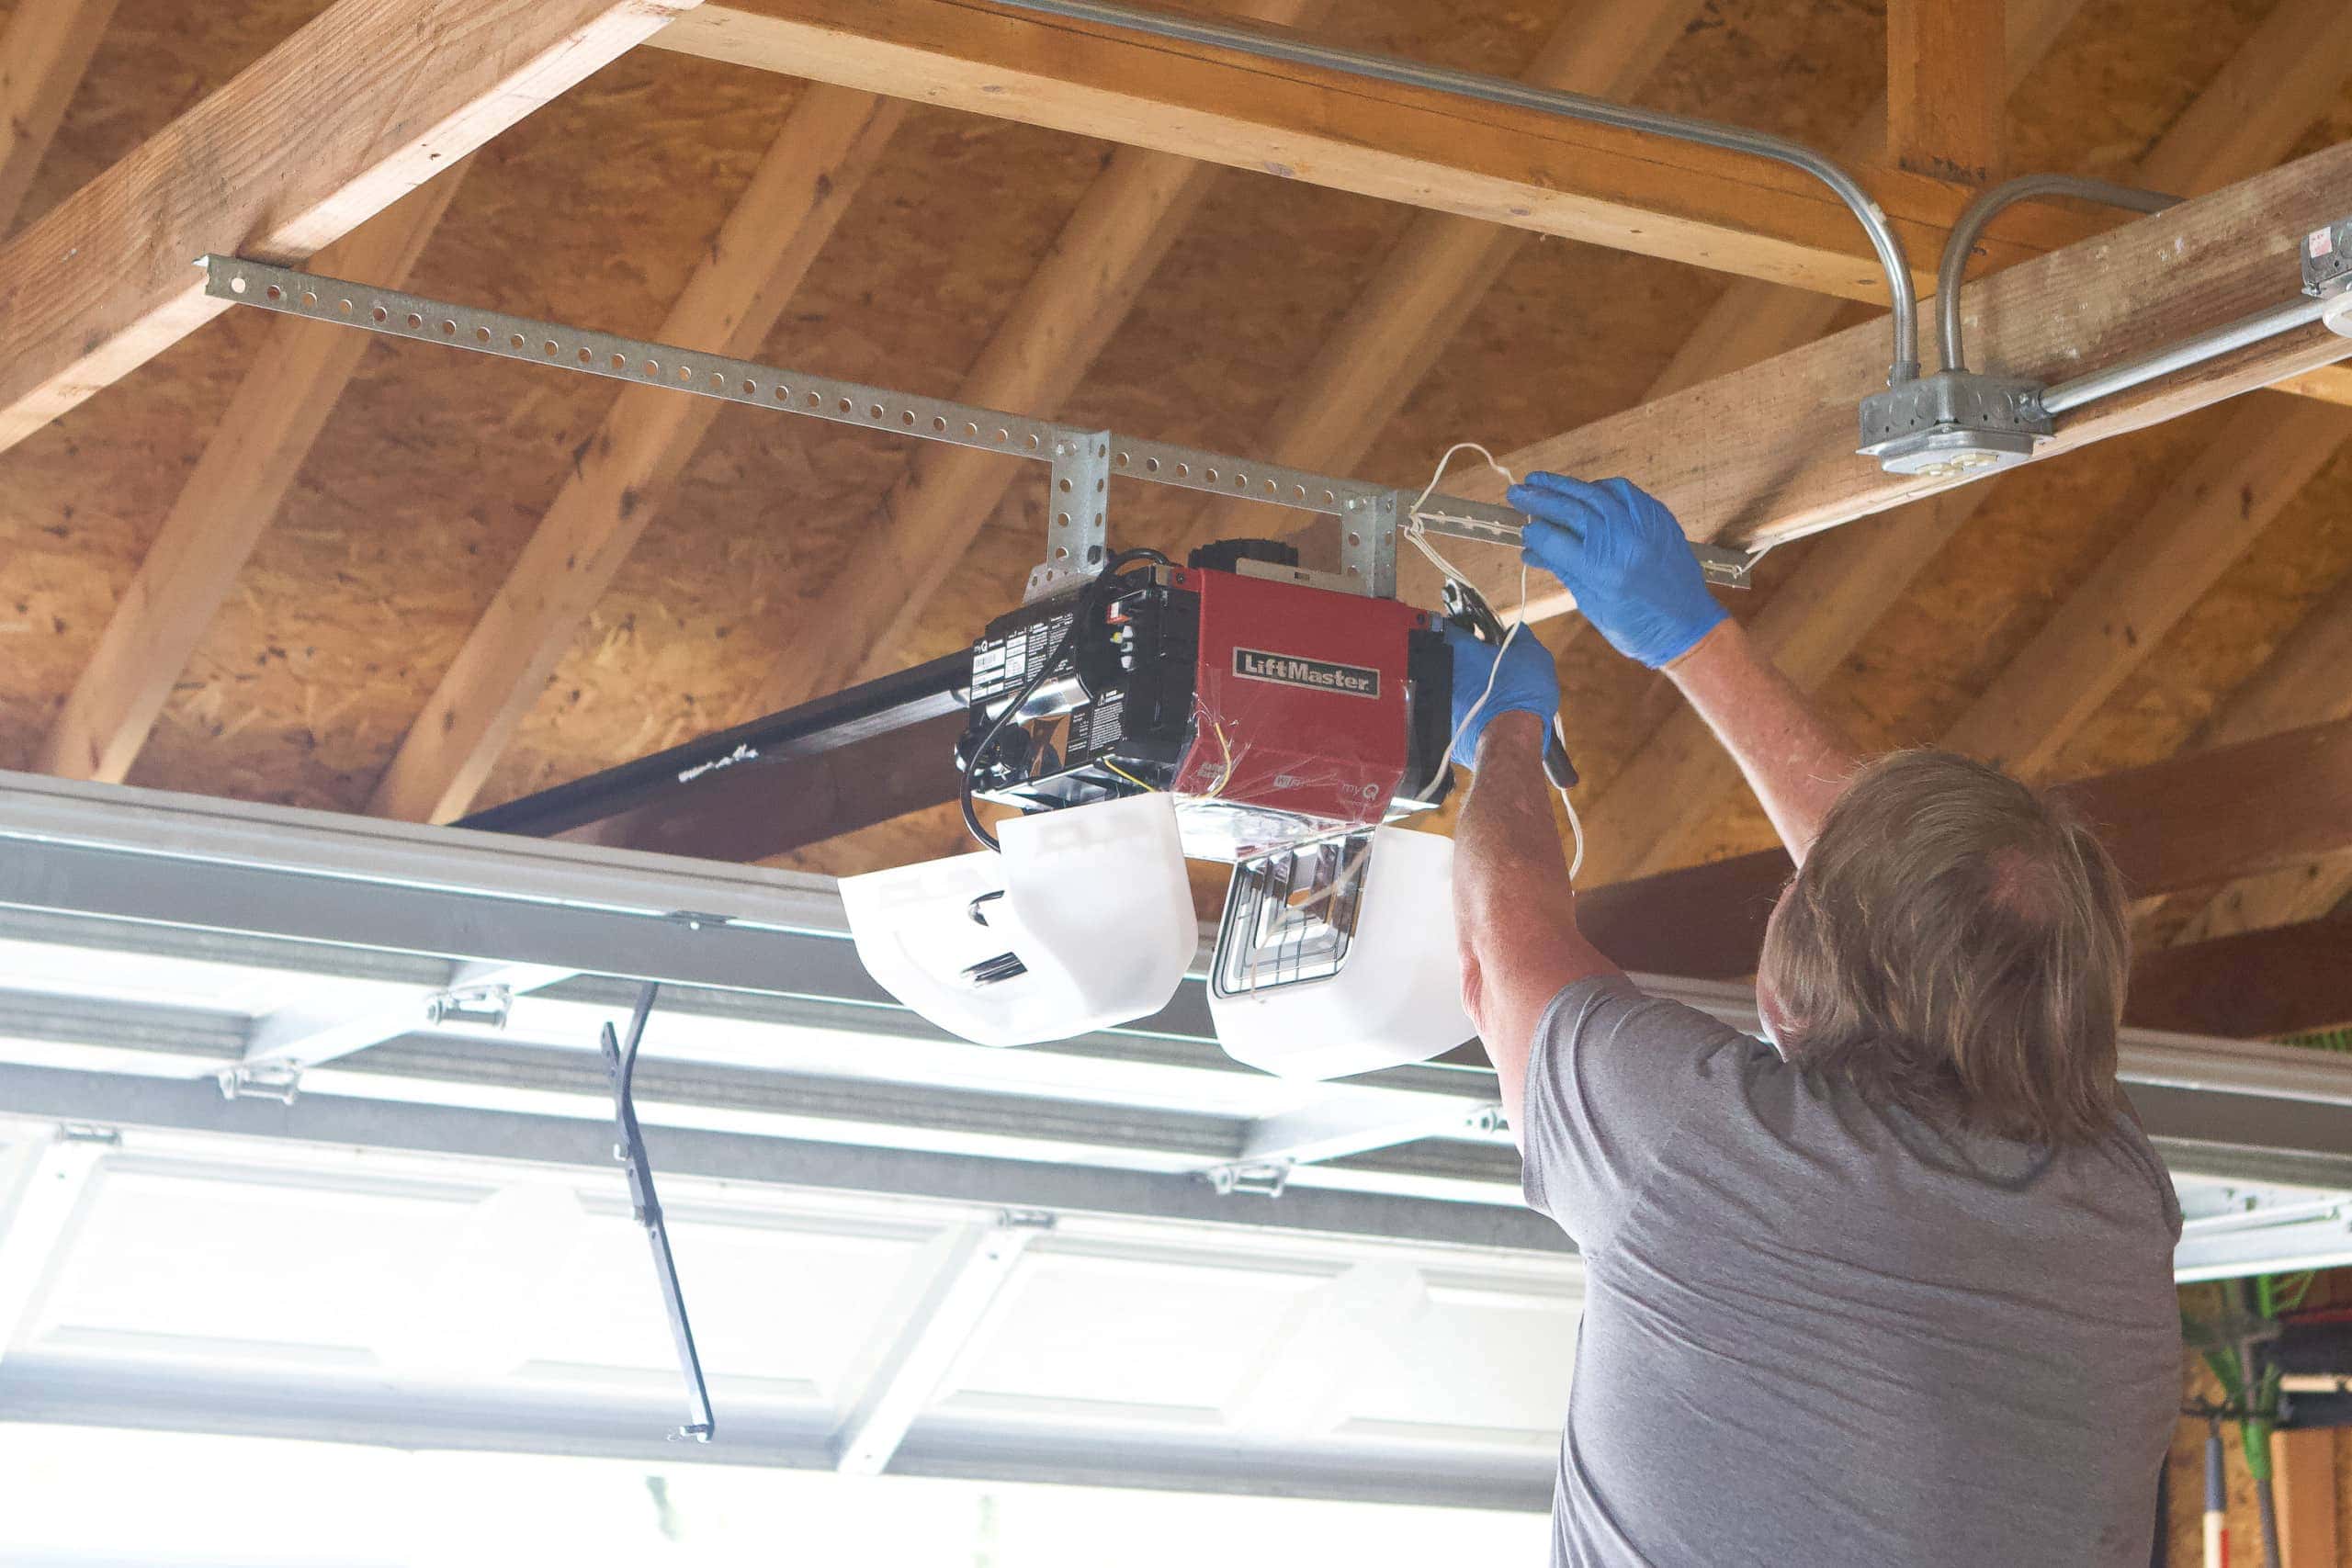
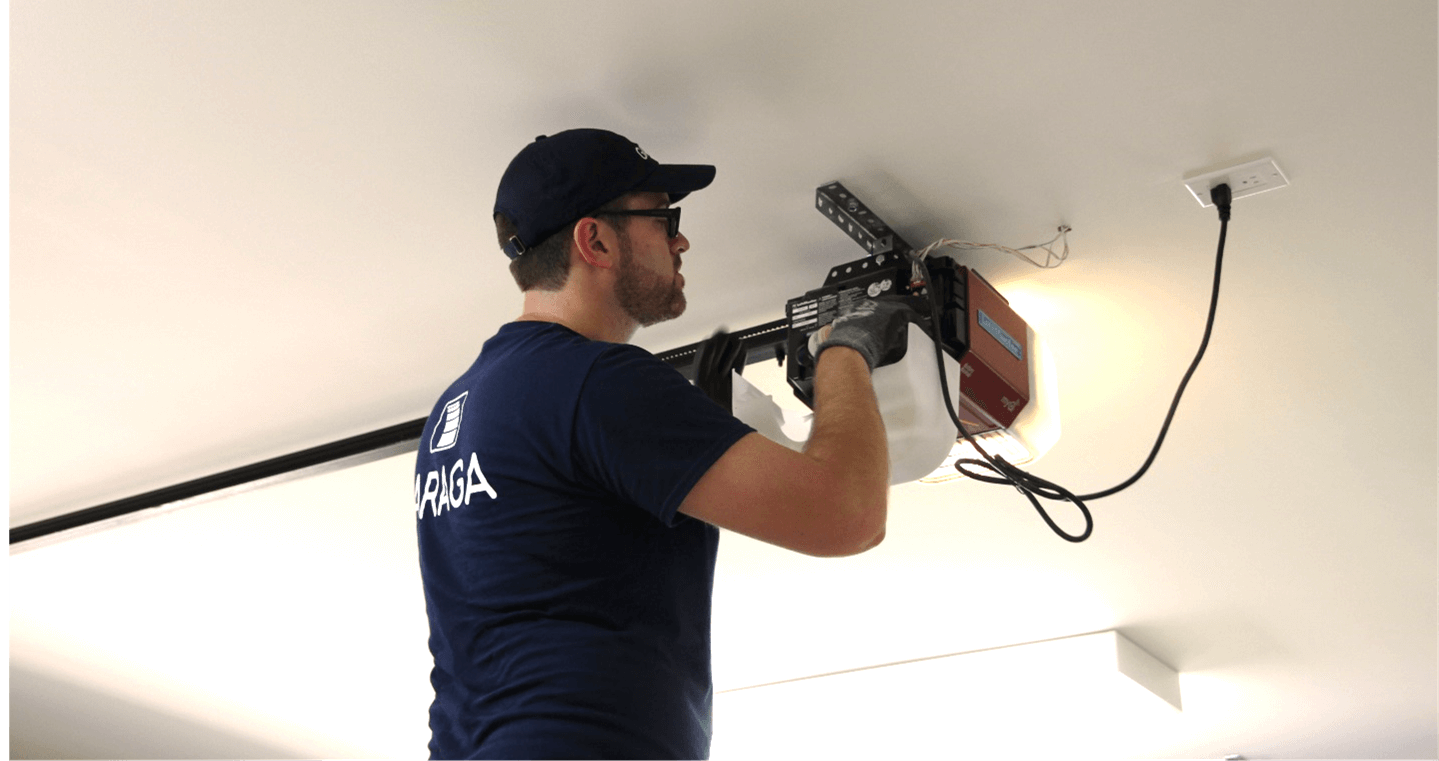
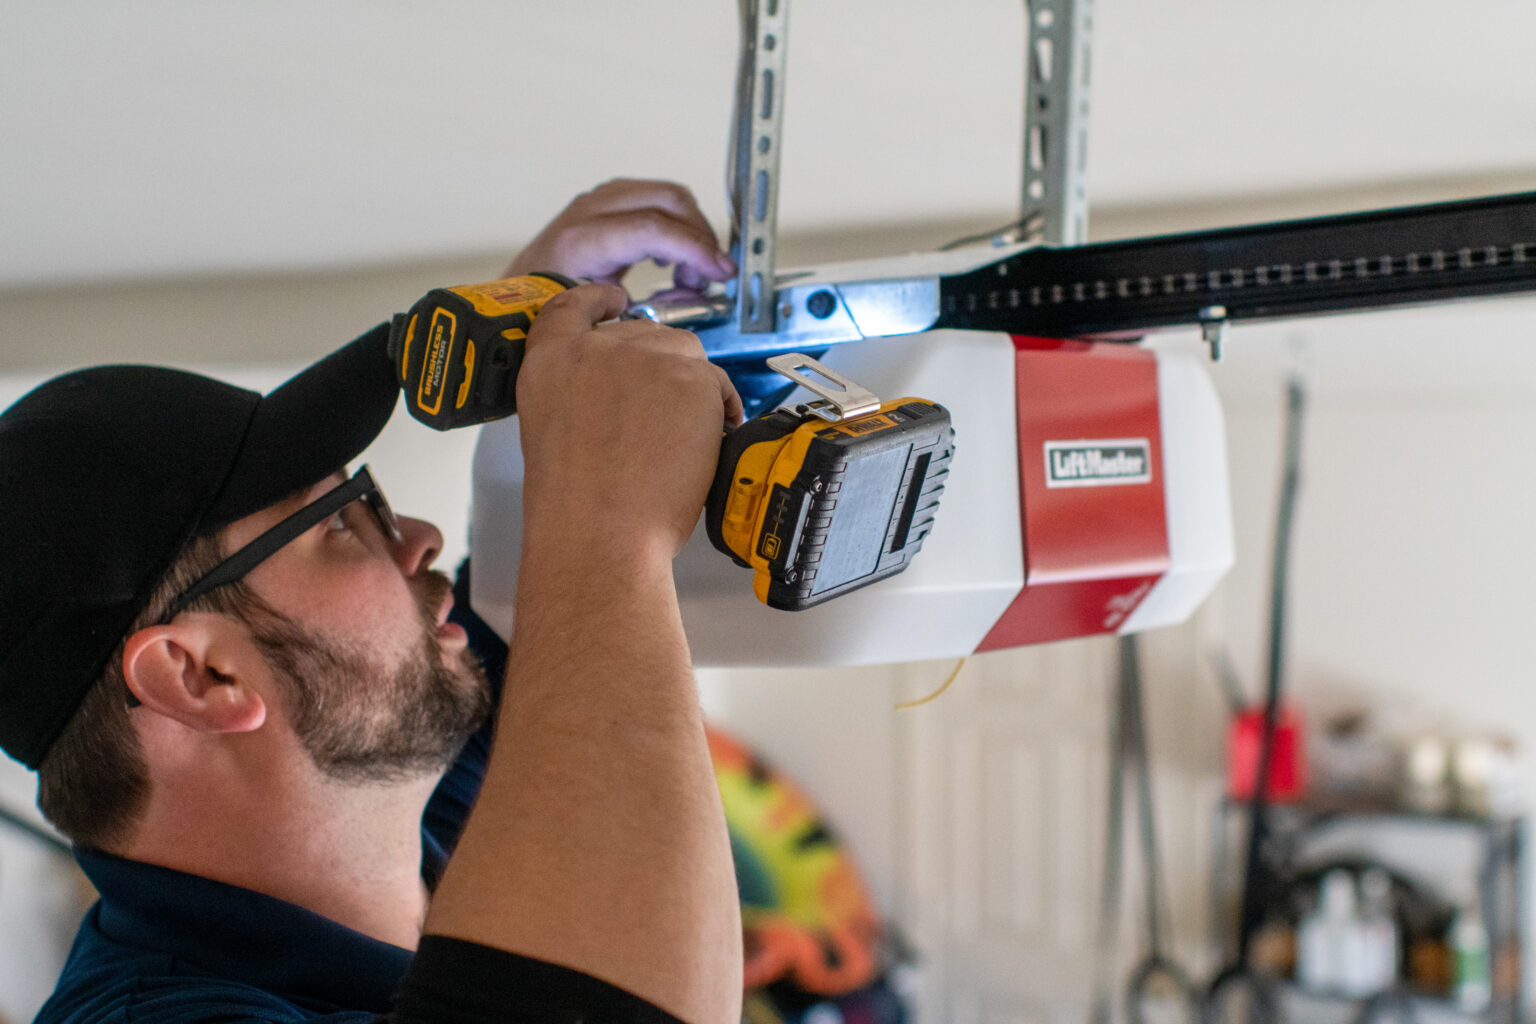
Step 4: Install the New Garage Door Opener
With the old garage door opener disconnected and the new opener prepared, it’s time to move on to the installation process. Follow these step-by-step instructions to install your new garage door opener:
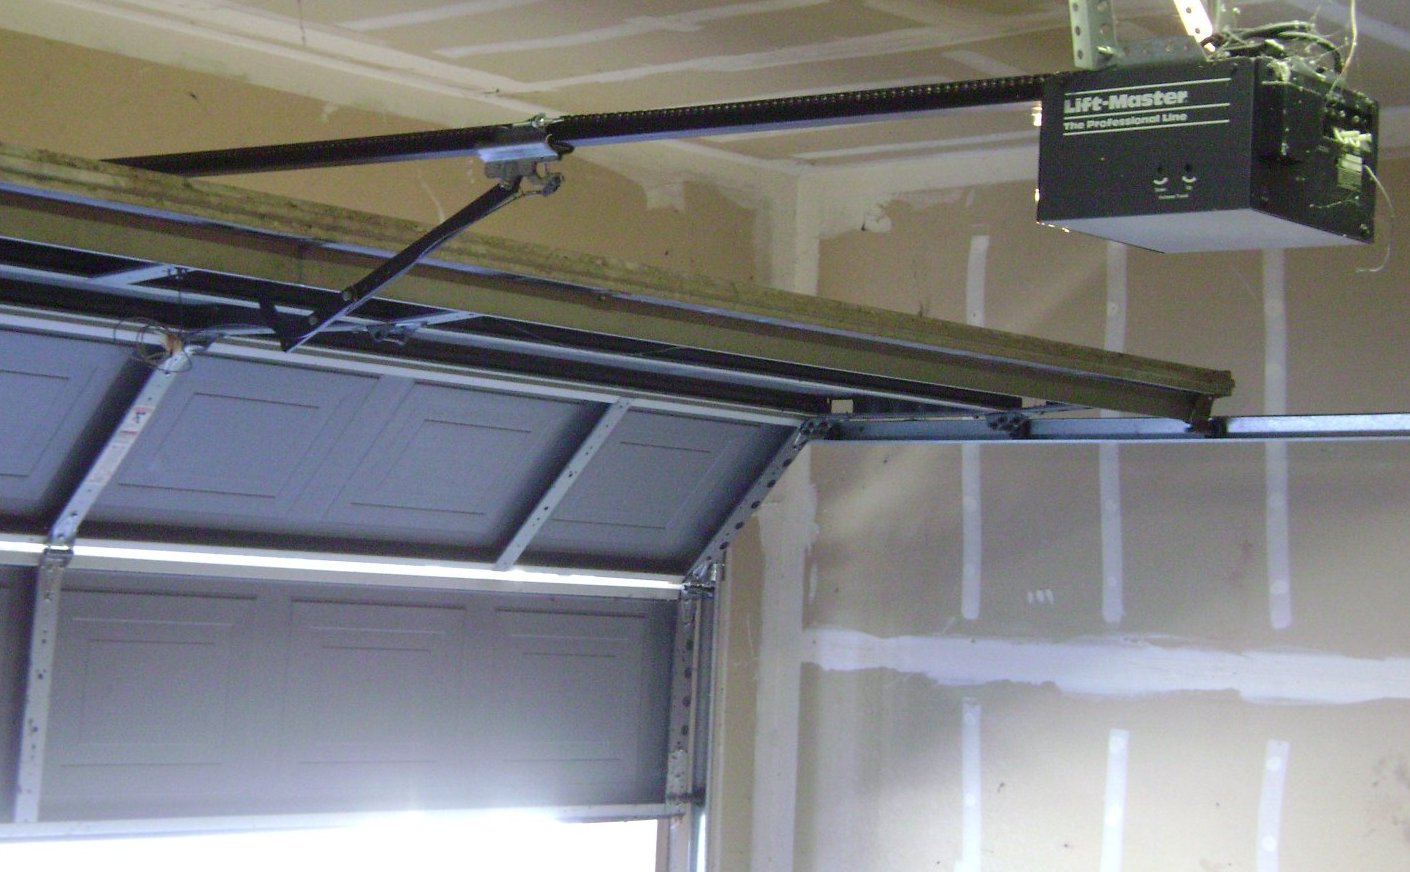
- Position the main unit: Carefully position the main unit of the garage door opener in a spot that allows for proper clearance and operation. Refer to the manufacturer’s instructions for specific guidelines on placement.
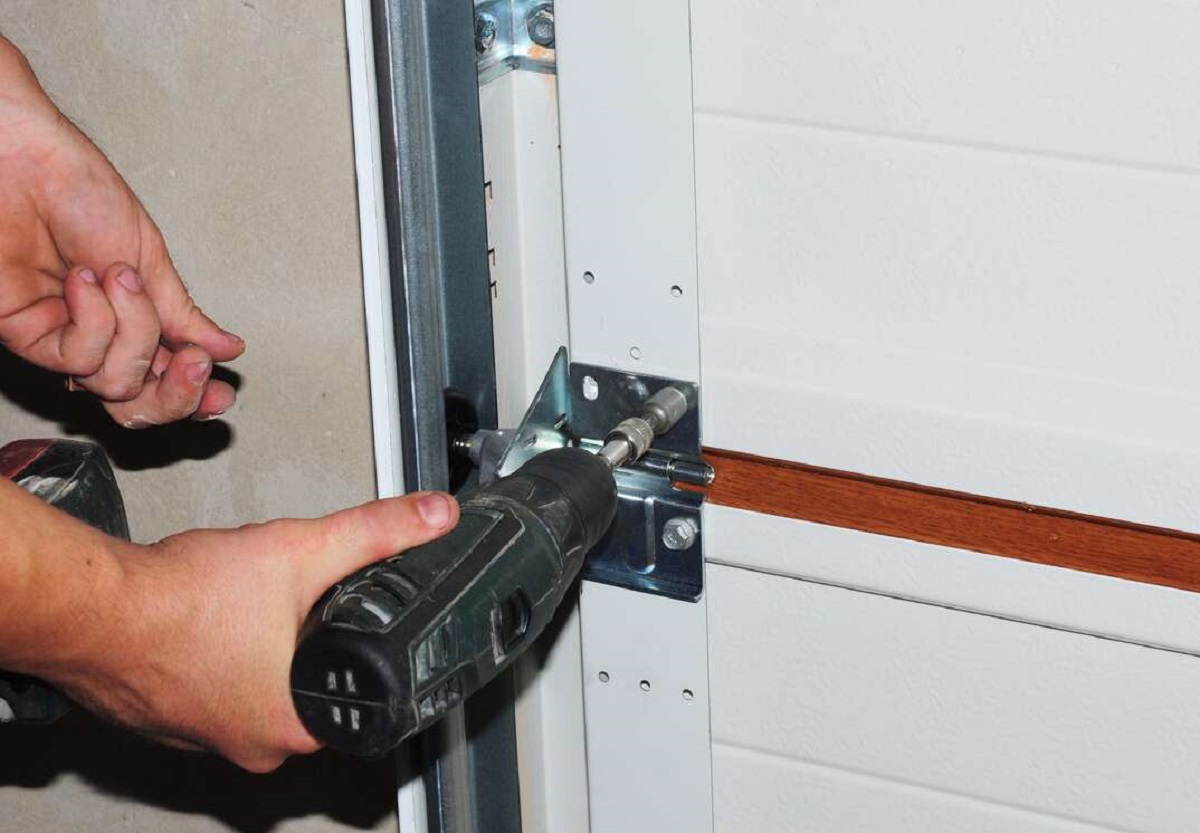
- Attach the mounting brackets: Use the provided mounting hardware, such as brackets, bolts, and screws, to securely attach the opener to the ceiling or wall. Make sure to align the brackets with the pre-drilled holes on the main unit.
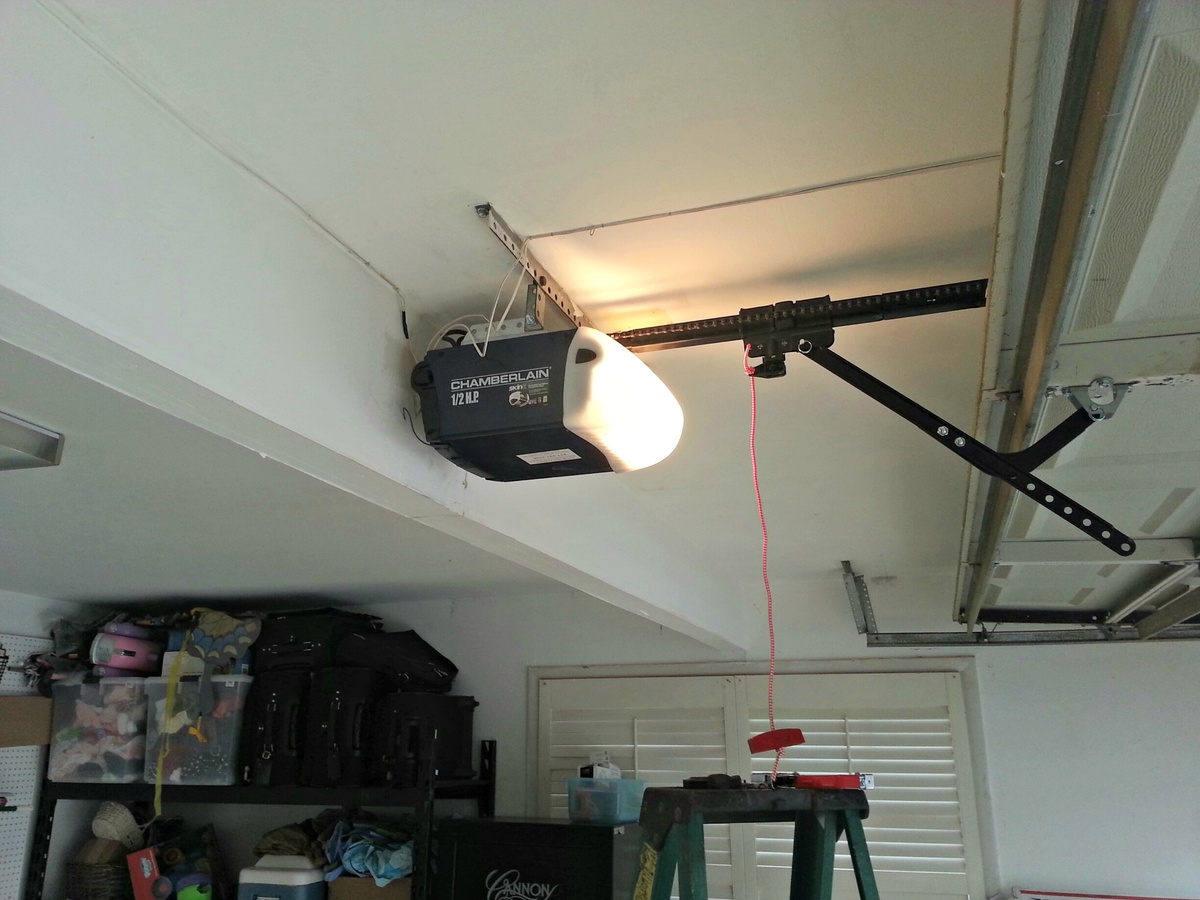
- Install the rails and chains: If your opener uses rails and chains, follow the manufacturer’s instructions to install them. Ensure that they are properly aligned and securely attached to the main unit and the garage door.
- Attach the drive belt or chain: If your opener uses a drive belt or chain, carefully attach it to the motor and the garage door mechanism according to the manufacturer’s instructions. Ensure that it is properly tensioned.
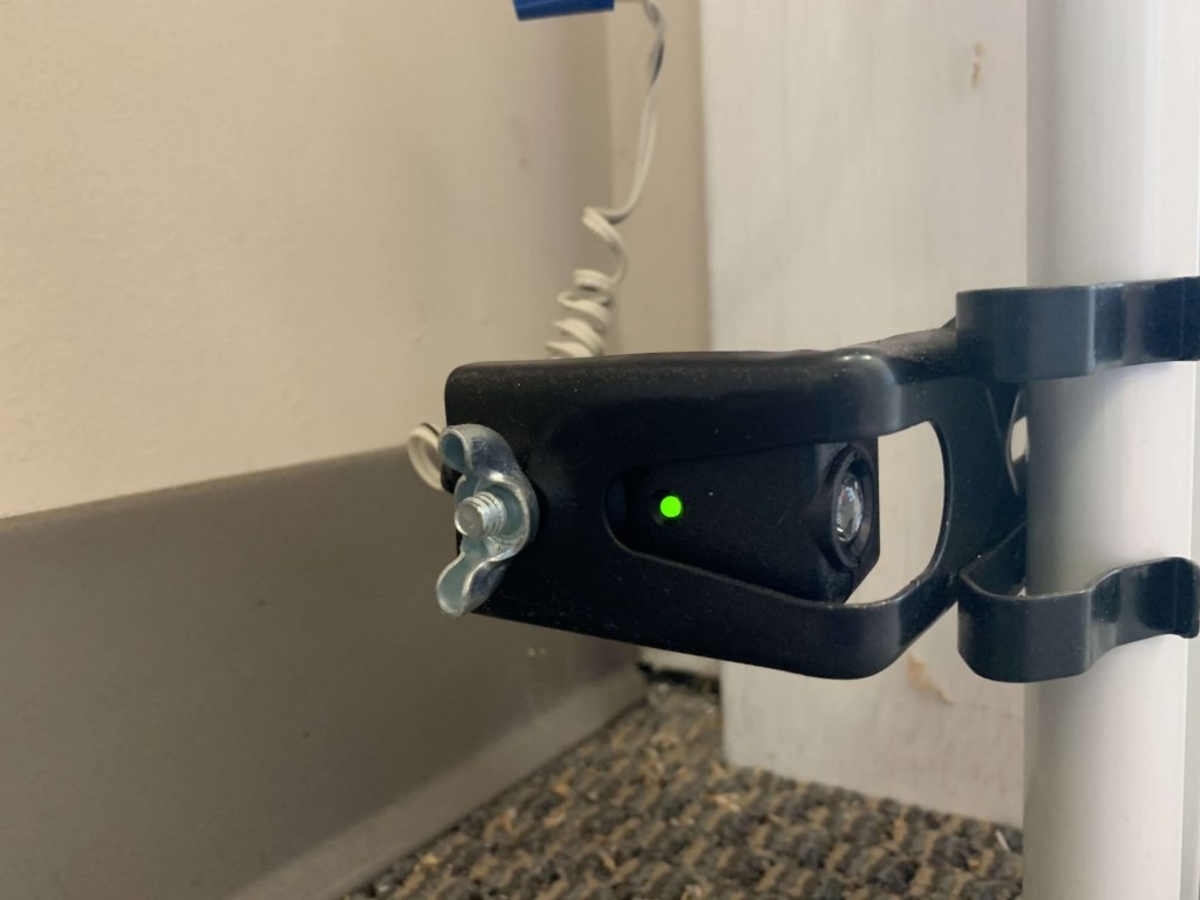
- Secure the safety sensors: If your new opener includes safety sensors, install them according to the manufacturer’s instructions. Typically, they are positioned on either side of the garage door, near the floor. Align the sensors properly and secure them in place.
- Connect the power: Once the opener is securely installed, connect the power cord to a nearby electrical outlet. If necessary, use an extension cord that is compatible with the opener’s power requirements. Avoid any dangling cords or tangled wires.
Keep in mind that the installation process may vary depending on the make and model of your garage door opener. Always refer to the manufacturer’s instructions for specific guidelines and steps. If you’re unsure about any aspect of the installation, consult a professional to ensure a safe and proper setup.
With the new garage door opener installed, you’re now ready to move on to the next step: connecting the opener for operation.
When replacing a garage door opener, make sure to disconnect the power source and remove the old opener. Then, follow the manufacturer’s instructions carefully to install the new opener, ensuring all safety features are properly set up.
Read more: How To Open A Chamberlain Garage Door Opener
Step 5: Connect the New Garage Door Opener
Once the new garage door opener is installed, it’s time to connect it for operation. Follow these steps to ensure a proper connection:
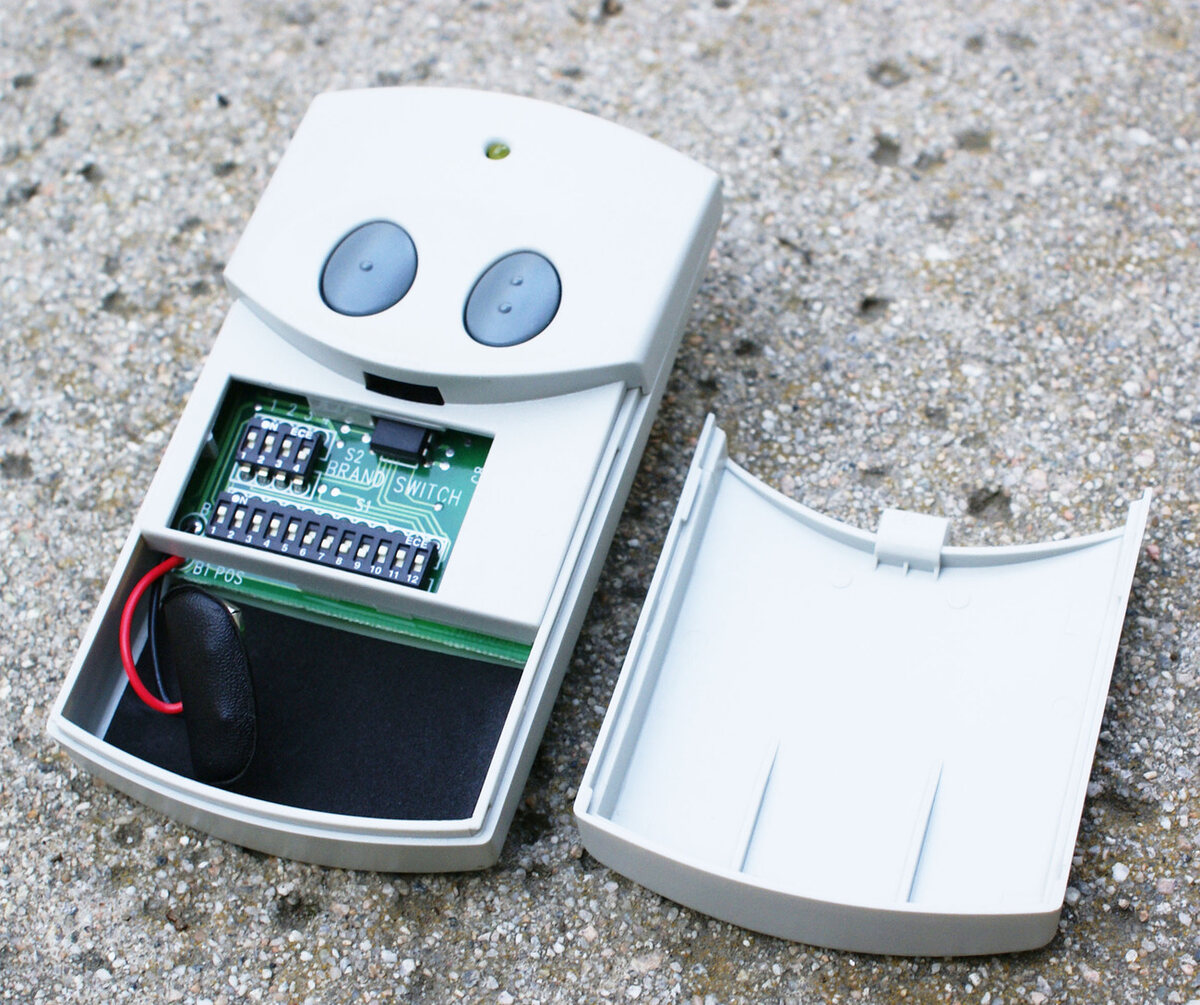
- Program the remote control: Before connecting the opener to the door, program the remote control that came with your new opener. Follow the manufacturer’s instructions to synchronize the remote control with the opener.
- Attach the control wires: Locate the control wires on the opener and connect them to the wall control panel. Use wire cutters and strippers to strip the wires if needed. Make sure to follow the proper color-coding or labeling indicated in the manufacturer’s instructions.
- Connect the safety sensors: If your new opener includes safety sensors, connect them to the designated terminals on the main unit. Ensure that the sensors are properly aligned and secure.
- Connect the wall control panel: Mount the wall control panel at a convenient location inside the garage, away from any moving parts. Connect the control wires to the corresponding terminals on the opener.
- Plug in the power: Plug the power cord of the garage door opener into the electrical outlet. Ensure that the power source is switched on.
- Test the connection: Press the button on the remote control or wall control panel to test the connection. The garage door should respond accordingly, either opening or closing. If the door doesn’t move or there are any issues, consult the manufacturer’s instructions to troubleshoot the problem.
Connecting the new garage door opener is a crucial step in the installation process. Properly linking the remote control, control wires, safety sensors, and wall control panel ensures seamless operation of your garage door. Take your time to follow the manufacturer’s instructions and double-check all connections before proceeding.
Once the connection is established and the garage door responds correctly, you’re ready to move on to the final step: adjusting the garage door opener settings.
Step 6: Test the New Garage Door Opener
After connecting the new garage door opener, it’s crucial to properly test its functionality to ensure everything is working as expected. Following these steps will help you perform a thorough test:
- Clear the area: Make sure that the garage door and its surrounding area are free from any obstructions. This includes any objects, vehicles, or debris that may interfere with the door’s movement.
- Close the garage door: Using the remote control or wall control panel, close the garage door completely to its fully lowered position.
- Observe the movement: As the garage door closes, pay close attention to its movement. Ensure that it moves smoothly and without any jerking or unusual noises. If you notice any issues, stop the door immediately and address the problem before proceeding.
- Open the garage door: Using the remote control or wall control panel, open the garage door fully to its fully raised position.
- Check for balance and alignment: As the garage door opens, observe its balance and alignment. It should move evenly and be properly aligned with the door frame. If the door appears unbalanced or misaligned, consult the manufacturer’s instructions for guidance on adjusting these settings.
- Test the safety features: Garage door openers are equipped with safety features, such as auto-reverse mechanisms, that are designed to prevent accidents and injuries. Test these safety features by placing an obstacle, such as a roll of paper towels, in the door’s path. The door should automatically reverse when it encounters the obstruction.
- Test the remotes and control panel: Test the functionality of the remote controls and wall control panel by opening and closing the garage door multiple times from different distances. Ensure that each command is executed properly and without any delay.
By thoroughly testing the new garage door opener, you can identify and address any issues or malfunctions early on. This step is crucial to ensure the safe and efficient operation of your garage door. If you encounter any issues during the testing process, refer to the manufacturer’s instructions or contact customer support for assistance.
Once you are satisfied that the new garage door opener is functioning correctly, you’re ready to proceed to the final step: adjusting the settings of the garage door opener.
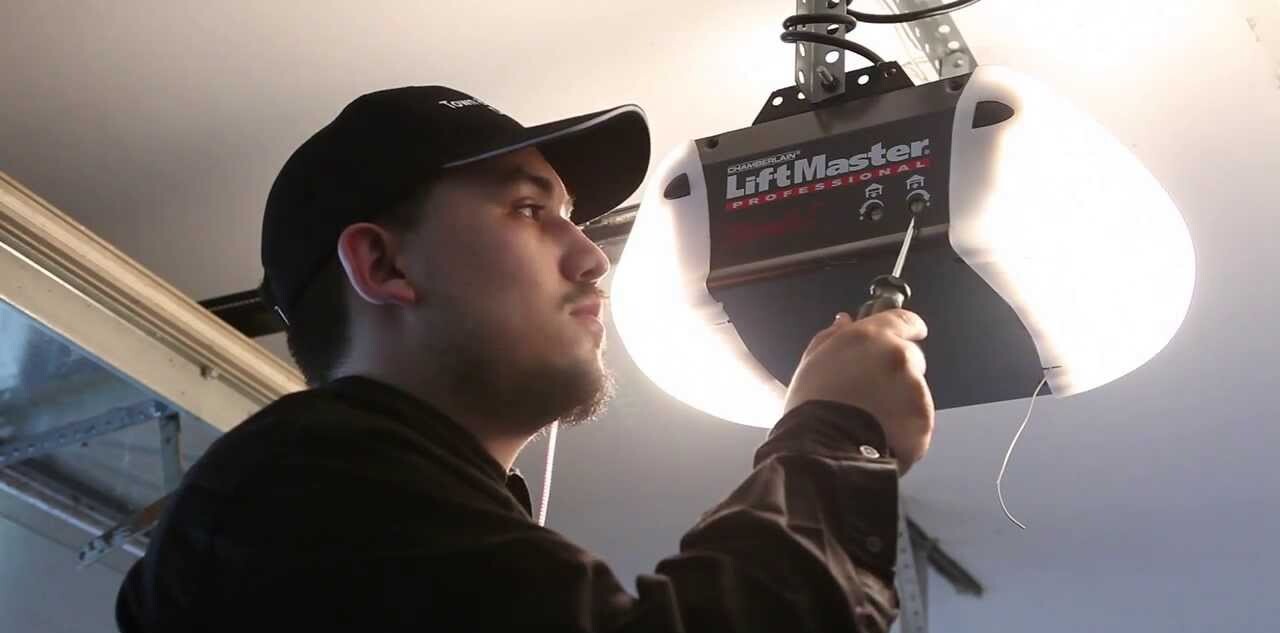
Step 7: Adjust the Garage Door Opener Settings
After successfully testing the new garage door opener, you may need to make some adjustments to its settings to ensure optimal performance and functionality. Follow these steps to adjust the settings:
- Adjust the travel limits: The travel limits determine how far the garage door opens and closes. Follow the manufacturer’s instructions to adjust these limits using the control panel or switches on the opener.
- Set the force sensitivity: The force sensitivity determines how much force the opener applies when opening or closing the garage door. It ensures that the door operates smoothly and with minimal resistance. Adjust the force sensitivity according to the manufacturer’s instructions to prevent the door from closing too forcefully or reversing unexpectedly.
- Program additional remotes: If you have additional remote controls that you want to use with the new opener, follow the manufacturer’s instructions to program them. This may involve pressing certain buttons in a specific sequence or syncing them with the opener.
- Configure additional features: If your new garage door opener offers additional features such as timed close, vacation mode, or Wi-Fi connectivity, configure these settings according to the manufacturer’s instructions. Familiarize yourself with these features to maximize the convenience and security provided by your new opener.
It’s important to note that adjusting the settings of a garage door opener requires careful attention to detail and adherence to the manufacturer’s instructions. Make small, incremental adjustments and test the door’s operation after each change to ensure proper functionality.
If you are uncertain about any of the settings or encounter difficulties during the adjustment process, consult the manufacturer’s instructions or contact customer support for assistance. Ensuring that the settings are properly adjusted will help optimize the performance and longevity of your new garage door opener.
With the settings adjusted, you have successfully completed the process of replacing your garage door opener. Enjoy the convenience, security, and peace of mind that a well-functioning opener provides!
Conclusion
Congratulations on successfully replacing your garage door opener! By following the step-by-step guide in this article, you have taken the necessary steps to improve the functionality, convenience, and security of your garage door.
Throughout the process, you started by gathering the materials and tools needed for the installation. By disconnecting the old garage door opener, preparing the new one, and installing it properly, you set a solid foundation for seamless operation.
Connecting the new garage door opener and thoroughly testing its functionality ensured that everything was working as expected. Any necessary adjustments to the opener’s settings were made, allowing for optimal performance and a safe garage door operation.
Remember, safety should always be your top priority when working with garage door openers. If you ever feel unsure or uncomfortable, it’s best to seek assistance from a professional garage door technician to ensure a safe and proper installation.
Now, you can enjoy the benefits of a new garage door opener, including convenient remote operation, improved security, and smoother door movement. Take the time to familiarize yourself with all the features and capabilities of your new opener, such as timed close or Wi-Fi connectivity, to make the most out of your investment.
We hope this guide has been informative and helpful in guiding you through the process of replacing your garage door opener. Remember to refer to the manufacturer’s instructions for specific details and guidelines, as different openers may have unique requirements.
Thank you for taking the time to read this comprehensive article. We wish you many years of trouble-free garage door operation with your new opener!
Frequently Asked Questions about How Do You Replace A Garage Door Opener
Was this page helpful?
At Storables.com, we guarantee accurate and reliable information. Our content, validated by Expert Board Contributors, is crafted following stringent Editorial Policies. We're committed to providing you with well-researched, expert-backed insights for all your informational needs.
0 thoughts on “How Do You Replace A Garage Door Opener”