
Articles
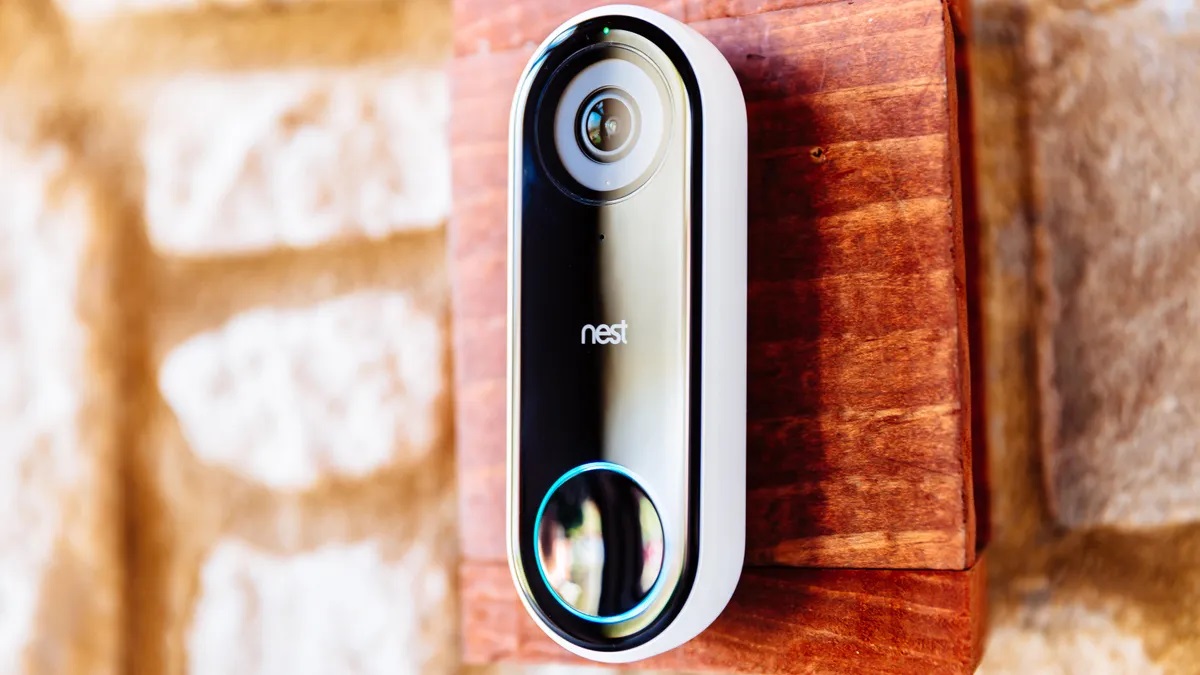
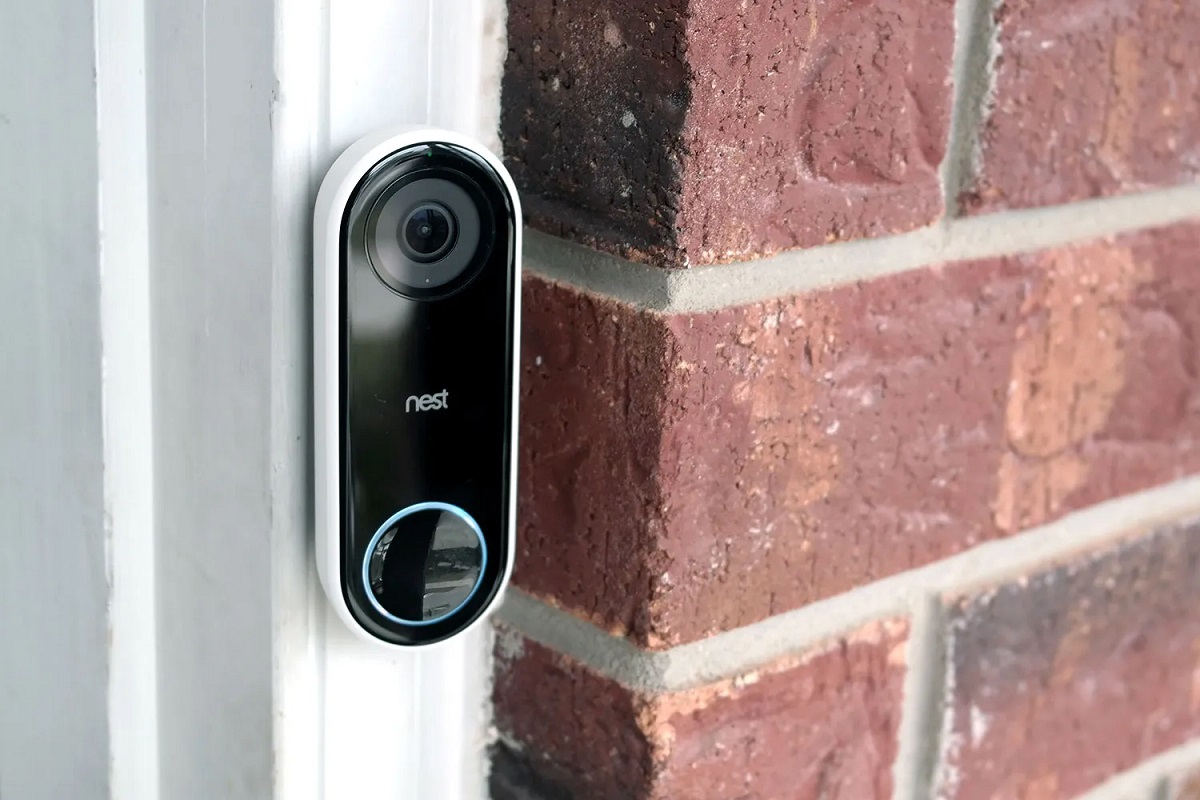
How To Reboot Nest Doorbell
Modified: October 20, 2024
Discover expert articles on how to reboot your Nest Doorbell and troubleshoot any issues. Enhance your knowledge and ensure seamless functionality for your smart home device.
(Many of the links in this article redirect to a specific reviewed product. Your purchase of these products through affiliate links helps to generate commission for Storables.com, at no extra cost. Learn more)
Introduction
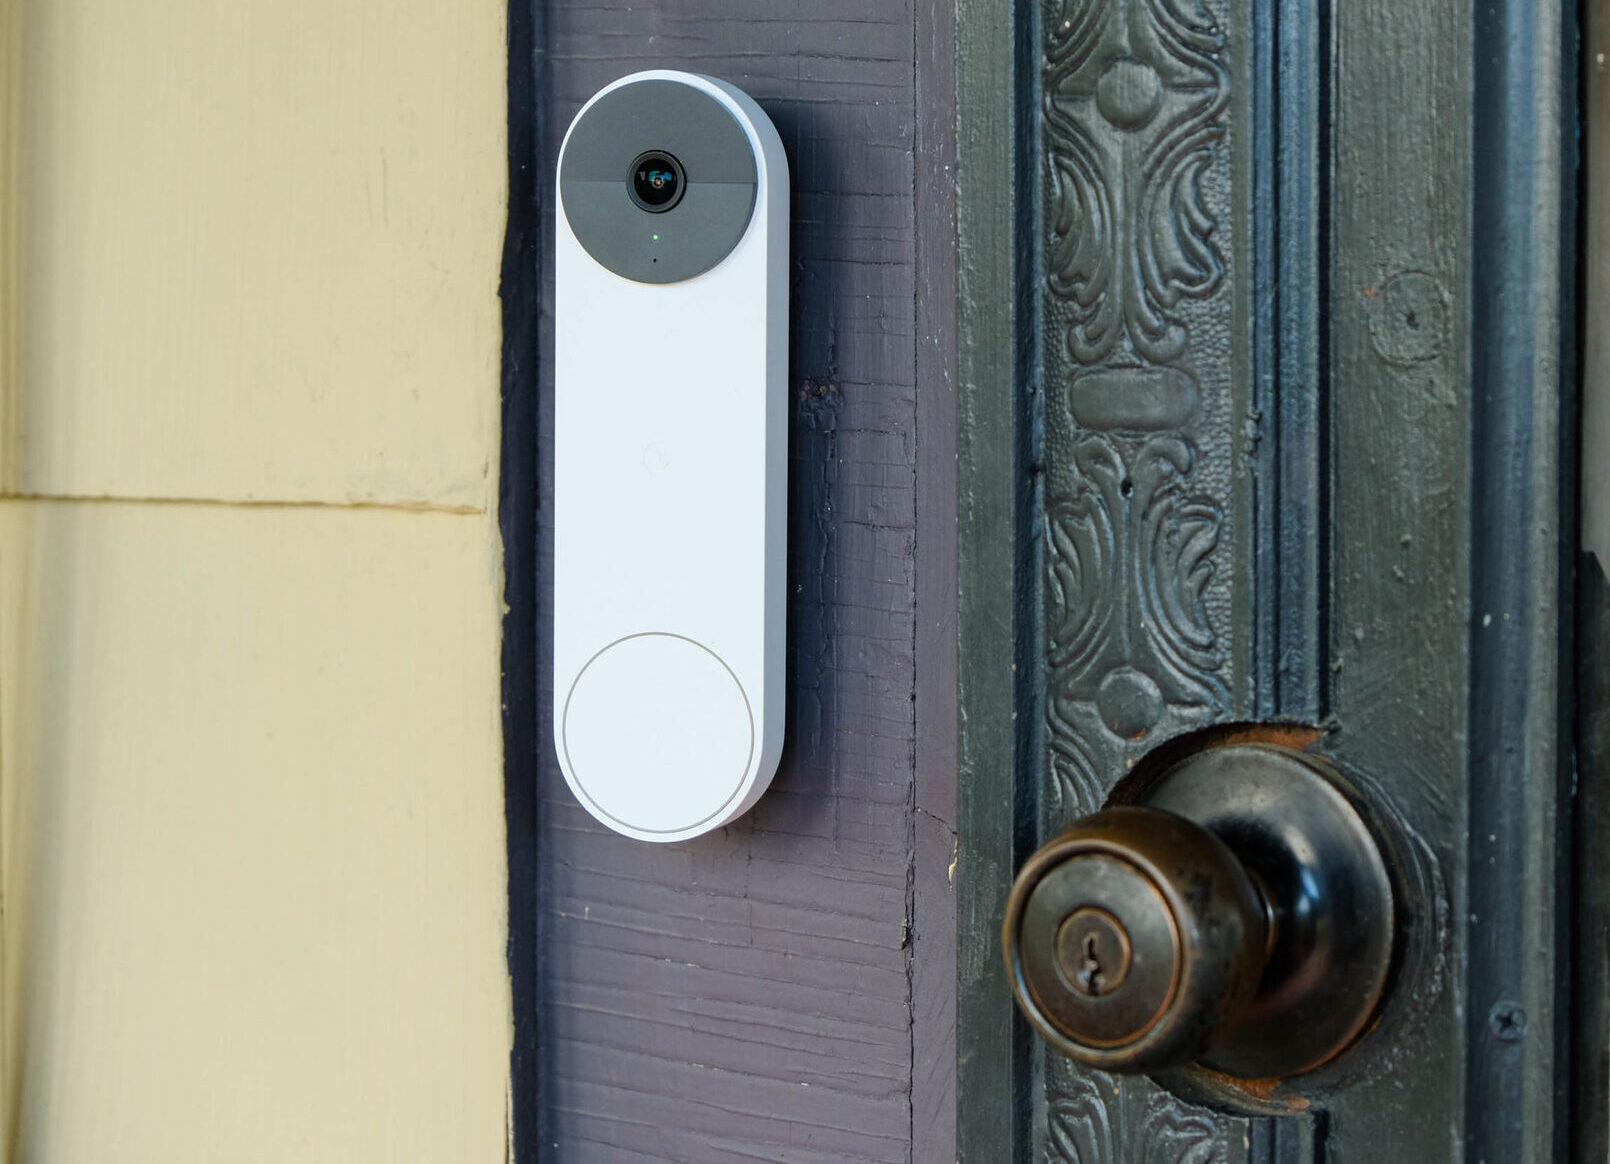
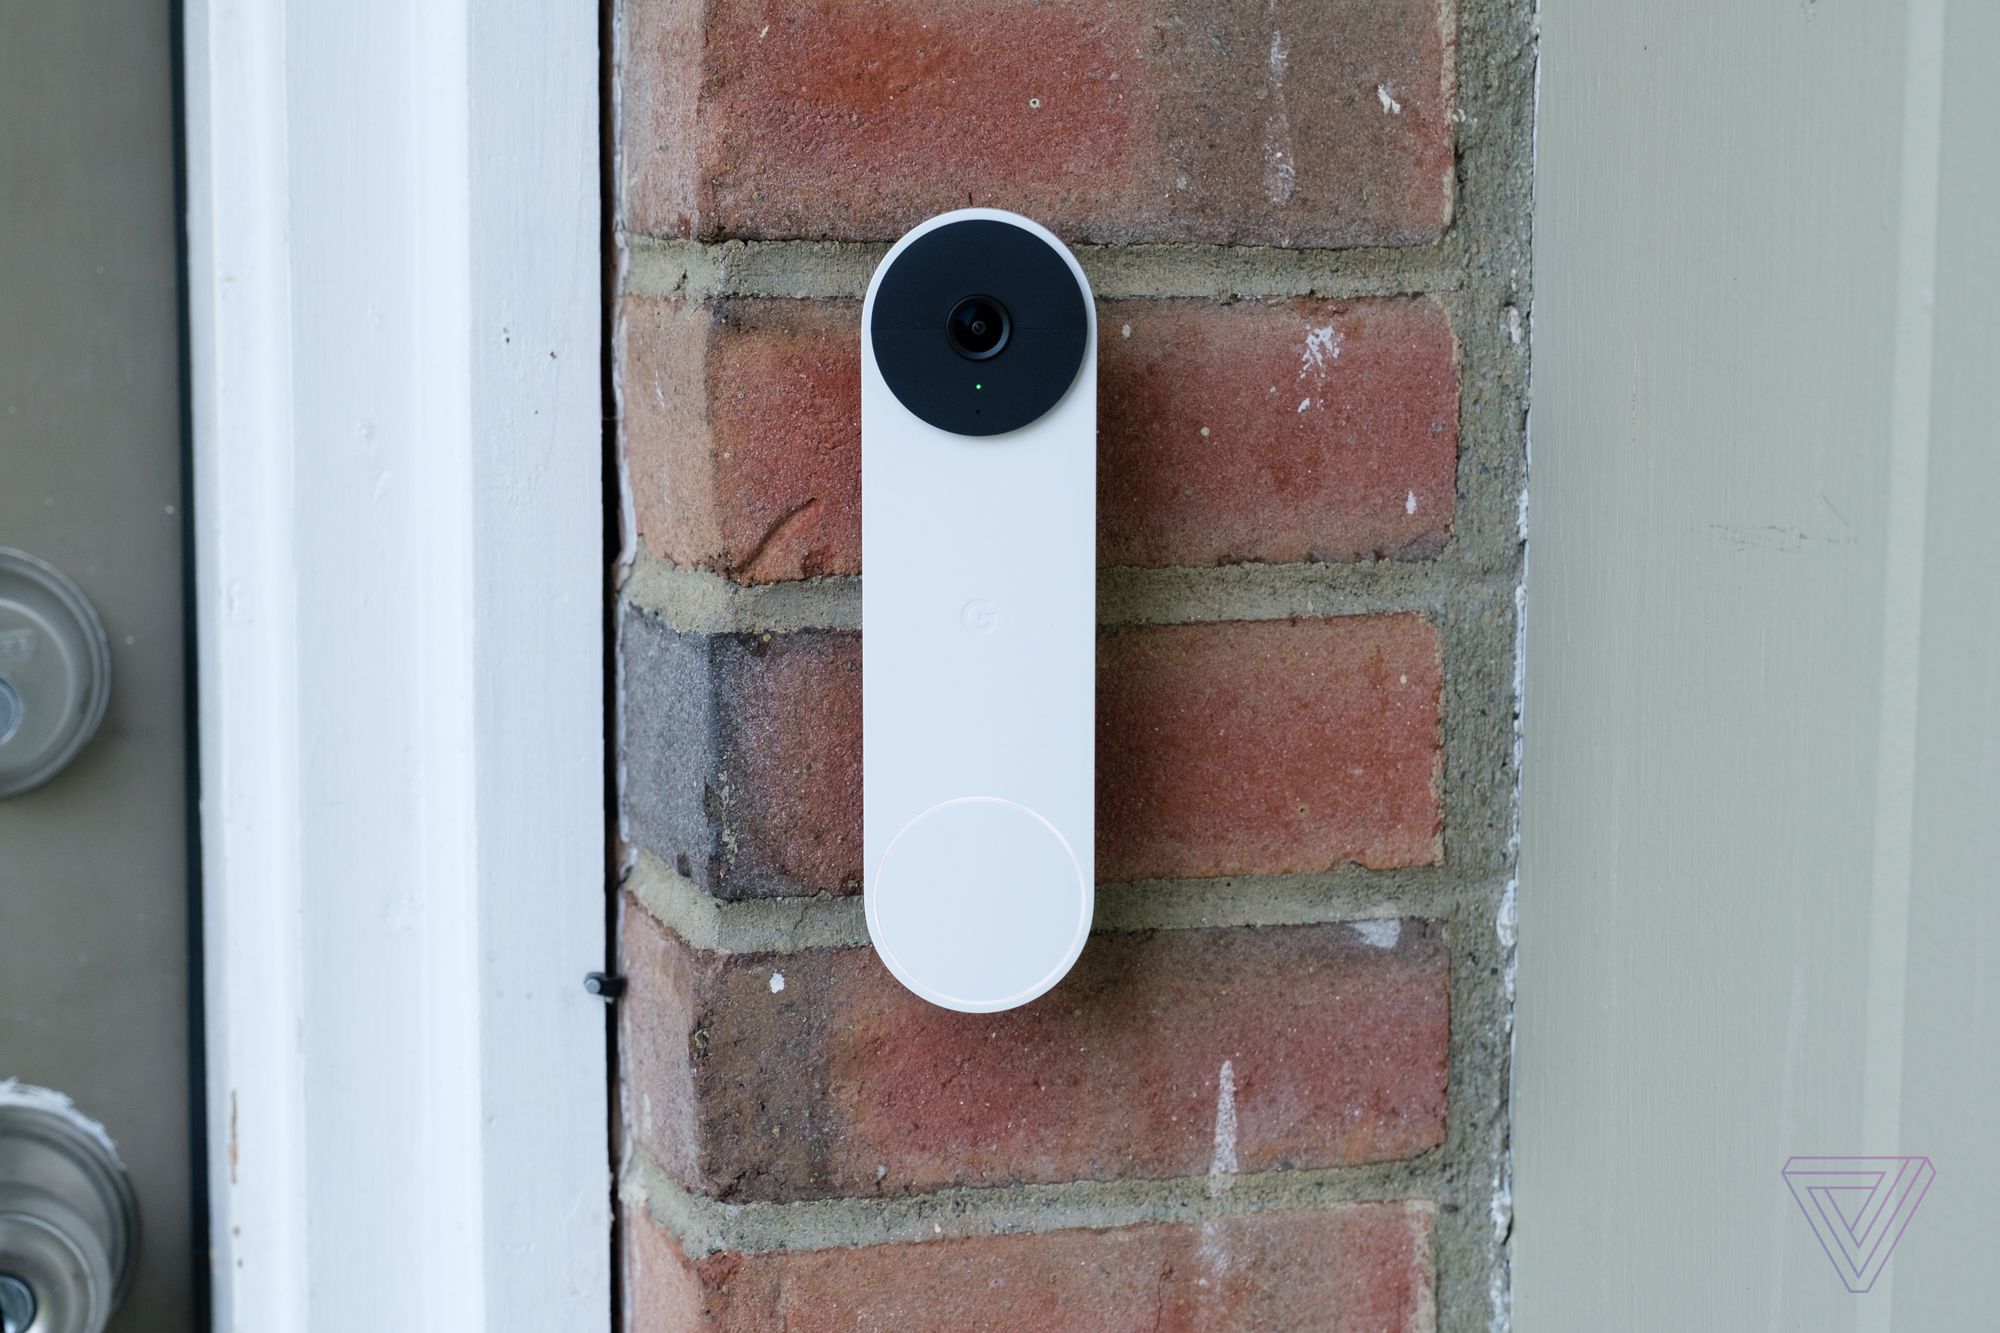
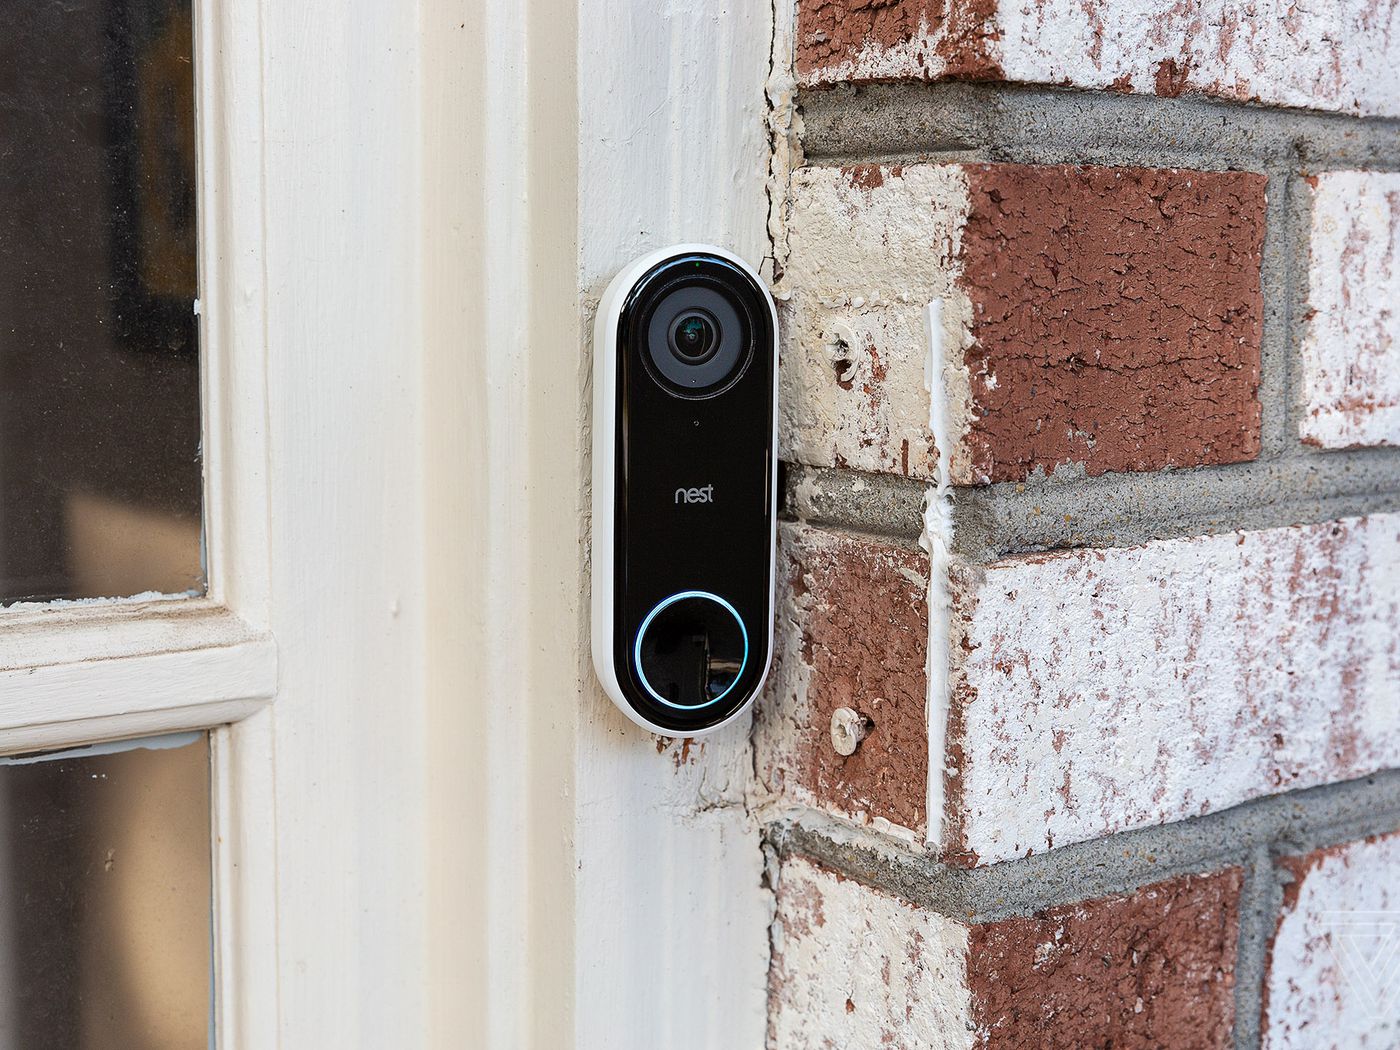
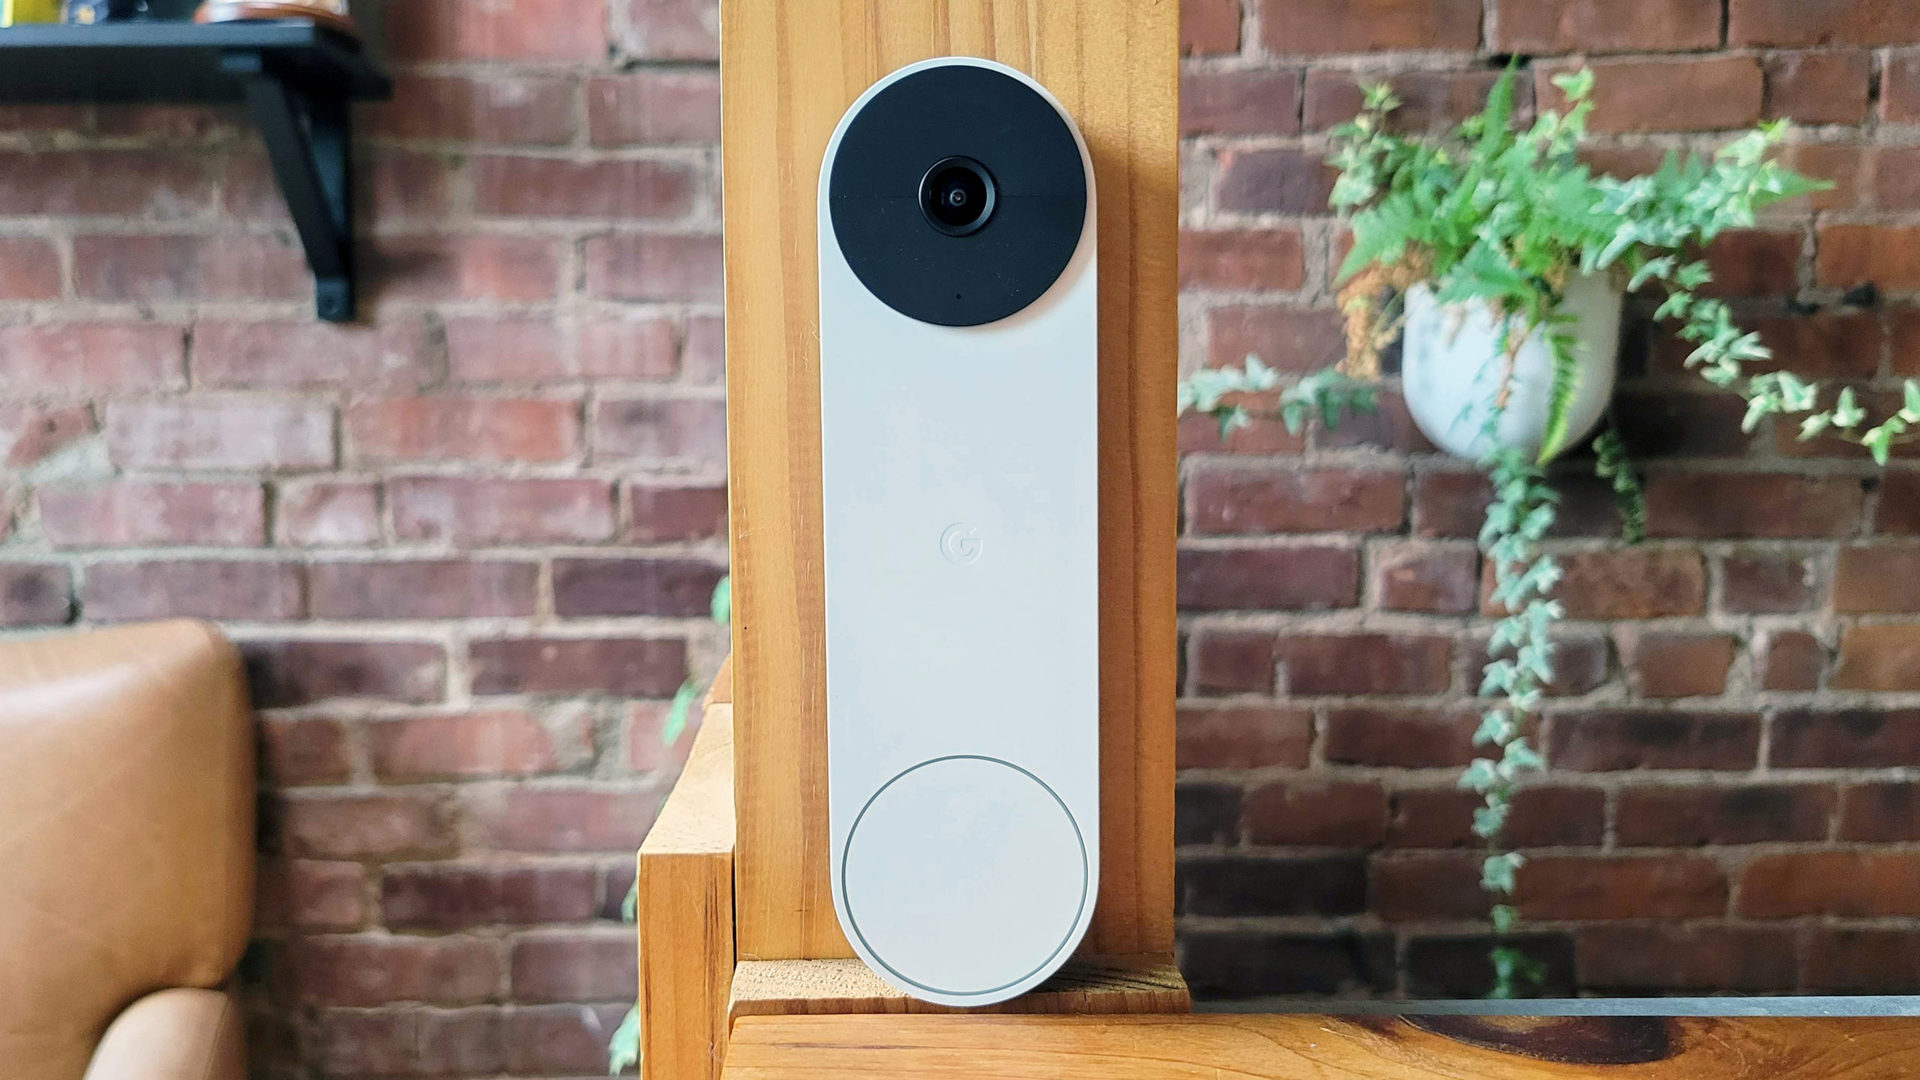
Welcome to this guide on how to reboot your Nest doorbell. The Nest doorbell is a smart and innovative device that brings convenience and security to your doorstep. However, like any electronic device, it may encounter issues from time to time that can be resolved simply by rebooting the system.
Before jumping into the steps of rebooting, it’s important to understand the potential benefits. Rebooting your Nest doorbell can help resolve various issues such as connection problems, unresponsiveness, or even software glitches. By performing a reboot, you give your device a fresh start and allow it to recalibrate its settings, ultimately restoring it to optimal functioning.
In this guide, I will walk you through the step-by-step process of rebooting your Nest doorbell. We will cover troubleshooting steps before rebooting, power-cycling the device, factory resetting it, reconnecting it to Wi-Fi, and finally, testing the doorbell to ensure it is working correctly. So, let’s get started!
Key Takeaways:
- Rebooting your Nest doorbell can resolve connectivity issues, unresponsiveness, and software glitches. Follow the step-by-step guide to power-cycle, factory reset, and reconnect to Wi-Fi for optimal functionality.
- Perform basic troubleshooting before rebooting your Nest doorbell. Power-cycle, factory reset, and reconnect to Wi-Fi to ensure proper functionality. Test the doorbell’s features to verify successful reboot.
Read more: How To Get My Nest Doorbell Back Online
Step 1: Troubleshooting before Rebooting
Before proceeding with a reboot, it is important to perform some basic troubleshooting steps to rule out any simple issues that may be causing problems with your Nest doorbell.
1. Check the power source: Make sure your Nest doorbell is receiving power. Check if it is properly connected to a power source or if the battery needs to be charged. If it is a wired doorbell, ensure that the wires are securely connected.
2. Verify the Wi-Fi connection: Check if your Nest doorbell is connected to your home Wi-Fi network. Ensure that the Wi-Fi signal is strong and there are no issues with your internet connection. If the signal is weak, consider moving your router closer to the doorbell or using a Wi-Fi extender.
3. Restart your router: Sometimes, connectivity issues can be resolved by simply restarting your router. Power off your router, wait for a few seconds, and then power it back on. This can help refresh the connection and resolve any temporary network glitches.
4. Review settings in the Nest app: Open the Nest app on your smartphone and review the settings for your Nest doorbell. Ensure that the settings are properly configured and aligned with your preferences. Make any necessary adjustments and check if the issue persists.
If you have gone through these troubleshooting steps and the problem with your Nest doorbell still persists, it may be time to reboot the device. The following steps will guide you through the process of rebooting your Nest doorbell to help resolve any system-related issues.
Step 2: Power-Cycling the Nest Doorbell
If you are experiencing connectivity issues or unresponsiveness with your Nest doorbell, power-cycling the device can often provide a quick and effective solution. Power-cycling essentially involves disconnecting the power supply to the doorbell and then reconnecting it after a brief period of time.
Here are the steps to power-cycle your Nest doorbell:
- Locate the power source: Depending on your setup, your Nest doorbell may be powered by either a wired connection or a rechargeable battery. Locate the power source for your specific setup.
- Disconnect the power: If your Nest doorbell is wired, locate the circuit breaker corresponding to the doorbell. Switch off the breaker to disconnect the power. If your doorbell is battery-powered, remove the battery from the device.
- Wait for a few minutes: Leave the doorbell disconnected from power for about 2-3 minutes. This allows any residual power to dissipate and ensures a complete reset when you reconnect it.
- Reconnect the power: If your Nest doorbell is wired, switch the circuit breaker back on to restore power. If it is battery-powered, reinsert the battery into the device.
- Wait for the doorbell to restart: After restoring power, give your Nest doorbell a few moments to restart and reconnect to your Wi-Fi network. You may see the device’s LED light flashing or hear a chime indicating that it is booting up.
Once the Nest doorbell has completed the reboot process and is back online, check if the previous issues have been resolved. Test the doorbell’s functionality by pressing the button or checking for live video feed in the Nest app.
Power-cycling can often resolve temporary connectivity issues or minor software glitches that may be affecting the performance of your Nest doorbell. If you are still experiencing issues, you may need to proceed to the next step, which involves factory resetting the doorbell.
Step 3: Factory Resetting the Nest Doorbell
If power-cycling your Nest doorbell did not resolve the issues you are facing, the next step is to perform a factory reset. This will restore the doorbell to its default settings and remove any personalized configurations or settings you have made.
Before proceeding with a factory reset, it is crucial to note that this process will erase all your custom settings, event history, and Wi-Fi network information. Make sure you are prepared to set up your doorbell again from scratch.
Here are the steps to factory reset your Nest doorbell:
- Open the Nest app: Launch the Nest app on your smartphone or tablet, and ensure that you are logged in to the account associated with your Nest doorbell.
- Select your doorbell: From the app’s home screen, find and select your Nest doorbell to access its settings.
- Go to settings: Look for the gear icon or the settings option within the Nest app. Tap on it to access the doorbell’s settings menu.
- Find the reset option: Within the settings menu, look for the option to reset the doorbell. This may be labeled as “Factory Reset” or something similar.
- Confirm the reset: Once you have located the reset option, you will likely be prompted to confirm the action. Read through the warning message and confirm that you want to proceed with the factory reset.
- Wait for the reset process: After confirming the reset, your Nest doorbell will begin the reset process. This may take a few minutes, during which the doorbell will restart and clear all of its stored data.
Once the factory reset is complete, your Nest doorbell will be in its original state as if it were brand new. You will need to set it up again, including connecting it to Wi-Fi and adding it to your Nest account.
Performing a factory reset can often resolve persistent issues, especially those related to software glitches or configuration errors. However, if the problems persist even after a factory reset, proceed to the next step to reconnect your Nest doorbell to your Wi-Fi network.
To reboot your Nest Doorbell, simply remove it from the mounting bracket, wait for 10 seconds, and then reattach it. This will restart the device and may resolve any issues you are experiencing.
Step 4: Reconnecting the Nest Doorbell to Wi-Fi
After performing a factory reset on your Nest doorbell, the next step is to reconnect it to your Wi-Fi network. This step is essential to ensure that your doorbell can communicate with your smartphone or other devices via the Nest app.
Here are the steps to reconnect your Nest doorbell to Wi-Fi:
- Launch the Nest app: Open the Nest app on your smartphone or tablet, and sign in to your Nest account.
- Access doorbell settings: From the home screen of the app, locate and select your Nest doorbell to access its settings.
- Choose the Wi-Fi setup option: Look for the option to set up the Wi-Fi connection for your doorbell within the settings menu. This option may be labeled as “Wi-Fi Setup” or similar.
- Follow the on-screen instructions: The Nest app will guide you through the process of connecting your doorbell to Wi-Fi. It may prompt you to enter your Wi-Fi network’s name (SSID) and password. Make sure to enter the correct information to establish a successful connection.
- Wait for the connection: After entering the Wi-Fi details, it may take a few moments for your Nest doorbell to establish a connection. The LED light on the doorbell may blink to indicate that it is connecting to your Wi-Fi network.
Once the connection is established, your Nest doorbell should be successfully reconnected to your Wi-Fi network. You can verify the connection by checking the Nest app on your smartphone or tablet.
By reconnecting your Nest doorbell to Wi-Fi, you ensure that it can transmit live video feed, send notifications, and allow you to control its settings through the Nest app. If the Wi-Fi connection is stable and the doorbell is functioning properly, you have successfully completed this step.
Now that your Nest doorbell is reconnected to Wi-Fi, proceed to the final step to test the functionality of your doorbell after rebooting it.
Read more: How To Install Wired Nest Doorbell
Step 5: Testing the Nest Doorbell after Rebooting
After rebooting your Nest doorbell and completing the necessary steps, it’s crucial to test its functionality to ensure that the issues you were experiencing have been resolved. Testing the doorbell will allow you to verify that it is working properly and that all the features, such as live video feed, motion detection, and notifications, are functioning as intended.
Here are the steps to test your Nest doorbell after rebooting:
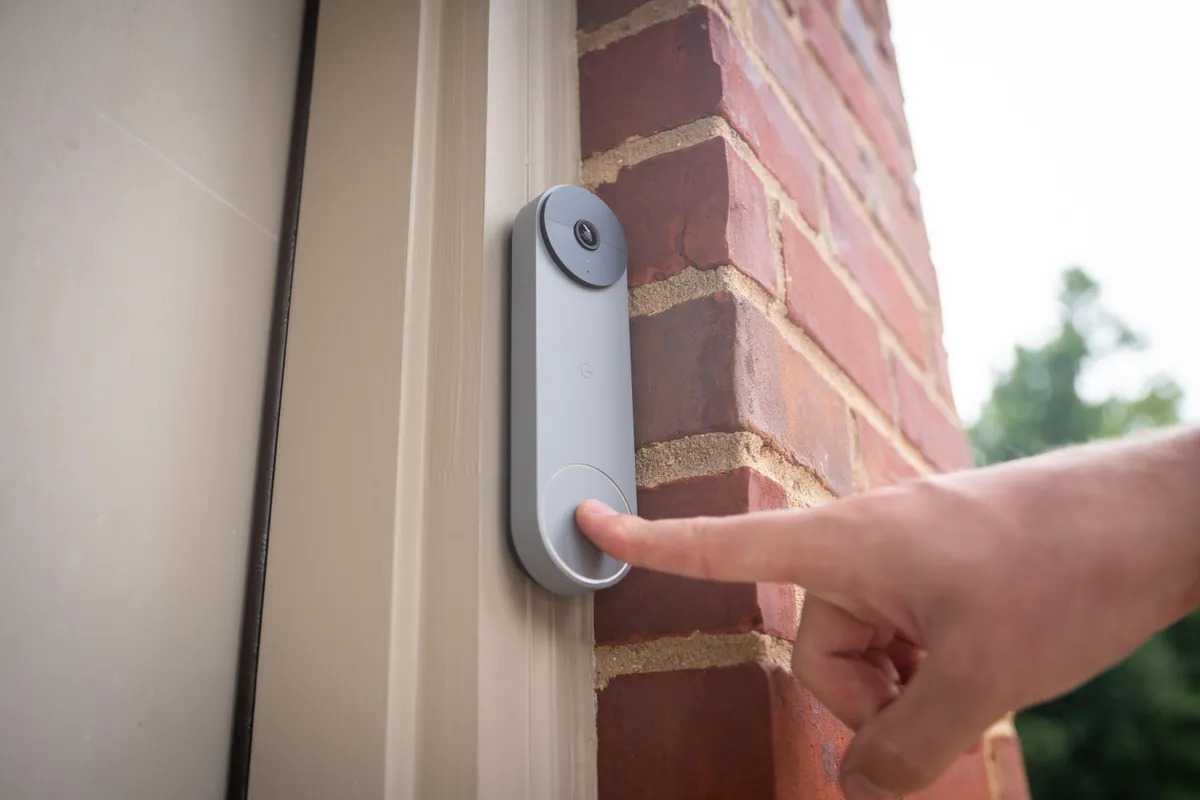
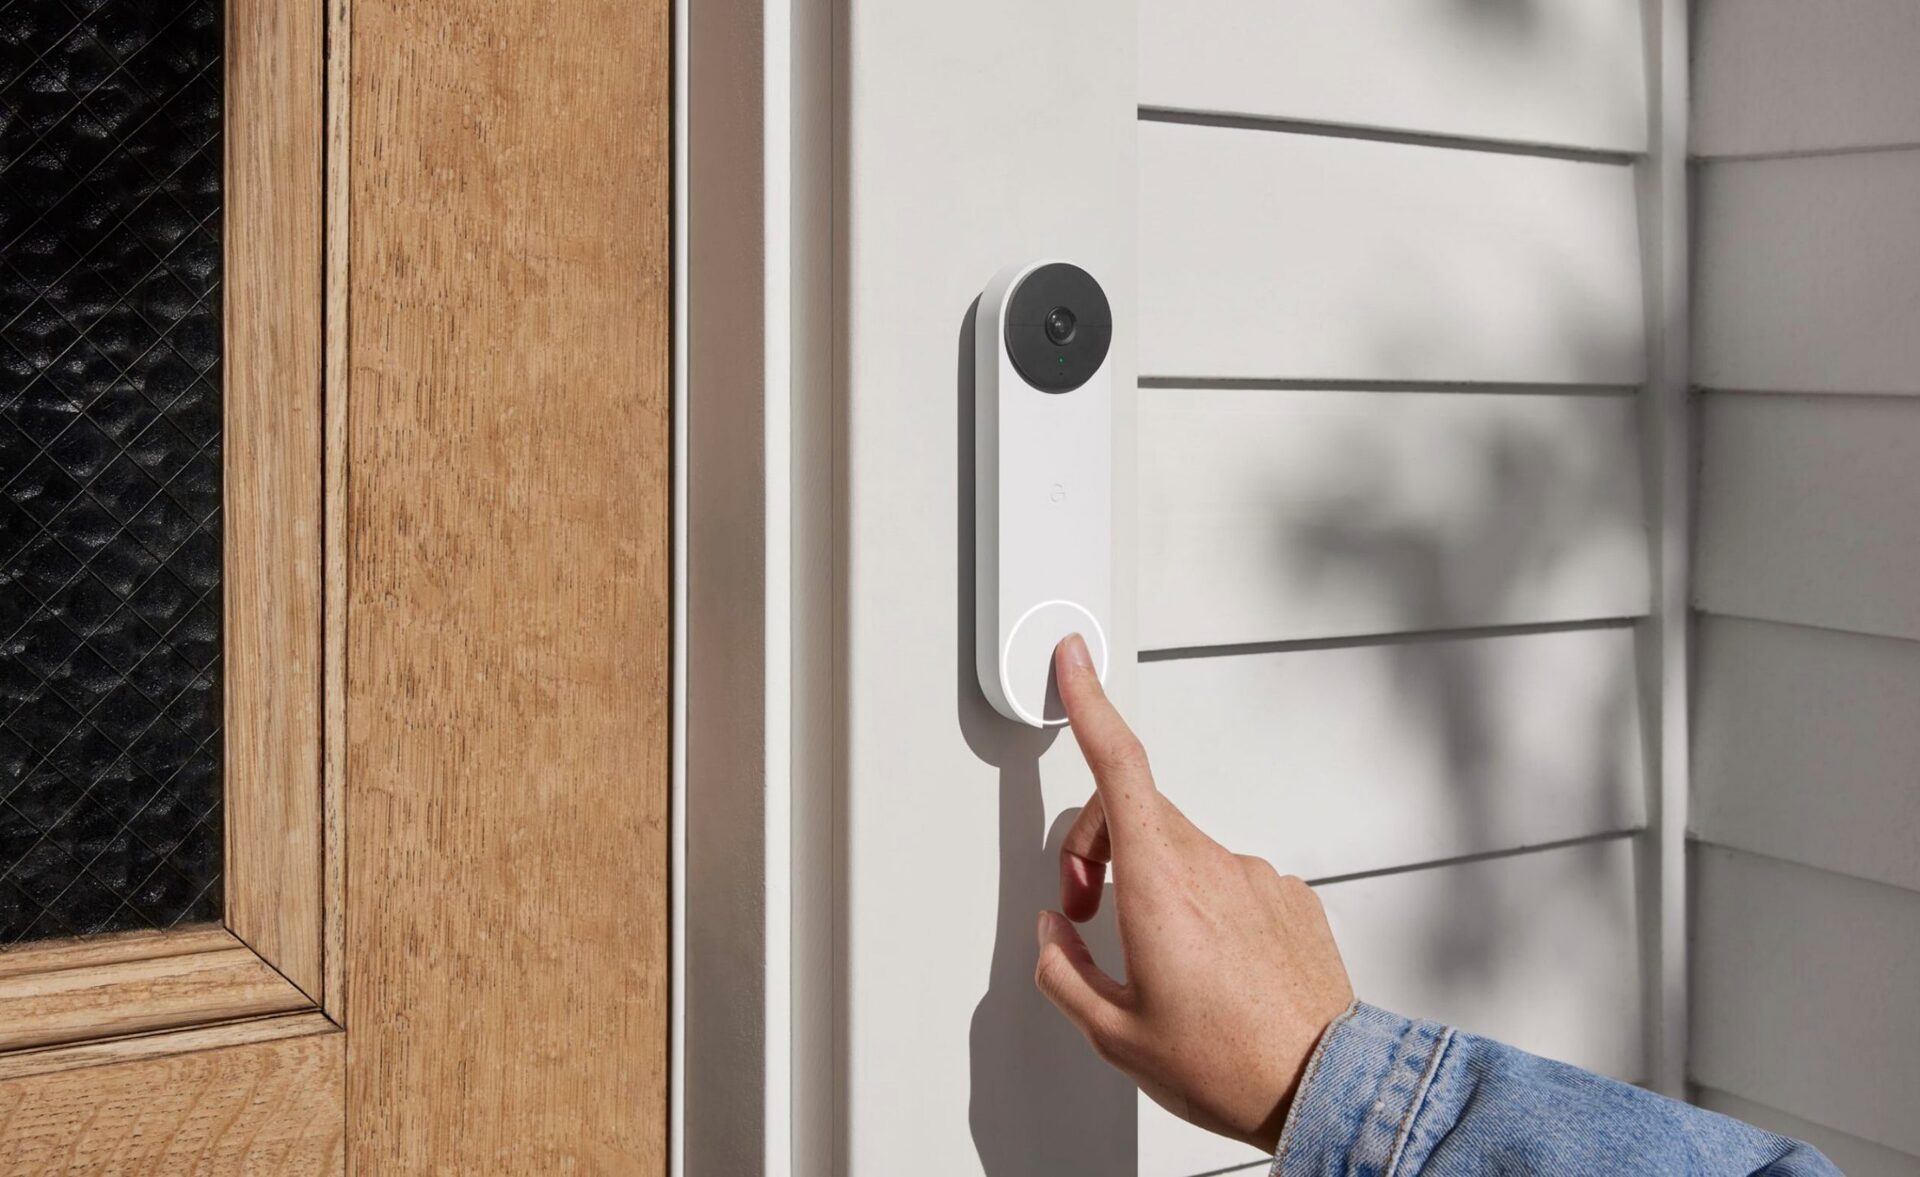
- Press the doorbell button: Stand in front of your Nest doorbell and press the doorbell button to see if it triggers a notification or chime inside your home. This will test the responsiveness of the doorbell’s button and the connection between the doorbell and your smartphone or other devices.
- Check live video feed: Open the Nest app on your smartphone or tablet and check if you are able to view live video feed from your Nest doorbell. Make sure the feed is clear and without any significant delays or disruptions.
- Test motion detection: Move around in front of your Nest doorbell to trigger its motion detection feature. Check if you receive timely notifications on your smartphone or other devices when motion is detected. Additionally, ensure that the motion detection recordings are saved and accessible in the Nest app.
- Confirm two-way audio functionality: Use the two-way audio feature in the Nest app to test if you can hear audio from the doorbell and if the person standing in front of the doorbell can hear your voice clearly. This feature allows you to communicate with visitors even when you are not at home.
- Check for any remaining issues: Take note of any other features or functionalities that were previously not working correctly and verify if they are now functioning properly after the reboot. This may include features like night vision, facial recognition, or integration with other smart home devices.
If your Nest doorbell passes all the tests and functions as expected, congratulations! You have successfully rebooted your Nest doorbell and restored its functionality. Enjoy the convenience and security that your Nest doorbell brings to your home.
In the event that you are still experiencing issues or if the doorbell is not working as desired after the reboot, consider reaching out to Nest customer support for further assistance. They will be able to provide additional troubleshooting steps or guide you through the next course of action to address the problem.
Remember to keep your Nest doorbell firmware up to date and periodically check for software updates in the Nest app. This can help ensure optimal performance and prevent future issues. Additionally, following best practices, such as maintaining a stable Wi-Fi connection and keeping the doorbell clean, can contribute to the longevity and reliability of your Nest doorbell.
That concludes our guide on how to reboot your Nest doorbell. We hope this step-by-step process has been helpful in resolving any issues you encountered. Thank you for choosing Nest to secure and enhance your home!
Conclusion
In conclusion, rebooting your Nest doorbell can be an effective solution to resolve various issues such as connectivity problems, unresponsiveness, or software glitches. By following the step-by-step process outlined in this guide, you can successfully reboot your Nest doorbell and restore its optimal functionality.
Before proceeding with the reboot, it is important to perform basic troubleshooting steps to rule out any simple issues. This includes checking the power source, verifying the Wi-Fi connection, restarting your router, and reviewing the settings in the Nest app.
If the troubleshooting steps do not resolve the issues, proceed with power-cycling the Nest doorbell by disconnecting the power source, waiting for a few minutes, and then reconnecting the power. This can often resolve temporary connectivity or software-related issues.
If power-cycling does not resolve the issues, the next step is to perform a factory reset. This will restore the Nest doorbell to its default settings, erasing any personalized configurations. After the factory reset, you will need to reconnect the doorbell to your Wi-Fi network and set it up again from scratch.
Once you have completed the reboot process and reconnected your Nest doorbell to Wi-Fi, it is important to test its functionality. This includes pressing the doorbell button, checking live video feed, testing motion detection, confirming two-way audio functionality, and checking for any remaining issues.
If everything is functioning as expected, congratulations! You have successfully rebooted your Nest doorbell and resolved the issues you were facing. Enjoy the convenience and security that your Nest doorbell brings to your home.
However, if you are still experiencing issues or if the doorbell is not working as desired after the reboot, consider reaching out to Nest customer support for further assistance. They will be able to provide additional troubleshooting steps or guide you through the next course of action.
Remember to keep your Nest doorbell firmware up to date and follow best practices to ensure optimal performance and longevity. Regularly check for software updates in the Nest app, maintain a stable Wi-Fi connection, and keep the doorbell clean.
Thank you for choosing Nest to enhance the security and convenience of your home. We hope this guide has been helpful in rebooting your Nest doorbell and resolving any issues you encountered. Should you have any further questions or need additional assistance, please do not hesitate to reach out to us.
After mastering the reboot of your Nest Doorbell, why stop there? Dive into our detailed guide on setting up the sleek Ring Doorbell Pro to ensure your entryway is not only smart but secure. And while you're boosting your home’s tech, don't overlook the broader picture. Read our compelling reasons on why robust home security systems are indispensable for peace of mind and safety. Both articles are packed with insights and practical tips, perfect for any homeowner looking to enhance their domain.
Frequently Asked Questions about How To Reboot Nest Doorbell
Was this page helpful?
At Storables.com, we guarantee accurate and reliable information. Our content, validated by Expert Board Contributors, is crafted following stringent Editorial Policies. We're committed to providing you with well-researched, expert-backed insights for all your informational needs.

0 thoughts on “How To Reboot Nest Doorbell”