Home>Interior Design>How To Texture A Ceiling
Interior Design
How To Texture A Ceiling
Modified: April 23, 2024
Learn how to texture a ceiling and enhance your interior design with our step-by-step guide. Achieve a professional finish for a beautiful and unique space.
(Many of the links in this article redirect to a specific reviewed product. Your purchase of these products through affiliate links helps to generate commission for Storables.com, at no extra cost. Learn more)
Introduction
Welcome to the wonderful world of interior design! One of the key elements that can transform a plain and boring ceiling into a stunning focal point is texture. Adding texture to a ceiling not only enhances the overall aesthetic appeal of a space, but it also lends depth and character to the room. Whether you’re looking to create a rustic or modern ambiance, texture can play a pivotal role in achieving the desired effect.
In this article, we will explore the various techniques and materials required to texture a ceiling, along with different texture options that you can consider. So, roll up your sleeves, put on your creative hat, and let’s dive into the art of texturing ceilings.
Key Takeaways:
- Elevate your space with textured ceilings! From preparation to finishing touches, this guide helps you transform plain ceilings into captivating focal points. Unleash your creativity and explore various texture options for stunning results.
- Prepare, apply, and perfect! Discover the art of texturing ceilings with this comprehensive guide. From choosing materials to selecting textures, you’ll learn how to create visually appealing and professionally finished textured ceilings.
Read more: How To Remove A Textured Ceiling
Materials and Tools
Before we delve into the process of texturing, let’s gather all the necessary materials and tools you’ll need:
- Drop cloths or plastic sheeting to protect the floor and furniture
- Ladder or scaffolding, depending on the height of your ceiling
- Safety goggles and dust masks to protect your eyes and lungs
- Joint compound (also known as mud) or texture mix
- Texture applicator or brush
- Paint roller and tray
- Paintbrush for touch-ups
- Sanding block or sandpaper for smoothing rough spots
- Primer and paint for finishing the textured ceiling (optional)
Make sure to gather all the materials well in advance so that you have everything you need at hand when you start the texturing process. It’s important to wear appropriate protective gear, such as safety goggles and a dust mask, to ensure your safety during the project.
Preparing the Ceiling
Before you begin applying texture to your ceiling, it’s crucial to properly prepare the surface. This ensures that the texture adheres well and creates a smooth, professional-looking finish. Follow these steps to prepare your ceiling:
- Clean the ceiling: Remove any dust, dirt, or debris from the ceiling using a broom or vacuum cleaner. Clean any stains or grease spots with a mild detergent and water solution.
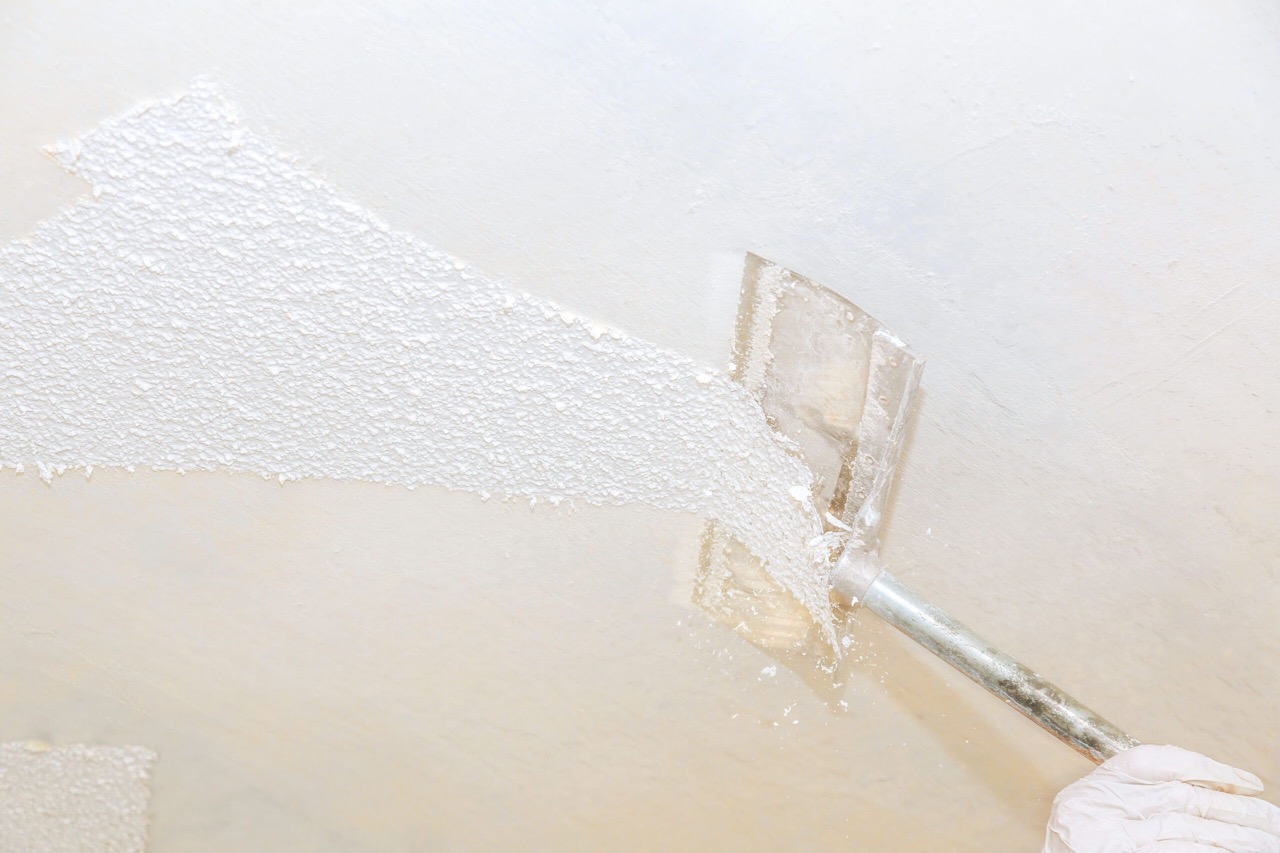
- Repair any damages: Inspect the ceiling for any cracks, holes, or imperfections. Use spackling compound or joint compound to patch these areas. Allow the compound to dry and sand it smooth.
- Apply a primer (optional): If you’re starting with a bare ceiling or if the existing paint is in poor condition, applying a primer can improve the texture’s adhesion and ensure a more even finish. Apply the primer according to the manufacturer’s instructions and let it dry completely.
Take your time during the preparation phase to ensure a seamless application of texture. It’s essential to have a clean and smooth surface to work with, as it will greatly impact the final result.
Applying the Texture
Now that the ceiling is prepped and ready, it’s time to apply the texture. Follow these steps to achieve a beautifully textured ceiling:
- Choose your texture: There are various texture options to choose from, such as popcorn, knockdown, skip trowel, or stucco. Select the texture that aligns with your desired style and ambiance.
- Mix the texture material: If you’re using joint compound or texture mix, follow the manufacturer’s instructions to achieve the desired consistency. Ensure that there are no lumps or clumps in the mixture.
- Protect the walls and adjacent surfaces: Use painter’s tape and plastic sheeting to cover the walls and any areas you don’t want to texture. This will protect them from accidental splatters and ensure clean lines.
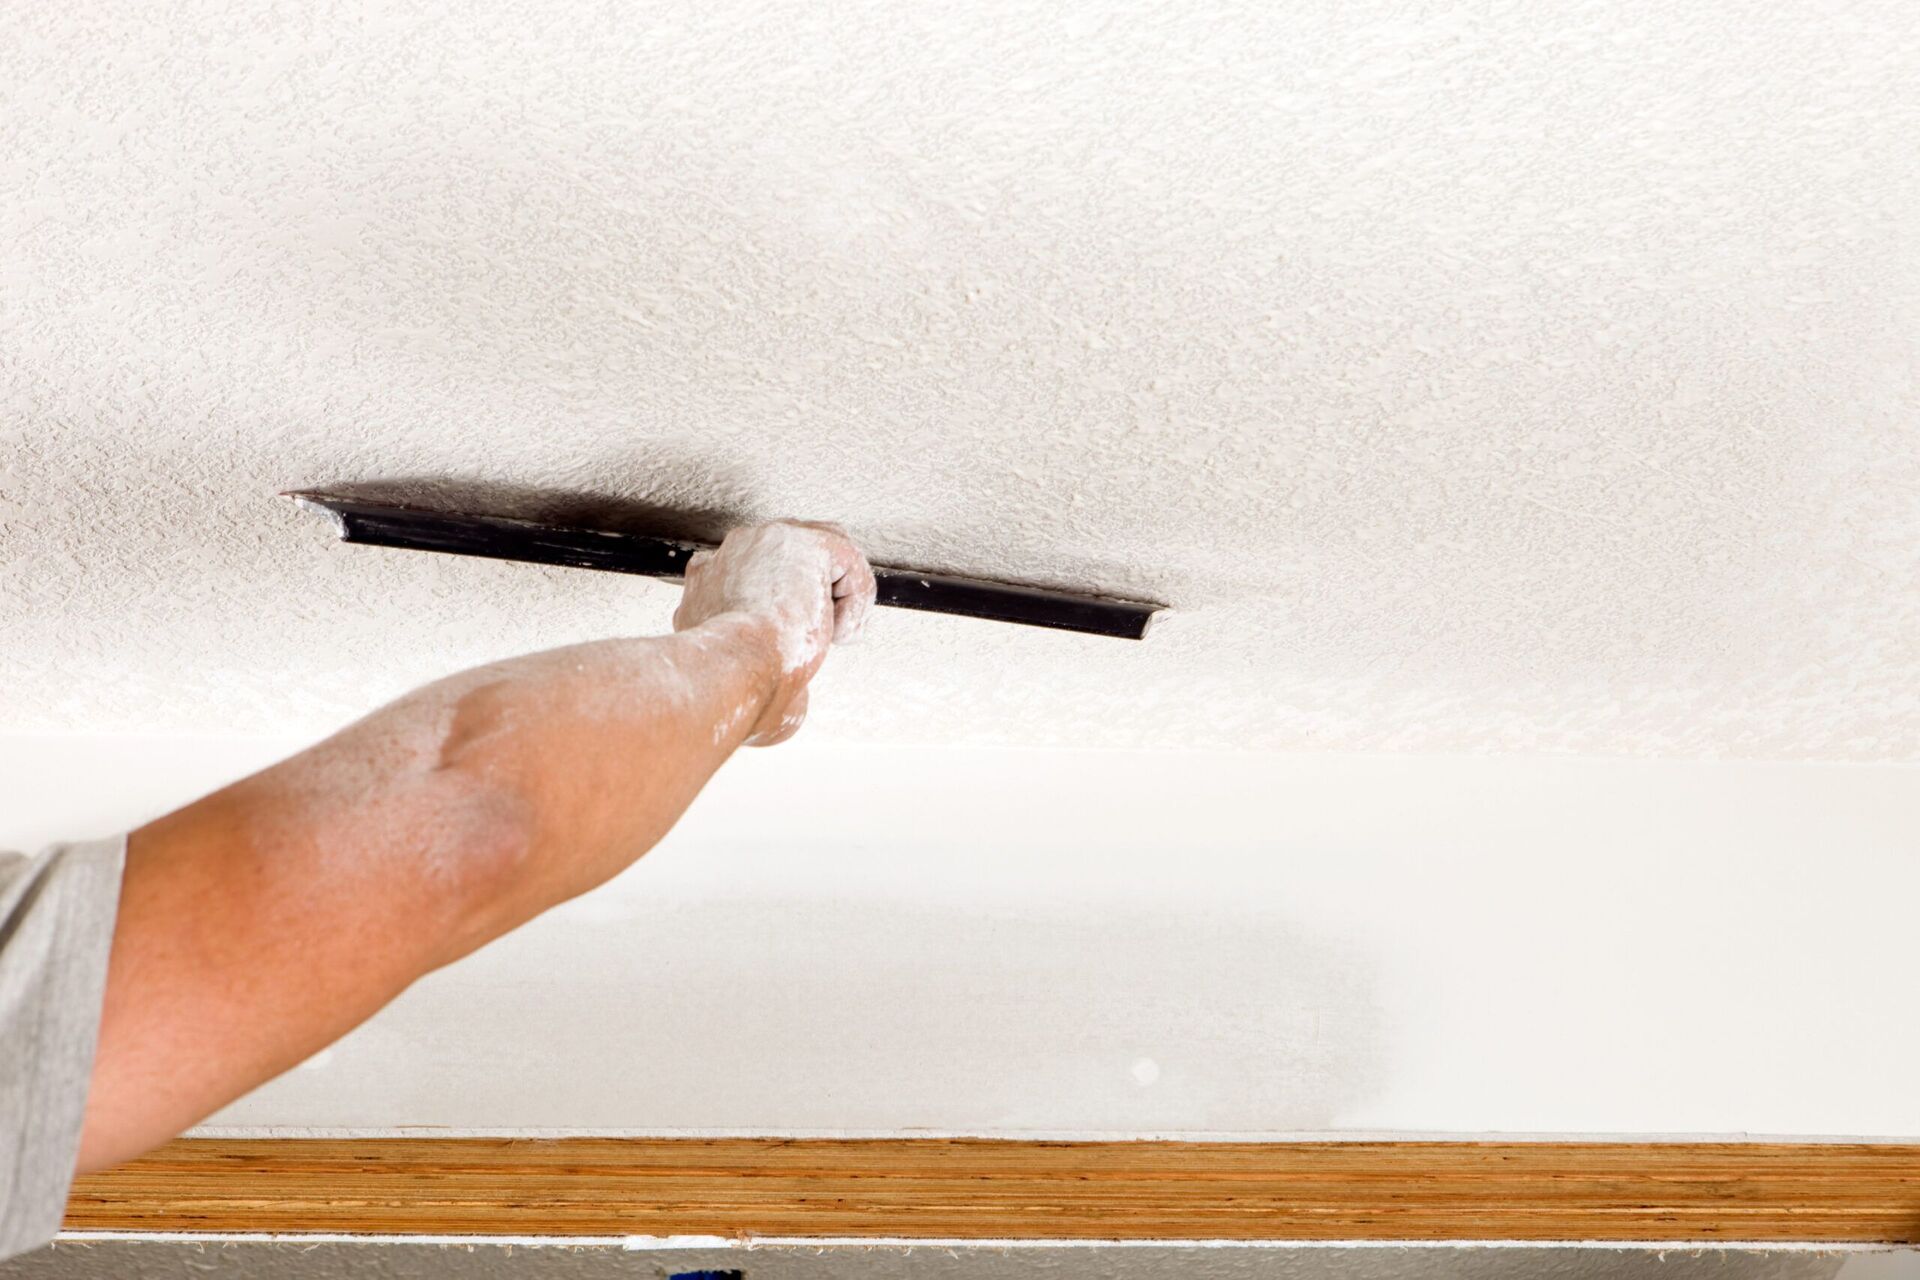
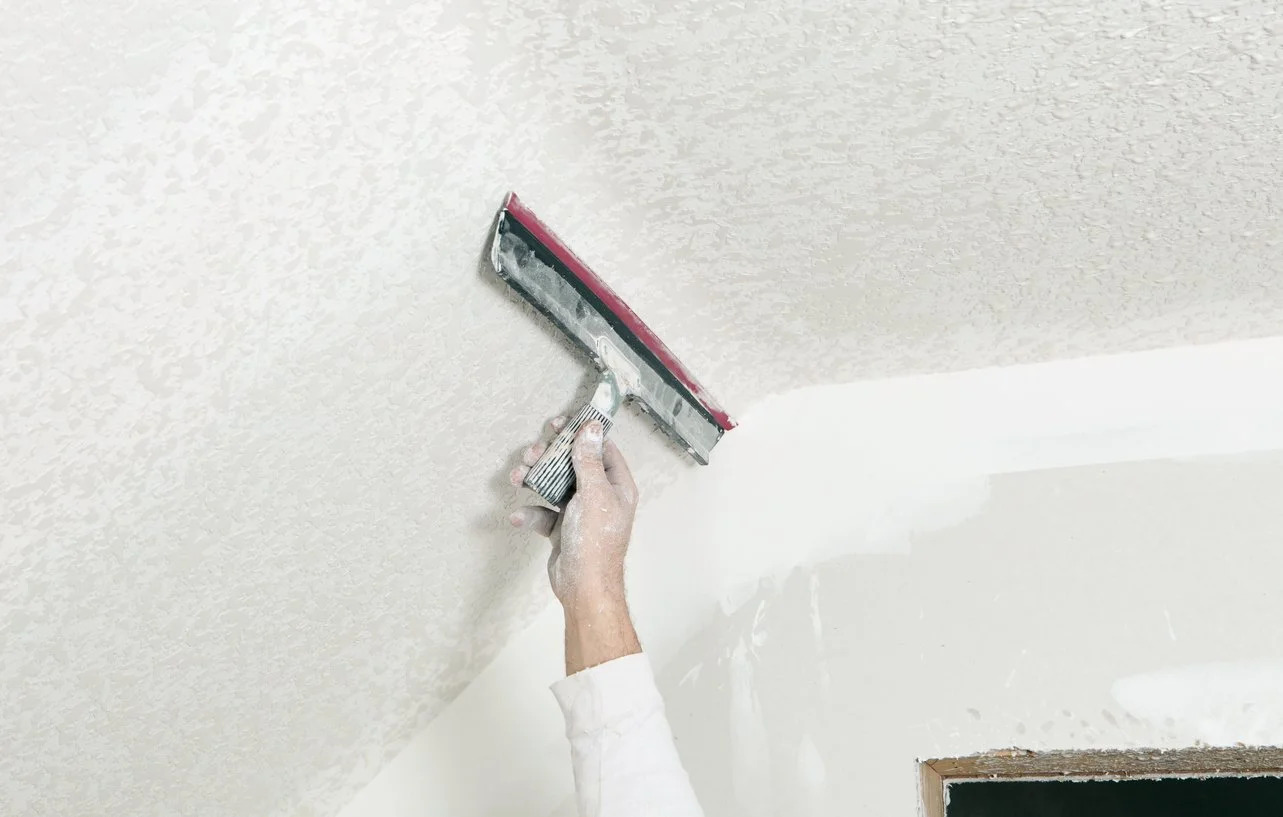
- Apply the texture: Depending on the texture you’ve chosen, use a texture applicator, brush, or other suitable tools to apply the texture to the ceiling. Work in small sections, applying the texture evenly and in a consistent pattern to achieve the desired effect.
- Blend and feather edges: Use a clean, damp cloth or sponge to blend and feather the edges of each section you’ve textured. This helps create a seamless transition between sections and ensures a professional finish.
- Allow drying time: Follow the recommended drying time specified on your texture material. This will vary based on the type of texture and environmental conditions. Avoid touching or disturbing the textured surface until it has fully dried.
Remember, the application process requires precision and attention to detail. Take your time and work methodically to achieve the desired texture evenly across the entire ceiling.
Consider using a textured paint roller or a stencil to create a unique pattern on the ceiling. This can add visual interest and hide imperfections.
Different Texture Options
When it comes to texturing a ceiling, there is a wide range of options to choose from, each with its own unique look and feel. Here are a few popular texture options:
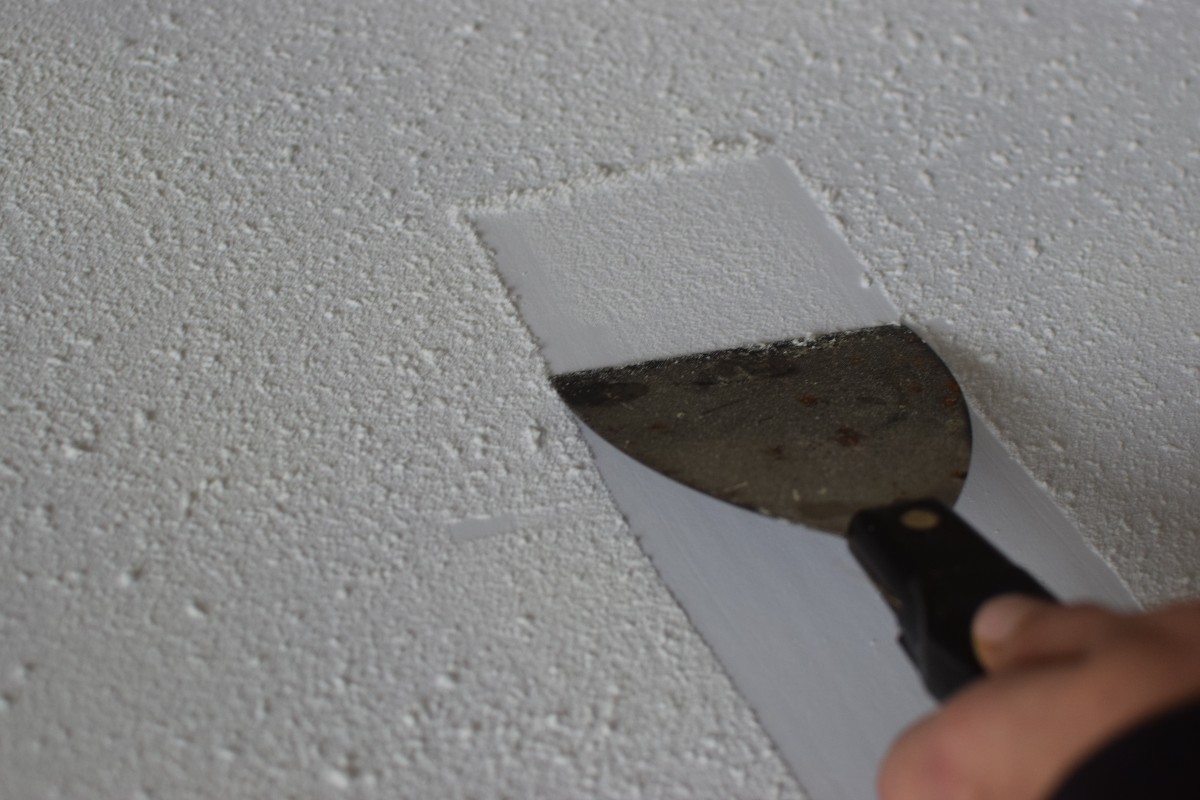
- Popcorn Texture: Also known as acoustic or stucco texture, popcorn texture creates a bumpy surface that helps to absorb sound. It was widely used in the past but has become less popular in recent years due to concerns about asbestos in older versions. Modern popcorn textures are typically made from safer materials.
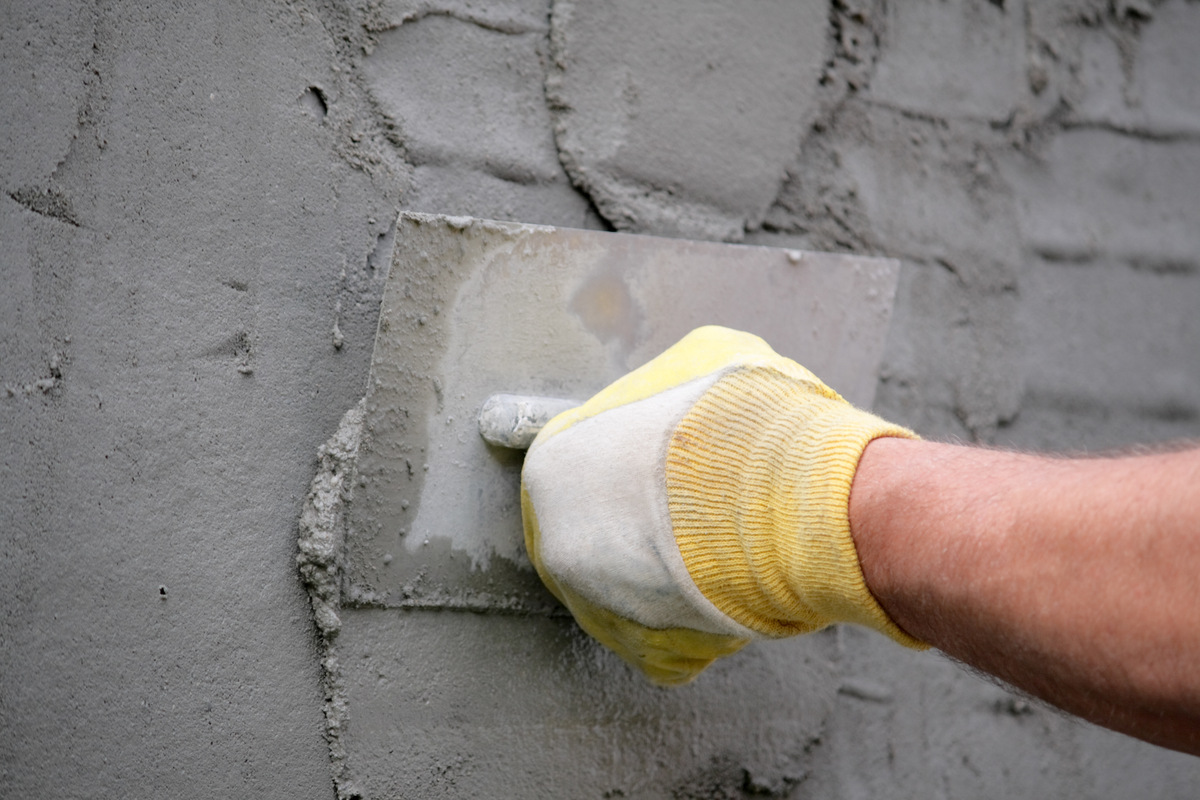
- Knockdown Texture: This texture involves applying mud or joint compound to the ceiling and then using a trowel to gently knock down the peaks, creating a flattened, textured look. It provides a subtle and elegant finish, suitable for both modern and traditional interiors.
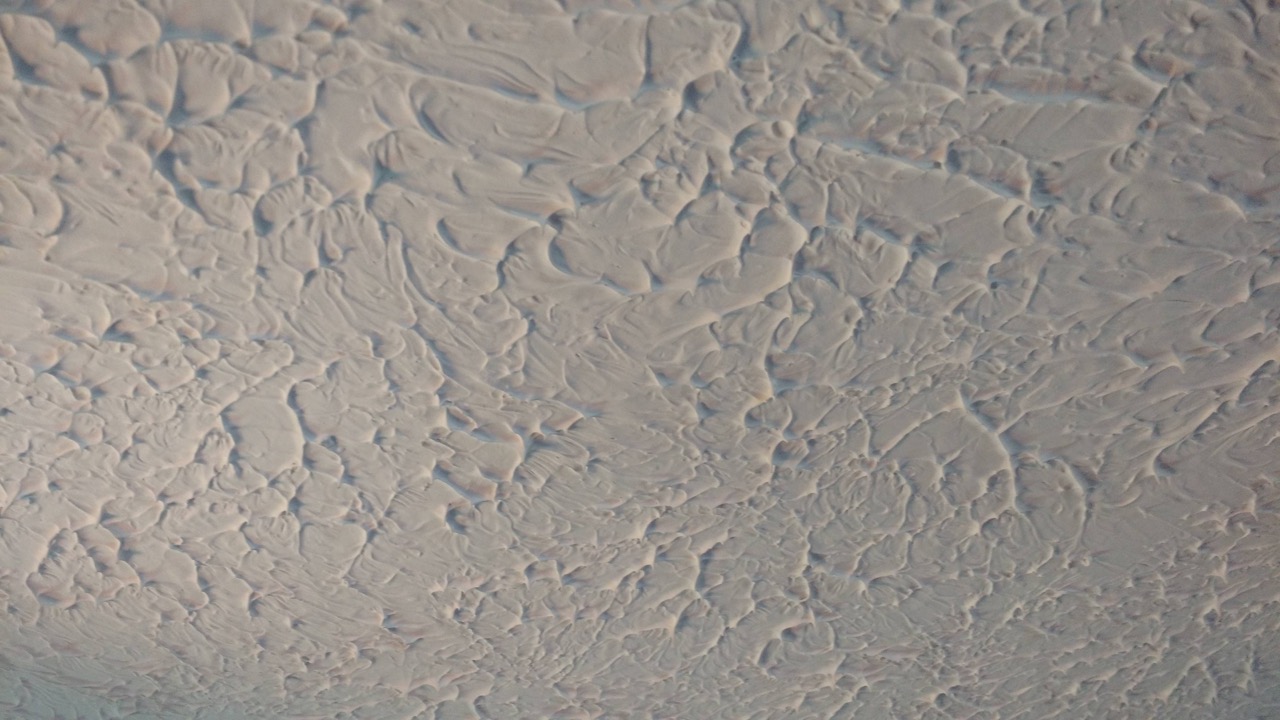
- Skip Trowel Texture: Skip trowel texture involves applying joint compound to the ceiling and then using a trowel to create random patterns by skipping and sliding the tool across the surface. This technique creates an uneven, organic texture that adds depth and visual interest to the ceiling.
- Orange Peel Texture: This texture resembles the skin of an orange. It is achieved by using a spray gun or roller to apply a mixture of joint compound and water to the ceiling. It creates a slightly bumpy texture that is popular for its subtle and uniform appearance.
- Swirl Texture: Swirl texture is achieved by using a brush or sponge to create circular or spiral patterns on the ceiling. It adds a touch of elegance and can be customized to suit any style, from classical to contemporary.
These are just a few texture options to explore. Each texture creates a distinct look, so consider the overall design and ambiance of the room when making your selection.
Remember, it’s always a good idea to test different texture options on a small area or a sample board before committing to the entire ceiling. This will allow you to see how each texture looks and choose the one that best suits your vision.
Read more: How To Swirl Texture A Ceiling
Finishing Touches
Once you’ve applied the texture to your ceiling and allowed it to dry, it’s time to add the finishing touches to complete the look. Here are a few important steps to consider:
- Sanding: After the texture has fully dried, lightly sand the surface using a sanding block or sandpaper. This will help smooth out any rough spots or imperfections and create a more polished finish.
- Priming (optional): If you plan to paint the textured ceiling, applying a primer can help create a smooth base for the paint and improve its adhesion. Choose a primer that is compatible with your chosen paint and follow the manufacturer’s instructions.
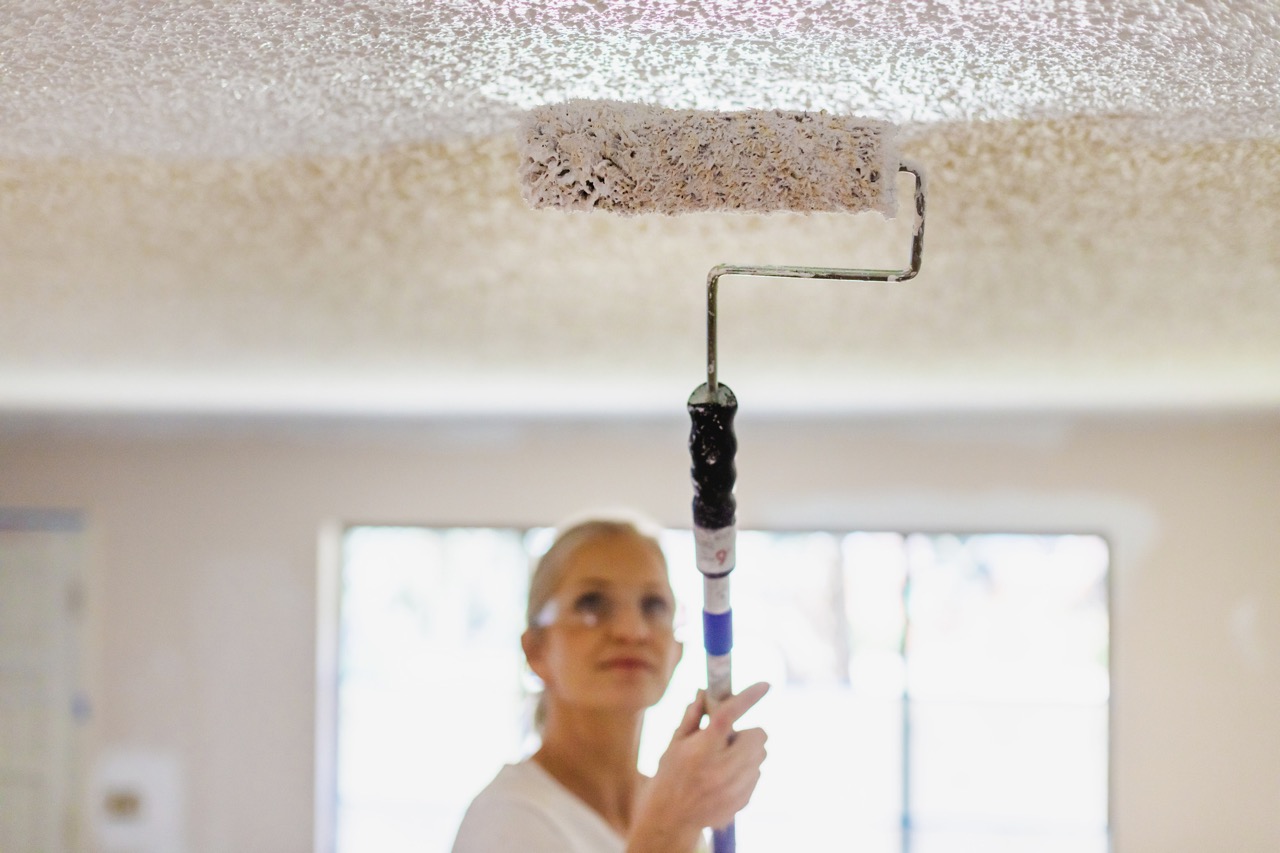
- Painting: Once the primer has dried, you can proceed with painting the textured ceiling. Use a roller or paintbrush to apply the paint evenly, working in small sections. Be mindful of any patterns or textures created by the initial texture application.
- Touch-ups: After the paint has dried, inspect the ceiling for any areas that may require touch-ups. Use a small brush to cover any missed spots or to correct any mistakes in the painting process.
Remember to take your time during the finishing touches phase to ensure a professional-looking result. It’s all in the details!
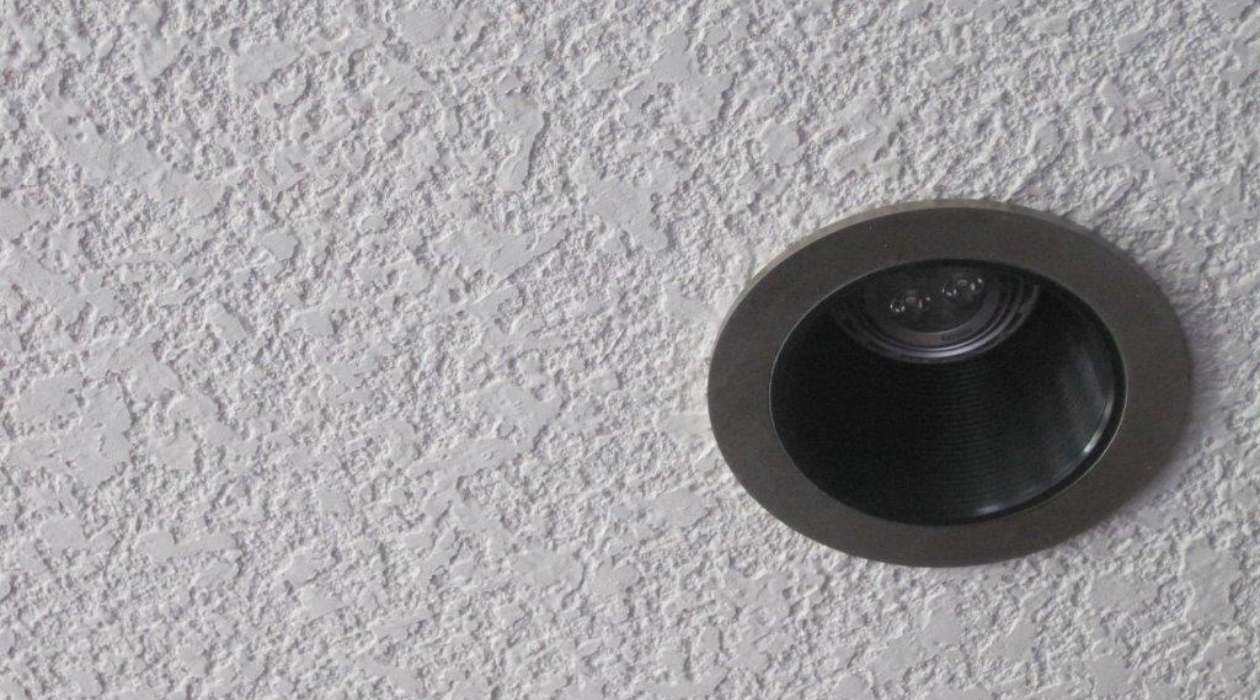
Additionally, consider enhancing the overall aesthetics of the space by incorporating lighting fixtures that highlight the texture on the ceiling. Well-placed recessed lights or track lighting can create a dramatic effect and showcase the texture beautifully.
By paying attention to these finishing touches, you can ensure that your textured ceiling becomes a stunning focal point of your interior design.
Conclusion
Adding texture to a ceiling is a fantastic way to elevate the design and atmosphere of a room. Whether you opt for a subtle texture or a bold statement, texturing a ceiling can transform a plain surface into a captivating feature. By following the steps outlined in this article and exploring different texture options, you can achieve beautiful and professional results.
Remember that preparation is key. Take the time to properly clean and repair the ceiling before applying the texture. This ensures a seamless application and a smooth, professional-looking finish. When selecting a texture, consider the overall style of the room and choose an option that complements the design aesthetic.
Don’t forget the finishing touches! Sanding the texture, priming (if necessary), and the final paint job are crucial steps to complete the textured ceiling. Attention to detail in these final stages will result in a polished and visually pleasing result.
Lastly, don’t be afraid to get creative and experiment with different texture options. Each texture brings its own unique character and ambiance to a room. Embrace the opportunity to showcase your personal style and create a memorable space through the art of texturing ceilings.
So go ahead, unleash your creativity, and let your ceilings become a canvas for extraordinary design!
Frequently Asked Questions about How To Texture A Ceiling
Was this page helpful?
At Storables.com, we guarantee accurate and reliable information. Our content, validated by Expert Board Contributors, is crafted following stringent Editorial Policies. We're committed to providing you with well-researched, expert-backed insights for all your informational needs.


0 thoughts on “How To Texture A Ceiling”