Articles
How To Make Primitive Picture Frames
Modified: December 7, 2023
Learn how to make primitive picture frames with these step-by-step articles. Discover the art of creating unique, rustic frames for your cherished memories.
(Many of the links in this article redirect to a specific reviewed product. Your purchase of these products through affiliate links helps to generate commission for Storables.com, at no extra cost. Learn more)
Introduction
Picture frames are not only practical for displaying our cherished memories, but they can also serve as beautiful decorative pieces in our homes. While there are countless ready-made frames available in stores, making your own primitive picture frames can add a personalized touch and bring a rustic charm to your photographs or artwork.
In this article, we will guide you through the process of creating primitive picture frames step by step. Whether you are a DIY enthusiast or simply looking for a fun project, this guide will help you unleash your creativity and produce unique frames that will truly make your pictures stand out.
Before we delve into the how-to portion, let’s talk about the materials you will need for this project.
Key Takeaways:
- Create personalized primitive picture frames using salvaged wood for a rustic charm. Add unique flair with distressing techniques and decorative accents to showcase cherished memories or artwork in a one-of-a-kind way.
- Unleash creativity by making primitive picture frames step by step. Choose the right wood, add personal touches, and securely attach pictures for a stunning display piece that adds a special touch to home decor.
Read more: How To Make Picture Frames
Materials Needed
To create your own primitive picture frames, you will need the following materials:
- Wood planks or boards
- Saw
- Sandpaper (medium and fine grit)
- Wood stain or paint (optional)
- Paintbrush or sponge
- Nails or screws
- Hammer or screwdriver
- Picture hanging hardware (hooks or wire)
- Measuring tape
- Pencil
- Ruler
- Protective gloves and safety goggles
These basic materials can be easily found at your local hardware store or online. Feel free to add your own creative touch by incorporating additional decorative elements such as twine, burlap, or vintage embellishments.
Now that we have gathered the necessary materials, let’s move on to the step-by-step process of making primitive picture frames.
Step 1: Choose the Right Wood
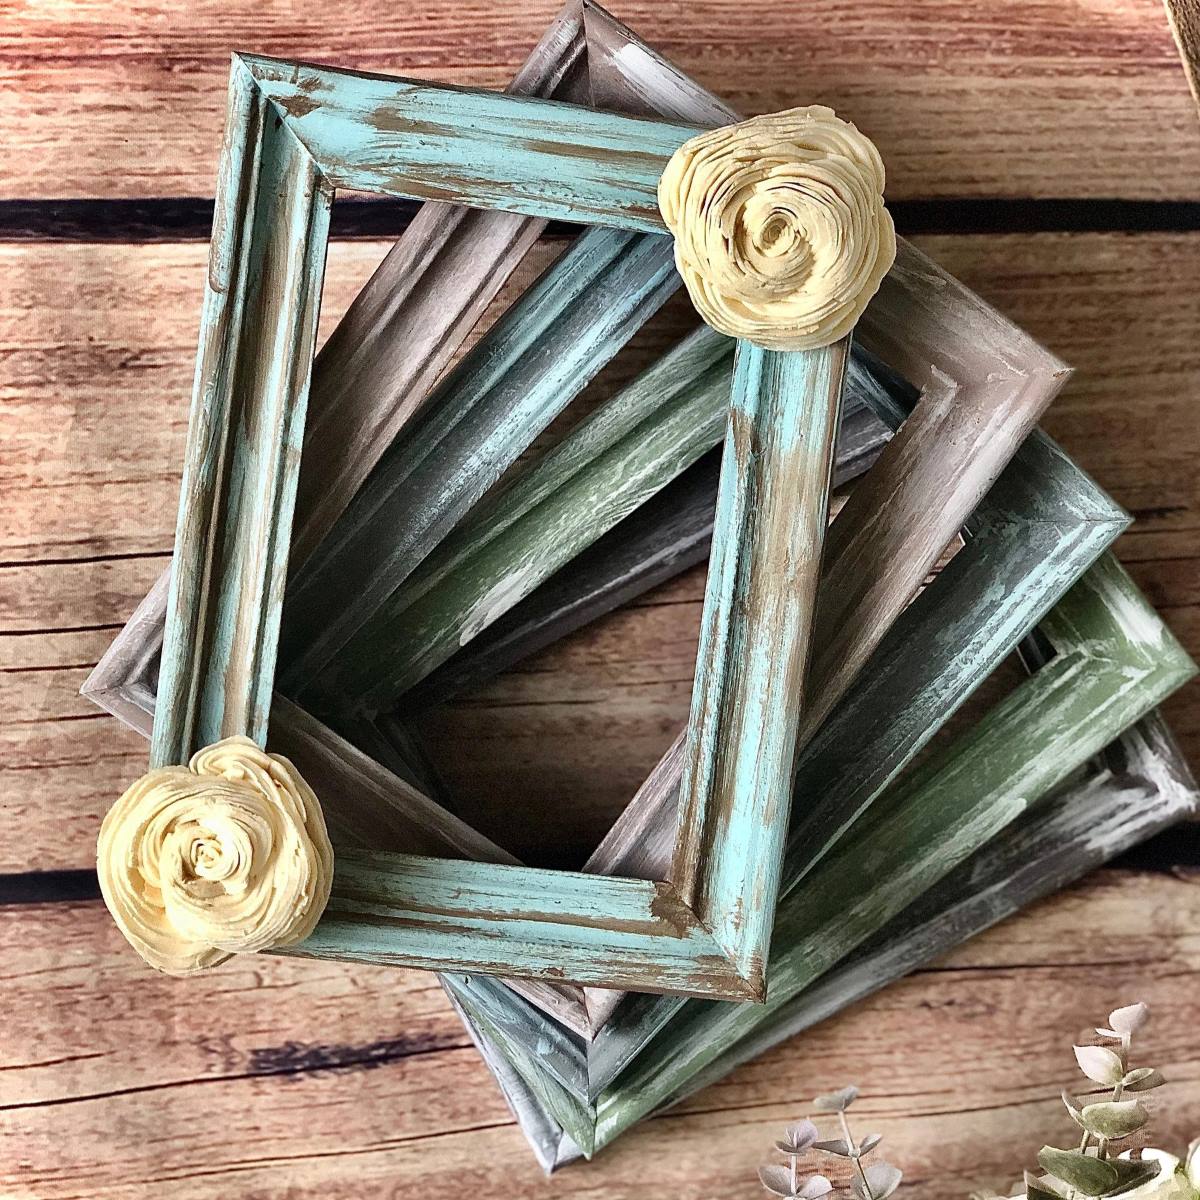
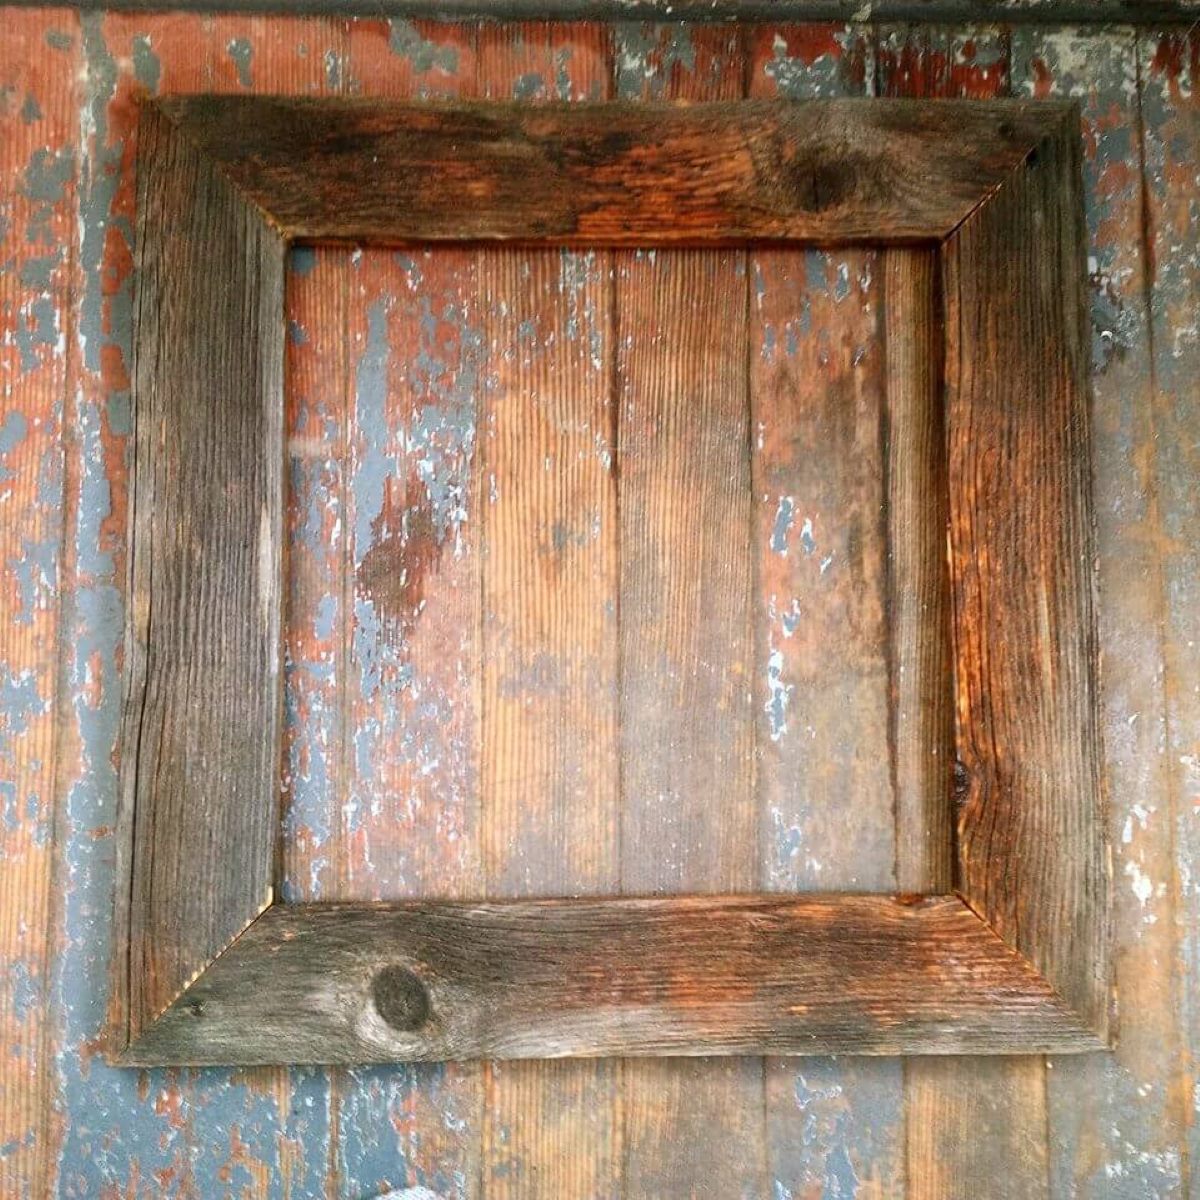
The first step in making your own primitive picture frames is to choose the right type of wood. Look for wood planks or boards that have a rustic and weathered appearance. Reclaimed or salvaged wood is an excellent choice as it adds character and charm to your frames.
When selecting the wood, consider the size of the frame you want to create. Make sure the wood is thick enough to provide sufficient support for the picture or artwork you intend to display.
Popular choices for primitive picture frames include rough-hewn planks, barn wood, or driftwood. These materials have a naturally distressed look that complements the primitive style.
Before using the wood, inspect it for any signs of damage or rot. You want to ensure that the wood is in good condition and will be sturdy enough for your frame.
If you cannot find salvaged wood, you can also purchase new wood from a hardware store and distress it yourself using techniques such as sanding, staining, or painting.
Once you have chosen the right wood, it’s time to move on to the next step: measuring and cutting the wood to the desired size.
Step 2: Measure and Cut the Wood
Now that you have selected the perfect wood for your primitive picture frame, it’s time to measure and cut it to the desired size. Here’s how:
- Measure the dimensions: Using a measuring tape, determine the length and width you want for your frame. Remember to account for the inner opening of the frame where your picture or artwork will be displayed.
- Mark the measurements: Use a pencil and a ruler to mark the measurements on the wood. Make sure to double-check your markings for accuracy.
- Cut the wood: Using a saw, carefully cut along the marked lines. If you don’t have a saw, many hardware stores offer wood cutting services that can help you achieve the desired dimensions.
It’s important to take your time and make precise cuts to ensure that your frame will align properly and look polished. Safety should also be a priority, so be sure to wear protective gloves and safety goggles while handling the saw.
Once you have finished cutting the wood, you can move on to the next step: sanding and smoothing the edges.
Step 3: Sand and Smooth the Edges
After cutting the wood to the desired size for your primitive picture frame, it’s essential to sand and smooth the edges. This step not only enhances the overall appearance of the frame but also ensures a safe and comfortable handling experience. Here’s how:
- Select the appropriate sandpaper: Choose sandpaper with a medium grit (around 80 or 120) to begin the sanding process. If needed, you can switch to a finer grit (around 220 or 320) for a smoother finish.
- Sand the rough edges: Using the sandpaper, gently sand along the edges of the wood to remove any splinters or rough spots. Sand in a consistent motion, applying even pressure to achieve a uniform finish.
- Round the corners (optional): To add a more rustic and primitive look to your frame, consider rounding the corners slightly. Sand the corners using a circular or back-and-forth motion until you achieve the desired shape.
- Smooth the surface: Once the edges are smooth, sand the entire surface of the wood. This step will create a clean and polished finish for your primitive picture frame.
- Wipe off excess dust: After sanding, wipe off any remaining dust or debris from the wood using a clean cloth or a tack cloth.
By sanding and smoothing the edges, you not only improve the visual appeal of your frame but also reduce the risk of splinters or injuries when handling the finished product.
With the edges nicely sanded, you are now ready for the next step: decorating the frame (optional).
When making primitive picture frames, consider using reclaimed wood for a rustic look. Sand the edges for a distressed finish and use a wood stain for a natural, aged appearance.
Read more: How To Make Stands For Picture Frames
Step 4: Decorate the Frame (optional)
Adding decorative elements to your primitive picture frame can really make it stand out and showcase your personal style. This step is entirely optional, but if you’re looking to add some unique flair to your frame, here are some ideas:
- Stain or paint: Consider applying a wood stain or paint to enhance the natural beauty of the wood or to add a pop of color. Choose a shade that complements your overall decor and aesthetic.
- Distressing techniques: If you want to achieve a more aged and weathered look, you can experiment with distressing techniques. These can include sanding specific areas, applying a whitewash or crackle finish, or using a hammer or nails to create dents and texture.
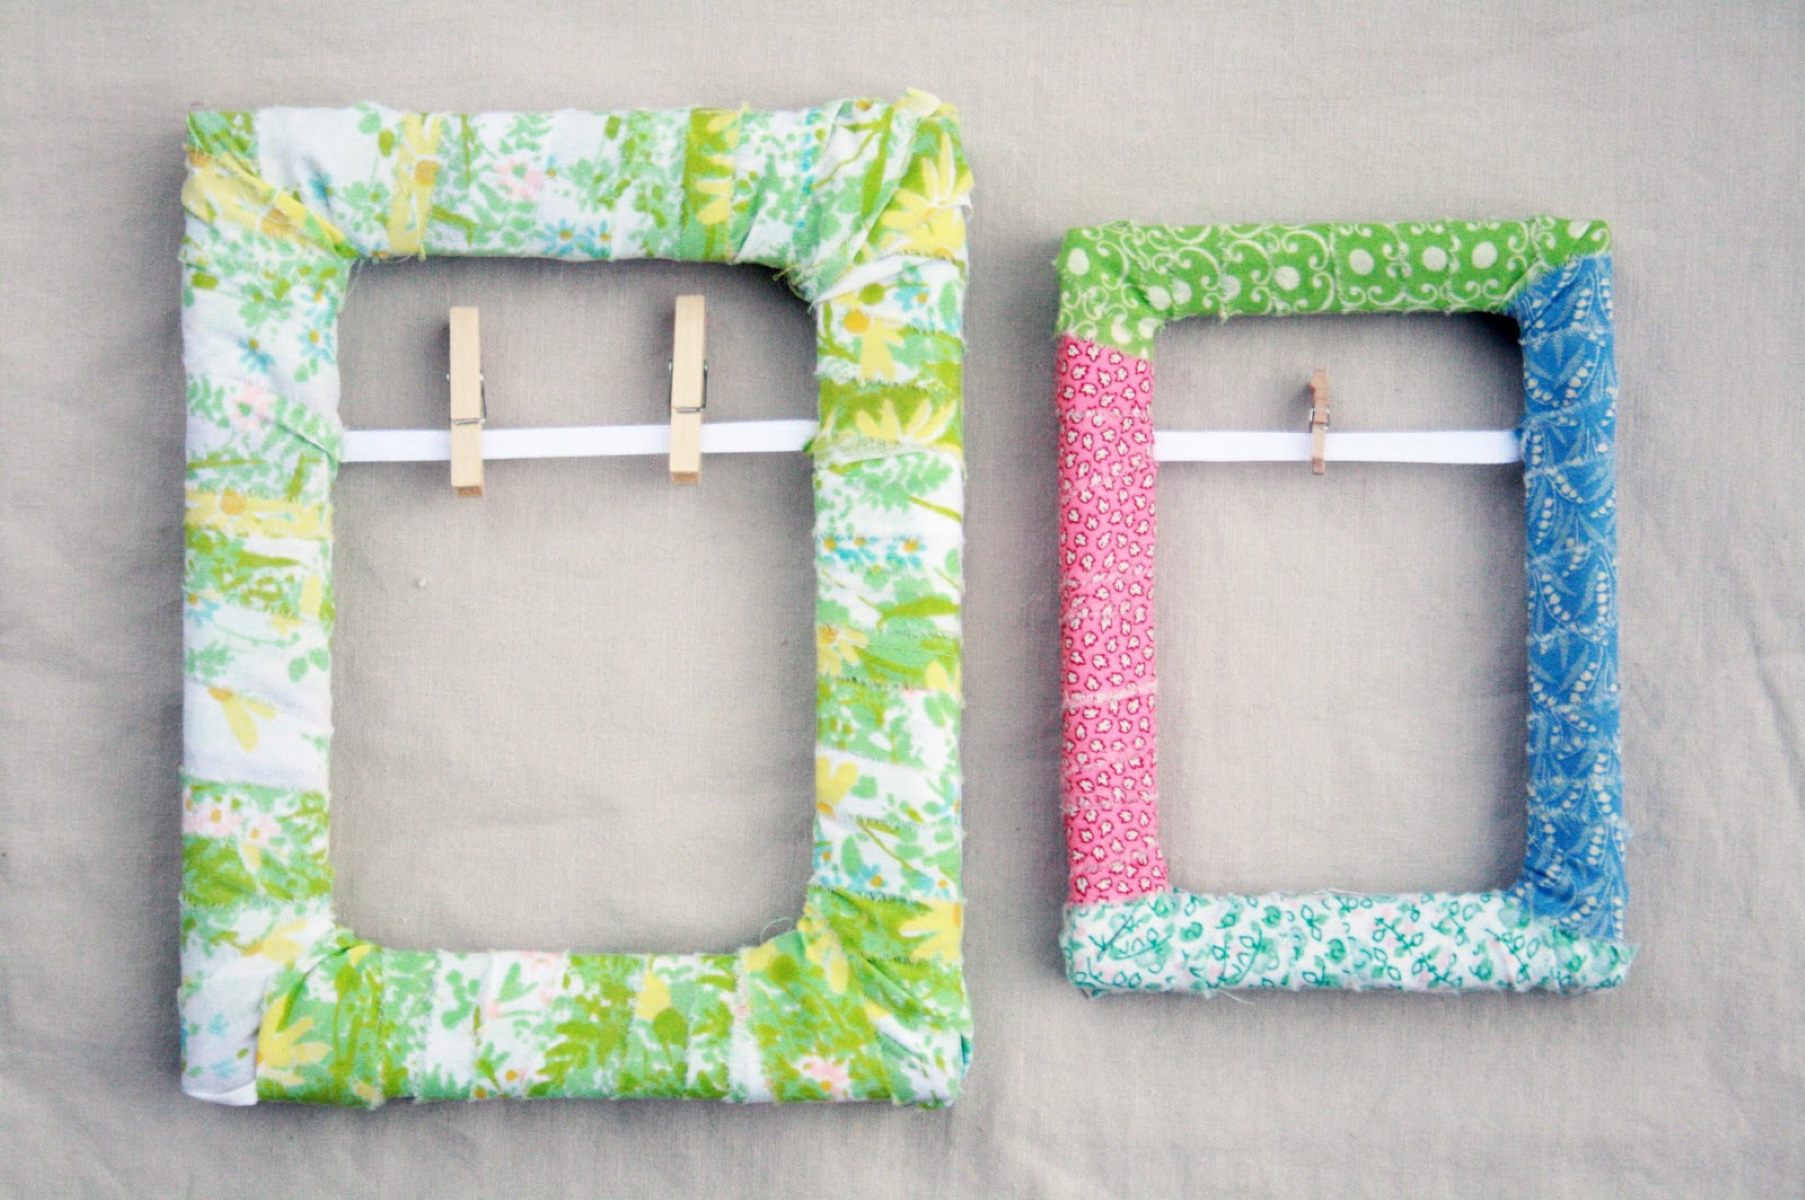
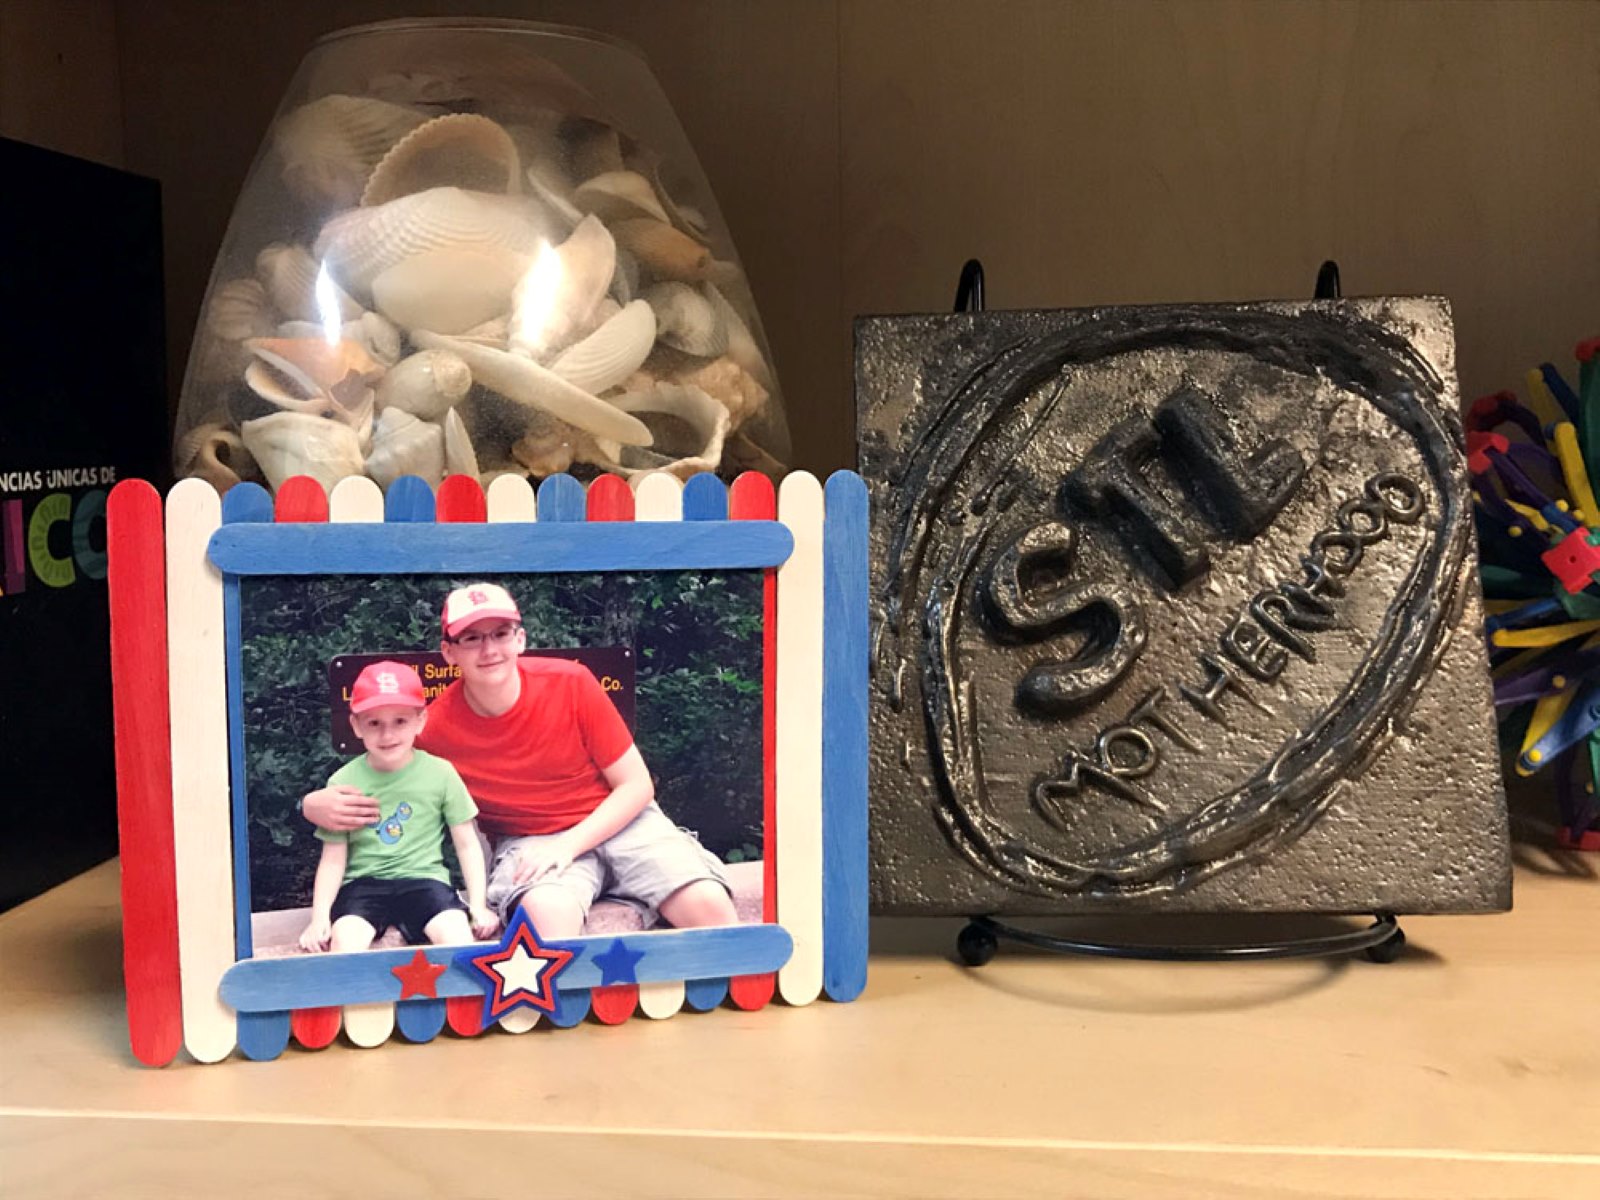
- Add decorative accents: Consider incorporating additional elements to your frame, such as twine, burlap, or vintage embellishments. These can be attached with glue or small nails to create a unique and personalized look.
- Burn artistic designs: For a more artistic approach, you can use a wood-burning tool to create intricate designs or patterns on the surface of the frame. This technique adds a rustic and handcrafted touch to your creation.
When decorating your frame, let your creativity shine and have fun with the process. Experiment with different techniques and materials to achieve the desired aesthetic that complements your picture or artwork.
Once you are satisfied with the decoration, it’s time to move on to the next step: assembling the frame.
Step 5: Assemble the Frame
Now that you have prepared the wood and added any desired decorative elements, it’s time to assemble your primitive picture frame. Follow these steps to ensure a sturdy and secure construction:
- Arrange the pieces: Lay out the cut pieces of wood in the desired orientation for your frame. Make sure they are properly aligned and fitting together snugly.
- Secure the corners: Using nails or screws, carefully attach the corners of the frame together. Place the nails or screws at each corner, ensuring that they penetrate both pieces of wood for a secure hold.
- Check for stability: Once the corners are secured, check the stability of the frame by giving it a gentle shake. If any corners feel loose or wobbly, reinforce them with additional nails or screws.
It’s important to note that the type of wood and its thickness will determine the appropriate size and type of nails or screws to use. Make sure to choose ones that are strong enough to securely hold the frame together without causing any damage.
Once the frame is assembled and feels sturdy, it’s time for the final step: attaching the picture.
Step 6: Attach the Picture
You’ve reached the final step in creating your primitive picture frame: attaching your cherished picture or artwork. Follow these steps to ensure a secure and professional-looking display:
- Prepare your picture: If your picture or artwork is printed on a regular sheet of paper, consider mounting it on a sturdier backing board for added support. Alternatively, you can have your picture professionally mounted or framed.
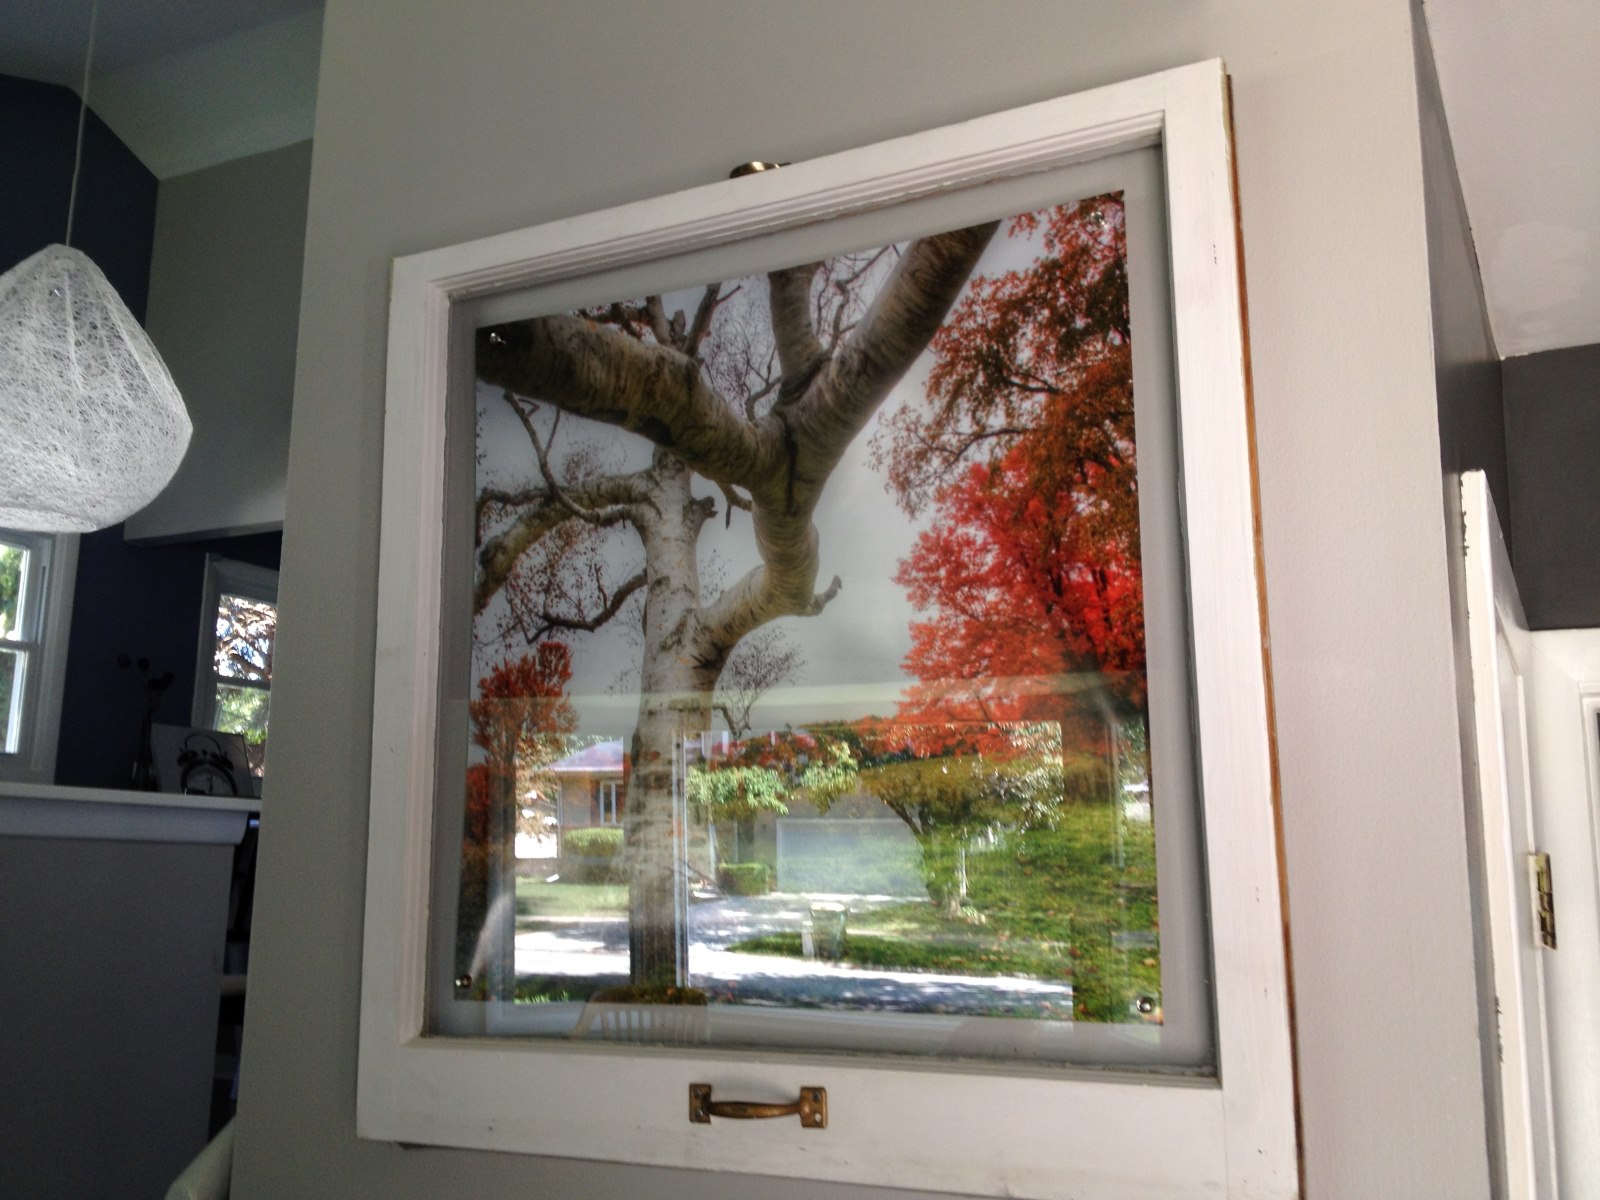
- Position the picture: Carefully place your picture within the inner opening of the frame. Adjust it until it is centered and positioned to your liking.
- Secure the picture: Use tape, adhesive putty, or small photo corners to secure the picture to the backing board or the frame itself. Make sure to use materials that will hold the picture in place without causing any damage.
Ensure that the picture is straight and free from any wrinkles or air bubbles before attaching it permanently. Take your time to align it properly for a polished and professional finish.
Once the picture is securely attached, take a moment to admire your handiwork. You have successfully created your very own primitive picture frame!
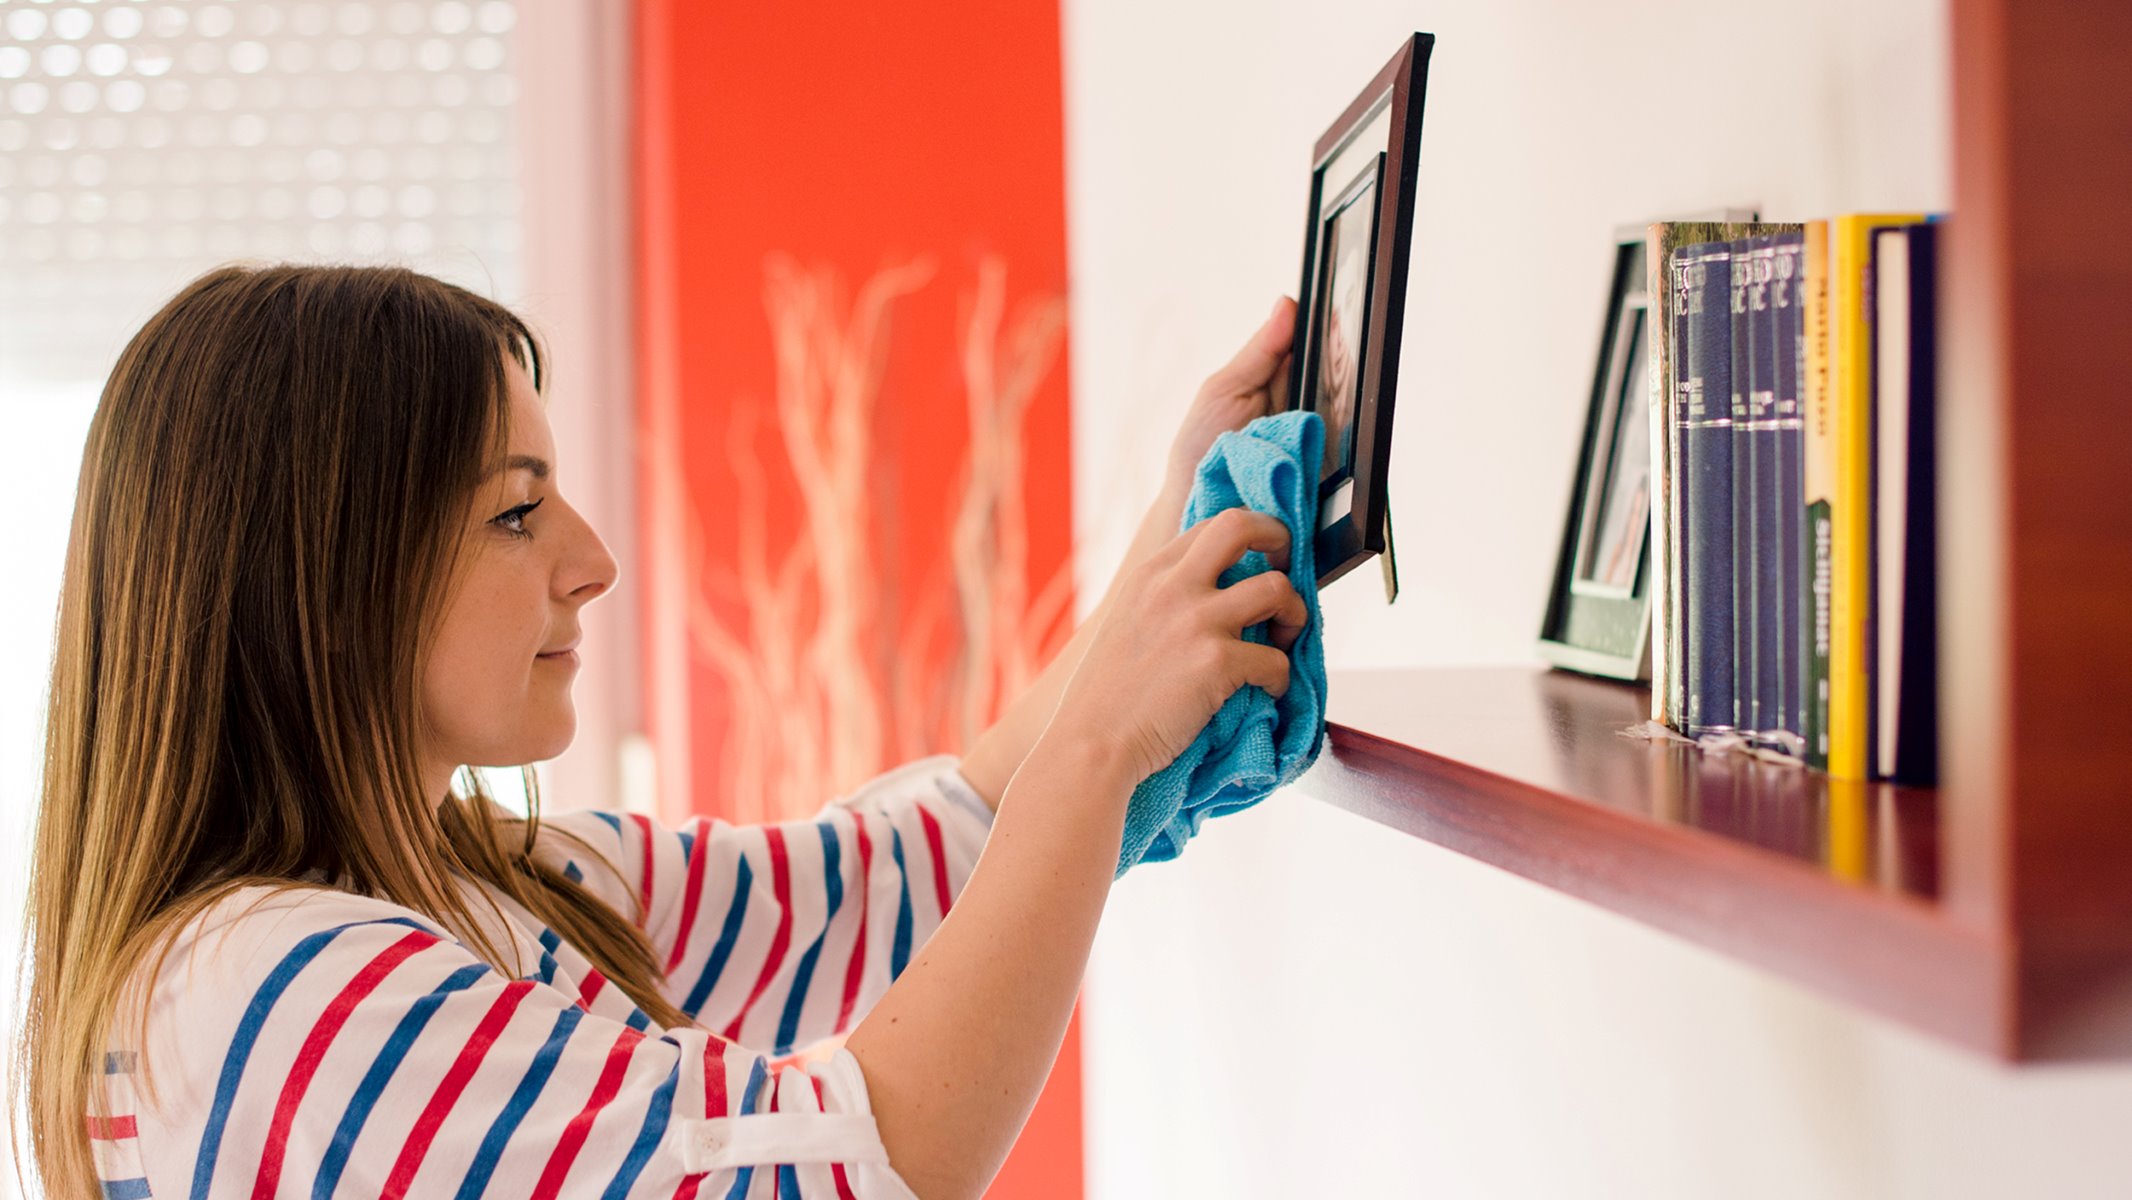
Now that the picture is in place, you can add any necessary picture hanging hardware, such as hooks or wire, to the back of the frame. This will allow you to easily hang the frame on a wall or display it on a shelf or table.
Congratulations on completing your primitive picture frame! It is now ready to showcase your cherished memories or artwork in a unique and personal way.
Conclusion
Creating your own primitive picture frames allows you to add a touch of personalization and rustic charm to your home decor. This DIY project not only gives you the freedom to choose the perfect wood and design, but it also enables you to showcase your creativity and create frames that are truly one-of-a-kind.
Throughout this article, we have guided you through the step-by-step process of making primitive picture frames. From choosing the right wood, measuring and cutting, to sanding the edges and adding decorative elements, each step contributes to the overall beauty and uniqueness of your frame.
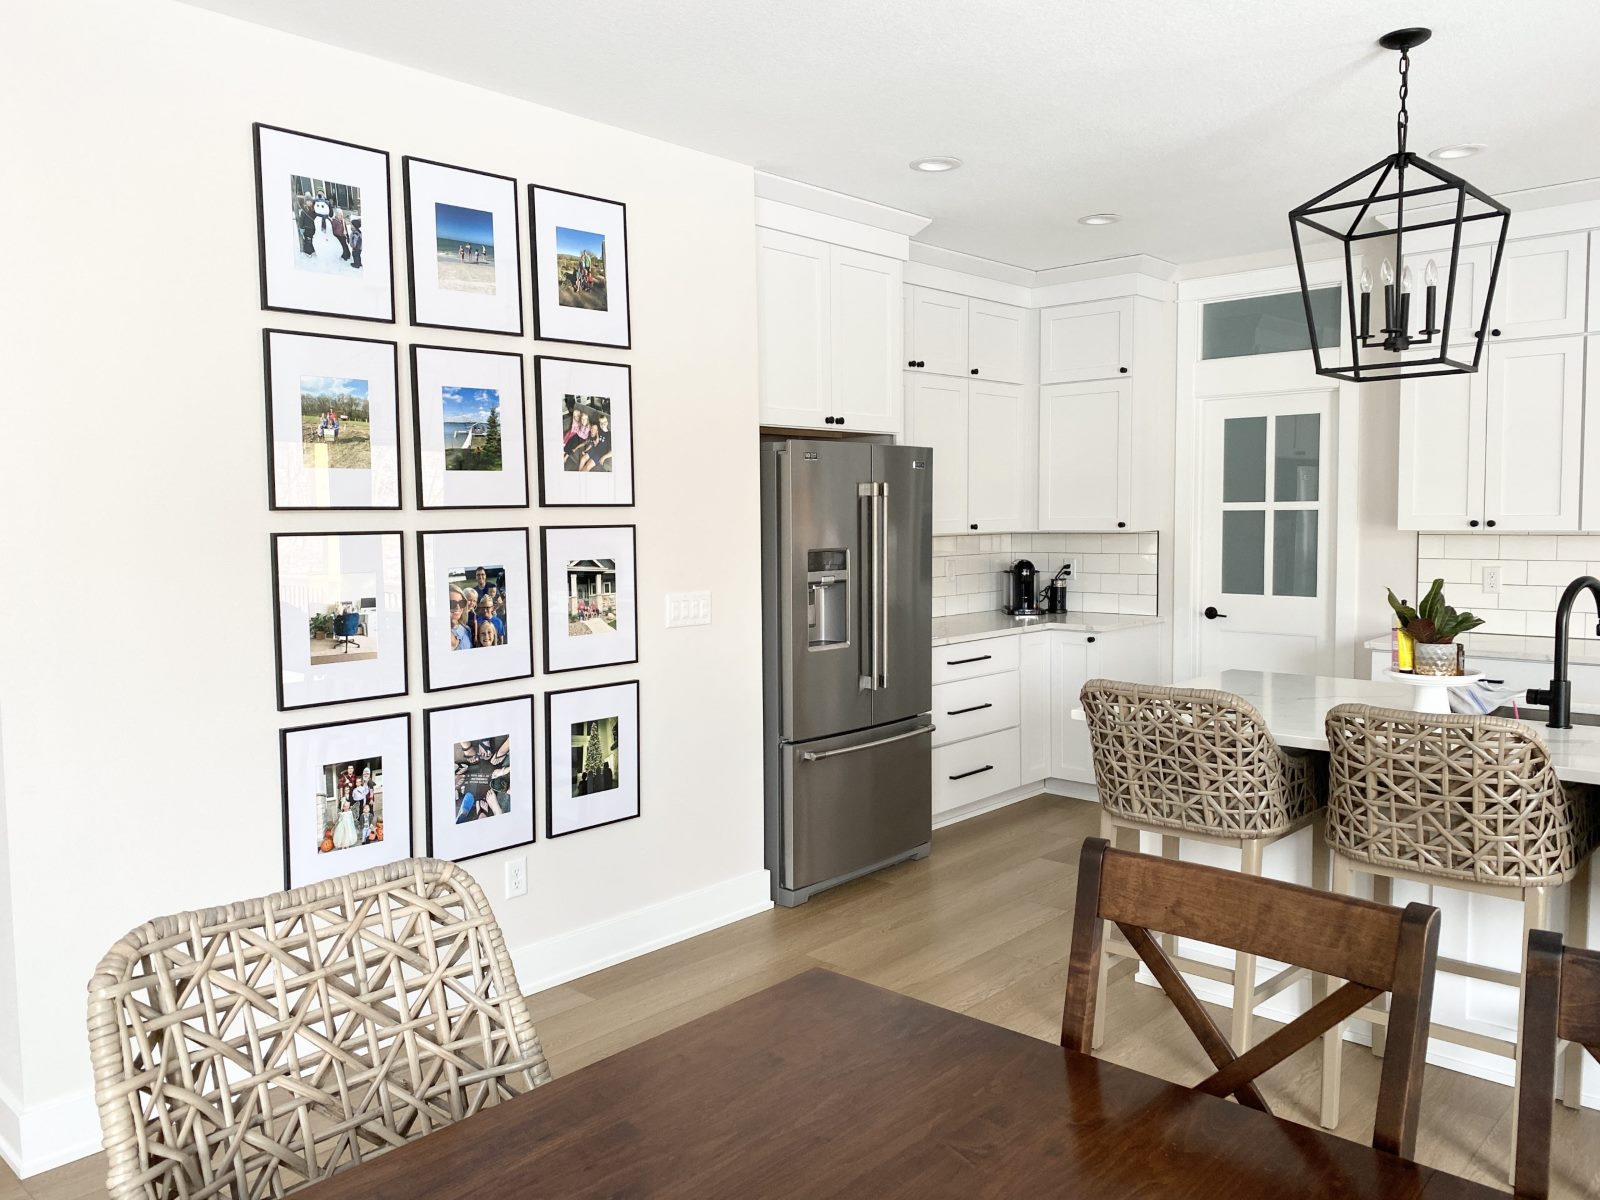
By assembling the frame and securely attaching your picture or artwork, you have created a stunning display piece that will proudly showcase your cherished memories or favorite artwork.
Remember to take your time, pay attention to detail, and let your creativity shine through the entire process. Don’t be afraid to experiment and add your own personal touch with different finishes, distressing techniques, or additional decorative accents.
Now that you have completed this DIY project, step back and admire your handiwork. Your primitive picture frame serves as a testament to your artistic abilities and adds a special touch to your home decor.
So go ahead and display your beautiful frames on your walls, shelves, or tables, and let them be a conversation starter as you share the story and memories behind each picture.
Enjoy the process of creating and displaying your own primitive picture frames and elevate the beauty of your cherished photographs and artworks in a unique and rustic way!
Frequently Asked Questions about How To Make Primitive Picture Frames
Was this page helpful?
At Storables.com, we guarantee accurate and reliable information. Our content, validated by Expert Board Contributors, is crafted following stringent Editorial Policies. We're committed to providing you with well-researched, expert-backed insights for all your informational needs.


0 thoughts on “How To Make Primitive Picture Frames”