
Articles
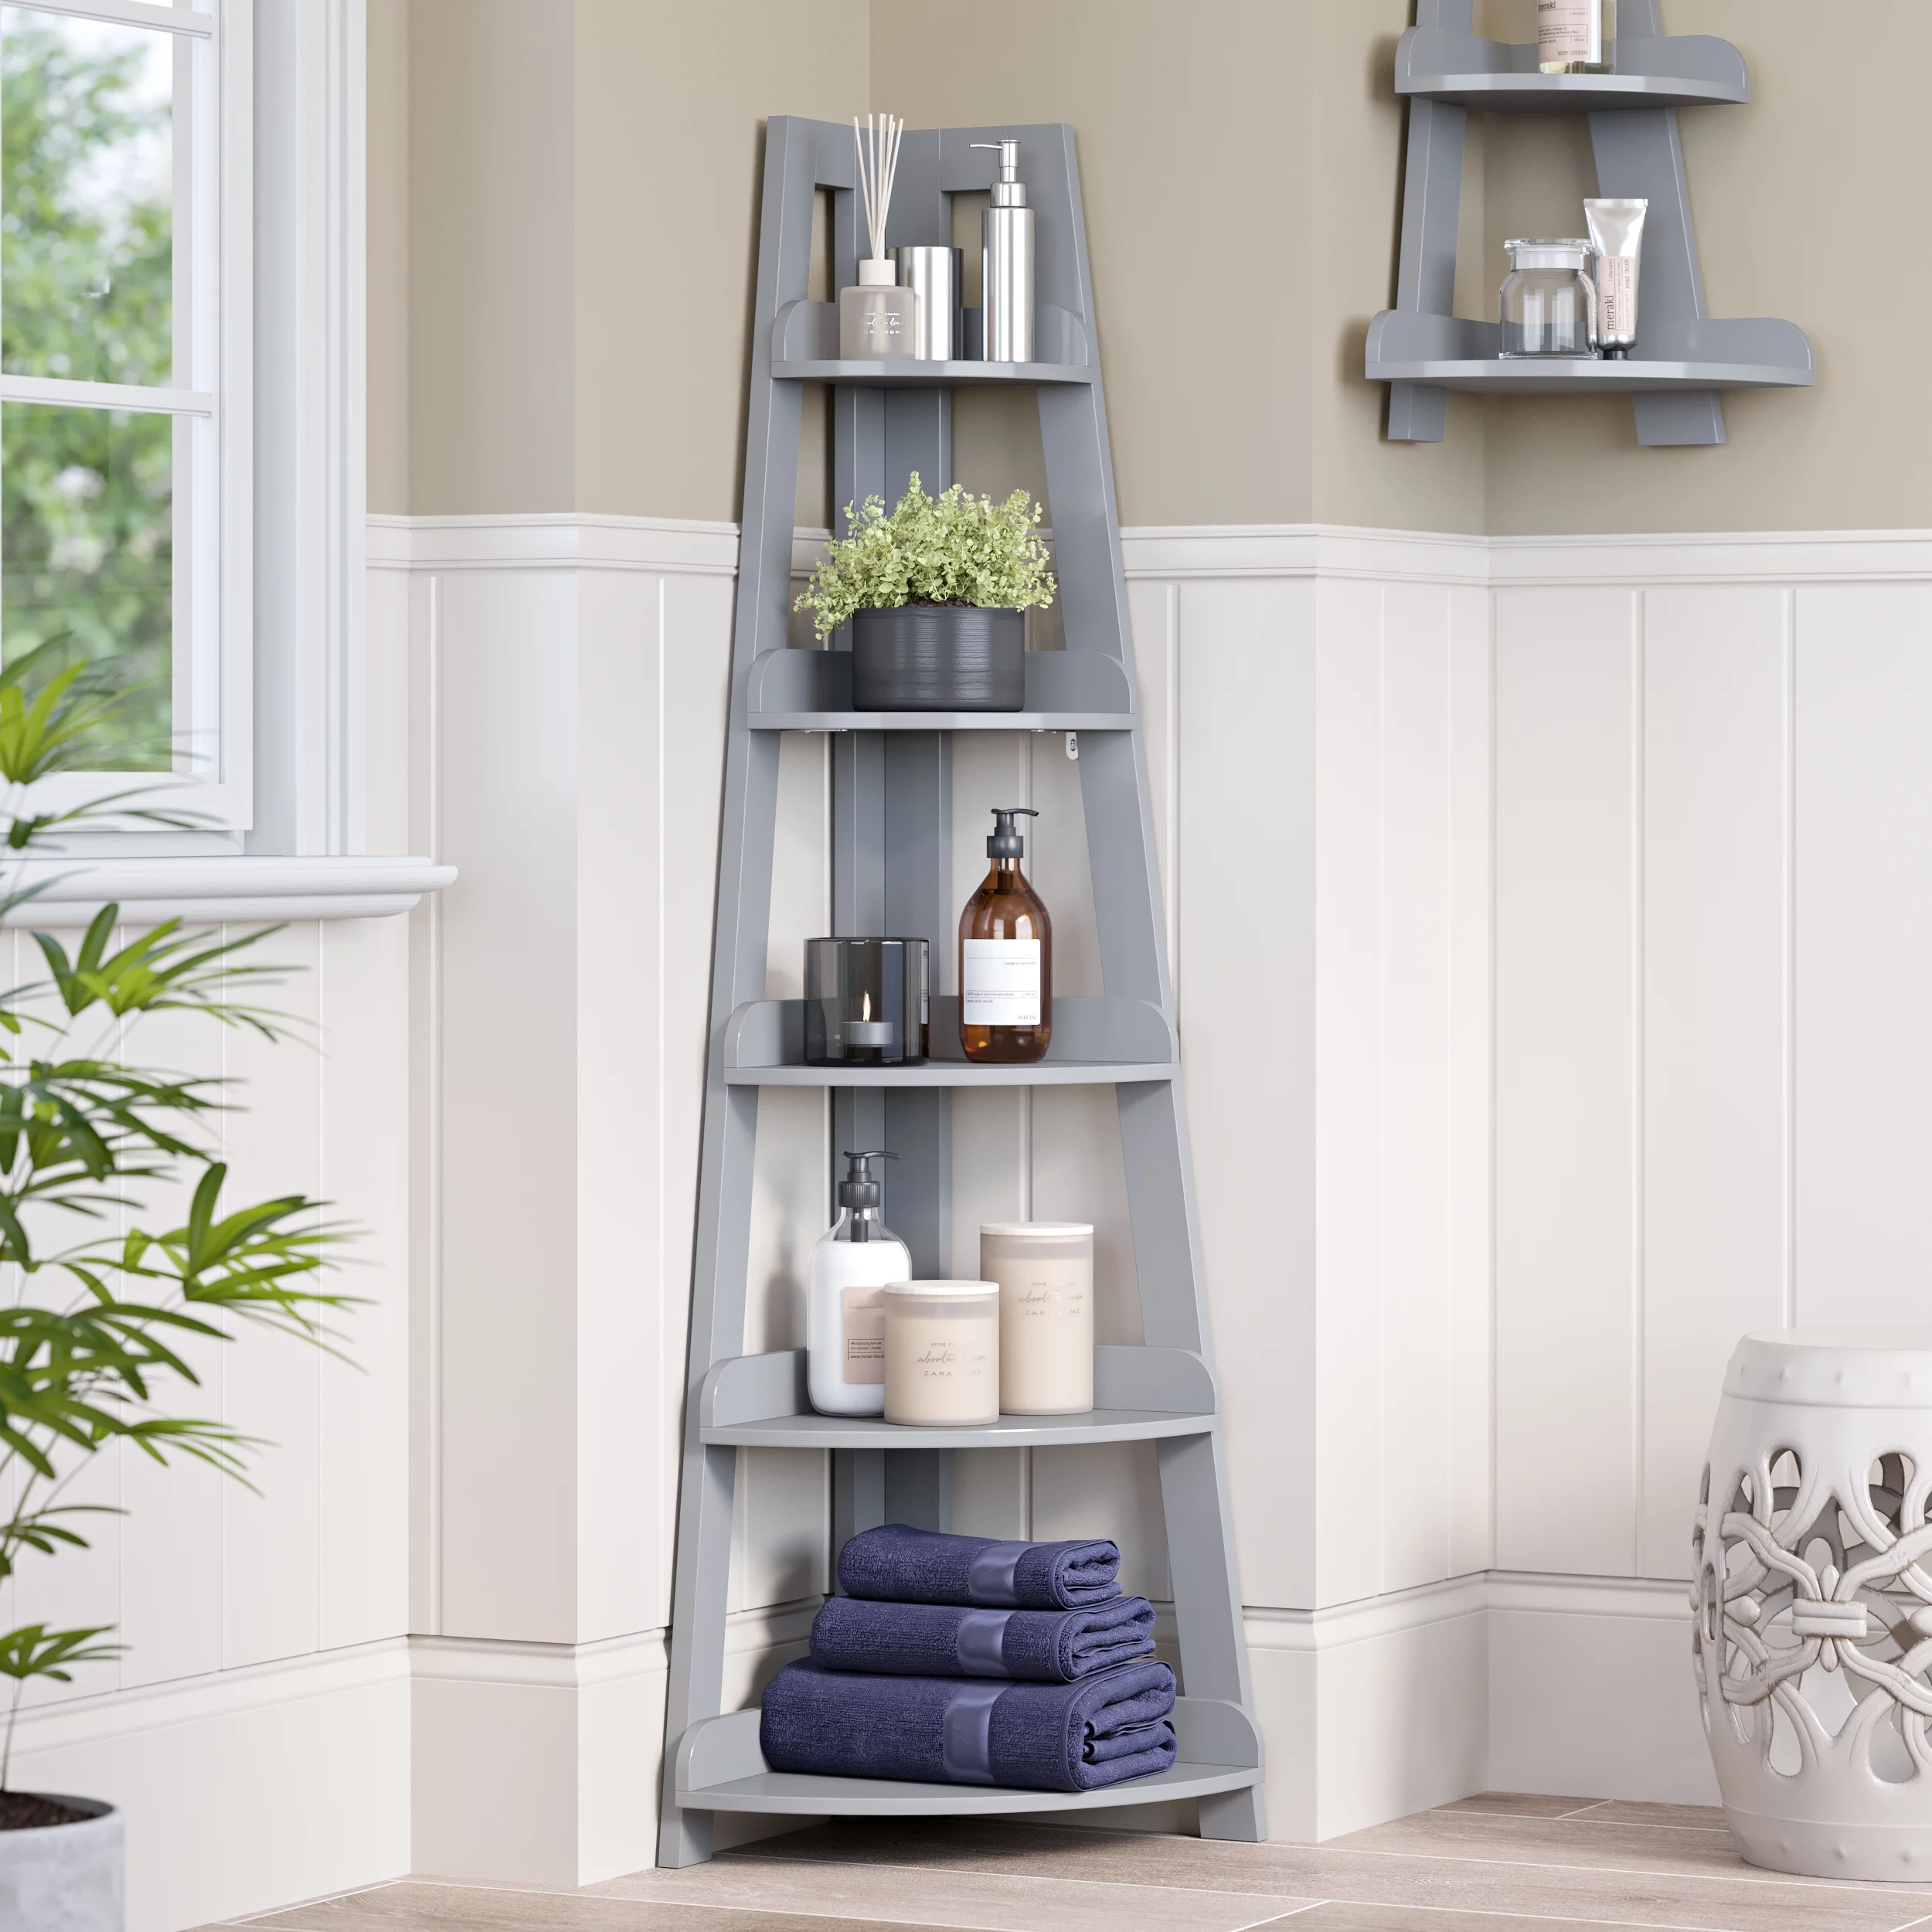
How To Add A Shelf In A Cabinet
Modified: September 1, 2024
Learn how to effortlessly add a shelf to your bedroom furniture cabinet with our simple step-by-step guide. Boost your storage space and organization today!
(Many of the links in this article redirect to a specific reviewed product. Your purchase of these products through affiliate links helps to generate commission for Storables.com, at no extra cost. Learn more)
Introduction
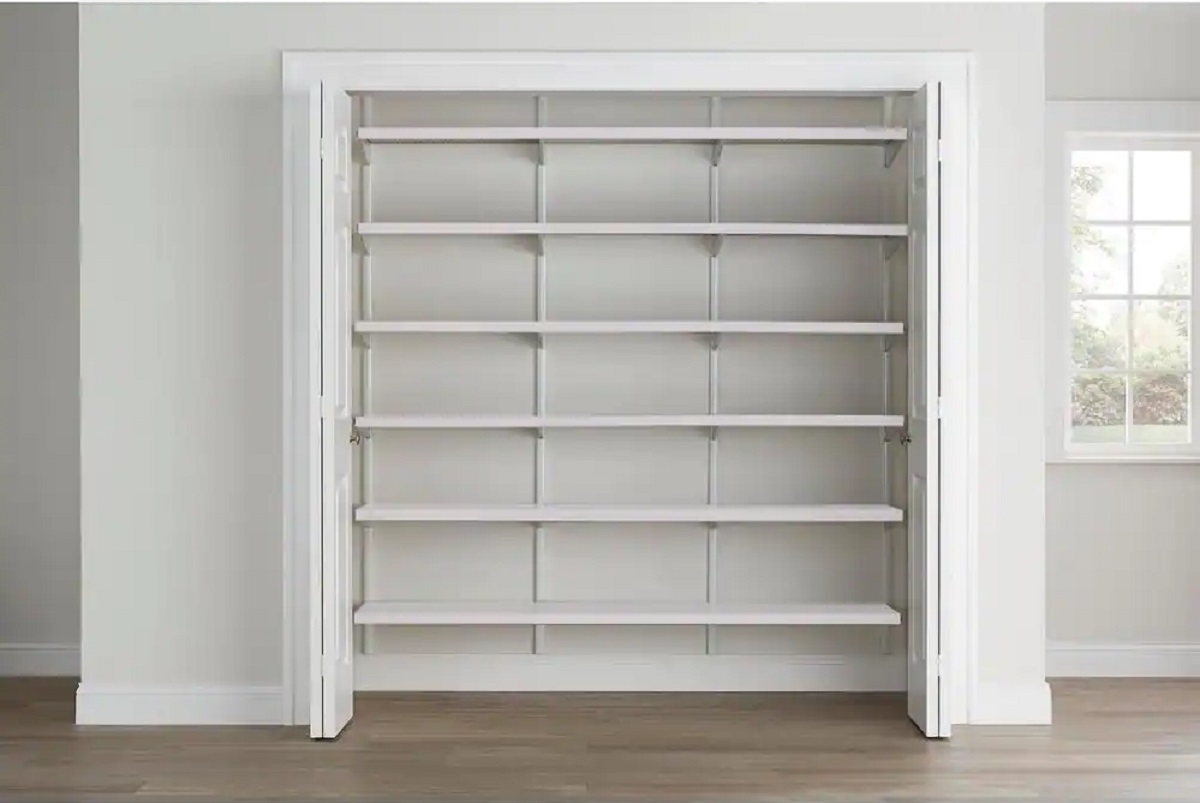
Welcome to our step-by-step guide on how to add a shelf in a cabinet. If you’re looking to maximize the storage space in your cabinets or simply need an additional surface to organize your belongings, adding a shelf can be a practical solution. Whether you’re a seasoned DIY enthusiast or a novice, this tutorial will walk you through the process of installing a shelf in your cabinet with ease.
With just a few tools and materials, you can transform your cabinet into a more functional and organized space. From measuring and marking the desired shelf placement to installing the shelf brackets and securing the shelf, we’ll cover all the necessary steps to help you successfully add a shelf in your cabinet.
Before we dive into the specifics, it’s important to note that the method and materials required for adding a shelf may vary depending on the type of cabinet you have. This guide is designed to provide a general overview, but always remember to take into consideration the specific characteristics of your cabinet and make any necessary adjustments as needed.
So, if you’re ready to get started on your cabinet transformation journey, let’s gather the necessary tools and materials in the next step!
Key Takeaways:
- Maximize storage space and bring organization to your belongings by following this step-by-step guide on adding a shelf in a cabinet. Create a custom shelf to perfectly suit your storage needs and eliminate clutter.
- Equip yourself with the knowledge and skills to successfully complete the task of adding a shelf in a cabinet. Enjoy the benefits of a well-organized and functional space, and don’t be afraid to get creative with different materials and finishes.
Read more: How To Build A Shelf In A Cabinet
Step 1: Gather necessary tools and materials
Before you begin adding a shelf in your cabinet, it’s important to gather all the necessary tools and materials. Having everything you need at hand will ensure a smooth and efficient installation process. Here are the tools and materials you’ll need:
- Tape measure: You’ll need a tape measure to accurately measure the dimensions of your cabinet and determine the desired shelf placement.
- Pencil or marker: This will be used to mark the measurements and indicate where the shelf brackets will be installed.
- Level: A level will help ensure that your shelf is installed straight and not slanted.
- Screws and anchors: Depending on the material of your cabinet, you may need screws and anchors to secure the shelf brackets in place. Make sure to choose the appropriate screws and anchors for a secure installation.
- Shelf brackets: These are essential for supporting the shelf and distributing the weight evenly. You can find a variety of shelf brackets in different sizes and styles to match your cabinet and personal preferences.
- Shelf material: The type of shelf material will depend on your personal preference and the intended use of the shelf. Common options include wood, laminate, or melamine boards.
- Power drill: A power drill will make it easier to install the screws and anchors. Make sure to have the appropriate drill bits for your screws and anchors.
- Screwdriver: While a power drill is useful, a screwdriver can also come in handy for tightening screws or making adjustments.
- Safety goggles and gloves: It’s important to prioritize safety during the installation process. Wear safety goggles to protect your eyes from any debris, and gloves to protect your hands.
Once you’ve gathered all the necessary tools and materials, you’re ready to move on to the next step: measuring and marking the desired shelf placement. So, let’s get measuring!
Step 2: Measure and mark the desired shelf placement
Now that you have all your tools and materials ready, it’s time to measure and mark the desired shelf placement in your cabinet. This step is crucial to ensure that your shelf is positioned at the right height and aligns with your storage needs. Here’s how to proceed:
- Clear the cabinet: Before you start measuring, remove all items from the cabinet to get a clear view of the space you’ll be working with.
- Measure the height: Use a tape measure to determine the height at which you want to install the shelf. Consider the items you’ll be storing on the shelf and their dimensions to ensure adequate space.
- Mark the measurements: Once you’ve decided on the height, use a pencil or marker to mark the positions where the shelf brackets will be installed. Make sure the markings are level and aligned with the side walls of the cabinet.
- Measure the width: If you’re planning to install multiple shelves in the cabinet, measure the width between the side walls to determine the appropriate spacing. Consider the height of the items you’ll be storing to determine the optimal distance between shelves.
- Mark the width: Once you’ve measured the width and determined the spacing, mark the positions for the remaining shelf brackets using a tape measure and pencil.
Double-check your measurements and markings to ensure accuracy. It’s always better to be precise from the start to avoid any issues during the installation process. Once you’re confident with the positioning, you’re ready to move on to the next step: preparing the cabinet for shelf installation.
Take a moment to admire your precise measurements and envision the organized cabinet you’re about to create. Next, we’ll prepare the cabinet to accommodate the shelf. So, let’s dive into the next step!
Step 3: Prepare the cabinet for shelf installation
Now that you have measured and marked the desired shelf placement in your cabinet, it’s time to prepare the cabinet to ensure a smooth installation process. This step involves cleaning the cabinet, making any necessary adjustments, and ensuring that the surface is ready to support the shelf. Here’s how to proceed:
- Clean the cabinet: Start by removing any dust, dirt, or debris from the inside of the cabinet. Use a damp cloth or a mild cleaning solution to wipe down the surfaces. This will ensure a clean and tidy installation.
- Inspect the cabinet walls: Take a close look at the interior walls of the cabinet to ensure there are no protruding nails, screws, or other obstructions that might interfere with the shelf installation. If you come across any, gently remove them or adjust their position.
- Check for stability: Make sure that the cabinet itself is sturdy and stable. If you notice any wobbling or instability, consider reinforcing the cabinet by tightening screws or adding additional support.
- Smooth any rough surfaces: If you encounter any rough or uneven surfaces inside the cabinet, use sandpaper or a sanding block to smooth them out. This will provide a better surface for the shelf brackets to rest against.
- Position the brackets: Prior to installing the shelf brackets, position them against the markings on the cabinet walls. This will give you a visual indication of how the shelf will sit inside the cabinet and allow you to make any last-minute adjustments if needed.
Once you’ve completed these steps, your cabinet will be prepped and ready for the shelf installation. By ensuring a clean and stable environment, you are setting the foundation for a secure and functional shelf. In the next step, we’ll move on to cutting and finishing the shelf material. So, let’s get ready to create your custom shelf!
When adding a shelf to a cabinet, measure the height between the existing shelves to ensure the new shelf will fit. Use a level to ensure it is installed evenly and securely.
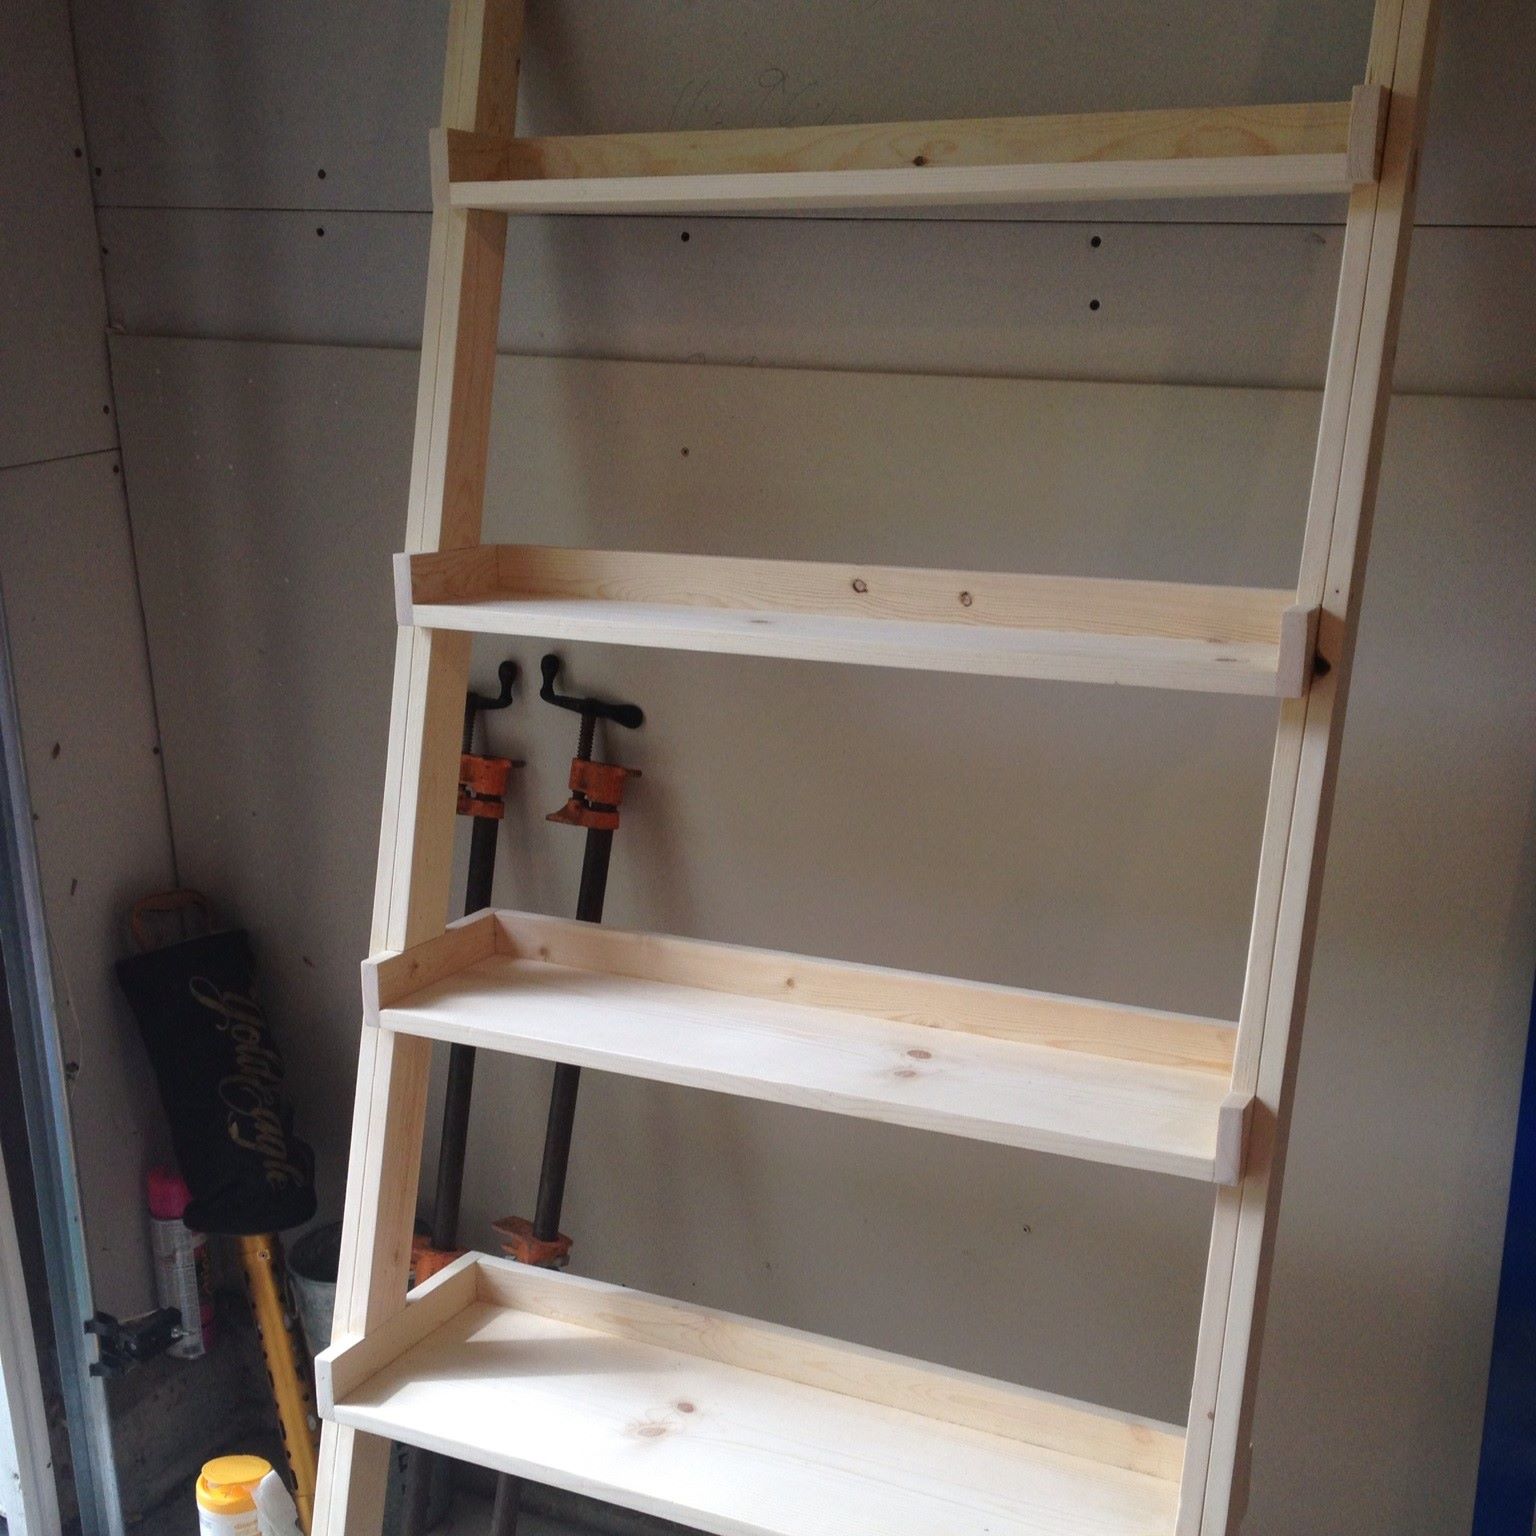
Step 4: Cut and finish the shelf
With the cabinet prepped and the desired shelf placement marked, it’s time to cut and finish the shelf material. This step involves accurately cutting the shelf to the desired dimensions and applying any necessary finishes to ensure its durability and aesthetics. Here’s how to proceed:
- Measure the shelf material: Using your measurements from earlier, carefully measure the width and depth of the shelf material. Take into account any additional space required for the brackets and ensure a proper fit inside the cabinet.
- Mark the measurements: Once you’ve determined the dimensions, use a pencil or marker to mark the cutting lines on the shelf material. Double-check your measurements to ensure accuracy.
- Cut the shelf material: Using a saw or a suitable cutting tool, carefully cut along the marked lines to create the shelf. Take your time and ensure that the cuts are straight and precise.
- Sand the edges: After cutting the shelf, use sandpaper to smooth out any rough edges. This step will not only improve the appearance of the shelf but also prevent any accidental splinters or injuries.
- Apply finishes (optional): Depending on the type of shelf material you have chosen, you may want to apply a finish to enhance its durability and appearance. Consider using a wood stain, paint, or a protective coating, following the manufacturer’s instructions.
By accurately cutting and finishing the shelf material, you are creating a customized and polished surface that will seamlessly fit into your cabinet. The next step will guide you through the installation of the shelf brackets. So, let’s move on and secure the support for your shelf!
Read more: How To Add Drawers To A Cabinet
Step 5: Install the shelf brackets
Now that you have your shelf material cut and finished, it’s time to install the shelf brackets. The brackets will provide the necessary support for your shelf and ensure its stability. Here’s how to proceed:
- Position the brackets: Place the shelf brackets against the markings on the cabinet walls, ensuring that they are aligned with the desired shelf placement. Use a level to ensure that the brackets are straight.
- Mark the screw holes: Once the brackets are positioned, use a pencil or marker to mark the screw holes on the cabinet walls. These marks will serve as your guide for drilling the pilot holes.
- Drill pilot holes: Using a power drill and the appropriate drill bit, carefully drill pilot holes into the cabinet walls at the marked locations. The pilot holes will make it easier to insert the screws and prevent any splitting of the cabinet material.
- Attach the brackets: With the pilot holes drilled, align the brackets with the holes and secure them to the cabinet walls using screws. Use a screwdriver or a power drill to tighten the screws, ensuring that the brackets are firmly attached.
- Double-check the alignment: Once the brackets are installed, check again with a level to ensure that they are straight and evenly positioned. Make any necessary adjustments before moving on to the final step.
By installing the shelf brackets securely, you are providing the essential support for your shelf to hold a significant amount of weight. With the brackets in place, you’re ready to move on to the final step: placing and securing the shelf in the cabinet. Let’s bring it all together and complete your cabinet shelf installation!
Step 6: Place and secure the shelf in the cabinet
With the shelf brackets installed, it’s time to place the shelf in the cabinet and secure it to ensure stability. Here’s how to complete the final step:
- Position the shelf: Carefully place the cut and finished shelf material onto the installed brackets. Make sure the shelf is aligned with the markings on the cabinet walls and rests securely on the brackets.
- Check for levelness: Use a level to ensure that the shelf is level from front to back and side to side. Make any adjustments to ensure that the shelf is perfectly balanced.
- Secure the shelf: Once the shelf is in the desired position, you can secure it to the brackets for added stability. You can do this by drilling screws through the brackets and into the shelf material. Make sure to use screws that are appropriate for the thickness and type of shelf material you are working with.
- Test for stability: Give the shelf a gentle shake to test its stability and make sure it is securely attached to the brackets. If there is any wobbling or movement, tighten the screws or make any necessary adjustments to ensure a secure fit.
With the shelf securely in place, you have successfully added a functional and organized storage solution to your cabinet. Step back and admire your handiwork. Your newly installed shelf is ready to hold your items and provide convenient access to your belongings.
Remember, the process of adding a shelf to a cabinet may vary depending on the size, style, and construction of your cabinet. Always make sure to follow manufacturer instructions, safety precautions, and adapt the steps to fit your specific cabinet requirements.
Congratulations on completing the installation of your cabinet shelf! Enjoy the benefits of an organized and efficient space. If you found this guide helpful, don’t hesitate to share it with others who may be looking to add a shelf to their cabinets as well.
Thank you for following this step-by-step guide. Happy organizing!
Conclusion
Adding a shelf in a cabinet is a simple yet effective way to maximize storage space and bring organization to your belongings. By following the steps outlined in this guide, you have learned how to measure and mark the desired shelf placement, prepare the cabinet, cut and finish the shelf material, install the shelf brackets, and securely place the shelf inside the cabinet.
Throughout the process, it’s important to ensure accuracy, take appropriate safety precautions, and make any necessary adjustments to fit your specific cabinet. By doing so, you can create a custom shelf that perfectly suits your storage needs.
With a newly installed shelf, you can eliminate clutter, create additional storage space, and have easy access to your items. Whether you’re organizing kitchen cabinets, bathroom cabinets, or any other storage area, this step-by-step guide has equipped you with the knowledge and skills to successfully complete the task.
Remember, don’t be afraid to get creative and adapt these instructions to fit your unique situation and cabinet design. You can experiment with different materials, finishes, and arrangements to personalize your cabinet shelf even further.
We hope this guide has been helpful to you in your cabinet transformation journey. Enjoy the benefits of a well-organized and functional space. Now, go ahead and put your newly acquired knowledge into practice!
Thank you for following along with this tutorial. If you have any questions or need further assistance, feel free to reach out. Happy cabinet shelf installation!
Frequently Asked Questions about How To Add A Shelf In A Cabinet
Was this page helpful?
At Storables.com, we guarantee accurate and reliable information. Our content, validated by Expert Board Contributors, is crafted following stringent Editorial Policies. We're committed to providing you with well-researched, expert-backed insights for all your informational needs.


0 thoughts on “How To Add A Shelf In A Cabinet”