
Articles
How To Adjust A Dimmer Switch
Modified: August 26, 2024
Learn how to adjust a dimmer switch with our helpful articles. Discover step-by-step instructions and expert tips to improve your lighting control.
(Many of the links in this article redirect to a specific reviewed product. Your purchase of these products through affiliate links helps to generate commission for Storables.com, at no extra cost. Learn more)
Introduction
Dimmer switches are a versatile and convenient addition to any home. They allow you to adjust the brightness of your lights and create the perfect ambiance for any room. Whether you’re looking to set a romantic mood or create a cozy atmosphere for movie night, a dimmer switch can help you achieve the desired lighting effect.
In this article, we will explore how to adjust a dimmer switch. We’ll start by understanding what a dimmer switch is and how it works. Then, we’ll discuss the importance of proper adjustment and the potential risks of improper adjustment. We’ll also provide a step-by-step guide to adjusting a dimmer switch, along with a list of tools and equipment you’ll need. Additionally, we’ll address common troubleshooting issues that may arise with dimmer switches.
So, whether you’re a DIY enthusiast or simply want to learn more about the inner workings of your home, let’s dive in and discover how to adjust a dimmer switch effectively.
Key Takeaways:
- Properly adjusting a dimmer switch offers benefits such as energy savings, extended bulb life, customizable ambiance, and enhanced comfort. However, it’s crucial to ensure correct adjustment to avoid potential risks and issues.
- When adjusting a dimmer switch, always prioritize safety and follow the step-by-step guide provided. If common issues such as flickering or buzzing lights arise, consider troubleshooting steps or seek assistance from a certified electrician.
Read more: What Is A Dimmer Switch
Understanding Dimmer Switches
Before we delve into the process of adjusting a dimmer switch, it’s important to understand what exactly a dimmer switch is and how it works.
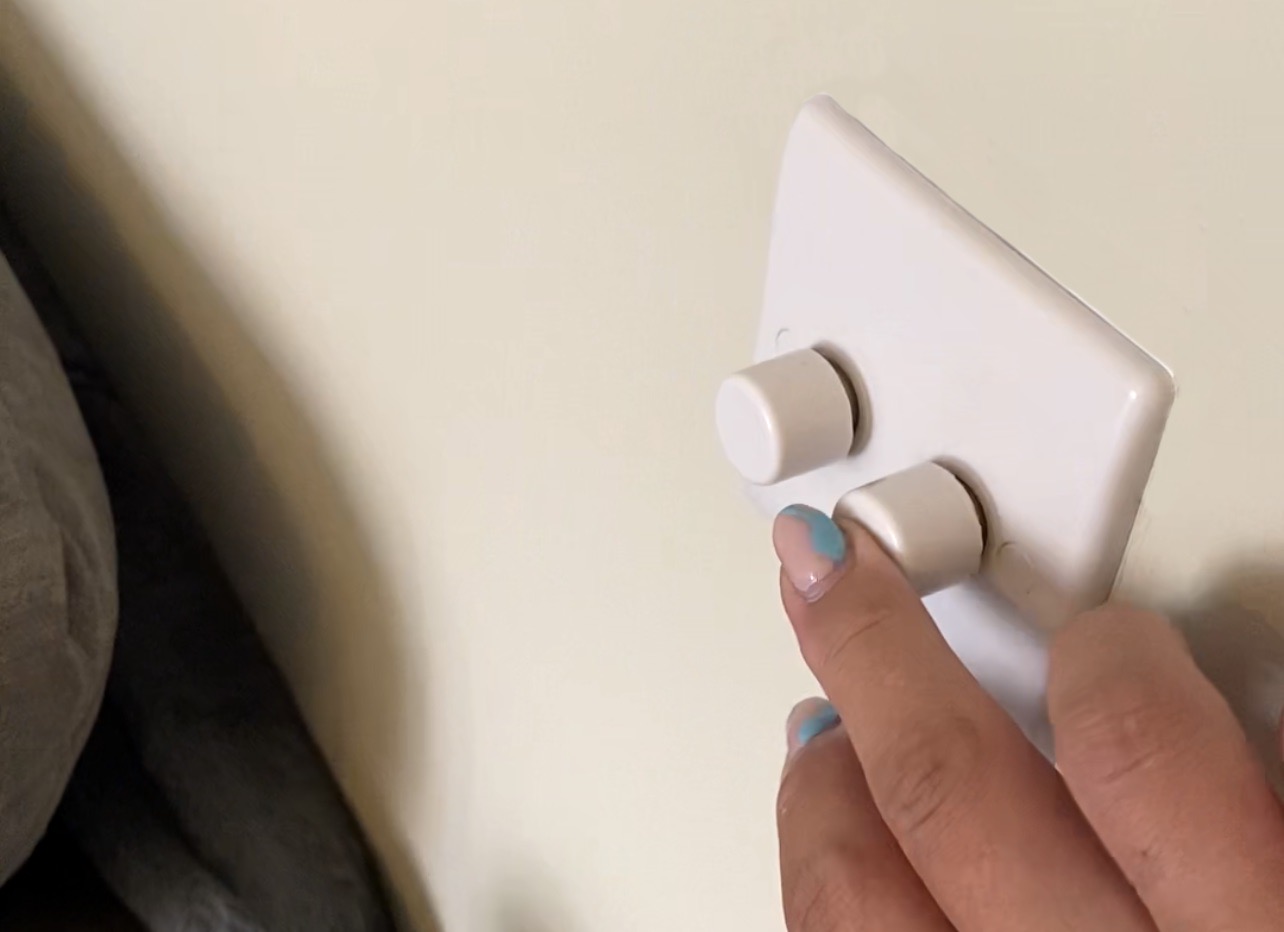
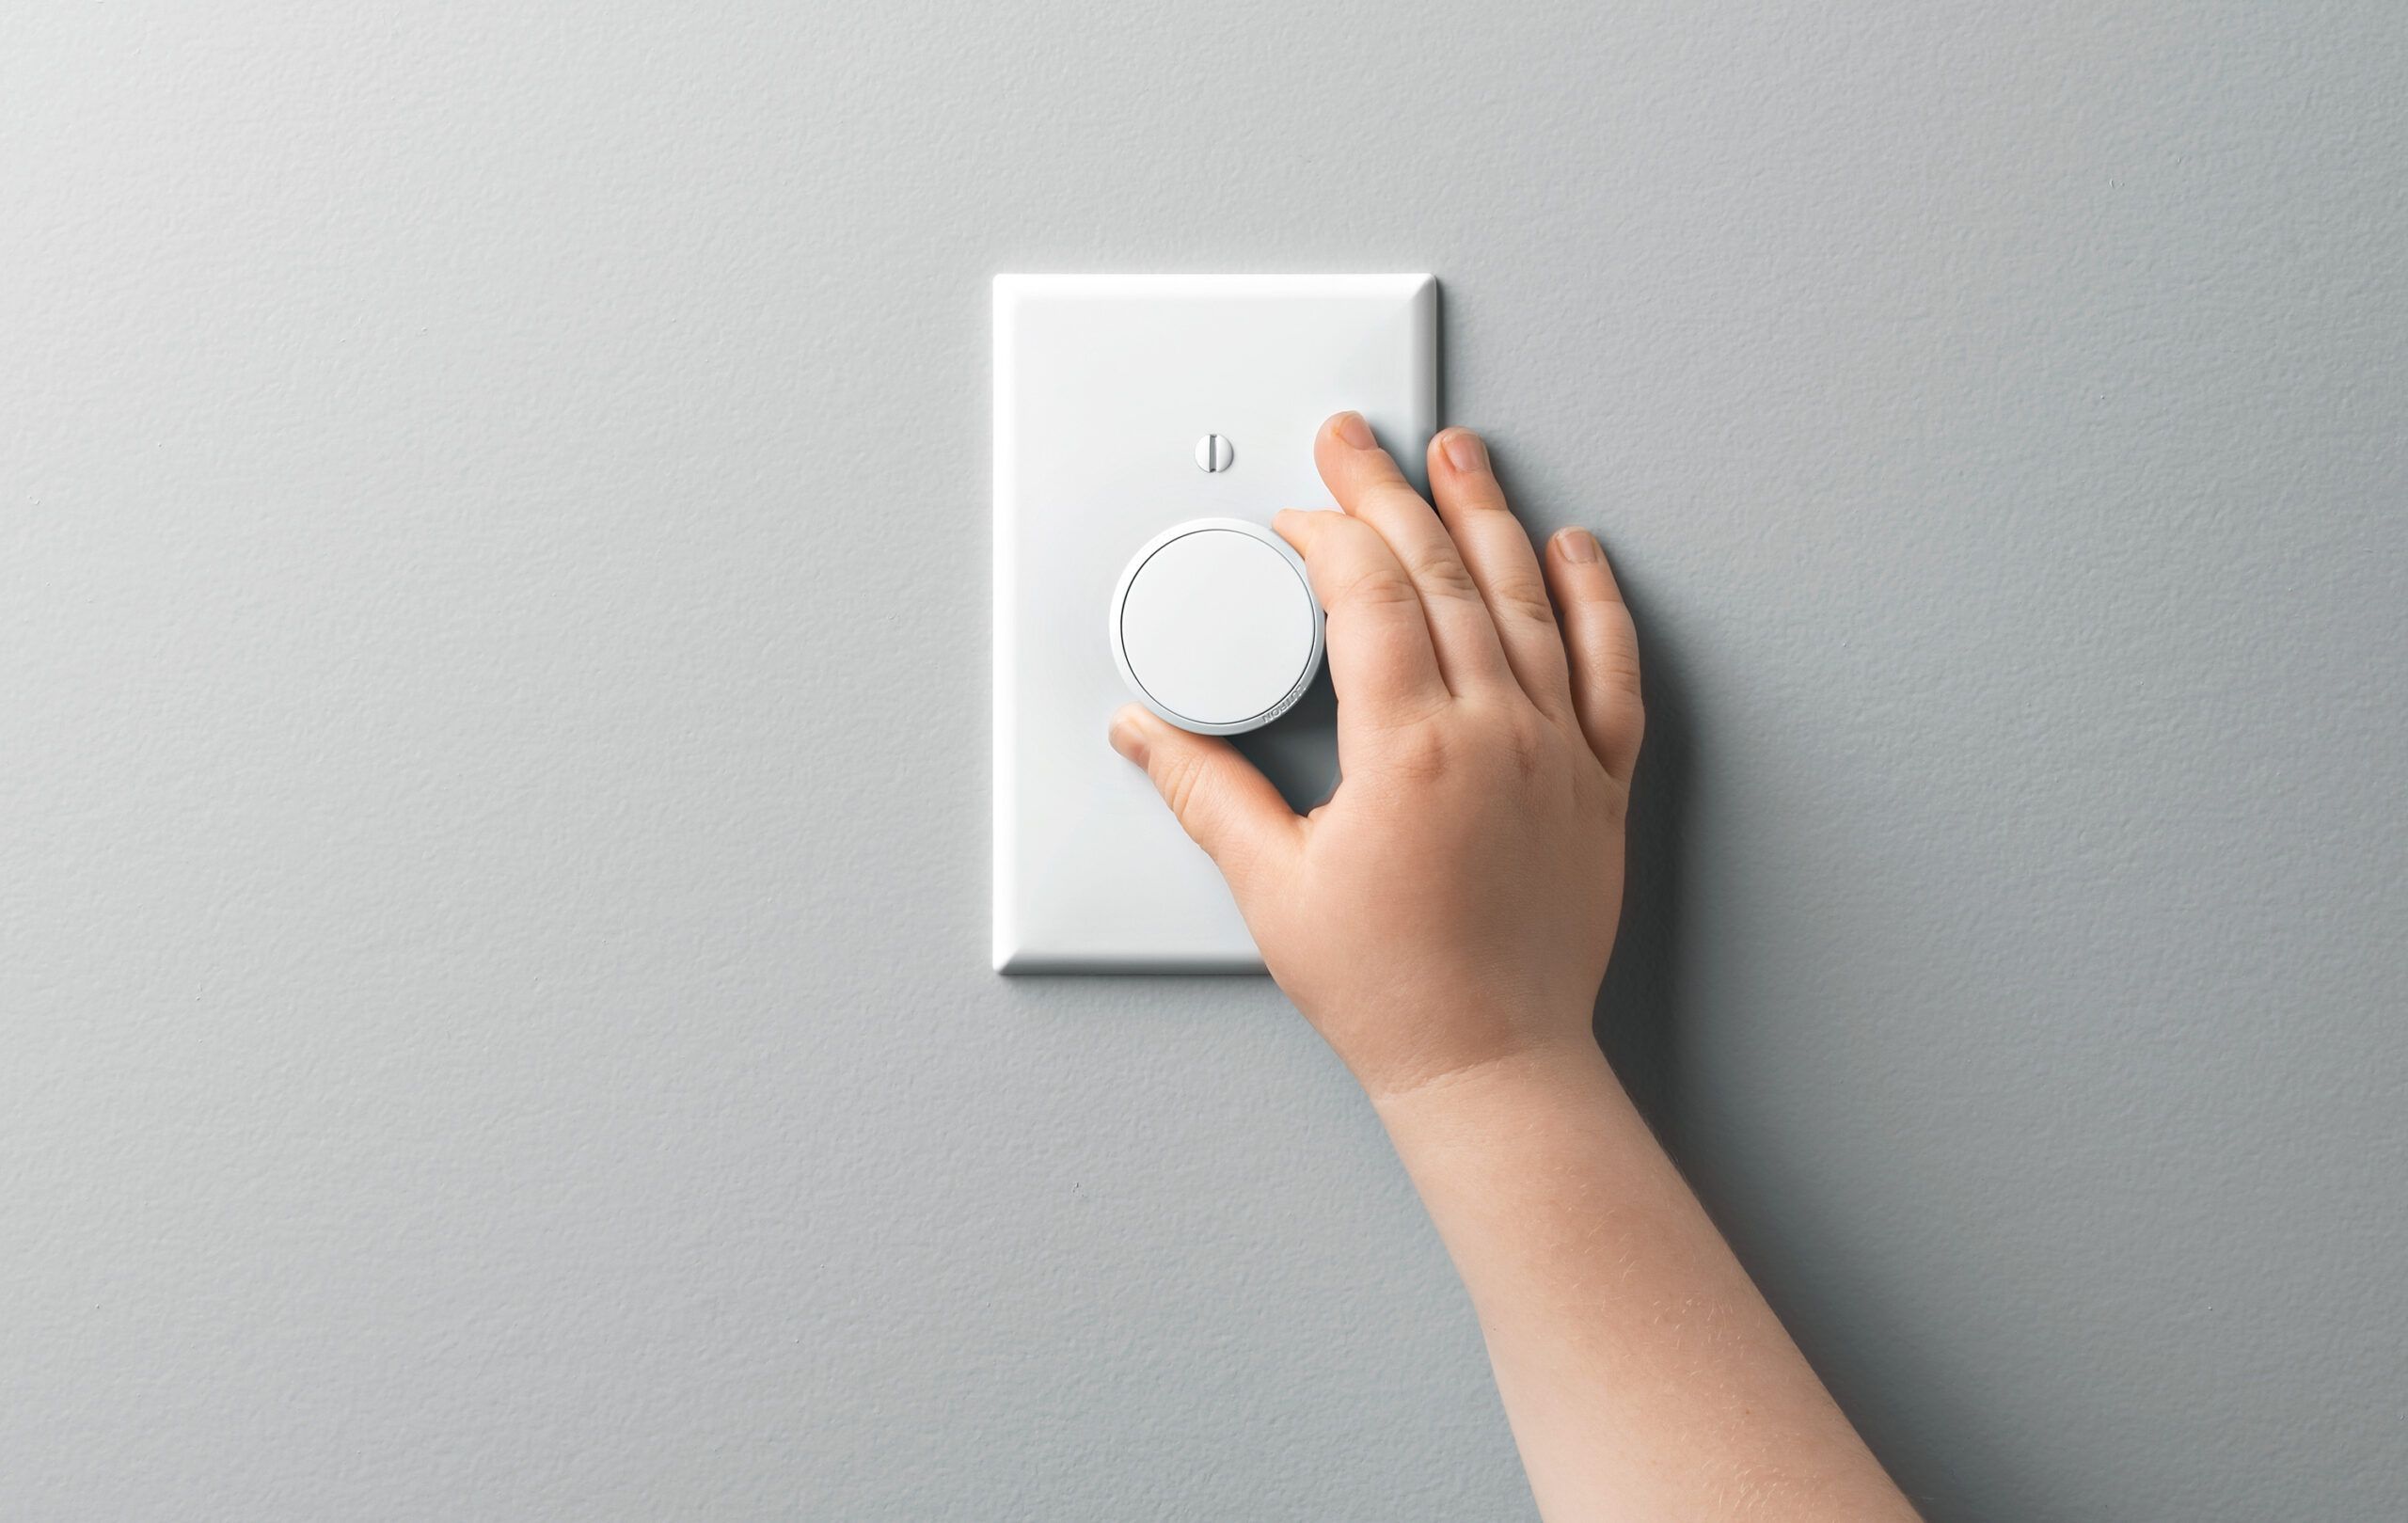
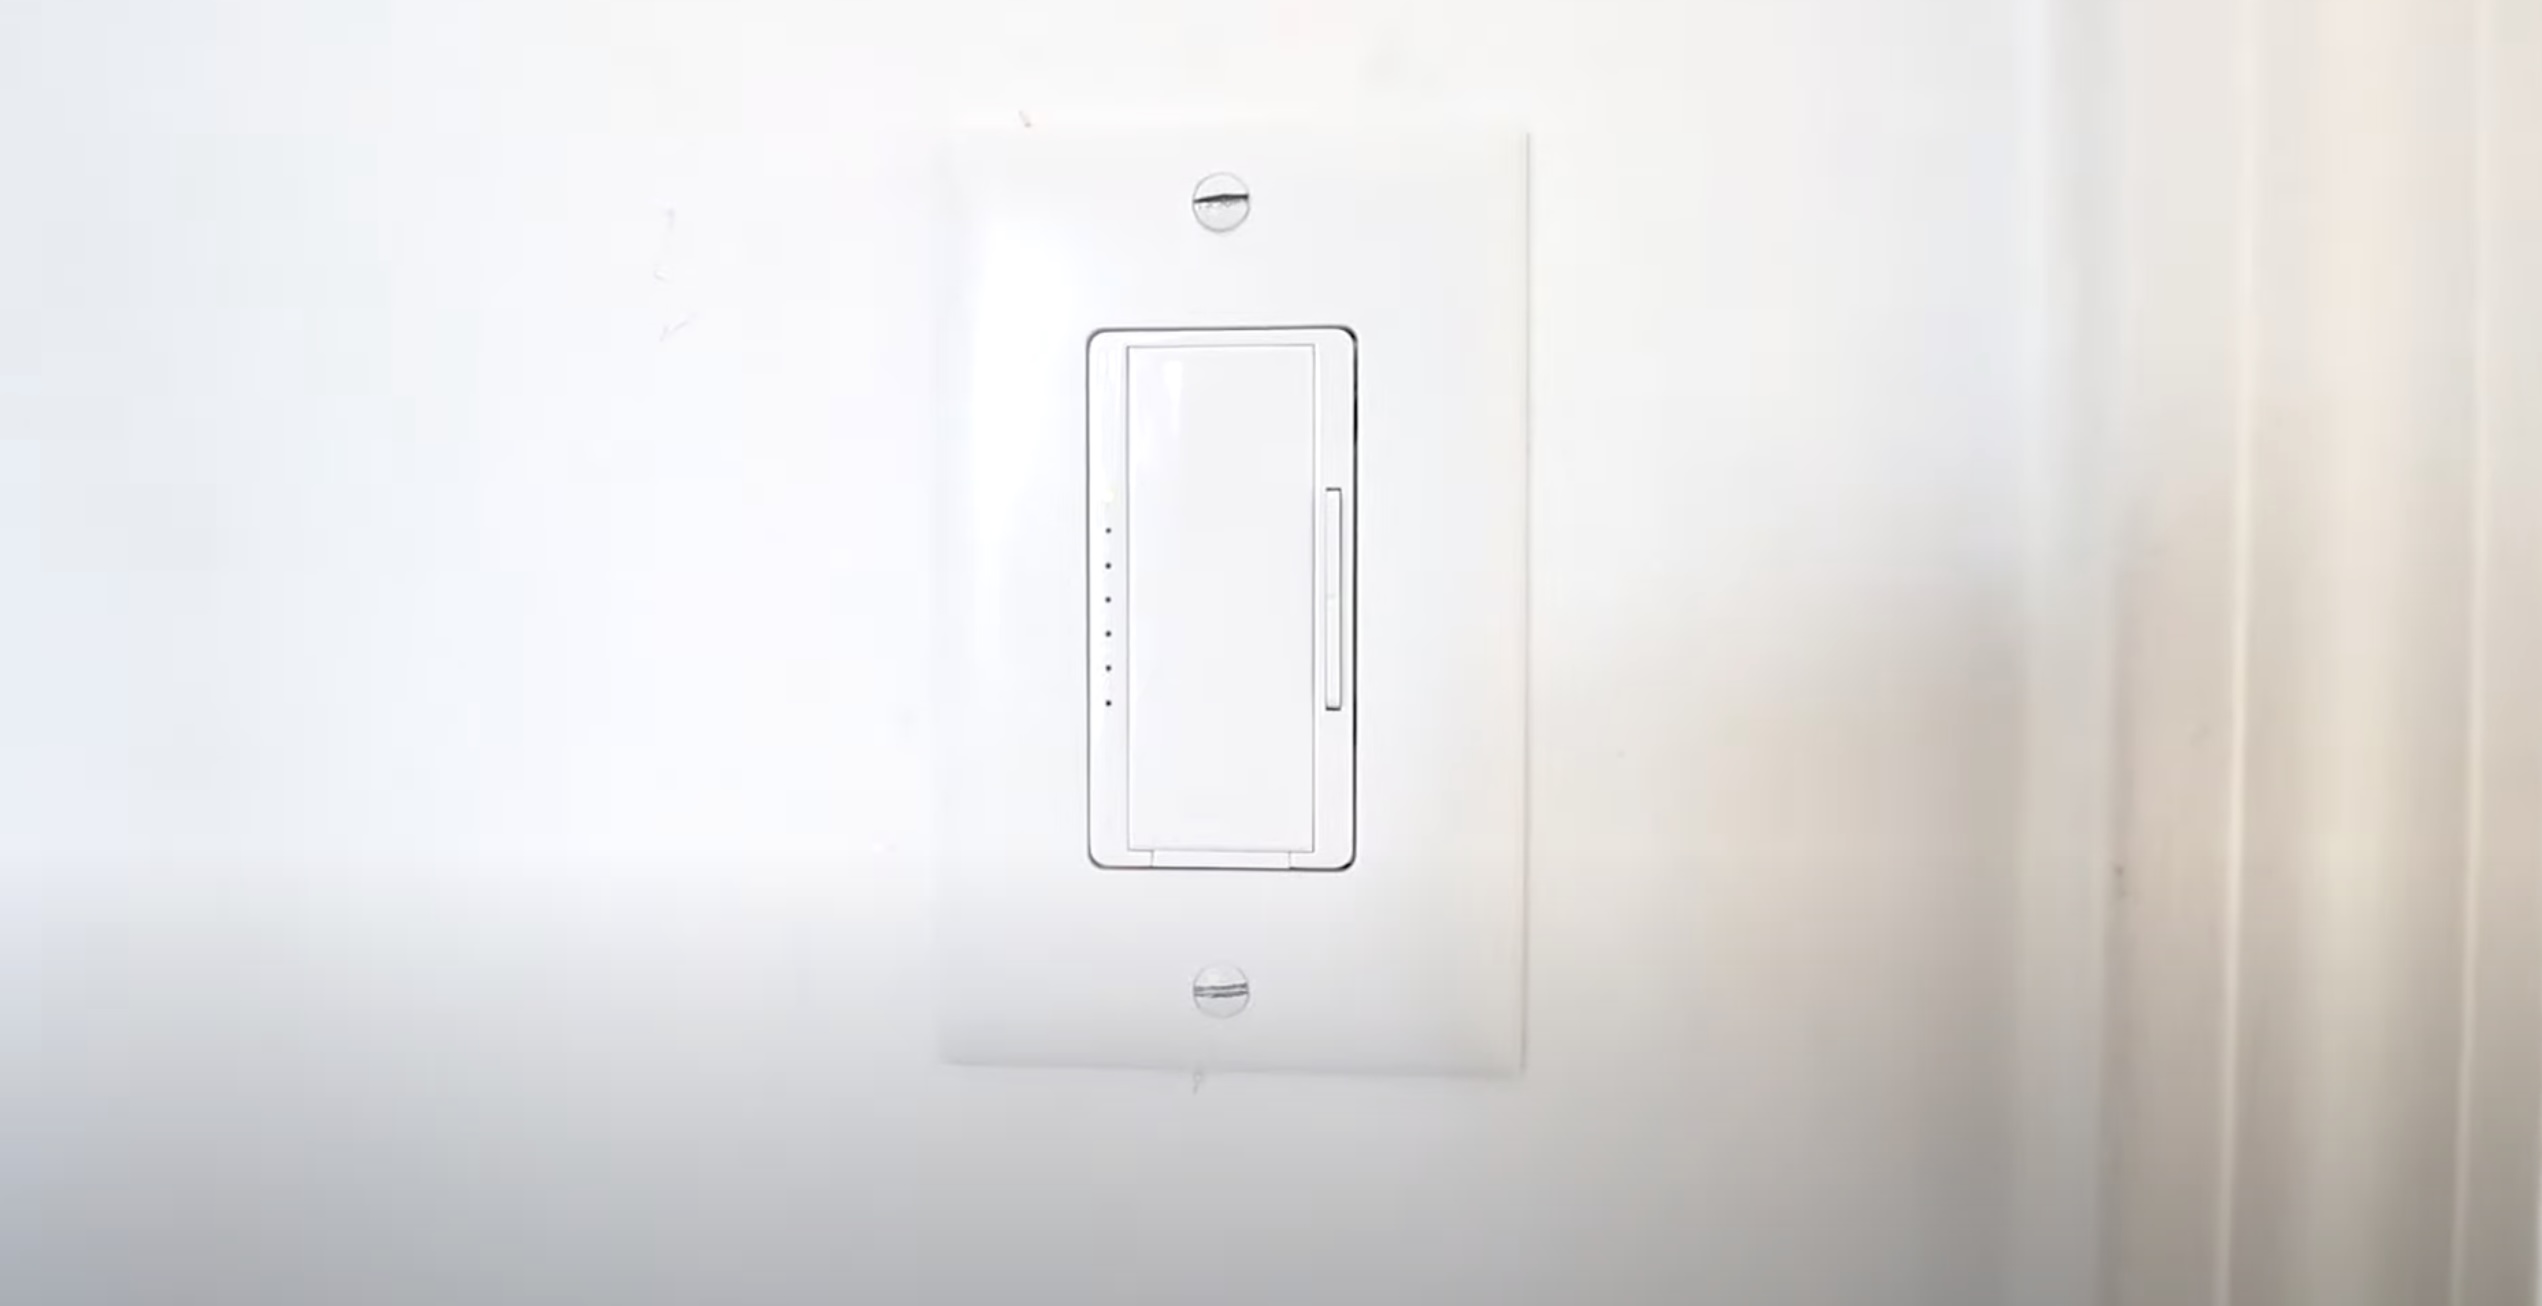
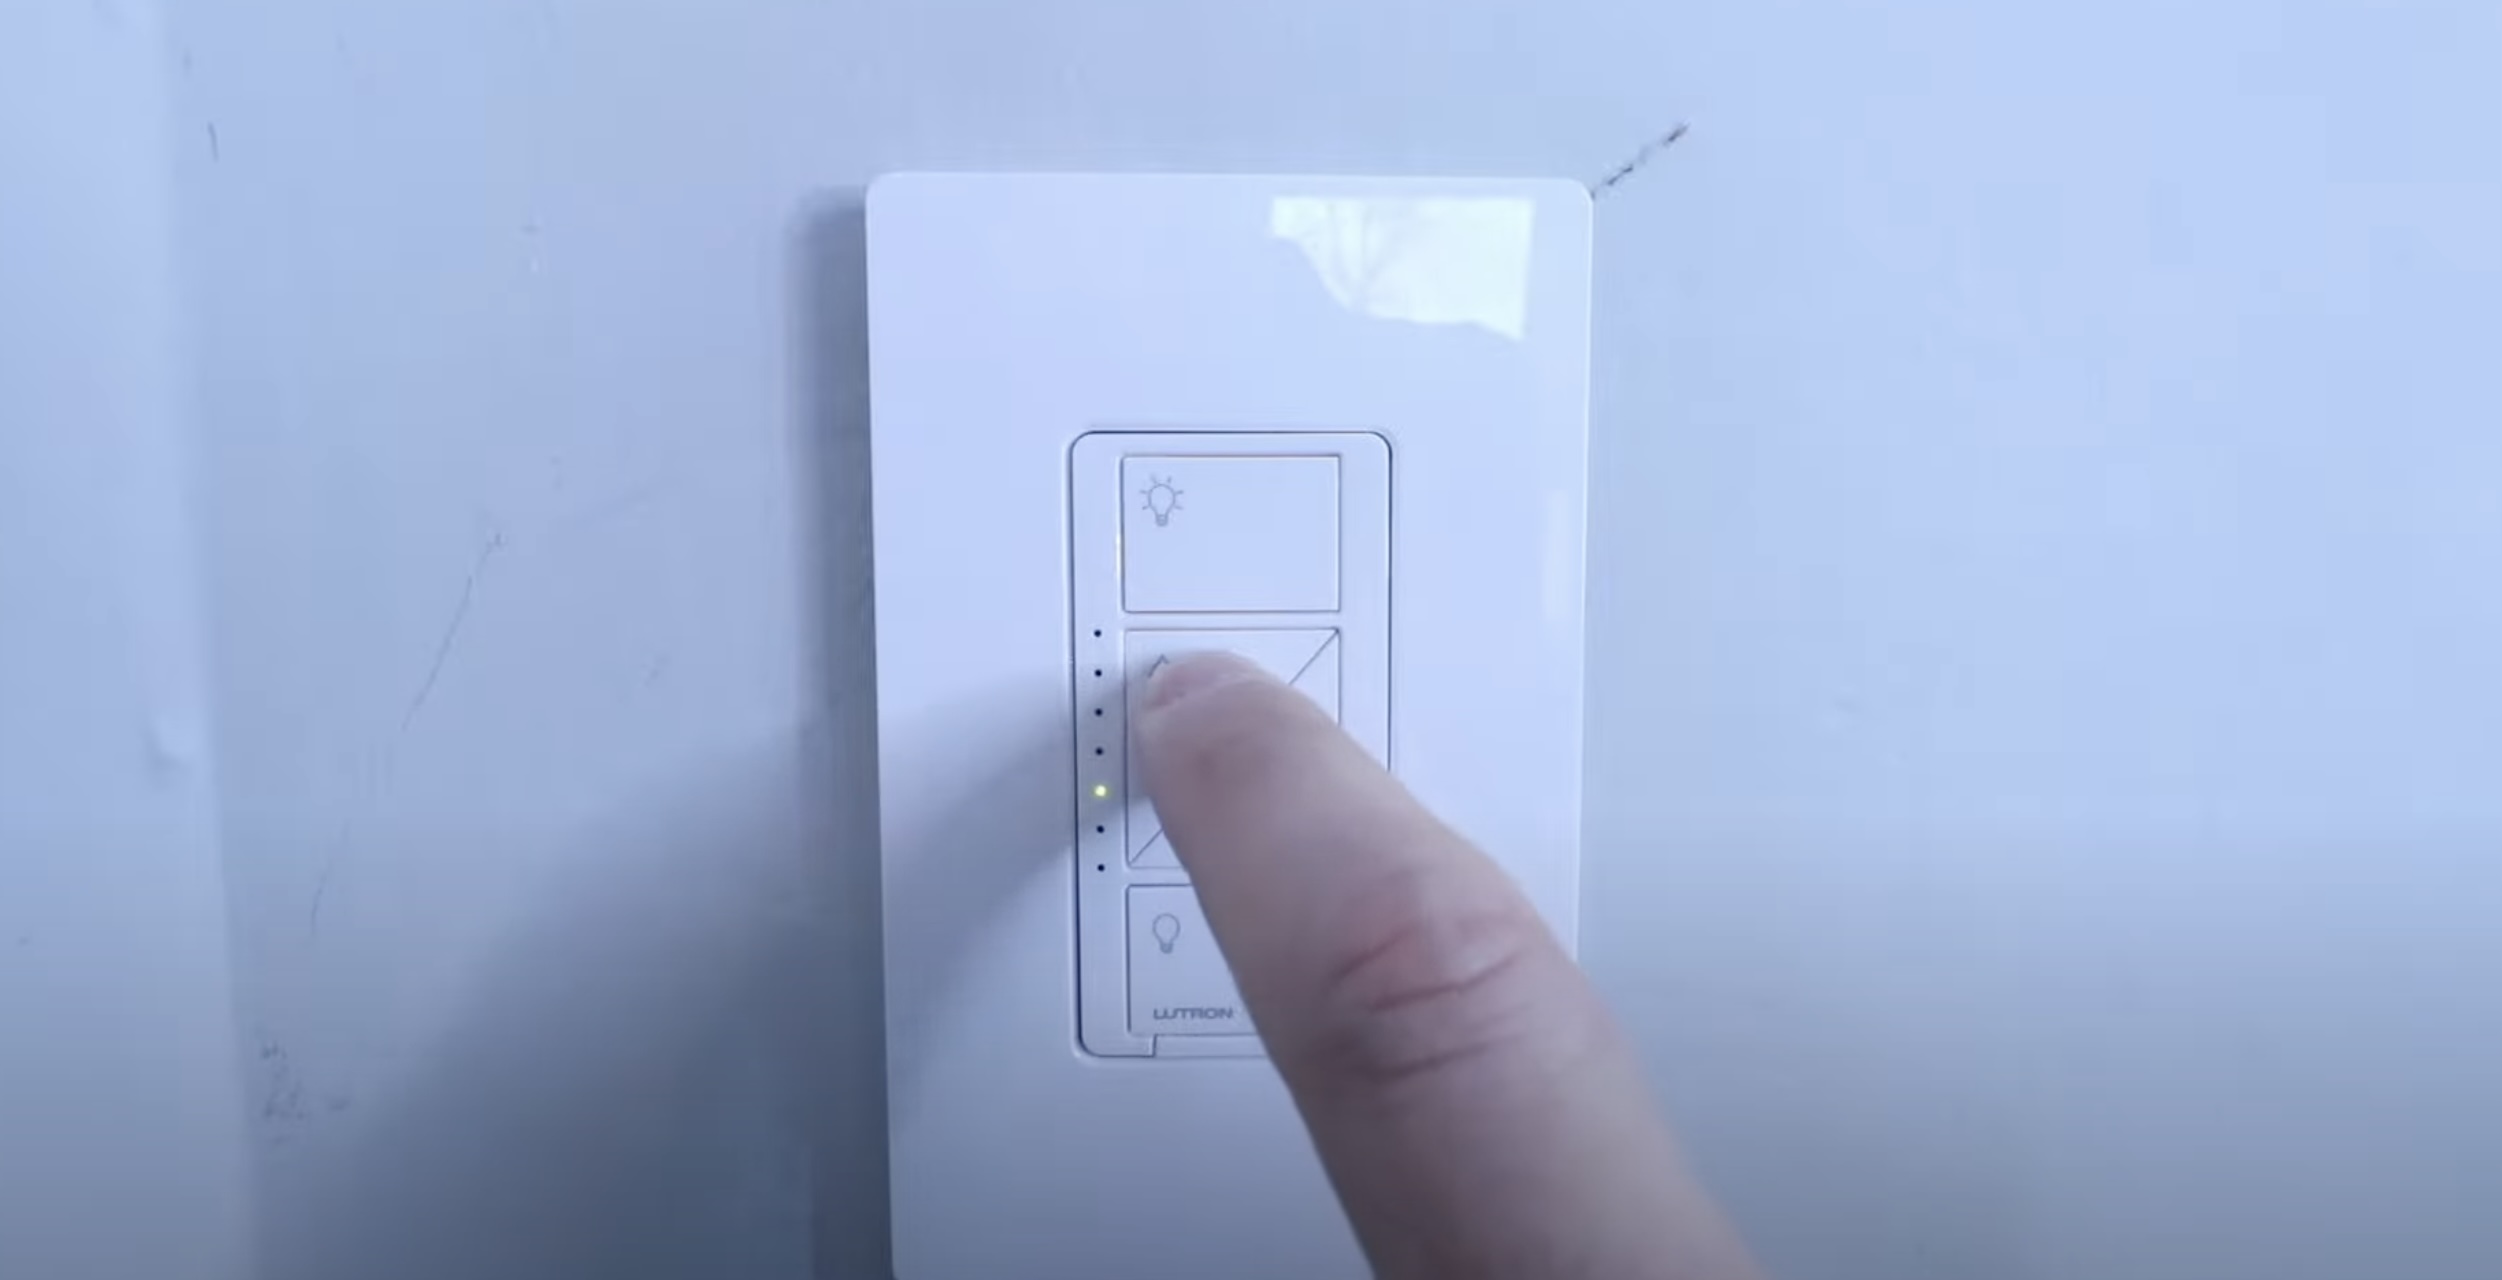
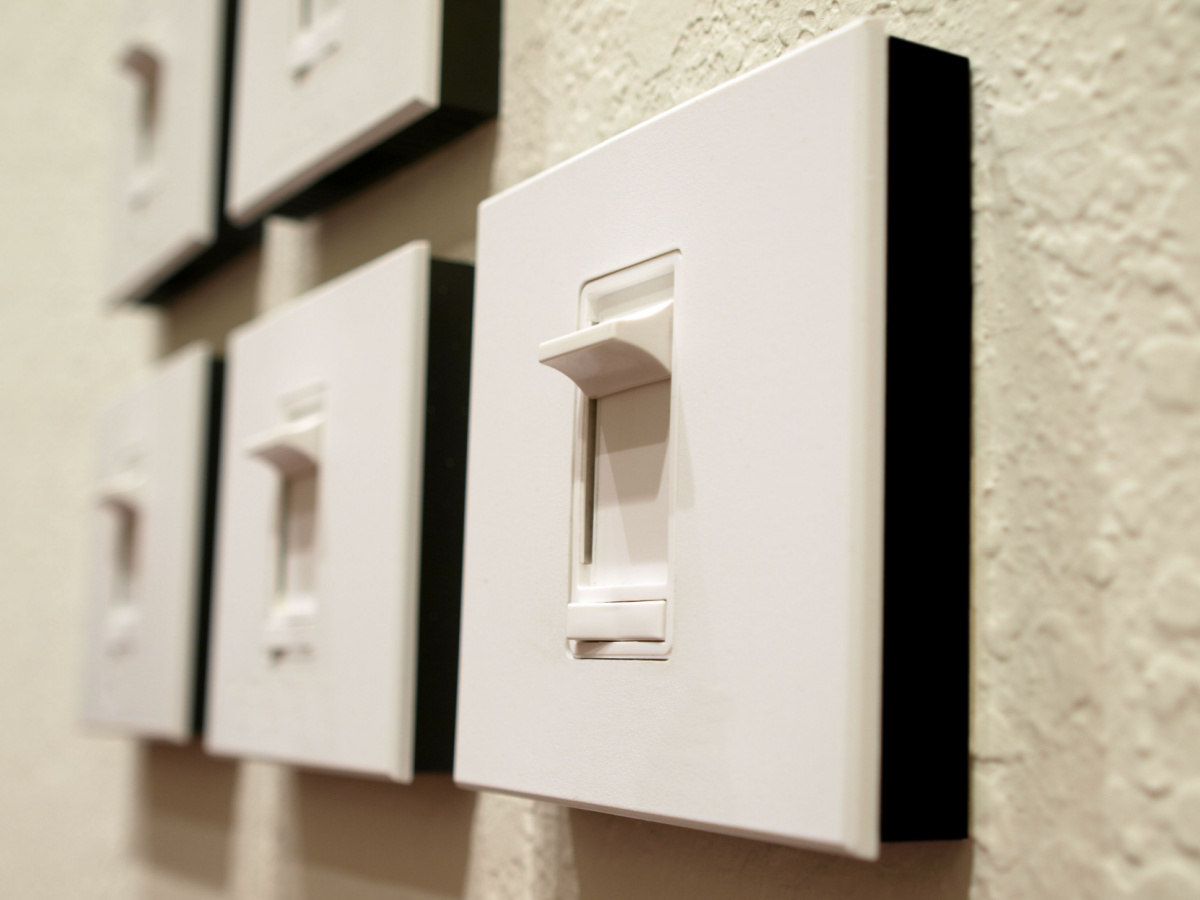
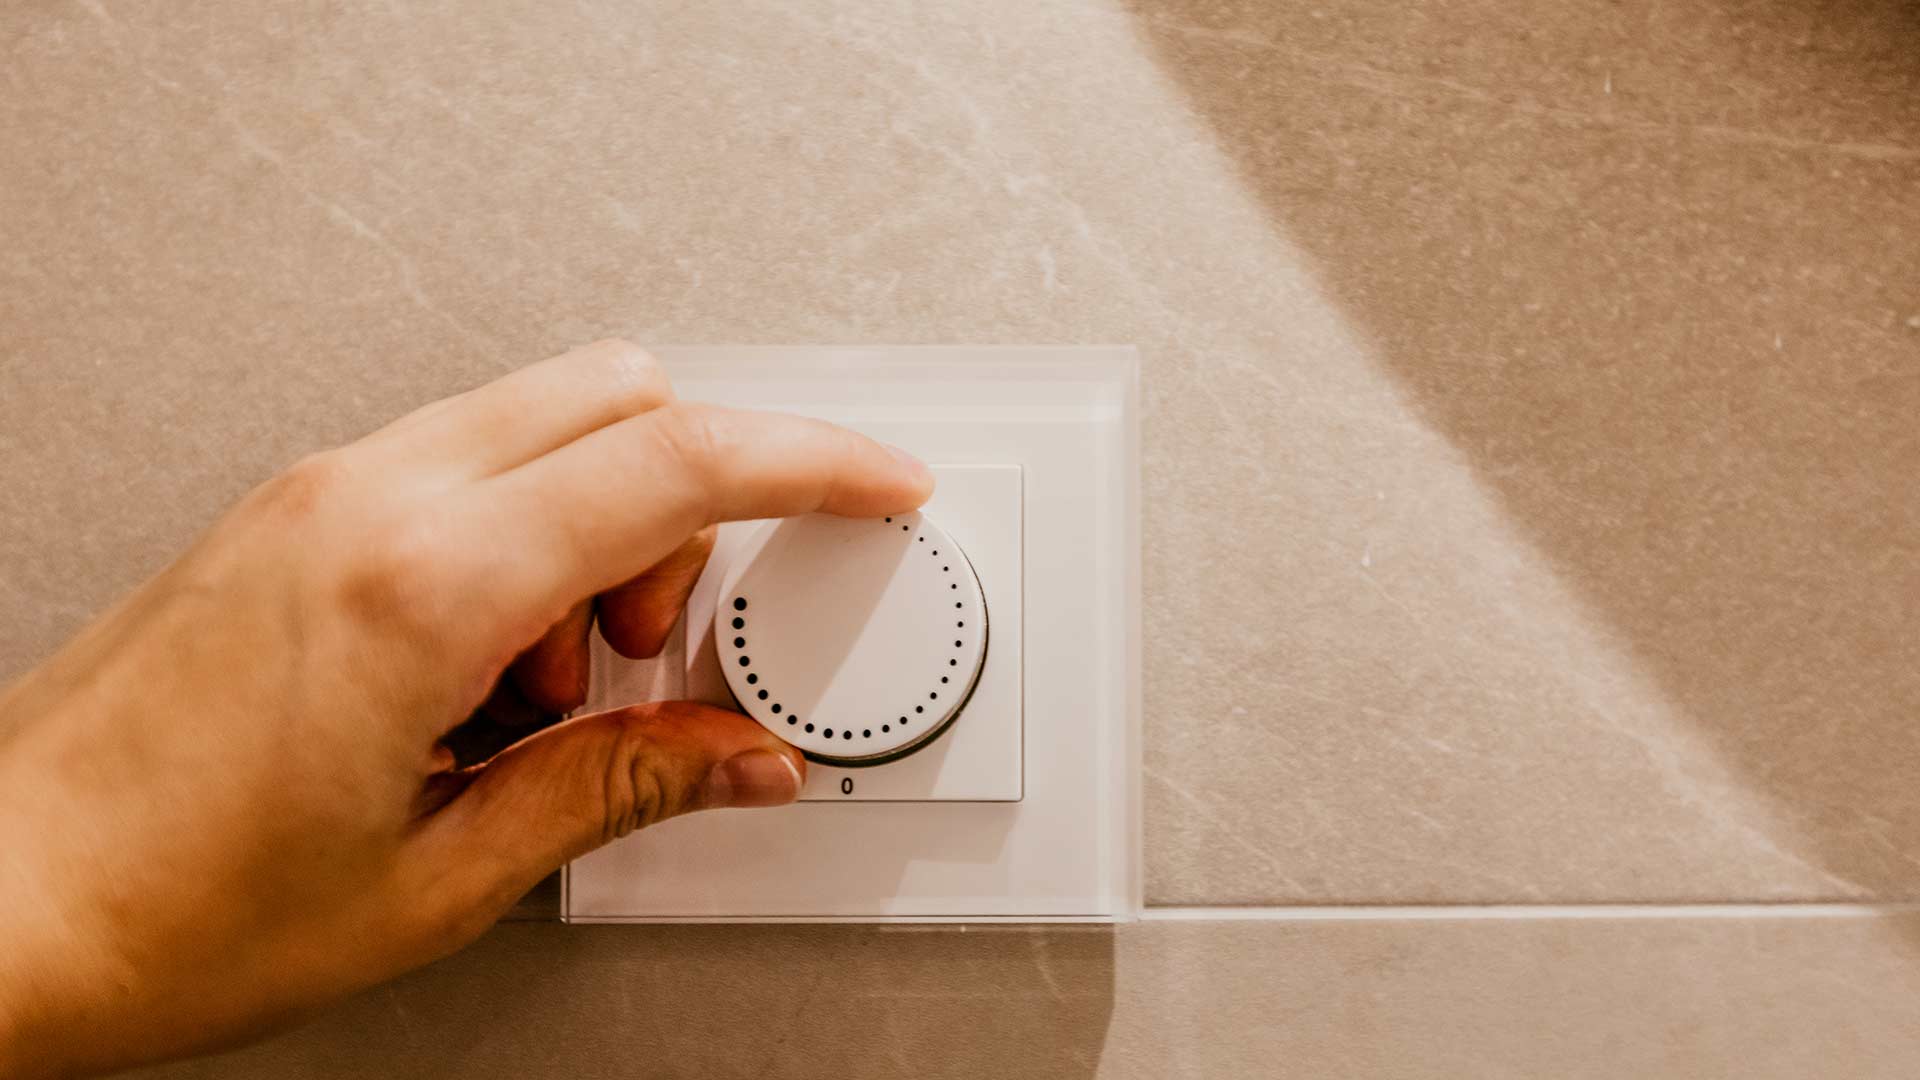
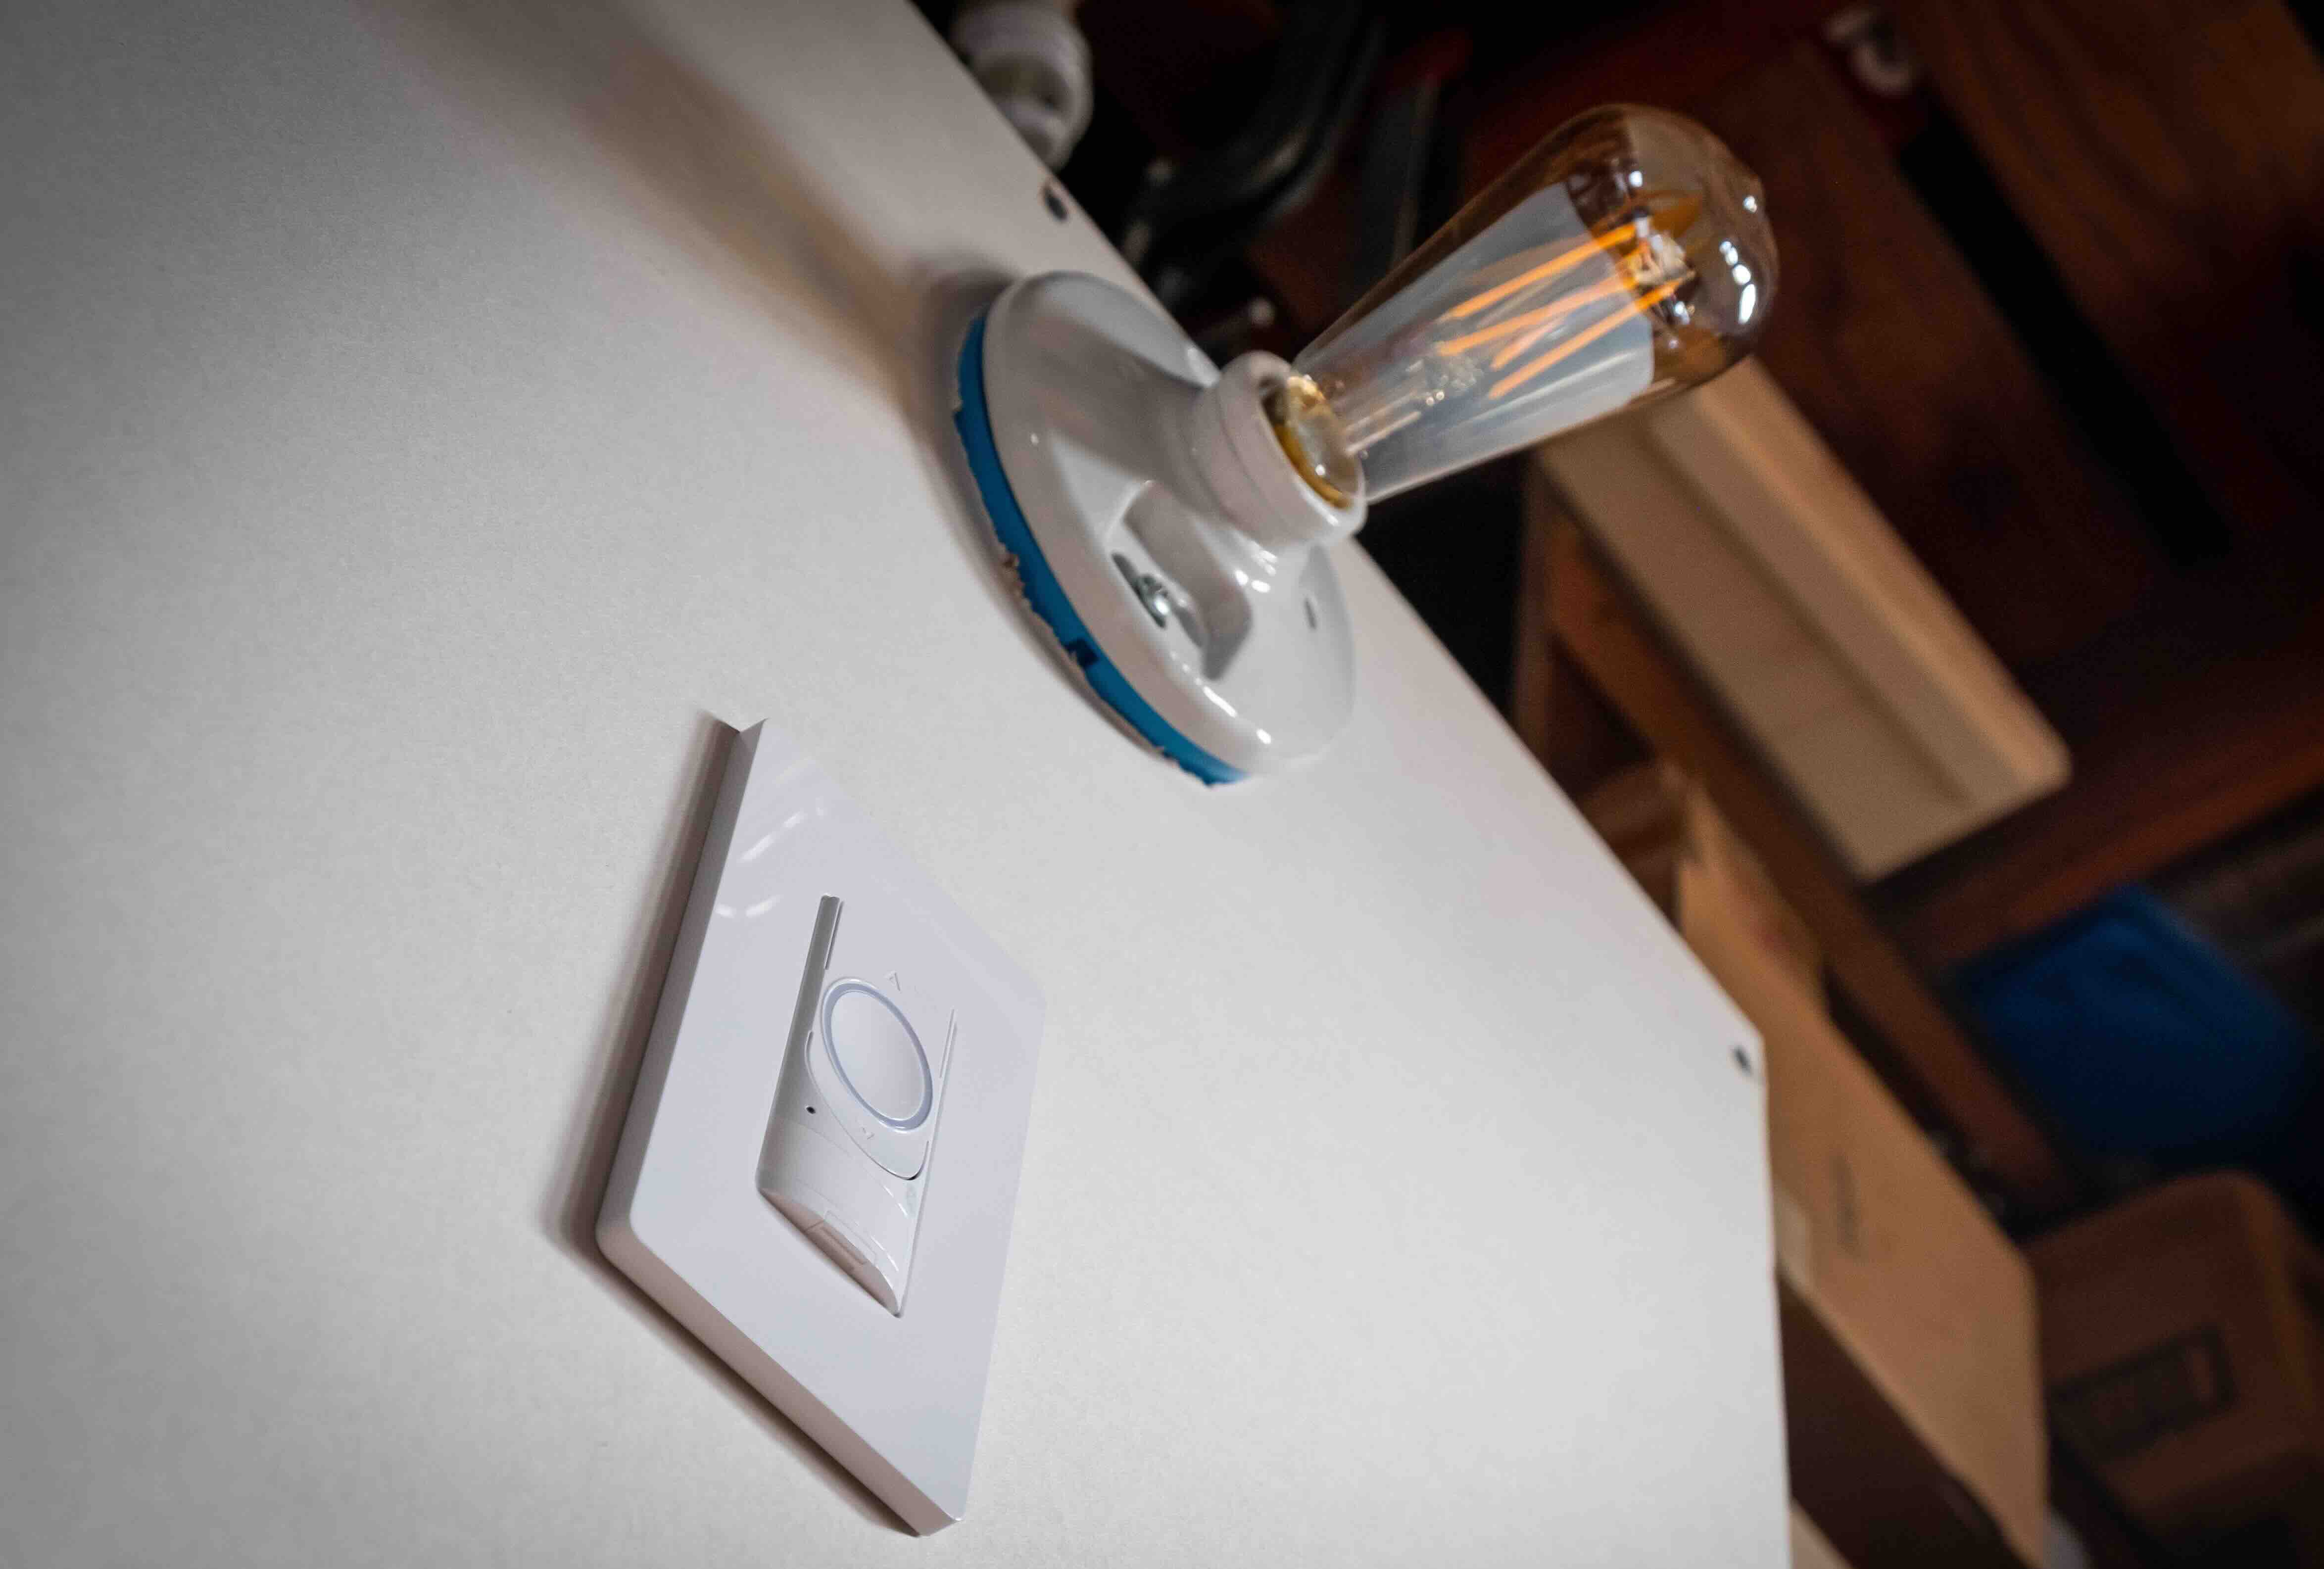
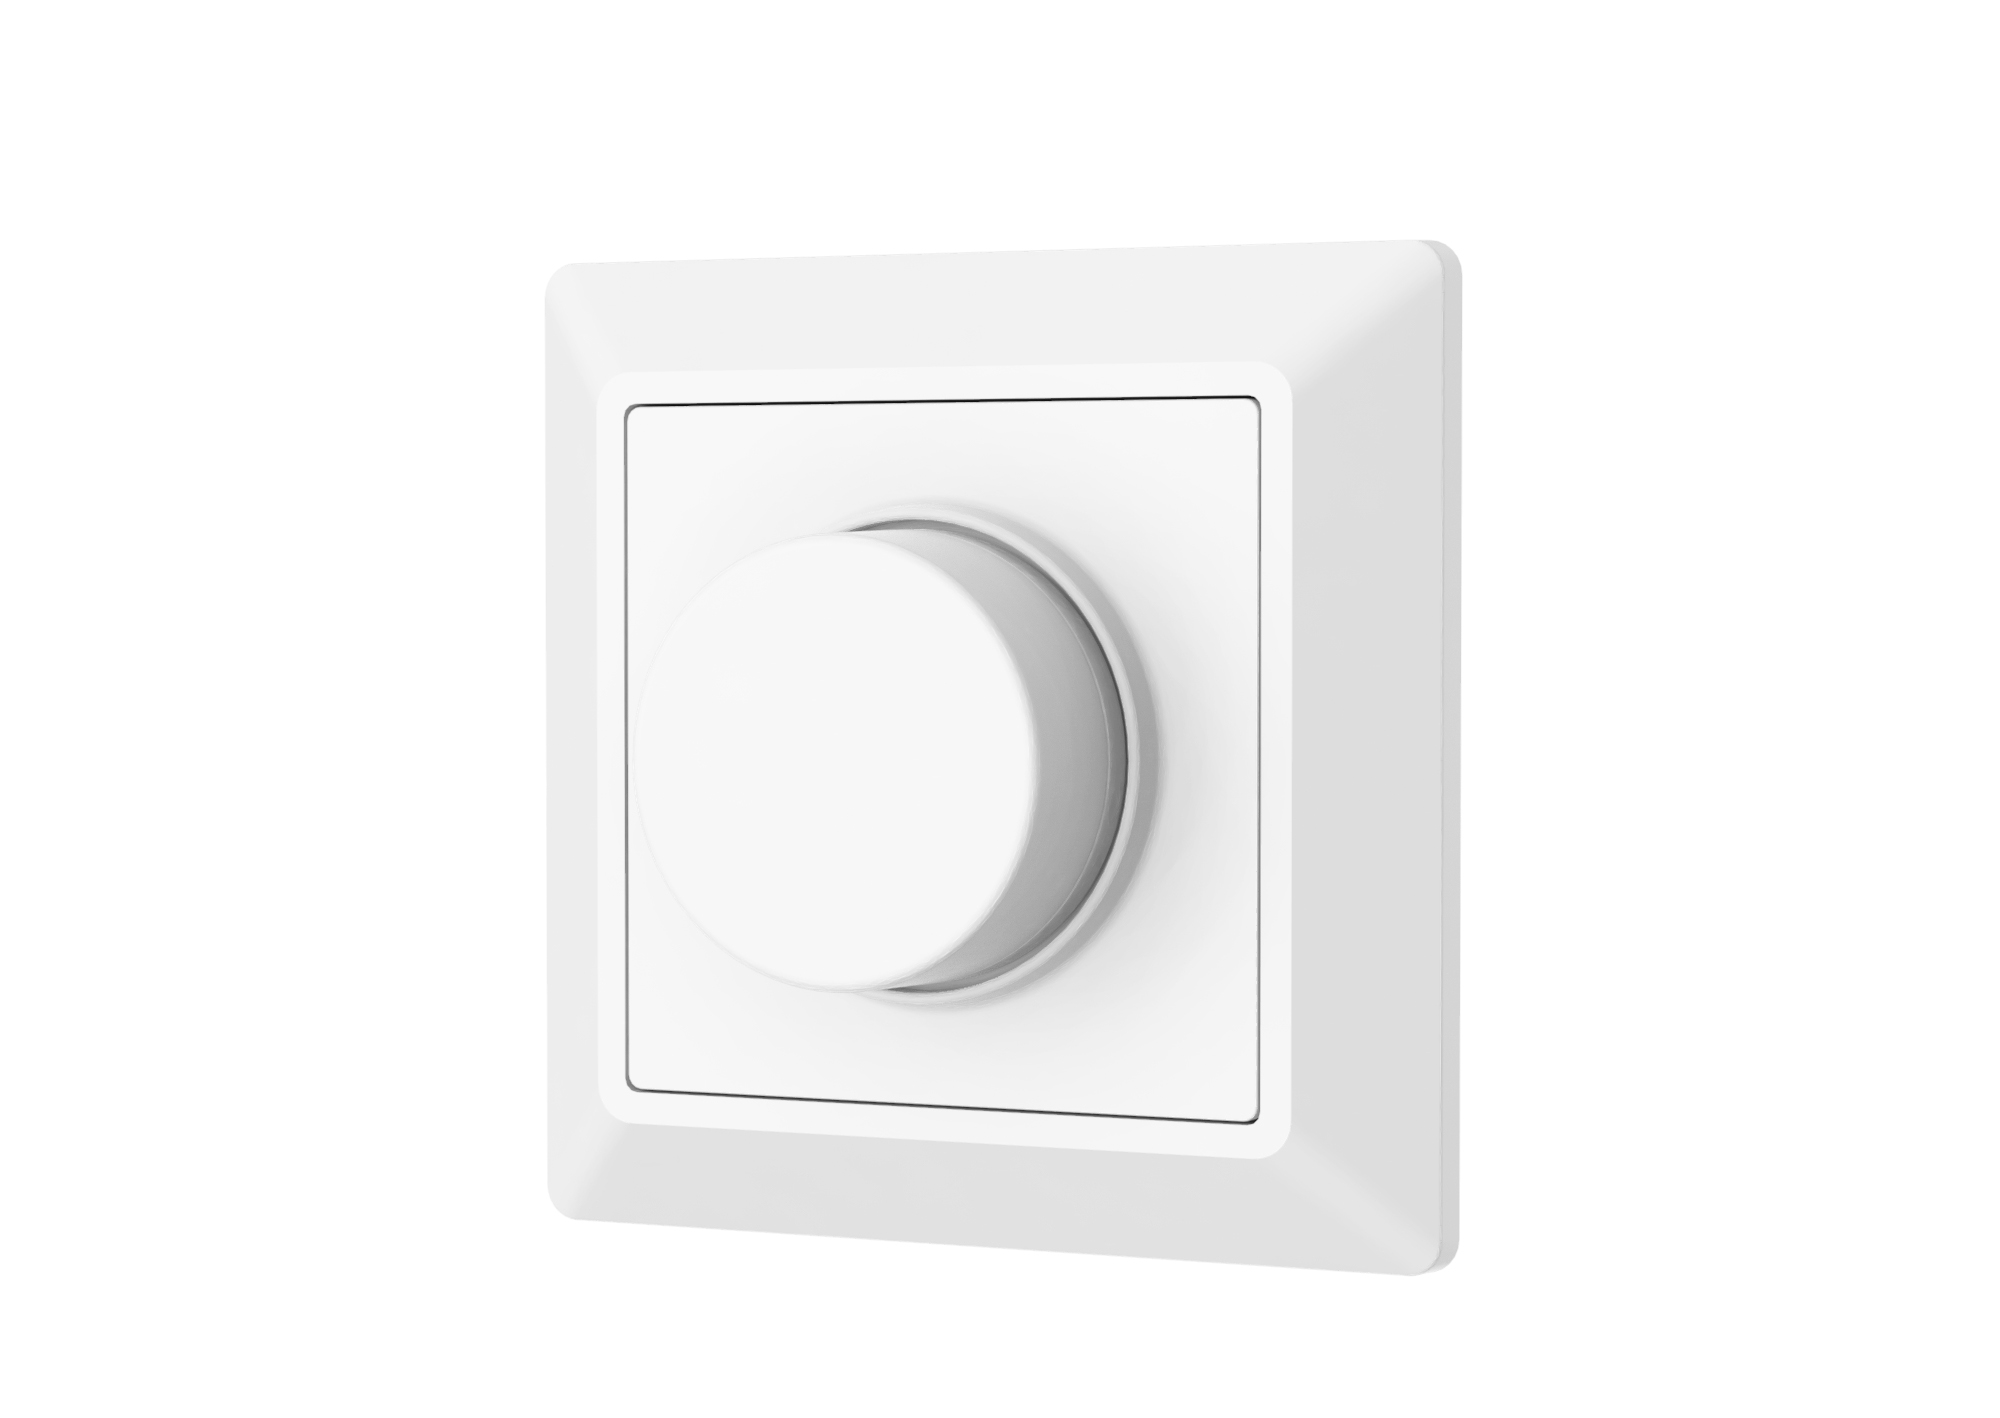
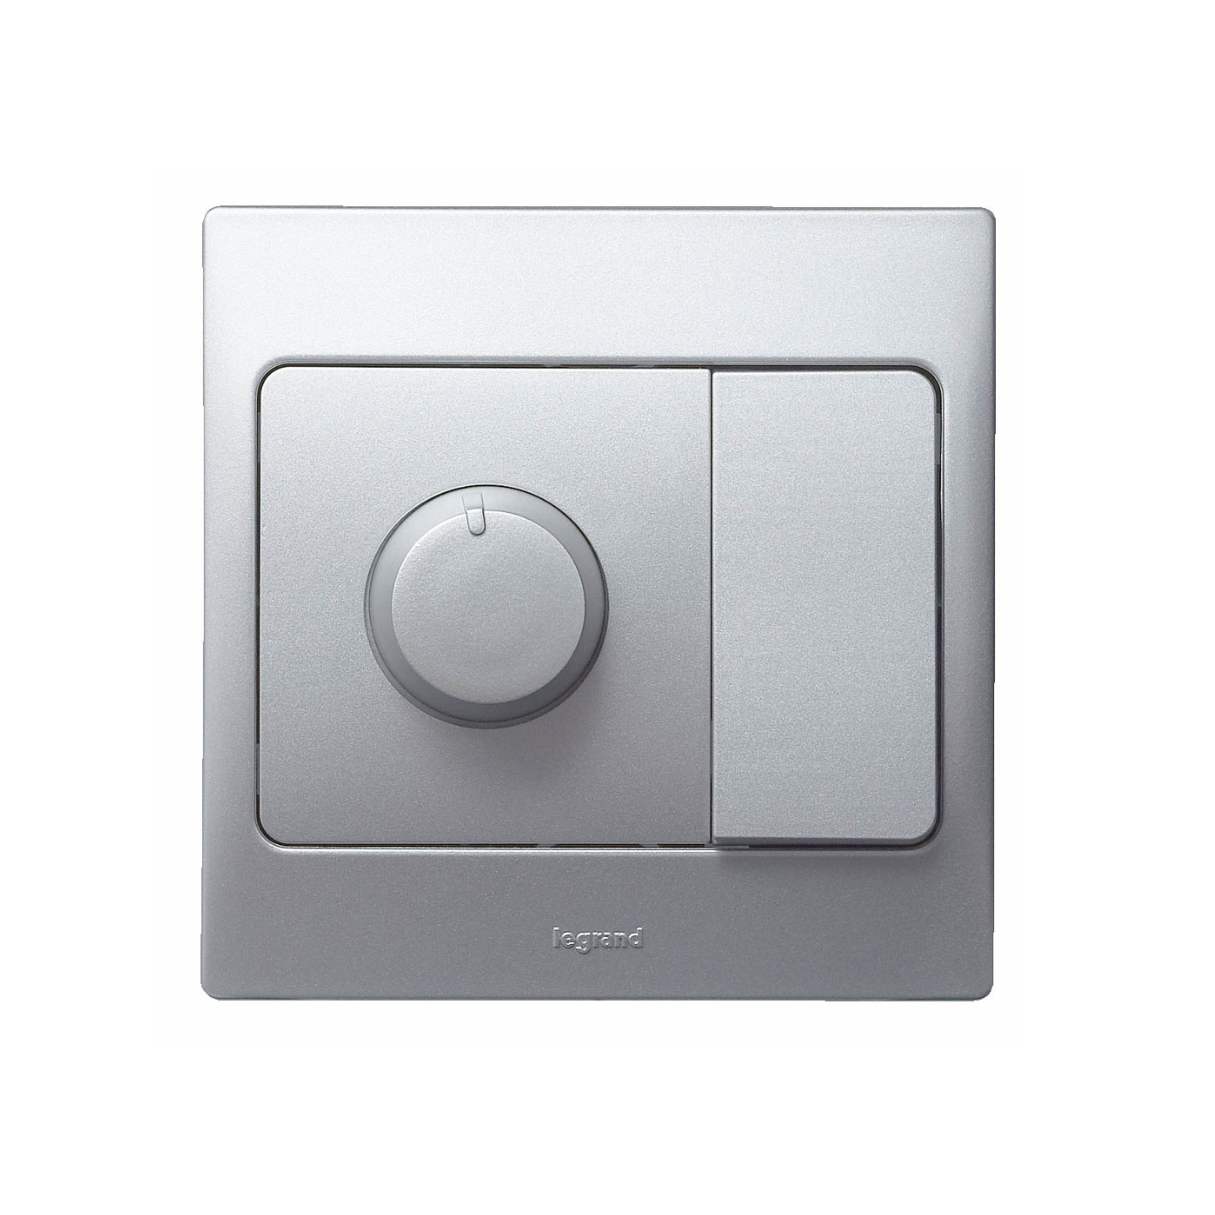
A dimmer switch is a type of lighting control device that allows you to adjust the brightness level of your lights. Unlike a traditional on/off switch, a dimmer switch provides a range of lighting options, from bright illumination to a soft, subtle glow. This flexibility in lighting can greatly enhance the ambiance and functionality of any space.
So, how do dimmer switches work? Well, at the core of a dimmer switch is a device called a triac, which is an electronic component that controls the flow of electricity to the light fixture. When you turn the dimmer switch dial or slide the switch, it adjusts the amount of electrical current passing through the switch, which in turn regulates the brightness of the lights.
Dimmer switches work by using a process called pulse width modulation (PWM). In simple terms, the switch rapidly turns the power on and off to the light fixture, but at such a fast rate that it is imperceptible to the human eye. By controlling the duration of the on and off periods, the switch can regulate the amount of light emitted by the fixture.
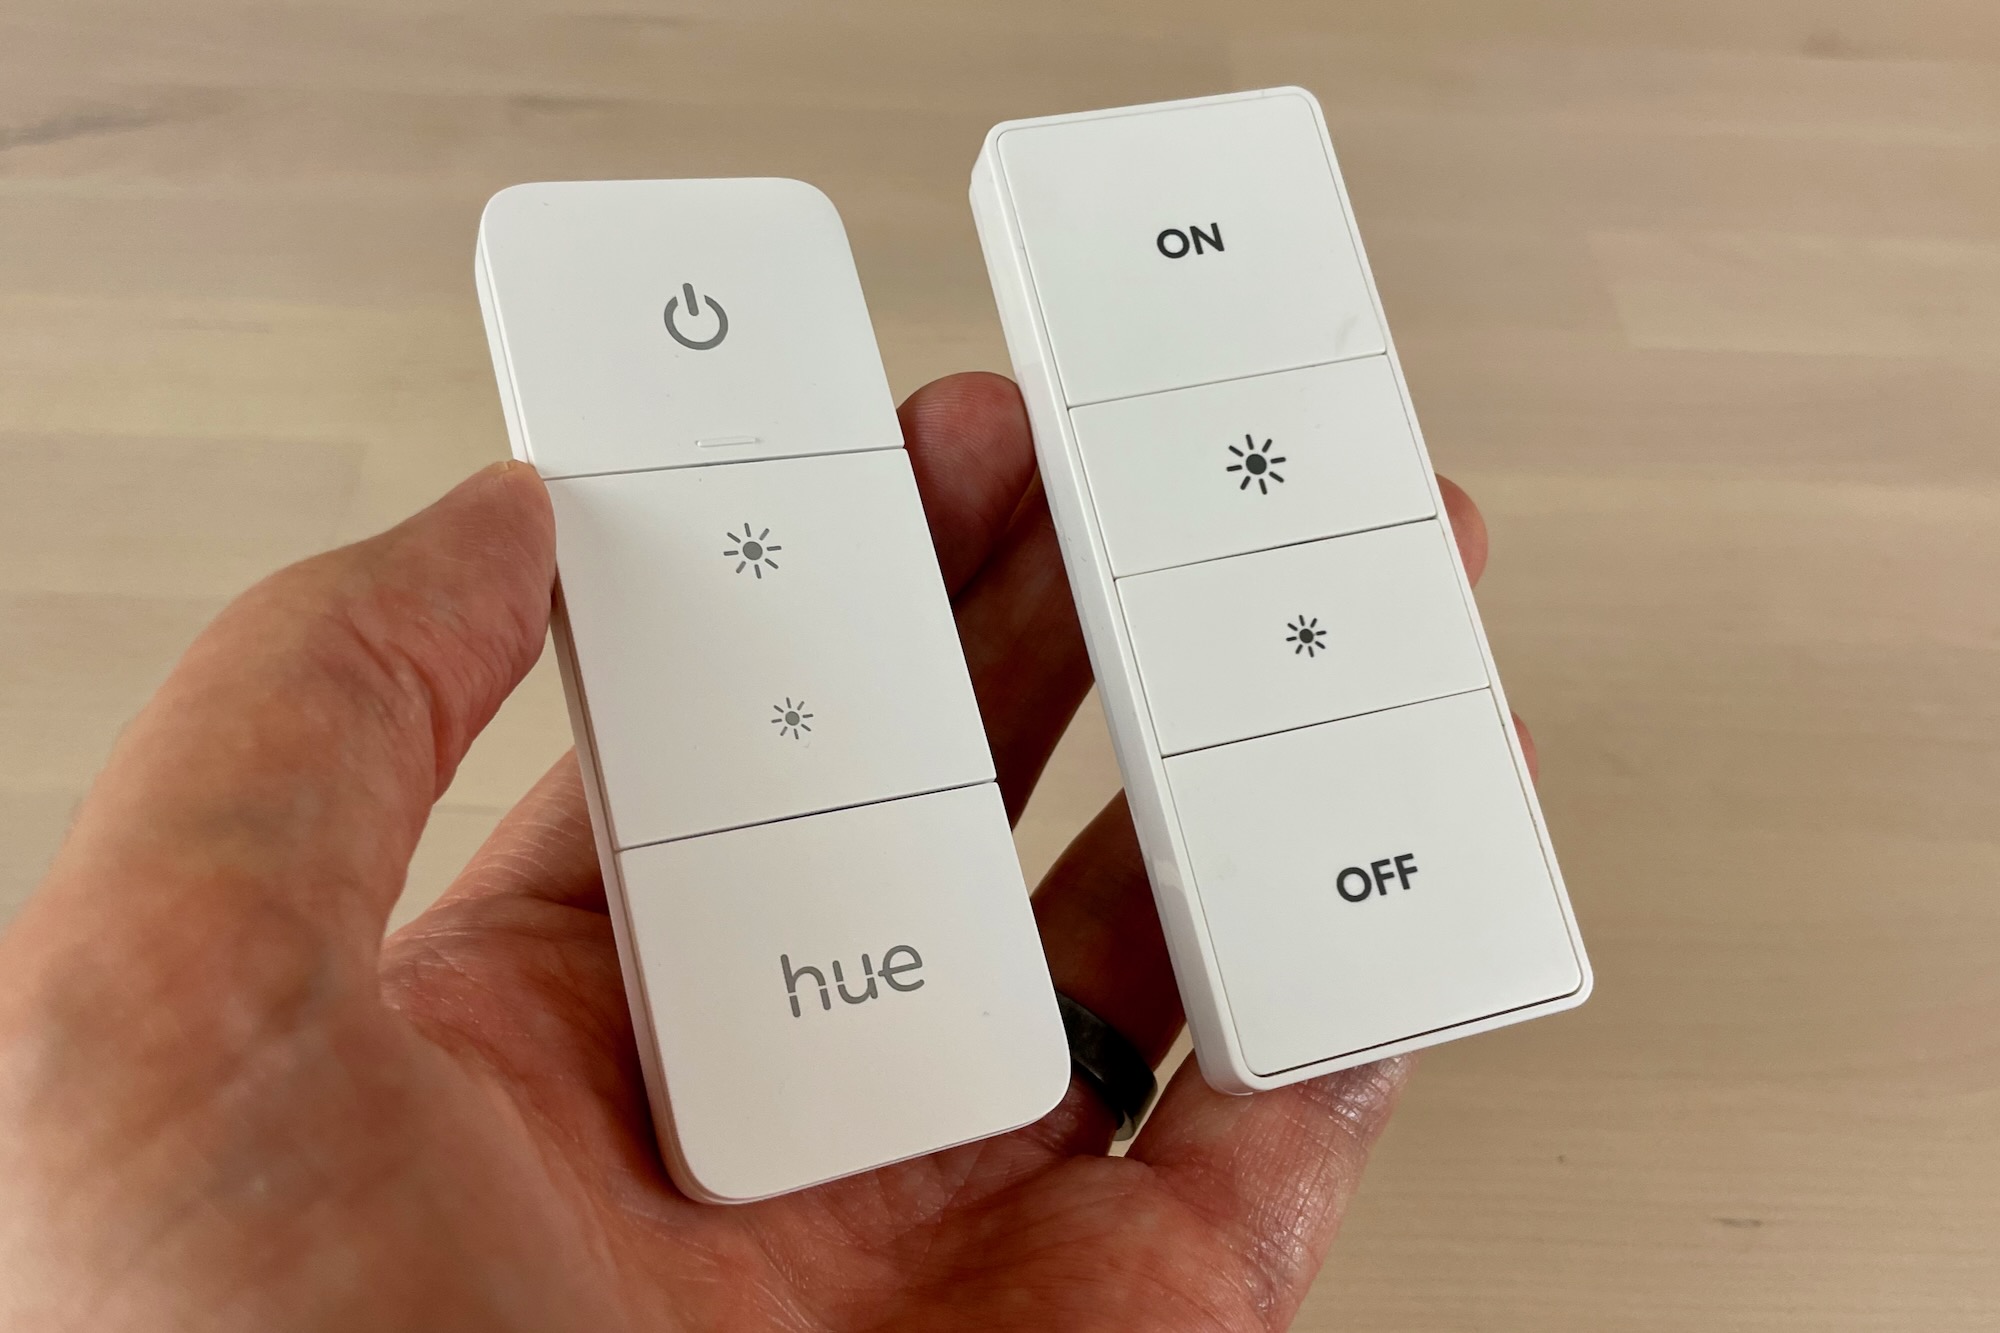
Additionally, modern dimmer switches often utilize solid-state electronics, which help to provide smooth and gradual dimming. These switches can be controlled through various means, such as a dial, slider, or even remotely via a mobile app or home automation system.
Overall, dimmer switches offer a convenient and versatile way to create the perfect lighting ambiance in your home. Whether you want bright, task lighting or a soft, relaxing glow, a dimmer switch allows you to easily adjust the brightness level to suit your needs and preferences.
Importance of Proper Adjustment
Properly adjusting a dimmer switch is crucial to ensuring optimal performance and safety. Let’s take a closer look at the benefits of adjusting a dimmer switch and the risks associated with improper adjustment.
Benefits of adjusting a dimmer switch:
1. Energy savings: One of the key advantages of a dimmer switch is that it allows you to reduce the amount of energy consumed by your lighting fixtures. By dimming the lights, you can decrease power usage and ultimately save on your energy bills.
2. Extended bulb life: Dimming the lights not only saves energy but also helps to extend the life of your light bulbs. When the lights are dimmed, the bulbs operate at a lower wattage, resulting in reduced wear and tear and a longer lifespan for the bulbs.
3. Customizable ambiance: Adjusting the brightness level of your lights enables you to create the perfect ambiance for any occasion. Whether you’re hosting a dinner party, enjoying a relaxing evening, or simply need task lighting for work, a dimmer switch allows you to tailor the lighting to suit your needs.
4. Enhances comfort and well-being: Bright lighting can be harsh and uncomfortable, especially in the evening or during relaxation time. By using a dimmer switch, you can soften the lighting and create a more comfortable and soothing environment, promoting relaxation and a sense of well-being.
Risks of improper adjustment:
1. Overheating: Dimmer switches regulate the flow of electricity, and if improperly adjusted, they can cause excessive heat buildup. This can lead to overheating of the switch, electrical wiring, or even the light fixture itself, posing a fire hazard.
2. Flickering or buzzing: An incorrectly adjusted dimmer switch can cause lights to flicker or produce an annoying buzzing sound. This can be not only distracting but also indicative of a faulty connection or improper wattage control.
3. Incompatibility with light bulbs: Different types of light bulbs have varying compatibility with dimmer switches. If you don’t adjust the dimmer switch correctly for the specific type of bulb, it can result in flickering, buzzing, or even damage to the bulb.
4. Inconsistent lighting performance: Improper adjustment can lead to inconsistent performance of the dimmer switch, resulting in unpredictable and uneven lighting levels. This can be frustrating and undermine the functionality and aesthetic appeal of the lighting setup.
By ensuring you properly adjust your dimmer switch, you can enjoy all the benefits it has to offer while mitigating the risks associated with improper adjustment.
Tools and Equipment Needed
Adjusting a dimmer switch requires a few tools and equipment to ensure a smooth and successful process. Here is a list of the required tools and equipment you will need:
- Flathead screwdriver: A flathead screwdriver will be needed to remove the faceplate and access the dimmer switch.
- Phillips screwdriver: A Phillips screwdriver may be needed to remove or fasten the dimmer switch to the electrical box.
- Voltage tester: A voltage tester is essential for safety purposes. It helps to ensure that the power is properly turned off before working on the dimmer switch.
- Wire strippers: Wire strippers are necessary if you need to trim or strip the electrical wires during the adjustment process.
- Pliers: Pliers will come in handy for gripping and twisting wires, especially when connecting or disconnecting them from the dimmer switch.
- Electrical tape: Electrical tape is useful for securing wire connections and preventing any accidental exposure of live wires.
- Faceplate screws: Depending on the type of dimmer switch and faceplate used, you may need screws to secure the faceplate back in place after the adjustment.
It’s essential to have these tools and equipment on hand before starting the adjustment process to ensure efficiency and safety. Being well-prepared with the necessary tools will help you complete the task with ease.
Step-by-Step Guide to Adjusting a Dimmer Switch
Adjusting a dimmer switch requires careful attention and adherence to safety protocols. Follow this step-by-step guide to ensure a smooth and successful adjustment process:
- Turn off the power: Before working on the dimmer switch, it is crucial to turn off the power supply to the circuit at the breaker box. This step ensures your safety by preventing any electrical accidents.
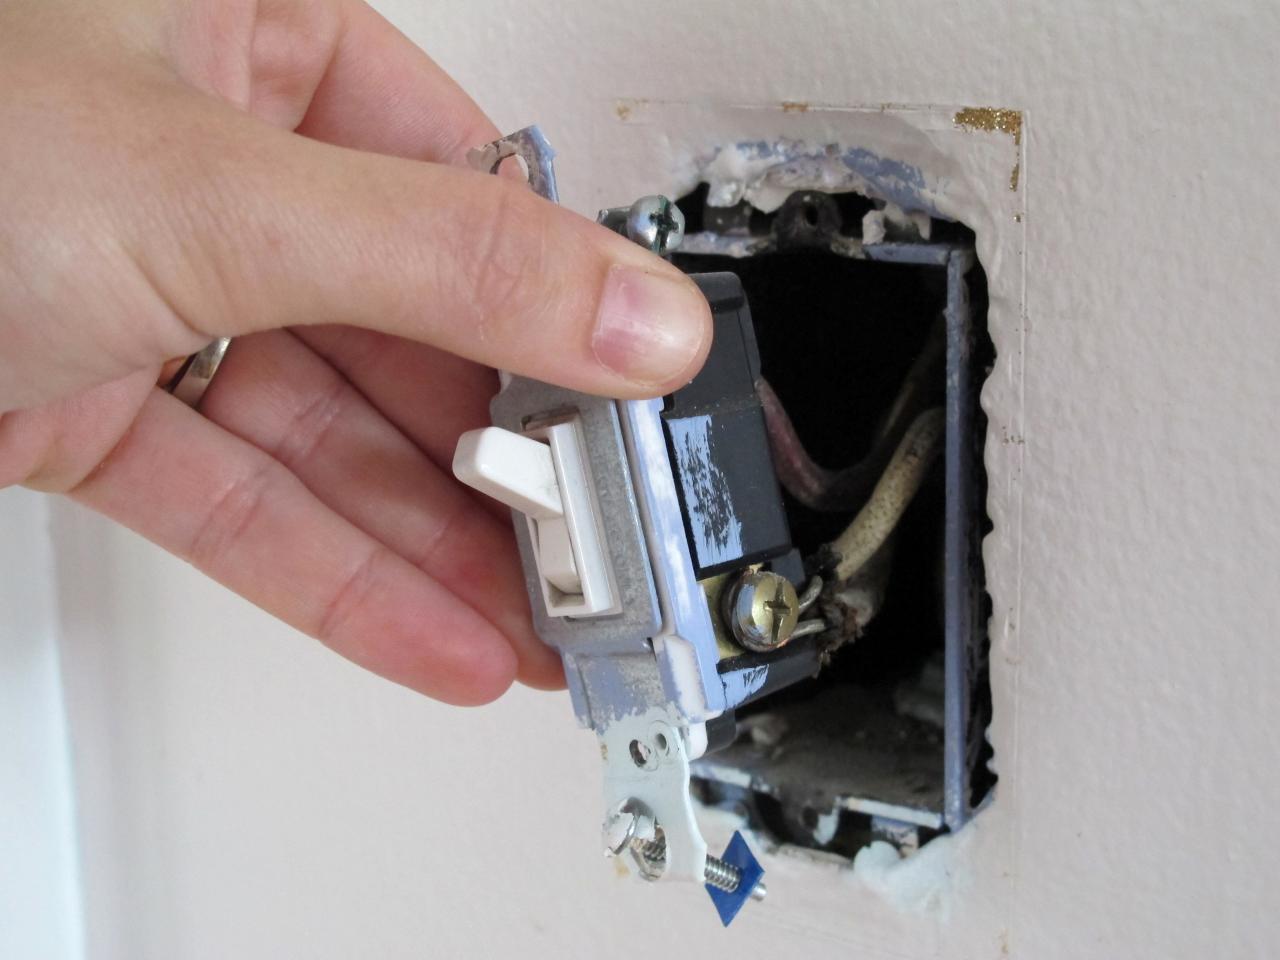
- Remove the faceplate: Use a flathead screwdriver to carefully remove the faceplate covering the dimmer switch. Place the screws in a secure location for reinstallation later.
- Identify the adjustment screws: Once the faceplate is removed, you will see the dimmer switch, which has one or more adjustment screws. These screws allow you to fine-tune the dimming settings.
- Determine the current setting: Take note of the position of the adjustment screws. This will help you understand the existing dimming setting and make more accurate adjustments.
- Adjust the dimmer switch: Use a flathead or Phillips screwdriver to turn the adjustment screws in the desired direction. Turn them clockwise to increase the brightness or counterclockwise to decrease it. Make small adjustments and test the lights between turns until you reach the desired level.
- Test the results: After each adjustment, turn on the power supply and test the lights to assess the changes. If necessary, repeat the adjustment process until you achieve the desired lighting level.
- Reinstall the faceplate: Once you’re satisfied with the dimming settings, place the faceplate back onto the dimmer switch and secure it with the screws you previously removed.
- Restore power: Lastly, go back to the breaker box and restore power to the circuit by flipping the corresponding switch. Test the lights one final time to ensure the dimmer switch is functioning properly.
Remember, always exercise caution when working with electricity. If you are unsure about any step in the process or encounter any issues, it’s best to consult a qualified electrician for assistance.
Troubleshooting Common Issues
While adjusting a dimmer switch is typically a straightforward process, there are a few common issues that may arise. Here are two of the most common issues and troubleshooting steps to resolve them:
Dimmer switch not working properly:
Possible causes and solutions:
- 1. Incorrect wiring: Double-check the wiring connections to ensure they are correct. Make sure all wires are securely fastened and properly connected.
- 2. Dimmer switch overload: If you have connected more lights or fixtures than the dimmer switch can handle, it may not function properly. In this case, consider spreading the load among multiple dimmers or using a dimmer with a higher wattage rating.
- 3. Incompatible bulbs: Verify that the light bulbs you are using are compatible with the dimmer switch. Some LED or CFL bulbs may not be compatible with certain dimmer switches. Ensure you are using dimmable bulbs specifically designed for the type of dimmer switch you have.
Read more: How To Disable A Dimmer Switch
Dimmer switch causing buzzing or flickering:
Possible causes and solutions:
- 1. Dimming range: Some dimmer switches have a limited dimming range, and at the lowest end, the lights may flicker or buzz. Try increasing the brightness slightly to see if the issue resolves.
- 2. Incompatible bulbs: Certain types of bulbs may not be compatible with dimmer switches or may require specific dimmer models to operate smoothly. Check the manufacturer’s recommendations for compatible bulb types.
- 3. Loose or faulty connections: Inspect the wiring connections and ensure they are tight and secure. Loose connections can cause buzzing or flickering. If you find any faulty connections, correct them or seek professional assistance if needed.
- 4. Dimmer switch quality: Some inexpensive or low-quality dimmer switches may be prone to buzzing or flickering. Consider upgrading to a higher-quality dimmer switch if the issue persists.
If you have tried these troubleshooting steps and the issues persist, it is advisable to consult a certified electrician for further assistance. They will have the expertise to diagnose and resolve complex dimmer switch problems.
When adjusting a dimmer switch, always turn off the power at the circuit breaker to avoid the risk of electrical shock. Use a voltage tester to ensure the power is off before making any adjustments.
Conclusion
Adjusting a dimmer switch can greatly enhance the lighting experience in your home, allowing you to create the perfect ambiance for any occasion. By following the step-by-step guide provided in this article, you can easily adjust the brightness level of your lights to suit your needs and preferences.
A properly adjusted dimmer switch offers various benefits, including energy savings, extended bulb life, customizable ambiance, and enhanced comfort. By dimming the lights, you can save on energy costs, increase the lifespan of your light bulbs, and create a more comfortable and relaxing environment.
However, it is important to ensure that you adjust the dimmer switch correctly to avoid potential risks and issues. Improper adjustment can lead to overheating, flickering or buzzing lights, incompatibility with bulbs, and inconsistent lighting performance. By taking the necessary precautions and following the recommended troubleshooting steps, you can address these common issues and ensure that your dimmer switch functions properly.
Remember, safety should always be a top priority when working with electrical components. If you are unsure or uncomfortable with adjusting a dimmer switch yourself, it is advisable to seek assistance from a qualified electrician who can provide expertise and ensure that the adjustment is done correctly and safely.
In conclusion, adjusting a dimmer switch is a simple yet impactful way to optimize your home lighting. With the right tools, equipment, and guidance, you can create the perfect lighting ambiance to suit any mood or occasion.
Frequently Asked Questions about How To Adjust A Dimmer Switch
Was this page helpful?
At Storables.com, we guarantee accurate and reliable information. Our content, validated by Expert Board Contributors, is crafted following stringent Editorial Policies. We're committed to providing you with well-researched, expert-backed insights for all your informational needs.


0 thoughts on “How To Adjust A Dimmer Switch”