
Articles
How To Put Chain Back On Ryobi Pole Saw
Modified: December 7, 2023
Discover step-by-step articles on how to easily put the chain back on your Ryobi pole saw. Simplify your maintenance tasks with our expert guides.
(Many of the links in this article redirect to a specific reviewed product. Your purchase of these products through affiliate links helps to generate commission for Storables.com, at no extra cost. Learn more)
Introduction
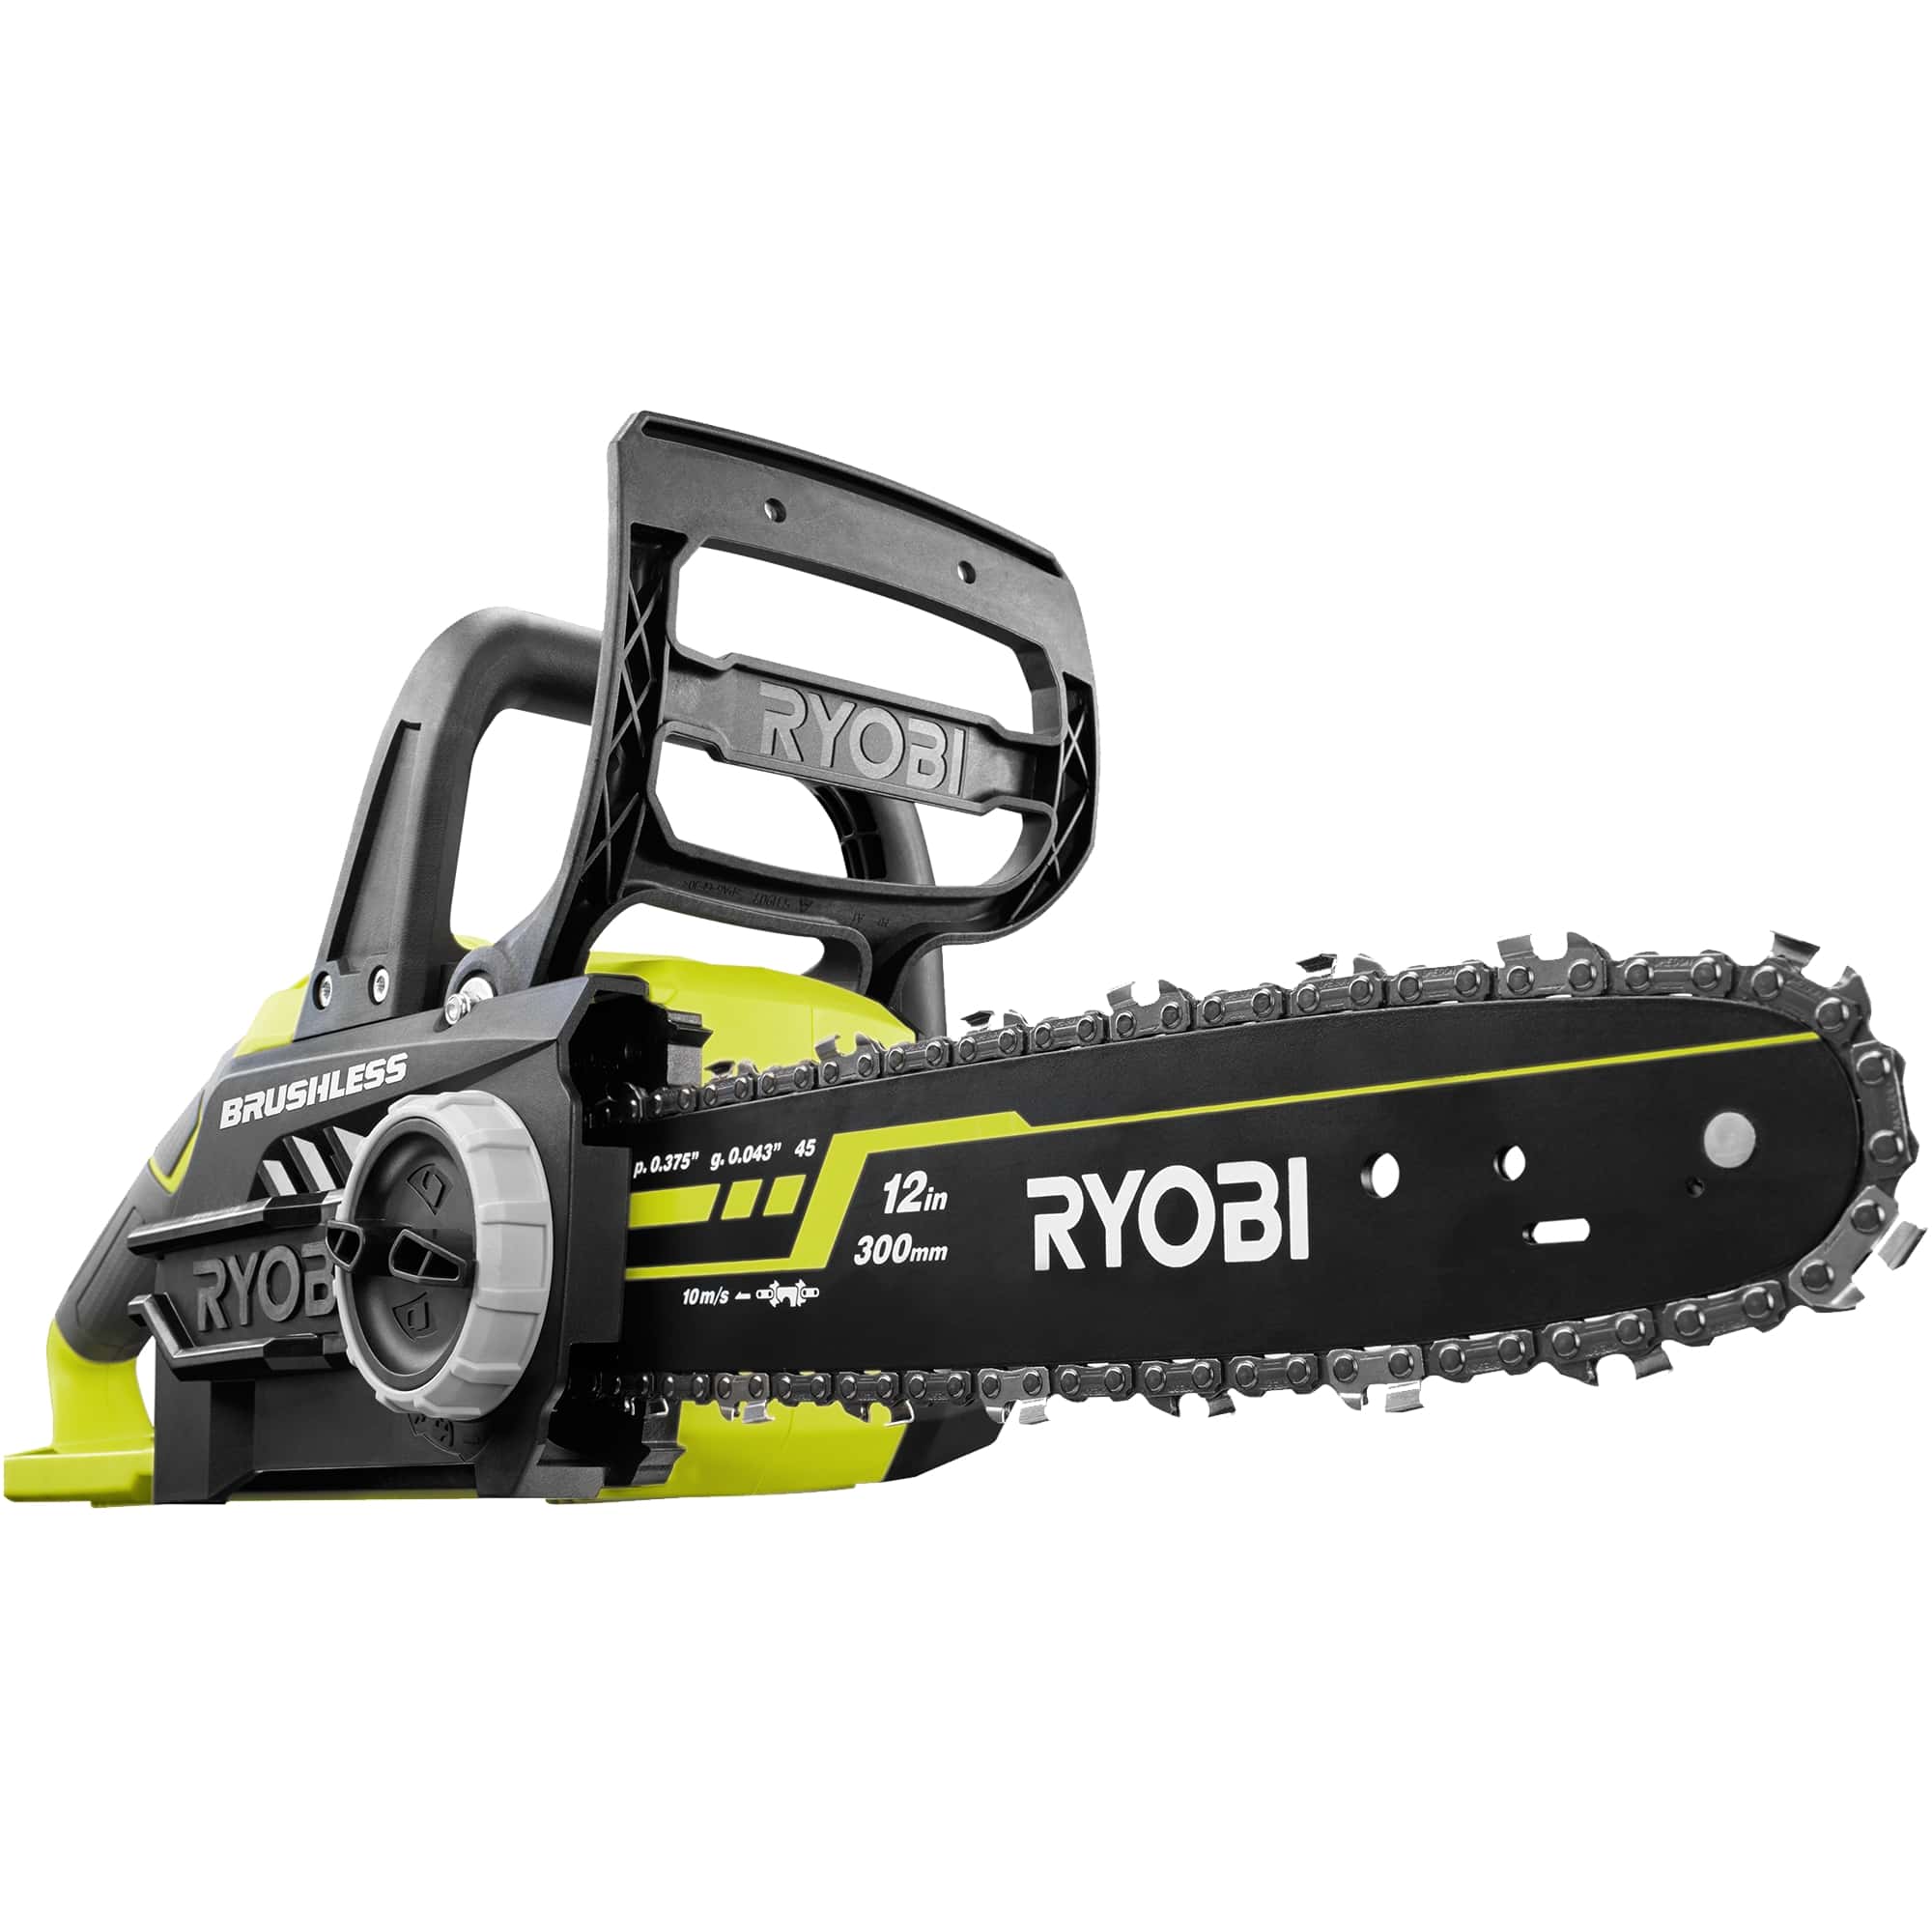
Welcome to our guide on how to put the chain back on your Ryobi pole saw. The chain is a vital component of your pole saw, responsible for cutting through branches and ensuring a smooth and efficient operation. However, at times, the chain might come off the guide bar, causing inconvenience and disruption to your work. In this article, we will provide you with step-by-step instructions on how to safely and effectively put the chain back on your Ryobi pole saw.
Before we get started, it’s important to note that working with a pole saw can be hazardous if proper safety precautions are not taken. Always wear appropriate protective gear, such as gloves and safety glasses, and ensure that you are working in a well-ventilated area. Additionally, make sure to familiarize yourself with the manufacturer’s instructions and guidelines specific to your Ryobi pole saw model.
Now that we have covered the safety aspects, let’s move on to the tools and materials you will need for this procedure.
Key Takeaways:
- Safety First
Prioritize safety when working with your Ryobi pole saw by wearing protective gear, inspecting the tool, and following manufacturer’s instructions. Prepare your work area and handle the chain with caution to ensure a safe and successful chain reinstallation. - Maintenance Matters
Regularly inspect and maintain your Ryobi pole saw to ensure optimal performance. Properly reinstalling the chain, adjusting tension, and conducting a thorough test will help keep your pole saw in good working condition for efficient and safe cutting tasks.
Read more: How To Start Ryobi Chain Saw
Safety Precautions
Working with a pole saw can pose certain risks, so it is important to follow proper safety precautions to prevent any accidents or injuries. Here are some essential safety measures to keep in mind:
- Always wear protective gear: Before you start working with your Ryobi pole saw, ensure that you are wearing the necessary safety equipment. This includes gloves, safety glasses, and appropriate clothing to protect yourself from any flying debris or sharp objects.
- Inspect the pole saw: Before using the pole saw, inspect it thoroughly to ensure that all the parts are in good working condition. Check for any loose or damaged parts, and if you notice any issues, do not attempt to use the tool until it has been properly repaired.
- Work in a well-ventilated area: It is important to work in a well-ventilated area to minimize the risk of inhaling any fumes or exhaust gases. If you are working indoors, make sure there is sufficient airflow to prevent any buildup of harmful substances.
- Maintain a stable stance: When operating the pole saw, maintain a stable and balanced stance. Plant your feet firmly on the ground and keep a safe distance from the cutting area to avoid any accidental slips or falls.
- Keep bystanders at a safe distance: Ensure that there are no people or pets in close proximity to your work area. This will help prevent any injuries to bystanders in case of a mishap or if the chain comes off unexpectedly.
- Follow manufacturer’s instructions: Familiarize yourself with the manufacturer’s instructions and guidelines specific to your Ryobi pole saw model. This will give you a better understanding of the tool’s capabilities and how to use it safely and effectively.
- Use caution when handling the chain: The chain of the pole saw is sharp and can cause injuries if mishandled. Always handle the chain with care, and never touch it when the tool is powered on. Allow the pole saw to cool down before attempting to reinstall the chain.
By following these safety precautions, you can ensure a safe and successful experience when putting the chain back on your Ryobi pole saw. Now, let’s move on to the tools and materials you will need for this task.
Tools and Materials Required
Before you begin the process of putting the chain back on your Ryobi pole saw, make sure you have the following tools and materials on hand:
- Adjustable wrench: You will need an adjustable wrench to loosen and tighten the tensioning screw.
- Flathead screwdriver: A flathead screwdriver will be useful for removing the bar and chain.
- Replacement chain: If your current chain is damaged or worn out, you may need a replacement chain. Make sure to get the correct chain size for your Ryobi pole saw model.
- Gloves: It is important to wear gloves when handling the chain to protect your hands from any potential injuries.
- Safety glasses: Safety glasses will provide eye protection from any flying debris or particles that may be generated during the process.
- Workbench or stable surface: Find a sturdy workbench or stable surface where you can safely place your pole saw to perform the necessary repairs.
- Clean cloth: Keep a clean cloth handy to wipe down any debris or oil from the pole saw during the process.
- Chain lubricant: It’s a good idea to have chain lubricant on hand to ensure smooth operation and prolong the life of the chain.
Having these tools and materials readily available will help streamline the process of putting the chain back on your Ryobi pole saw. Now that you are prepared, let’s move on to the step-by-step instructions.
Step 1: Prepare the Work Area
Before you start putting the chain back on your Ryobi pole saw, it is important to prepare your work area to ensure a safe and efficient process. Follow these steps to properly set up your work area:
- Choose a well-lit and spacious area: Find a location with good lighting and ample space to work comfortably with your pole saw. It is important to have enough room to maneuver the tool and access all the necessary parts.
- Place your pole saw on a stable surface: Set up a workbench or any other level and stable surface to place your pole saw on. This will provide a secure base for performing the repairs and prevent any accidental falls or damage to the tool.
- Ensure proper ventilation: If you are working indoors, make sure the area is well-ventilated to minimize the inhalation of any fumes or exhaust gases. If possible, open windows or doors to improve air circulation.
- Clear away any obstacles: Remove any objects or debris from the work area that may interfere with your movements or potentially cause accidents. Clearing the space will provide you with a clutter-free and safer environment to work in.
- Gather your tools and materials: Have all the necessary tools and materials nearby and within reach. This will eliminate the need for constant interruptions and ensure a smooth workflow during the chain replacement process.
- Put on your safety gear: Before you begin, put on your gloves and safety glasses to protect yourself from any potential hazards. These essential safety precautions will help prevent injuries and keep you safe throughout the process.
By following these steps and preparing your work area appropriately, you will create an optimal environment for putting the chain back on your Ryobi pole saw. Now that your work area is ready, let’s move on to the next step: removing the bar and chain.
Step 2: Remove the Bar and Chain
Now that you have prepared your work area, it’s time to remove the bar and chain from your Ryobi pole saw. This step is necessary to access the chain tensioning mechanism and properly reinstall the chain. Follow these steps to remove the bar and chain:
- Ensure that your pole saw is powered off and unplugged: Before starting any maintenance on your pole saw, make sure it is completely turned off and unplugged from any power source. This will prevent any accidental starts or injuries.
- Inspect the bar and chain: Take a quick look at the condition of the bar and chain. Check for any signs of damage, such as missing or broken teeth, excessive wear, or bent components. Note any issues that may require further attention or replacement.
- Locate the chain tensioning screw: Find the chain tensioning screw on your pole saw. This is usually located on the side of the saw near the bar and chain. The chain tensioning screw is used to adjust the tension of the chain and should be loosened before removing the bar and chain.
- Loosen the chain tensioning screw: Using an adjustable wrench, turn the chain tensioning screw counterclockwise to loosen the tension on the chain. This will make it easier to remove the bar and chain from the pole saw.
- Remove the side cover and bar nuts: Locate the side cover of the pole saw, which usually secures the bar and chain in place. Remove the side cover by unscrewing the bar nuts with a flathead screwdriver or a wrench, depending on the type of nuts used.
- Take off the bar and chain: Carefully lift the bar and chain assembly out of the guide bar slot. Take note of the chain orientation and ensure that the chain is fully disengaged from the sprocket and guide bar. Set the bar and chain aside in a safe location.
- Inspect the guide bar and sprocket: While you have the bar and chain removed, inspect the guide bar and sprocket for any signs of damage or wear. Clean them if necessary and address any issues before proceeding further.
By following these steps, you will successfully remove the bar and chain from your Ryobi pole saw. With the bar and chain out of the way, we can now move on to the next step: loosening the tensioning screw.
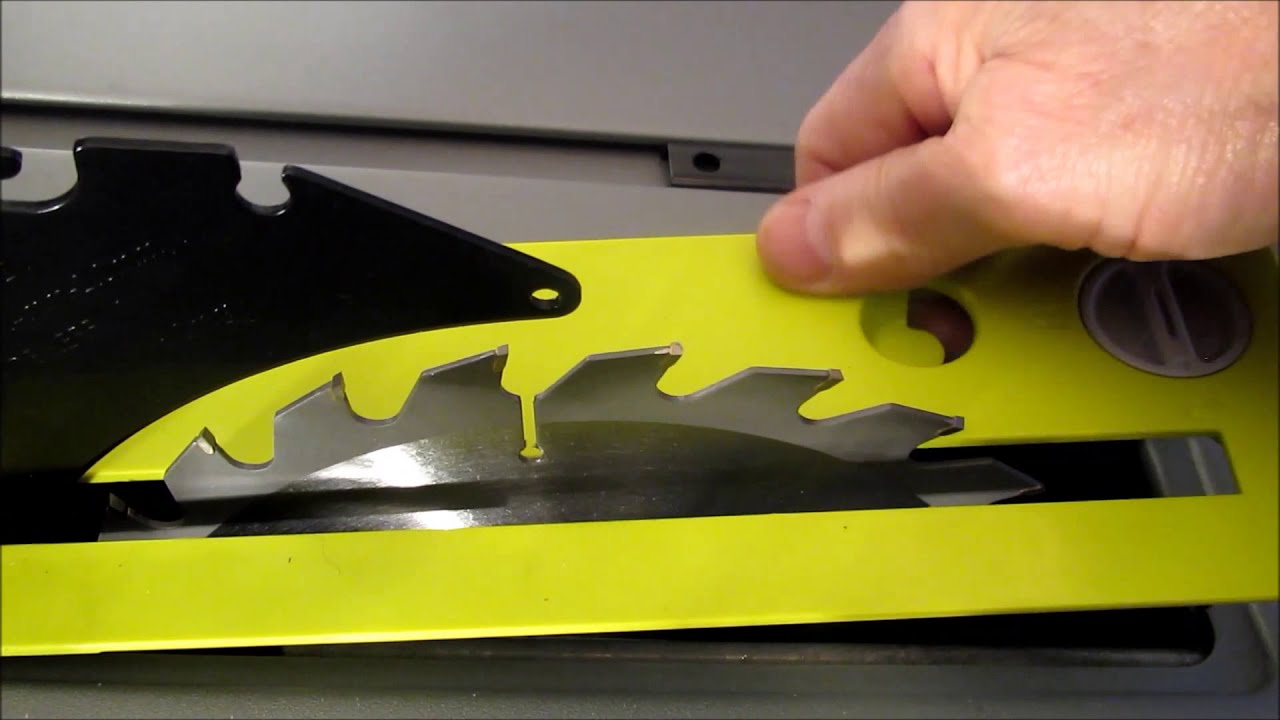
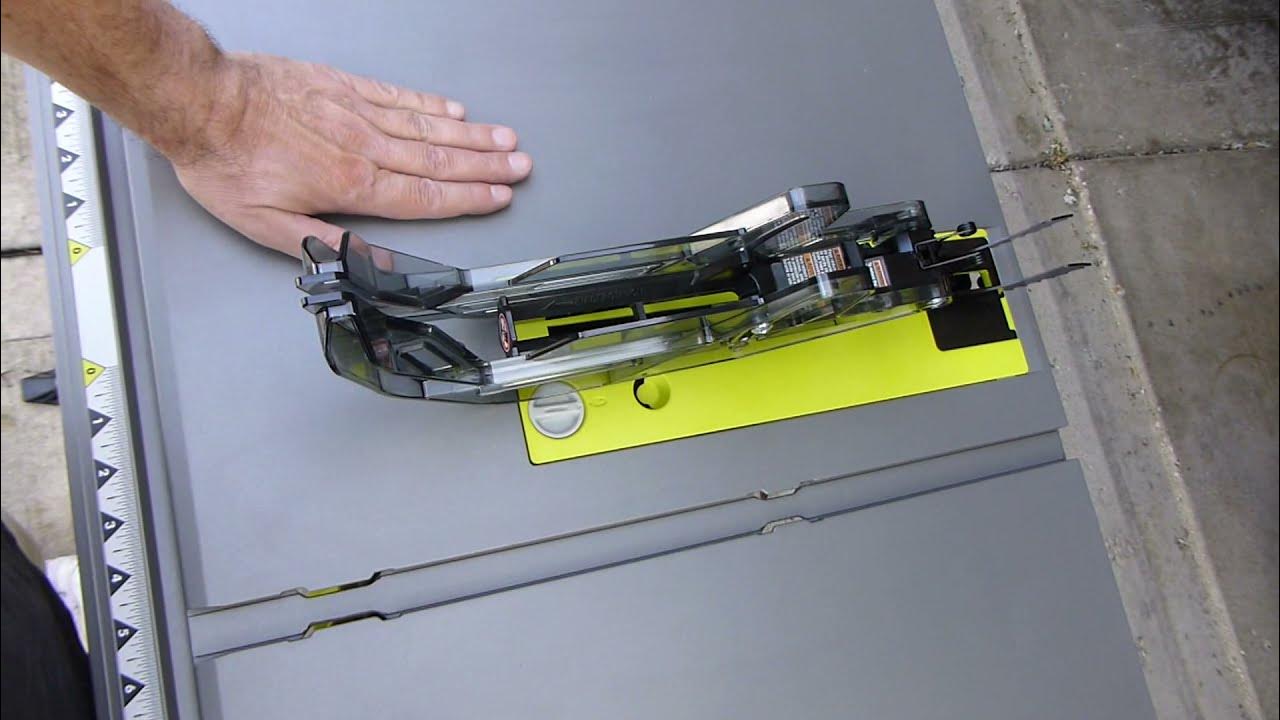
Read more: How To Put A Blade On Ryobi Circular Saw
Step 3: Loosen Tensioning Screw
With the bar and chain removed, it’s time to loosen the tensioning screw on your Ryobi pole saw to prepare for the reinstallation of the chain. Loosening the tensioning screw will allow you to adjust the tension of the chain easily. Follow these steps to loosen the tensioning screw:
- Locate the chain tensioning screw: The chain tensioning screw is typically located on the side of the pole saw near the guide bar. It is usually a small, round screw that can be tightened or loosened to adjust the tension of the chain.
- Using an adjustable wrench, turn the chain tensioning screw counterclockwise to loosen it. Apply gentle pressure until the screw begins to loosen. Be cautious not to overtighten or force the screw, as this can damage the tensioning mechanism.
- Continue loosening the tensioning screw until it is fully loosened. This will create slack in the chain, making it easier to reinstall onto the guide bar.
- Take a moment to clean the tensioning mechanism and surrounding areas, removing any debris, sawdust, or leftover oil. This will help ensure smooth operation and prevent any issues when reassembling the pole saw.
By following these steps, you have successfully loosened the tensioning screw on your Ryobi pole saw. With the tensioning screw loosened, we can now move on to the next step: reinstalling the chain.
When putting the chain back on a Ryobi pole saw, make sure to carefully align the chain with the guide bar and sprocket before tightening the tensioning screw to ensure proper tension and alignment.
Step 4: Reinstall the Chain
Now that the tensioning screw is loosened, it’s time to reinstall the chain onto your Ryobi pole saw. Follow these steps to properly reinstall the chain:
- Inspect the chain: Before reinstalling the chain, carefully examine it for any signs of damage or excessive wear. If the chain is damaged or worn out, it is recommended to replace it with a new one to ensure optimal performance.
- Place the chain onto the guide bar: Begin by placing the chain onto the guide bar, making sure that the cutting teeth are facing forward and aligned with the direction of rotation. Ensure that the chain is properly seated in the guide bar groove and wraps around the sprocket at the tip of the guide bar.
- Align the chain with the sprocket: Check the alignment of the chain with the sprocket at the tip of the guide bar. Make sure the chain is properly engaged with the sprocket and properly seated in the guide bar groove.
- Ensure proper tension: Gently pull the chain to remove any slack, while still maintaining enough flexibility for it to move freely along the guide bar. The ideal tension for the chain is when there is a slight sag but no excessive slack.
- If necessary, re-adjust the tensioning screw: If the tension of the chain is not correct, you may need to readjust the tensioning screw with the adjustable wrench. Turn the screw clockwise to tighten the tension and counterclockwise to loosen it until the desired tension is achieved.
- Check the chain alignment: Once the chain tension is adjusted, double-check the alignment of the chain with the guide bar and sprocket. Ensure that the chain is properly seated and fully engaged.
By following these steps, you have successfully reinstalled the chain onto your Ryobi pole saw. The next step involves tightening the tensioning screw to secure the chain in place, which we will cover in the following step.
Step 5: Tighten Tensioning Screw
Now that you have reinstalled the chain onto your Ryobi pole saw, it’s time to tighten the tensioning screw to secure the chain in place. Proper tension ensures optimal performance and safe operation of your pole saw. Follow these steps to tighten the tensioning screw:
- Locate the chain tensioning screw: The chain tensioning screw is typically located on the side of the pole saw near the guide bar. It is usually a small, round screw that can be tightened or loosened to adjust the tension of the chain.
- Using an adjustable wrench, turn the chain tensioning screw clockwise to tighten it. Apply gentle pressure until you start to feel resistance in the screw.
- Continue tightening the tensioning screw until you have reached the desired tension. The ideal tension is when the chain is snug against the bottom of the guide bar but still allows for smooth movement along the bar.
- Avoid overtightening the tensioning screw, as this can put unnecessary strain on the chain and the pole saw. Over-tightened chains can also cause excess heat and premature wear.
- Check the chain tension: Once you have tightened the tensioning screw, check the tension of the chain by pulling it from the bottom of the guide bar. There should be a slight amount of tension without excessive resistance or sag.
- If needed, make further adjustments: If the tension is not correct, you can make further adjustments by loosening or tightening the tensioning screw as necessary until the desired tension is achieved.
By following these steps, you have successfully tightened the tensioning screw on your Ryobi pole saw, securing the chain in place. The next step involves reattaching the bar and chain assembly, which we will cover in the following step.
Step 6: Reattach Bar and Chain
With the chain tension properly adjusted, it’s time to reattach the bar and chain assembly to your Ryobi pole saw. Follow these steps to securely reattach the bar and chain:
- Align the guide bar with the bar mounting area: Position the guide bar onto the mounting area of the pole saw, ensuring the chain tensioning adjustment pin on the bar fits into the corresponding hole on the saw body.
- Make sure the guide bar is correctly seated: Slide the guide bar until it is fully seated against the saw body. Ensure that the guide bar is aligned properly and the drive sprocket at the tip of the guide bar engages with the chain.
- Replace and tighten the bar nuts: Carefully thread and tighten the bar nuts back onto the mounting studs. Use a flathead screwdriver or a wrench to securely tighten the nuts, but avoid overtightening, as it may damage the threads.
- Check the movement of the chain: After tightening the bar nuts, check the movement of the chain by manually rotating it along the guide bar. Ensure that the chain moves smoothly and freely without any obstructions or binding.
- Inspect the chain tension: Once the bar and chain assembly are reattached, inspect the chain tension again. Make any necessary adjustments to the tensioning screw to ensure the chain is properly tensioned and has the right amount of slack.
By following these steps, you have successfully reattached the bar and chain assembly to your Ryobi pole saw. However, before you proceed, it’s important to check the tension of the chain, which we will cover in the next step.
Read more: How To Store Pole Saw
Step 7: Check Chain Tension
Checking the tension of the chain is a crucial step to ensure safe and efficient operation of your Ryobi pole saw. Follow these steps to check the chain tension:
- Make sure the pole saw is powered off and unplugged: Before inspecting the chain tension, ensure that the pole saw is completely turned off and unplugged from any power source. This will prevent any accidental starts or injuries.
- Verify the correct chain tension: The ideal chain tension is when there is a slight sag along the bottom of the guide bar. To check the tension, gently pull the chain from the bottom of the guide bar. It should have a slight amount of play but should not sag excessively or feel too tight.
- If the chain is too loose: If the chain has excessive sag, it needs to be tightened. Use the adjustable wrench to turn the tensioning screw clockwise in small increments until the desired tension is achieved. Be cautious not to over-tighten the chain.
- If the chain is too tight or doesn’t move freely: If the chain feels too tight or doesn’t move smoothly along the guide bar, it needs to be loosened. Turn the tensioning screw counterclockwise to loosen the tension until the chain moves freely but still has a slight amount of play.
- Recheck the chain tension: After making any adjustments, double-check the chain tension by gently pulling the chain from the bottom of the guide bar. Ensure that the tension is now within the desired range and the chain moves smoothly without binding.
By following these steps, you have successfully checked the tension of the chain on your Ryobi pole saw. With the chain tension properly adjusted, you are now ready to move on to the final step: testing the pole saw.
Step 8: Test the Pole Saw
After completing the chain installation and tensioning process, it’s important to test your Ryobi pole saw before using it for any cutting tasks. Follow these steps to safely and effectively test your pole saw:
- Perform a visual inspection: Carefully examine the entire pole saw, including the bar, chain, and tensioning mechanism, for any signs of misalignment, damage, or loose components. Ensure that everything is securely in place.
- Check for proper lubrication: Make sure the chain is adequately lubricated before testing the pole saw. Apply a small amount of chain lubricant to the chain, following the manufacturer’s recommendations.
- Turn on the pole saw: Plug in your Ryobi pole saw or insert the battery if it is cordless. Turn on the power switch and allow the saw to run idle for a few seconds. Listen for any unusual noises or vibrations that may indicate a problem.
- Engage the throttle: Gradually engage the throttle trigger to increase the speed of the chain. Observe the chain’s movement to ensure it rotates smoothly and without any hesitation or signs of irregular motion.
- Check for proper chain tension: While the pole saw is running, monitor the chain tension to verify that it remains properly adjusted. Look for any signs of excessive sag or tightness and make any necessary adjustments using the tensioning screw if needed.
- Perform test cuts: Find a suitable test material, such as a small tree limb or branch, and make a few controlled cuts to assess the performance of the pole saw. Pay attention to the saw’s cutting ability and the smoothness of the cuts.
- Monitor the pole saw’s operation: During the test cuts, observe the overall operation of the pole saw. Note any unusual vibrations, excessive heat, or other signs of malfunction. If you experience any issues, immediately turn off the pole saw and address the problem.
By following these steps and conducting a thorough test of your Ryobi pole saw, you can ensure that it is functioning optimally and ready for use. Remember to always prioritize safety and refer to the manufacturer’s instructions for any specific guidelines or recommendations related to your model of pole saw.
Finally, with your Ryobi pole saw in proper working condition, you are now fully equipped to tackle your outdoor cutting tasks effectively and efficiently. Enjoy the convenience and power of your pole saw while maintaining a focus on safety at all times!
Conclusion
Congratulations! You have successfully learned how to put the chain back on your Ryobi pole saw. By following the step-by-step instructions provided in this guide, you can confidently tackle the task of reinstalling the chain and ensuring optimal performance of your pole saw.
Throughout this process, we highlighted the importance of safety precautions, such as wearing appropriate protective gear and working in a well-ventilated area. Remember to always prioritize your safety and follow the manufacturer’s instructions specific to your Ryobi pole saw model.
Preparing your work area, gathering the necessary tools and materials, and removing and reinstalling the bar and chain allowed you to access the tensioning mechanism and properly adjust the chain tension. Checking the chain tension and testing the pole saw ensured that it is in good working condition and ready for use.
Remember, regular maintenance of your pole saw is essential to keep it functioning optimally. This includes regularly inspecting the chain, guide bar, and tensioning mechanism for any signs of wear or damage. Proper lubrication and tension adjustment will help prolong the lifespan of your chain and ensure efficient cutting performance.
For more detailed guidance on specific procedures or troubleshooting, consult the user manual provided by Ryobi or reach out to their customer support for expert advice.
Now you have the confidence and knowledge to put the chain back on your Ryobi pole saw whenever required. Get ready to tackle your outdoor projects with ease and precision. Stay safe, follow the proper maintenance practices, and happy cutting!
Frequently Asked Questions about How To Put Chain Back On Ryobi Pole Saw
Was this page helpful?
At Storables.com, we guarantee accurate and reliable information. Our content, validated by Expert Board Contributors, is crafted following stringent Editorial Policies. We're committed to providing you with well-researched, expert-backed insights for all your informational needs.


0 thoughts on “How To Put Chain Back On Ryobi Pole Saw”