Articles
How To Make Easy Picture Frames At Home
Modified: January 5, 2024
Learn how to create beautiful and affordable picture frames by following these simple articles. Turn your home into an art gallery with our step-by-step instructions.
(Many of the links in this article redirect to a specific reviewed product. Your purchase of these products through affiliate links helps to generate commission for Storables.com, at no extra cost. Learn more)
Introduction
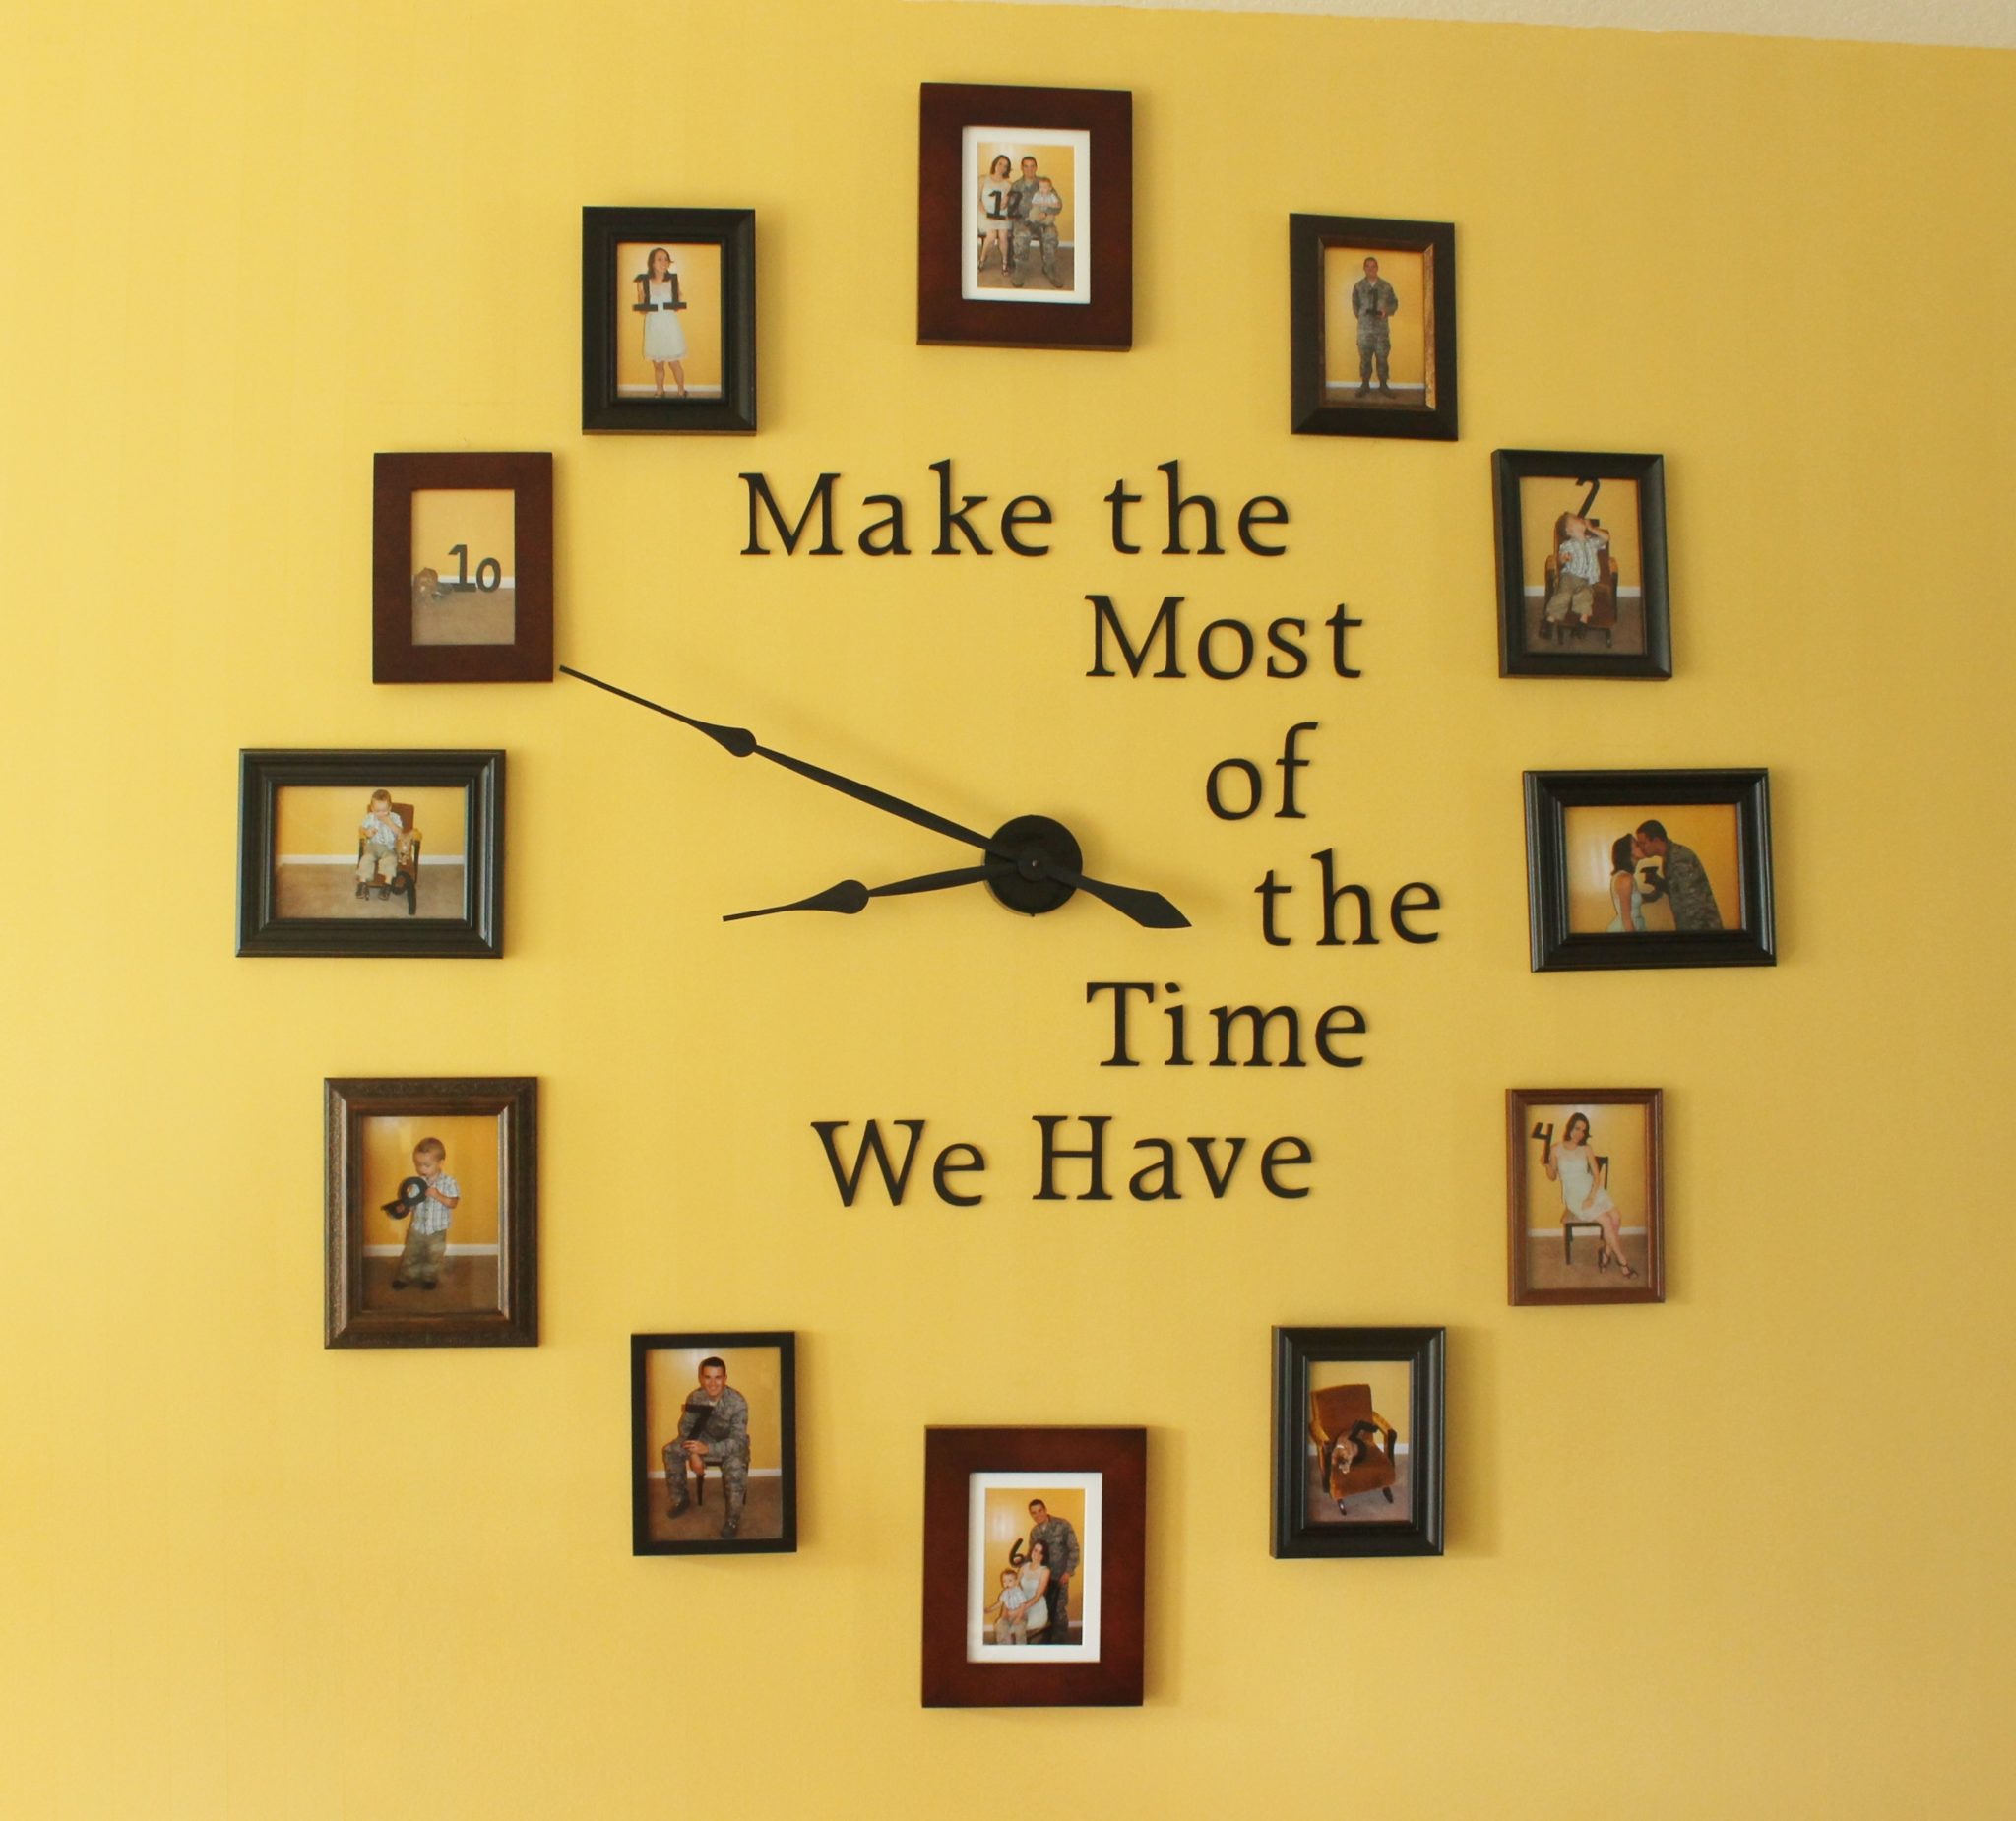
When it comes to home decor, adding personal touches can make all the difference. One way to do this is by creating your own picture frames. Not only does making your own frames allow you to showcase your creativity and style, but it also gives you the flexibility to customize the frames to perfectly fit your pictures and the overall aesthetic of your space.
In this article, we will guide you through the process of making easy picture frames at home. Whether you are a seasoned DIY enthusiast or just starting out, these steps are simple to follow, and with a few basic materials and tools, you can create beautiful frames to display your cherished memories.
So, let’s gather our supplies and get ready to embark on this creative journey!
Key Takeaways:
- Create personalized picture frames at home to showcase your creativity and style. Experiment with different designs, colors, and materials to make each frame truly unique and reflective of your personality.
- Making picture frames at home is a fun and rewarding DIY project. Unleash your imagination, tap into your craftsmanship, and elevate your home decor with one-of-a-kind frames that display your cherished memories.
Read more: How To Make Picture Frames
Materials Needed
- Wood boards – Choose a type of wood that suits your preference (such as pine or oak) and ensure the thickness and width are suitable for the frame size you want to create.
- Miter saw or hand saw – This will be used to cut the wood to the desired lengths and angles.
- Sandpaper – Use sandpaper with different grits to smooth out the rough edges of the wood.
- Wood glue – This will be used to secure the corners of the frame.
- Clamps – These will hold the frame tightly together as the glue dries.
- Paint or stain – Choose a color or finish that complements your home decor.
- Paintbrushes or foam brushes – Use these to apply the paint or stain to the frame.
- Backing material – Options include foam board, cardboard, or even fabric, depending on the desired look and functionality.
- Glass or acrylic sheet – This will protect your photo and give it a polished look.
- Hanging hardware – Decide whether you want to hang the frame on a wall or display it on a tabletop, and gather the necessary hooks, nails, or stands.
- Measuring tape or ruler – These tools will help ensure accurate measurements for cutting the wood.
- Pencil – Use this to mark the measurements and angles on the wood.
- Safety goggles and gloves – Protect yourself while working with the tools and materials.
Now that you have all the necessary materials, it’s time to dive into the creative process of designing and building your own picture frame!
Frame Design Ideas
Before you start building your picture frame, take a moment to consider the style and design you want to achieve. Here are a few ideas to inspire you:
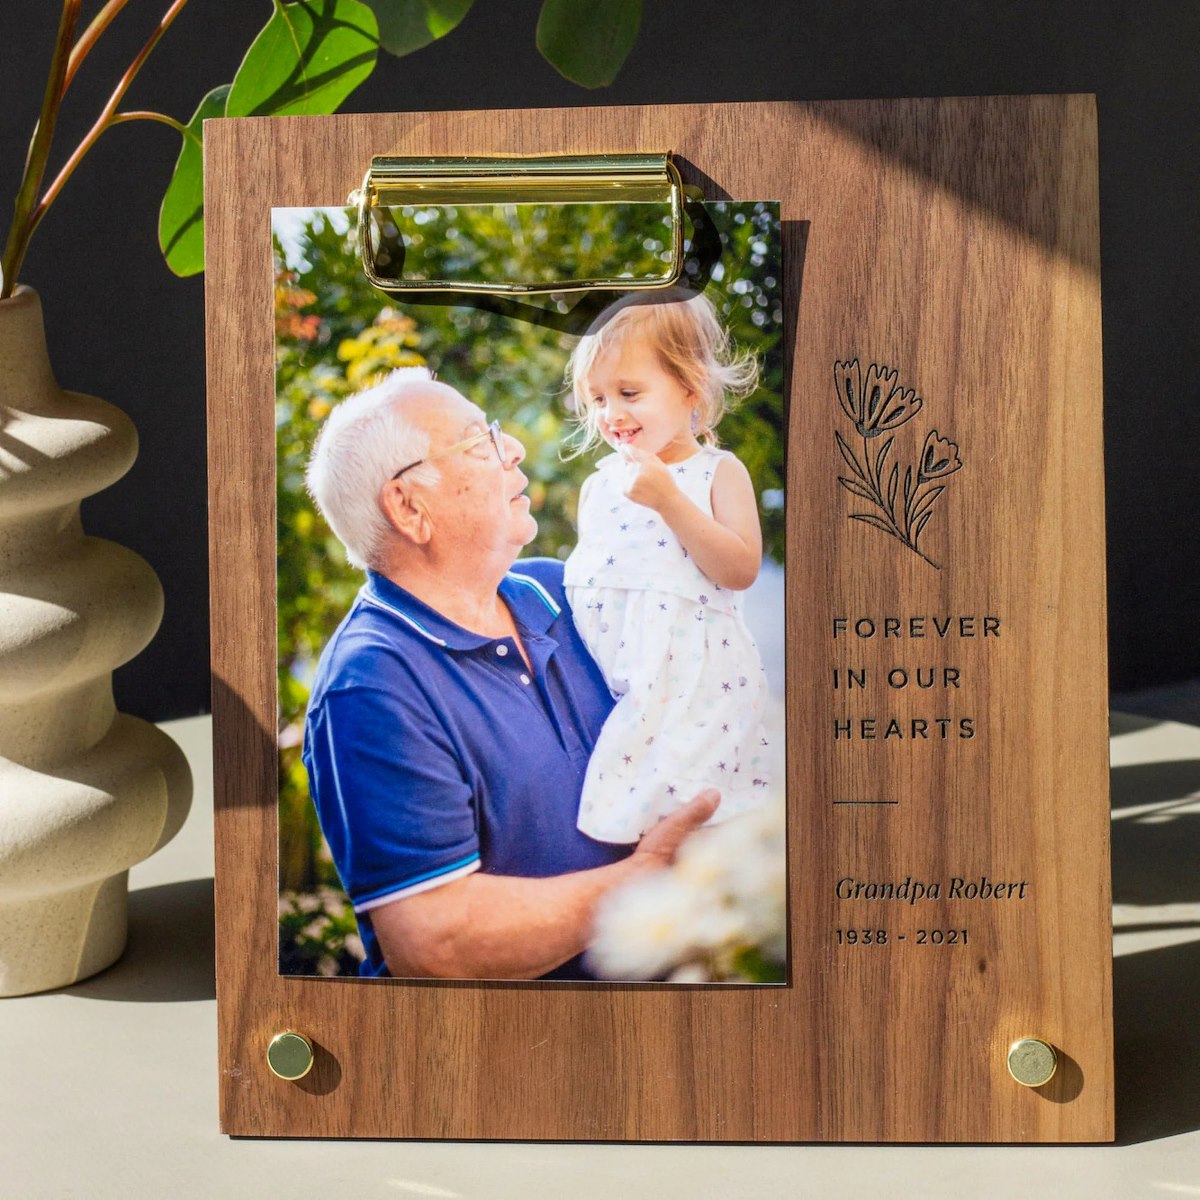
- Classic and elegant: Opt for a traditional rectangular frame with clean lines and a smooth finish. Choose a dark wood stain or a neutral paint color to give it a timeless and sophisticated look.
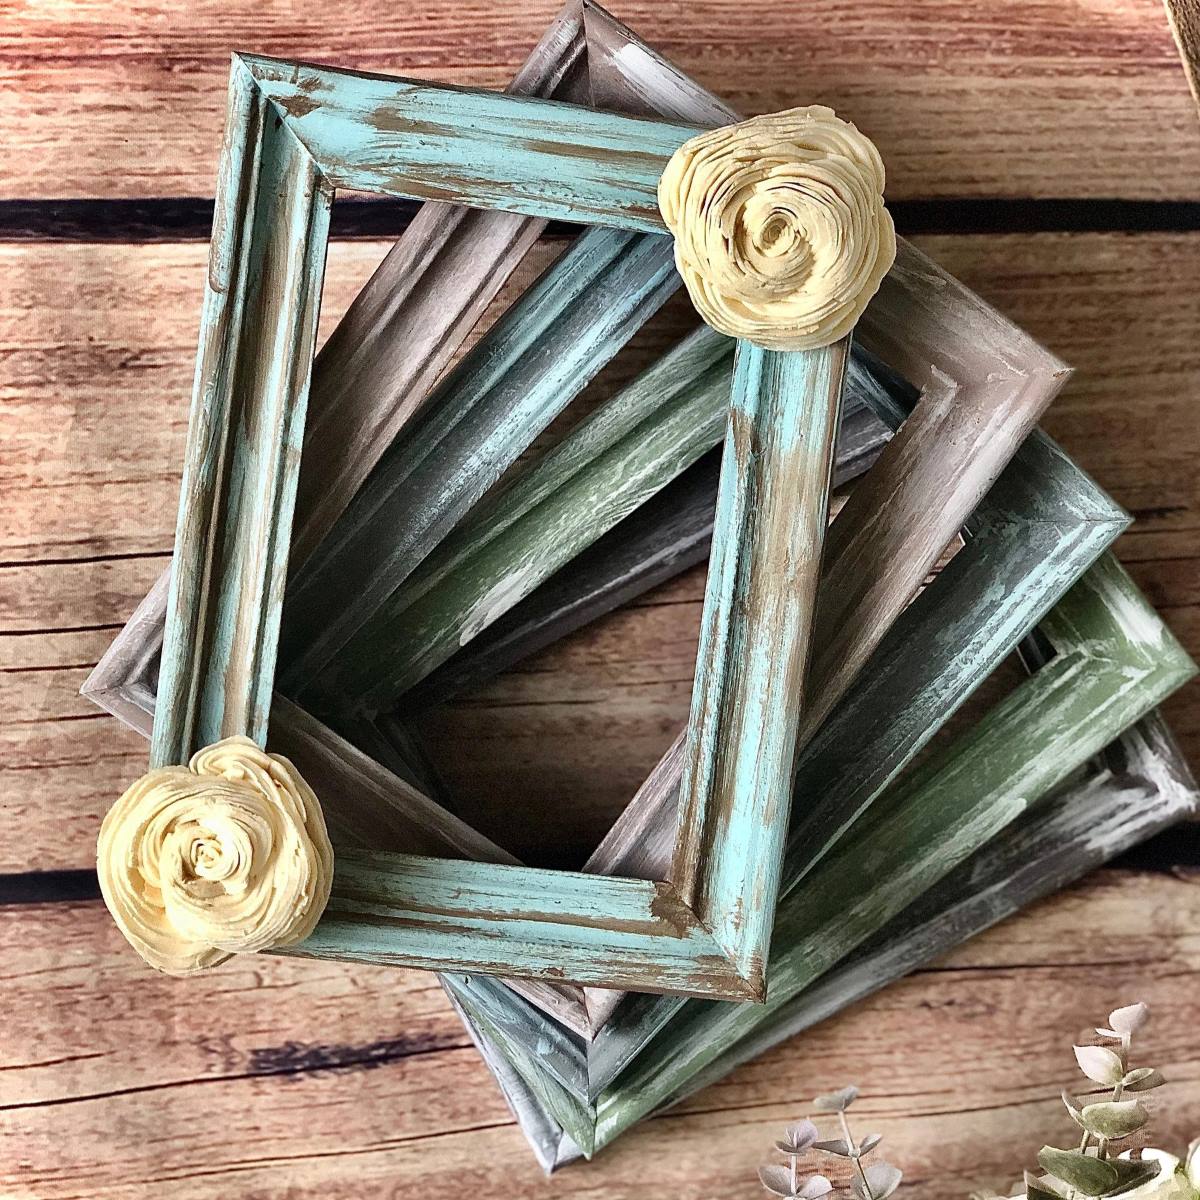
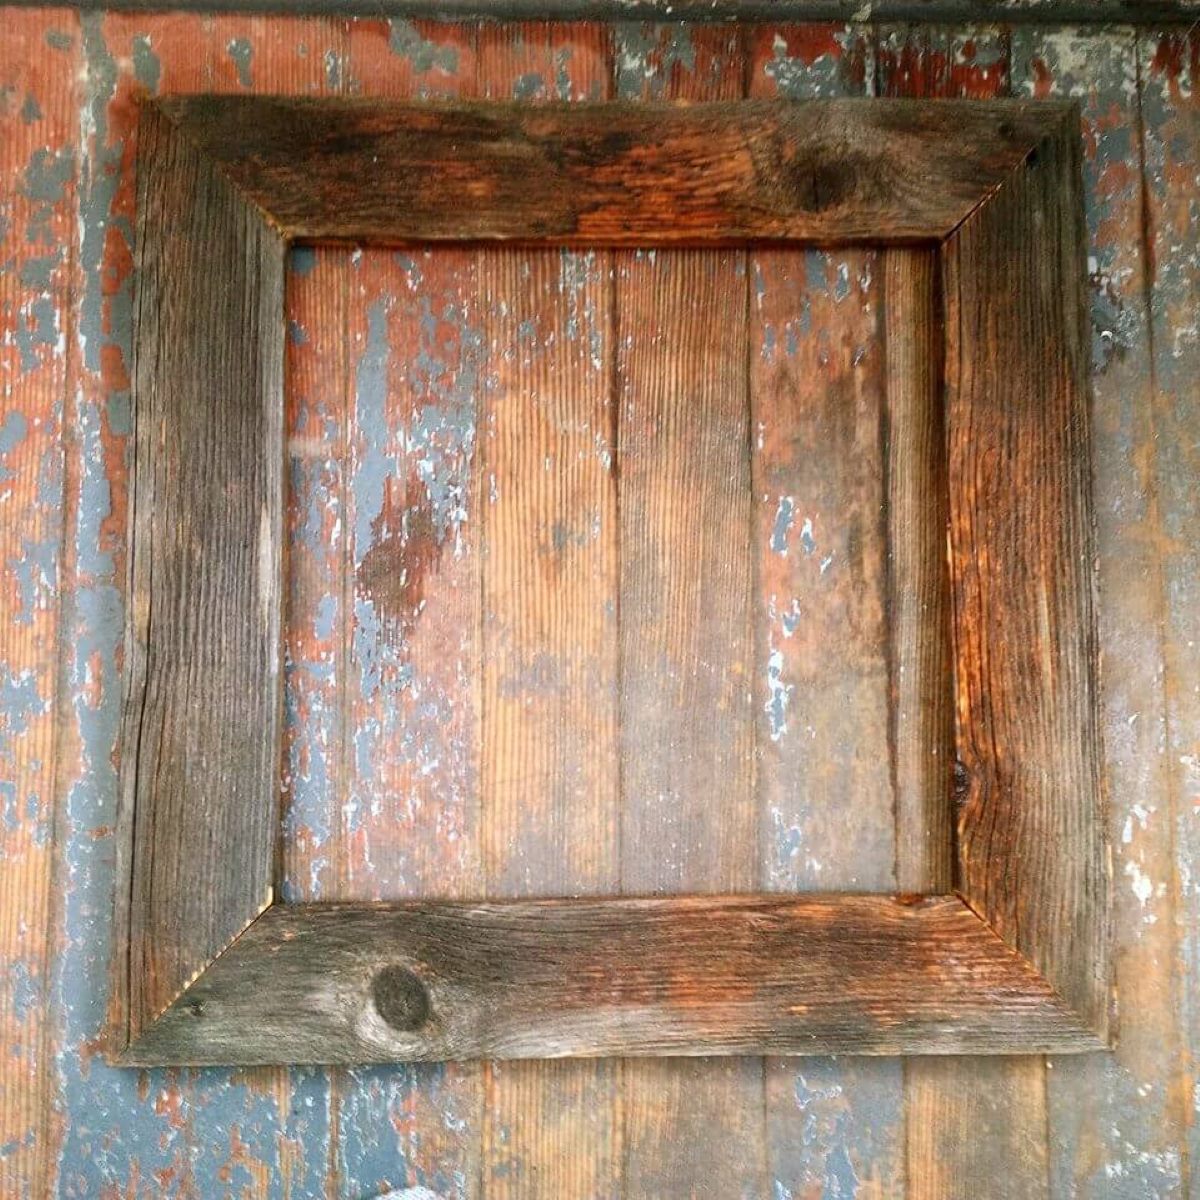
- Rustic farmhouse: Embrace the rustic charm by using reclaimed wood or distressing new wood to create a weathered effect. Add decorative elements like metal corner brackets or burlap ribbon to enhance the farmhouse aesthetic.
- Minimalist and modern: Keep it simple and sleek with a thin black or white frame. This design works well with black and white photographs or minimalist art.
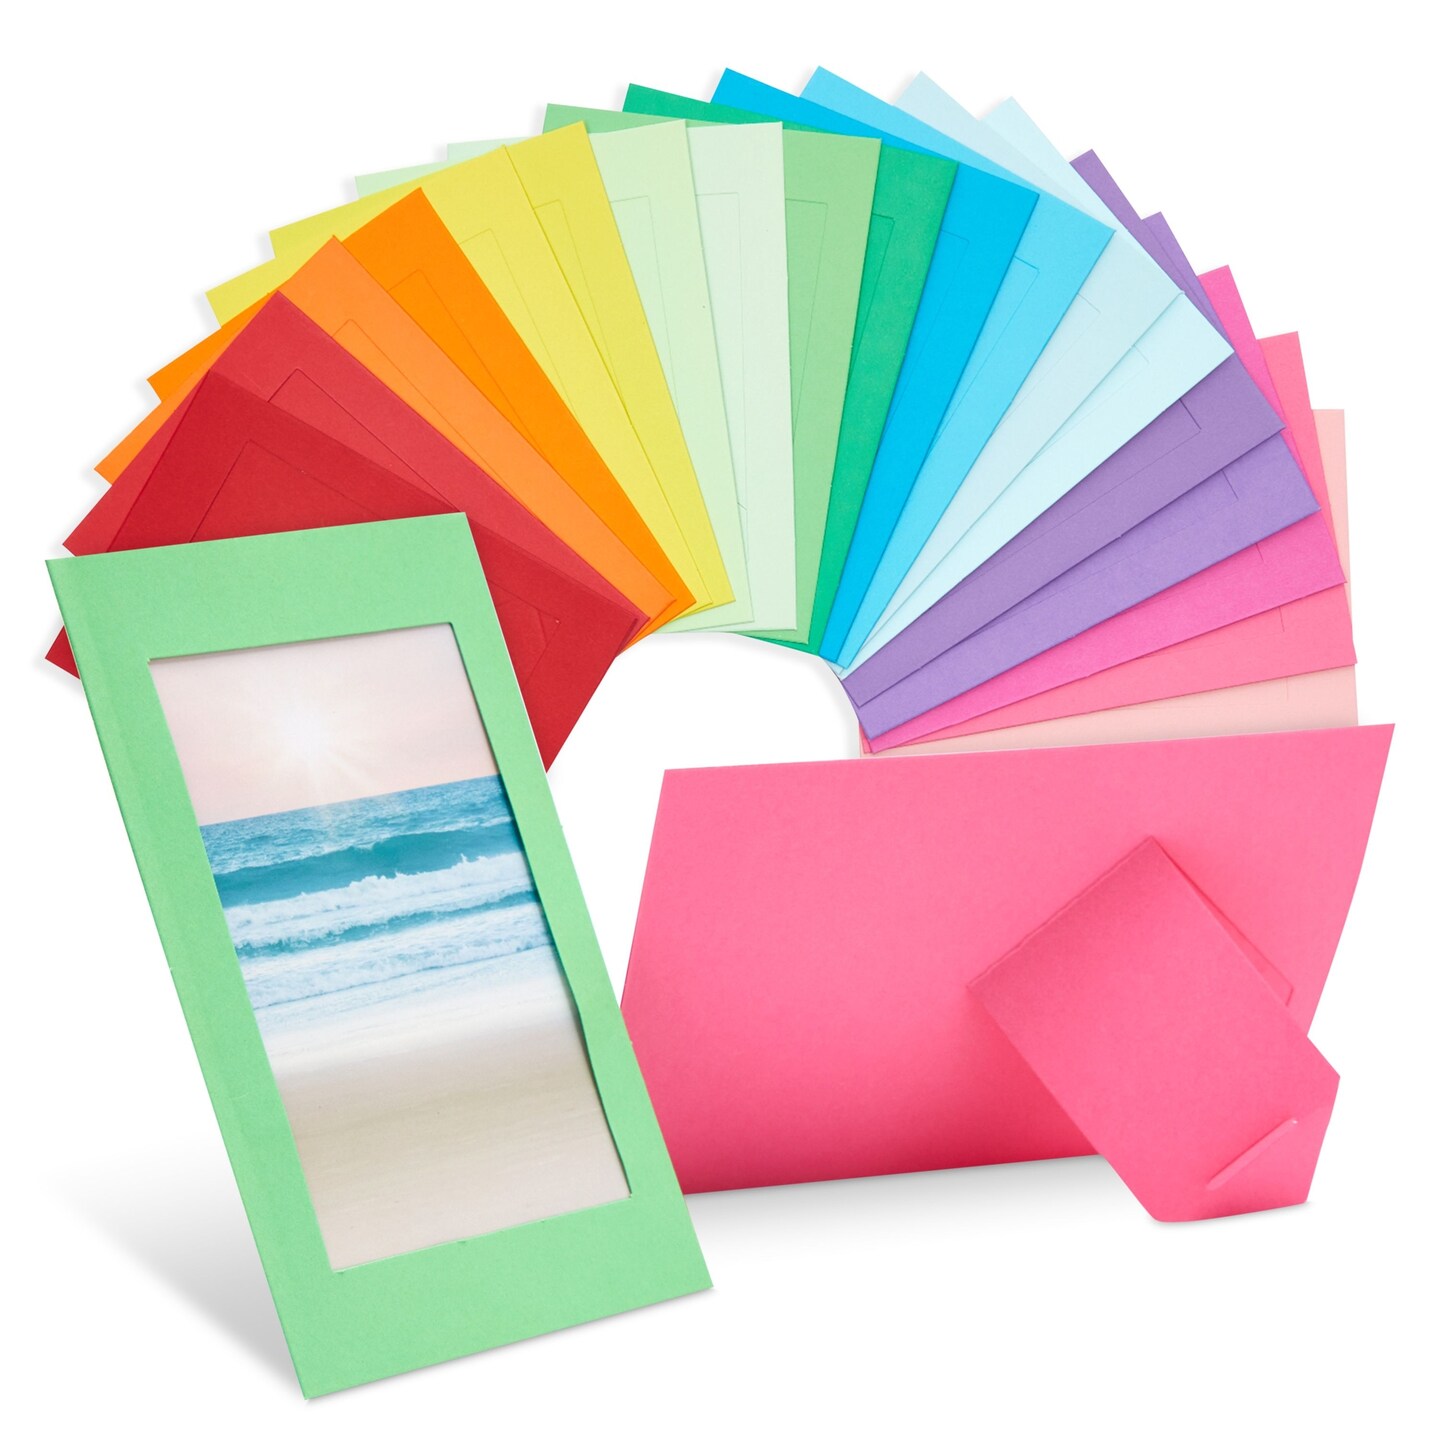
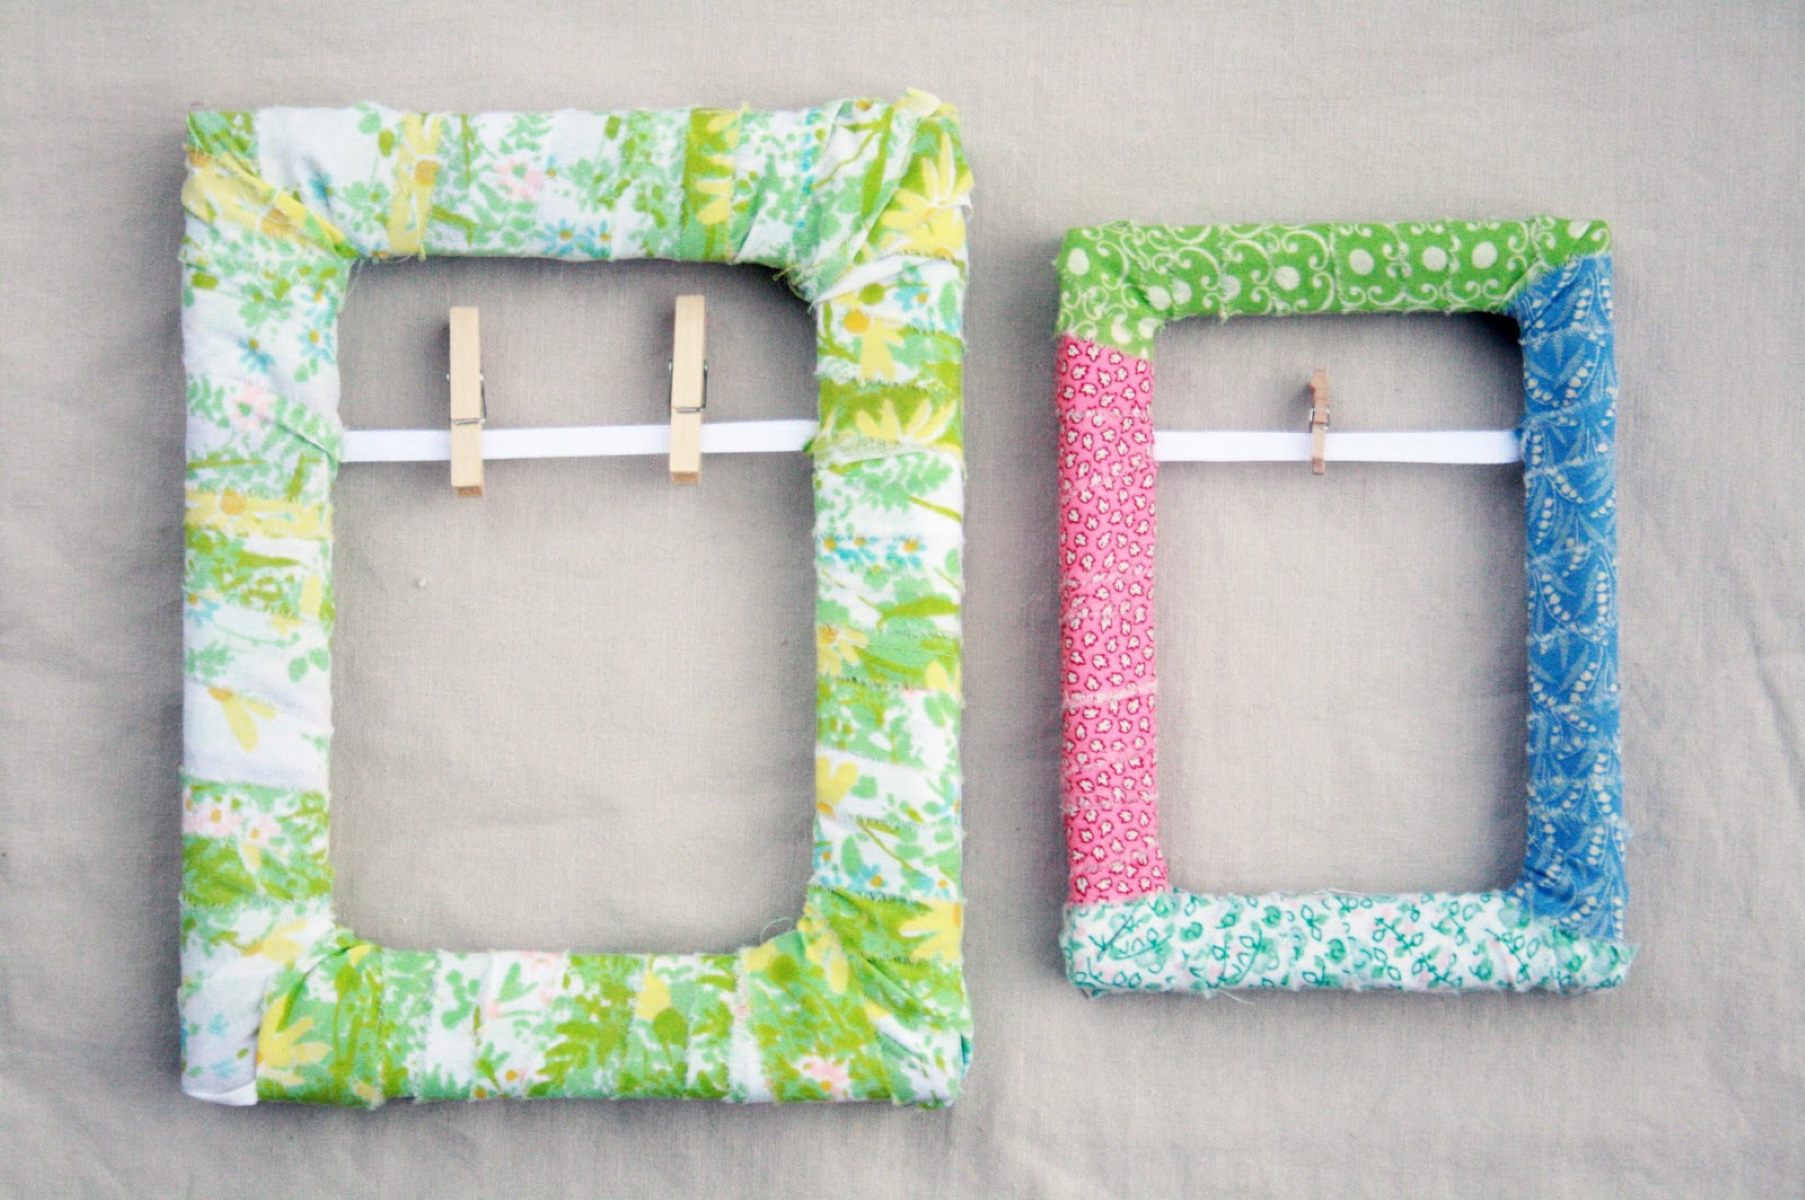
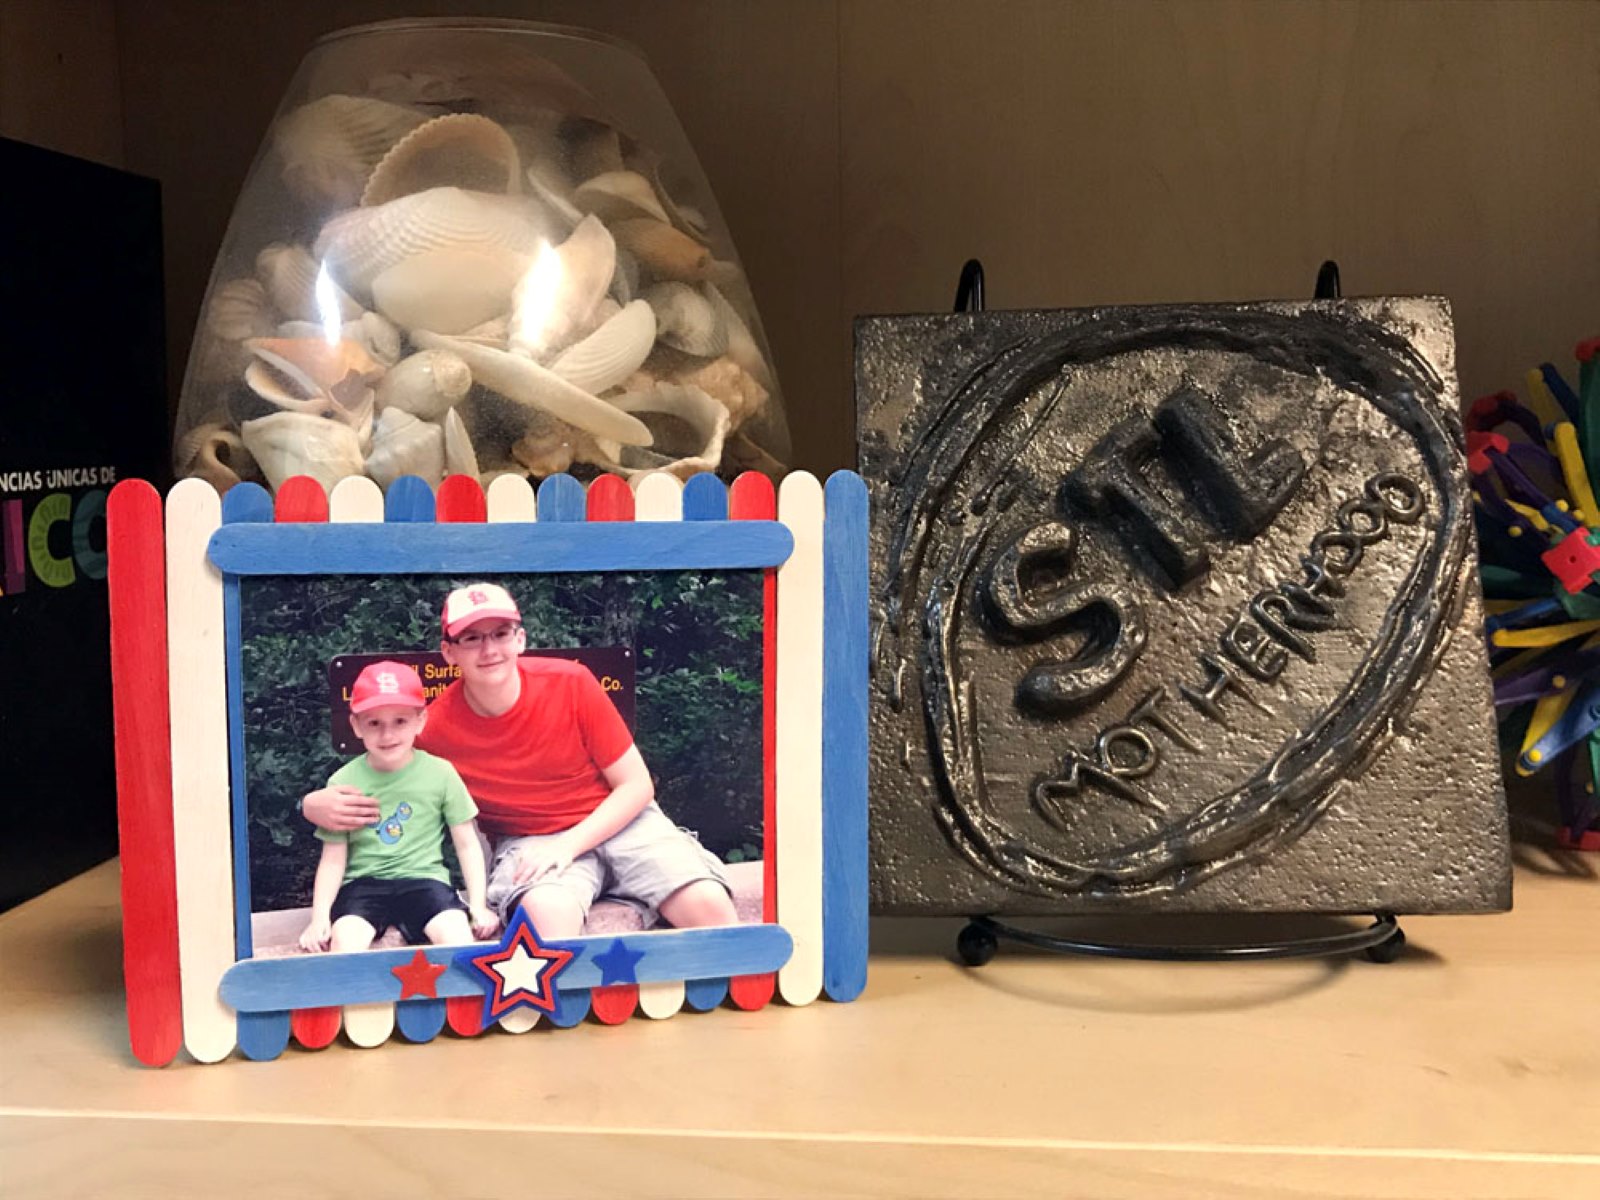
- Eclectic and colorful: Use bright and vibrant paint colors to create a bold statement frame. Consider adding patterns or geometric designs for an eye-catching and unique look.
- Vintage-inspired: Give your frame a nostalgic vibe by distressing the wood and adding antique-inspired embellishments like decorative molding or vintage hardware.
- Nature-inspired: Incorporate elements from nature by using branches, twigs, or driftwood as the frame’s border. This creates a unique and organic look that brings the outdoors inside.
Remember, these are just a few ideas to get your creative juices flowing. Feel free to mix and match styles or create your own unique design. The beauty of making your own frames is the freedom to unleash your imagination and make something truly one-of-a-kind.
Now that you have some design inspiration, let’s move on to the step-by-step process of creating your homemade picture frame!
Step 1: Measure and Cut the Wood
The first step in making your own picture frame is to measure and cut the wood pieces to the desired dimensions. Follow these steps:
- Start by deciding on the size of the frame you want to create. Measure the dimensions of the photo or artwork that you want to frame, and add a couple of inches to each side to allow for a border.
- Using a measuring tape or ruler, mark the measurements on the wood boards. Make sure to account for the width of the wood when measuring, as this will affect the final dimensions of the frame.
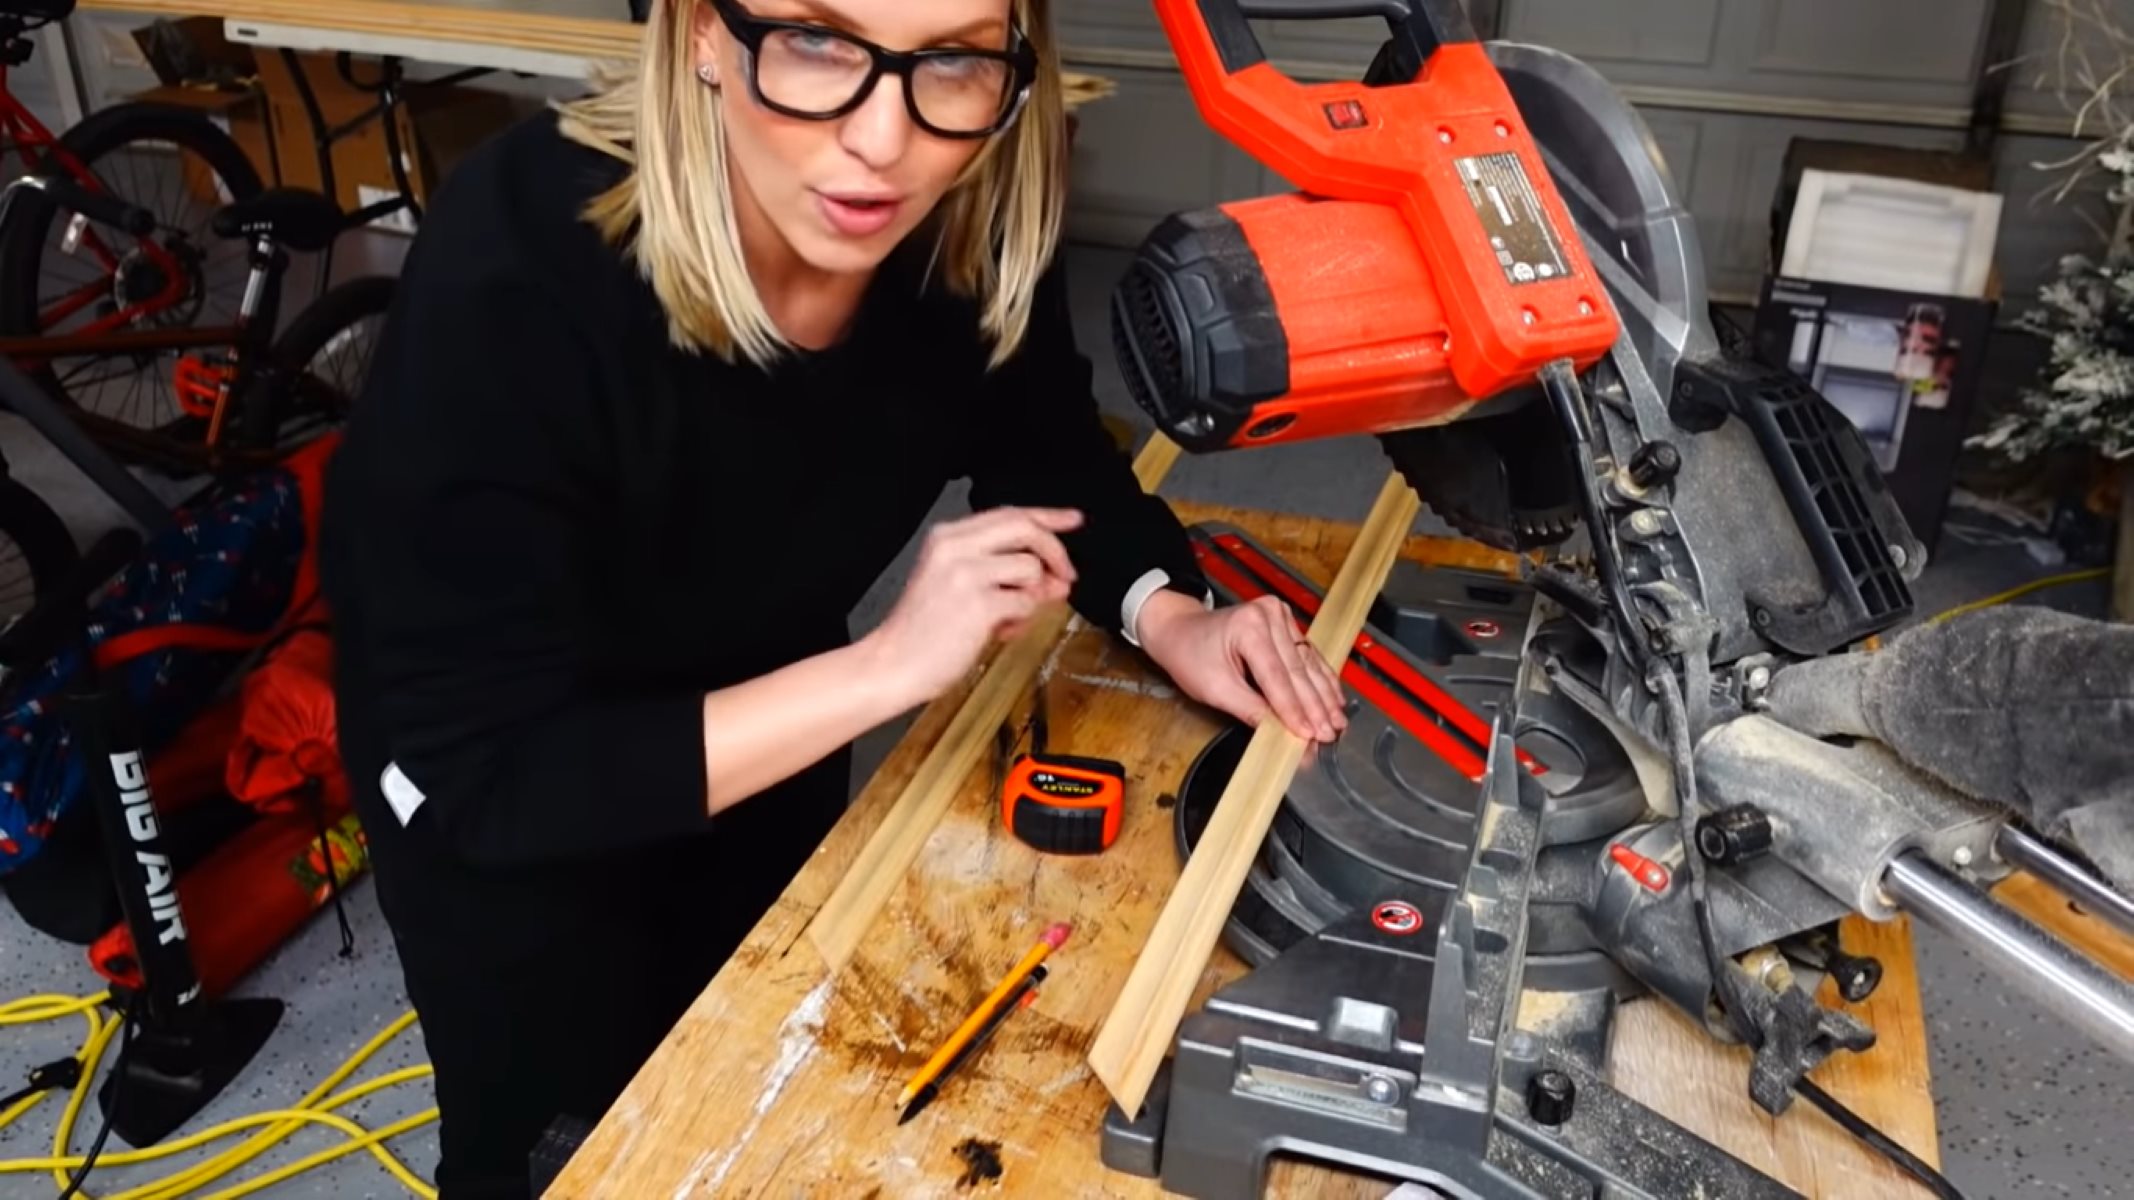
- Next, use a miter saw or hand saw to cut the wood according to your measurements. Ensure that the cuts are straight and accurate for a precise fit.
- If your frame design includes angled corners, set the saw to the appropriate angle and cut the ends of the wood at a 45-degree angle. This will create the mitered corners for a professional look.
- After cutting the wood pieces, dry fit them together to ensure that the corners align correctly and the frame dimensions match your desired size. Adjust the cuts if necessary.
Remember to wear safety goggles and gloves while cutting the wood to protect yourself from any potential injuries.
By accurately measuring and cutting the wood, you are setting the foundation for a well-built and visually appealing picture frame. Now that the wood pieces are ready, it’s time to move on to the next step: sanding and priming the wood.
Step 2: Sand and Prime the Wood
Now that you have cut the wood pieces for your picture frame, it’s time to smooth out any rough edges and prepare the surface for painting or staining. Follow these steps to sand and prime the wood:
- Begin by lightly sanding the cut edges and surfaces of the wood. Use sandpaper with a medium grit to remove any splinters or rough spots. Then, switch to a finer grit sandpaper to achieve a smooth finish.
- Make sure to sand in the direction of the wood grain to avoid creating scratches or marks on the surface.
- Once the wood is sanded, wipe away any dust or debris with a clean cloth or tack cloth. This will ensure a clean surface for priming.
- If you plan to paint your frame, apply a coat of wood primer using a paintbrush or foam brush. The primer will help the paint adhere better to the wood and provide a more even finish.
- If you prefer to stain the wood instead, skip the primer step and move on to applying the stain directly to the sanded surface.
- Allow the primer or stain to dry completely according to the manufacturer’s instructions before proceeding to the next step.
Sanding and priming the wood will not only give your frame a polished look but also help protect the wood and enhance the longevity of your creation.
Now that the wood is ready, we can move on to the exciting part – assembling the frame!
When making picture frames at home, be sure to measure and cut your materials accurately to ensure a professional-looking finished product. Use a miter box and saw for precise 45-degree angles.
Read more: How To Make Stands For Picture Frames
Step 3: Assemble the Frame
After preparing the wood, it’s time to assemble the pieces and create the structure of your picture frame. Follow these steps to successfully assemble the frame:
- Apply a small amount of wood glue to the ends of one of the wood pieces. Make sure to spread the glue evenly along the edge.
- Join the glued end with another corresponding piece, aligning the corners to create a right angle. Press the pieces together firmly to secure the joint.
- Repeat this process for the remaining corners, attaching each wood piece with wood glue until all four corners are joined.
- To ensure a tight bond, use clamps to hold the corners together. Place the clamps at the top and bottom of the frame, applying equal pressure on both sides.
- Verify that the frame is square by measuring the diagonals. The measurements should be equal, indicating that the frame is properly aligned.
- Allow the wood glue to dry completely according to the manufacturer’s instructions. This may take several hours or even overnight.
- Once the glue is dry and the frame is secure, remove the clamps and inspect the joints for any excess glue. If there is any, carefully scrape it off with a putty knife or sand it gently.
By following these steps, you will have successfully assembled the basic structure of your picture frame. The next step is to add a touch of color or stain to bring the frame to life. Let’s move on to Step 4!
Step 4: Paint or Stain the Frame
Now that the frame is assembled, it’s time to add your personal touch by choosing a paint color or stain to enhance the appearance of the wood. Follow these steps to paint or stain your frame:
- If you have decided to paint the frame, start by applying a thin and even coat of paint using a paintbrush or foam brush. Make sure to cover all the surfaces of the frame, including the edges and corners.
- Allow the first coat to dry completely before applying a second coat. This will ensure an even and opaque finish.
- For a stained finish, use a clean cloth or foam brush to apply the stain to the wood. Apply the stain in the direction of the wood grain, ensuring even coverage.
- Allow the stain to penetrate the wood for a few minutes, and then use a clean cloth to wipe off any excess stain. This will help achieve the desired level of color and a consistent appearance.
- If you prefer a darker or richer color, repeat the staining process, allowing each coat to dry before applying the next.
- Once you are satisfied with the color or finish, let the paint or stain dry completely according to the manufacturer’s instructions. This may take a few hours or longer, depending on the product and environmental conditions.
Painting or staining the frame adds a layer of personalization and style to your homemade creation. It allows you to coordinate the frame with your decor or create a unique focal point in your space. With the frame now painted or stained, we can move on to the next step: adding backing and glass.
Step 5: Add Backing and Glass
With the frame painted or stained, it’s time to protect your photo or artwork by adding a backing material and a sheet of glass or acrylic. Follow these steps to add the backing and glass:
- Measure the dimensions of your frame and cut a piece of backing material to fit. Foam board, cardboard, or even fabric can be used as backing depending on your preference.
- Place the cut backing material onto the backside of the frame to ensure it fits properly.
- If using foam board or cardboard, apply a small amount of adhesive or double-sided tape to secure the backing in place.
- For a professional touch, consider adding a layer of foam or padding between the backing and the photo/artwork to prevent any damage.
- Now, it’s time to add the sheet of glass or acrylic. Carefully place it on top of the backing material, ensuring it fits perfectly within the frame.
- If using glass, be cautious while handling it as it can be fragile. Acrylic is a lightweight and shatter-resistant alternative if you prefer.
- Use small metal or plastic clips, usually available at craft or hardware stores, to secure the glass or acrylic in place. Place the clips evenly around the perimeter of the frame, applying gentle pressure to hold everything together.
By adding a backing and glass or acrylic, you not only protect your photo or artwork from dust and damage but also give your frame a professional and finished look. Now that the backing and glass are in place, we can move on to the final step: attaching hanging hardware.
Step 6: Attach Hanging Hardware
Now that your picture frame is complete, it’s time to add the finishing touch by attaching the necessary hardware to hang or display your frame. Follow these steps to securely attach hanging hardware:
- Decide whether you want to hang the frame on a wall or display it on a tabletop, as this will determine the type of hardware you’ll need.
- If you’re hanging the frame, consider using sawtooth hangers, D-rings, or picture wire. Sawtooth hangers are nailed to the back of the frame, while D-rings and picture wire require screws or eyelets.
- Place the chosen hardware on the back of the frame, ensuring the placement is level and centered.
- If necessary, use a pencil to mark the spot where the screws or nails will go.
- Securely attach the hardware to the frame using the appropriate screws, nails, or adhesive, following the manufacturer’s instructions.
- If you’re displaying the frame on a tabletop, attach an easel stand or a prop to the back of the frame. These can be easily found at craft or home decor stores.
- Ensure that the hanging hardware or prop is sturdy and able to support the weight of the frame.
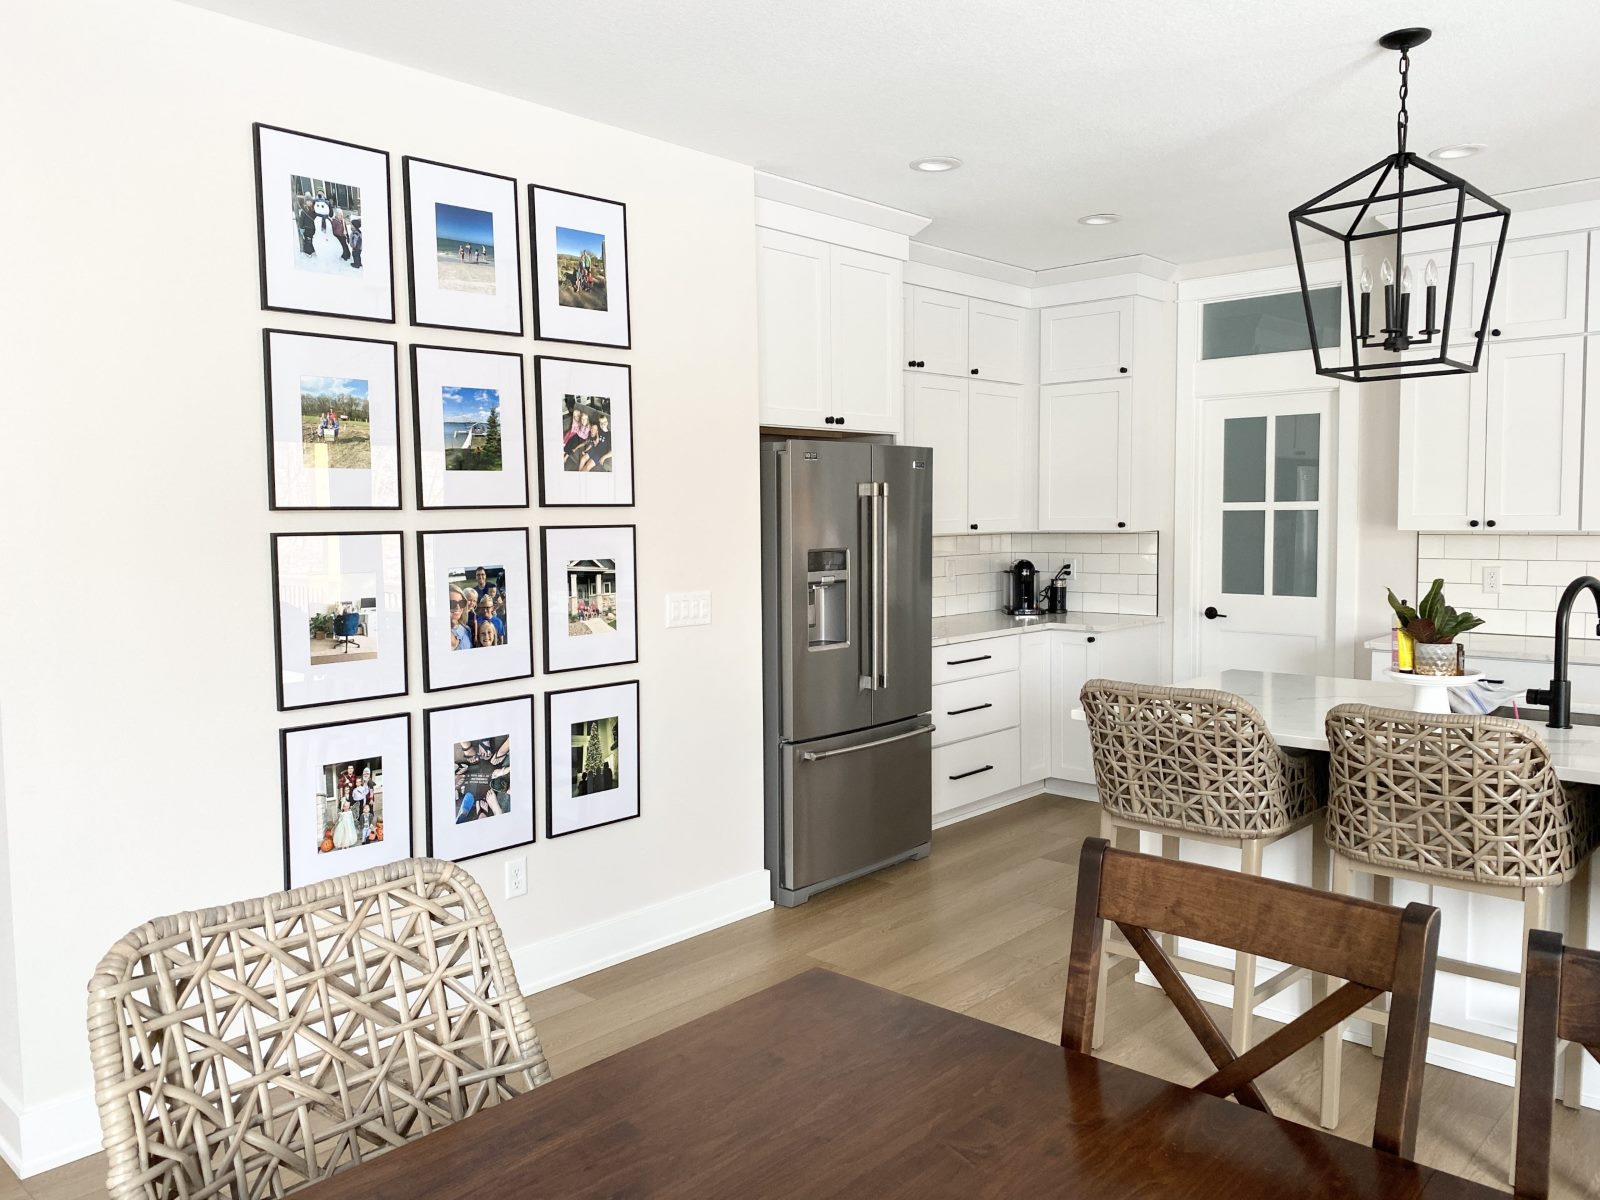
Once the hanging hardware is securely attached, your picture frame is now ready to be displayed and enjoyed. Hang it on a wall, place it on a shelf, or gift it to a loved one!
Congratulations! You have successfully created your own picture frame from scratch. It’s a testament to your creativity and craftsmanship. Now, you can proudly showcase your cherished memories or artwork in a frame that reflects your personal style.
Remember, the process of making picture frames at home is not only fulfilling but also allows you to unleash your creativity and add a personal touch to your living space. Enjoy the process and have fun experimenting with different designs, colors, and materials!
Happy crafting!
Read more: How To Make Wooden Picture Frames
Conclusion
Congratulations on completing your journey to make easy picture frames at home! By following the steps outlined in this article, you have not only created a beautiful frame to display your cherished memories but also tapped into your creativity and personal style.
Customizing your own picture frames allows you to add a unique touch to your home decor. You can choose different types of wood, experiment with various paint colors or stains, and incorporate design elements that reflect your personality and taste.
Remember, making picture frames at home is a fun and rewarding DIY project. It gives you the opportunity to showcase your creativity and craftsmanship, making each frame a truly special piece.
Whether you prefer a classic and elegant frame, a rustic farmhouse design, or something modern and eclectic, the possibilities are endless. Take inspiration from different styles, explore various materials and techniques, and let your imagination guide you.
So, gather your materials and tools, measure, cut, sand, assemble, paint or stain, add backing and glass, attach hanging hardware, and voila! You have a one-of-a-kind picture frame ready to display your favorite photos or artwork.
Enjoy the process, and don’t be afraid to experiment and make each frame uniquely yours. Surround yourself with images that bring joy and happy memories, and elevate your home decor with the personal touch of homemade picture frames.
Now, it’s time to take a step back, admire your handiwork, and showcase your creativity for all to see. Happy framing!
Frequently Asked Questions about How To Make Easy Picture Frames At Home
Was this page helpful?
At Storables.com, we guarantee accurate and reliable information. Our content, validated by Expert Board Contributors, is crafted following stringent Editorial Policies. We're committed to providing you with well-researched, expert-backed insights for all your informational needs.


0 thoughts on “How To Make Easy Picture Frames At Home”