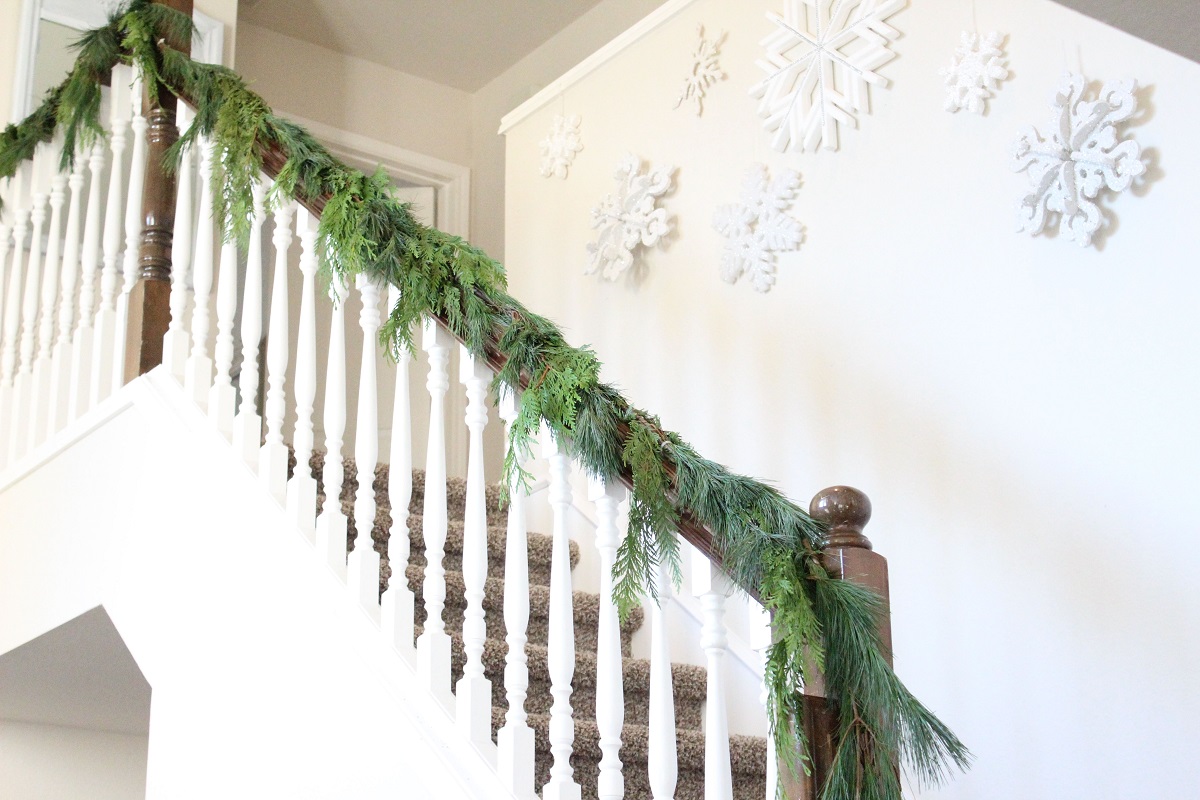

Articles
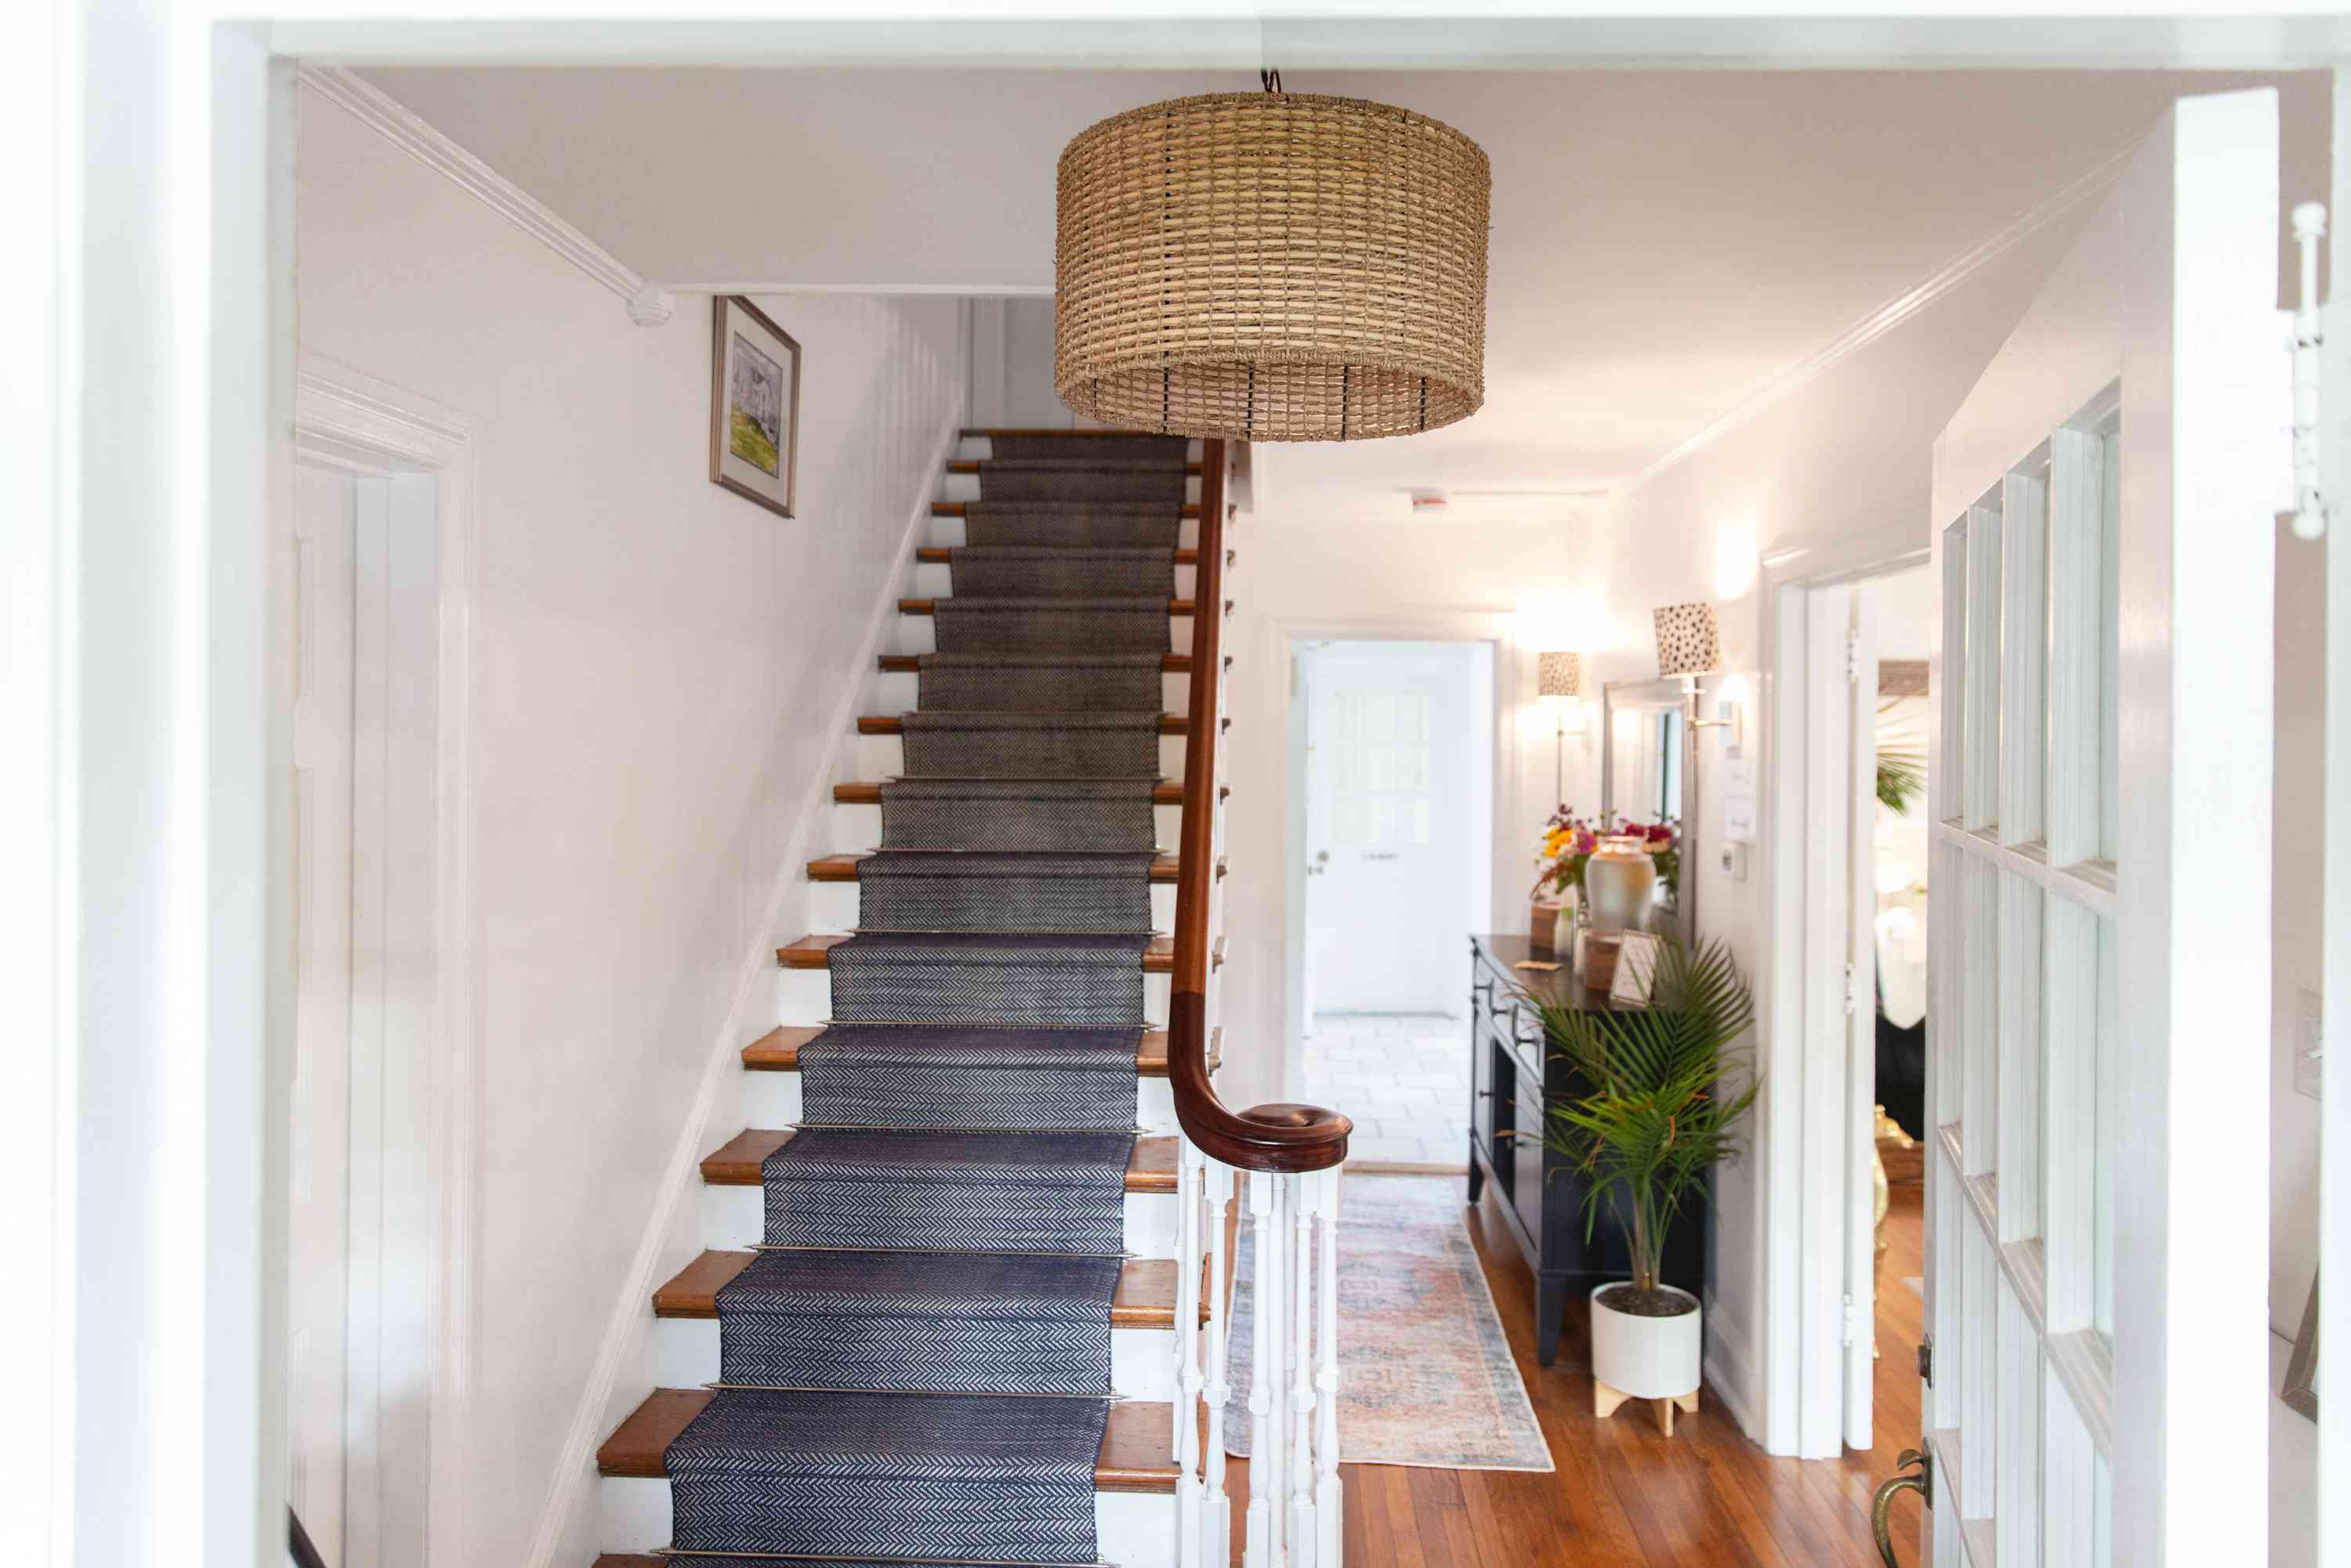
How To Attach Garland To Stairs
Modified: January 5, 2024
Discover the best ways to attach garland to stairs with our informative articles. Get step-by-step instructions and helpful tips for your holiday decorating.
(Many of the links in this article redirect to a specific reviewed product. Your purchase of these products through affiliate links helps to generate commission for Storables.com, at no extra cost. Learn more)
Introduction
Adding garland to your stairs is a beautiful and festive way to decorate your home during the holiday season or any other special occasion. Garland not only adds a touch of elegance and charm, but it also brings a festive spirit to your living space. However, properly attaching garland to stairs can sometimes be a challenging task. With the right materials and techniques, you can easily achieve a stunning and secure display. In this article, we will guide you through the step-by-step process of attaching garland to stairs, ensuring a delightful and eye-catching decoration.
Before we dive into the instructions, let’s quickly go over the materials you will need:
- Garland of your choice
- Command hooks
- Twist ties or floral wire
- Scissors
Now that you have gathered all the necessary materials, let’s get started!
Key Takeaways:
- Create a festive staircase by measuring, cutting, and securing garland with command hooks. Add finishing touches like lights and ornaments for a visually captivating and welcoming holiday display.
- Easily attach garland to your stairs using twist ties, floral wire, and command hooks. Customize with bows, lights, and natural accents for a stunning and festive staircase decoration.
Materials Needed
Before you begin attaching garland to your stairs, it’s important to make sure you have all the necessary materials. Here are the items you will need:
- Garland of your choice: Select a garland that suits your personal style and matches the overall theme of your home decoration. Whether you prefer classic evergreen garland or opt for something more unique like tinsel or ribbon garland, choose something that will make your stairs stand out.
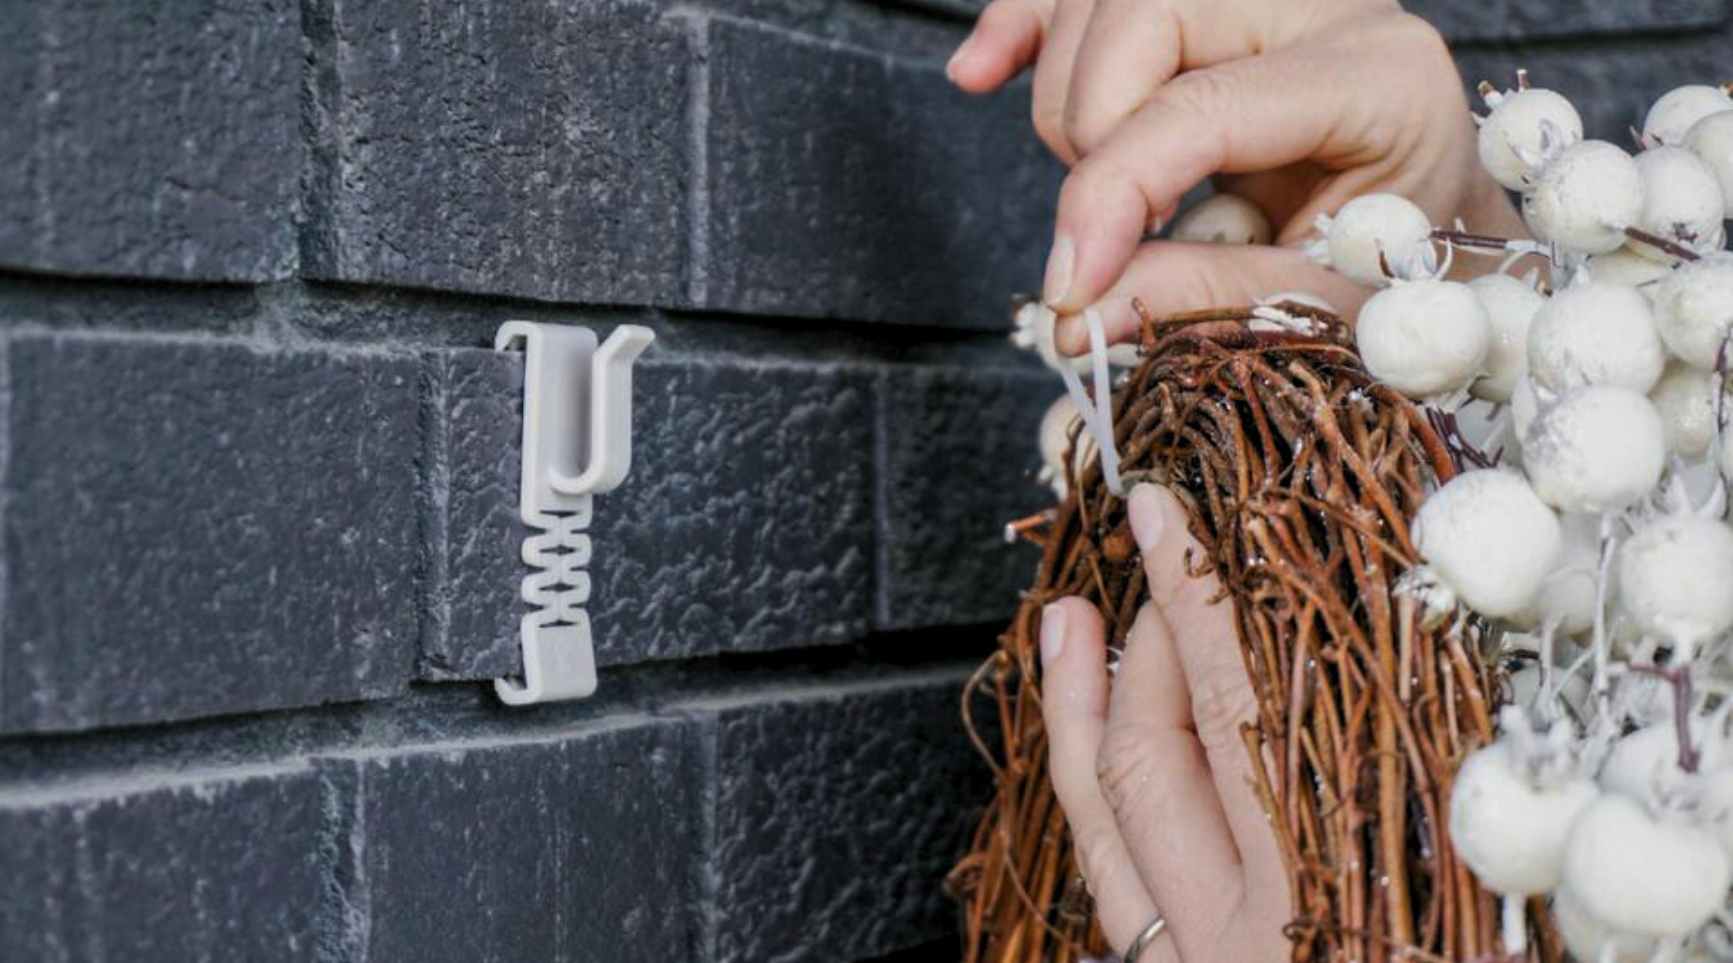
- Command hooks: These removable adhesive hooks are perfect for attaching garland to your stairs without damaging the surface. Make sure to choose hooks that are strong enough to hold the weight of your garland.
- Twist ties or floral wire: These items will be used to secure the garland to the command hooks and ensure it stays in place. Twist ties are ideal for attaching lightweight garlands, while floral wire is recommended for heavier or bulkier garlands.
- Scissors: You will need a pair of scissors to cut the garland to the desired length and trim any excess.
Once you have gathered all of these materials, you are ready to move on to the next steps to attach the garland to your stairs. Remember to follow the instructions carefully to avoid any potential mishaps or damage to your staircase.
Step 1: Measure and Cut Garland
The first step in attaching garland to your stairs is to measure and cut the garland to the appropriate length. Start by measuring the length of each step and the vertical portion of your staircase where you want to hang the garland.
Using a measuring tape, carefully measure the length of each step, making sure to account for any gaps or curves. Add these measurements together to determine the total length of garland you will need. It’s always a good idea to add a few extra inches to ensure a secure fit and to allow for any adjustments or trimming later on.
Once you have determined the desired length, use a pair of scissors to cut the garland. Be cautious and cut slowly to ensure a neat and even cut. Remember, you can always trim excess garland later if needed, so it’s better to start with a slightly longer piece.
Before moving on to the next step, take a moment to check the length of the garland against the measurements you took earlier. This will help ensure that you have cut the garland to the correct size and that it will fit the staircase perfectly.
Now that you have your garland measured and cut, it’s time to move on to the next step and start attaching it to the stairs using command hooks.
Step 2: Secure Command Hooks
Once you have your garland measured and cut to the desired length, the next step is to secure the command hooks to your staircase. These hooks will serve as the anchor points for attaching the garland.
Start by cleaning the surface of your stairs where you plan to place the hooks. Use a damp cloth to remove any dust or debris, as a clean surface will ensure better adhesion for the command hooks.
Next, determine the placement of the hooks. Depending on your preference, you can secure the hooks directly onto the steps or on the vertical portion of the stairs. Consider the overall design and the size of your garland when deciding where to position the hooks.
Once you have decided on the placement, peel off the backing of the command hook and press it firmly onto the surface. Hold it in place for a few seconds to ensure a strong bond. Repeat this process for each hook, spacing them out evenly along the length of the staircase.
It’s important to note that command hooks are designed to be easily removable without leaving any residue or damage. Follow the manufacturer’s instructions when applying and removing the hooks to avoid any issues.
Now that you have securely positioned the command hooks, you are ready to move on to the next step of attaching the garland to the hooks.
Use zip ties to secure garland to the handrail of the stairs. Start at the top and work your way down, spacing the zip ties evenly to keep the garland in place.
Step 3: Attach Garland to Command Hooks
With the command hooks securely in place on your staircase, it’s time to attach the garland. This step will bring your stairs to life with a festive and decorative touch.
Start by draping the garland over the topmost command hook. If your garland has a specific direction or orientation, make sure you position it accordingly. Allow the garland to naturally hang down, following the contours of the staircase.
Once the garland is draped over the first command hook, use twist ties or floral wire to secure it in place. Wrap the twist tie or floral wire around the garland and the hook, creating a tight hold. Be careful not to pull too tightly, as you want to maintain the fullness and shape of the garland.
Continue this process of draping the garland over each command hook and securing it with twist ties or floral wire. Take your time to arrange the garland evenly and adjust it as needed to achieve a balanced and visually appealing look.
If your garland is particularly long or if you have multiple sections of garland, consider attaching additional hooks along the staircase to provide extra support and prevent sagging.
As you attach the garland, step back periodically to assess the overall appearance. Make any necessary adjustments to ensure the garland is evenly distributed and hanging smoothly.
Now that the garland is attached to the command hooks, it’s time to move on to the next step and make any final adjustments to secure the garland in place.
Read more: How To Make High Chair Garland
Step 4: Adjust and Secure Garland
Now that you have attached the garland to the command hooks, it’s time to make any necessary adjustments and ensure it is securely in place. This step will help you achieve a clean and polished look for your staircase decoration.
Start by stepping back and taking a close look at the garland. Check for any areas that may appear uneven or sagging. Gently adjust the garland by pulling or pushing it into place to create a more uniform appearance.
If you have multiple sections of garland, make sure they are seamlessly connected. Use twist ties or floral wire to secure the ends of the sections together, ensuring a secure and continuous flow of garland along the stairs.
As you adjust the garland, be mindful of any fragile decorations or ornaments that may be attached. Handle them with care to avoid any damage or dislodging during the adjustment process.
Take this opportunity to step back and view the garland from different angles. This will help you identify any areas that may require further adjustment or additional support.
If you notice any gaps or areas where the garland is not as full as you would like, consider adding extra greenery, bows, or ornaments to fill in the spaces. This will give your garland a more lush and vibrant appearance.
Finally, once you are satisfied with the placement and fullness of the garland, make sure it is securely fastened to the command hooks. Double-check that the twist ties or floral wire are tight enough to hold the garland in place and prevent any unexpected movement.
With the garland now properly adjusted and secured, it’s time to add the finishing touches to complete your staircase decoration.
Step 5: Add Finishing Touches
Now that the garland is securely attached to your staircase, it’s time to add the finishing touches to create a truly captivating and festive display. These final touches will elevate the overall look and make your staircase decoration truly shine.
Consider incorporating additional elements such as bows, ribbons, or decorative ornaments into the garland. Attach them strategically throughout the garland to add pops of color or sparkle. This will enhance the overall visual appeal and create a more personalized touch.
You can also weave in string lights to add a magical glow to the garland. Choose lights that complement the garland and create a warm and inviting ambiance. Make sure to handle the lights carefully and secure them properly to avoid any loose wires or hazards.
Don’t be afraid to get creative with your finishing touches. Consider adding pinecones, berries, or other seasonal accents that tie in with your overall theme. These natural elements will add texture and depth to the garland, making it even more visually appealing.
As you add the finishing touches, step back and take a moment to admire your handiwork. Make any final adjustments as needed to ensure a balanced and cohesive look.
Once you are satisfied with the overall appearance, take some time to appreciate your beautiful garland-adorned staircase. Light it up, proudly showcase it to your family and guests, and revel in the festive atmosphere it brings to your home.
Remember, as the holiday season or special occasion comes to an end, you can easily remove the garland and command hooks without causing any damage to your staircase or leaving behind any residue. Store the garland carefully for future use, knowing that you have successfully created a stunning staircase decoration.
With the completion of this final step, your stairs are now adorned with a beautifully attached garland that will impress and delight everyone who enters your home.
Enjoy the festive cheer and the joyous atmosphere that your decorative staircase brings!
Conclusion
Attaching garland to your stairs is a wonderful way to bring a festive and inviting atmosphere to your home. By following the step-by-step process outlined in this article, you can easily and securely attach garland to your staircase, creating a stunning and visually appealing decoration.
Starting with measuring and cutting the garland to the appropriate length, you can ensure a perfect fit for your stairs. Securing command hooks in the desired locations provides a stable foundation for attaching the garland. Once the hooks are in place, draping the garland over them and securing it with twist ties or floral wire adds a touch of elegance to your staircase.
Remember, take the time to adjust and secure the garland to achieve an even and balanced appearance. Adding extra elements such as bows, ornaments, or lights can enhance the overall look and create a truly enchanting display.
As you admire your beautifully decorated staircase, take a moment to appreciate the joyful and festive atmosphere it brings to your home. Whether during the holiday season or for other special occasions, your guests will be delighted by the warm and welcoming ambiance.
When the time comes to remove the garland, you can do so easily without damaging your staircase. Simply detach the garland from the command hooks and store it carefully for future use.
Now, armed with the knowledge and techniques outlined in this article, you can confidently and creatively attach garland to your stairs. Enjoy the process of decorating your home and creating lasting memories with your beautifully adorned staircase!
Frequently Asked Questions about How To Attach Garland To Stairs
Was this page helpful?
At Storables.com, we guarantee accurate and reliable information. Our content, validated by Expert Board Contributors, is crafted following stringent Editorial Policies. We're committed to providing you with well-researched, expert-backed insights for all your informational needs.




0 thoughts on “How To Attach Garland To Stairs”