Home>Articles>How To Build A Breakout Electrical Cord For Testing Amp Draw
Articles
How To Build A Breakout Electrical Cord For Testing Amp Draw
Modified: March 1, 2024
Learn how to build a breakout electrical cord for testing amp draw in this informative article. Gain valuable insights and tips for accurate measurements.
(Many of the links in this article redirect to a specific reviewed product. Your purchase of these products through affiliate links helps to generate commission for Storables.com, at no extra cost. Learn more)
Introduction
When it comes to testing amp draw in electrical circuits, having the right equipment is crucial. One of the key tools that every electrician should have in their arsenal is a breakout electrical cord. A breakout electrical cord, also known as a breakout box, allows you to easily access and measure the amp draw of individual components within a circuit.
In this article, we will guide you through the process of building your own breakout electrical cord for testing amp draw. By following these steps, you can ensure accurate and efficient testing of electrical circuits, helping you diagnose any potential issues and make necessary repairs.
Before we dive into the steps, let’s quickly go over why it’s important to test amp draw in electrical circuits. Amp draw is a measurement of the amount of electrical current flowing through a circuit. By measuring the amp draw of different components, you can identify the level of power consumption and detect any abnormal or excessive current draw that may indicate a problem.
Testing amp draw can help you pinpoint issues such as overloaded circuits, faulty wiring, or malfunctioning electrical devices. It is an essential part of troubleshooting electrical problems and ensuring the safety and efficiency of electrical systems.
Now that we understand the importance of testing amp draw, let’s move on to the first step: gathering the required materials.
Key Takeaways:
- Building a breakout electrical cord for testing amp draw is essential for diagnosing electrical issues, ensuring safety, and maintaining efficiency. By following the steps outlined, electricians can create a valuable testing tool to troubleshoot circuits and devices effectively.
- With the ability to measure current flow in circuits, electricians can confidently tackle electrical projects and maintain the integrity of installations. Building a breakout electrical cord provides a cost-effective and efficient solution for accurate amp draw testing, empowering professionals to detect and prevent potential issues.
Step 1: Gather the Required Materials
Before you begin building your breakout electrical cord, you’ll need to gather all the necessary materials. Here’s a list of what you’ll need:
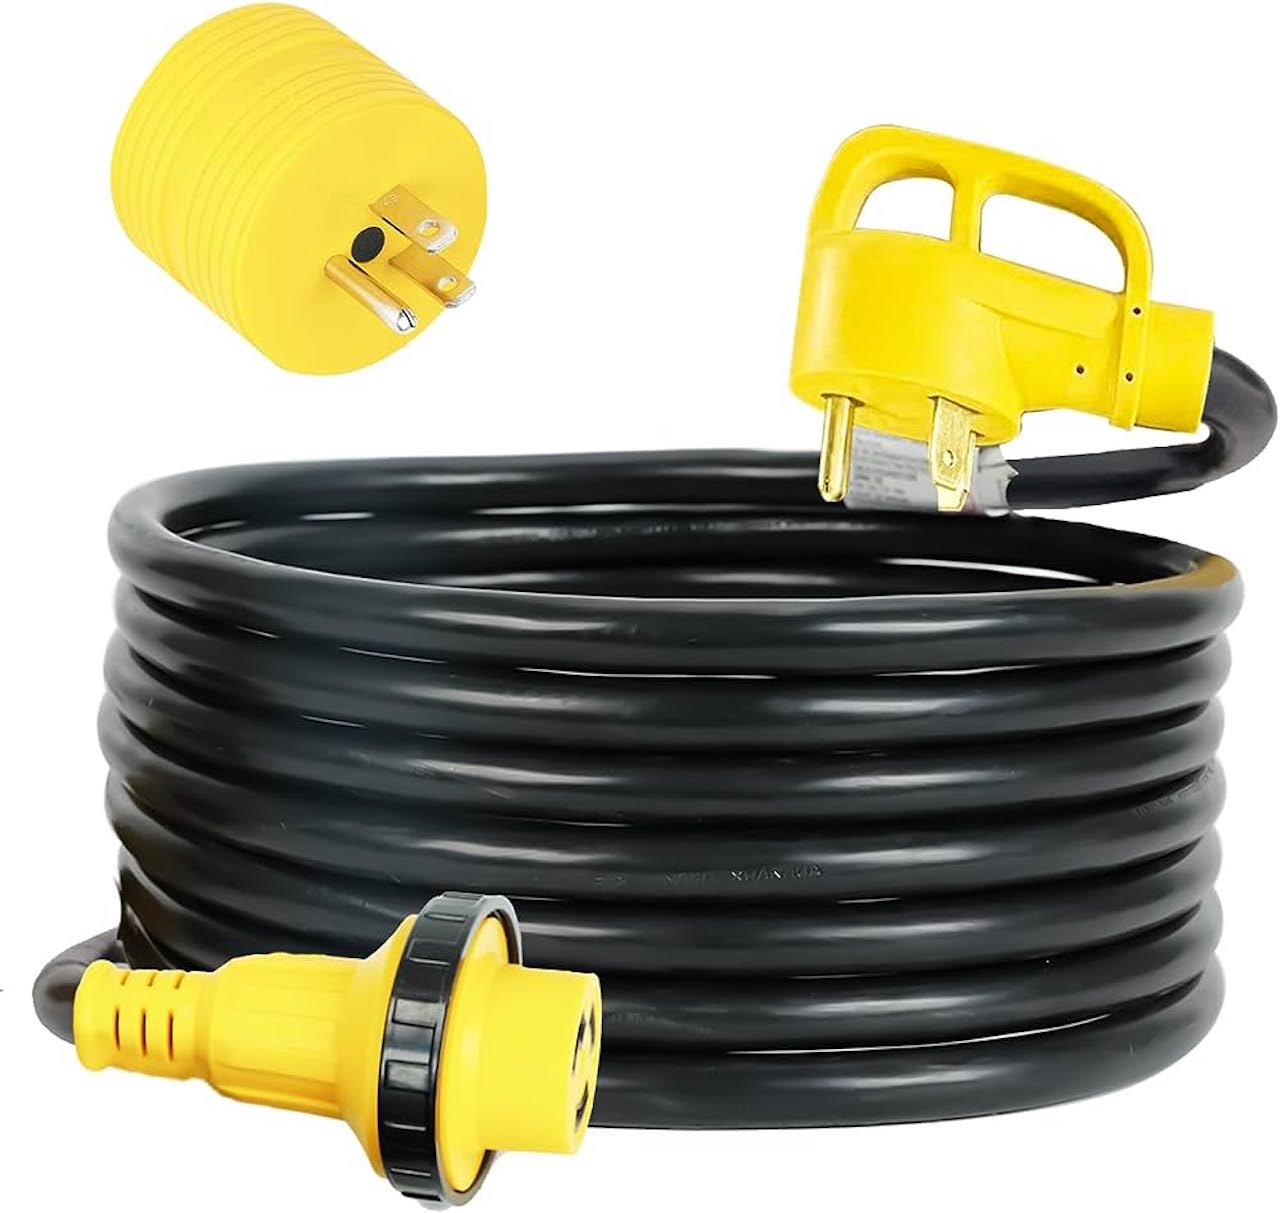
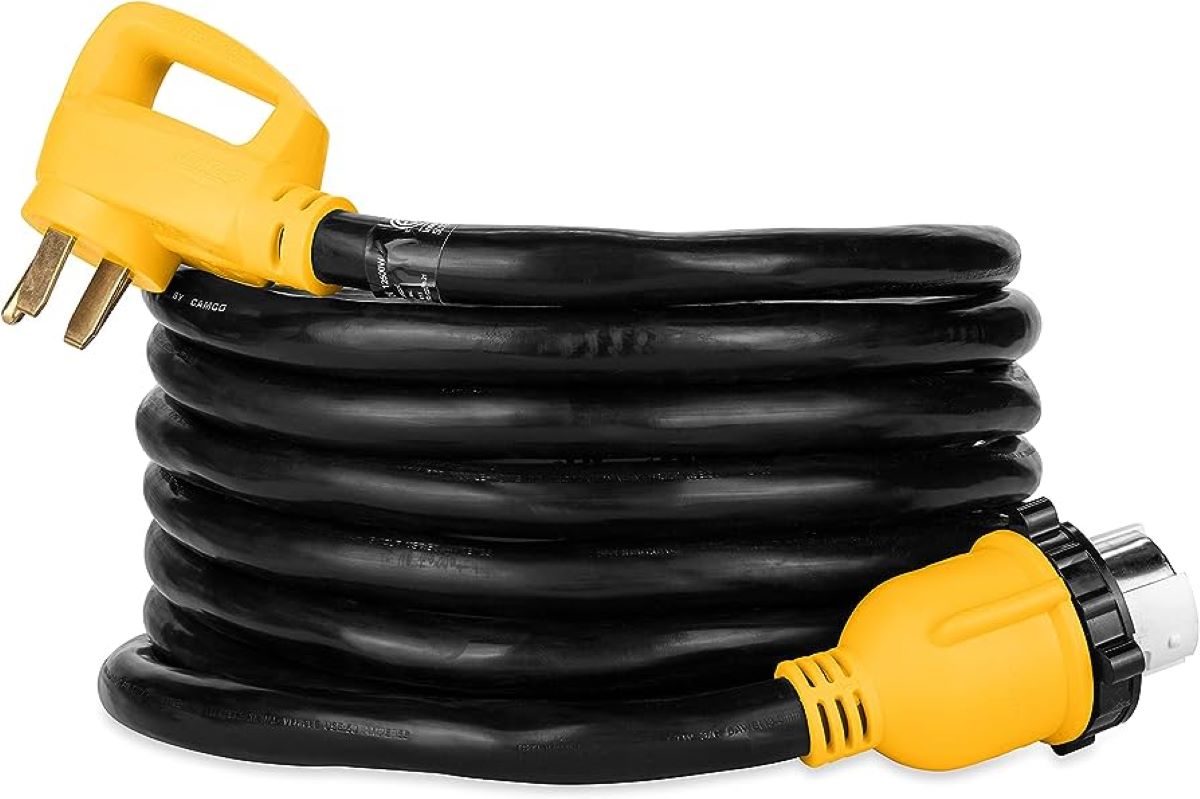
- Electrical cord: Choose a high-quality, heavy-duty cord that can handle the maximum current load you’ll be testing.
- Plug and socket: Select a plug and socket that are compatible with the electrical cord and can handle the current rating of the circuit you’ll be testing.
- Enclosure box: Get an enclosure box that is large enough to accommodate the plug, socket, and other components.
- Wire connectors: Look for wire connectors that are suitable for connecting the wires of the cord to the plug and socket.
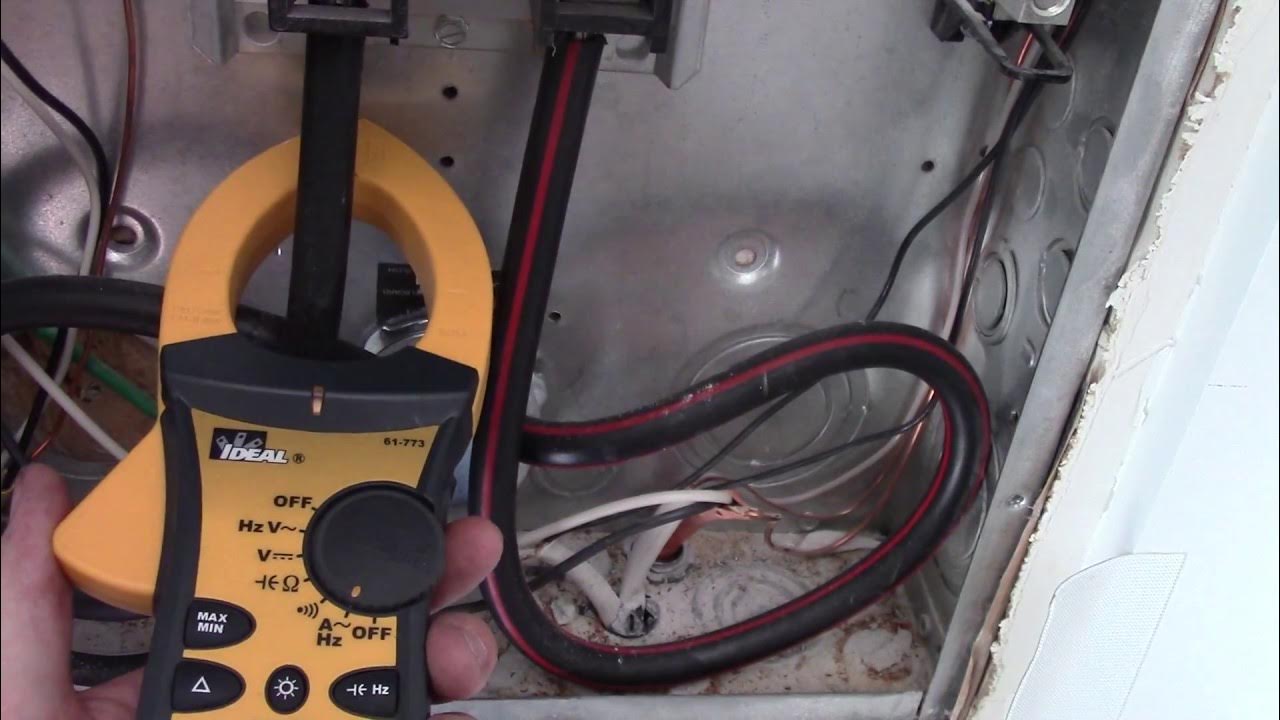
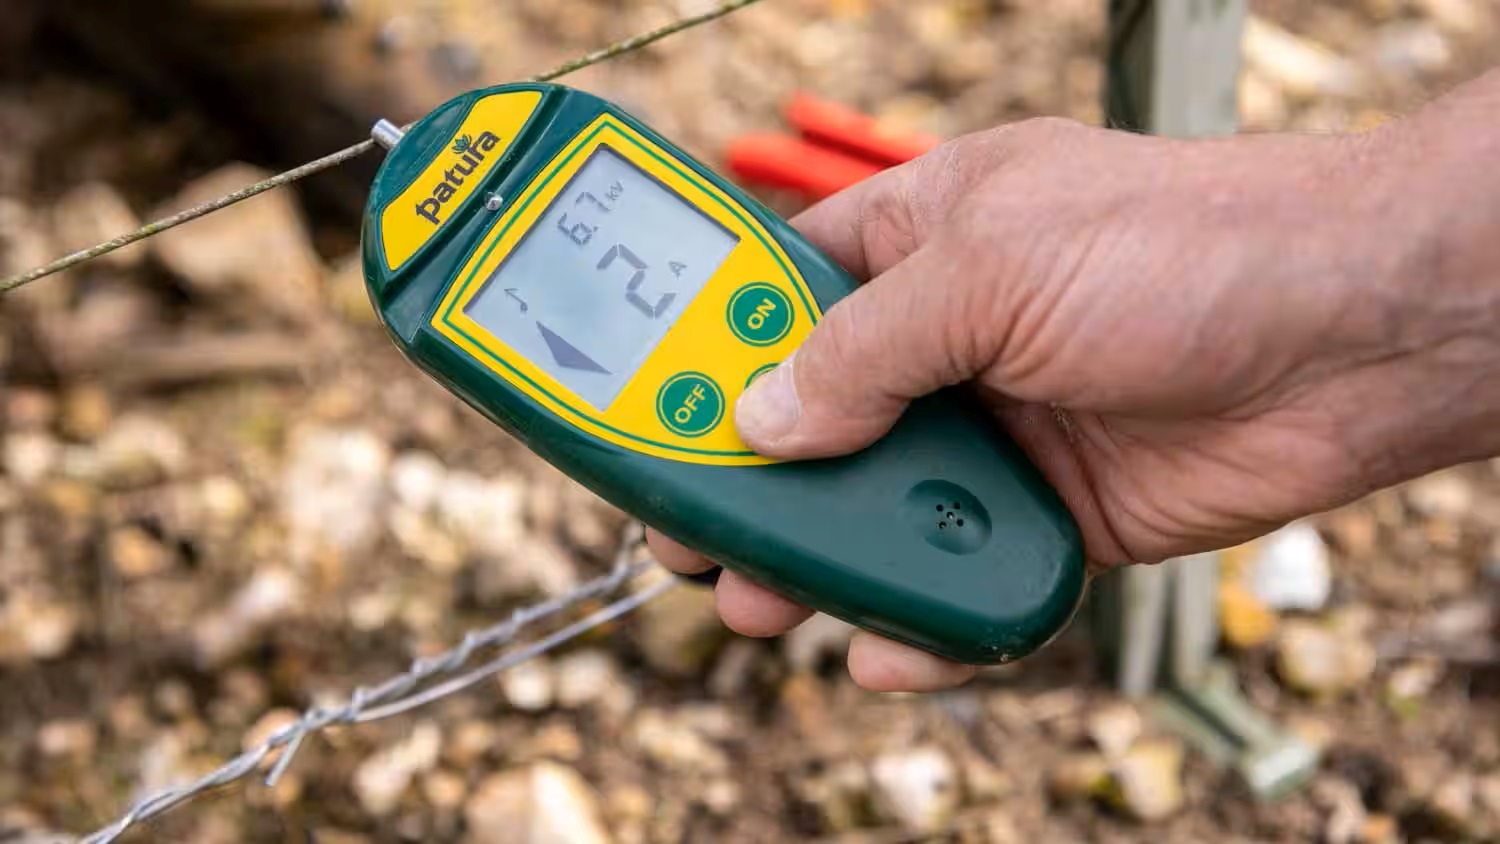
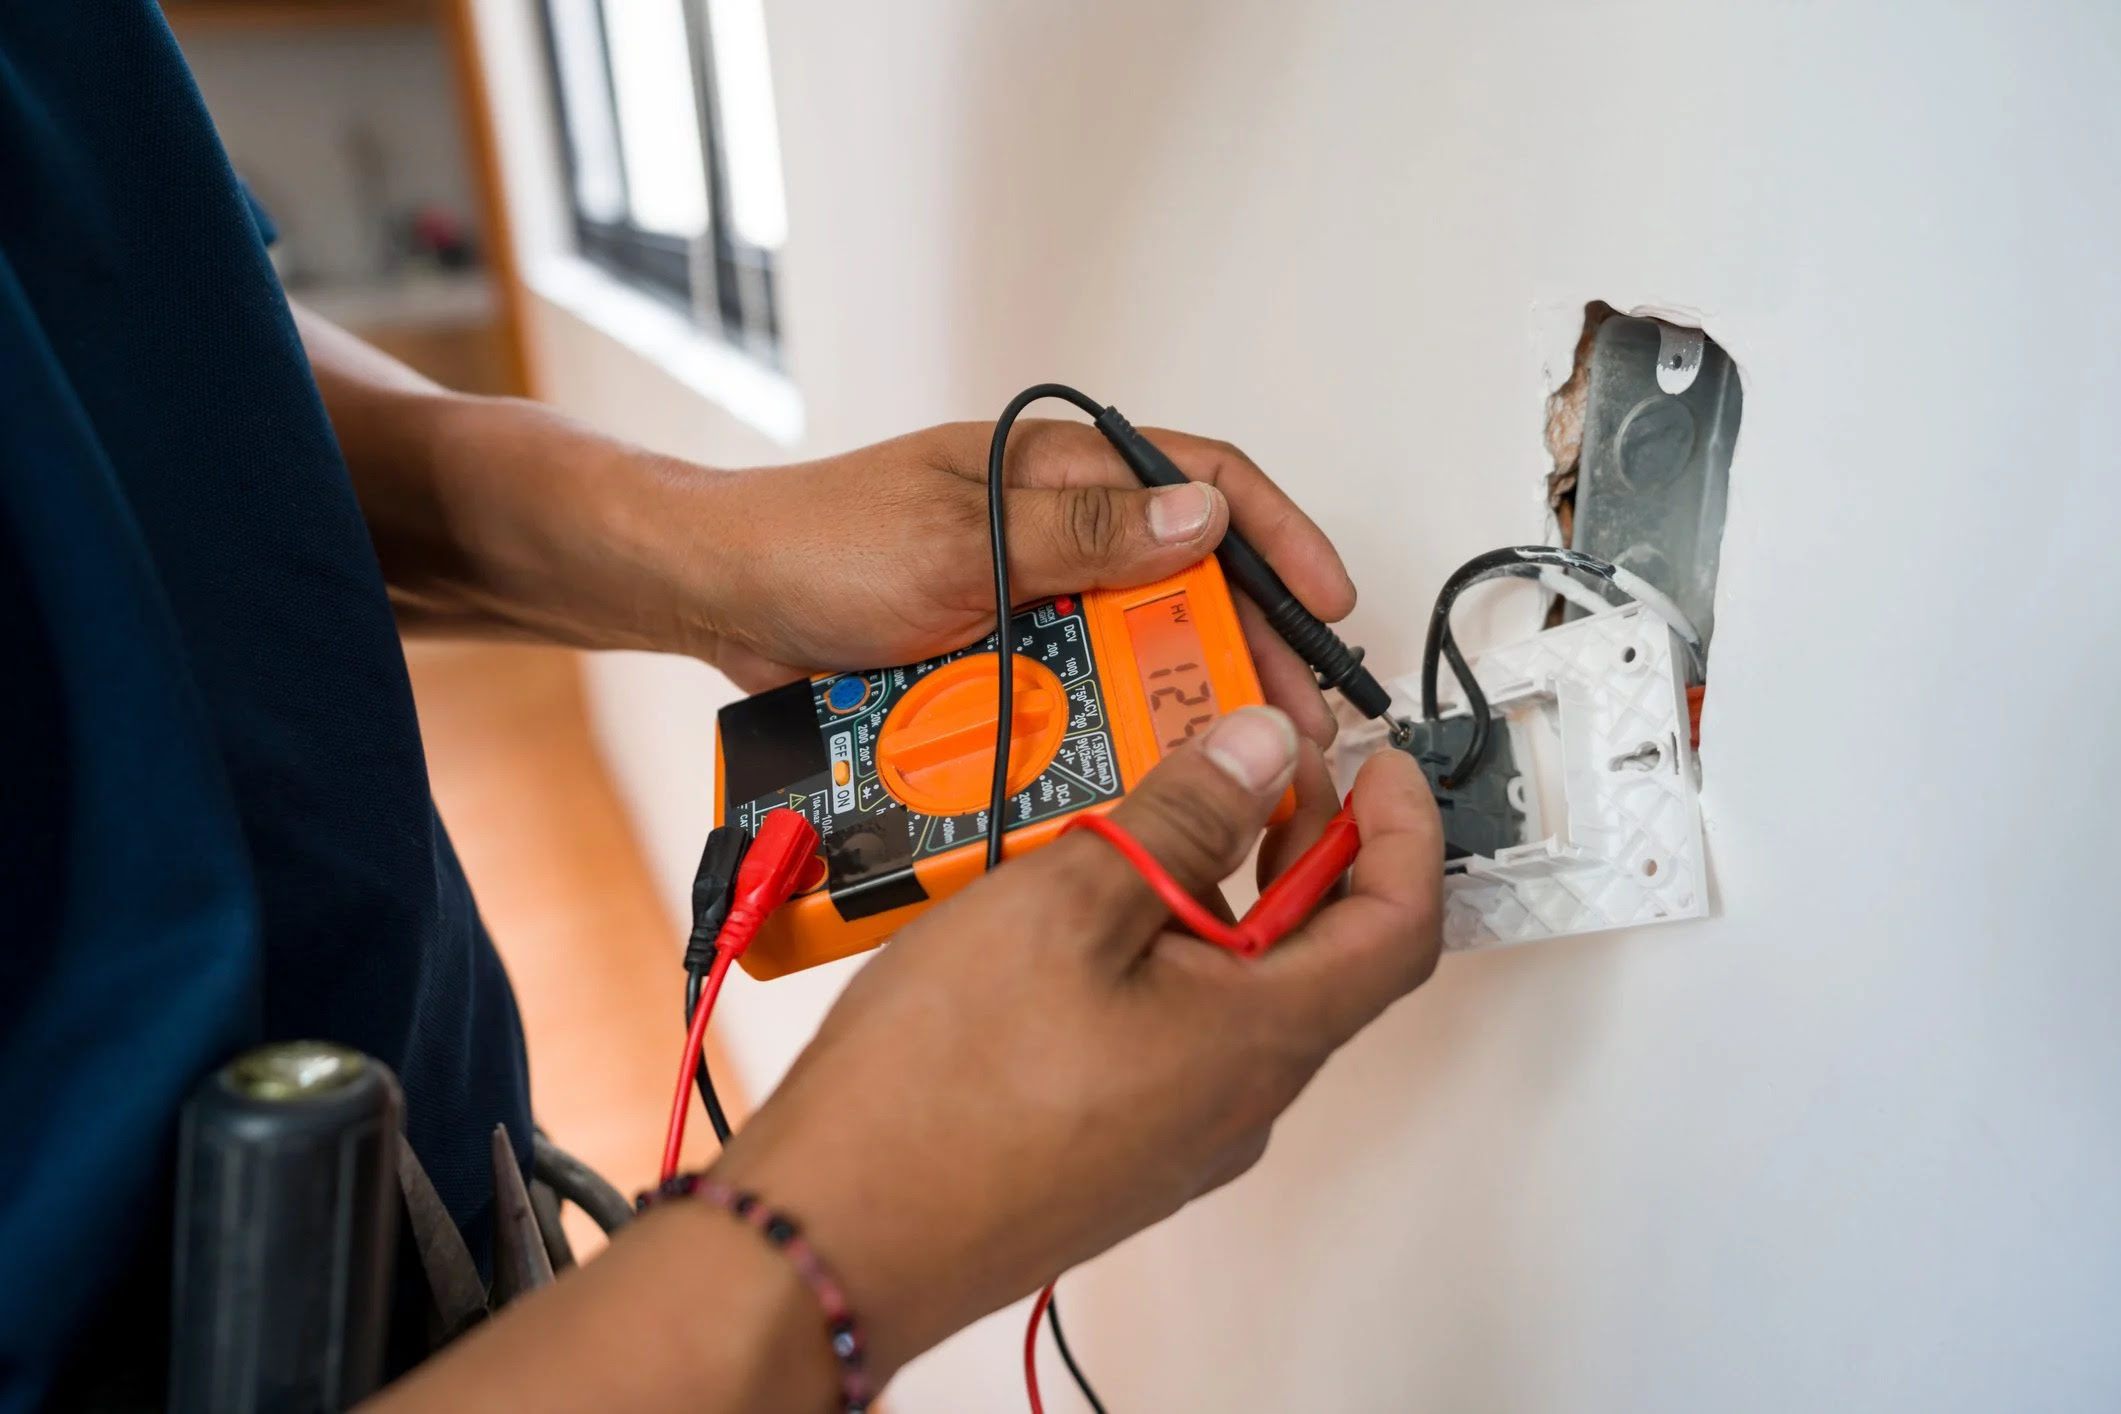
- Amp meter: Invest in a reliable amp meter that can accurately measure the amp draw of the circuit.
- Wire strippers and crimping tool: These tools will be necessary for stripping and crimping the wires.
- Electrical tape and heat shrink tubing: These will help secure the connections and provide insulation.
Make sure to double-check that you have all the materials listed above before moving on to the next step. It’s important to use high-quality materials to ensure the safety and reliability of your breakout electrical cord.
Once you have everything ready, you can proceed to the next step: preparing the electrical cord.
Step 2: Prepare the Electrical Cord
Now that you have gathered all the necessary materials, it’s time to prepare the electrical cord for your breakout box. Follow these steps:
- Measure and cut the electrical cord: Determine the desired length of your breakout cord and use wire cutters to trim the cord to the appropriate size. Make sure to leave some extra length to work with.
- Strip the insulation: Use wire strippers to remove the outer insulation from both ends of the cord, exposing the inner conductors.
- Separate the conductors: Once the insulation is removed, separate the individual conductors from each other.
- Strip the conductor ends: Strip a small portion of insulation from the ends of each conductor using wire strippers, exposing the copper wires.
- Connect the wires to the plug and socket: Attach the stripped ends of the wires to the appropriate terminals of the plug and socket. Secure the connections using wire connectors or crimping them.
- Insulate the connections: Wrap electrical tape around each connection to provide insulation and secure them. You can also use heat shrink tubing for added protection.
Once the electrical cord is prepared and the connections are secure, you’re ready to move to the next step: installing the breakout box.
Step 3: Install the Break Out Box
With the electrical cord prepared, it’s time to install the breakout box. The breakout box serves as a junction point where you can easily access the individual components of the circuit for amp draw testing. Follow these steps to install the breakout box:
- Select a suitable location: Choose a convenient and accessible location to mount the breakout box. It should be close to the circuit you’ll be testing, but ensure there is enough space for the components and cable management.
- Mount the breakout box: Attach the enclosure box to a sturdy surface using screws or mounting brackets. Ensure it is securely fastened and will not move during testing.
Now that the breakout box is installed, you can move on to the next step: connecting the breakout box to the amp meter.
When building a breakout electrical cord for testing amp draw, make sure to use the appropriate gauge wire for the current being tested and to properly insulate all connections to ensure safety.
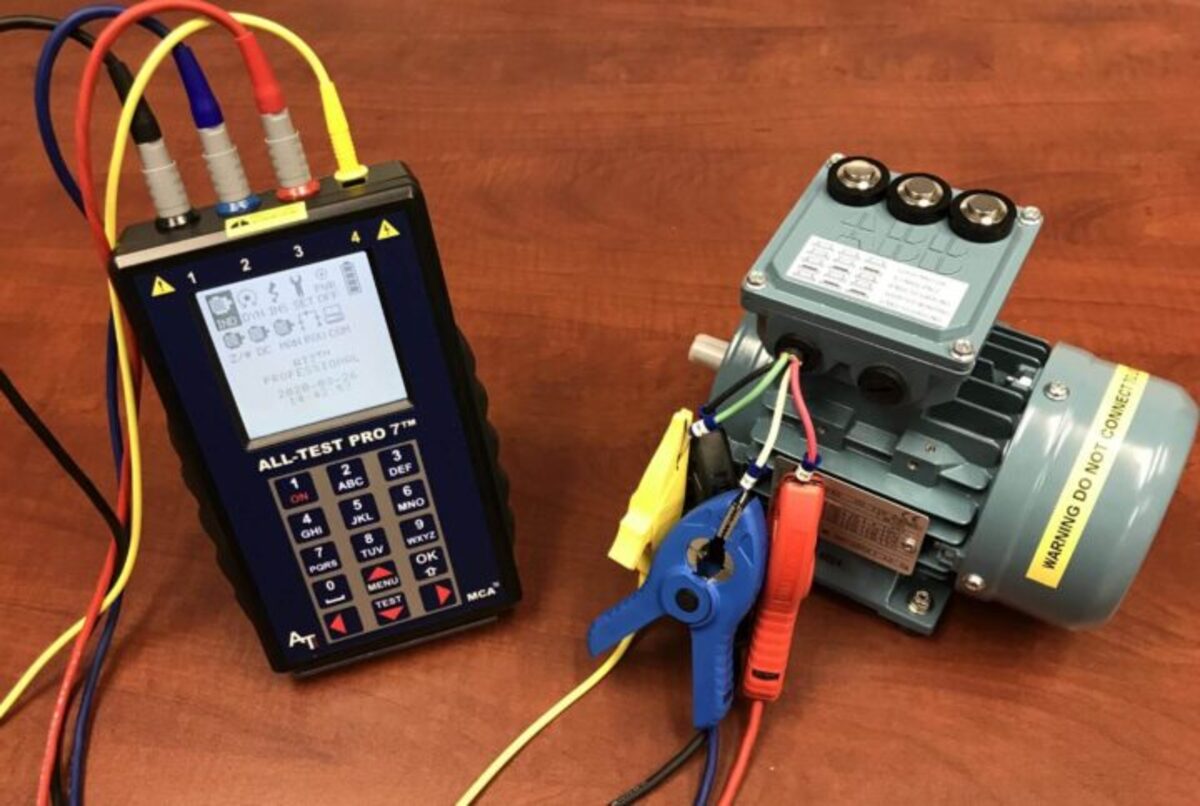
Step 4: Connect the Break Out Box to the Amp Meter
With the breakout box securely installed, it’s time to connect it to the amp meter. This step is crucial as it allows you to measure the amp draw of the individual components within the circuit. Follow these steps to connect the breakout box to the amp meter:
- Determine the connection method: Check the specifications of your amp meter to determine the recommended method of connection. Some amp meters may have dedicated ports or terminals for connecting external devices, while others may require the use of special adapters.
With the breakout box connected to the amp meter, you’re now ready to move on to the final step: testing the amp draw.
Read more: How To Test The Draw On A Chimney
Step 5: Test the Amp Draw
Now that you have set up the breakout box and connected it to the amp meter, it’s time to test the amp draw of the circuit. Follow these steps to accurately measure the amp draw:
Remember to exercise caution and follow proper safety protocols when conducting amp draw tests. If at any point you encounter unusual readings, excessive current draw, or other anomalies, consult a qualified electrician for further assistance.
With the amp draw testing complete, you have successfully used your breakout electrical cord to measure the current flow in the circuit. Congratulations on building your own testing tool and gaining valuable insights into the electrical system!
Now that you are familiar with the process, you can confidently use your breakout electrical cord for future amp draw testing and troubleshooting tasks.
Conclusion
Building a breakout electrical cord for testing amp draw is a valuable skill that every electrician should possess. By following the steps outlined in this guide, you can create your own breakout box and accurately measure the amp draw of electrical circuits.
Testing amp draw is essential for diagnosing electrical issues, identifying power consumption levels, and ensuring the safety and efficiency of electrical systems. With your homemade breakout electrical cord, you have the ability to access individual components within a circuit and measure their current draw.
Throughout this process, it’s important to use high-quality materials and ensure secure connections to guarantee accurate and reliable results. Safety should always be a priority, so be sure to follow proper safety protocols and consult a qualified electrician if you encounter any difficulties or unusual readings.
Now that you have learned how to gather the required materials, prepare the electrical cord, install the breakout box, connect it to the amp meter, and test the amp draw, you are equipped with the knowledge and skills to effectively troubleshoot electrical circuits and devices.
Remember to document your findings and use the amp draw readings as a reference for future maintenance or repair work. Regular amp draw testing can help you detect and prevent potential issues, ensuring the longevity and reliability of electrical systems.
Building your own breakout electrical cord is a cost-effective and efficient solution that can save you time and money. By being self-sufficient in testing amp draw, you can confidently tackle electrical projects and maintain the integrity of electrical installations.
So, go ahead and put your newfound knowledge into practice. Start building your breakout electrical cord and take control of amp draw testing in your electrical work.
Remember, knowledge is power, and with your DIY breakout electrical cord, you have the power to accurately measure the amp draw and keep electrical systems running smoothly.
Frequently Asked Questions about How To Build A Breakout Electrical Cord For Testing Amp Draw
Was this page helpful?
At Storables.com, we guarantee accurate and reliable information. Our content, validated by Expert Board Contributors, is crafted following stringent Editorial Policies. We're committed to providing you with well-researched, expert-backed insights for all your informational needs.


0 thoughts on “How To Build A Breakout Electrical Cord For Testing Amp Draw”