Articles
How To Make A Carport
Modified: October 18, 2024
Learn how to make a carport with informative articles##
(Many of the links in this article redirect to a specific reviewed product. Your purchase of these products through affiliate links helps to generate commission for Storables.com, at no extra cost. Learn more)
Introduction
A carport is a convenient and cost-effective way to provide shelter for your vehicles while also adding value and functionality to your property. Whether you need protection from the elements or simply want to create a designated parking area, building a carport can be a rewarding DIY project. In this article, we will guide you through the step-by-step process of building a carport.
Before diving into the construction process, it’s important to note that building codes and permit requirements may vary depending on your location. It’s always wise to check with your local authorities to ensure that you comply with any necessary regulations.
The first step is to carefully plan and prepare for your carport construction. Start by choosing the right location on your property. Look for an area that is conveniently accessible and provides enough space for the carport size you have in mind. Take into consideration any existing structures, trees, or utility lines that could impact the placement.
Next, research the local building codes and permit requirements. Some areas may have specific regulations governing the size, height, and setback requirements for carports. Make sure to obtain any necessary permits before proceeding with the construction.
Once you’ve determined the location and have a clear understanding of the regulations, it’s time to measure the available space. This will help you determine the dimensions for your carport. Consider the number of vehicles you plan to shelter and any additional space you might need for storage or workspace.
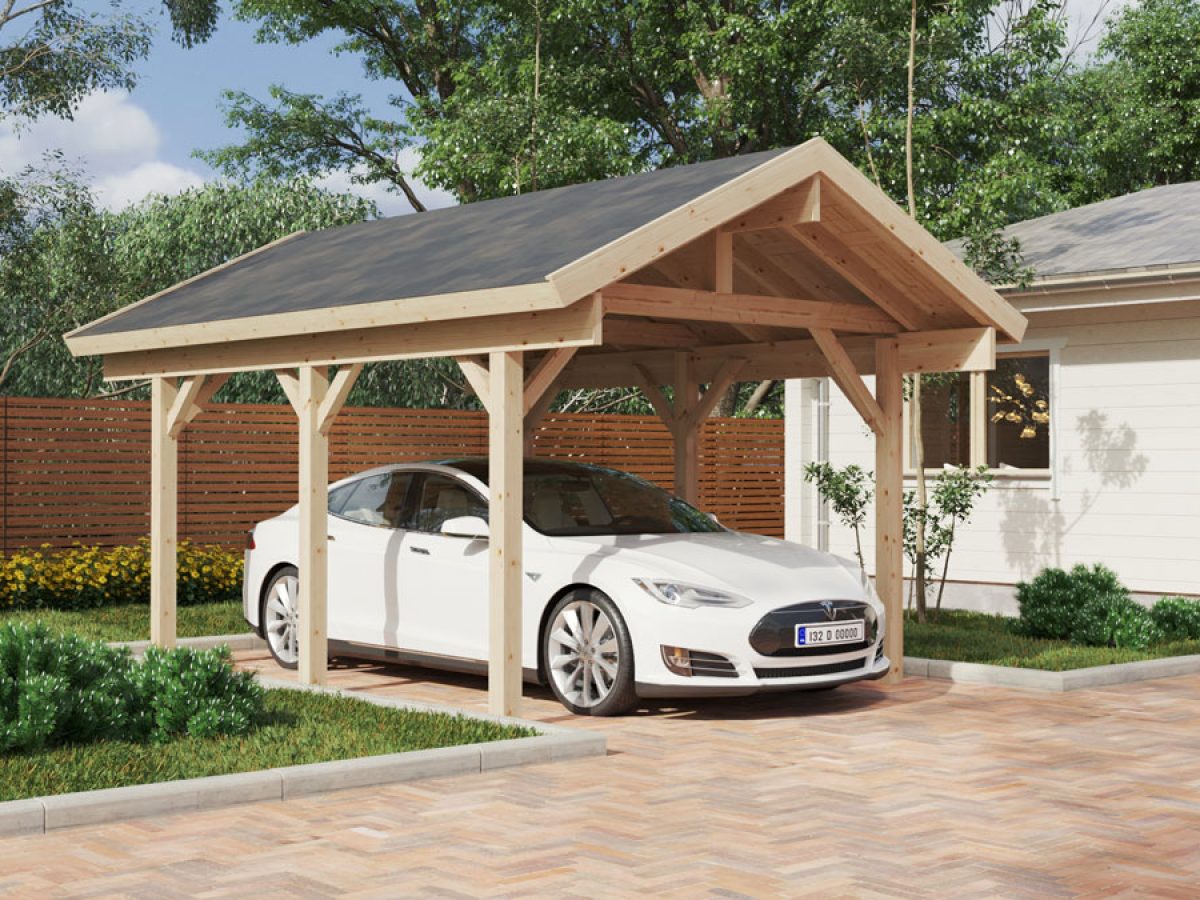
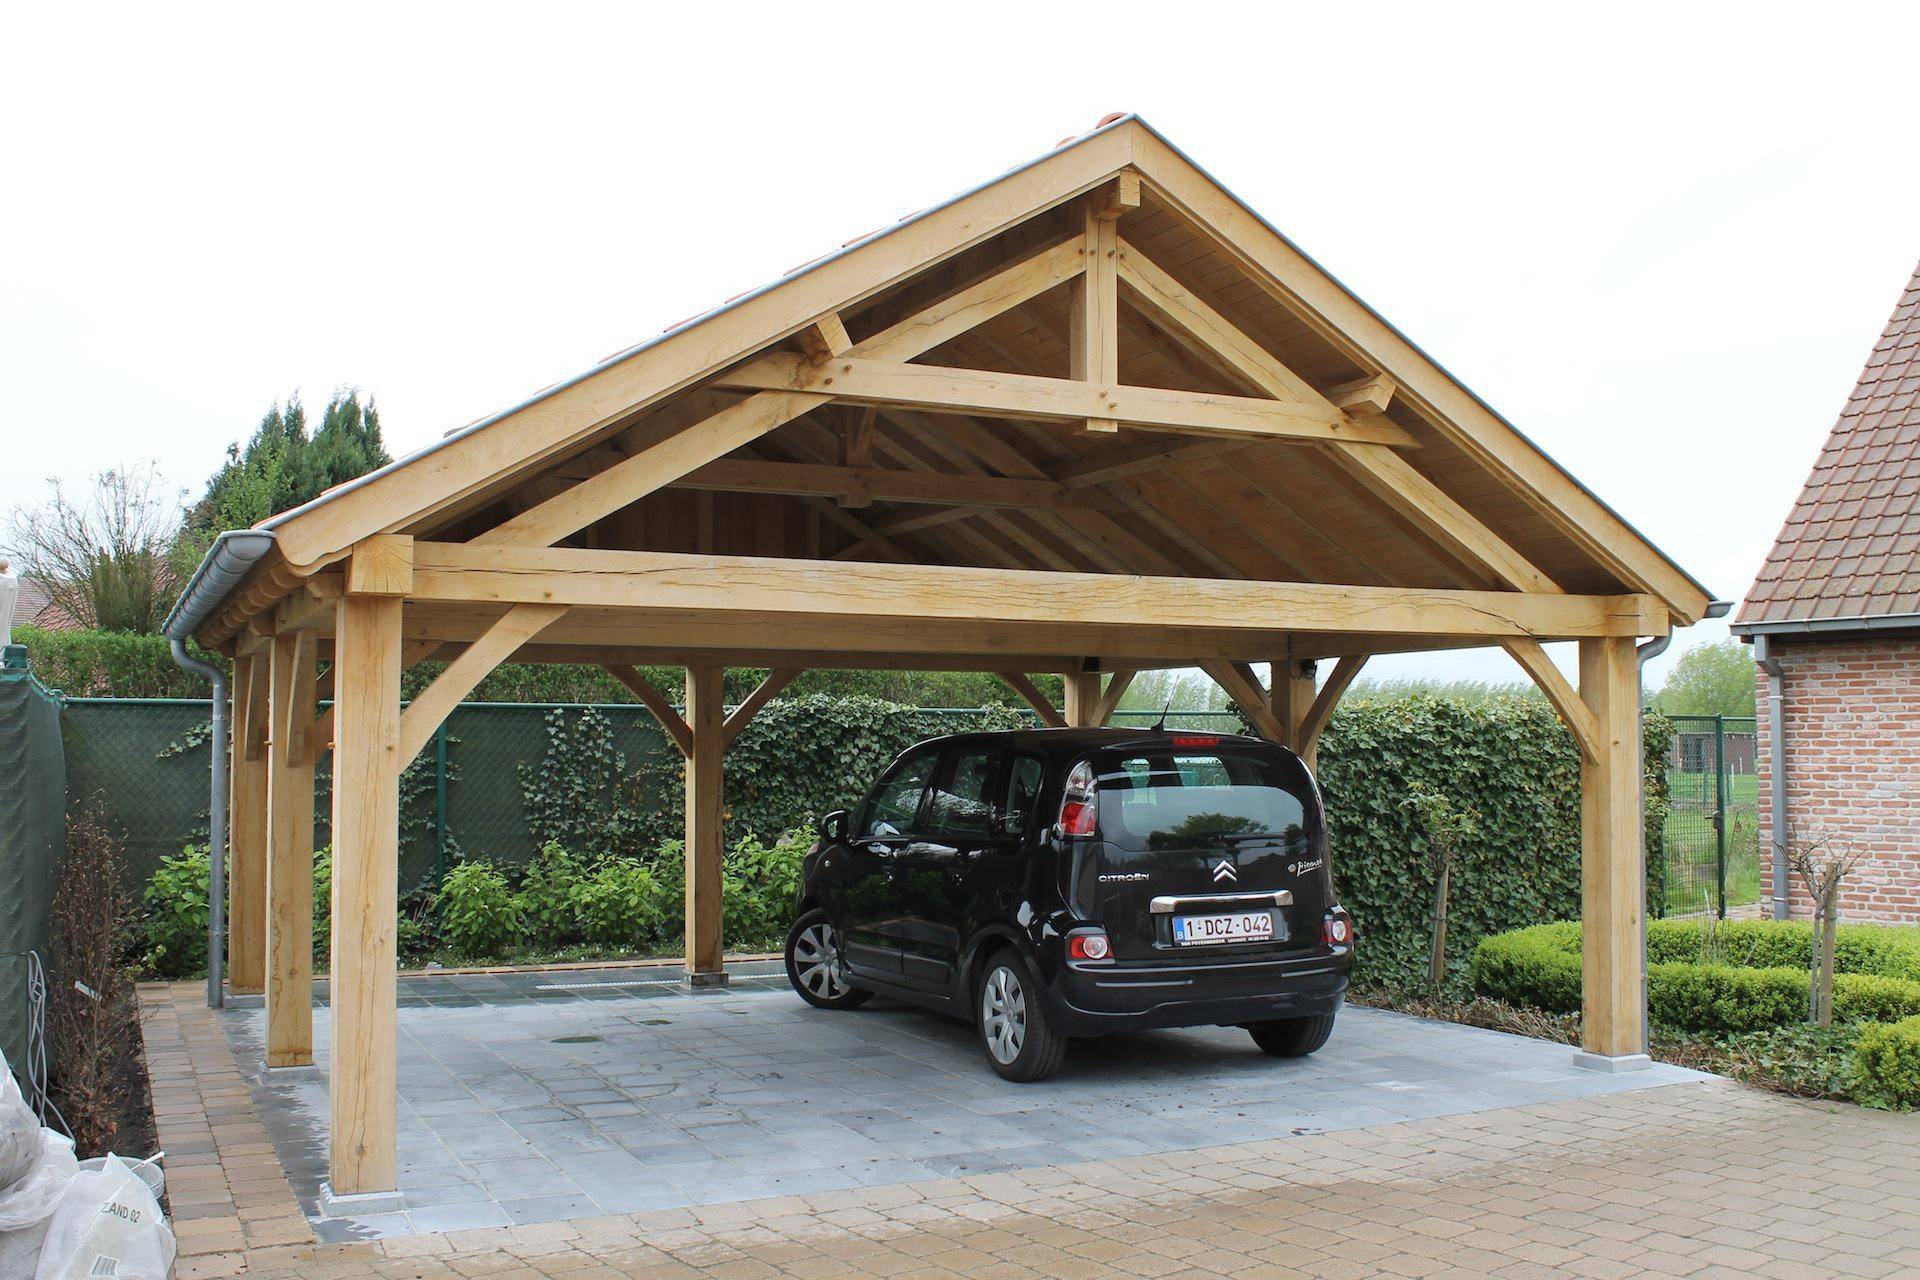
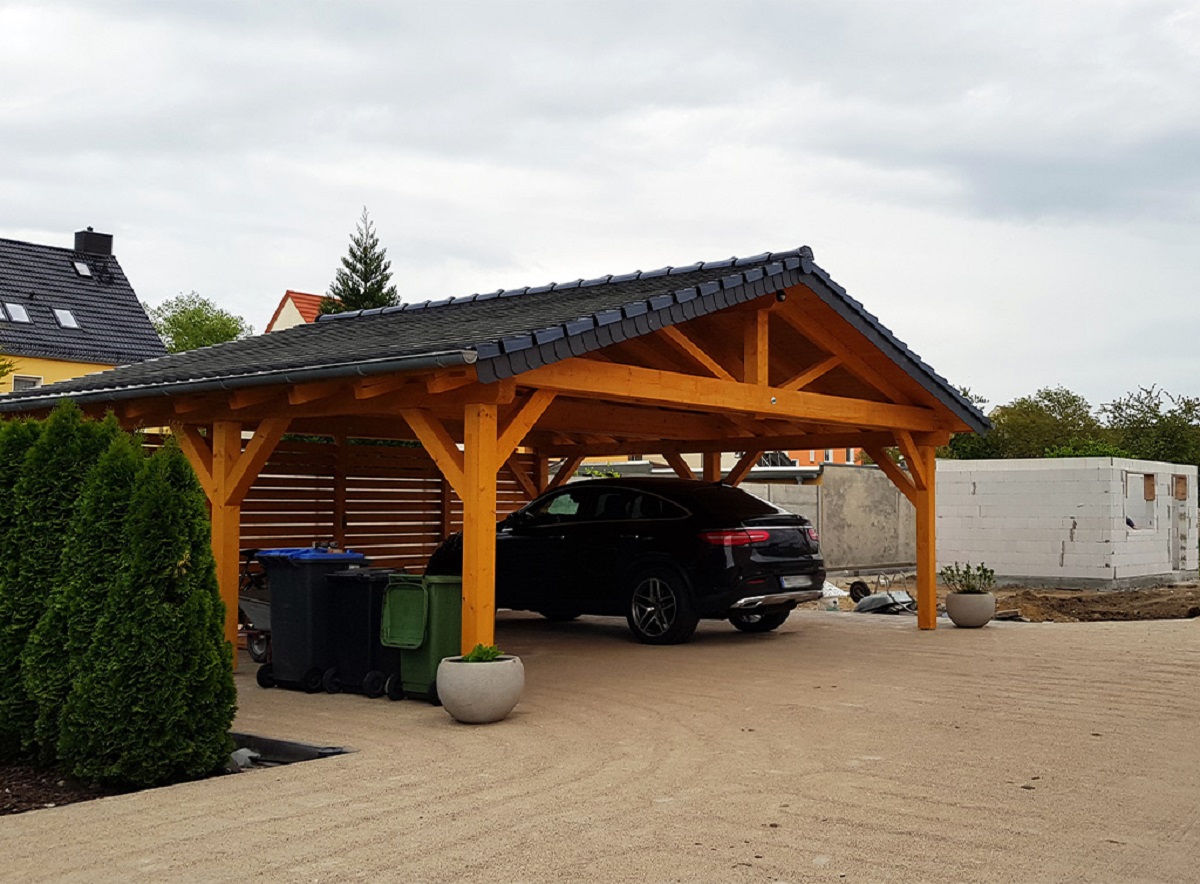
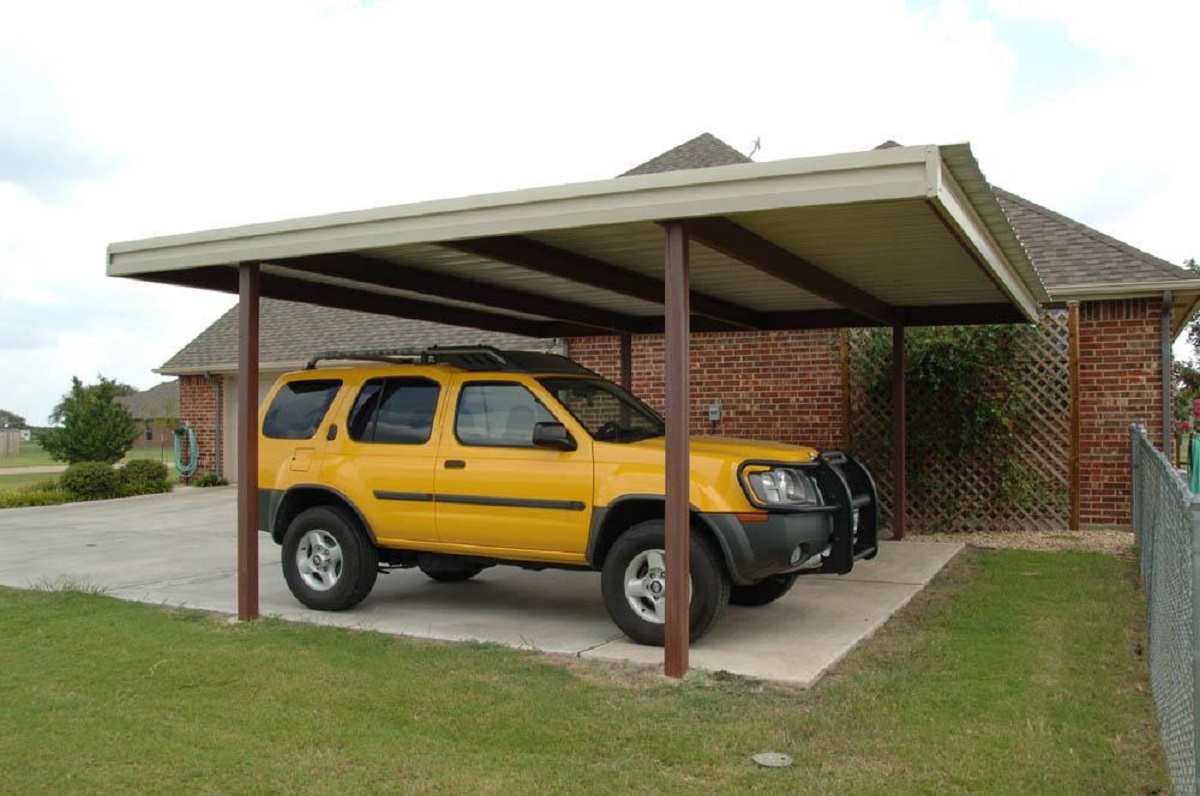
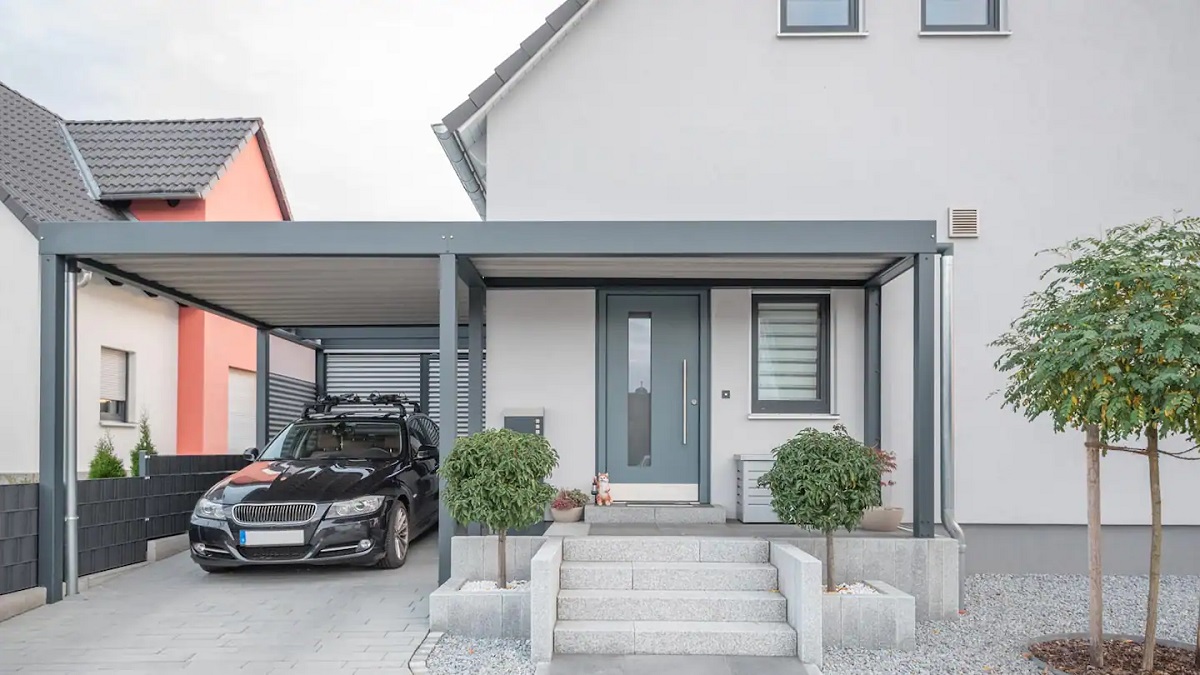
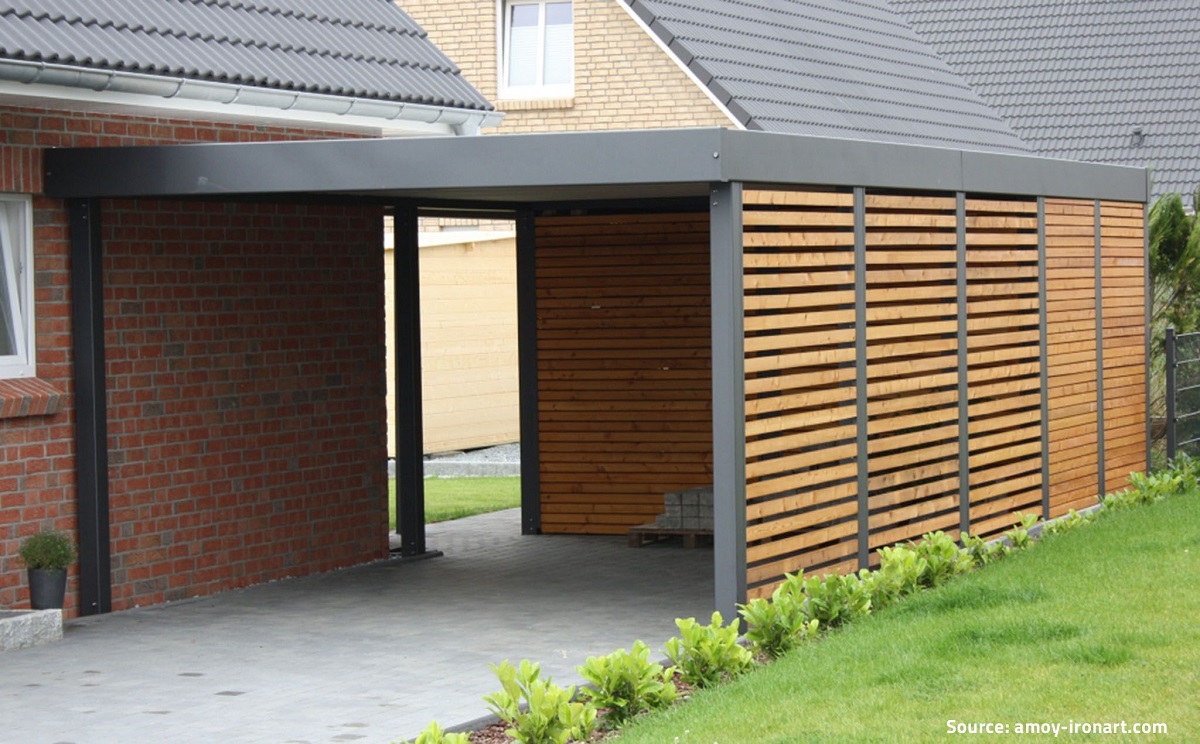
With the measurements in hand, you can now decide on the size and style of your carport. Carports come in various shapes and designs, from simple freestanding structures to attached carports that connect to an existing building. Choose a style that fits your needs, complements your property, and suits your budget.
With the planning and preparation phase complete, it’s time to gather the necessary materials and tools for the construction. This will depend on the specific design and style of your carport, but some common materials include wood or metal posts, beams, trusses, roofing materials, and fasteners. In terms of tools, you may need a level, measuring tape, drill, saw, and other basic hand tools.
In the next step, we will go into detail about the foundation preparation, including clearing and leveling the ground, digging post holes, and pouring concrete footings. Building a solid foundation is crucial to the stability and durability of your carport structure.
Building a carport can be a rewarding project that not only adds value to your property but also provides a practical and functional space for your vehicles. By following the step-by-step process outlined in this article, you’ll be well on your way to creating a sturdy and stylish carport that meets your needs.
Key Takeaways:
- Careful planning, compliance with local regulations, and accurate measurements are crucial for successful carport construction. Gathering the right materials and tools in advance streamlines the process and ensures a sturdy and functional end result.
- Foundation preparation, accurate installation of support structures, and attention to roofing and finishing touches are essential for creating a durable and visually appealing carport. Optional features allow for customization and enhanced functionality.
Read more: What Is A Carport
Step 1: Planning and Preparation
Building a carport requires careful planning and preparation to ensure a successful construction process. This step is crucial as it sets the foundation for the entire project. In this step, we will discuss the following key aspects:
Choosing the right location
The first step in planning your carport is selecting the right location on your property. Consider factors such as accessibility, convenience, and aesthetics. You want to choose a spot that is easily accessible for vehicles to enter and exit, preferably close to the main entrance of your home. Additionally, take into account the surrounding landscape and how the carport will blend in with the overall aesthetic of your property.
Checking local building codes and permits
Before proceeding with the construction of your carport, it is essential to check with your local building department regarding any codes, regulations, or permit requirements. Building codes can vary from one jurisdiction to another, so it is important to ensure that your carport complies with all necessary regulations. This step may involve submitting plans and obtaining permits, so be sure to factor in any associated costs and timeframes.
Measuring the available space
Accurate measurements of the available space are crucial for designing a carport that fits perfectly on your property. Using a measuring tape, determine the width, length, and height of the area where you plan to build the carport. Consider any obstructions such as trees, fences, or utility lines that could impact the positioning of the carport. It is recommended to mark the boundaries of the carport area with stakes or spray paint for better visualization.
Read more: How To Build A Lean To Carport
Determining the carport size and style
Based on the measurements and your requirements, you can now determine the size and style of your carport. Consider the number of vehicles you want to accommodate and any additional space needed for storage or other purposes. Carports come in various sizes and styles, including freestanding, attached, or integrated options. Choose a style that complements the architecture of your home and suits your personal preferences.
By taking the time to carefully plan and prepare in this initial stage, you will set yourself up for a smooth and successful carport construction process. The right location, compliance with local regulations, accurate measurements, and a well-thought-out design are essential for creating a functional and visually appealing carport.
Step 2: Gathering Materials and Tools
Once you have completed the planning and preparation phase for your carport project, it’s time to gather the necessary materials and tools. Having everything you need in advance will save you time and ensure a smoother construction process. In this step, we will discuss the following:
List of required materials
The specific materials you will need for your carport project will depend on its design, size, and construction method. However, here is a general list of materials often used in carport construction:
- Posts: These can be made of wood, metal, or concrete, depending on your preference and local building codes.
- Beams: They provide horizontal support for the carport structure and can be made of wood or metal.
- Trusses: Required for larger carports, trusses provide additional strength and support for the roof.
- Roofing materials: Options include metal sheets, polycarbonate panels, or asphalt shingles.
- Fascia boards: These are installed along the edges of the roof to give it a finished look.
- Fasteners: Nails, screws, and bolts will be needed to secure various components of the carport together.
- Concrete and gravel: These will be required for the foundation and post footings.
Be sure to check with local suppliers or consult the plans for your specific carport design to ensure you have the correct quantities of each material.
Necessary tools and equipment
Equipping yourself with the right tools and equipment will make the construction process more efficient and easier to handle. Here are some essential tools you may need for building a carport:
- Measuring tape
- Level
- Hammer
- Screwdriver (both flathead and Phillips)
- Drill
- Saw (hand saw or circular saw)
- Wrench
- Shovel
Depending on the complexity of your carport design, you may require additional specialized tools such as a miter saw, angle grinder, or post hole digger. It’s always a good idea to assess the specific requirements of your project and ensure you have the necessary tools on hand.
By having a clear understanding of the materials and tools needed, you can gather everything before starting the construction. This will help you stay organized and ensure that you have everything you need to complete your carport project smoothly and efficiently.
Read more: How To Build A Carport Attached To House
Step 3: Foundation Preparation
The foundation of your carport is crucial for its stability and longevity. In this step, we will guide you through the process of preparing the foundation. It involves the following key tasks:
Clearing and leveling the ground
Before any construction can begin, it’s important to clear the area where the carport will be situated. Remove any vegetation, rocks, or debris from the site. Use a shovel or a rake to level the ground and ensure that it is even and free from any bumps or depressions.
Digging post holes
The next step is to dig post holes for the carport’s support posts. The number of post holes will depend on the size and design of your carport. Follow the measurements and spacing guidelines provided in your carport plans. Use a post hole digger or an auger to dig holes that are deep enough to meet local building codes and provide sufficient stability for the structure.
Pouring concrete footings
Once the post holes have been dug, it’s time to pour concrete footings. Footings provide a solid base for the carport’s support posts and help distribute the weight. Follow the instructions provided by the manufacturer for mixing the concrete. Pour the concrete into the post holes, leaving about a few inches of space at the top for later installation of post anchors. Use a sturdy support, such as a level or a temporary brace, to ensure that the posts remain straight and aligned during the curing process.
Proper foundation preparation is essential for the stability and durability of your carport. Taking the time to clear and level the ground, dig accurate post holes, and pour sturdy concrete footings will ensure that your carport stands strong for years to come.
Read more: How To Build A Wood Carport
Step 4: Installing the Posts and Beams
Now that the foundation is prepared, it’s time to move on to installing the support structure of your carport. This step involves setting the posts in the ground and attaching the beams to create a sturdy framework. Here’s a breakdown of the tasks involved:
Setting the posts in the ground
Take the pre-cut posts and position them in the designated post holes, ensuring they are properly aligned and level. It’s recommended to have at least two people for this task to ensure accuracy. Use a level tool to check that the posts are plumb in both vertical and horizontal directions, making any necessary adjustments. Once the posts are in the correct position, secure them in place temporarily with braces or stakes.
Attaching the beams to the posts
With the posts set in the ground, it’s time to attach the beams that will provide horizontal support for the carport structure. Measure the distance between the posts accurately and cut the beams to the required length. Place the beams on top of the posts in a parallel configuration, ensuring they are aligned and level. Attach the beams securely using appropriate fasteners such as nails, screws, or bolts. Reinforce the connection with metal brackets or framing hardware for added strength and stability.
It’s important to ensure that the posts and beams are securely attached and properly aligned to ensure the structural integrity of your carport. Taking the time to install the posts and beams accurately will provide a solid foundation for the next steps in the construction process.
Step 5: Building the Roof Structure
In this step, we will focus on constructing the roof structure of your carport. The roof is a crucial element in providing protection from the elements, so it’s essential to build it with care and precision. This step involves the following tasks:
Read more: How Much To Build A Carport
Installing the trusses
Trusses are pre-fabricated triangular frameworks that provide support for the roof. Place the trusses on top of the beams, making sure they are evenly spaced and aligned. Use brackets or connectors to secure the trusses to the beams. Ensure that the trusses are properly positioned and level before moving on to the next step.
Attaching rafters and purlins
Rafters are diagonal beams that support the roof structure, while purlins are horizontal beams that provide additional support. Attach the rafters to the trusses, ensuring they are securely fastened. Next, install the purlins across the rafters, evenly spacing them apart. These elements will provide strength and stability to the roof structure.
Adding fascia boards and roof sheathing
Attach fascia boards to the ends of the rafters to create a smooth and finished look for your carport roof. These boards also help protect the edges of the roof and provide a surface for attaching the roof sheathing. Install the roof sheathing, which can be plywood or another suitable material, onto the trusses and rafters. Ensure they are securely fastened and provide a solid base for the roofing material.
Building the roof structure is a critical step in the construction of your carport. Proper installation of trusses, rafters, and purlins will ensure a strong and stable roof that can withstand various weather conditions. Adding fascia boards and roof sheathing will further enhance the structure and prepare it for the final roofing material.
Step 6: Roofing and Finishing Touches
Now that the roof structure is in place, it’s time to focus on the roofing materials and finishing touches that will complete your carport. This step involves the following tasks:
Read more: How Much Is A Carport
Choosing roofing materials
There are various roofing materials available, each with its strengths and aesthetic appeal. Consider factors such as durability, cost, and compatibility with your overall design. Common options include metal sheets, polycarbonate panels, or asphalt shingles. Choose a material that suits your preferences and provides the necessary protection for your vehicles.
Installing the roofing
Once you have chosen the roofing material, it’s time to install it on your carport structure. Follow the manufacturer’s instructions and guidelines for installation. Ensure that the roofing material is properly aligned, securely fastened, and provides proper coverage. Take the necessary precautions to ensure a watertight seal and protect your vehicles from the elements.
Adding gutters and downspouts
Gutters and downspouts are essential for diverting rainwater away from your carport structure. Install gutters along the edges of the roof to collect rainwater, and connect downspouts to drain the water away from the carport area. This will help prevent water damage and keep the surrounding area clean and free from excessive moisture.
Painting or staining the carport
While not strictly necessary, painting or staining the carport can enhance its appearance and provide added protection against the elements. Choose a paint or stain that is suitable for outdoor use and complements the overall design of your property. Apply the paint or stain according to the manufacturer’s instructions, ensuring even coverage and a smooth finish.
By focusing on the roofing materials and finishing touches, you will not only complete the functional aspects of your carport but also add aesthetic appeal to the structure. Carefully selecting and installing the roofing materials, adding gutters and downspouts for proper water drainage, and adding a paint or stain finish will help make your carport a visually appealing and functional addition to your property.
Read more: How To Build A Cheap Carport
Step 7: Optional Features
Once you have completed the main construction of your carport, you can consider adding optional features to enhance its functionality and convenience. This step allows you to personalize your carport and make it even more suitable for your specific needs. Here are some optional features you can consider:
Installing lighting
Adding lighting to your carport can increase visibility and security, especially during the nighttime. Install appropriate lighting fixtures, such as overhead lights or wall-mounted lights, to illuminate the area. Consider using energy-efficient LED lights to save on electricity costs and ensure long-lasting operation.
Building storage or shelving
If you need additional storage space, consider building storage units or shelving within your carport. This will provide a convenient area to store tools, equipment, or other items you want to keep organized and easily accessible. Use sturdy materials and design the storage or shelving units to withstand the weight and requirements of the items you intend to store.
Adding a door or gate
To secure your vehicles and belongings, you may want to consider adding a door or gate to your carport. This will provide an extra level of security and privacy. Choose a door or gate that complements the style of your carport and ensure it is properly installed, allowing for easy access while maintaining the desired level of protection.
These optional features allow you to tailor your carport to your specific needs and preferences. Whether it’s adding lighting for improved visibility, building storage or shelving for better organization, or installing a door or gate for increased security, these features can enhance the functionality and convenience of your carport.
Read more: How To Move A Carport
Conclusion
Building a carport is a rewarding and practical project that can add value and functionality to your property. By following the step-by-step process outlined in this article, you can successfully construct a carport that meets your needs and enhances the aesthetics of your home.
We began by emphasizing the importance of careful planning and preparation, including choosing the right location, checking local building codes, measuring the available space, and determining the size and style of your carport. Ensuring compliance with regulations and accurately assessing your requirements sets the foundation for a successful construction process.
Gathering the necessary materials and tools is the next crucial step. By having everything you need in advance, you can streamline the construction process and avoid unnecessary delays. From posts and beams to roofing materials and fasteners, having these items on hand will save you time and make the construction process smoother.
The foundation preparation is critical for the stability and durability of your carport. Clearing and leveling the ground, digging post holes, and pouring concrete footings provide a solid base for the structure to withstand various weather conditions.
Installing the posts and beams establishes the main support structure of the carport. Ensuring accurate placement and secure attachment creates a sturdy framework that can withstand the test of time.
Building the roof structure, including installing trusses, attaching rafters and purlins, and adding fascia boards and roof sheathing, completes the skeleton of your carport. This step is essential for providing protection from the elements and adding visual appeal.
The next step involves roofing and finishing touches. Choosing the right roofing materials, installing the roofing, adding gutters and downspouts, and painting or staining the carport not only enhance its functionality but also improve its overall appearance.
Finally, considering optional features such as installing lighting, building storage or shelving, and adding a door or gate allows you to customize and optimize your carport to suit your specific needs and preferences.
By following these steps and giving attention to each detail, you can successfully build a carport that provides shelter for your vehicles, additional storage space, and increased property value.
Remember to always follow local building codes and regulations, obtain necessary permits, and prioritize safety throughout the construction process. With careful planning, proper execution, and attention to detail, your carport can become an invaluable addition to your property.
Frequently Asked Questions about How To Make A Carport
Was this page helpful?
At Storables.com, we guarantee accurate and reliable information. Our content, validated by Expert Board Contributors, is crafted following stringent Editorial Policies. We're committed to providing you with well-researched, expert-backed insights for all your informational needs.


0 thoughts on “How To Make A Carport”