Articles
How To Enclose A Carport Cheaply
Modified: August 28, 2024
Looking for affordable ways to enclose your carport? Read our helpful articles on how to enclose a carport cheaply and transform it into a functional space for your needs.
(Many of the links in this article redirect to a specific reviewed product. Your purchase of these products through affiliate links helps to generate commission for Storables.com, at no extra cost. Learn more)
Introduction
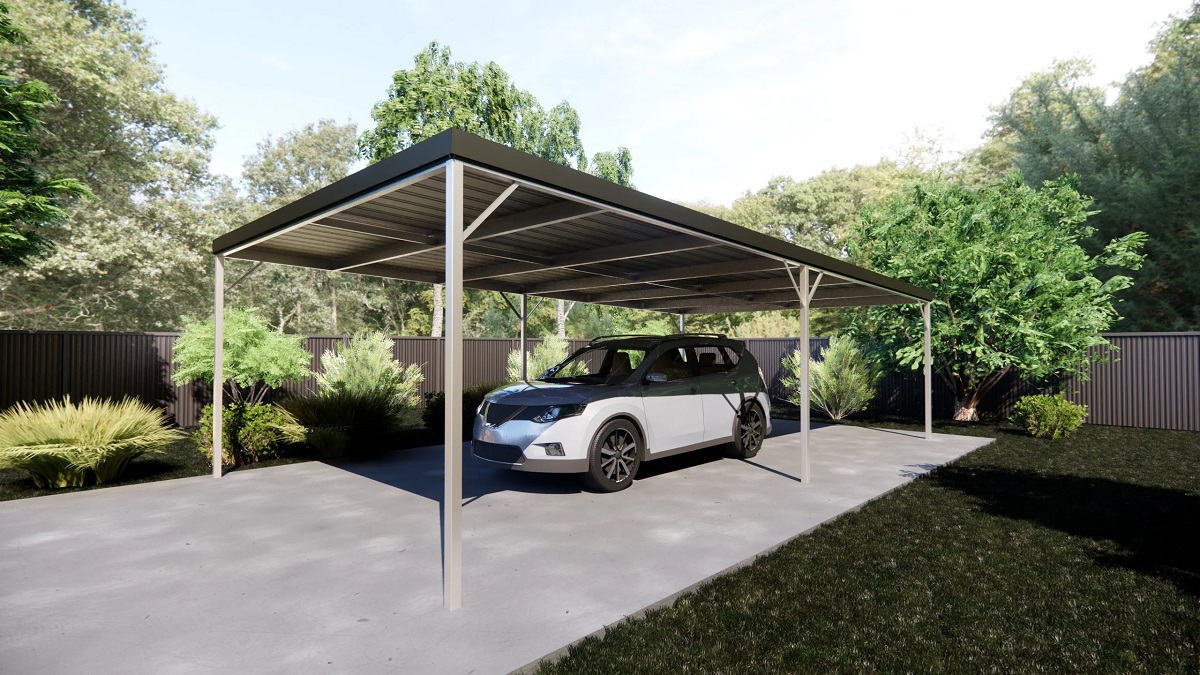
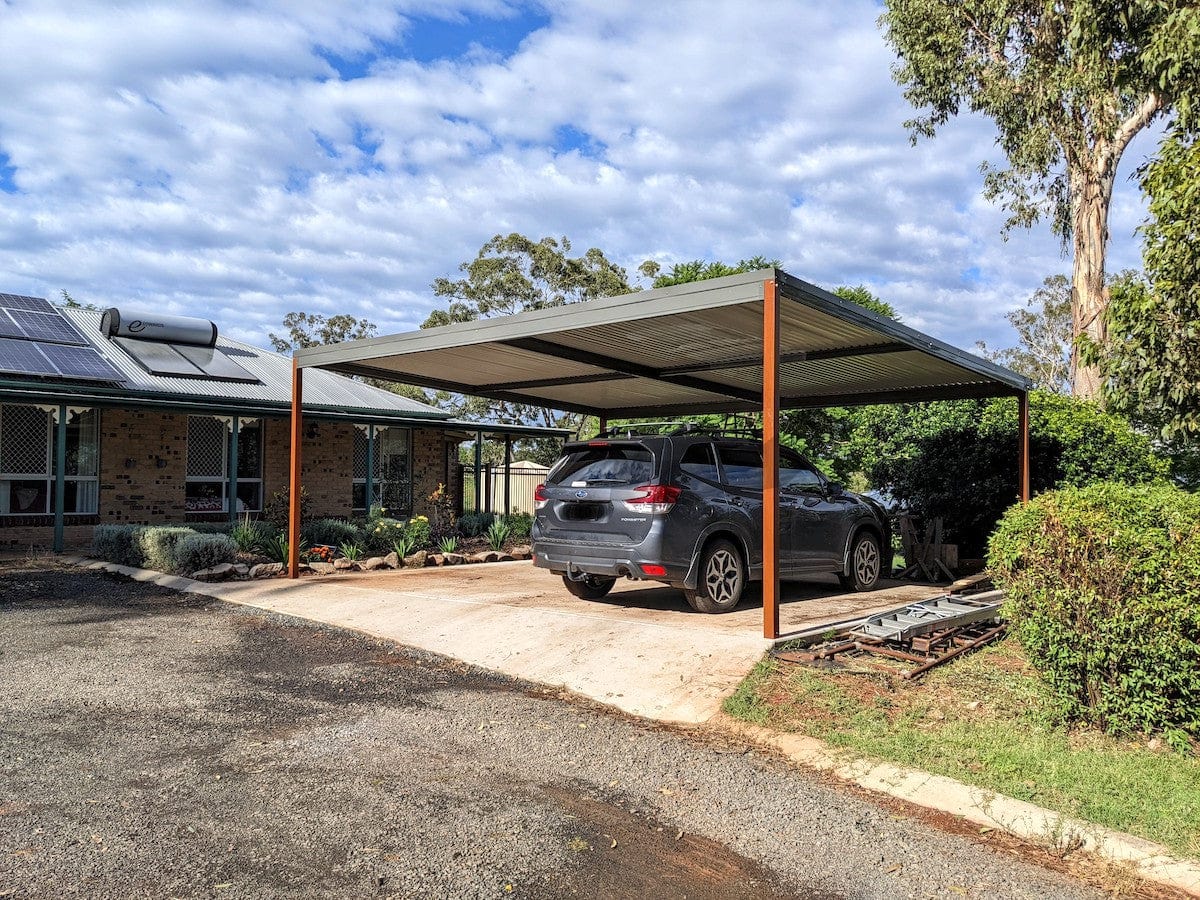
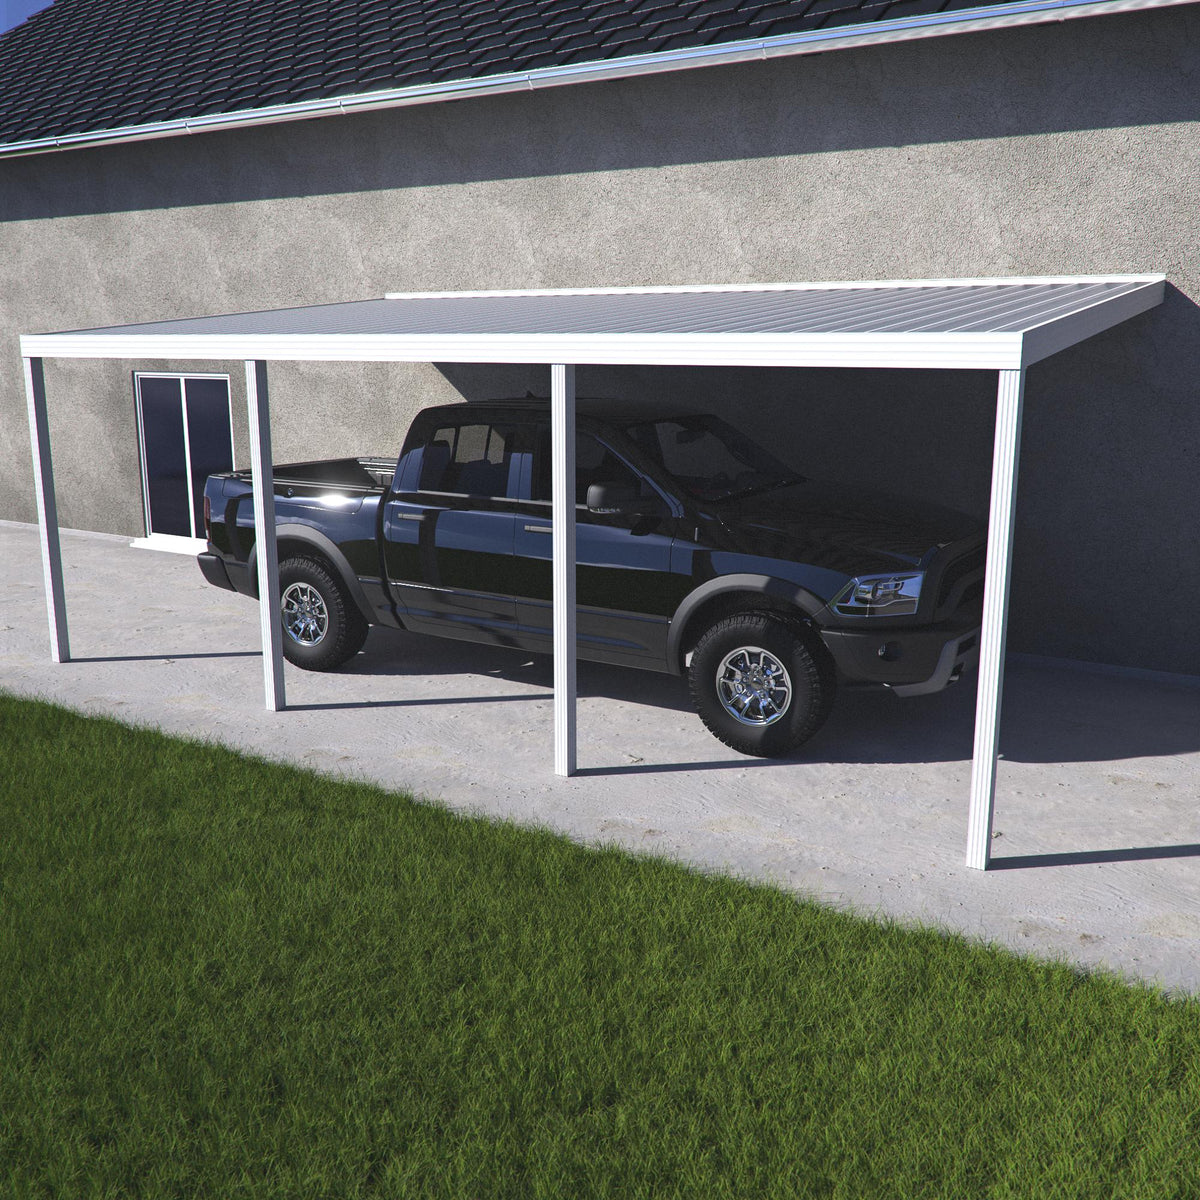
Carports are a great addition to any property, providing shelter for vehicles and outdoor equipment. However, traditional carports can be quite expensive, leaving many homeowners searching for affordable alternatives. Luckily, there are several budget-friendly options available for enclosing a carport without breaking the bank. In this article, we will explore seven cost-effective methods for enclosing a carport.
Whether you are looking to protect your car from harsh weather conditions or create additional storage space, these DIY solutions can help you achieve your goals without a hefty price tag. From using vinyl tarps and PVC pipes to repurposing materials, there are plenty of options to suit your preferences and budget.
Before we dive into the details, it’s important to note that these methods may not provide the same level of durability and insulation as professionally built carports. However, they can still offer adequate protection for your vehicles and belongings, especially if you live in a relatively mild climate.
Now, let’s explore the various methods for enclosing a carport cheaply and efficiently.
Key Takeaways:
- Affordable and DIY-Friendly Enclosures
Explore budget-friendly methods like vinyl tarps, PVC pipes, wooden panels, bamboo, and repurposed materials to enclose your carport. These DIY solutions offer protection and customization without breaking the bank. - Balance Functionality and Aesthetics
Consider climate, budget, and desired aesthetics when choosing a carport enclosure method. Whether using shade cloth for airflow or wooden panels for durability, find the perfect balance between affordability and functionality.
Read more: How To Enclose A Balcony
Option 1: Using Vinyl Tarps
One of the most affordable and versatile options for enclosing a carport is to use vinyl tarps. Vinyl tarps are durable, waterproof, and provide excellent protection against the elements. They are also easy to install and can be customized to fit the size and shape of your carport.
To enclose your carport using vinyl tarps, start by measuring the dimensions of your carport. Purchase vinyl tarps that are slightly larger than the measurements to ensure a proper fit. Next, attach grommets along the edges of the tarps for easy installation.
To secure the tarps to your carport, use bungee cords, zip ties, or ropes. Attach one side of the tarp to the carport frame and stretch it tightly across the remaining sides, ensuring a snug fit. Depending on your preferences, you can enclose all sides of the carport or leave one side open for easy access.
Vinyl tarps are available in a range of colors and styles, allowing you to choose a design that complements your property’s aesthetic. Additionally, they can be easily removed or replaced if needed.
While vinyl tarps are an affordable option, they may not provide as much insulation as other materials. Therefore, if you live in an area with extreme temperatures, you may need to consider alternative options or supplement the tarps with additional insulation.
In summary, using vinyl tarps offers a cost-effective way to enclose your carport. They provide protection against the elements, are customizable to your carport’s dimensions, and come in various colors and styles. However, they may not provide the same level of insulation as other materials.
Option 2: Utilizing PVC Pipe and Plastic Sheeting
Another affordable option for enclosing a carport is to utilize PVC pipe and plastic sheeting. This method is relatively straightforward and requires minimal construction skills. PVC pipe is lightweight, durable, and readily available at most hardware stores. Plastic sheeting, on the other hand, is affordable and provides protection against rain, wind, and snow.
To enclose your carport using PVC pipe and plastic sheeting, begin by measuring the dimensions of your carport. Purchase PVC pipe that corresponds to the length and height of your carport. Cut the pipe into appropriate lengths, considering both vertical and horizontal supports.
Next, assemble the PVC frame by connecting the pipe segments using PVC connectors and fittings. Create the desired shape and size by joining the pipes together in a rectangular or rounded structure. Ensure that the frame is securely attached and stable.
Once the frame is assembled, drape the plastic sheeting over the structure. Leave some excess sheeting at the bottom to anchor it to the ground. Secure the plastic sheeting to the PVC frame using zip ties or strong adhesive tape.
For added stability, you can reinforce the structure by attaching ropes or bungee cords to anchor points on the carport frame or nearby walls. This will help withstand strong winds and keep the enclosure in place.
Utilizing PVC pipe and plastic sheeting offers a cost-effective and customizable solution for enclosing your carport. This method provides protection from the elements and allows ample natural light to enter the enclosed space. However, keep in mind that plastic sheeting may not provide as much insulation as other materials, so additional measures may be needed in extreme weather conditions.
In summary, utilizing PVC pipe and plastic sheeting offers an affordable and DIY-friendly option for enclosing your carport. This method provides protection from the elements, customization options, and allows for natural light. However, it may not offer the same level of insulation as other materials.
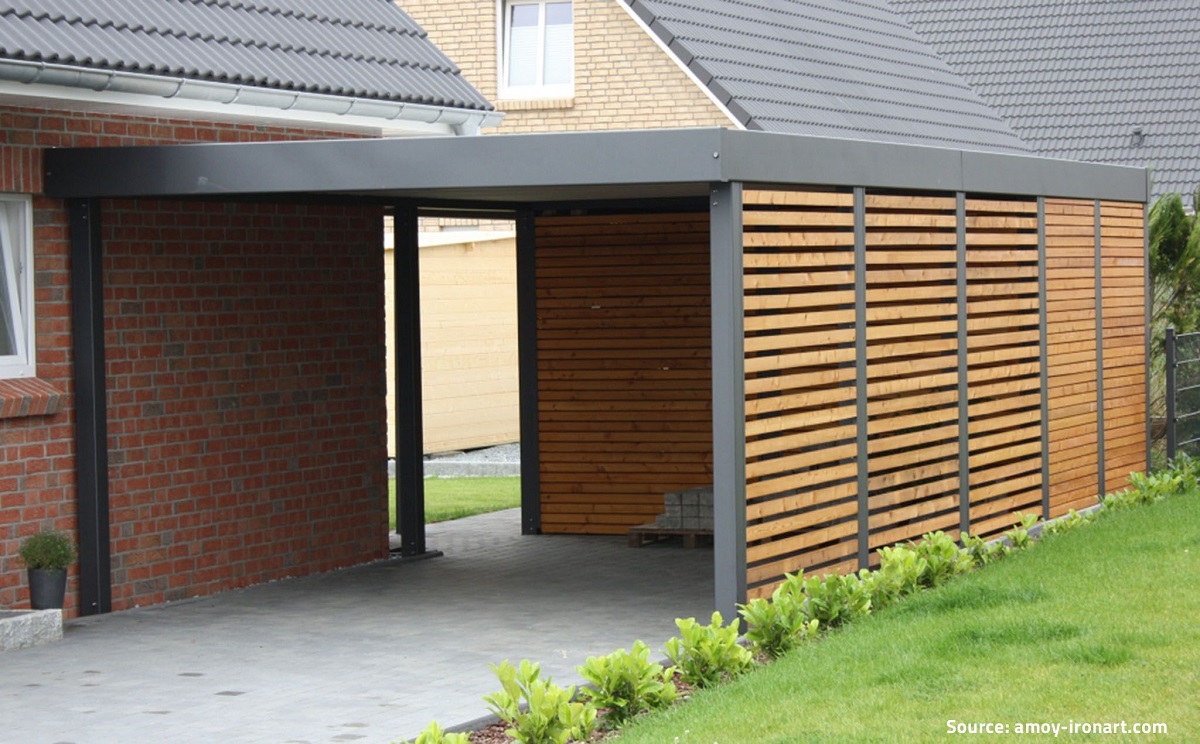
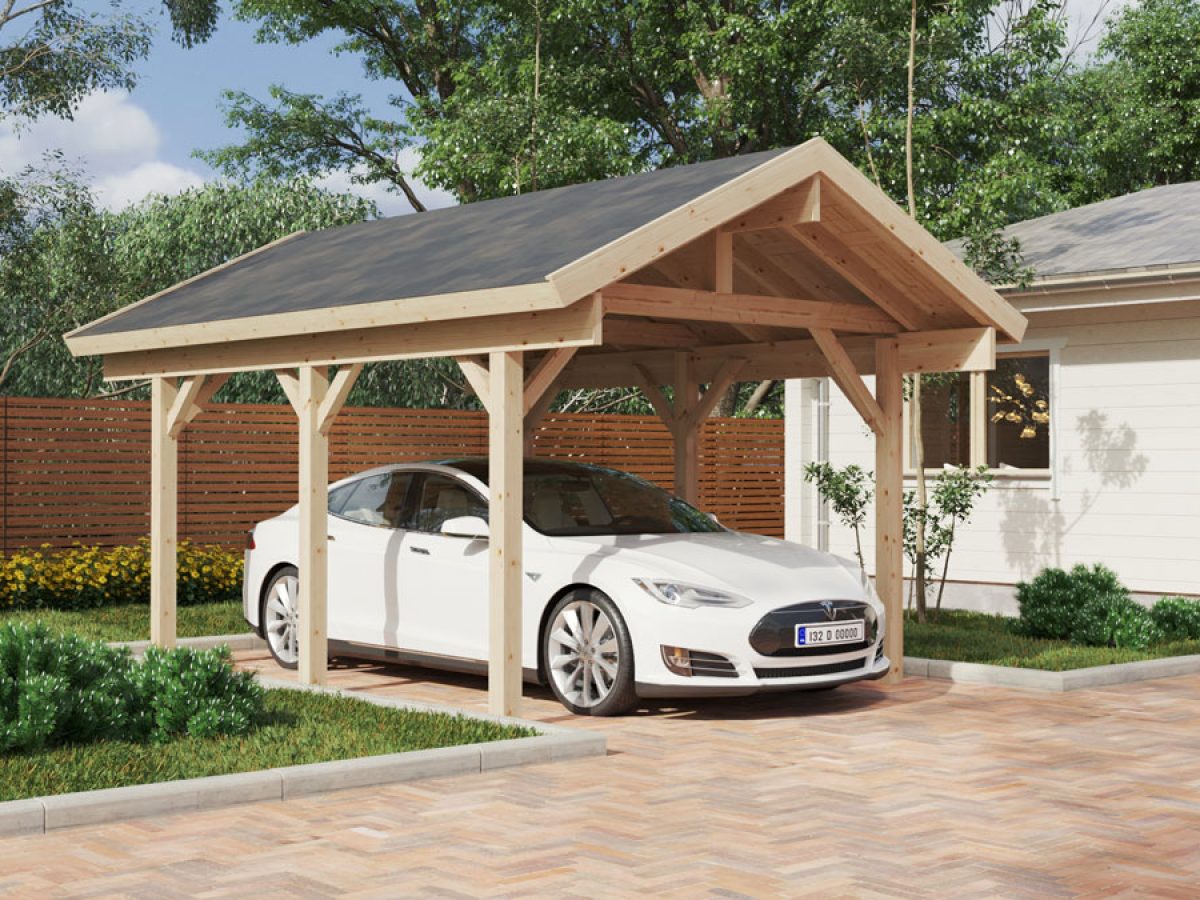
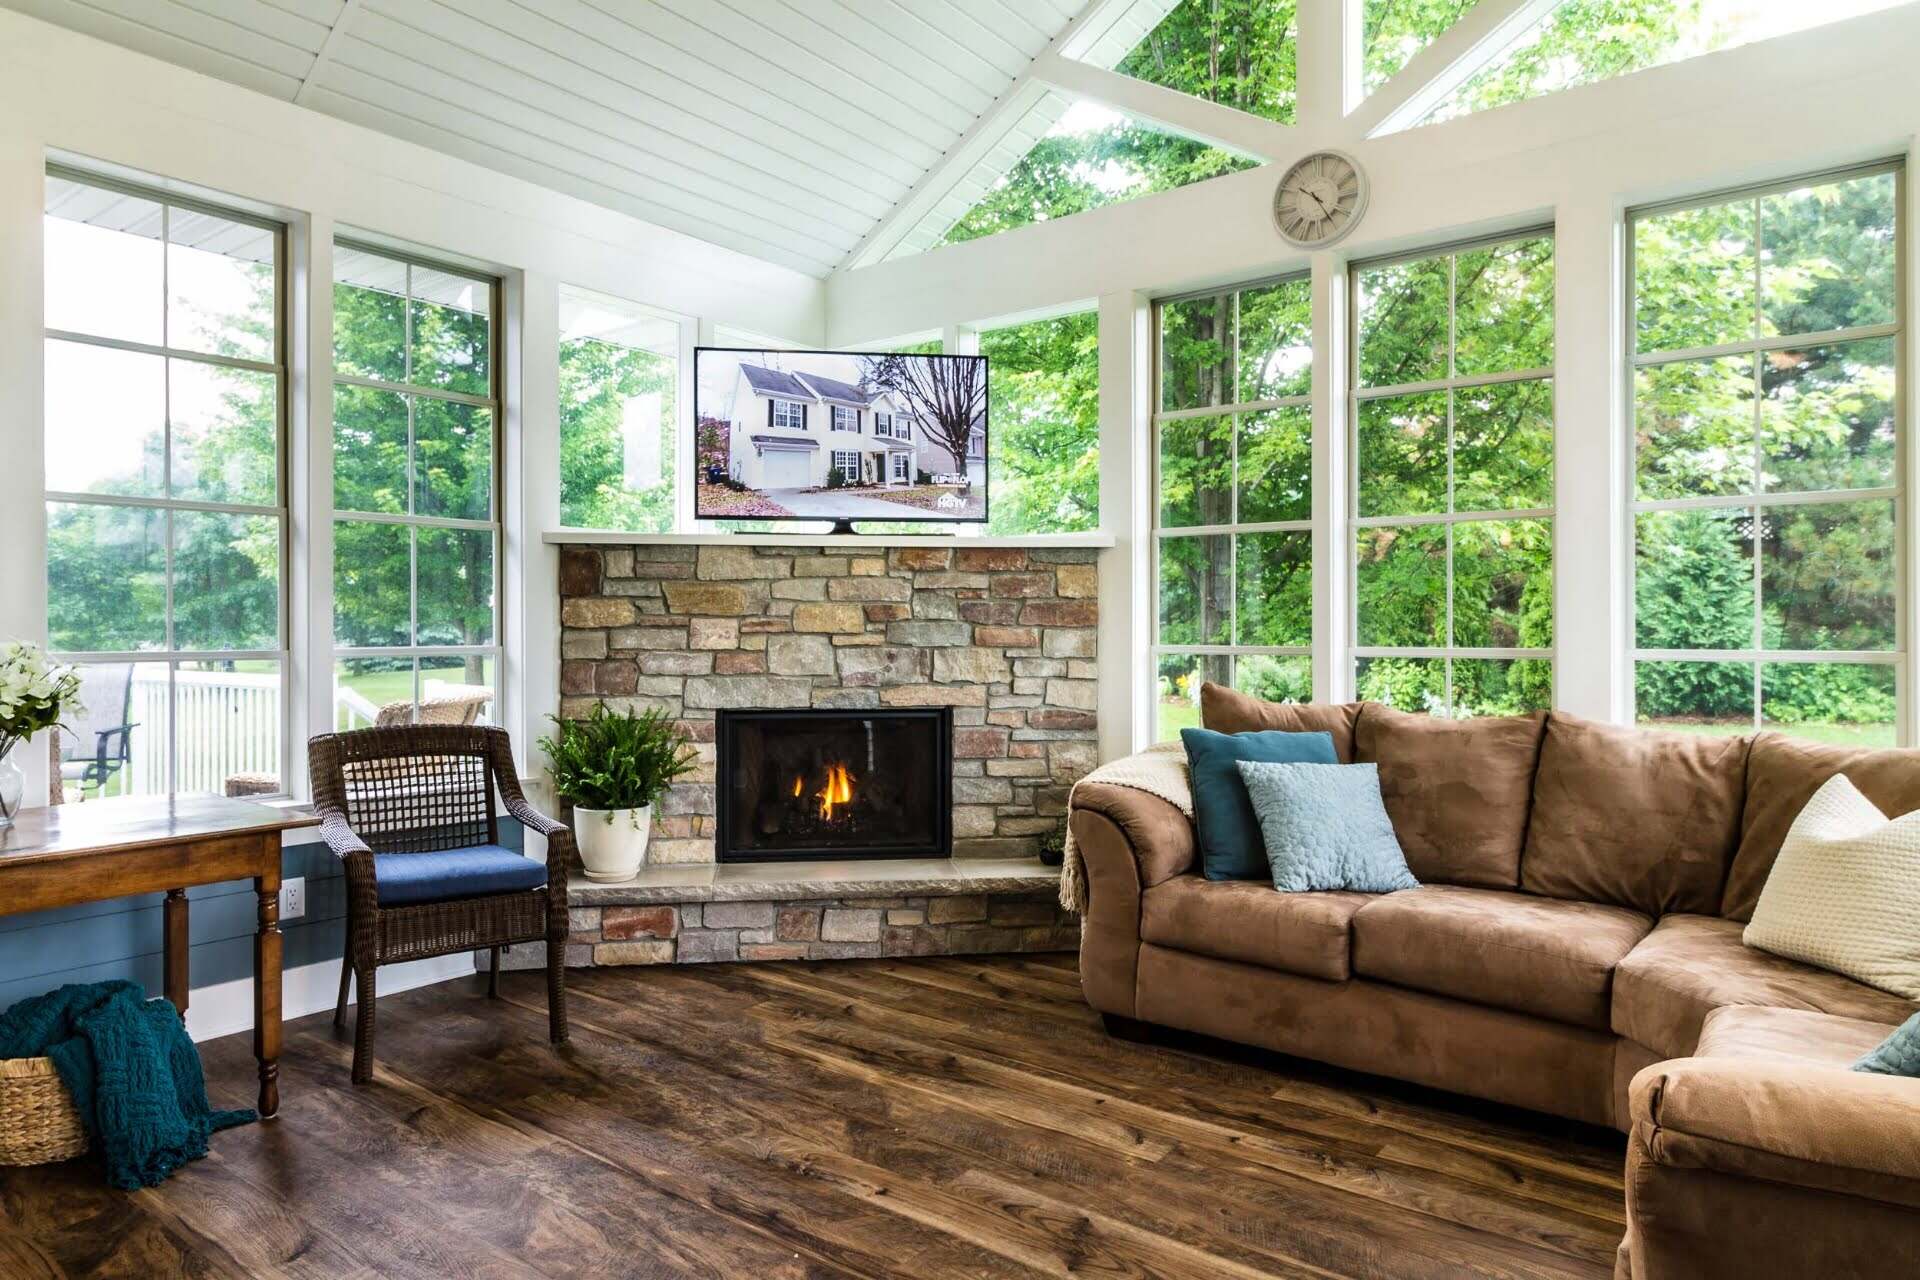
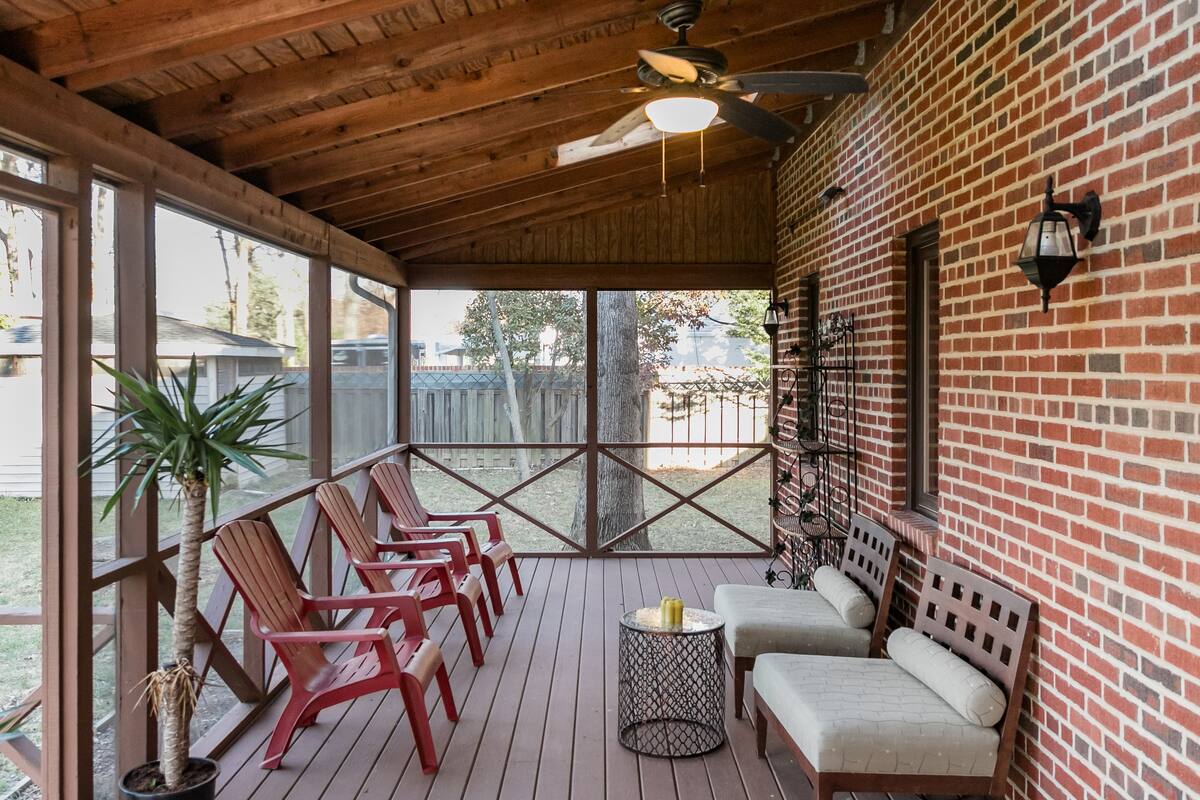
Option 3: Constructing with Wooden Panels
If you’re looking for a more permanent and aesthetically pleasing option, constructing your carport enclosure with wooden panels is a great choice. While it may require some carpentry skills and additional effort, using wooden panels offers durability and a polished look.
Start by measuring the dimensions of your carport and determining the number of panels needed. Purchase wooden panels that are suitable for outdoor use and cut them to the appropriate size. Pressure-treated or weather-resistant wood is recommended to ensure longevity.
Once you have the wooden panels, attach them to the existing carport structure using screws or nails. Ensure that the panels are securely fastened and leave enough space between each panel for ventilation and light flow.
You can also choose to add windows to the enclosure for additional light and visibility. Cut out openings in the wooden panels and insert transparent or translucent materials, such as plexiglass or polycarbonate sheets, to create windows.
To further enhance the durability and weather resistance of the wooden panels, consider applying a coat of outdoor paint or stain. This will protect the wood from moisture and help it withstand harsh weather conditions.
Constructing with wooden panels not only provides a sturdy and long-lasting carport enclosure but also allows for customization. You can choose different wood finishes, paint colors, or even incorporate decorative elements to match your property’s style.
It’s important to note that constructing with wooden panels may involve more time and effort compared to other options. Additionally, wooden enclosures require periodic maintenance to prolong their lifespan and prevent decay. Regularly check for any signs of rot or damage and perform necessary repairs or treatments accordingly.
In summary, constructing your carport enclosure with wooden panels offers a durable and visually appealing solution. While it requires more effort and maintenance, this method allows for customization and can enhance the overall aesthetic of your property.
Option 4: Using Bamboo and Canvas
For those looking to add a natural and rustic touch to their carport enclosure, using bamboo and canvas is an excellent option. This option combines the durability and strength of bamboo with the versatility and affordability of canvas.
Start by acquiring bamboo poles of the appropriate length and thickness. Bamboo is known for its strength and flexibility, making it an ideal material for constructing a carport enclosure. Cut the bamboo poles to the desired height and secure them upright to the ground. This can be done by digging holes or using sturdy planters as a base.
Next, attach horizontal bamboo beams to connect the vertical poles, creating a frame for the enclosure. Secure the beams to the poles using durable twine or zip ties. Ensure that the structure is stable and able to withstand various weather conditions.
Once the bamboo frame is complete, cover it with canvas fabric. Canvas is a durable and weather-resistant material that provides protection against the elements. Measure the dimensions of the frame and cut the canvas accordingly, leaving some excess material to create a tight and secure fit.
Attach the canvas to the bamboo frame using strong twine or bungee cords. Make sure to tightly stretch the fabric across the frame to prevent sagging and ensure proper coverage.
Bamboo and canvas enclosures offer a unique and visually appealing option for your carport. The natural aesthetics of bamboo combined with the versatility of canvas create a cozy and inviting space. Additionally, bamboo is an environmentally friendly material, adding an eco-friendly element to your enclosure.
Keep in mind that bamboo and canvas enclosures may require periodic maintenance. Inspect the bamboo poles and canvas fabric regularly for any signs of damage or wear. Replace any worn-out or damaged parts to maintain the integrity of the enclosure.
In summary, using bamboo and canvas provides a natural and rustic option for enclosing your carport. This method offers durability, affordability, and aesthetic appeal. However, regular maintenance is necessary to ensure the longevity of the bamboo and canvas materials.
Consider using a tarp or canopy to enclose a carport cheaply. These can be easily attached to the existing structure and provide protection from the elements at a low cost.
Read more: How To Enclose A Pergola
Option 5: Reusing Old Billboard Vinyl
If you’re searching for an eco-friendly and budget-friendly option to enclose your carport, consider repurposing old billboard vinyl. Billboard vinyl is a durable and weather-resistant material that can be easily transformed into an effective carport enclosure.
Start by sourcing old billboard vinyl. You can typically find these materials by reaching out to local billboard companies or advertising agencies. They often have old vinyl that needs to be disposed of, and they may be willing to give it to you free of charge or at a minimal cost.
Once you have acquired the billboard vinyl, carefully measure and cut it to fit the dimensions of your carport. Make sure to leave enough excess material for proper coverage and a secure fit.
Next, secure the billboard vinyl to the carport frame using heavy-duty adhesive or industrial-strength fasteners. Attach it tightly to ensure that it remains in place and provides adequate protection against the elements.
Reusing old billboard vinyl offers several advantages. First, it is a cost-effective solution as you can acquire the material for free or at a low cost. Additionally, billboard vinyl is designed to withstand outdoor conditions, making it a durable and long-lasting option for your carport enclosure.
Furthermore, repurposing old billboard vinyl is an eco-friendly choice. By giving these materials a second life, you are reducing waste and minimizing the environmental impact of your carport enclosure project.
It’s important to note that while billboard vinyl provides weather resistance, it may not offer as much insulation as some other materials. Therefore, if you live in an area with extreme temperatures, you may need to consider additional insulation or ventilation options.
In summary, repurposing old billboard vinyl provides a cost-effective, durable, and eco-friendly option for enclosing your carport. By giving these materials a second life, you can create a weather-resistant and protective enclosure while minimizing waste.
Option 6: Creating a DIY Carport Kit
If you prefer a more structured and customizable solution for enclosing your carport, creating a DIY carport kit is an excellent option. This method allows you to design and build a carport enclosure tailored to your specific needs and preferences.
Start by sketching out the design and dimensions of your carport enclosure. Consider the size of your vehicles and any additional storage or workspace requirements. Take into account factors such as height, width, and depth to ensure adequate space and functionality.
Next, create a list of materials needed for your DIY carport kit. This may include steel or aluminum posts, beams, connectors, and roofing materials such as corrugated metal sheets or polycarbonate panels. Purchase the materials from a local hardware store or online supplier.
It’s also crucial to consider the foundation of your carport enclosure. Ensure that the area is level and can support the weight of the structure and vehicles. Options such as concrete footings or pavers can provide a stable and durable foundation.
Once you have gathered the necessary materials, follow the instructions and guidelines provided with the carport kit components. This will help ensure proper installation and structural integrity. Be sure to securely fasten all connections and reinforce the structure as needed.
When assembling the roof of your carport enclosure, choose a material that suits the climate and offers sufficient protection against rain, snow, and sunlight. Corrugated metal sheets are a popular choice for their durability and low maintenance. Polycarbonate panels are another option, providing both protection and allowing natural light to filter through.
Creating a DIY carport kit allows for customization and flexibility. You can incorporate design elements, such as decorative trims or colors, to match your property’s aesthetic. Additionally, you can customize the size and layout of the enclosure to accommodate multiple vehicles or specific storage needs.
Keep in mind that creating a DIY carport kit requires some construction skills and knowledge. It’s important to follow safety guidelines and consult professionals or experienced individuals if needed.
In summary, creating a DIY carport kit provides an opportunity for customization and flexibility. By designing and building your own carport enclosure, you can tailor it to your specific needs, preferences, and property aesthetics. However, this option requires some construction skills and careful planning.
Option 7: Using Shade Cloth
If you’re looking for a simple and cost-effective way to enclose your carport while still allowing light and air circulation, using shade cloth is a great option. Shade cloth is a versatile material that provides shade, privacy, and protection from the sun’s harmful UV rays.
To enclose your carport using shade cloth, start by measuring the dimensions of your carport. Purchase shade cloth that is slightly larger than the measurements to ensure proper coverage and a secure fit. Shade cloth is available in various densities and colors, allowing you to choose the level of shade and privacy you desire.
Next, attach grommets or eyelets along the edges of the shade cloth. This will make it easier to secure the cloth to the carport frame. You can use bungee cords, zip ties, or ropes to fasten the shade cloth to the frame. Start by attaching one side of the cloth to the frame and stretch it tightly across the remaining sides, ensuring a snug fit.
Shade cloth offers several advantages for enclosing your carport. It provides shade from the sun, helping to keep the interior cooler during hot summer days. Additionally, shade cloth allows for airflow, preventing heat buildup and promoting ventilation. This is especially beneficial if you plan to use the enclosed space for storage or as a workshop.
Another advantage of using shade cloth is its affordability and easy installation. It is a lightweight material that can be easily cut to size and manipulated to fit various carport shapes and sizes. Additionally, shade cloth is resistant to mold, mildew, and moisture, making it suitable for outdoor use.
While shade cloth offers sun protection and privacy, it may not provide as much insulation or protection from rain compared to other materials. If you live in an area with frequent rain or harsh weather conditions, you may need to consider supplementing the shade cloth with additional waterproof or insulating materials.
In summary, using shade cloth provides a cost-effective and versatile option for enclosing your carport. It offers shade, privacy, and airflow while still allowing for natural light. However, it may not provide the same level of insulation or rain protection as other materials, so further measures may be required in more extreme weather conditions.
Conclusion
Enclosing a carport can provide numerous benefits, from protecting your vehicles and belongings to creating additional storage or workspace. Fortunately, there are several cost-effective options available for enclosing your carport without breaking the bank.
Using vinyl tarps offers a versatile and affordable solution, providing waterproof protection and easy customization. Utilizing PVC pipe and plastic sheeting allows for a more structured enclosure that is lightweight and weather-resistant.
Constructing with wooden panels offers a durable and visually appealing option, while using bamboo and canvas creates a natural and rustic enclosure. Reusing old billboard vinyl not only proves to be a budget-friendly choice but also contributes to a more sustainable approach.
For those who prefer a more hands-on approach, creating a DIY carport kit allows you to design and build a customized enclosure to fit your specific needs. Lastly, using shade cloth provides a cost-effective solution that offers shade, privacy, and airflow.
When choosing the best option for your carport enclosure, consider factors such as climate, budget, durability, and desired aesthetics. It’s important to strike a balance between affordability and functionality, ensuring that your chosen method meets your requirements.
Remember, all of these options have their own advantages and considerations. While they may not provide the same level of durability and insulation as professionally built carports, they can still offer adequate protection for your vehicles and belongings.
Whichever method you choose, proper installation and regular maintenance are crucial to ensure the longevity and effectiveness of your carport enclosure. Regularly inspect the materials and make any necessary repairs or replacements to keep your enclosure in optimal condition.
Enclosing your carport doesn’t have to be a costly endeavor. With these affordable options at your disposal, you can create a functional and aesthetically pleasing enclosure that meets your needs while staying within your budget.
So, go ahead and explore these various options to find the one that fits your preferences and embark on transforming your carport into a protected and versatile space.
Excited to tackle more projects yourself? You'll find "What Is So Great About DIY Projects" quite enlightening. In this read, we delve into the joys and challenges of DIY projects, offering insights and inspiration for your next creative endeavor. Whether you're a seasoned hand or a newbie, this article can be your stepping stone to mastering the art of do-it-yourself tasks. Dive in and discover how enhancing your space with personal touches not only saves money but also brings immense satisfaction.
Frequently Asked Questions about How To Enclose A Carport Cheaply
Was this page helpful?
At Storables.com, we guarantee accurate and reliable information. Our content, validated by Expert Board Contributors, is crafted following stringent Editorial Policies. We're committed to providing you with well-researched, expert-backed insights for all your informational needs.

0 thoughts on “How To Enclose A Carport Cheaply”