Home>Articles>How To Build A Storage Bench For Your Mudroom Landing Zone
Articles
How To Build A Storage Bench For Your Mudroom Landing Zone
Modified: August 25, 2024
Learn how to build a storage bench for your mudroom landing zone with our helpful articles. Discover practical tips and step-by-step instructions to create an organized and functional space.
(Many of the links in this article redirect to a specific reviewed product. Your purchase of these products through affiliate links helps to generate commission for Storables.com, at no extra cost. Learn more)
Introduction
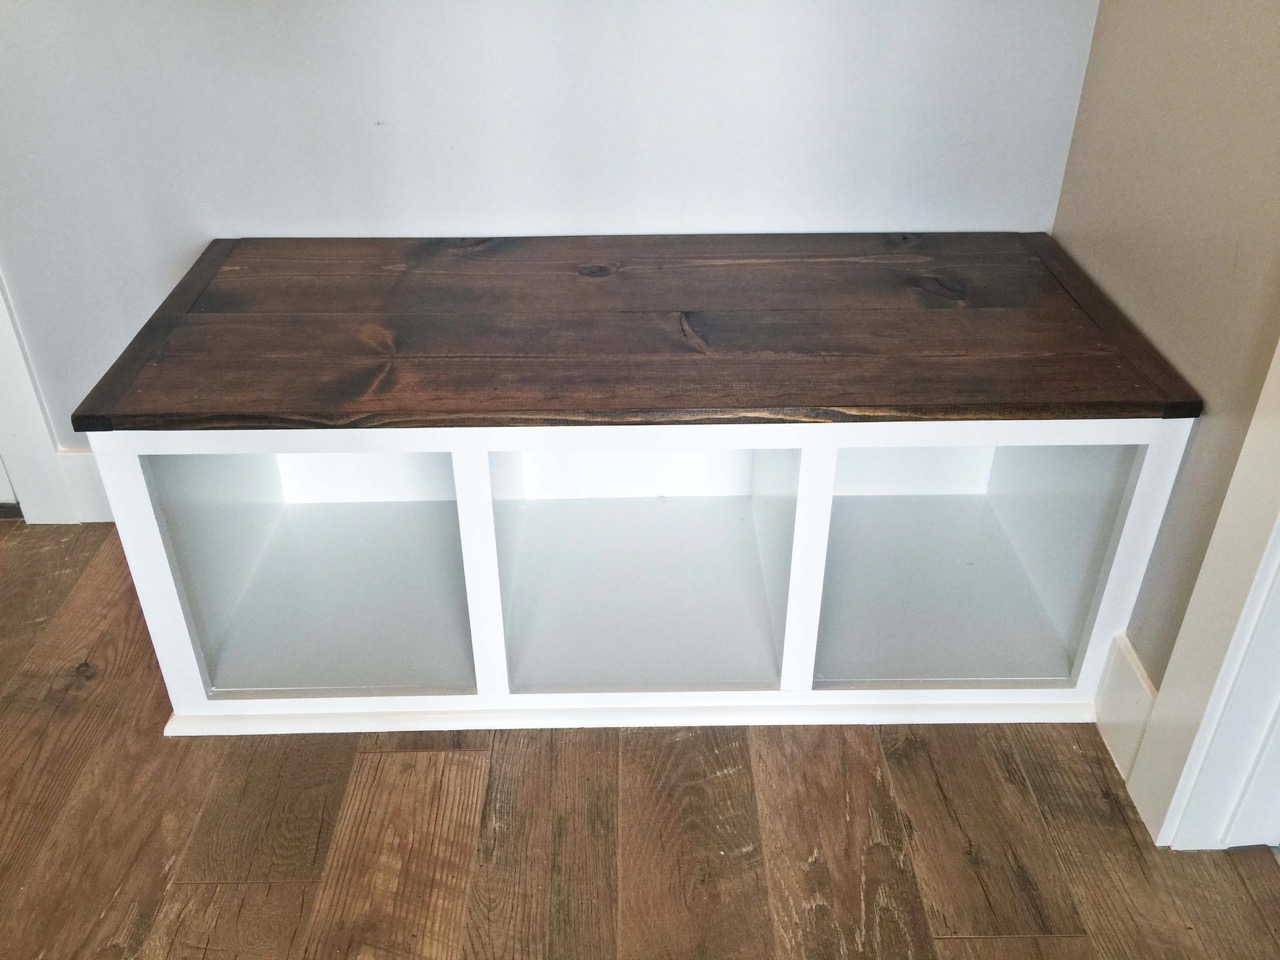
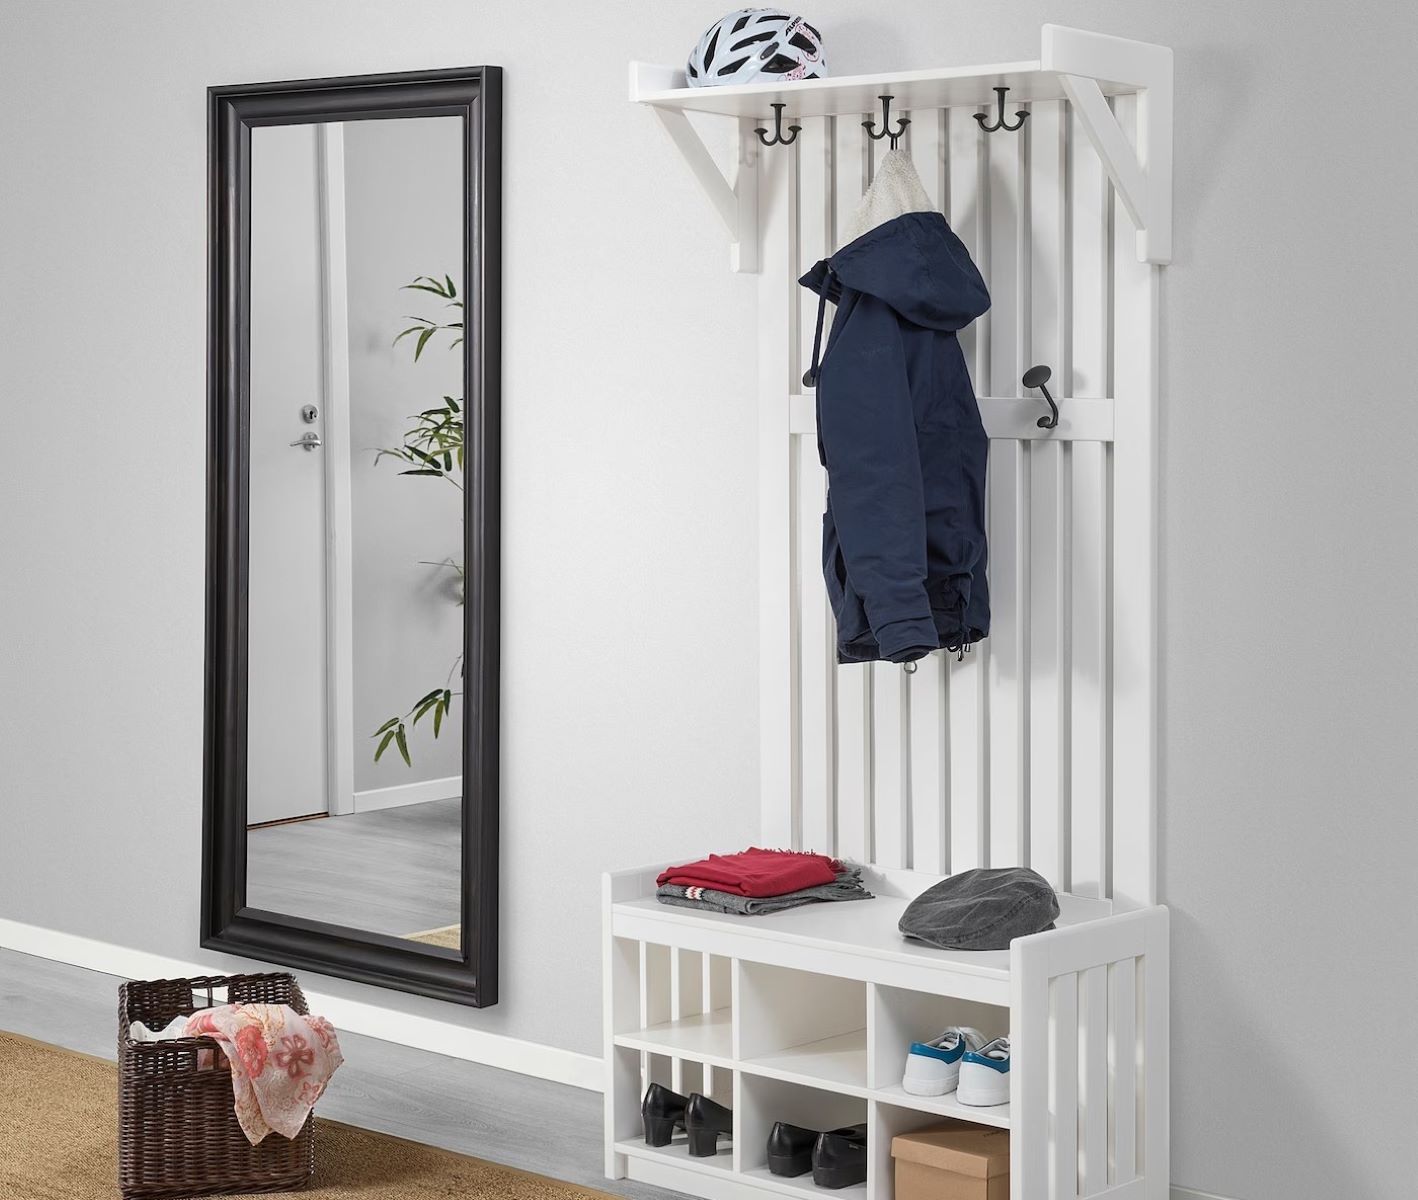
Having a mudroom landing zone in your home can make a significant impact on organization and cleanliness. It provides a dedicated area for storing shoes, coats, bags, and other belongings, keeping them off the main living spaces and preventing clutter. One essential piece of furniture for a functional mudroom landing zone is a storage bench.
A storage bench not only offers a convenient seating option but also provides hidden storage compartments to stow away items. Building a storage bench for your mudroom landing zone is a rewarding and practical DIY project that can be customized to fit your space and style.
In this article, we will guide you through the step-by-step process of building a storage bench for your mudroom landing zone. Fear not if you’re not an experienced DIYer – this project is suitable for both beginners and intermediate skill levels. So, roll up your sleeves, grab your tools, and let’s get started!
Key Takeaways:
- Building a storage bench for your mudroom landing zone is a DIY project suitable for beginners and intermediate skill levels. With proper planning, measurements, and essential tools, you can create a functional and customized piece of furniture to enhance your space.
- Adding storage compartments, finishing touches, and personalizing the design allows you to unleash your creativity and tailor the storage bench to match your personal style. This DIY project not only saves money but also brings a sense of pride and accomplishment as you enjoy the long-lasting benefits of a practical and organized mudroom landing zone.
Read also: 14 Best Mudroom Bench With Storage For 2025
Step 1: Planning and Measurements
Before diving into any DIY project, proper planning and accurate measurements are crucial for a successful outcome. Start by assessing your mudroom landing zone and determining the ideal size and placement for your storage bench.
Consider the available space and the number of people using the mudroom regularly. A good rule of thumb is to allocate around 18-24 inches (45-60 cm) of seating space per person. Additionally, think about the desired height and depth of the bench, keeping in mind comfort and functionality.
Once you have a clear idea of the dimensions, it’s time to gather your tools for accurate measurements. You will need measuring tape, a pencil, and a level.
Begin by measuring the length and width of the area where you plan to place the storage bench. Mark these measurements on the floor or wall using the pencil.
Next, measure and mark the height at which you want the bench to be placed. Ensure that it complements the overall design and aligns with the ideal seating height. The level can be used to ensure that the marks are straight and level.
With your measurements marked, you can now move on to the next step: gathering the materials and tools required for building the storage bench.
Step 2: Gathering Materials and Tools
Now that you have a clear plan and measurements for your storage bench, it’s time to gather all the necessary materials and tools. Here’s a comprehensive list to help you get started:
- 2×4 lumber: This will be used for the frame of the bench.
- Plywood or MDF: You will need this for the top of the bench and the storage compartment dividers.
- Wood screws: Choose screws that are suitable for the thickness of the lumber you are using.
- Hinges: These will be used to attach the top of the bench to the frame.
- Power drill: A drill will make it easier and quicker to screw the pieces together.
- Saw: You will need a saw to cut the lumber and plywood to the required dimensions.
- Tape measure: To ensure accurate measurements throughout the project.
- Screwdriver: You may need a screwdriver to tighten the screws.
- Sanding block or sandpaper: This will be used to smooth out any rough edges or surfaces.
- Paint or stain: If desired, you can add a finish to the bench to match your mudroom’s aesthetic.
Make sure to double-check your measurements and materials list before heading to the hardware store. This will help you avoid any last-minute trips for additional supplies.
Once you have all the materials and tools ready, you can move on to the next step: building the frame of the storage bench.
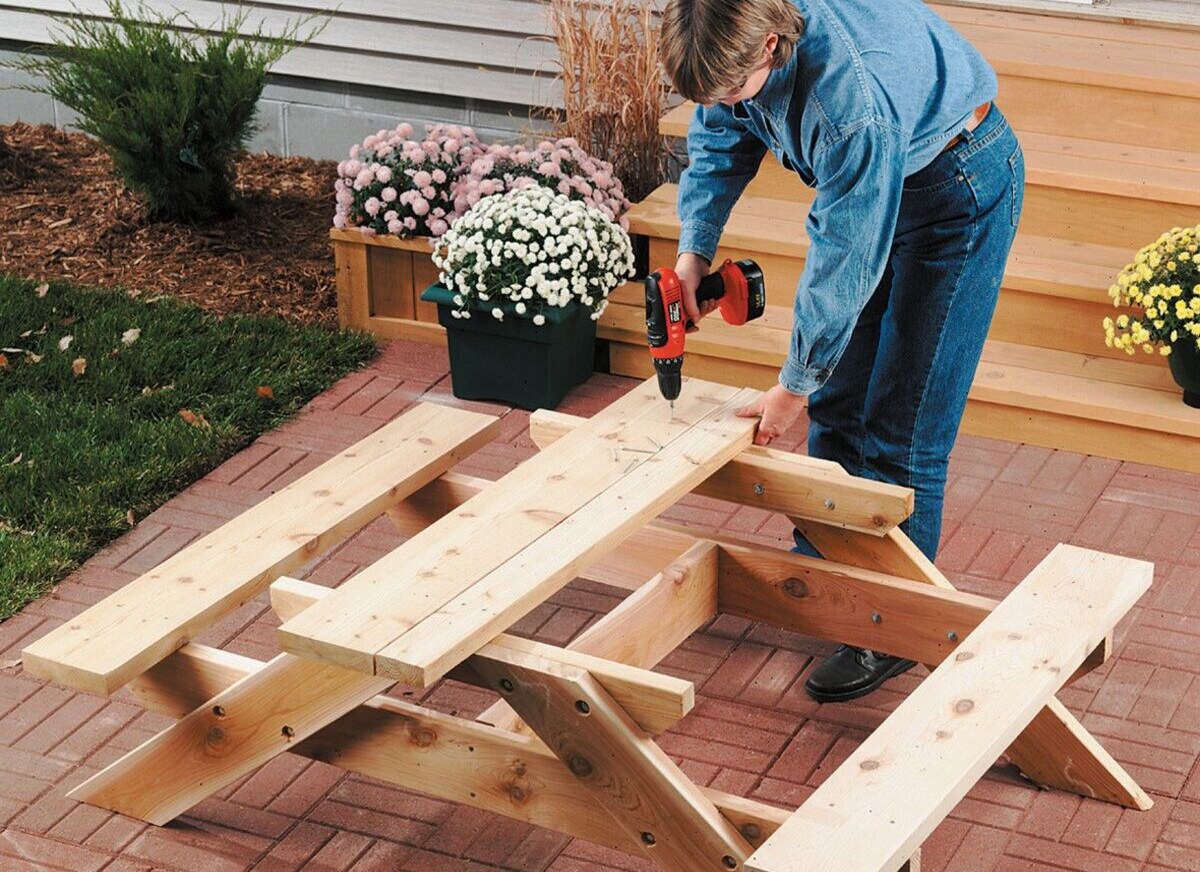
Step 3: Building the Frame
Building the frame is a crucial step in constructing your storage bench. The frame will provide stability and support for the bench, ensuring it can hold the weight of both the seating area and the storage compartments. Follow these steps to build the frame:
- Cut the 2×4 lumber into pieces according to your measurements. You will need four pieces for the vertical sides of the frame and two pieces for the horizontal front and back.
- Using your power drill and wood screws, attach the horizontal front and back pieces to the vertical side pieces, forming a rectangle. Make sure the corners are square and the frame is level.
- Measure and cut additional pieces of 2×4 lumber to create support beams inside the frame. These will add strength and stability to the bench. Attach them horizontally between the vertical side pieces using wood screws.
- Check that the frame is sturdy and secure. Use the level to ensure it is still level. Make any necessary adjustments if needed.
At this point, you have successfully built the frame of your storage bench. It’s time to move on to the next step – attaching the legs to the bench.
When building a storage bench for your mudroom landing zone, make sure to use durable and easy-to-clean materials that can withstand the wear and tear of daily use. Consider incorporating hooks or cubbies for added organization.
Step 4: Attaching the Legs
Attaching the legs to your storage bench will provide stability and raise it off the ground. Here’s how you can attach the legs:
- Measure and mark the desired height for the bench legs on all four corners of the frame. This will depend on your personal preference and the overall height of the bench you envisioned.
- Cut the 4×4 lumber to the desired length for the legs. Make sure the legs are all the same length.
- Position one leg at each marked corner of the frame, ensuring they are flush with the top and bottom of the frame. Use a level to ensure they are straight and perpendicular.
- Using your power drill and wood screws, attach the legs to the frame at each corner. Make sure to use screws that are long enough to securely hold the legs in place.
- Double-check the stability of the legs and make any adjustments if needed.
Once the legs are securely attached, you have successfully completed the process of attaching the legs to your storage bench. Next, we will move on to the exciting part – adding the storage compartments.
Read more: How To Build Bench Seat With Storage
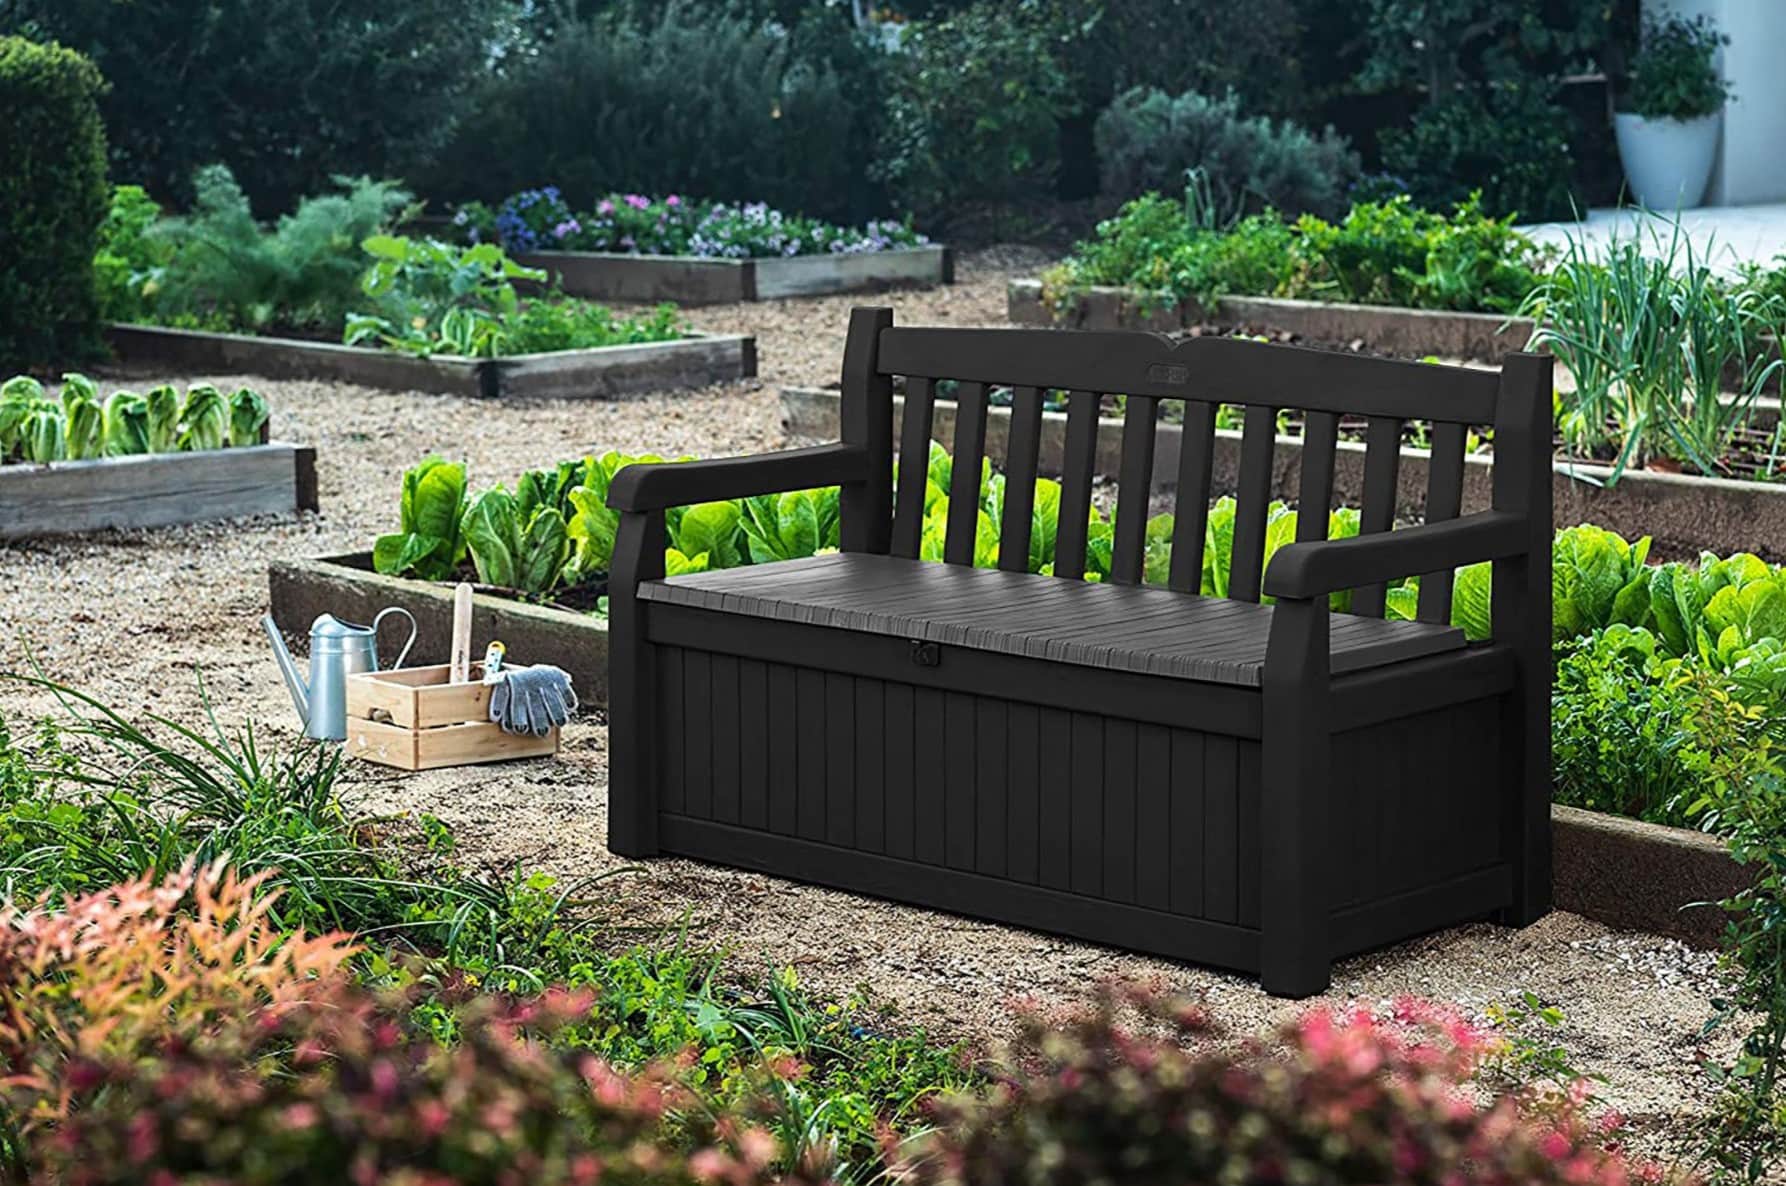
Step 5: Adding the Storage Compartments
Adding storage compartments to your storage bench is what makes it truly functional. These compartments will provide a place to neatly store shoes, bags, and other items, keeping your mudroom landing zone organized. Here’s how you can add the storage compartments:
- Measure and cut pieces of plywood or MDF to create dividers for the storage compartments. These dividers will separate the compartments and provide structure.
- Attach the dividers vertically inside the frame, evenly spacing them to create the desired number and size of compartments. Use your power drill and wood screws to secure them in place.
- If desired, you can further customize the storage compartments by adding shelves or hooks. Shelves can be added by cutting additional pieces of plywood or MDF to fit inside the compartments. Hooks can be attached to the sides or the back of the frame using screws.
- Test the compartments by placing items inside to ensure they fit properly and are easily accessible. Make any necessary adjustments if needed.
With the storage compartments in place, you have now transformed your storage bench into a functional and practical piece of furniture. All that’s left is to add the final touches and apply finishing to complete the project.
Step 6: Final Touches and Finishing
Now that your storage bench is nearing completion, it’s time to add the final touches and apply finishing to enhance its appearance and durability. Follow these steps to finish your storage bench:
- Sand the entire bench surface using a sanding block or sandpaper. This will smooth out any rough edges or surfaces, preparing it for the finish.
- Wipe away any dust or debris from sanding using a clean cloth or tack cloth.
- If desired, you can apply paint or stain to the bench to match your mudroom’s aesthetic. Choose a paint or stain that is suitable for wooden surfaces. Apply multiple coats, allowing each coat to dry before applying the next.
- Once the paint or stain has dried, you can add cushions or seat pads to make the bench more comfortable. Select cushions or seat pads that fit the dimensions of the bench and provide the desired level of comfort.
- Finally, place the storage bench in your mudroom landing zone, and organize your belongings within the compartments. Enjoy the functionality and organization it brings to your space!
Congratulations! You have successfully built and finished your storage bench for your mudroom landing zone. Sit back, relax, and take pride in your DIY project.
Remember, this guide is a starting point, and you can customize your storage bench further to suit your needs and personal style. Get creative with paint colors, add decorative elements, or even incorporate additional features such as hooks or a shoe rack.
Building your own furniture not only saves you money but also allows you to create a piece that perfectly fits your space and serves its intended purpose. So, keep exploring and honing your DIY skills – you never know what amazing creations you might come up with!
Conclusion
Building a storage bench for your mudroom landing zone is a rewarding and practical DIY project that can bring organization and style to your space. With just a few essential materials and tools, you can create a custom storage solution that fits your specific needs.
Throughout the process, we covered the essential steps from planning and measurements to building the frame, attaching the legs, adding the storage compartments, and finishing the bench. By following these steps, you can successfully create a functional and aesthetically pleasing storage bench for your mudroom.
This DIY project allows you to unleash your creativity and tailor the storage bench to match your personal style. Whether you opt for a sleek and modern design or a rustic and farmhouse-inspired look, the possibilities are endless.
Remember to prioritize both the functionality and comfort of your storage bench. Ensure that the dimensions, seating height, and storage compartments align with your needs. Customizing the bench to your liking and adding final touches, such as paint or stain, will further enhance its appearance and make it a standout piece in your mudroom.
Building your own furniture not only allows you to save money but also gives you a sense of pride and accomplishment. Plus, you can enjoy the long-lasting benefits of a practical and organized mudroom landing zone.
So, gather your materials, set aside some time, and embark on this DIY adventure. Building a storage bench for your mudroom landing zone is a worthwhile project that will enhance the functionality and aesthetic appeal of your space. Get ready to create a clutter-free zone and welcome your guests with a neat and organized mudroom!
Frequently Asked Questions about How To Build A Storage Bench For Your Mudroom Landing Zone
Was this page helpful?
At Storables.com, we guarantee accurate and reliable information. Our content, validated by Expert Board Contributors, is crafted following stringent Editorial Policies. We're committed to providing you with well-researched, expert-backed insights for all your informational needs.


0 thoughts on “How To Build A Storage Bench For Your Mudroom Landing Zone”