Articles
How To Build Screened-In Porch
Modified: January 8, 2024
Learn how to build a screened-in porch with our informative articles. Find step-by-step guides, tips, and expert advice to create your dream outdoor living space.
(Many of the links in this article redirect to a specific reviewed product. Your purchase of these products through affiliate links helps to generate commission for Storables.com, at no extra cost. Learn more)
Introduction
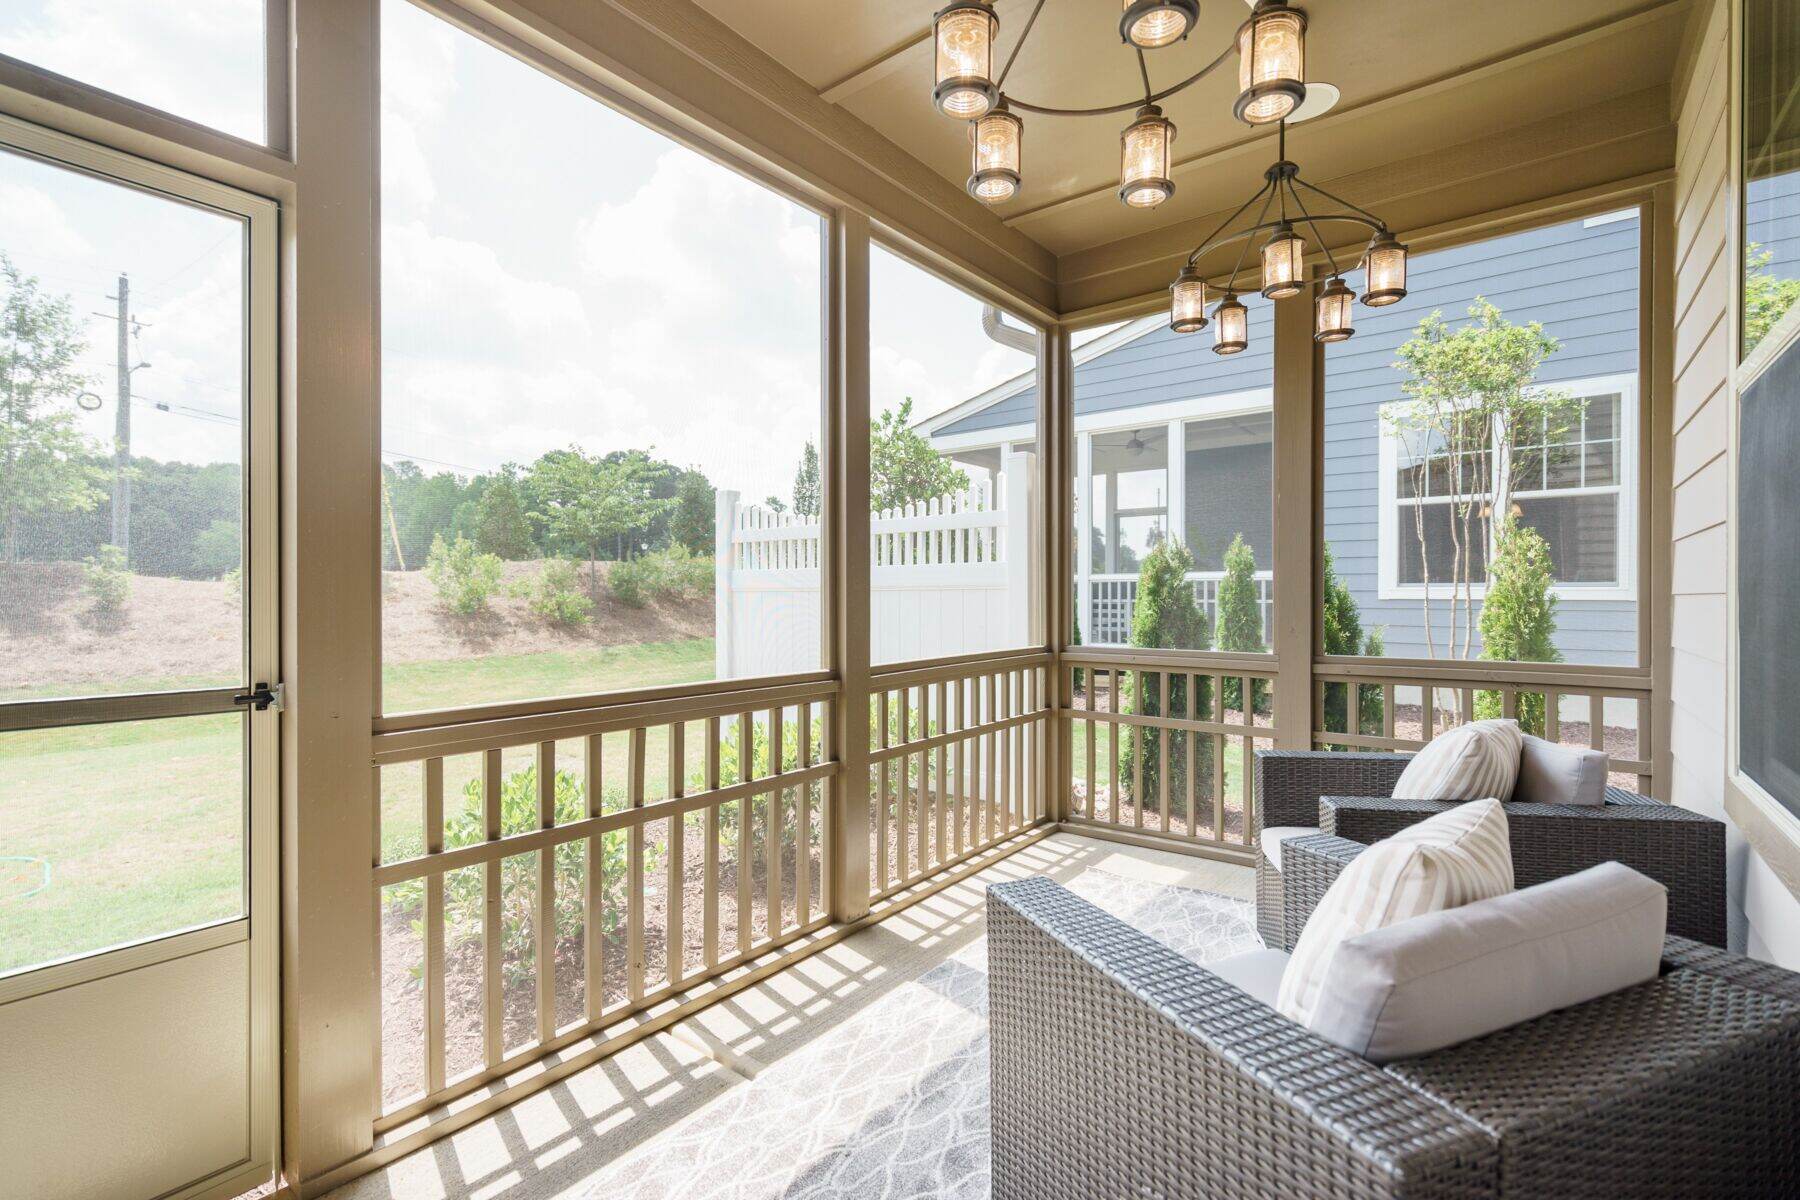
Welcome to the exciting world of creating your very own screened-in porch! Whether you’re looking to expand your living space, increase the value of your home, or simply enjoy the beautiful outdoors without dealing with pesky bugs, a screened-in porch is the perfect solution. In this comprehensive guide, we’ll take you through the step-by-step process of building your own screened-in porch.
Before we dive into the details, it’s important to understand the benefits of a screened-in porch. Not only does it provide a bug-free and comfortable space for you and your family to relax and enjoy the outdoors, but it also adds aesthetic appeal to your home and increases its overall value. Additionally, a screened-in porch allows for better ventilation, allowing you to enjoy the fresh air while remaining protected from the elements.
Now, let’s get started on the journey to create your dream screened-in porch. From planning and permits to the finishing touches, we’ll cover each step in detail, ensuring that you have all the information you need to successfully complete your project.
Key Takeaways:
- Building a screened-in porch requires thorough planning, accurate measurements, and attention to detail. From obtaining permits to adding finishing touches, each step contributes to creating a beautiful and functional outdoor oasis.
- A well-constructed screened-in porch provides a bug-free and comfortable space for relaxation, entertainment, and enjoying the outdoors. With the right location, proper installation of screens, and thoughtful finishing touches, you can create a personalized sanctuary for your home.
Read more: How To Build Screens For A Porch
Step 1: Planning and Permits
The first and most important step in building a screened-in porch is proper planning and obtaining the necessary permits. Before you begin, it’s crucial to check with your local building department to ensure you comply with all zoning and building regulations.
Start by determining the purpose and size of your screened-in porch. Consider how you plan to use the space — will it be a quiet retreat, an entertainment area, or a place for outdoor dining? This will help you decide on the size, layout, and features of your porch.
Next, think about the location of your porch. Take into account factors such as sunlight exposure, privacy, and accessibility. You may want to consider positioning your porch in an area that offers shade during the hottest parts of the day or a view of your backyard or garden.
Once you have a clear plan in mind, it’s time to obtain the necessary permits. Contact your local building department to understand the specific permits you need to proceed with the construction. This may include building permits, zoning permits, or variances. Fill out the required paperwork and pay any applicable fees to obtain the necessary approvals.
While it may seem like a hassle, obtaining permits is essential to ensure the safety and compliance of your porch. Building codes and regulations are in place to protect you and your property, so it’s important to follow them to avoid any legal issues down the line.
Lastly, consider your budget. Establish a realistic budget for your project, including the cost of materials, labor, permits, and any additional features you plan to incorporate. It’s a good idea to get multiple quotes from contractors to compare prices and ensure you’re getting the best value for your money.
By thorough planning and obtaining the necessary permits, you’ll set a solid foundation for the rest of your project. With these initial steps taken care of, you can now move on to choosing the right location for your screened-in porch.
Step 2: Choosing the Right Location
Choosing the right location for your screened-in porch is crucial. It will determine the overall functionality, comfort, and enjoyment of your outdoor space. Here are some factors to consider when selecting the perfect spot:
1. Accessibility: Ensure that your porch is easily accessible from the main areas of your home, such as the living room or kitchen. This will make it convenient for you and your family to transition between indoor and outdoor spaces.
2. Sunlight Exposure: Consider the position of the sun throughout the day. Do you prefer a porch that gets plenty of sunshine, or would you rather have a shaded area to escape the heat? Depending on your preference, you can choose a location that offers the desired amount of sunlight.
3. Views and Privacy: Assess the views from different areas of your property. If you have a beautiful garden or a scenic backyard, you may want to position your porch to take advantage of these vistas. On the other hand, if privacy is a concern, you can choose a location that offers seclusion from neighboring properties.
4. Ventilation: Consider the prevailing wind direction and airflow in your backyard. Positioning your porch in a way that promotes natural ventilation will keep the space fresh and comfortable, especially during hot summer days.
5. Structural Support: Take into account the existing structure of your home and any potential obstructions such as trees, power lines, or drainage systems. Ensure that the chosen location can support the weight of the porch and that it doesn’t interfere with any essential utilities.
6. Landscaping Considerations: Evaluate the landscaping around your property. You may need to clear an area or make adjustments to accommodate the size and layout of the porch. Additionally, consider how the porch will integrate with the existing outdoor features, such as patios or walkways.
Once you’ve evaluated these factors, you will have a better understanding of where your screened-in porch will be the most functional and enjoyable. Take your time to explore different locations and envision how each one will enhance your outdoor living experience.
Remember to consult with professionals, such as architects or contractors, if you’re unsure about the best location for your porch. Their expertise will help you make informed decisions and ensure that your chosen location is suitable for construction.
With the ideal location chosen, you’re ready to move on to the next step: measuring and marking the area for your screened-in porch.
Step 3: Measuring and Marking
Now that you have chosen the perfect location for your screened-in porch, it’s time to start the process of measuring and marking the area. This step is critical to ensure accuracy and precision in building the frame of your porch. Here’s what you need to do:
1. Gather your tools: Start by collecting all the necessary tools for measuring and marking, including a measuring tape, stakes, string, level, and a chalk or marking pen.
2. Measure the dimensions: Begin by measuring the length and width of the porch area you have chosen. Use the measuring tape to determine the exact dimensions. Take into account any specific requirements or regulations set by your local building department.
3. Mark the corners: Once you have the dimensions, use stakes and string to mark the corners of the porch area. Ensure that the stakes are secure and level with the ground. Use the string to create straight lines connecting the corner stakes, forming the outline of the porch.
4. Double-check the measurements: After marking the corners, take a step back and double-check all the measurements. Ensure that the lines are straight and that the dimensions match your initial plan. This is the time to make any adjustments or corrections before proceeding further.
5. Mark the door placement: If you plan to have a door in your screened-in porch, mark the location for it within the frame. Measure and mark the dimensions of the door opening, ensuring it aligns with your overall plan and design.
6. Verify with building codes: Before finalizing the marking, cross-check with the building codes and regulations in your area. Ensure that the size, shape, and placement of the porch meet the requirements specified by the local authorities.
7. Adjust or modify if needed: If any adjustments or modifications are necessary based on the building codes, make the necessary changes to the marked lines. It’s better to do this at the marking stage rather than during the construction process.
By taking accurate measurements and marking the porch area meticulously, you lay the foundation for a well-constructed and visually appealing screened-in porch. It’s crucial to invest time and effort in this step to avoid any potential complications or errors later on. Once you’re satisfied with the measurements and markings, it’s time to move on to the next step: building the frame of your porch.
Step 4: Building the Frame
With the area for your screened-in porch accurately marked, it’s time to move on to building the frame. The frame serves as the structural support for your porch and will hold everything together. Here’s a step-by-step guide to help you construct the frame:
1. Gather the necessary materials: Before you start building the frame, make sure you have all the required materials, including pressure-treated lumber, galvanized screws or nails, a circular saw, a power drill, a level, and a measuring tape.
2. Start with the base: Begin by attaching a pressure-treated 2×4 board to the exterior of your home at the bottom where the porch will be attached. Make sure it’s level and secure it firmly using screws or nails. This will act as the base for the frame.
3. Construct the walls: Measure and cut the pressure-treated 2×4 boards to the desired height of your porch walls. Attach them to the base securely using screws or nails. Use a level to ensure the walls are plumb and straight. Repeat this process for each side of the porch, leaving space for the door if applicable.
4. Add support beams: Install pressure-treated 2×6 or 2×8 beams horizontally across the top of the walls to provide additional support. These beams will bear the weight of the roof. Secure them firmly using screws or nails.
5. Install joists: Measure and cut pressure-treated 2×6 boards to the length of the porch walls. Install them horizontally across the top of the support beams, spacing them approximately 12-16 inches apart. This will create the base for the porch floor.
6. Reinforce the corners: To add stability, reinforce the corners of the frame by attaching diagonal, pressure-treated 2×4 boards from the top of one wall to the bottom of the adjacent wall. Secure them with screws or nails.
7. Check for level and square: Use a level and a measuring tape to ensure that the frame is level and square. This is crucial for the stability and proper alignment of the porch. Make any necessary adjustments before proceeding.
8. Finish with ledger boards: Install pressure-treated 2×8 ledger boards along the outer walls of the porch frame. These will provide additional support for the porch roof. Ensure they are securely attached to the walls using screws or nails.
By following these steps, you will have successfully built the frame for your screened-in porch. It’s important to take your time and ensure that each component is securely fastened and properly aligned. In the next step, we will discuss how to install the roof for your porch.
When building a screened-in porch, make sure to use durable materials that can withstand outdoor elements, and consider adding a ceiling fan for added comfort and air circulation.
Read more: How To Build A Screened-In Porch On A Deck
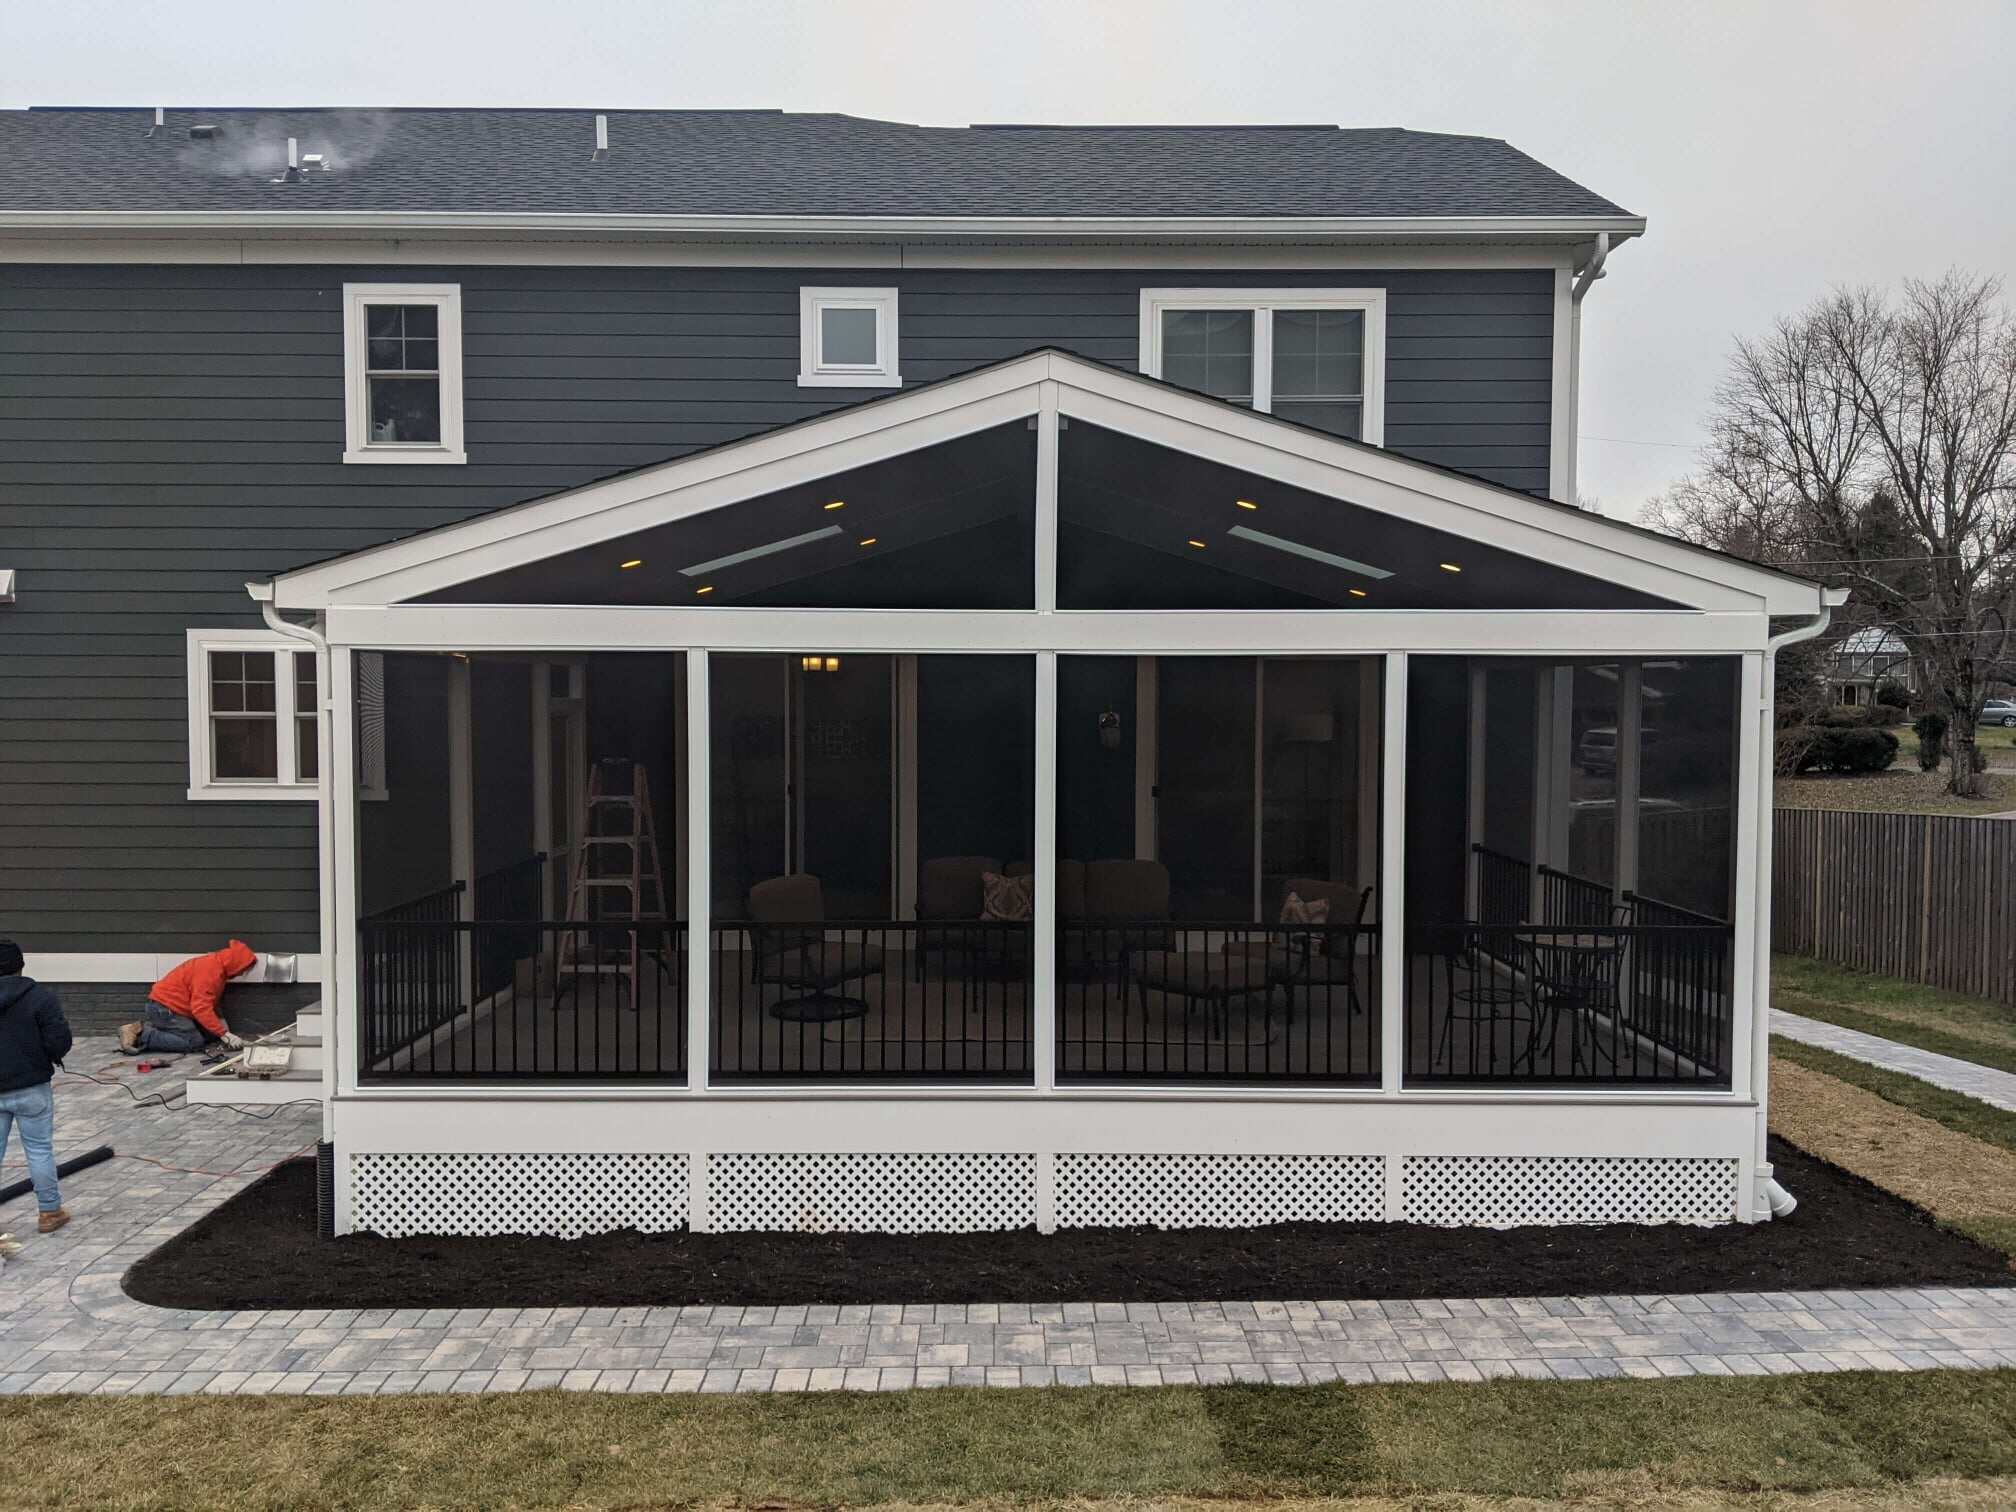
Step 5: Installing the Roof
Installing the roof is a key step in completing your screened-in porch. The roof not only provides protection from the elements but also adds structural integrity to the overall structure. Here’s a guide on how to install the roof for your porch:
1. Choose your roofing material: There are various options for roofing materials such as asphalt shingles, metal panels, or even translucent panels for additional sunlight. Consider factors such as durability, aesthetics, and budget when selecting the right material for your porch.
2. Measure and cut the roof trusses: Start by measuring the distance between the walls of your porch. Cut pressure-treated 2×4 boards to length to serve as your roof trusses. Space them evenly along the width of the porch, ensuring stability and structural support.
3. Attach the roof trusses: Secure the roof trusses to the top of the support beams using galvanized screws or nails. Ensure they are evenly spaced and securely fastened to provide ample support for the roof. Use a level to check for any unevenness.
4. Install the roof decking: Measure and cut plywood or OSB (oriented strand board) panels to fit between the roof trusses. Attach them to the trusses using screws or nails, ensuring a secure and even installation. This will serve as the base for your roof.
5. Apply the roofing material: Depending on your chosen roofing material, follow the manufacturer’s instructions for installation. This may involve laying asphalt shingles, attaching metal panels, or securing translucent panels. Take care to properly seal and fasten the roofing material to prevent any leaks or damage.
6. Add flashing and trim: Install flashing along the edges of the roof to prevent water intrusion. This includes drip edge along the eaves and gable trim along the sides. Ensure that all edges are properly sealed and protected.
7. Consider gutters and downspouts: If desired, install gutters and downspouts to redirect rainwater away from the porch. This will help protect the structure and maintain the integrity of your porch over time.
8. Inspect and make adjustments: Once the roof is installed, carefully inspect it to ensure that it is properly aligned, structurally sound, and free from any defects or potential issues. Make any necessary adjustments or repairs before moving on to the next step.
By following these steps and paying attention to detail, you can successfully install the roof for your screened-in porch. A well-constructed and weatherproof roof will provide the necessary protection and create a comfortable outdoor space for you and your family to enjoy. In the next step, we will discuss how to add the screens to your porch.
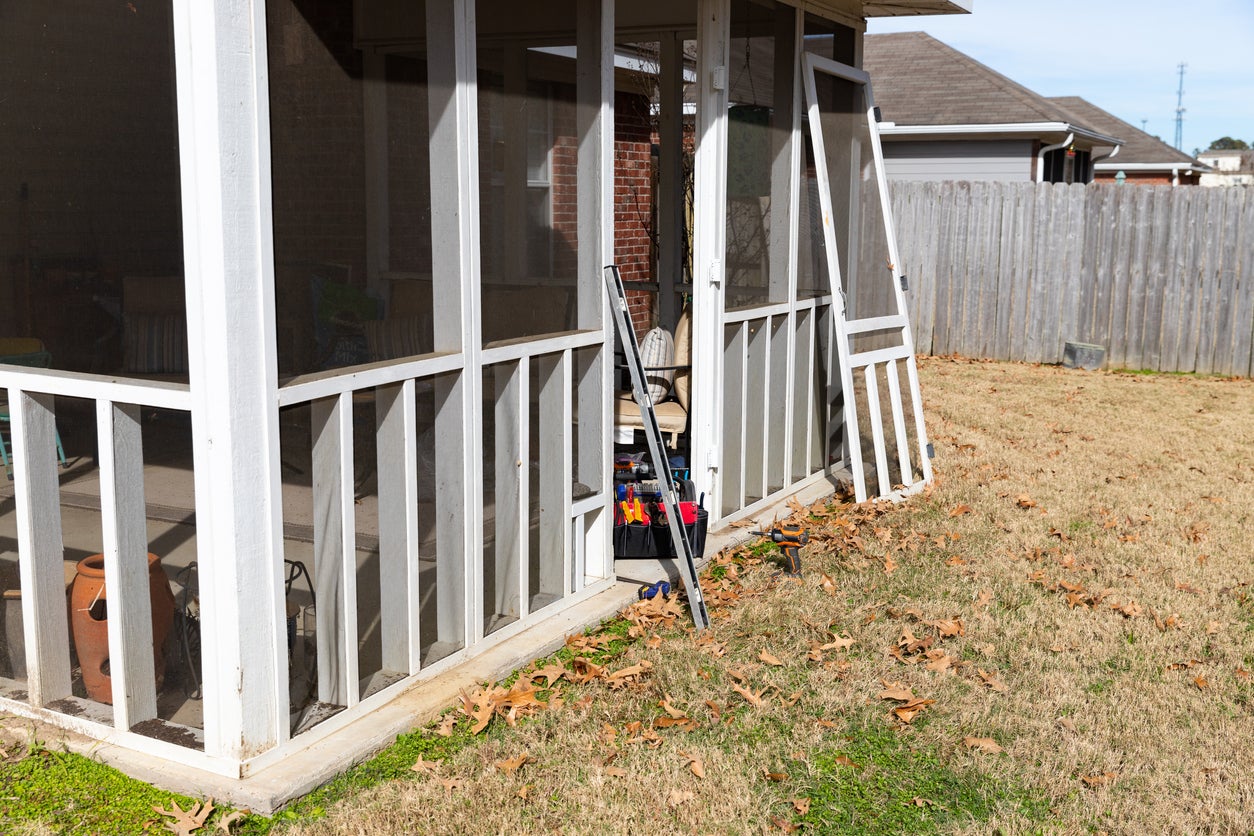
Step 6: Adding the Screens
With the roof installed, it’s time to move on to adding the screens to your screened-in porch. The screens will allow you to enjoy the fresh air and beautiful views while keeping out bugs and other unwanted pests. Here’s a step-by-step guide on how to add screens to your porch:
1. Measure and cut the screens: Start by measuring the dimensions of each opening in the porch frame where the screens will be installed. Use these measurements to cut the screens to the correct size, leaving a small overhang on each side for ease of installation.
2. Secure the screens: Begin by attaching the screens to one side of the porch frame using staples or small screws. Work your way around the frame, pulling the screens taut and ensuring that they are evenly secured. Trim off any excess screen material once all sides are attached.
3. Install screen framing: To create a clean and finished look, install screen framing over the edges of the screens. This can be done using wooden or metal trim pieces that are measured and cut to fit the dimensions of your porch. Secure the framing using screws or nails.
4. Reinforce the corners: Pay special attention to the corners of the screens and add additional support if needed. This can be done by adding corner brackets or extra framing to ensure that the screens remain securely in place.
5. Seal any gaps or openings: Check for any gaps or openings between the screens and the porch frame. Use weather-resistant caulk or sealant to seal any areas where bugs or drafts may enter. This will help create a tight seal and ensure that your screened-in porch remains bug-free.
6. Test the screens: Once all the screens are installed and secured, test them by gently pushing on the surface to ensure they are sturdy and well-attached. Make any necessary adjustments or repairs as needed.
7. Consider additional features: Depending on your preferences, you may want to add additional features to enhance the functionality and comfort of your screened-in porch. This can include a screen door for easy access, curtains or blinds for added privacy, or even a ceiling fan to circulate the air.
By following these steps and taking your time to properly install the screens, you will create an inviting and bug-free space where you can enjoy the outdoors in comfort. The screens will allow you to connect with nature while providing protection and ensuring a pleasant experience within your screened-in porch.
Now that the screens are in place, we can move on to the next step: installing the door for your screened-in porch.
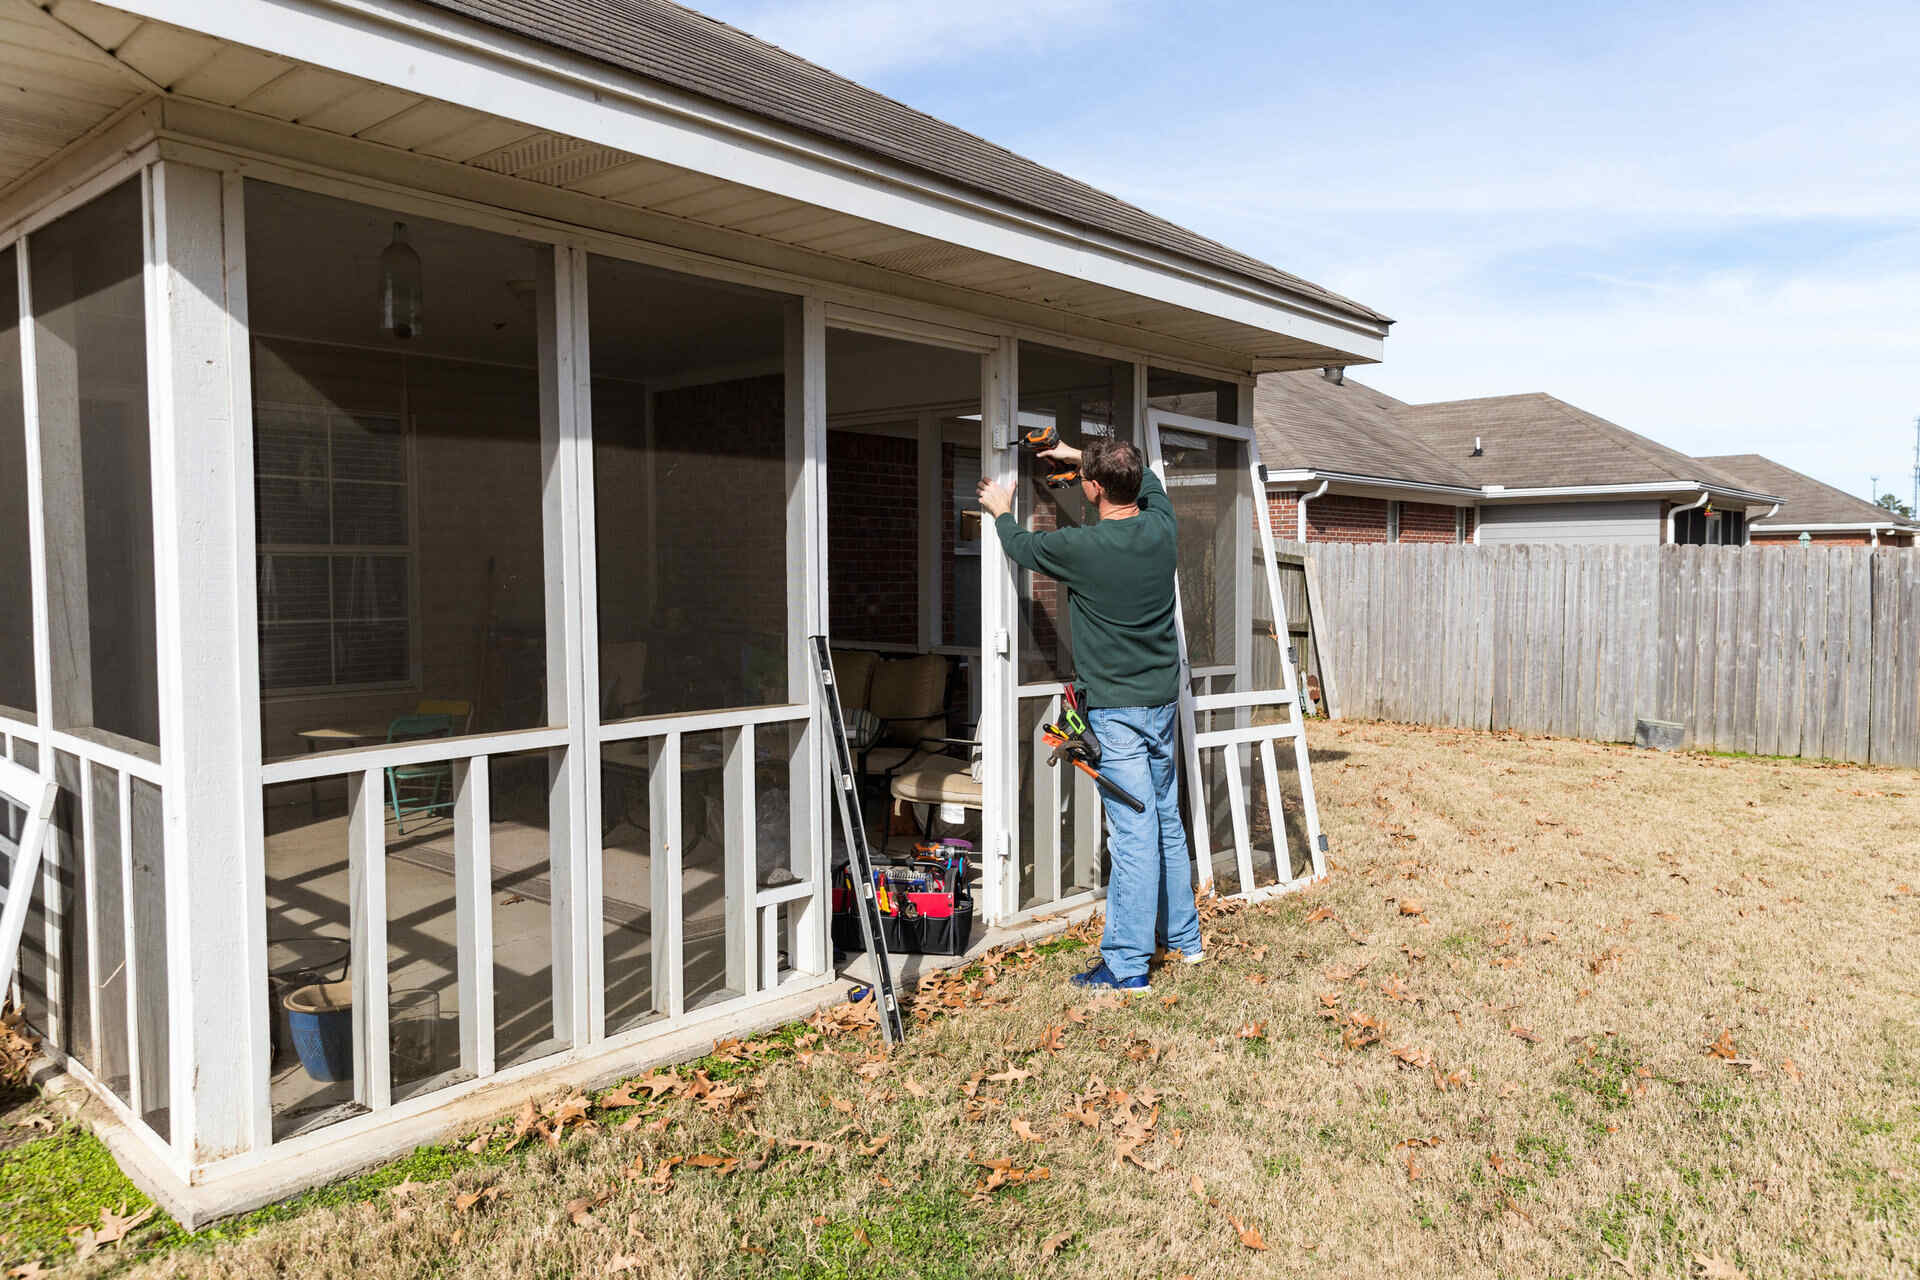
Step 7: Installing the Door
Installing a door for your screened-in porch will not only provide easy access but also enhance the functionality and aesthetics of the space. Here’s a step-by-step guide on how to install the door for your screened-in porch:
1. Select the door: Choose a door that suits your design preferences and fits the dimensions of the doorway in your porch frame. Consider factors such as durability, security, style, and material (such as wood, fiberglass, or aluminum) when selecting the door.
2. Measure and mark the door placement: Measure the dimensions of the doorway and mark the location where the door will be installed. Ensure that the markings are level and accurate using a measuring tape and a level.
3. Prepare the doorway: Clear any obstructions or debris from the doorway. Remove any existing trim or molding, if necessary, to create a clean and flat surface for the door installation.
4. Install the door frame: Place the door frame into the doorway, ensuring it fits snugly. Use shims to align the frame properly and make it level and plumb. Secure the frame in place using screws or nails, taking care not to over-tighten them.
5. Attach the door: Install the door into the door frame by placing it on the hinges and aligning it with the frame. Ensure that the door swings smoothly and opens and closes properly. Make any necessary adjustments to the hinges or the door itself to ensure proper functionality.
6. Secure the door: Once the door is properly aligned, secure it to the door frame using the provided screws or hinges. Ensure that the door is securely attached and closes tightly, preventing any drafts or insects from entering your screened-in porch.
7. Add weatherstripping and seals: To provide additional insulation and minimize drafts, install weatherstripping around the edges of the door. This will help create a tight seal and improve energy efficiency within your porch.
8. Install door hardware: Add the finishing touches by installing the door hardware, including the doorknob, lockset, and any additional accessories or decorative elements. Choose hardware that complements the style and design of your porch.
By following these steps and ensuring proper alignment and installation, you will have successfully installed a functional and aesthetically pleasing door for your screened-in porch. The door will provide convenient access to your outdoor oasis while maintaining the protection and comfort that a screened-in porch offers.
Now that the door is in place, we can move on to the final step: adding the finishing touches to complete your screened-in porch.
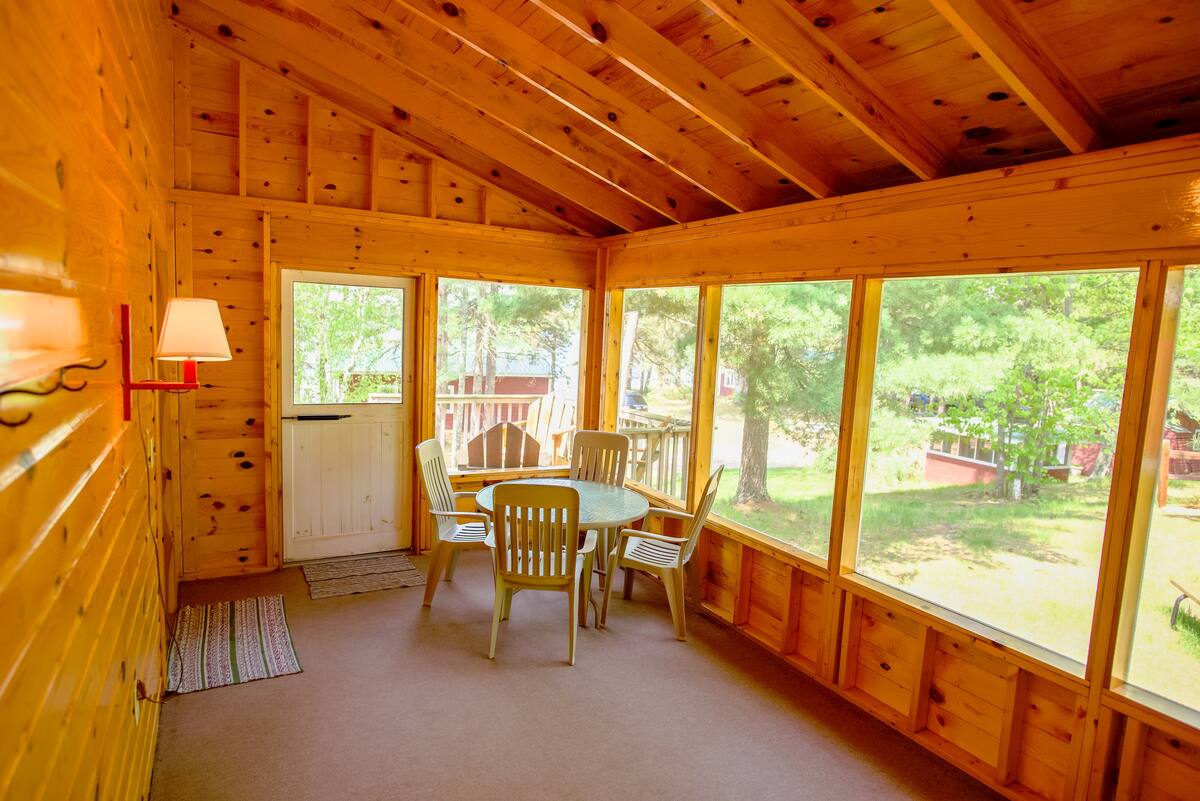
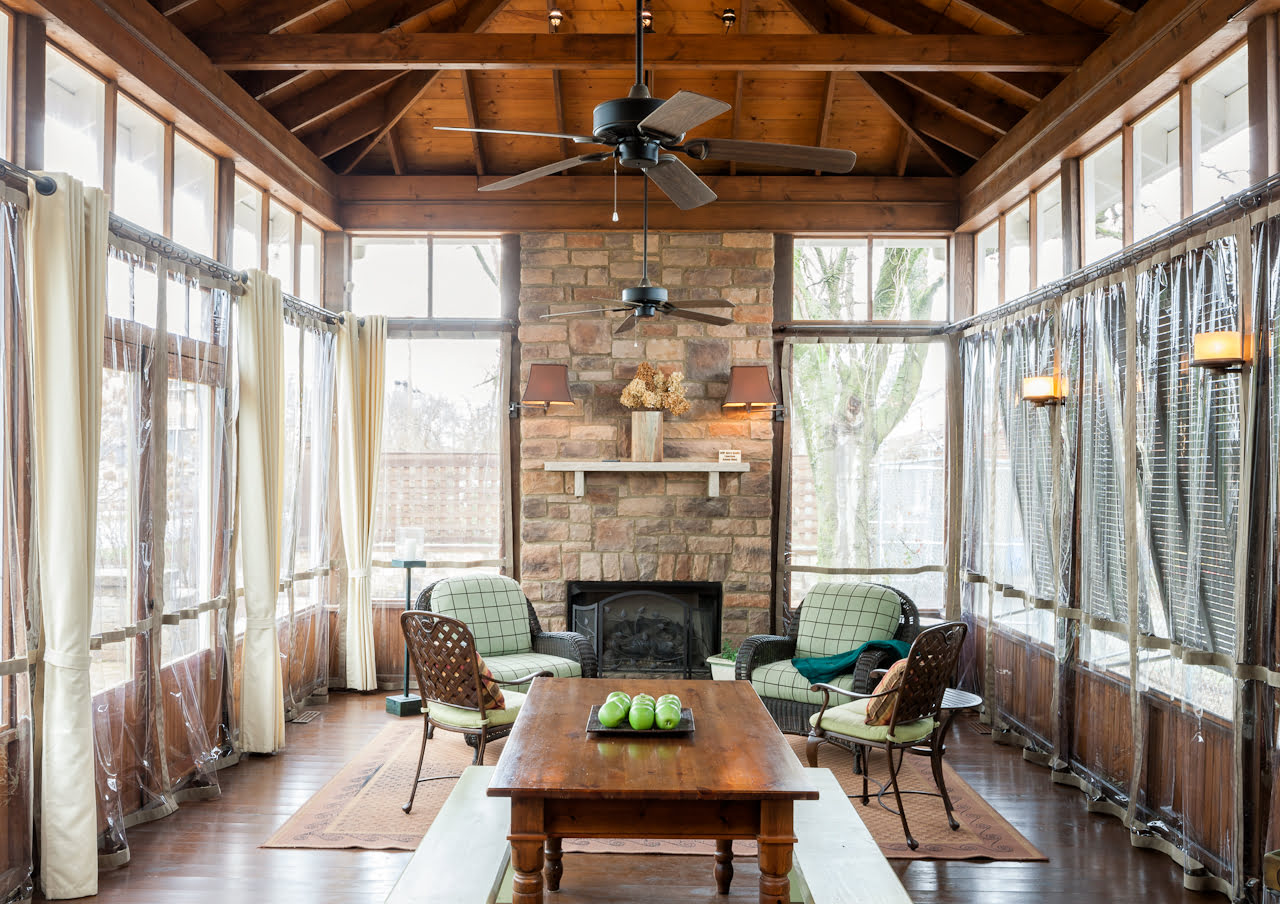
Step 8: Finishing Touches
Now that the major components of your screened-in porch are in place, it’s time to add the finishing touches to complete your outdoor oasis. These final details will enhance the overall appearance and functionality of your porch. Here are some ideas for adding those perfect finishing touches:
1. Flooring: Choose a flooring material that suits your style and desired level of maintenance. Options include wood, composite decking, tile, or even outdoor carpeting. Consider the durability, aesthetics, and ease of cleaning when selecting the flooring for your porch.
2. Lighting: Install suitable lighting fixtures to create a warm and inviting atmosphere in your screened-in porch. Options include recessed lighting, string lights, lanterns, or even ceiling fans with integrated lighting. Choose lighting that provides both functionality and ambience.
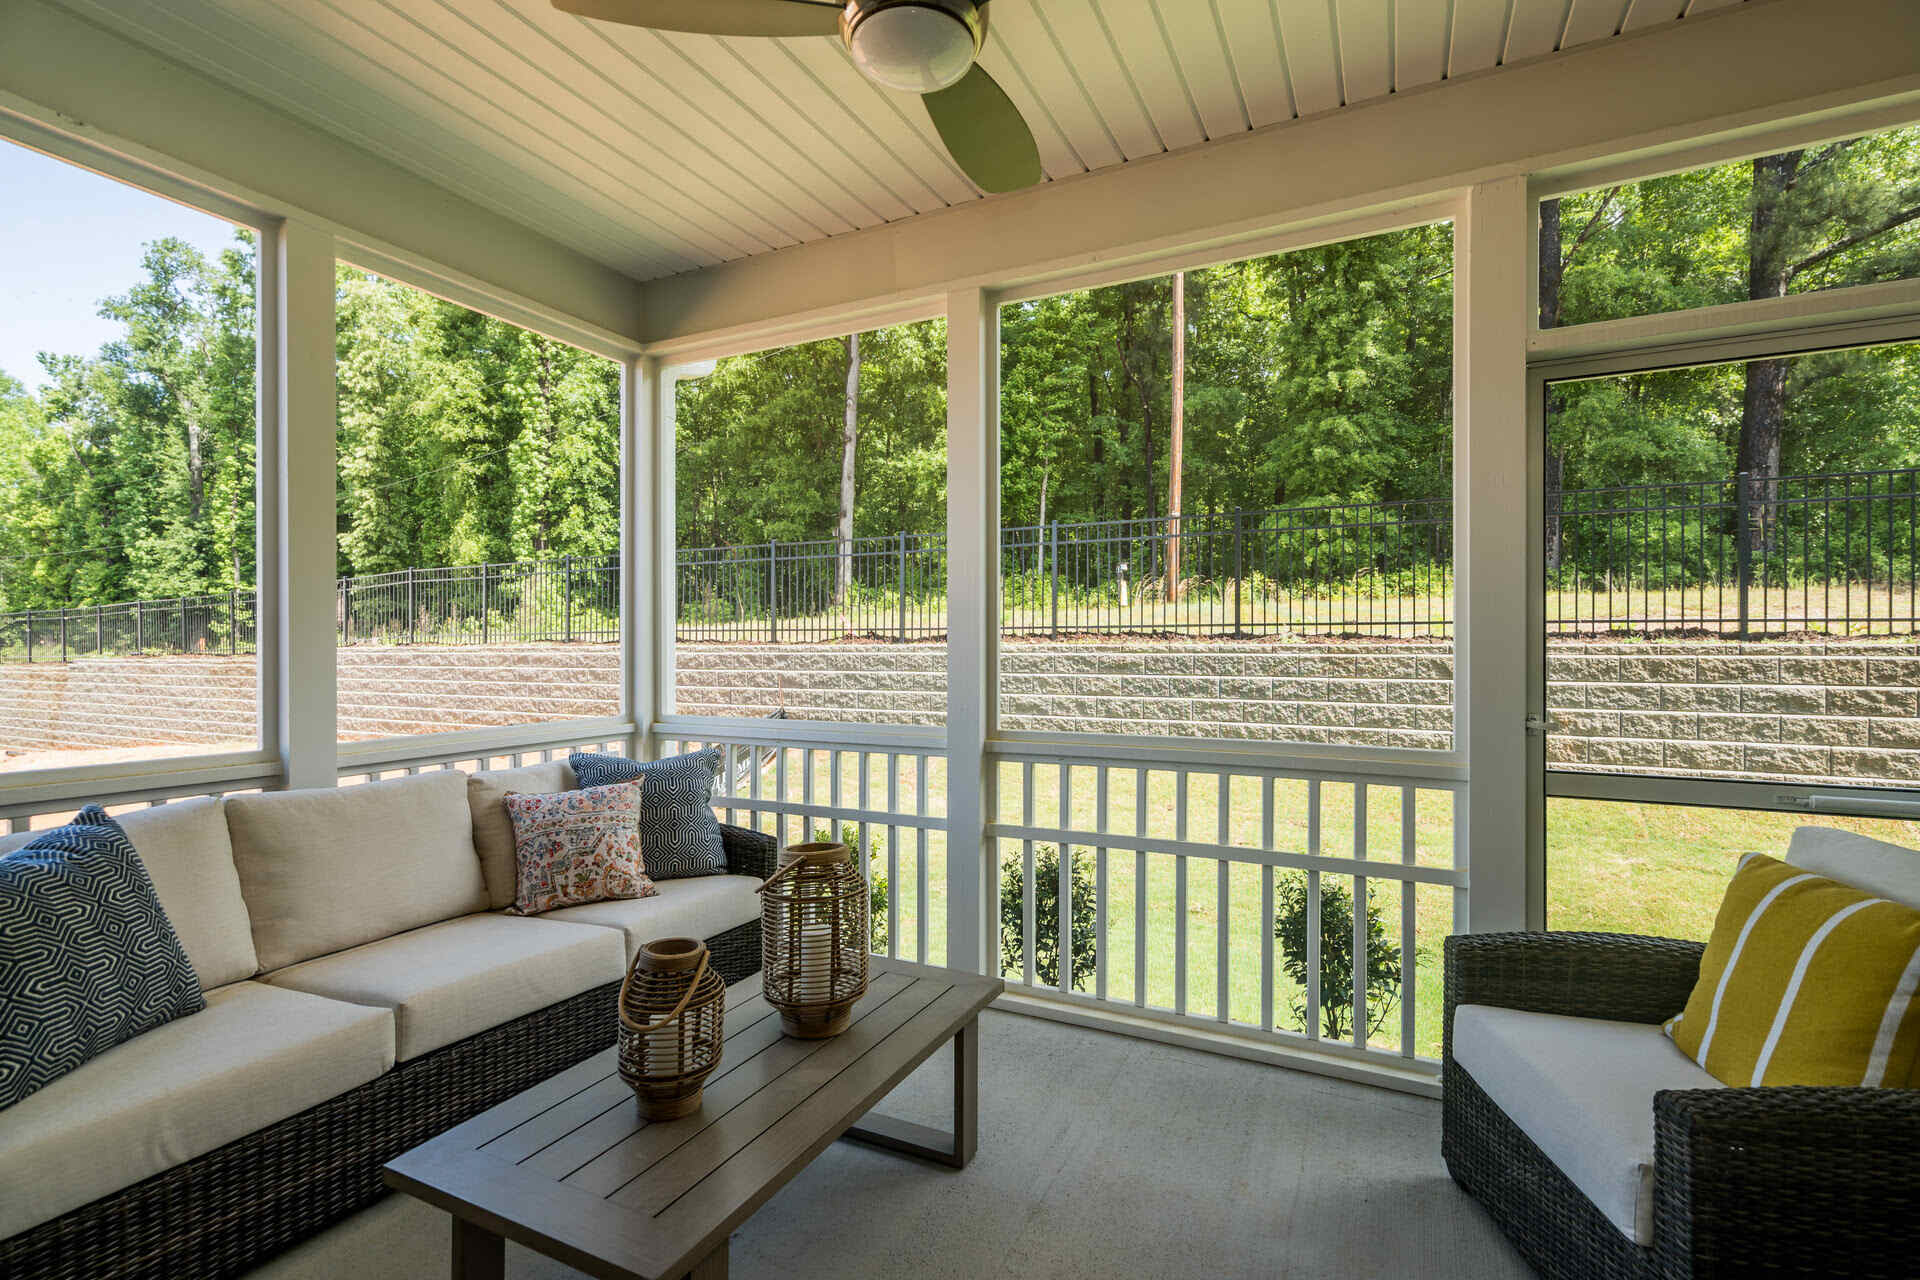
3. Furniture: Select comfortable and weather-resistant furniture to furnish your porch. Depending on your needs and preferences, opt for couches, chairs, dining sets, or even hammocks. Incorporate cushions, pillows, and outdoor fabrics that are durable and resistant to weather conditions.
4. Decorative elements: Personalize and beautify your porch with decorative accents such as potted plants, artwork, rugs, or curtains. Add pops of color and texture to create a cozy and inviting space. Consider the style and theme that you want to reflect in your porch’s design.
5. Storage: Depending on the size of your porch, consider incorporating storage solutions such as shelves, cabinets, or storage benches to keep the space organized and clutter-free. Maximize the functionality of your porch by utilizing smart storage options.
6. Screening options: If you desire different levels of privacy or protection from the sun, consider adding options like retractable screens or blinds. These can give you the flexibility to adjust the amount of sunlight and privacy according to your preference.
7. Outdoor entertainment: Consider adding entertainment amenities such as an outdoor television, speakers, or even a small bar area. This will allow you to enjoy your favorite music, movies, or beverages while relaxing in your screened-in porch.
8. Maintenance and upkeep: Develop a regular maintenance routine to ensure that your screened-in porch remains clean and well-maintained. This includes proper cleaning of the screens, flooring, furniture, and any outdoor elements to keep your porch in pristine condition.
By paying attention to these finishing touches, you will create a personalized and inviting space that reflects your style and allows you to fully enjoy your screened-in porch. These final details will elevate your outdoor living experience and make your porch a favorite spot for relaxation, entertainment, and quality time with family and friends.
Congratulations! You have successfully completed all the steps to build and complete your own screened-in porch. Now it’s time to sit back, relax, and enjoy the beauty and functionality of your outdoor oasis.
Read more: How To Build A Screened-In Porch On Concrete
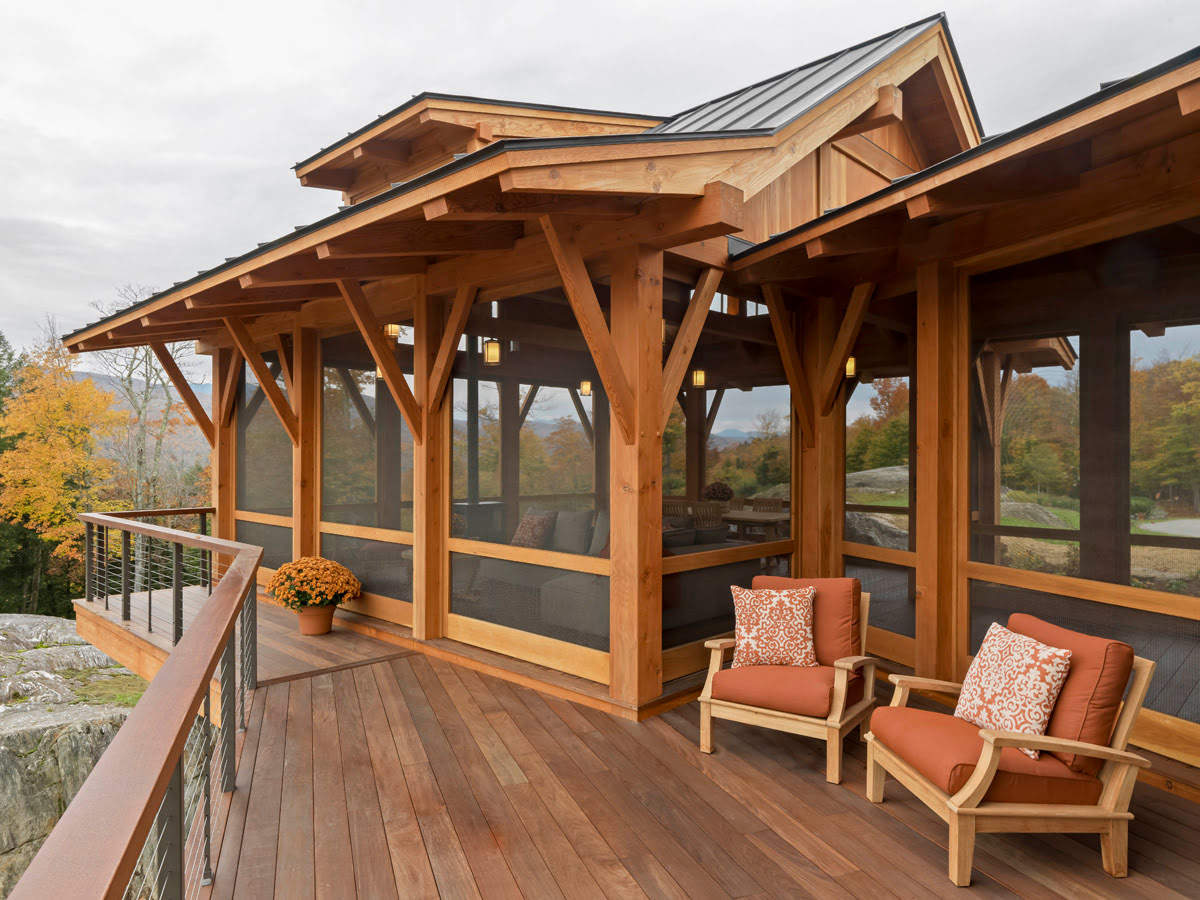
Conclusion
Building a screened-in porch is a rewarding project that adds value and enjoyment to your home. Throughout this comprehensive guide, we have walked you through the step-by-step process of creating your very own outdoor oasis. From planning and permits to installing the door and adding the finishing touches, each step has brought you closer to your dream screened-in porch.
A screened-in porch offers a perfect blend of indoor comfort and outdoor tranquility. It allows you to immerse yourself in the beauty of nature while being protected from insects and the elements. With careful planning and attention to detail, you can create a space that reflects your personal style and provides a sanctuary for relaxation, entertaining, or simply enjoying the fresh air.
Remember to thoroughly plan your project, obtain the necessary permits, and carefully choose the location for your porch. Take accurate measurements and mark the area before building the frame and installing the roof. Adding the screens and door will ensure a bug-free and accessible space for your enjoyment.
Don’t forget the importance of the finishing touches. Choose suitable flooring, lighting, furniture, and decor to complete the look and functionality of your porch. Regular maintenance and upkeep will keep your screened-in porch looking beautiful and welcoming for years to come.
Now, armed with the knowledge and guidance provided in this guide, it’s time for you to embark on your own screened-in porch project. Enjoy the process and take pride in creating a space that not only enhances your home but also enriches your lifestyle. Whether it’s a quiet retreat, a gathering place for friends and family, or a space to connect with nature, your screened-in porch will become a cherished part of your home.
So gather your tools, unleash your creativity, and embark on this exciting journey to build your own screened-in porch. Get ready to make unforgettable memories and create a space where indoor comforts meet the beauty of the great outdoors. Happy building!
Frequently Asked Questions about How To Build Screened-In Porch
Was this page helpful?
At Storables.com, we guarantee accurate and reliable information. Our content, validated by Expert Board Contributors, is crafted following stringent Editorial Policies. We're committed to providing you with well-researched, expert-backed insights for all your informational needs.


0 thoughts on “How To Build Screened-In Porch”