Articles
How To Build A Roof For A Porch
Modified: January 15, 2024
Learn how to build a sturdy and stylish roof for your porch with our informative articles. Get expert tips and step-by-step instructions to complete your project.
(Many of the links in this article redirect to a specific reviewed product. Your purchase of these products through affiliate links helps to generate commission for Storables.com, at no extra cost. Learn more)
Introduction
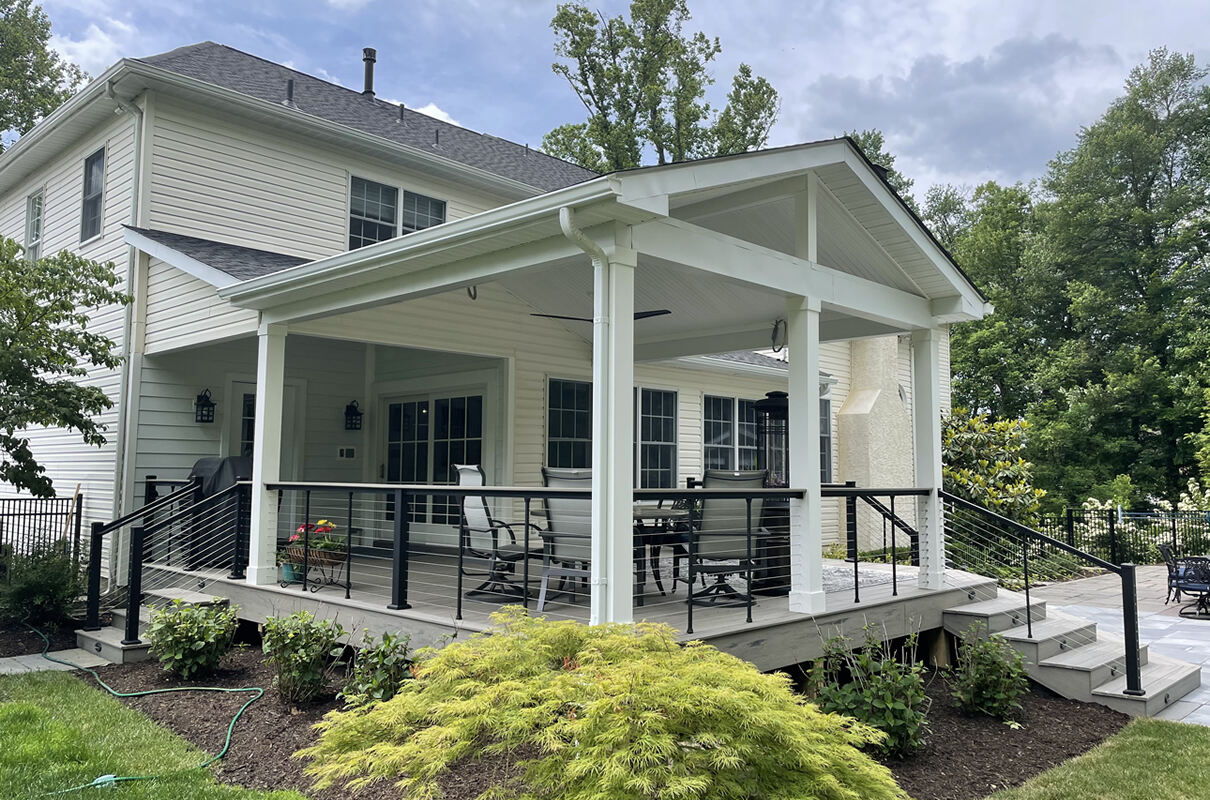
Welcome to our guide on how to build a roof for a porch. Adding a roof to your porch not only enhances the aesthetics of your outdoor space but also provides protection from the elements, allowing you to enjoy your porch year-round. Whether you’re looking to create a cozy seating area or a sheltered spot for outdoor dining, building a roof for your porch is a worthwhile endeavor.
Before embarking on this project, it’s essential to have a clear plan in place and gather the necessary permits. You’ll also need to gather the required materials and tools for the job. In this article, we will take you through each step of the process, providing detailed instructions to help you successfully build a roof for your porch.
Building a roof for a porch can seem daunting, but with proper planning and the right guidance, it can be a rewarding DIY project. Investing time and effort into building a roof will not only add value to your home but also extend the usability of your porch.
So, let’s dive into the details of how to build a roof for a porch, ensuring you have a beautiful and functional outdoor space that will be the envy of your neighbors.
Key Takeaways:
- Building a roof for your porch is a rewarding DIY project that adds value to your home and extends outdoor usability. Proper planning, obtaining permits, and attention to detail are crucial for a successful and aesthetically pleasing porch roof.
- The finishing touches, such as lighting, furniture, and landscaping, enhance the functionality and beauty of your porch roof. Regular maintenance and care ensure the longevity and enjoyment of your outdoor oasis.
Read more: How To Build A Gable Porch Roof
Planning and Design
The first step in building a roof for your porch is to carefully plan and design the structure. Consider the size, shape, and style of your porch, as well as the local building codes and regulations.
Start by measuring the dimensions of your porch and determining the height and pitch of the roof. The pitch, or slope, of the roof will impact its ability to shed water and withstand wind loads. Higher pitches are generally recommended for areas with heavy rainfall or snowfall.
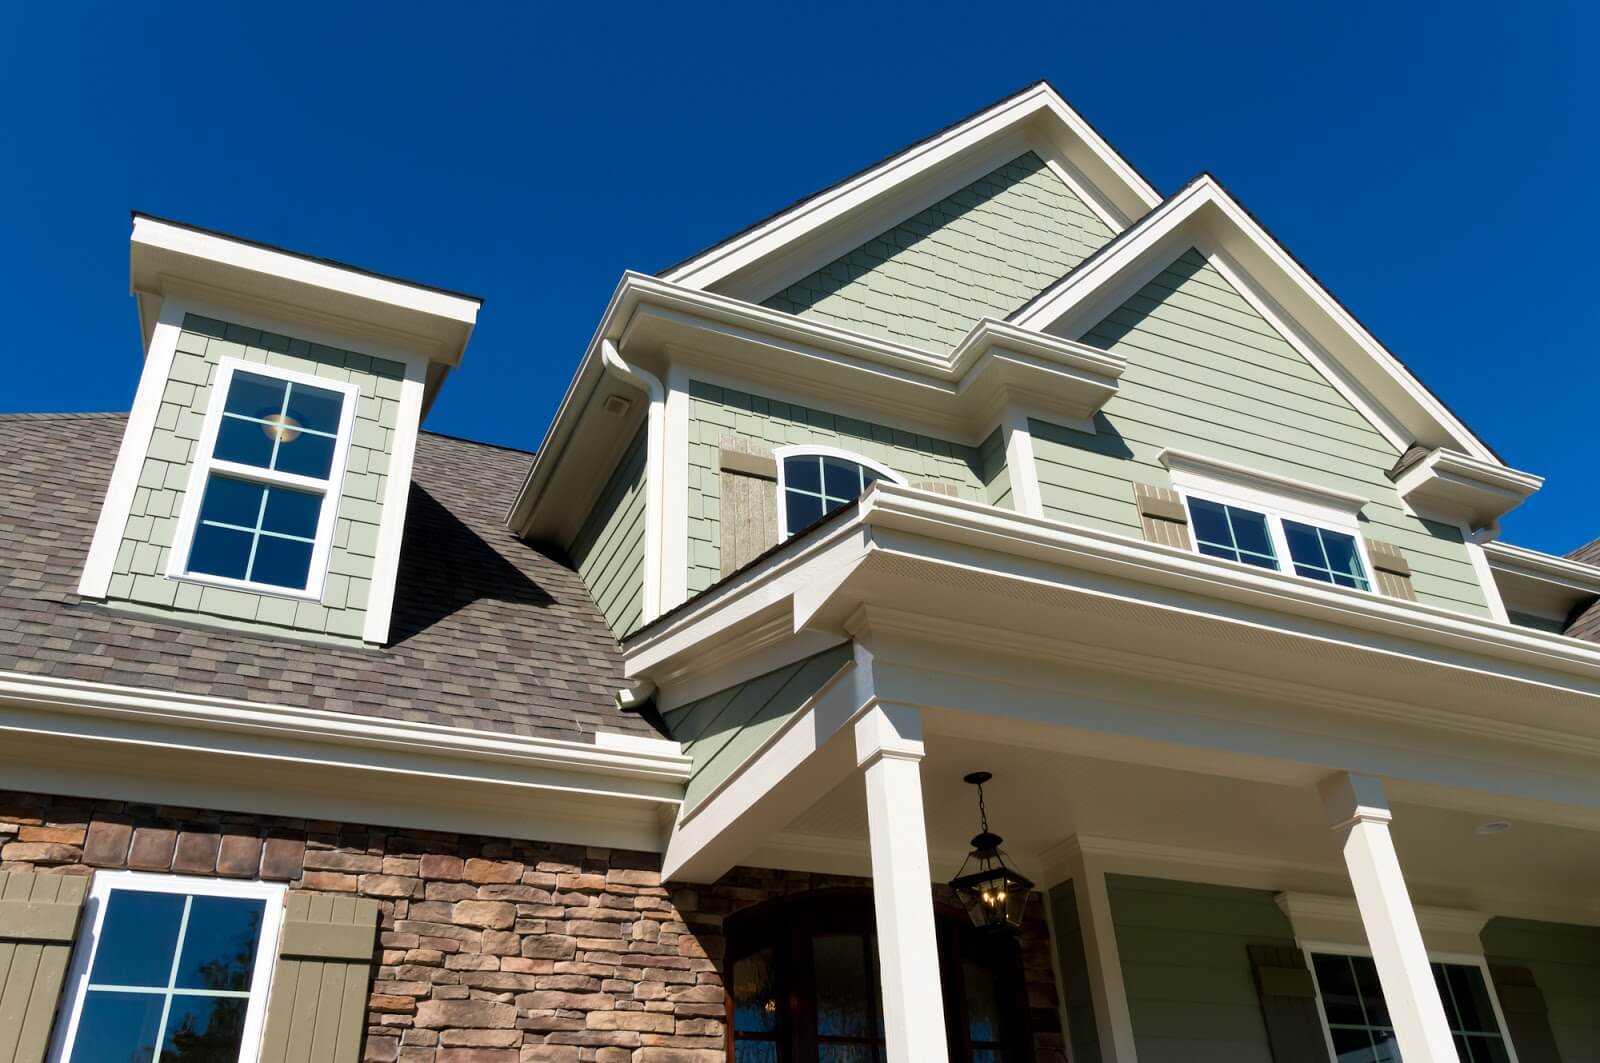
Next, decide on the type of roof you want for your porch. Common options include gable roofs, hip roofs, and shed roofs. Gable roofs are traditional, with two sloping sides that meet at a central ridge. Hip roofs have slopes on all sides, providing a more modern and streamlined look. Shed roofs are simple and cost-effective, with a single slope.
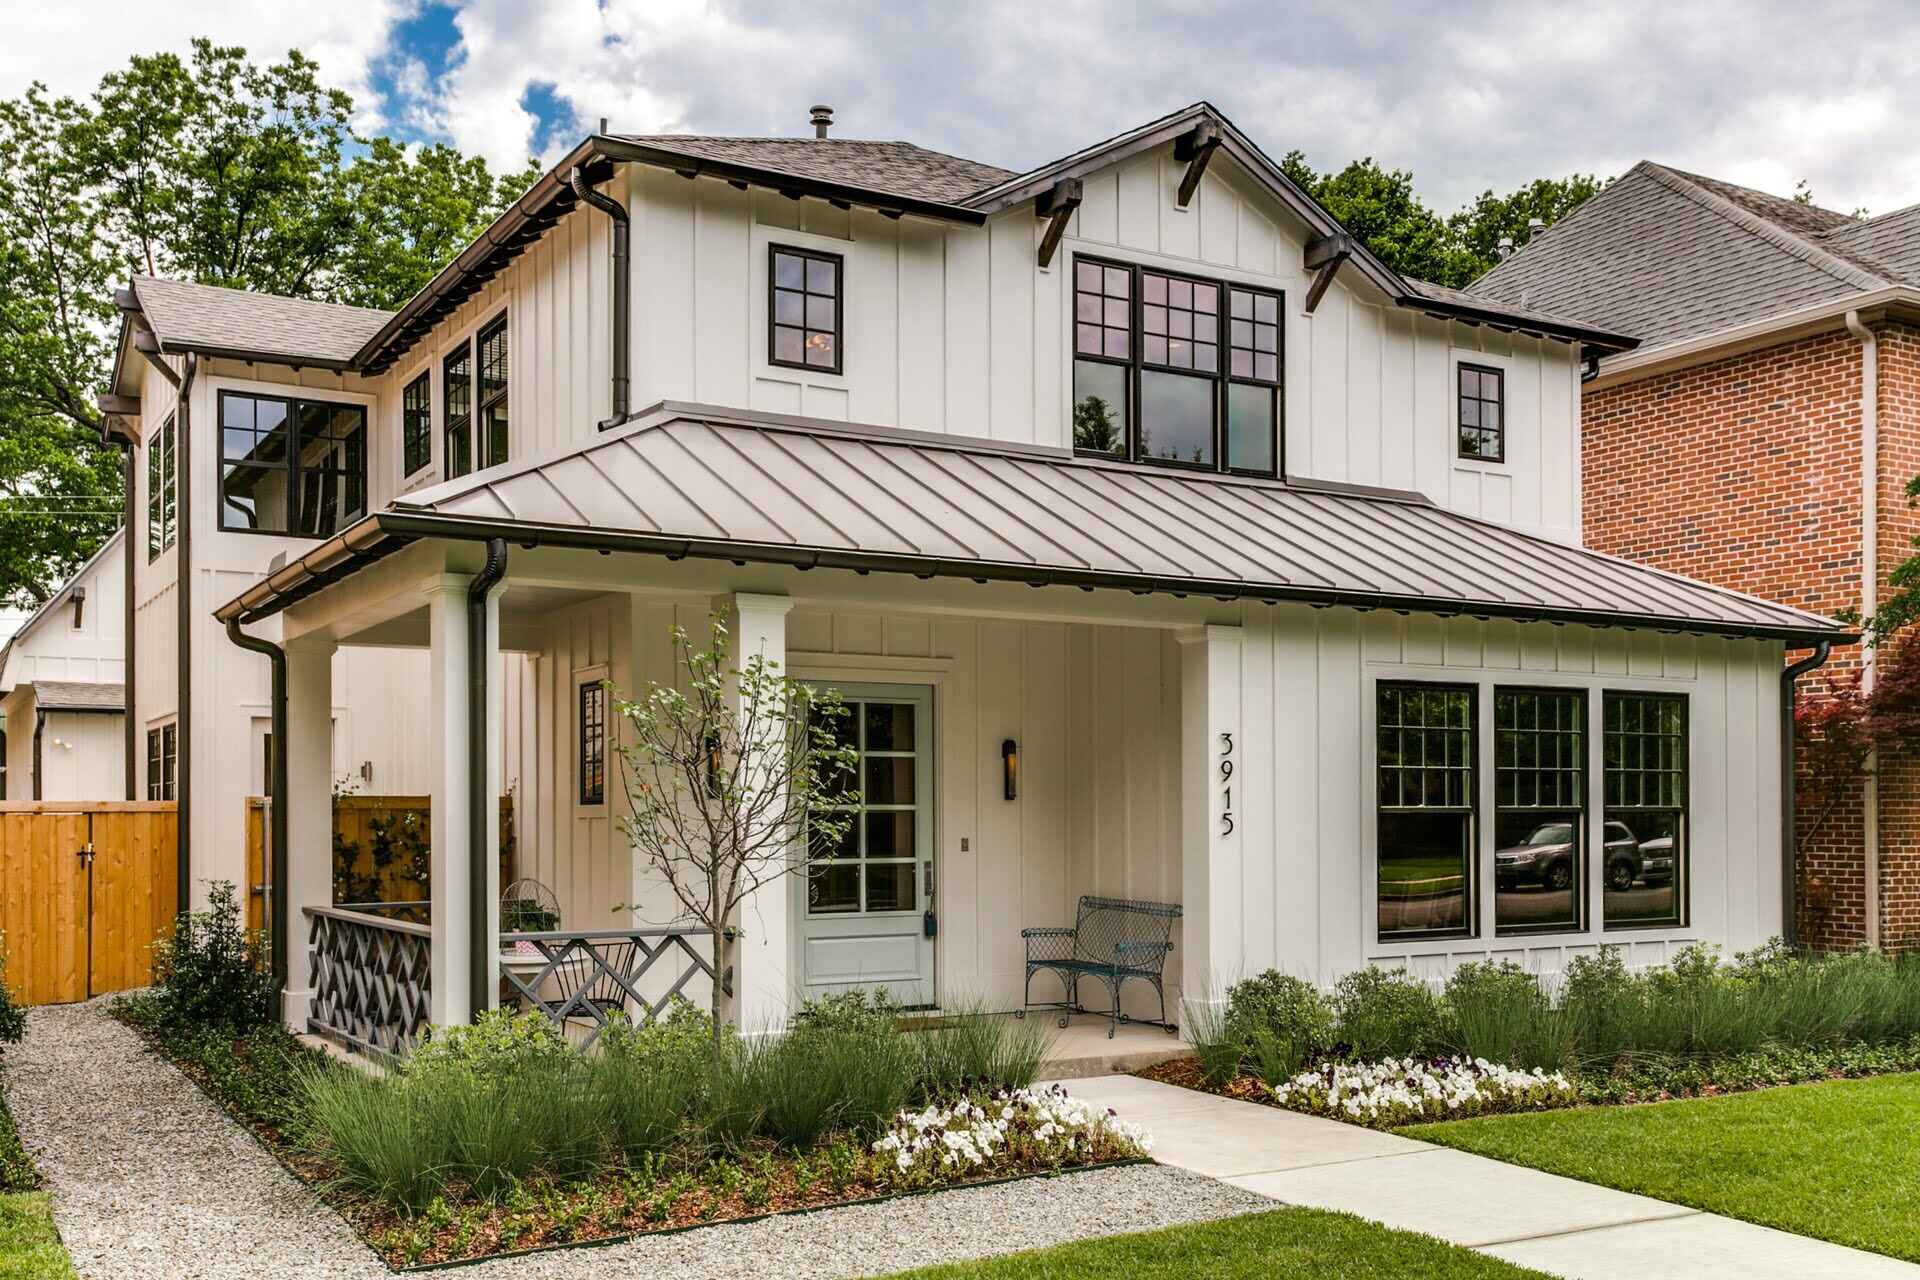
Consider the materials you want to use for your roof. Popular choices include asphalt shingles, metal roofing, or even a thatched roof for a more tropical aesthetic. Take into account the overall style of your home and the durability of the materials in relation to your local climate.
Create a detailed plan with accurate drawings or blueprints of your proposed roof. This will serve as a reference throughout the construction process and ensure that all necessary measurements and structural considerations are accounted for.
It’s also essential to consult with a professional if you have any doubts or concerns about the structural integrity of your roof design. They can provide valuable insights, especially if you live in an area prone to extreme weather conditions.
Lastly, check with your local building department to determine if you need any permits or approvals for your roof construction. Building codes and regulations vary by location, so it’s important to adhere to all guidelines to ensure the safety and legality of your project.
By carefully planning and designing your roof, you will lay the foundation for a successful and aesthetically pleasing structure that meets your specific requirements.
Obtaining Necessary Permits
Before you can start building a roof for your porch, it’s crucial to obtain the necessary permits and approvals from your local building department. Building codes and regulations vary by location, and it’s important to adhere to these guidelines to ensure the safety and legality of your project.
Start by contacting your local building department to inquire about the specific permits required for your roof construction. They will provide you with information on the application process and any accompanying documents or fees.
In most cases, you will need to submit detailed plans and specifications of your proposed roof. This documentation should include accurate measurements, engineering details, and a description of the materials to be used.
Working with a professional architect or engineer may be necessary, especially if your roof design is complex or if you’re in an area prone to extreme weather conditions. They can help ensure that your plans meet all necessary structural requirements.
Once you’ve gathered all the required documents, submit your permit application to the building department. Depending on the complexity of your project and the workload of the department, the approval process may take several weeks. It’s important to plan ahead and allow sufficient time for the permit to be processed.
During the review process, the building department will assess your plans to confirm that they comply with local building codes and regulations. They may request modifications or additional information to ensure the structural integrity and safety of your roof.
Once your permit has been approved, you will receive the necessary documentation to proceed with your roof construction. Make sure to keep a copy of the permit on-site and easily accessible for any inspections that may be required during the construction process.
Keep in mind that it’s essential to comply with all aspects of the approved permit during construction. Failure to do so can result in penalties or the need to undo and redo certain aspects of the project.
Obtaining the necessary permits may seem like an extra step in the process, but it’s a crucial one to ensure that your roof construction meets all legal and safety requirements. By taking the time to acquire the proper permits, you can proceed with your project with peace of mind.
Gathering Materials and Tools
Once you have your plans in place and the necessary permits obtained, the next step in building a roof for your porch is to gather the materials and tools needed for the construction process. Having all the necessary items on hand before you begin will help ensure a smooth and efficient project.
Start by creating a list of materials based on your roof design and specifications. This may include items such as lumber, roofing materials, flashing, fasteners, insulation, and ventilation components. Consider the specific requirements of your chosen roofing material and make sure to purchase the appropriate products.
Visit your local home improvement stores or building supply centers to source the materials. Speak with knowledgeable staff to confirm that you’re selecting the right items for your project. Consider the quality and durability of the materials, as well as their compatibility with the rest of your porch structure.
In addition to materials, you’ll also need a variety of tools to complete the roof construction. Some essential tools for the job include a hammer, circular saw, tape measure, level, pry bar, nail gun, and a ladder or scaffolding. Specific tools may vary depending on the complexity of your roof design, so refer to your plans and research any additional tools that may be required.
It’s important to ensure that all tools and equipment are in good working condition before you begin. Check for any damage or defects and make necessary repairs or replacements.
Consider renting certain tools or equipment if you don’t have them in your possession. Renting can be a cost-effective option, especially for larger or specialized items that you may not use frequently.
Lastly, don’t forget about safety equipment. It’s crucial to prioritize safety throughout the construction process. Invest in protective gear such as goggles, gloves, a hard hat, and slip-resistant shoes. If you’re working at heights, consider using safety harnesses and fall protection equipment.
By gathering all the necessary materials and tools ahead of time, you can save time and prevent delays during the construction process. Having everything on hand allows for a more efficient and organized workflow, making your roof construction project run smoothly.
Preparing the Porch
Before you can begin installing the roof for your porch, it’s important to properly prepare the existing structure. Taking the time to complete these preparatory steps will ensure a solid foundation for the roof and contribute to the overall longevity and stability of the structure.
Start by thoroughly inspecting the porch for any signs of damage or decay. Look for rot or deterioration in the beams, posts, and flooring. If you come across any areas that need repair, take the necessary steps to fix them before proceeding with the roof construction.
Clear the porch of any furniture, plants, or other items that may obstruct the construction process. This will provide you with a clean and unobstructed workspace.
Next, clean the porch surface to remove any dirt, debris, or loose materials. Use a broom or pressure washer to thoroughly clean the area. This will ensure proper adhesion of the roofing materials and prevent any potential issues down the line.
If your porch has existing roofing, such as a canopy or awning, remove it before proceeding with the roof construction. Make sure to follow proper safety procedures and take necessary precautions when dismantling and disposing of the old roofing.
Check the porch for proper drainage and make any necessary adjustments. Ensure that water can flow away from the porch to prevent any pooling or water damage. You may need to install additional gutters or downspouts to redirect water away from the structure.
It’s also a good idea to reinforce the porch structure, especially if you’re planning on adding a heavy roof material or if your porch is older. Consider consulting a professional to assess the structural integrity of the porch and identify any areas that may need reinforcement.
By properly preparing the porch before beginning the roof construction, you’ll create a stable and durable base for your new roof. Taking the time to address any repairs or adjustments will ensure a successful and long-lasting project.
Read more: How To Build A Porch Deck With Roof
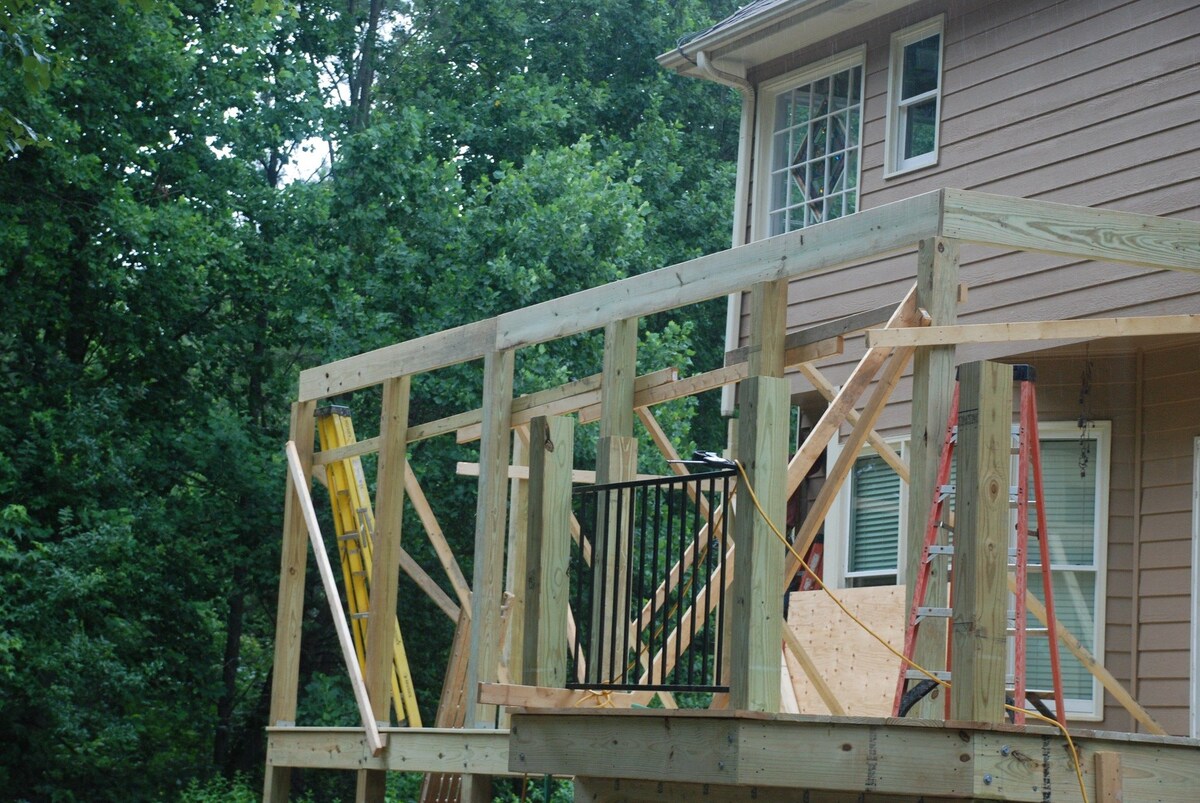
Installing Roof Framing
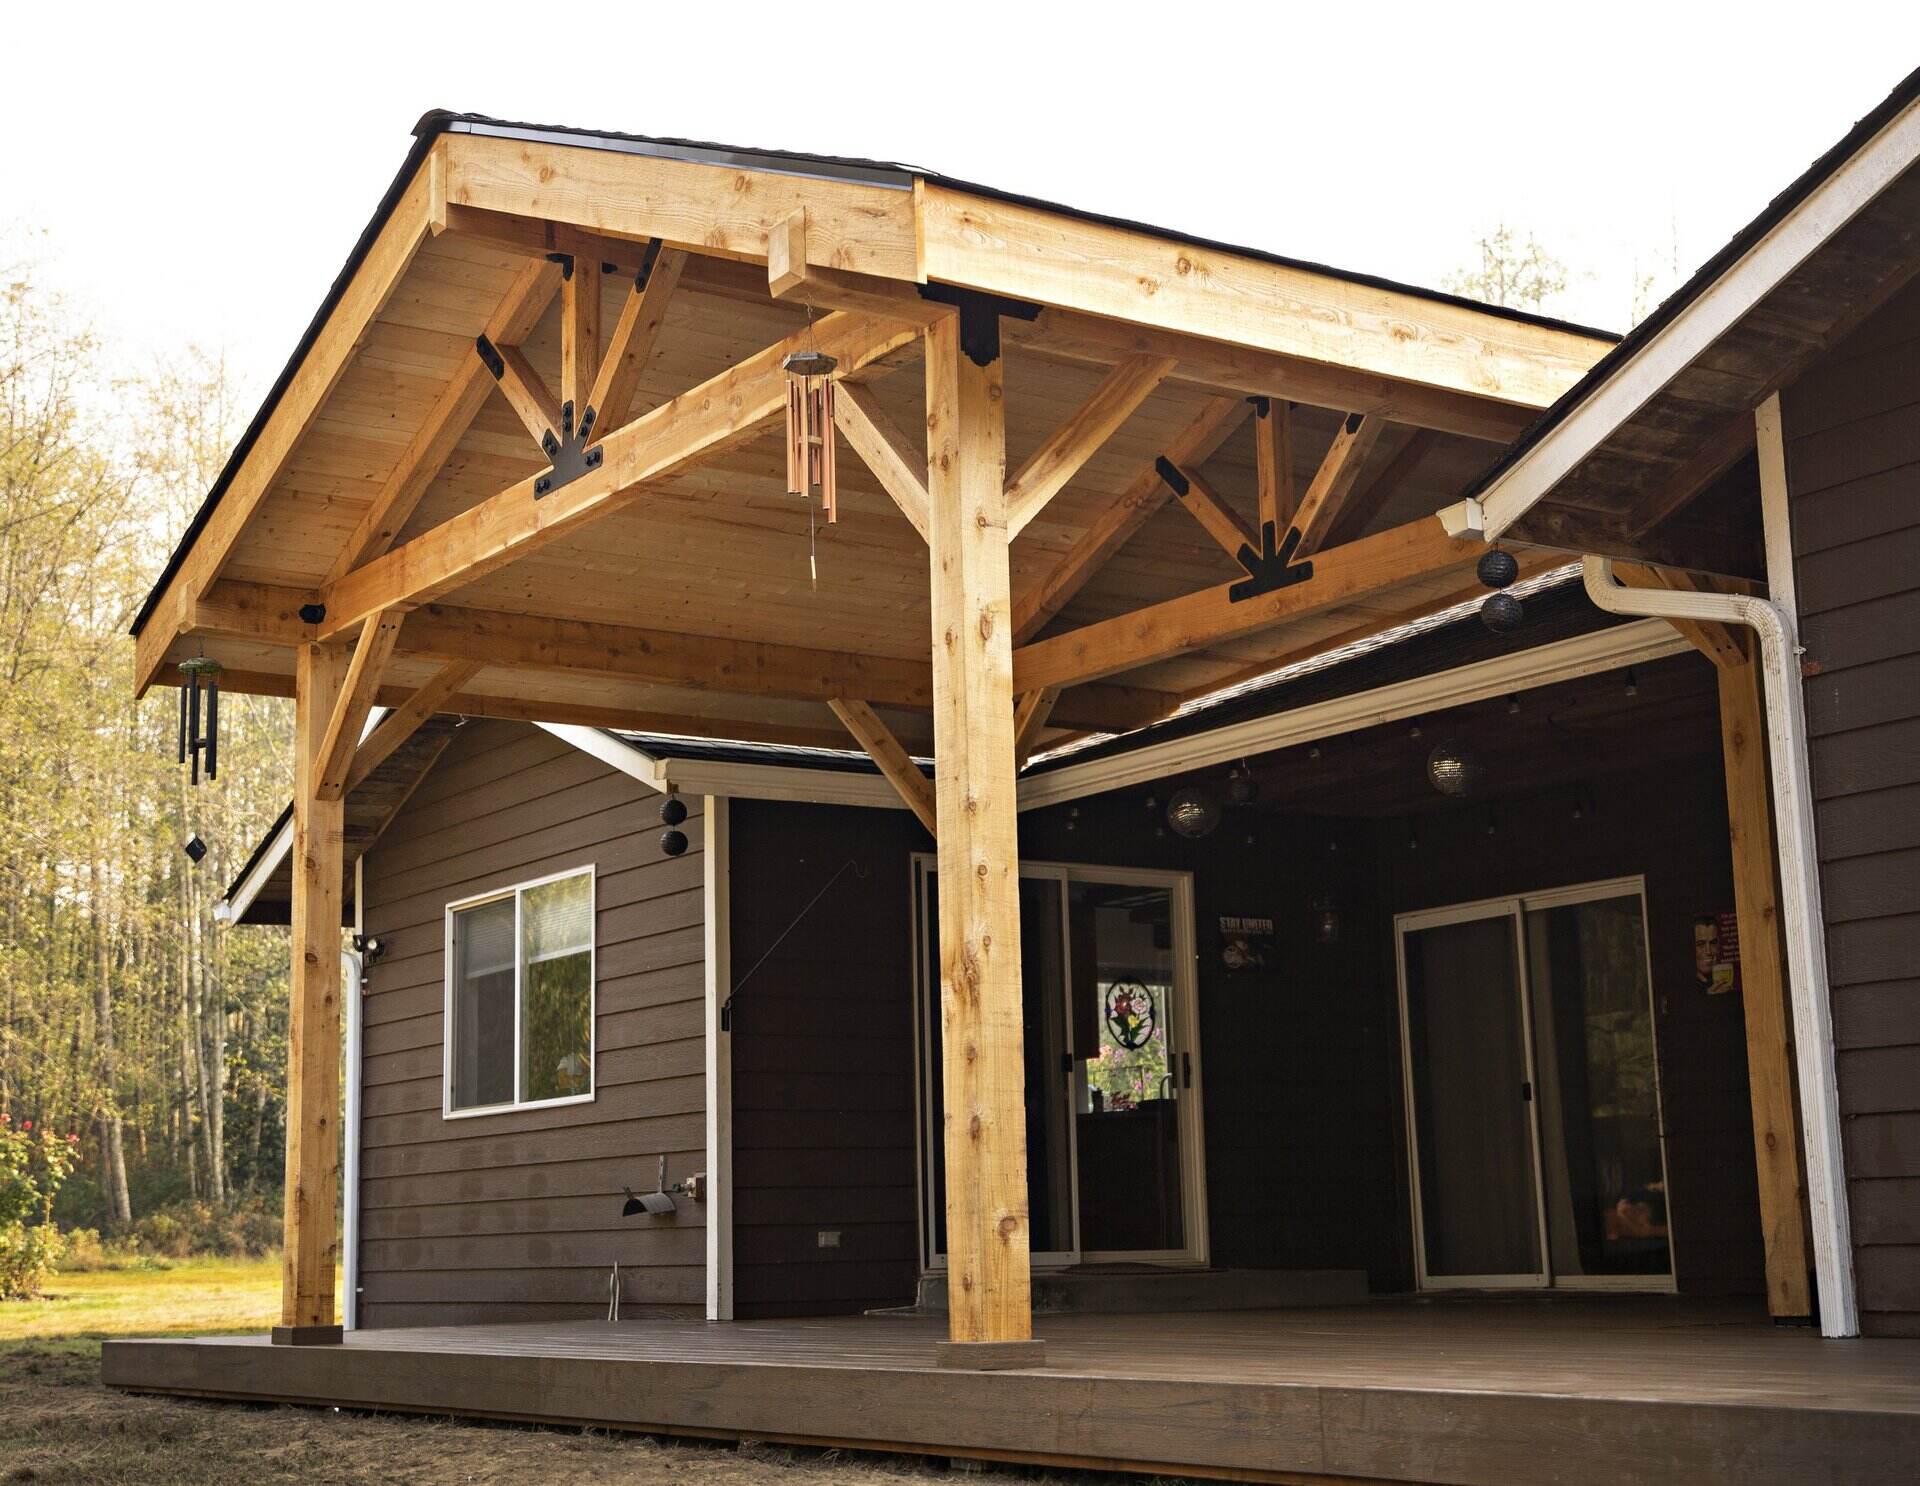
Once you have prepared the porch, the next step in building a roof is to install the framing. The roof framing provides the structural support for the roof and ensures its stability and strength. Here’s a step-by-step guide on how to install the roof framing for your porch:
- Start by measuring and marking the locations for the supporting posts. These posts will bear the weight of the roof and transfer it to the porch floor or foundation. Make sure the posts are placed at even intervals and align with the roof design specified in your plans.
- Using a post hole digger or auger, dig holes for the supporting posts according to the required depth for your local building code. The depth will depend on factors such as the frost line in your area.
- Insert the supporting posts into the holes, making sure they are plumb and level. Use temporary bracing to hold the posts in position until the concrete footings are poured.
- Pour concrete into the post holes to create solid footings for the supporting posts. Follow proper techniques for curing and stabilizing the concrete as per the manufacturer’s instructions.
- Attach header beams to the porch wall or supporting posts. These beams will provide support for the roof rafters. Secure the beams using appropriate fasteners, ensuring they are level and securely anchored.
- Install the roof rafters according to your roof design and specifications. Cut the rafters to the appropriate length and angle, making sure they are evenly spaced. Attach the rafters to the header beams using joist hangers or by toe-nailing.
- Add additional framing elements such as ridge boards and collar ties as required by your roof design. These elements help provide structural integrity and support to the roof framework.
- Double-check the alignment and stability of the roof framing. Ensure that all connections are secure and that the framing is level and plumb. Make any necessary adjustments before proceeding to the next step.
Throughout the installation process, consult your plans and refer to building codes to ensure that you are maintaining structural safety and adhering to regulations. It may be helpful to seek the assistance of a professional for complex roof designs or if you lack experience in framing construction.
By carefully installing the roof framing, you’ll create a solid and sturdy structure for your porch roof. This foundation will provide the support necessary for the next steps in the construction process.
When building a roof for a porch, make sure to use durable and weather-resistant materials such as metal or asphalt shingles to ensure longevity and protection from the elements.
Adding Roofing Material
Once the roof framing is in place, it’s time to add the roofing material to complete the construction of your porch roof. The choice of roofing material will depend on your personal preferences, budget, and the style of your home. Here are the general steps to follow when adding roofing material:
- Start by installing an underlayment or roofing felt over the roof framing. This layer acts as a barrier against moisture and helps protect the roof from potential leaks. Secure the underlayment using roofing nails or staples, ensuring it overlaps properly and is flat and smooth.
- Next, install the starter course of your chosen roofing material. This course provides a base for the subsequent rows of roofing material. Follow the manufacturer’s instructions for the specific material you are using, ensuring proper alignment and ventilation if necessary.
- Continue adding subsequent rows of roofing material, working from the bottom up. Make sure each row overlaps the one below it according to the manufacturer’s guidelines. Use nails or appropriate fasteners to secure the roofing material in place, making sure not to damage the material in the process.
- If you’re using shingles, make sure to stagger the shingle joints for added stability and a visually appealing look. Use a utility knife to trim shingles as needed to fit the edges and angles of the roof.
- For other types of roofing materials such as metal or tile, follow the manufacturer’s instructions for installation techniques. Pay attention to any specific requirements for fastening, overlap, or waterproofing.
- Ensure proper ventilation and insulation of the roof. Install vents along the ridge or eaves to allow for proper airflow, which helps prevent moisture buildup and prolongs the lifespan of the roof. Additionally, consider adding insulation material to improve energy efficiency and comfort.
- Regularly check for any gaps, loose nails, or damaged areas in the roofing material. Address any issues promptly to prevent water infiltration and potential damage to the underlying structure.
It’s important to remember that the specific steps and techniques for adding roofing material may vary depending on the type of material you choose. Always refer to the manufacturer’s instructions and follow best practices for the specific product you are using.
By carefully following these steps, you’ll be able to install the roofing material for your porch roof, creating a protective layer that enhances the aesthetics and functionality of your outdoor space.
Insulating and Ventilating the Roof
Insulating and ventilating your porch roof is essential for maintaining a comfortable and energy-efficient space. Proper insulation helps regulate temperature and minimize heat loss or gain, while adequate ventilation prevents moisture buildup and extends the lifespan of the roof. Here are the steps to insulate and ventilate your porch roof:
- Begin by installing insulation material under the roof. Common options include fiberglass batts, spray foam insulation, or rigid foam boards. Choose the appropriate insulation based on your climate and local building codes. Install the insulation according to the manufacturer’s instructions, ensuring a snug fit without compressing the material.
- Seal any gaps, cracks, or openings in the roof structure using caulk or weatherstripping. This helps prevent air leakage and improves the effectiveness of the insulation.
- Next, assess the ventilation needs of your roof. Proper ventilation allows for the exchange of air, preventing condensation and reducing the risk of mold or mildew growth. Install roof vents along the eaves and at the ridge, ensuring there is sufficient airflow for your roof size and design.
- Consider adding a vapor barrier to the insulation layer. This barrier helps prevent moisture from penetrating the insulation and reaching the structure of the porch. The vapor barrier should be installed on the warm side of the insulation layer, facing the interior of the porch.
- Insulate and ventilate any roof openings or dormers separately, following the same principles for insulation and ventilation. Pay attention to sealing gaps and ensuring proper airflow in these specific areas.
- Regularly inspect the insulation and ventilation of your porch roof. Check for any signs of damage, moisture buildup, or inadequate ventilation. Make any necessary repairs or adjustments to maintain the integrity and effectiveness of the insulation and ventilation system.
Proper insulation and ventilation are crucial for creating a comfortable and durable porch roof. They contribute to energy efficiency, prevent moisture-related issues, and help prolong the lifespan of the roof structure. It’s important to follow local building codes and industry standards when insulating and ventilating your porch roof.
By taking the time to insulate and ventilate your porch roof, you’ll create a more sustainable, comfortable, and long-lasting space for enjoying your outdoor living area.
Installing Gutters and Downspouts
Installing gutters and downspouts is a crucial step when building a roof for your porch. Gutters and downspouts help to channel rainwater away from the roof and foundation of your home, preventing water damage and erosion. Here’s a step-by-step guide on how to install gutters and downspouts:
- Start by measuring the length of the eaves where the gutters will be installed. Take accurate measurements to ensure that the gutters span the entire length of the porch roof.
- Based on the measurements, purchase the necessary materials for your gutter system, including gutters, downspouts, gutter brackets, end caps, and corner pieces. Consider the type of material and style that best complements your porch and home.
- Install the gutter brackets along the length of the eaves, ensuring they are securely anchored to the porch structure. Space the brackets evenly and follow the manufacturer’s guidelines for spacing and placement.
- Attach the gutters to the brackets, starting at one end and working your way along the eaves. Secure the gutters using screws or rivets, ensuring they are level and slightly angled to allow for proper water flow. Use end caps to seal the ends of the gutters.
- Measure and cut the downspouts to the desired length. Attach the downspout sections to the outlet openings on the gutters, using connectors and fasteners as needed. Ensure a tight and secure fit.
- Secure the downspouts to the sides of the porch or the exterior walls using brackets or straps. Make sure the downspouts are angled away from the foundation to direct water away from your home.
- Create an outlet for the downspouts to discharge the water. This can be achieved by digging a trench or installing a drainpipe to carry the water away from the porch and foundation.
- Add splash blocks or extensions at the end of the downspouts to prevent erosion and ensure proper water redirection.
- Regularly inspect the gutters and downspouts for any blockages, debris buildup, or damage. Clean out the gutters as needed to maintain their effectiveness. Repair or replace any damaged components to ensure proper water flow.
Properly installed gutters and downspouts are an essential part of your porch roof system, protecting your home from water damage and maintaining the integrity of the structure. Make sure to follow industry best practices and consider local climate factors when installing your gutter system.
By successfully installing gutters and downspouts, you’ll ensure that rainwater is efficiently directed away from your porch and foundation, keeping your home safe and dry.
Read more: How To Build A Front Porch Roof
Finishing Touches
With the main construction of your porch roof complete, it’s time to add those finishing touches that will enhance the overall look and functionality of your outdoor space. These final details not only contribute to the aesthetics of your porch but also provide additional comfort and usability. Here are some finishing touches to consider:
- Paint or stain the porch roof to match the style of your home and desired color scheme. Choose a high-quality exterior paint or stain that is resistant to weathering and UV damage to ensure long-lasting results.
- Install lighting fixtures to illuminate your porch and enhance its functionality during nighttime hours. Consider options such as overhead lights, wall sconces, or string lights, depending on your preferences and the atmosphere you want to create.
- Add ceiling fans or outdoor heating elements to provide comfort during different seasons. Ceiling fans not only circulate air but can also help repel insects. Outdoor heaters or fire pits allow for cozy gatherings even when the weather is cooler.
- Incorporate outdoor furniture and décor that suits your taste and lifestyle. Choose weather-resistant materials that can withstand the elements. Consider seating options such as lounge chairs, benches, or dining sets to create a comfortable and inviting space.
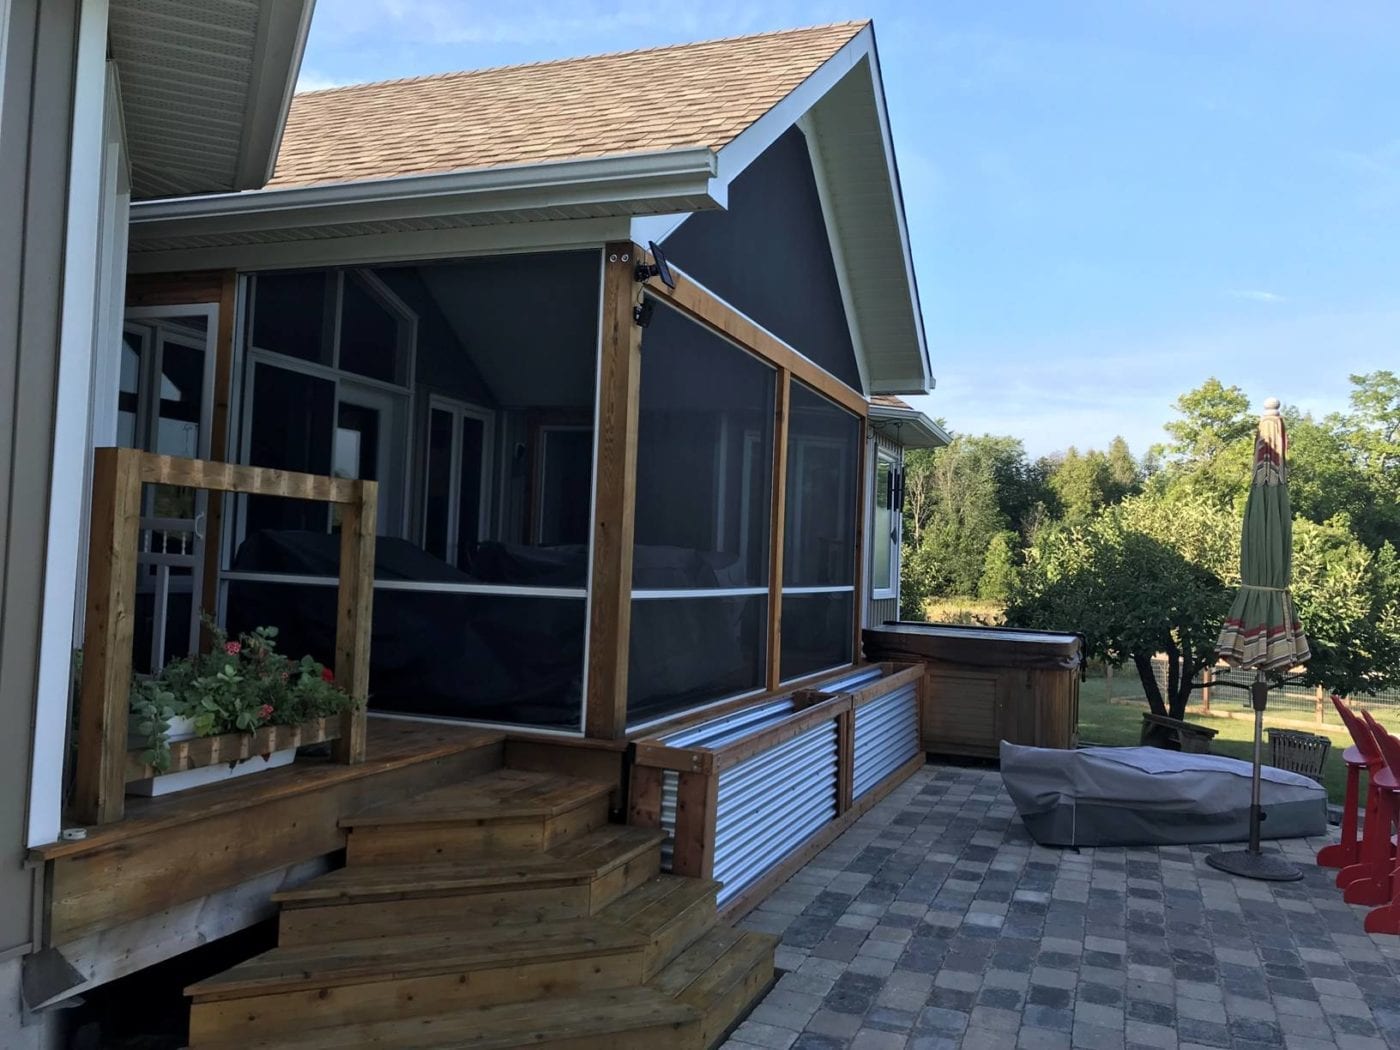
- Add shade elements to the porch, such as retractable awnings, screens, or shades. These additions provide protection from the sun’s rays during hot summer days, creating a more comfortable environment for relaxation and entertaining.
- Consider adding plants and landscaping features to enhance the beauty of your porch. Planter boxes, hanging baskets, or vertical gardens can add a touch of greenery and create a vibrant atmosphere.
- Install outdoor speakers or a sound system to enjoy music or other entertainment while spending time on your porch. Just make sure to respect noise limits and consider your neighbors’ preferences.
- Regularly clean and maintain the porch roof and its surrounding areas. Remove debris, trim nearby trees or branches, and inspect for any signs of wear or damage. Perform routine maintenance tasks on all the installed components to keep them in optimal condition.
By paying attention to these finishing touches, you’ll create a complete and inviting porch roof that reflects your personal style and maximizes your enjoyment of outdoor living.
Remember to consider your specific climate, local building codes, and any restrictions or permits required for certain additions or modifications. With careful planning and attention to detail, your porch roof will become a beautiful and functional extension of your home.
Conclusion
Congratulations on completing the construction of your porch roof! By following the steps outlined in this guide, you have successfully transformed your outdoor space into a sheltered and inviting area that can be enjoyed throughout the year. With proper planning, attention to detail, and adherence to local building codes, your porch roof is now a functional and aesthetically pleasing addition to your home.
Building a roof for your porch may have seemed like a daunting task initially, but with the right guidance and a little bit of effort, you have successfully achieved your goal. By taking the time to plan and design your roof, obtain necessary permits, gather materials and tools, prepare the porch, install roof framing, add roofing material, insulate and ventilate, install gutters and downspouts, and add those finishing touches, you have created a space that not only adds value to your home but also enhances your outdoor living experience.
Remember to regularly inspect and maintain your porch roof to ensure its longevity and functionality. Clean gutters and downspouts, check for any leaks or damage, and address any issues promptly to prevent further problems. With proper care, your porch roof will continue to provide shelter and enjoyment for years to come.
We hope that this guide has been informative and helpful in guiding you through the process of building a roof for your porch. Remember to consult professionals when needed and always prioritize safety throughout the construction process. Enjoy your new porch roof and make lasting memories in your outdoor oasis!
Frequently Asked Questions about How To Build A Roof For A Porch
Was this page helpful?
At Storables.com, we guarantee accurate and reliable information. Our content, validated by Expert Board Contributors, is crafted following stringent Editorial Policies. We're committed to providing you with well-researched, expert-backed insights for all your informational needs.


0 thoughts on “How To Build A Roof For A Porch”