Articles
How To Install End Caps On Countertops
Modified: October 27, 2024
Learn how to easily install end caps on countertops with our informative articles. Discover step-by-step instructions and expert tips for a seamless and professional finish.
(Many of the links in this article redirect to a specific reviewed product. Your purchase of these products through affiliate links helps to generate commission for Storables.com, at no extra cost. Learn more)
Introduction
Installing end caps on countertops is a crucial step in the finishing process that enhances both the appearance and functionality of the surface. End caps provide a polished edge, protect against water damage, and prevent the buildup of dirt and grime. Whether you’re installing a new countertop or giving your existing one a makeover, this guide will walk you through the step-by-step process of installing end caps.
Before you begin, it’s essential to gather all the necessary materials to ensure a smooth and hassle-free installation. You’ll need a measuring tape, a pencil, a fine-tooth saw, adhesive, clamps, a file or sandpaper, and a cloth for cleaning. Once you have all the materials ready, let’s dive into the step-by-step instructions.
Key Takeaways:
- Installing end caps on countertops is a meticulous process that requires accurate measurements, proper surface preparation, and precise adhesive application. Attention to detail and patience are key to achieving a professional and durable installation.
- The installation of end caps not only enhances the appearance of countertops but also provides protection against water damage and debris buildup. By following the step-by-step guide and allowing the adhesive to fully cure, you can enjoy a beautiful and functional countertop for years to come.
Read more: How To Install End Caps On Gutters
Materials Needed
Before you get started with the installation process, make sure you have the following materials on hand:
- Measuring tape: This will help you accurately measure the length and width of the countertop and the end caps.
- Pencil: You’ll need a pencil to mark the measurements on the countertop and the end caps.
- Fine-tooth saw: A fine-tooth saw will be required to cut the end caps to the desired length.
- Adhesive: You’ll need a high-quality adhesive that is specifically designed for countertop use.
- Clamps: Clamps are essential for holding the end caps in place while the adhesive dries.
- File or sandpaper: A file or sandpaper will be needed to smooth out any rough edges on the end caps.
- Cloth: Keep a cloth handy to wipe off any excess adhesive or debris during the installation process.
These materials are readily available at most hardware stores or online. It’s important to opt for high-quality products to ensure a durable and long-lasting installation.
Step 1: Measure and Cut the End Caps
The first step in installing end caps on countertops is to accurately measure and cut the end caps to the correct size. Follow these steps:
- Measure the length and width of the countertop: Use a measuring tape to determine the length and width of the area where the end caps will be installed. Make sure to measure both sides of the countertop if it has uneven edges.
- Measure and mark the end caps: Measure the length of the end caps according to the measurements taken in the previous step. Use a pencil to mark the measurements on the end caps.
- Cut the end caps: Using a fine-tooth saw, carefully cut the end caps along the marked lines. Take your time and make straight, clean cuts to ensure a precise fit.
It’s important to double-check your measurements and ensure that the end caps are cut to the correct size before proceeding to the next step. Accuracy is key to achieving a seamless and professional-looking installation.
Step 2: Prep the Countertop
Once you have your end caps cut to the correct size, it’s time to prepare the countertop for installation. Follow these steps:
- Clean the countertop: Start by thoroughly cleaning the countertop surface with a mild soap or appropriate cleaning solution. Remove any dirt, grease, or debris using a soft cloth or sponge. Ensure that the surface is completely dry before proceeding.
- Sand the edges: Use sandpaper or a file to smooth out any rough edges or imperfections along the countertop edges. This will create a clean and even surface for the end cap installation.
- Apply masking tape: To protect the countertop surface from any adhesive spills or excess, apply masking tape along the edges where the end caps will be installed. This will make cleanup easier and prevent any damage to the countertop.
Prepping the countertop is essential to ensure a strong and secure bond between the end caps and the surface. By creating a clean and smooth surface, you’ll achieve a professional-looking installation that will last for years to come.
Step 3: Apply Adhesive
With the countertop prepped, it’s time to apply the adhesive that will securely bond the end caps to the surface. Follow these steps:
- Read the instructions: Before applying the adhesive, carefully read the instructions provided by the manufacturer. Each adhesive may have specific guidelines and recommended application methods.
- Apply the adhesive: Using a caulking gun or a putty knife, apply a thin, even layer of adhesive to the back of the end caps. Be mindful not to apply too much adhesive, as excess can seep out and create a messy appearance.
- Distribute the adhesive: Once the adhesive is applied to the end caps, use a putty knife or a spreader to evenly distribute it across the surface. This will ensure a strong bond and prevent any gaps.
Remember to work quickly but efficiently when applying the adhesive, as it may dry fast. It’s essential to follow the manufacturer’s instructions regarding the drying time of the adhesive, as it can vary depending on the product.
Now that the adhesive is applied, you’re ready to move on to the next step: positioning and securing the end caps to the countertop.
When installing end caps on countertops, make sure to clean the edges thoroughly and apply a strong adhesive to ensure a secure bond. Use clamps to hold the end caps in place while the adhesive sets.
Read more: How To Install A Chimney Cap
Step 4: Position and Secure the End Caps
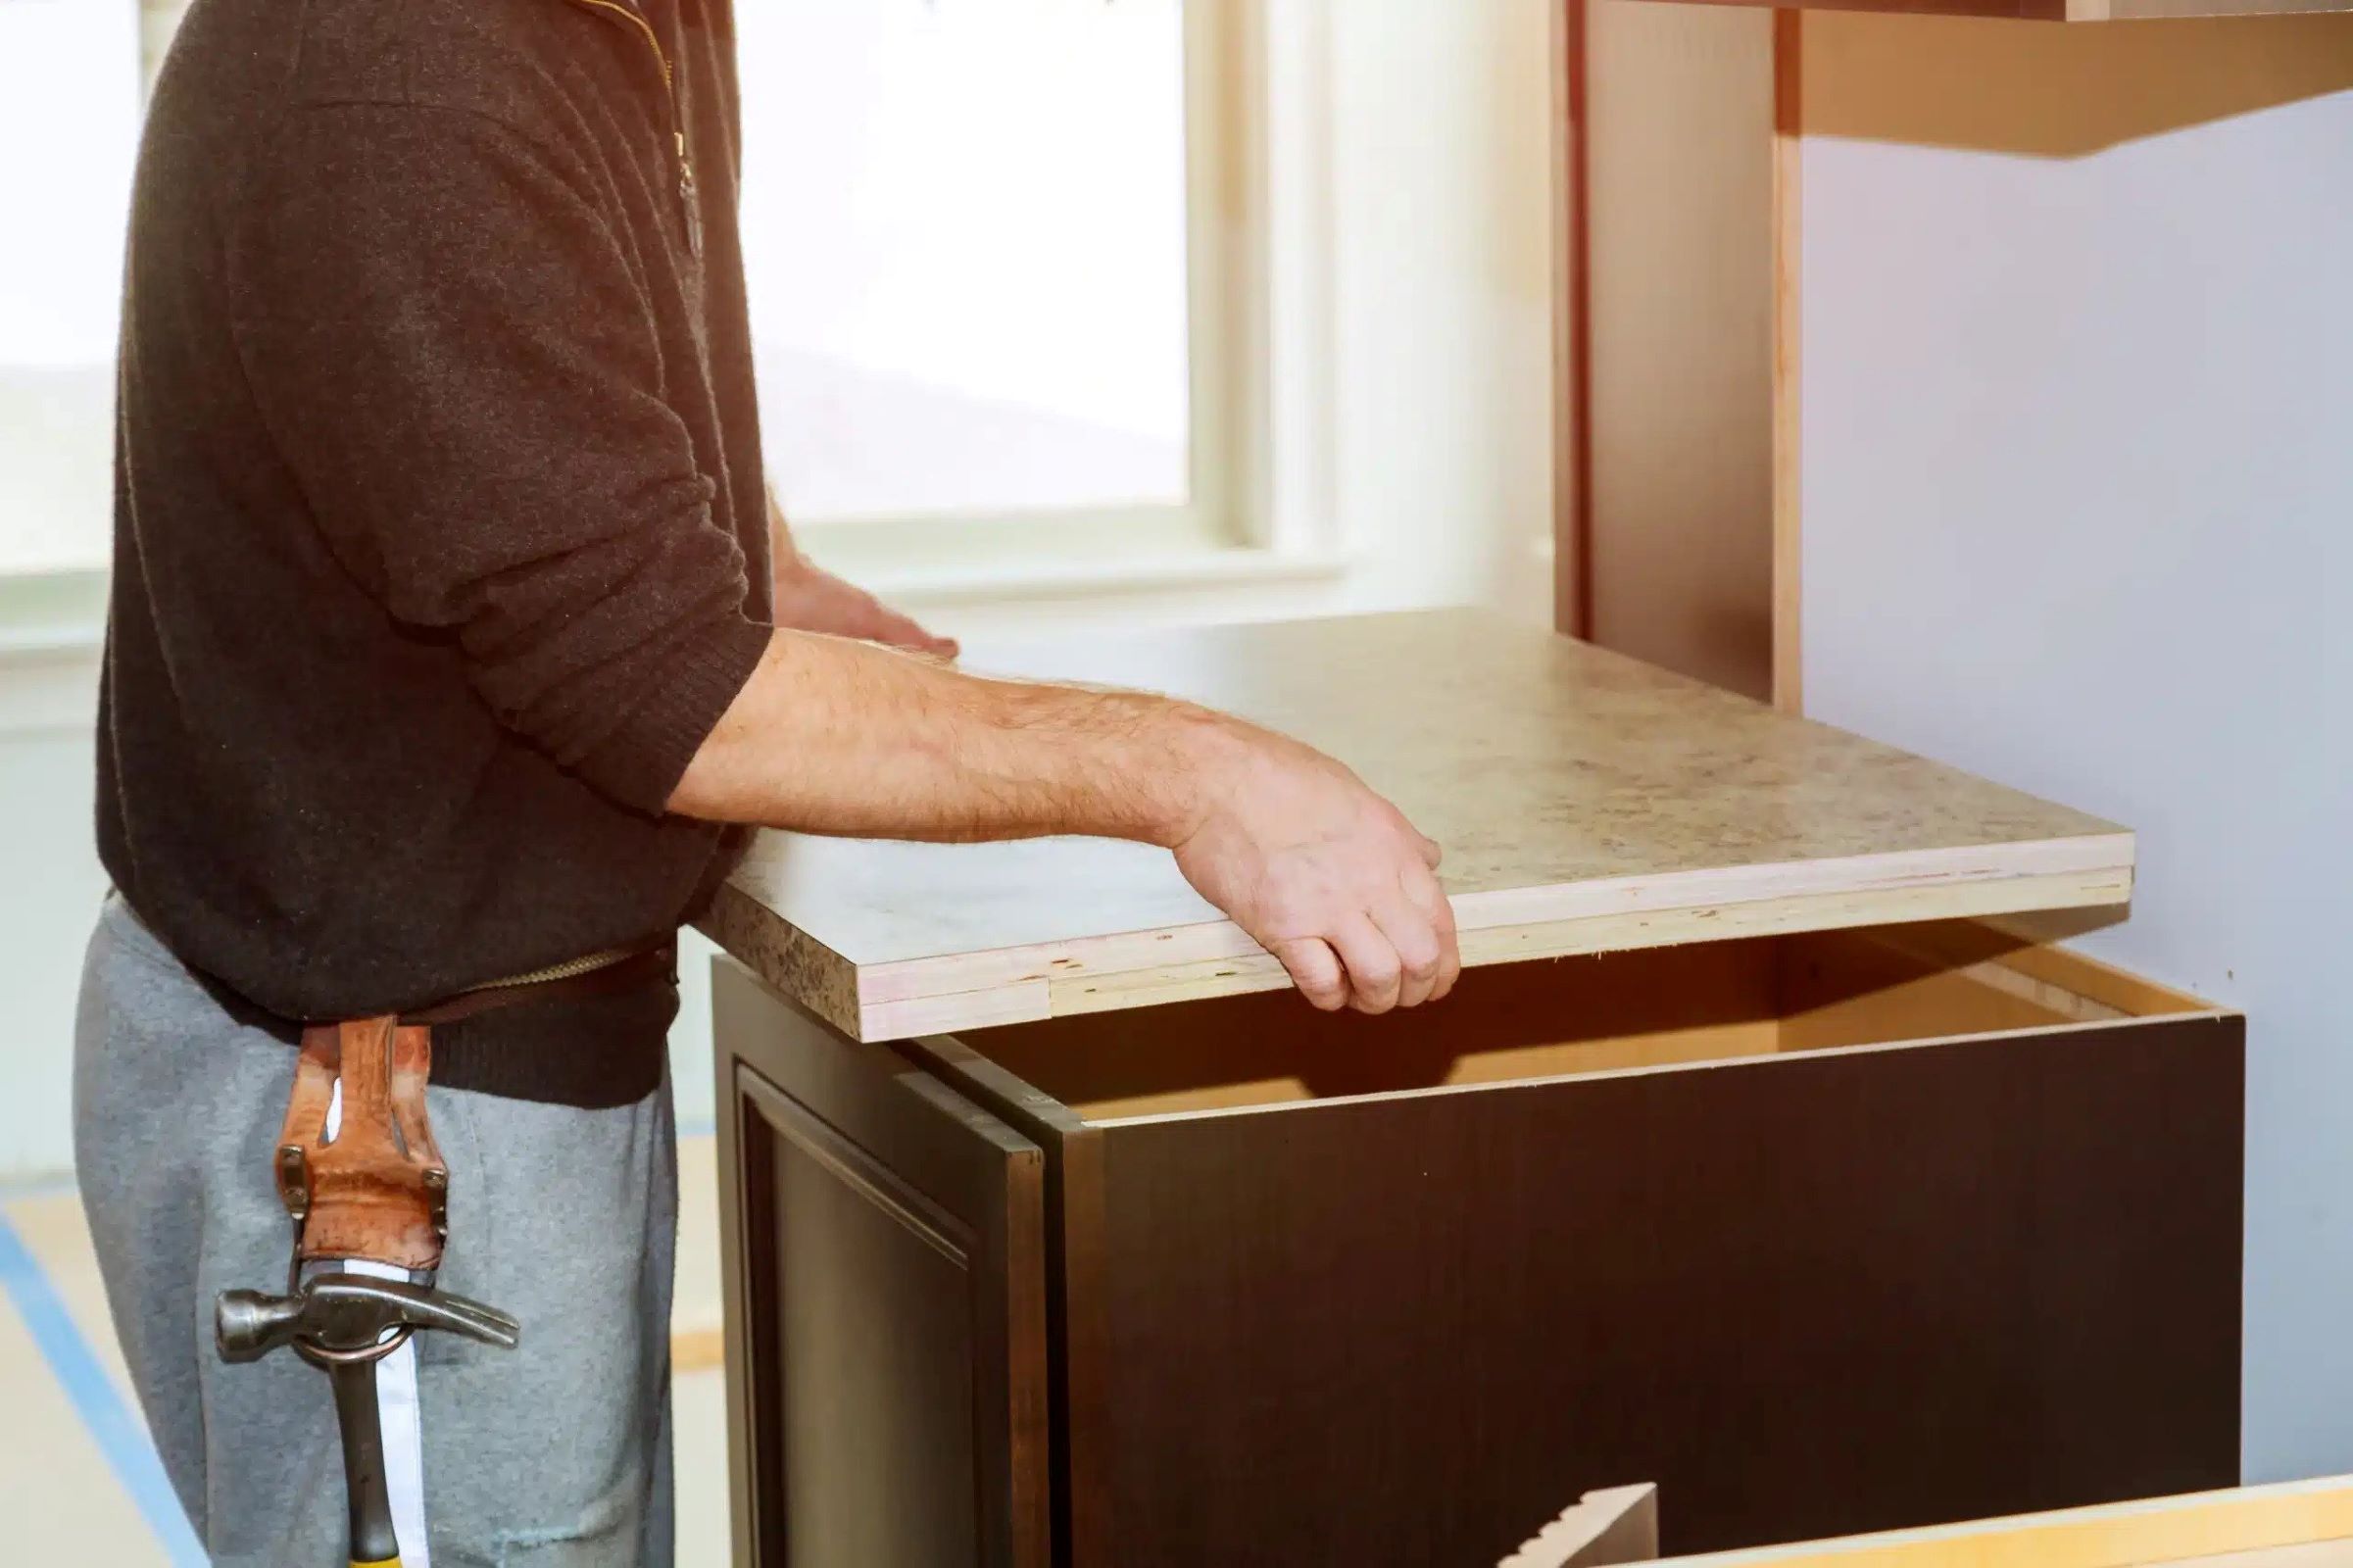
Once the adhesive is applied, it’s time to position and secure the end caps onto the countertop. Follow these steps:
- Align the end caps: Carefully align the end caps with the edges of the countertop, ensuring they fit snugly and evenly. Take your time to achieve precise alignment.
- Press down firmly: Apply firm pressure to the end caps to ensure they bond properly with the countertop. Use your hands or a rubber mallet to gently tap them into place.
- Use clamps: To provide additional support and guarantee a strong bond, use clamps to hold the end caps in place while the adhesive dries. Position the clamps along the edges of the countertop, making sure they exert equal pressure on both sides of the end caps.
Take extra care during alignment and pressing down to avoid displacing the end caps or creating uneven edges. The use of clamps is highly recommended to keep the end caps in position and allow the adhesive to set properly.
Note: Some adhesives may require specific drying times or instructions for clamping. Refer to the manufacturer’s recommendations for guidance.
Now that the end caps are securely positioned and clamped, it’s time to move on to trimming and finishing the edges for a seamless look.
Step 5: Trim and Finish the Edges
After securing the end caps, it’s important to trim and finish the edges for a clean and polished look. Follow these steps:
- Remove excess material: Use a fine-tooth saw or a sharp utility knife to carefully trim off any excess material that extends beyond the countertop edges. Make straight and precise cuts to create a neat edge.
- Smooth the edges: Once the excess material is removed, use a file or sandpaper to smooth out the trimmed edges. Gently sand in a back-and-forth motion until the edges are even and smooth to the touch.
- Clean up: After trimming and sanding, clean the countertop surface to remove any debris or dust. Use a cloth or sponge to wipe away any residue from the edge trimming process.
By trimming and finishing the edges, you’ll achieve a professional and seamless appearance for your countertop. Pay attention to detail and take your time during this step to ensure a flawless result.
With the edges trimmed and smoothed, you’re almost done! The next step is to allow the adhesive to dry completely.
Step 6: Let the Adhesive Dry
After completing the installation and finishing process, it’s crucial to allow the adhesive to dry completely before using the countertop. Follow these steps:
- Refer to the manufacturer’s instructions: Different adhesives may have varying drying times. It’s important to refer to the manufacturer’s instructions to determine the optimal drying duration for your specific adhesive.
- Avoid disturbing or moving the end caps: While the adhesive is drying, refrain from touching, moving, or placing any objects on the end caps. Any movement or disturbance can compromise the bond and affect the final result.
- Be patient: Drying times may vary depending on factors such as temperature and humidity. It’s important to be patient and allow ample time for the adhesive to fully cure. Rushing the drying process can lead to a weaker bond and potential issues down the line.
While waiting for the adhesive to dry, take this time to clean up any tools or materials used during the installation process. Keep the countertop area clear of any debris or obstacles to ensure a smooth and safe final result.
Once the adhesive has fully dried and cured according to the manufacturer’s instructions, you can finally enjoy your newly installed end caps on your beautiful countertop.
Conclusion
Installing end caps on countertops is a rewarding and essential step in achieving a polished and professional look. By following the step-by-step process outlined in this guide, you can successfully install end caps and enhance both the aesthetics and functionality of your countertop.
Throughout the installation process, it’s crucial to pay careful attention to detail, measure accurately, and use high-quality materials. Taking the time to properly prep the countertop, apply adhesive, position and secure the end caps, and trim and finish the edges will ensure a seamless and durable installation.
Remember to always consult the manufacturer’s instructions for specific guidelines regarding the adhesive and drying times. Additionally, exercise patience during the drying process to allow the adhesive to fully cure and create a strong bond.
With the installation complete and the adhesive dried, you can now enjoy your countertop with its newly installed end caps. Not only will it provide a polished and refined appearance, but it will also protect your countertop from water damage and the accumulation of debris.
We hope this guide has been helpful in guiding you through the process of installing end caps on countertops. With a little time, effort, and attention to detail, you can achieve a beautiful and functional countertop that will be a focal point in any space.
Happy installing!
Frequently Asked Questions about How To Install End Caps On Countertops
Was this page helpful?
At Storables.com, we guarantee accurate and reliable information. Our content, validated by Expert Board Contributors, is crafted following stringent Editorial Policies. We're committed to providing you with well-researched, expert-backed insights for all your informational needs.


0 thoughts on “How To Install End Caps On Countertops”