Home>Articles>How To Install New Domaine B8-VBU9-LXFN Rainfall Low-Flow Multidirectional Showerhead
Articles
How To Install New Domaine B8-VBU9-LXFN Rainfall Low-Flow Multidirectional Showerhead
Modified: August 27, 2024
Learn how to install the new domain B8-Vbu9-Lxfn rainfall low-flow multidirectional showerhead with our informative articles.
(Many of the links in this article redirect to a specific reviewed product. Your purchase of these products through affiliate links helps to generate commission for Storables.com, at no extra cost. Learn more)
Introduction
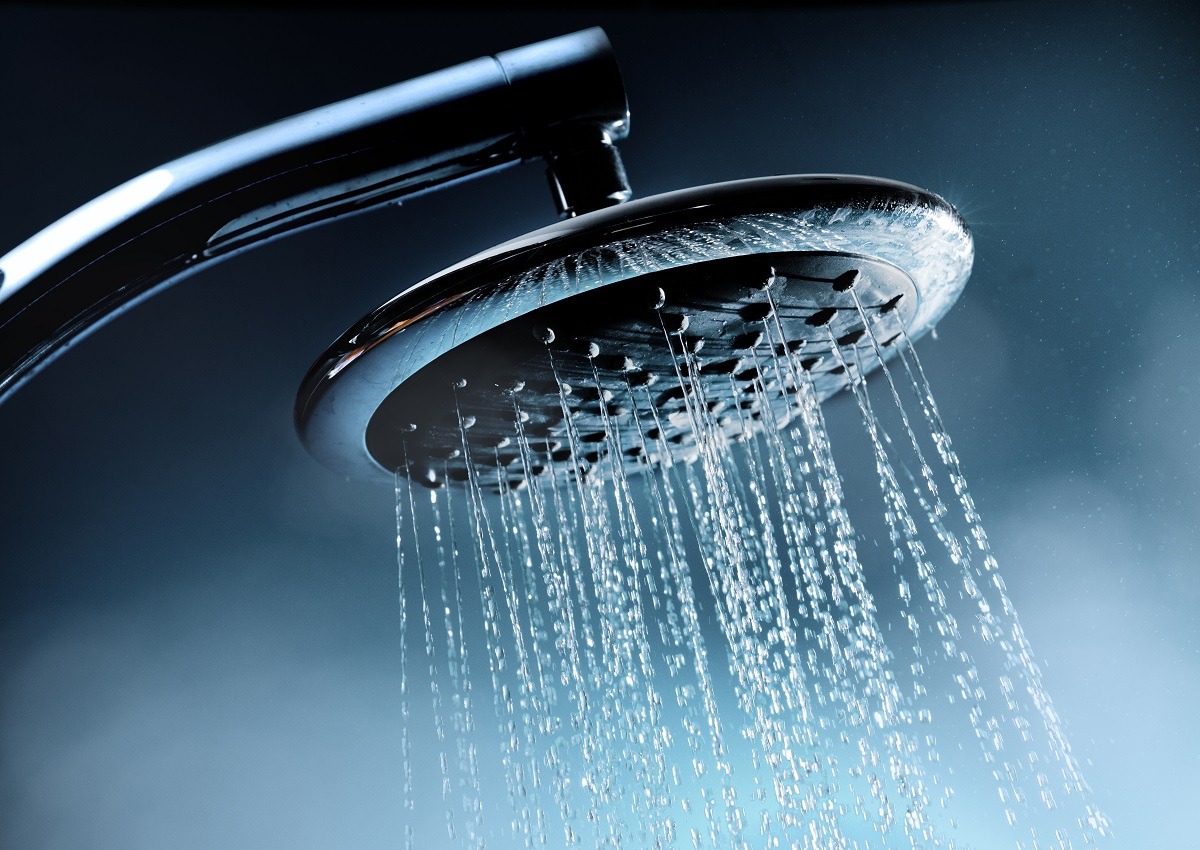
Welcome to our comprehensive guide on how to install the new domain B8-Vbu9-Lxfn Rainfall Low-Flow Multidirectional Showerhead. If you’re looking for a way to upgrade your shower experience and save water at the same time, this easy DIY installation will help you achieve just that. By installing this innovative showerhead, you’ll enjoy a luxurious rainfall-like shower while reducing your water consumption.
In this article, we’ll walk you through the step-by-step process of installing the B8-Vbu9-Lxfn showerhead. From gathering the necessary tools to adjusting the showerhead settings, we’ve got you covered. So, let’s dive in and get started on upgrading your shower!
Key Takeaways:
- Upgrade your shower experience and save water with the easy DIY installation of the domain B8-Vbu9-Lxfn Rainfall Low-Flow Multidirectional Showerhead. Enjoy a luxurious rainfall-like shower while reducing water consumption.
- Follow the step-by-step guide to install the new showerhead, from gathering tools to adjusting settings. Enjoy a revitalized shower experience and contribute to water conservation.
Read also: 9 Best Low Flow Handheld Showerhead for 2025
Step 1: Gathering the Necessary Tools and Materials
Before you begin the installation process, it’s essential to gather all the necessary tools and materials. Having everything on hand will make the installation smoother and more efficient. Here’s a list of what you’ll need:
- Adjustable wrench
- Plumber’s tape
- Old cloth or towel
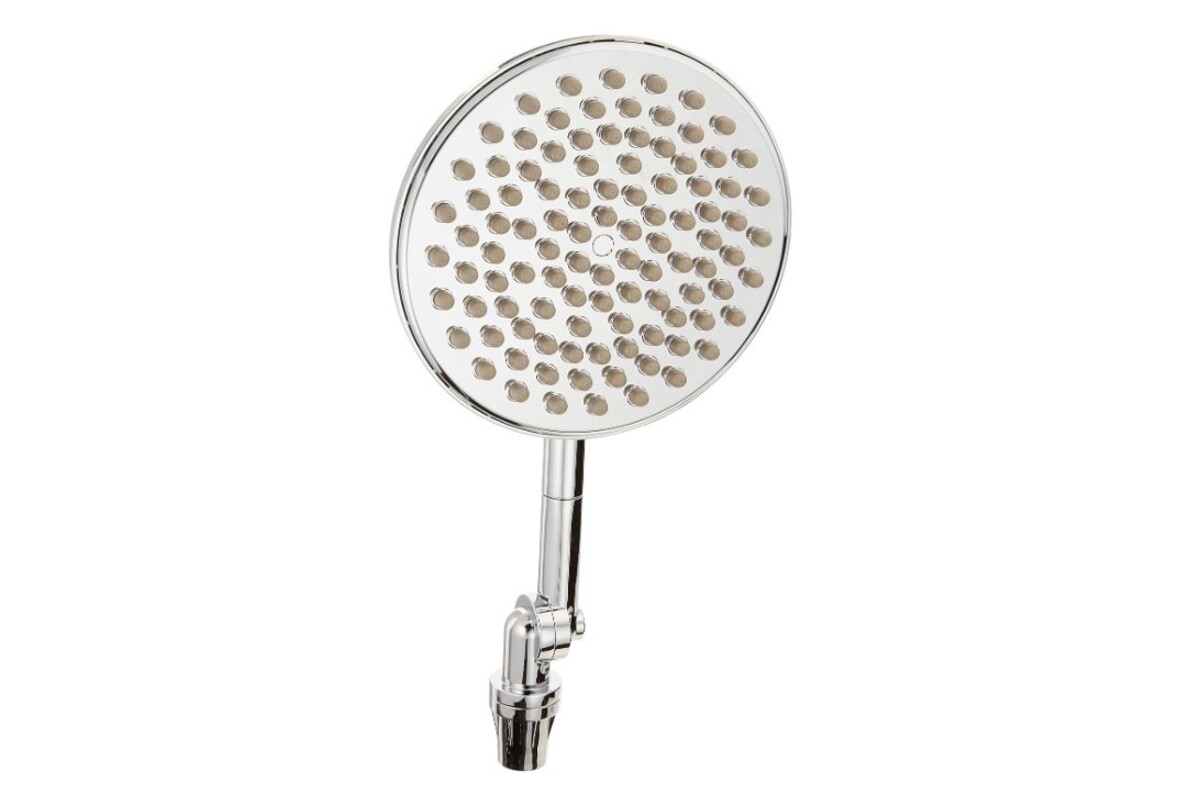
- New domain B8-Vbu9-Lxfn Rainfall Low-Flow Multidirectional Showerhead
- Step stool or ladder (if needed)
The adjustable wrench will be helpful for removing the old showerhead and attaching the new one. Plumber’s tape is used to secure a watertight seal between the shower arm and the new showerhead. The old cloth or towel will be used to clean up any water spills or drips during the installation process.
Ensure you have the B8-Vbu9-Lxfn Rainfall Low-Flow Multidirectional Showerhead ready, as well as any additional accessories that may come with it, such as flow restrictors or additional shower settings. It’s a good idea to read through the manufacturer’s instructions and familiarize yourself with the showerhead before starting the installation.
If your showerhead is located higher up and out of reach, make sure you have a step stool or ladder available to safely access the installation area. Safety is important, so choose a sturdy and stable support to prevent accidents while installing the showerhead.
Once you have gathered all the necessary tools and materials, you’re ready to move on to the next step: shutting off the water supply.
Step 2: Shutting Off the Water Supply
Before you begin removing the old showerhead, it’s crucial to shut off the water supply to prevent any water leakage or damage. Here’s how you can do it:
- Locate the main water shut-off valve in your bathroom. It’s usually found near the shower area or in the basement.
- Turn the valve clockwise to shut off the water supply. You may need to use a wrench or pliers for a better grip, depending on the type of valve.
- Double-check that the water is completely shut off by turning on the shower or faucet to test for running water. If there is no water flow, you can proceed to the next step.
Ensuring that the water supply is off will prevent any accidental spills or leaks when removing the old showerhead. It’s important to take this precaution to avoid water damage and to make the installation process safer and more manageable.
Once you have confirmed that the water supply is shut off, you’re ready to move on to the next step: removing the old showerhead.
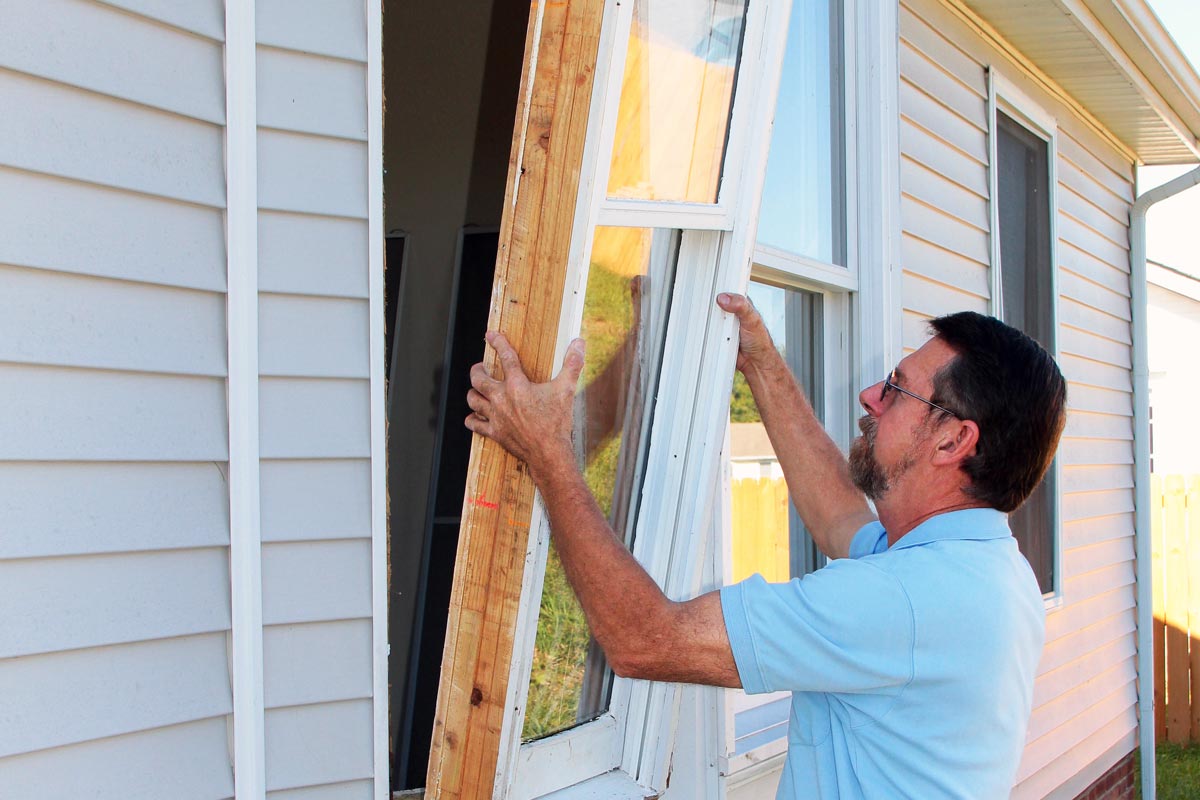
Step 3: Removing the Old Showerhead
Now that the water supply is shut off, it’s time to remove the old showerhead. Follow these steps to remove it safely:
- Inspect the existing showerhead to determine the method of attachment. It may be screwed on or secured with a clamp or adhesive.
- If the showerhead is screwed on, grip it firmly with your hand. If it’s too tight to loosen by hand, use an adjustable wrench to loosen it by turning it counterclockwise.
- If the showerhead is secured with a clamp or adhesive, use a wrench or pliers to loosen the clamp or adhesive. Be careful not to damage the shower arm while doing so.
- Once the showerhead is loosened, unscrew it completely and remove it from the shower arm.
As you remove the old showerhead, be prepared for some water to drip from the shower arm. Keep an old cloth or towel nearby to catch any excess water and prevent it from dripping onto the floor.
Inspect the shower arm after removing the old showerhead. It should be clean and free from any debris or buildup. If you notice any mineral deposits or dirt, use a cloth or brush to clean it before proceeding with the installation of the new showerhead.
With the old showerhead successfully removed, it’s time to move on to the next step: preparing the new showerhead for installation.
Step 4: Preparing the New Showerhead for Installation
Before you can attach the new domain B8-Vbu9-Lxfn Rainfall Low-Flow Multidirectional Showerhead, it’s important to prepare it for installation. Follow these steps to ensure a smooth and proper installation:
- Remove any packaging materials from the new showerhead, including plastic wrap or protective caps. Make sure you don’t accidentally dispose of any essential components that may come with the showerhead.
- Inspect the showerhead for any visible defects or damages. Check for any loose parts or missing components. If you notice any issues, contact the manufacturer for assistance or consider replacing the showerhead.
- Read the manufacturer’s instructions provided with the showerhead. Pay attention to any specific installation steps or recommendations they provide.
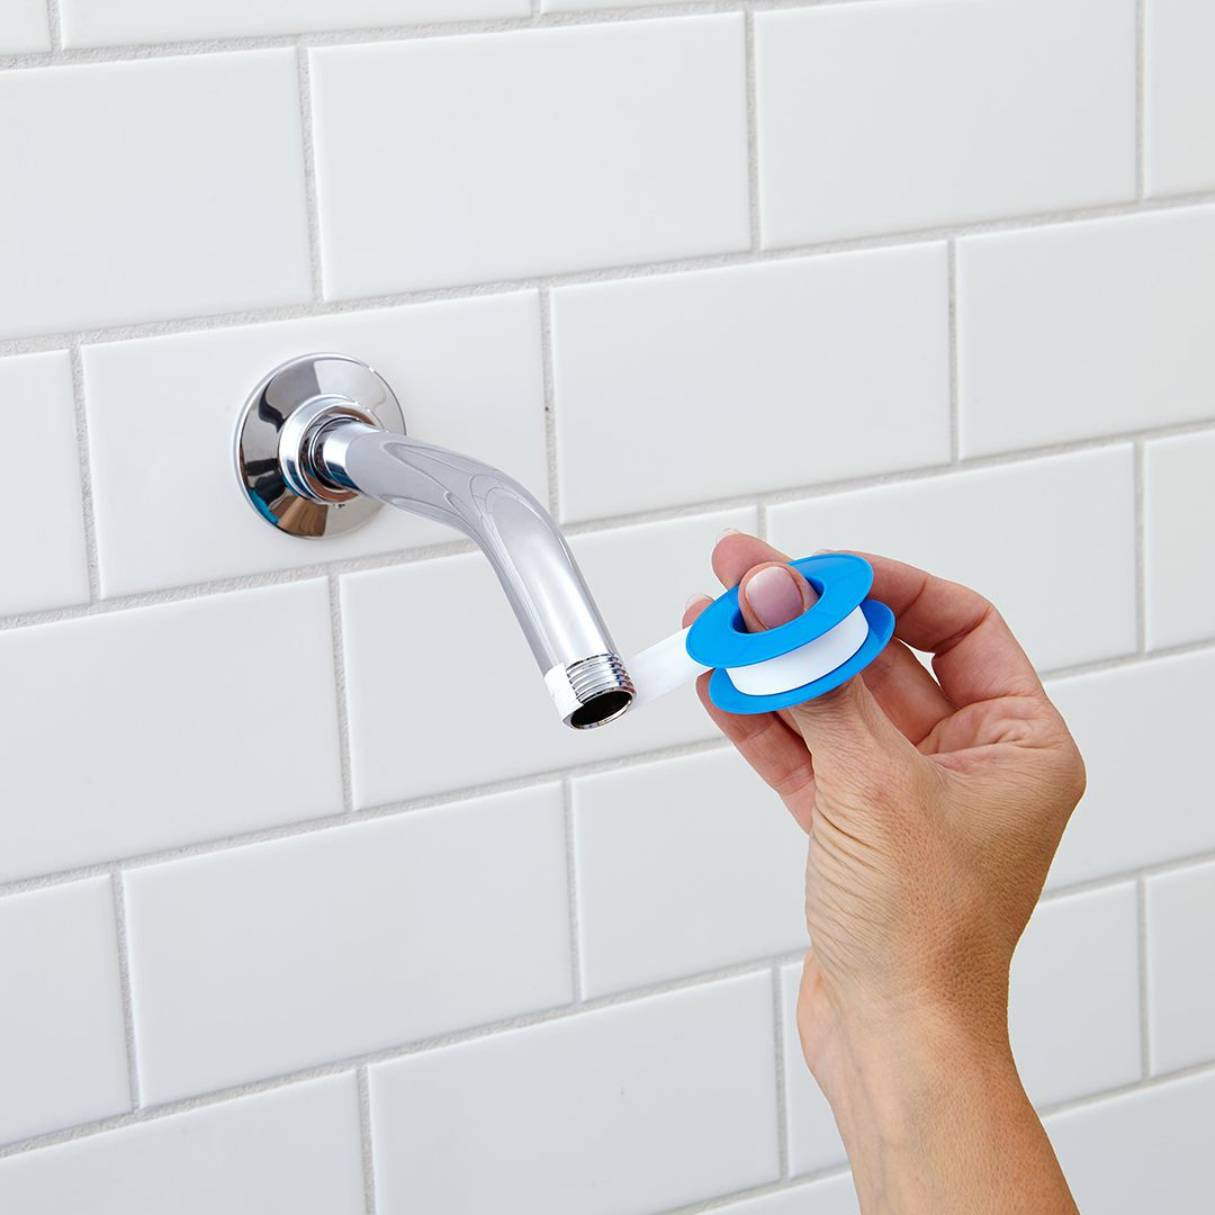
- Locate the rubber washer or gasket that came with the showerhead. This washer helps create a watertight seal between the showerhead and the shower arm. Ensure it is properly placed inside the threading of the showerhead.
- If the new showerhead comes with additional accessories or flow restrictors, familiarize yourself with these features. Some showerheads offer adjustable settings, such as different spray patterns or water flow options. Adjust these settings according to your preference before proceeding with the installation.
By properly preparing the new showerhead for installation, you can ensure that it is in good condition and ready to be attached to the shower arm. Taking the time to inspect and read the instructions will help you avoid any potential problems during the installation process.
With the new showerhead prepared, you’re now ready to move on to the next step: attaching the new showerhead.
When installing a new B8-Vbu9-Lxfn Rainfall Low-Flow Multidirectional Showerhead, make sure to use thread seal tape on the shower arm to prevent leaks. Hand-tighten the showerhead onto the arm, then use a wrench to give it a final quarter turn for a secure fit.
Read more: What Is Considered A Low Flow Showerhead
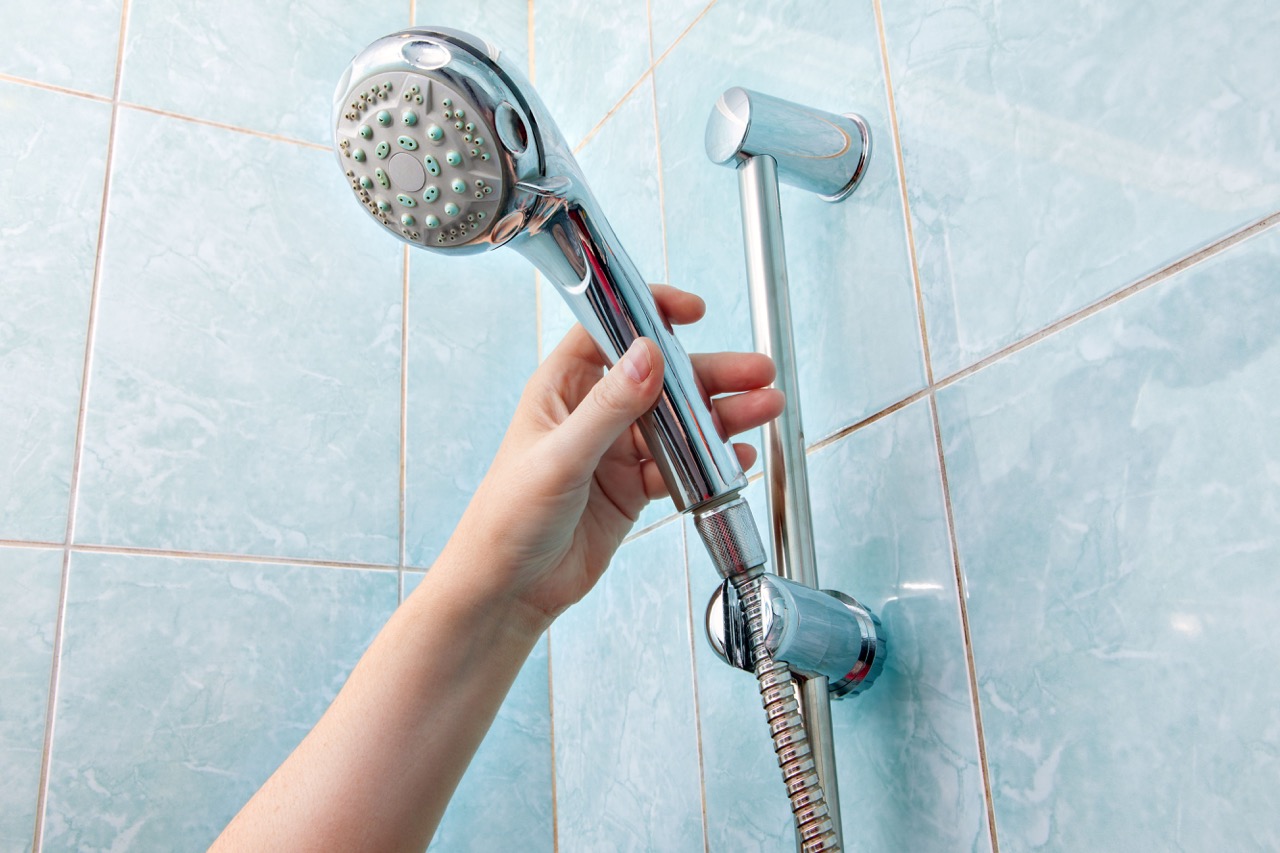
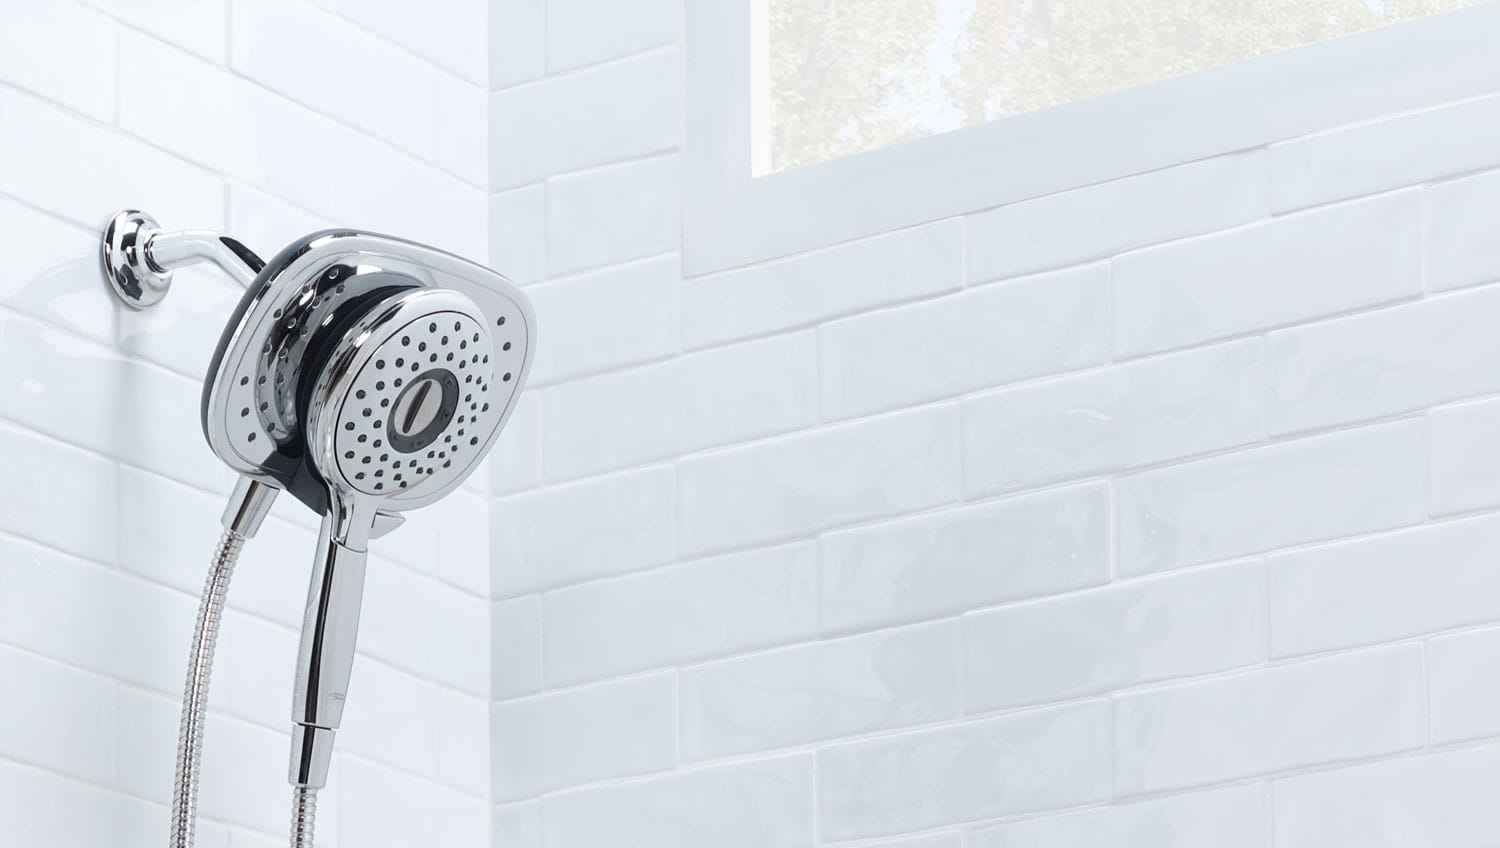
Step 5: Attaching the New Showerhead
Now that you have prepared the new domain B8-Vbu9-Lxfn Rainfall Low-Flow Multidirectional Showerhead, it’s time to attach it to the shower arm. Follow these steps for a successful installation:
- Take the new showerhead and align it with the shower arm. The threading on the showerhead should match the threading on the shower arm.
- Hold the showerhead firmly with one hand and use your other hand to twist it onto the shower arm. Rotate it clockwise to tighten the showerhead onto the arm.
- If needed, use an adjustable wrench to provide extra leverage and ensure a tight fit. However, be careful not to overtighten, as this can cause damage to the showerhead or the shower arm.
- Once the showerhead is securely attached, check for any leaks around the connection. If you notice any leaks, try tightening the showerhead a bit more or adjusting the rubber washer/gasket inside the threading.
It’s important to make sure the showerhead is securely attached to prevent water leakage during use. A tight and properly fitted connection will ensure a steady flow of water through the showerhead.
With the new showerhead successfully attached, you’re one step closer to enjoying your upgraded shower experience. In the next step, we’ll test the new showerhead to ensure it is functioning as expected.
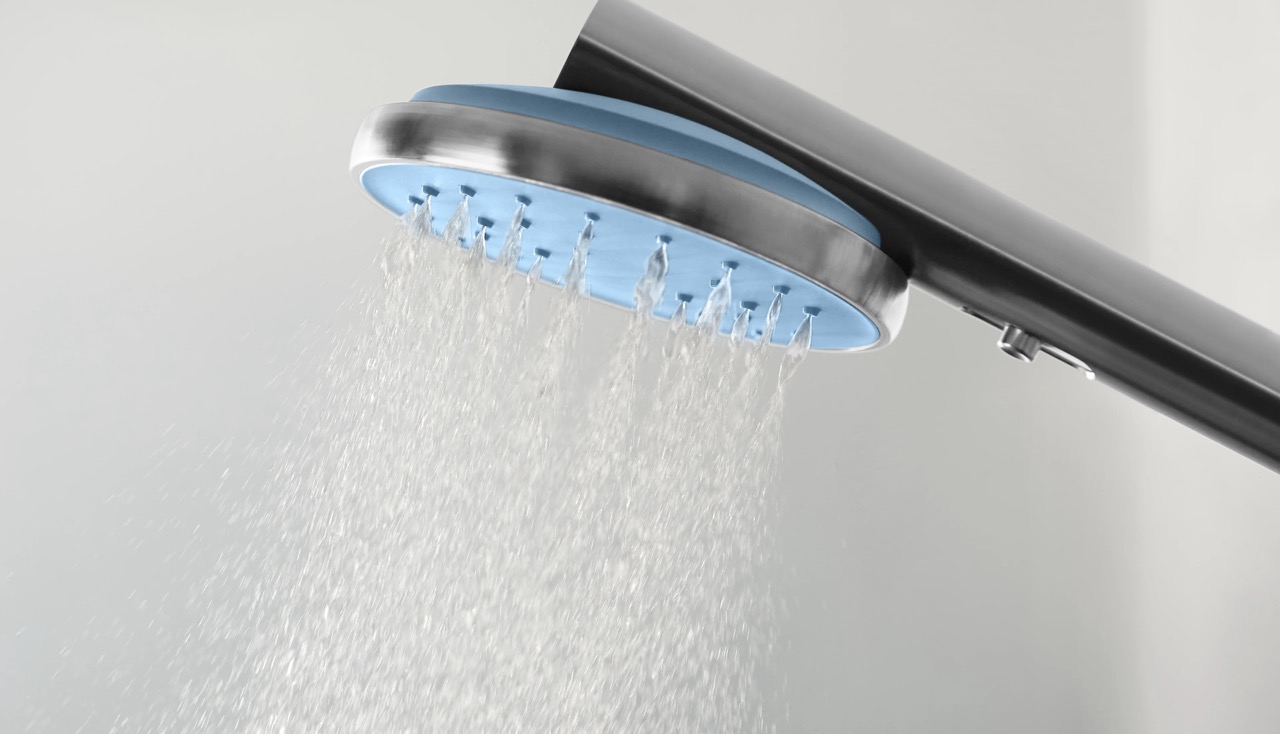
Step 6: Testing the New Showerhead
After attaching the new domain B8-Vbu9-Lxfn Rainfall Low-Flow Multidirectional Showerhead, it’s important to test it to ensure it is functioning properly. Follow these steps to test the new showerhead:
- Turn on the water supply by turning the main water shut-off valve counterclockwise.
- Gradually increase the water flow by turning on the shower faucet. Start with a low flow and then increase it to your desired pressure.
- Observe the water flow and spray pattern of the new showerhead. Ensure that there are no leaks coming from the connection between the showerhead and the shower arm.
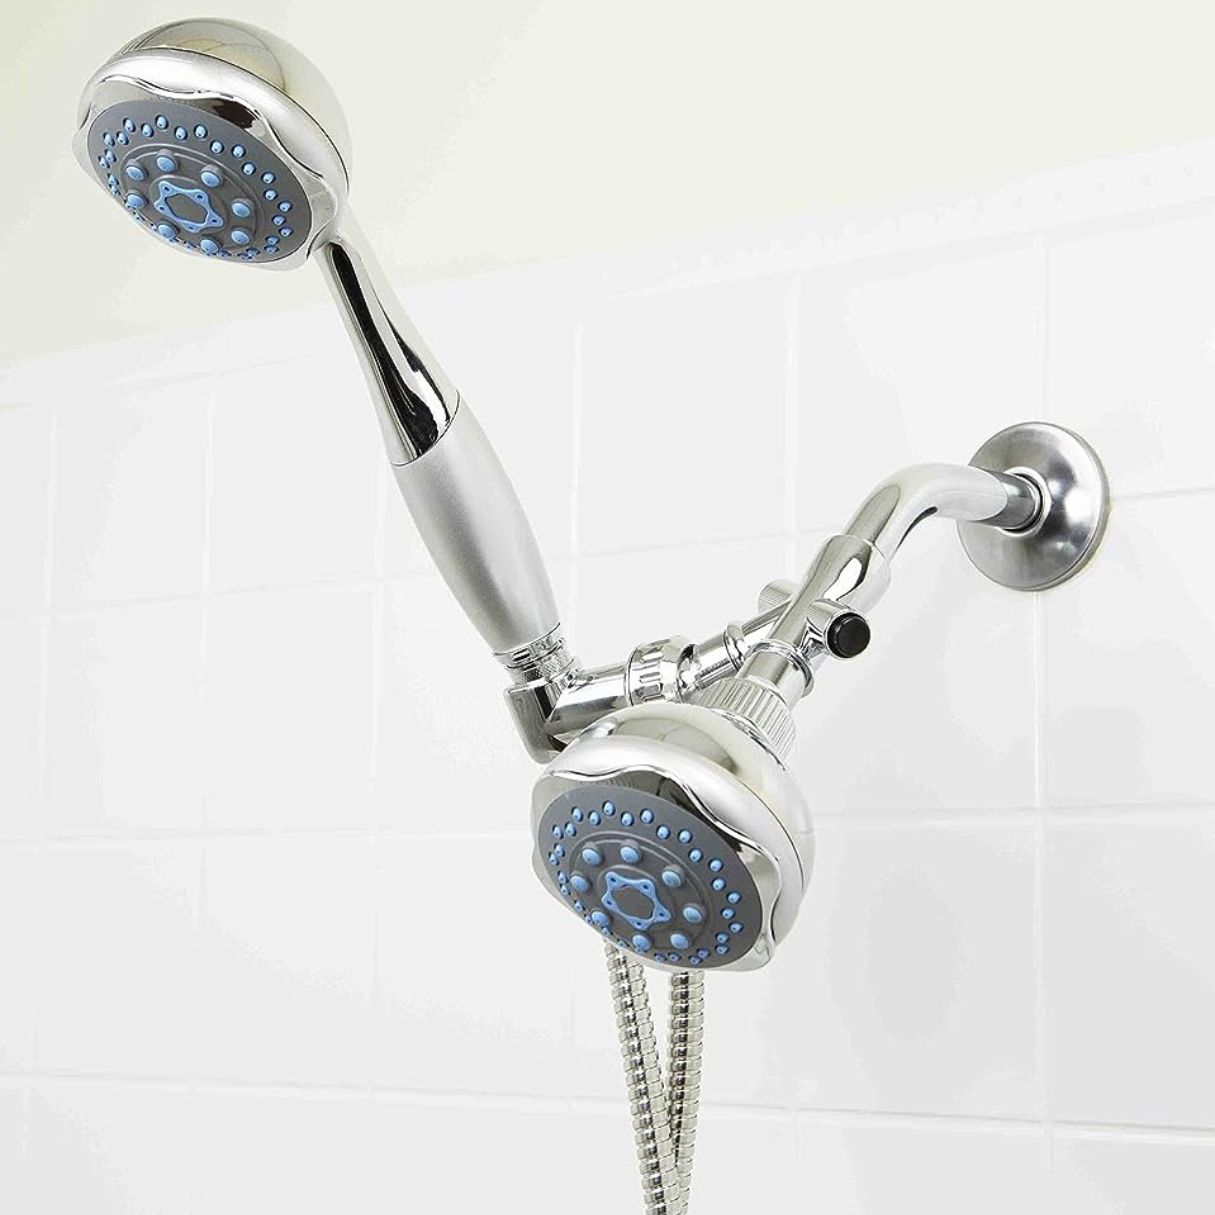
- Check if the showerhead is producing a multidirectional spray as advertised. Adjust any settings or flow restrictors as needed to achieve your preferred spray pattern.
- Step into the shower and experience the new rainfall-like shower. Assess the water pressure, coverage, and overall showering experience to ensure it meets your expectations.
If you notice any issues during the testing phase, such as low water pressure, uneven spray pattern, or leaks, you may need to make adjustments. Check the manufacturer’s instructions for troubleshooting tips or contact customer support for assistance.
It’s important to thoroughly test the new showerhead before moving on to the next step. Ensuring that it is functioning properly will allow you to fully enjoy the benefits of your new showerhead.
Now that you have tested the new showerhead, it’s time to move on to the next step: adjusting the showerhead settings.
Step 7: Adjusting the Showerhead Settings
Once you have tested the new domain B8-Vbu9-Lxfn Rainfall Low-Flow Multidirectional Showerhead and ensured its proper functioning, it’s time to adjust the settings according to your preferences. Follow these steps to customize your showering experience:
- Refer to the manufacturer’s instructions to understand the different settings and features of the showerhead.
- If your showerhead offers adjustable spray patterns, such as rainfall, massage, or mist, locate the switch or dial that controls these options and select the desired setting.
- Some showerheads also come with flow restrictors that allow you to control the water flow. If your showerhead has this feature, adjust the flow restrictor according to your preference.
- Experiment with the different settings to find the one that provides the most comfortable and enjoyable shower experience for you.
- Take note of your preferred settings for future reference. This way, you can easily set the showerhead to your preferred settings each time you use it.
Adjusting the showerhead settings allows you to tailor your shower experience to your liking. Whether you prefer a gentle rainfall-like spray or a more invigorating massage setting, taking the time to customize the settings will enhance your overall satisfaction with the new showerhead.
After adjusting the showerhead settings to your preference, move on to the final step: performing a final check and cleanup.
Step 8: Final Check and Cleanup
Before considering the installation process complete, it’s crucial to perform a final check and cleanup to ensure everything is in order. Follow these steps to wrap up the installation:
- Inspect the connection between the new showerhead and the shower arm. Ensure there are no leaks or drips coming from the connection point.
- Wipe down the showerhead and the surrounding area with a clean cloth to remove any fingerprints, water spots, or debris.
- Double-check that the water flow and spray pattern are still to your liking. Make any necessary adjustments to the settings if needed.
- If you faced any challenges during the installation or noticed any issues with the showerhead, document them for future reference or contact customer support for assistance.
- Clean up any tools or materials used during the installation process and return them to their proper storage locations.
- Dispose of any packaging materials or old showerhead responsibly.
- Finally, turn off the shower faucet and ensure the water supply is shut off by turning the main water shut-off valve clockwise.
Completing these final checks and cleanup steps will give you peace of mind that the installation has been successfully completed and everything is in proper working order. It’s important to maintain a clean and well-organized bathroom space.
Congratulations! You have successfully installed the new domain B8-Vbu9-Lxfn Rainfall Low-Flow Multidirectional Showerhead. Enjoy your revitalized shower experience and the water-saving benefits it provides.
The installation process for the new showerhead is now complete. Thank you for following our step-by-step guide. We hope this article has been helpful in assisting you with the installation of your new showerhead.
Remember to refer to the manufacturer’s instructions for any specific maintenance or cleaning recommendations to ensure the longevity of your showerhead.
Enjoy your luxurious showers with the new domain B8-Vbu9-Lxfn Rainfall Low-Flow Multidirectional Showerhead!
Read more: How To Remove The Low-Flow From A Showerhead
Conclusion
Congratulations on successfully installing your new domain B8-Vbu9-Lxfn Rainfall Low-Flow Multidirectional Showerhead! By following our step-by-step guide, you have transformed your showering experience and taken a step towards water conservation.
Throughout this article, we covered the entire installation process, from gathering the necessary tools and shutting off the water supply to removing the old showerhead, preparing the new one, and attaching it securely. We also discussed the importance of testing the new showerhead, adjusting the settings, and performing a final check and cleanup.
The domain B8-Vbu9-Lxfn Rainfall Low-Flow Multidirectional Showerhead offers a luxurious rainfall-like shower experience while conserving water. With its adjustable spray patterns and optional flow restrictors, you can customize your shower and find the perfect combination of comfort and water efficiency.
Remember, proper maintenance of your showerhead will ensure its longevity and optimal performance. Refer to the manufacturer’s instructions for any specific cleaning and maintenance guidelines.
We hope this comprehensive guide has been informative and helpful in guiding you through the installation process of your new showerhead. Enjoy the refreshing showers, the soothing rainfall-like spray, and the knowledge that you’re doing your part in saving water.
Thank you for choosing the domain B8-Vbu9-Lxfn Rainfall Low-Flow Multidirectional Showerhead and happy showering!
Frequently Asked Questions about How To Install New Domaine B8-VBU9-LXFN Rainfall Low-Flow Multidirectional Showerhead
Was this page helpful?
At Storables.com, we guarantee accurate and reliable information. Our content, validated by Expert Board Contributors, is crafted following stringent Editorial Policies. We're committed to providing you with well-researched, expert-backed insights for all your informational needs.


0 thoughts on “How To Install New Domaine B8-VBU9-LXFN Rainfall Low-Flow Multidirectional Showerhead”