Home>Articles>How To Build Built In Shelves Around Fireplace
Articles
How To Build Built In Shelves Around Fireplace
Modified: December 7, 2023
Learn how to build beautiful built-in shelves around your fireplace with our helpful articles and step-by-step guides. Transform your living space with this DIY project today!
(Many of the links in this article redirect to a specific reviewed product. Your purchase of these products through affiliate links helps to generate commission for Storables.com, at no extra cost. Learn more)
Introduction
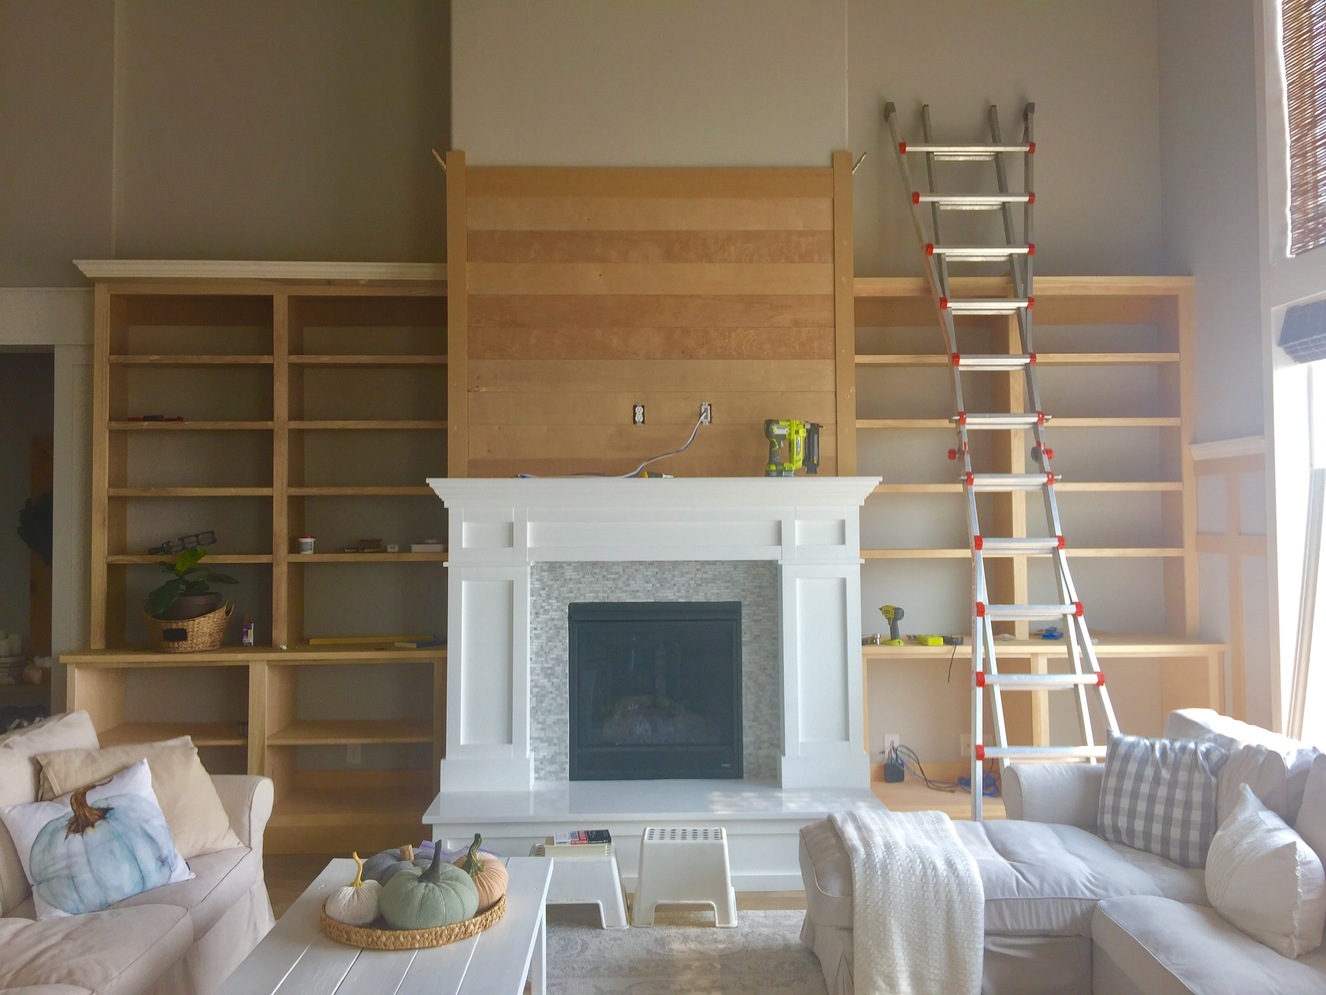
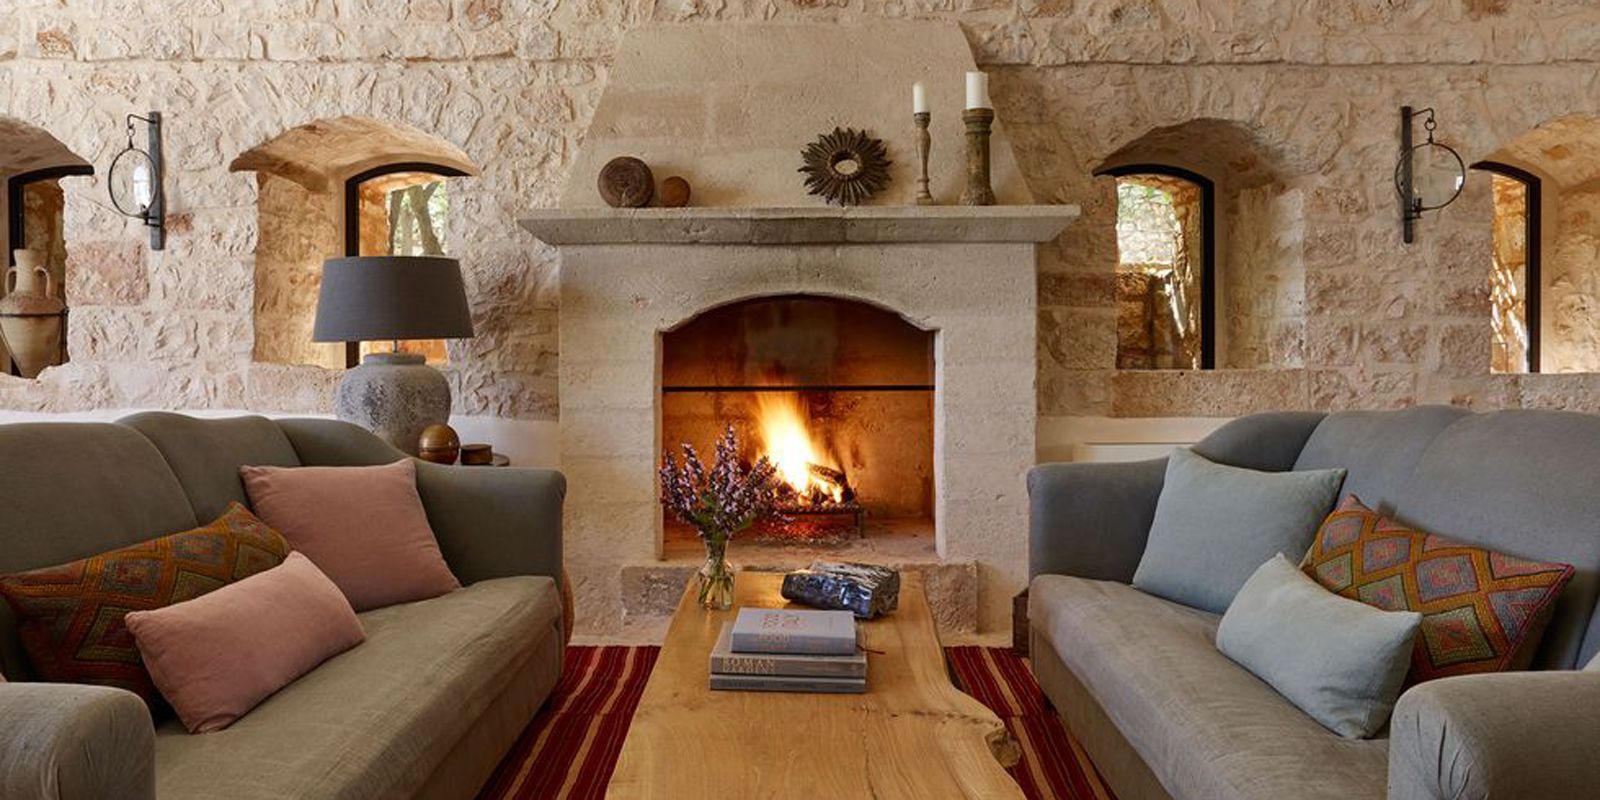
Welcome to the world of custom carpentry and DIY projects! If you’re looking to add both functionality and style to your living space, building built-in shelves around your fireplace is a fantastic option. Not only do these shelves provide ample storage for books, decor, and other items, but they also create a beautiful focal point in any room.
Before diving into the building process, it’s important to take some time to plan and prepare. This article will guide you through the step-by-step process of creating custom built-in shelves that seamlessly blend with your fireplace and complement your interior design style. Whether you’re a seasoned carpenter or a DIY enthusiast, this project can be accomplished with careful planning and some basic tools.
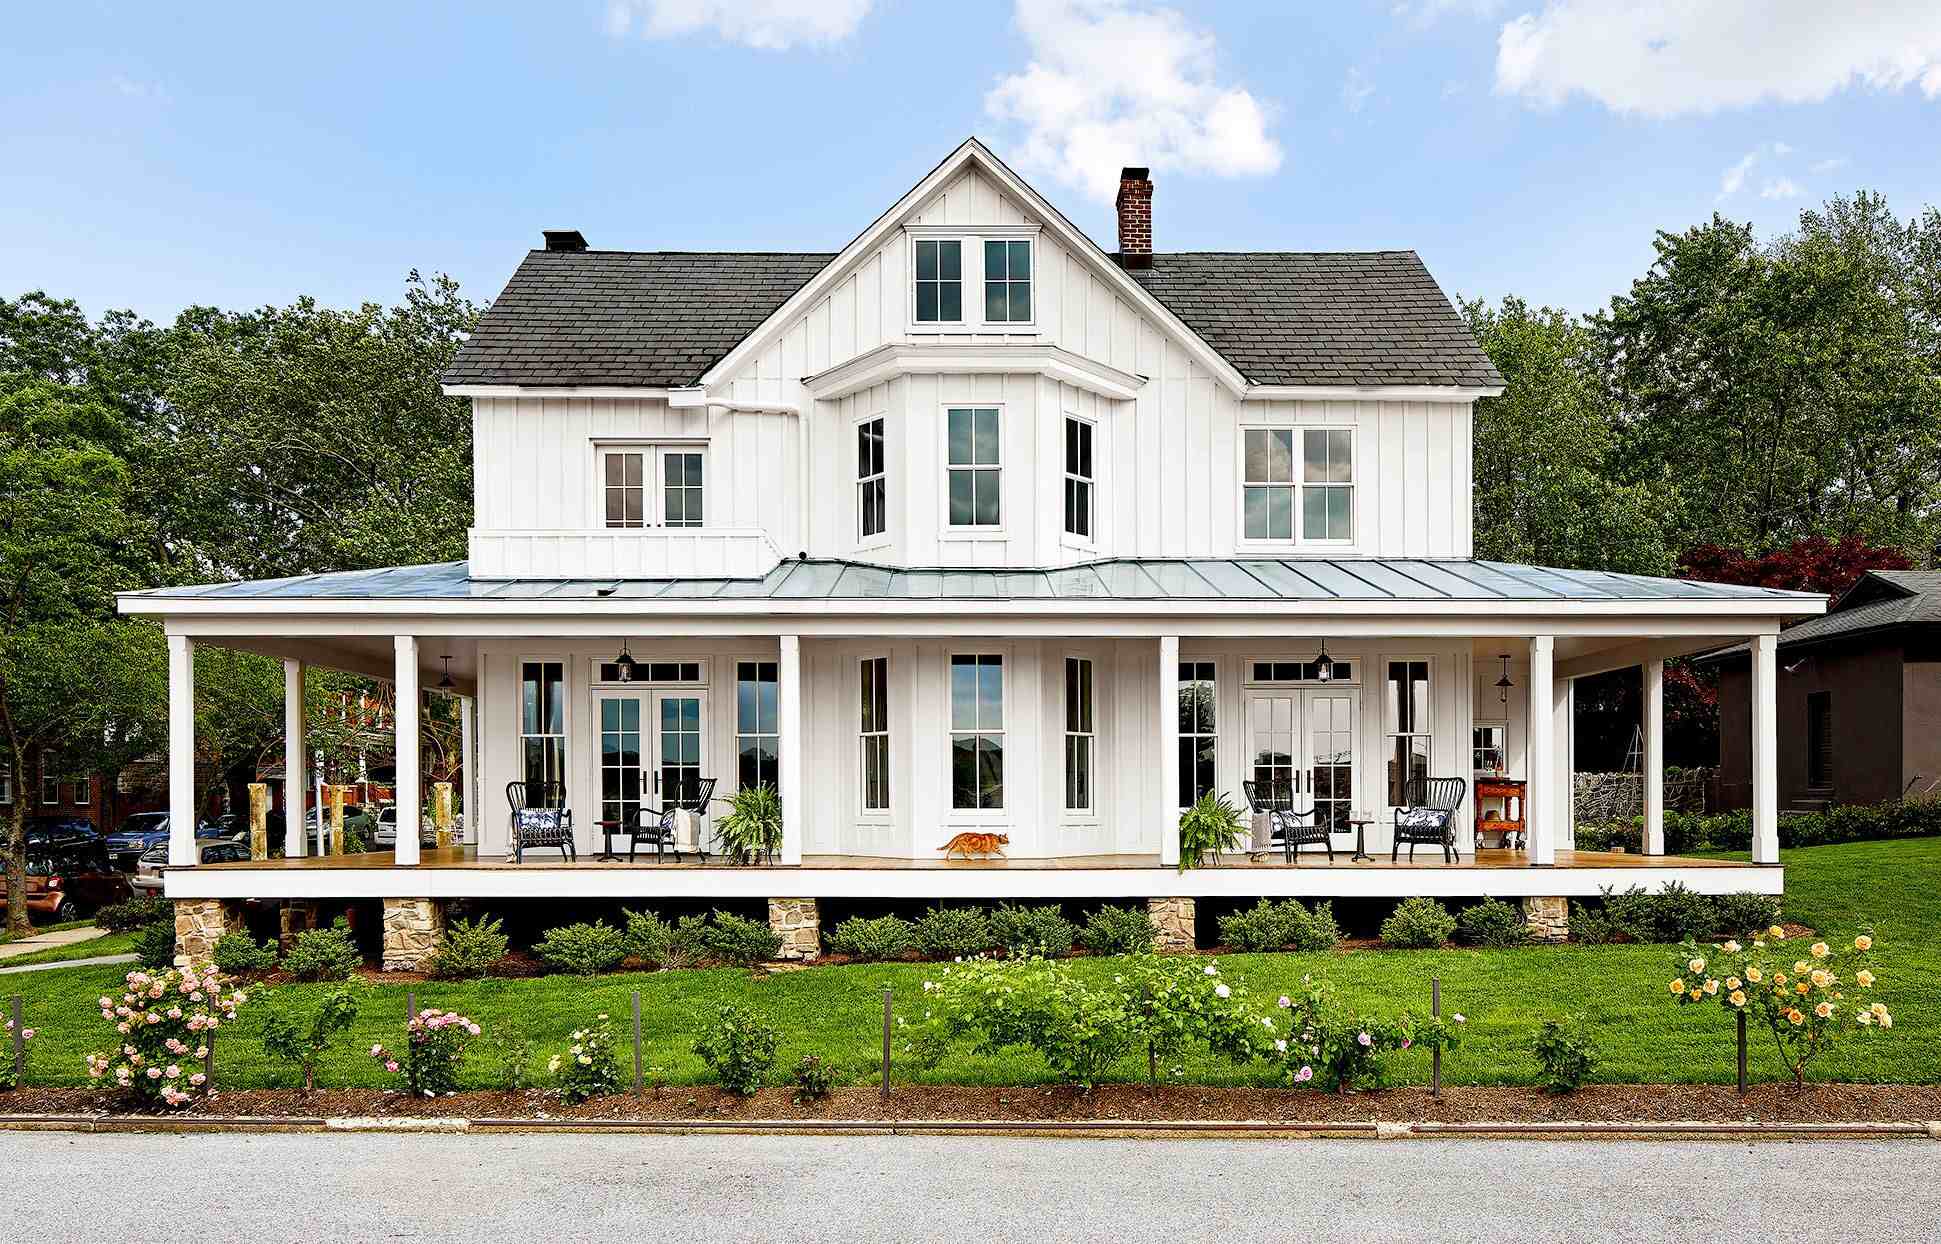
Not only will these built-in shelves enhance the functionality and aesthetic appeal of your fireplace, but they can also increase the value of your home. Custom features like built-in shelves are highly sought after and can set your property apart from others on the market. Plus, the satisfaction of completing a project like this with your own two hands is an added bonus!
Before we get started, it’s important to note that building built-in shelves around your fireplace requires careful attention to detail and patience. Measure twice, cut once, as they say. Taking the time to plan and execute each step correctly will ensure a successful outcome.
Now, let’s dive into the exciting world of building custom built-in shelves around your fireplace, and create a beautiful and functional addition to your living space.
Key Takeaways:
- Transform your living space with custom built-in shelves around your fireplace, adding both functionality and style while increasing the value of your home.
- Patience, precision, and attention to detail are crucial when undertaking this rewarding DIY project, resulting in a beautiful and functional addition to your living space.
Read more: How To Build Bookshelves Around A Fireplace
Preparing the Space
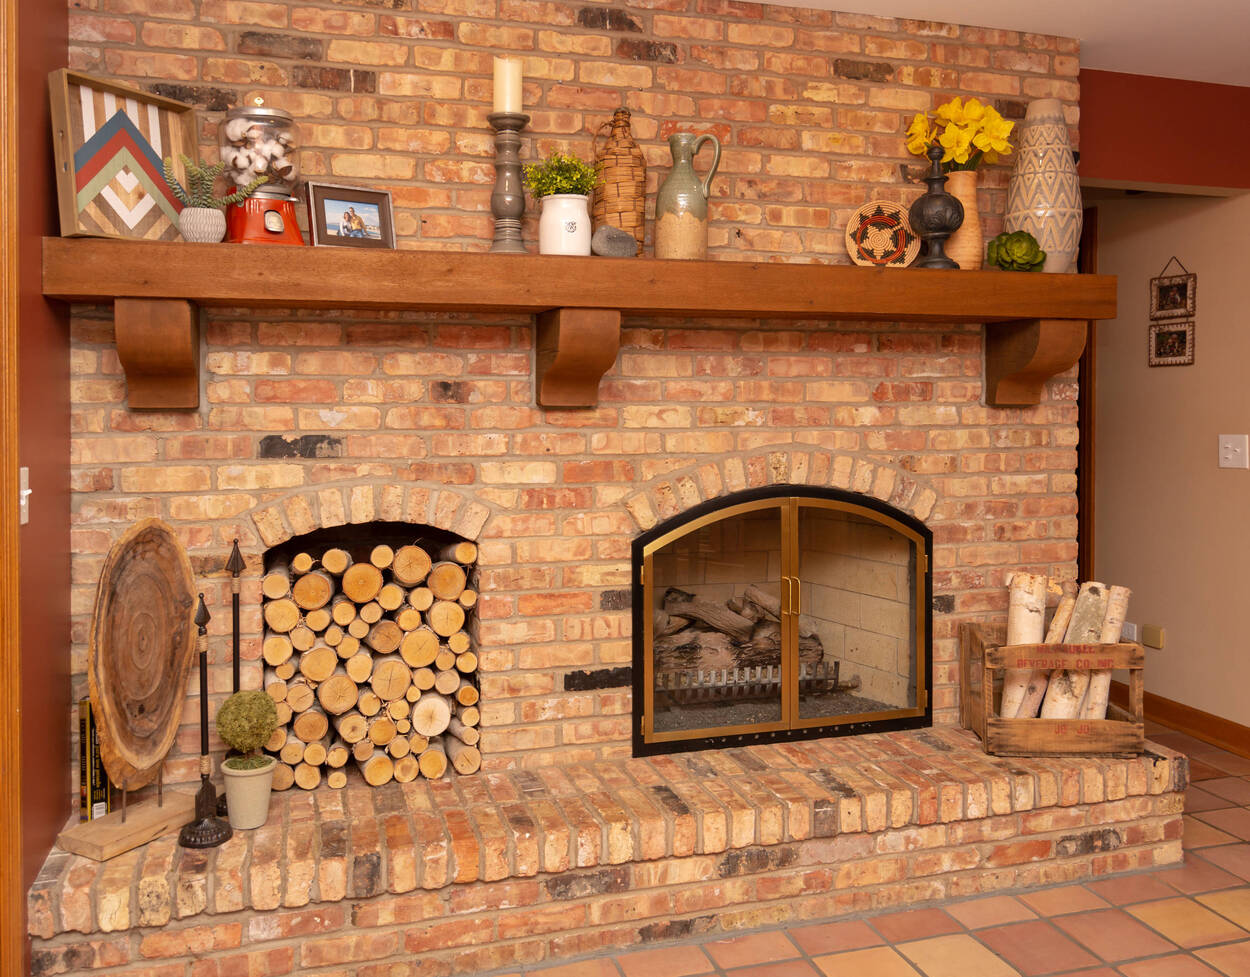
Before you begin building the built-in shelves, it’s essential to properly prepare the space surrounding your fireplace. Start by clearing out any existing furniture, decor, or objects around the fireplace area. This will give you a clear working space and allow you to assess the area accurately.
Next, thoroughly clean the fireplace and surrounding walls. Remove any dust, debris, or soot from the fireplace using a brush or vacuum. Wipe down the walls and remove any dirt or grease that may have accumulated over time. It’s important to have a clean surface to work with, as it will ensure better adhesion of paint or finishes later on.
Take some time to inspect the condition of your fireplace. Look for any signs of damage, cracks, or loose bricks. If you notice any issues, it’s recommended to address them before proceeding with the built-in shelves project. Depending on the severity of the damage, you may need to consult a professional for repairs or reinforcement.
Additionally, measure the dimensions of your fireplace and the surrounding walls. This will help you determine the size and layout of your built-in shelves. Precision is key in this step, so make sure to measure multiple times and record accurate measurements. These measurements will also come in handy when cutting materials later on.
Lastly, consider the overall design and style of your living space. Take note of the existing colors, patterns, and materials used in the room. This information will guide your choices when it comes to selecting the materials and finishes for your built-in shelves. You want the shelves to seamlessly blend with the rest of the room and enhance its overall aesthetic appeal.
With the space properly cleared, cleaned, and measured, you’re ready to move on to the next step: measuring and planning.
Measuring and Planning
Measuring and planning are crucial steps in creating built-in shelves that fit seamlessly around your fireplace. By carefully measuring the dimensions of the space and considering your storage needs, you can ensure that your shelves are functional and aesthetically pleasing.
Start by measuring the width, height, and depth of your fireplace. Take precise measurements of the opening, as well as the space surrounding the fireplace where the shelves will be installed. This will help you determine the size and shape of your shelves.
Consider the height of the shelves in relation to the height of the fireplace. You want the shelves to be proportionate and create a visually appealing balance. Depending on your preferences and the height of your ceiling, you can choose to have the shelves reach all the way to the ceiling or leave some space above them.
Next, think about the spacing between the shelves. Take into account the items you plan to display on the shelves. If you have taller items, you may want to leave more space between the shelves to accommodate them. On the other hand, if you primarily plan to display smaller objects, you can have shorter gaps between the shelves.
Consider the depth of the shelves as well. Generally, a depth of around 10-12 inches works well for standard items like books and decor. However, if you have specific items that require more space, adjust the depth accordingly.
Once you have all the measurements and spacing considerations, it’s time to create a plan or blueprint for your built-in shelves. This plan will act as a roadmap for the construction process, ensuring that you stay organized and on track.
Using graph paper or a computer program, sketch out the design of your shelves. Include the dimensions, spacing, and any other details you want to incorporate, such as molding or trim. This will give you a clear visual representation of what the final product will look like.
With a well-thought-out plan in place, you’re now ready to gather the necessary materials and tools for the construction process.
Gathering Materials and Tools
Before you can start building the built-in shelves around your fireplace, it’s important to gather all the necessary materials and tools. Having everything you need on hand will save you time and ensure a smoother construction process.
Here is a list of materials you will likely need:
- Wood or MDF (medium-density fiberboard) for the shelves
- Plywood or MDF for the backing
- Trim or molding for decorative purposes
- Screws
- Wood glue
- Sandpaper
- Paint or stain
- Paintbrushes or rollers
- Primer (if necessary)
- Measuring tape
- Pencil
- Saw (such as a circular saw or miter saw)
- Drill
- Screwdriver
- Level
- Clamps
- Safety goggles
- Protective gloves
Additionally, it’s always a good idea to have some extra supplies on hand, such as extra screws, sandpaper, and paint. This way, you’ll be prepared for any unexpected situations or minor mistakes that may occur during the construction process.
When selecting materials, consider the style and durability you want to achieve. Opt for high-quality wood or MDF that can withstand the weight of books and other items you plan to place on the shelves. If you’re unsure about the best type of wood or finishing options, consult with a professional at your local hardware store.
Now that you have all the necessary materials, double-check to ensure you have the appropriate tools as well. If you don’t already own some of the tools needed for this project, consider borrowing or renting them from a friend or a local hardware store.
With your materials and tools in hand, you’re ready to move on to the construction phase and begin building the frame for your built-in shelves.
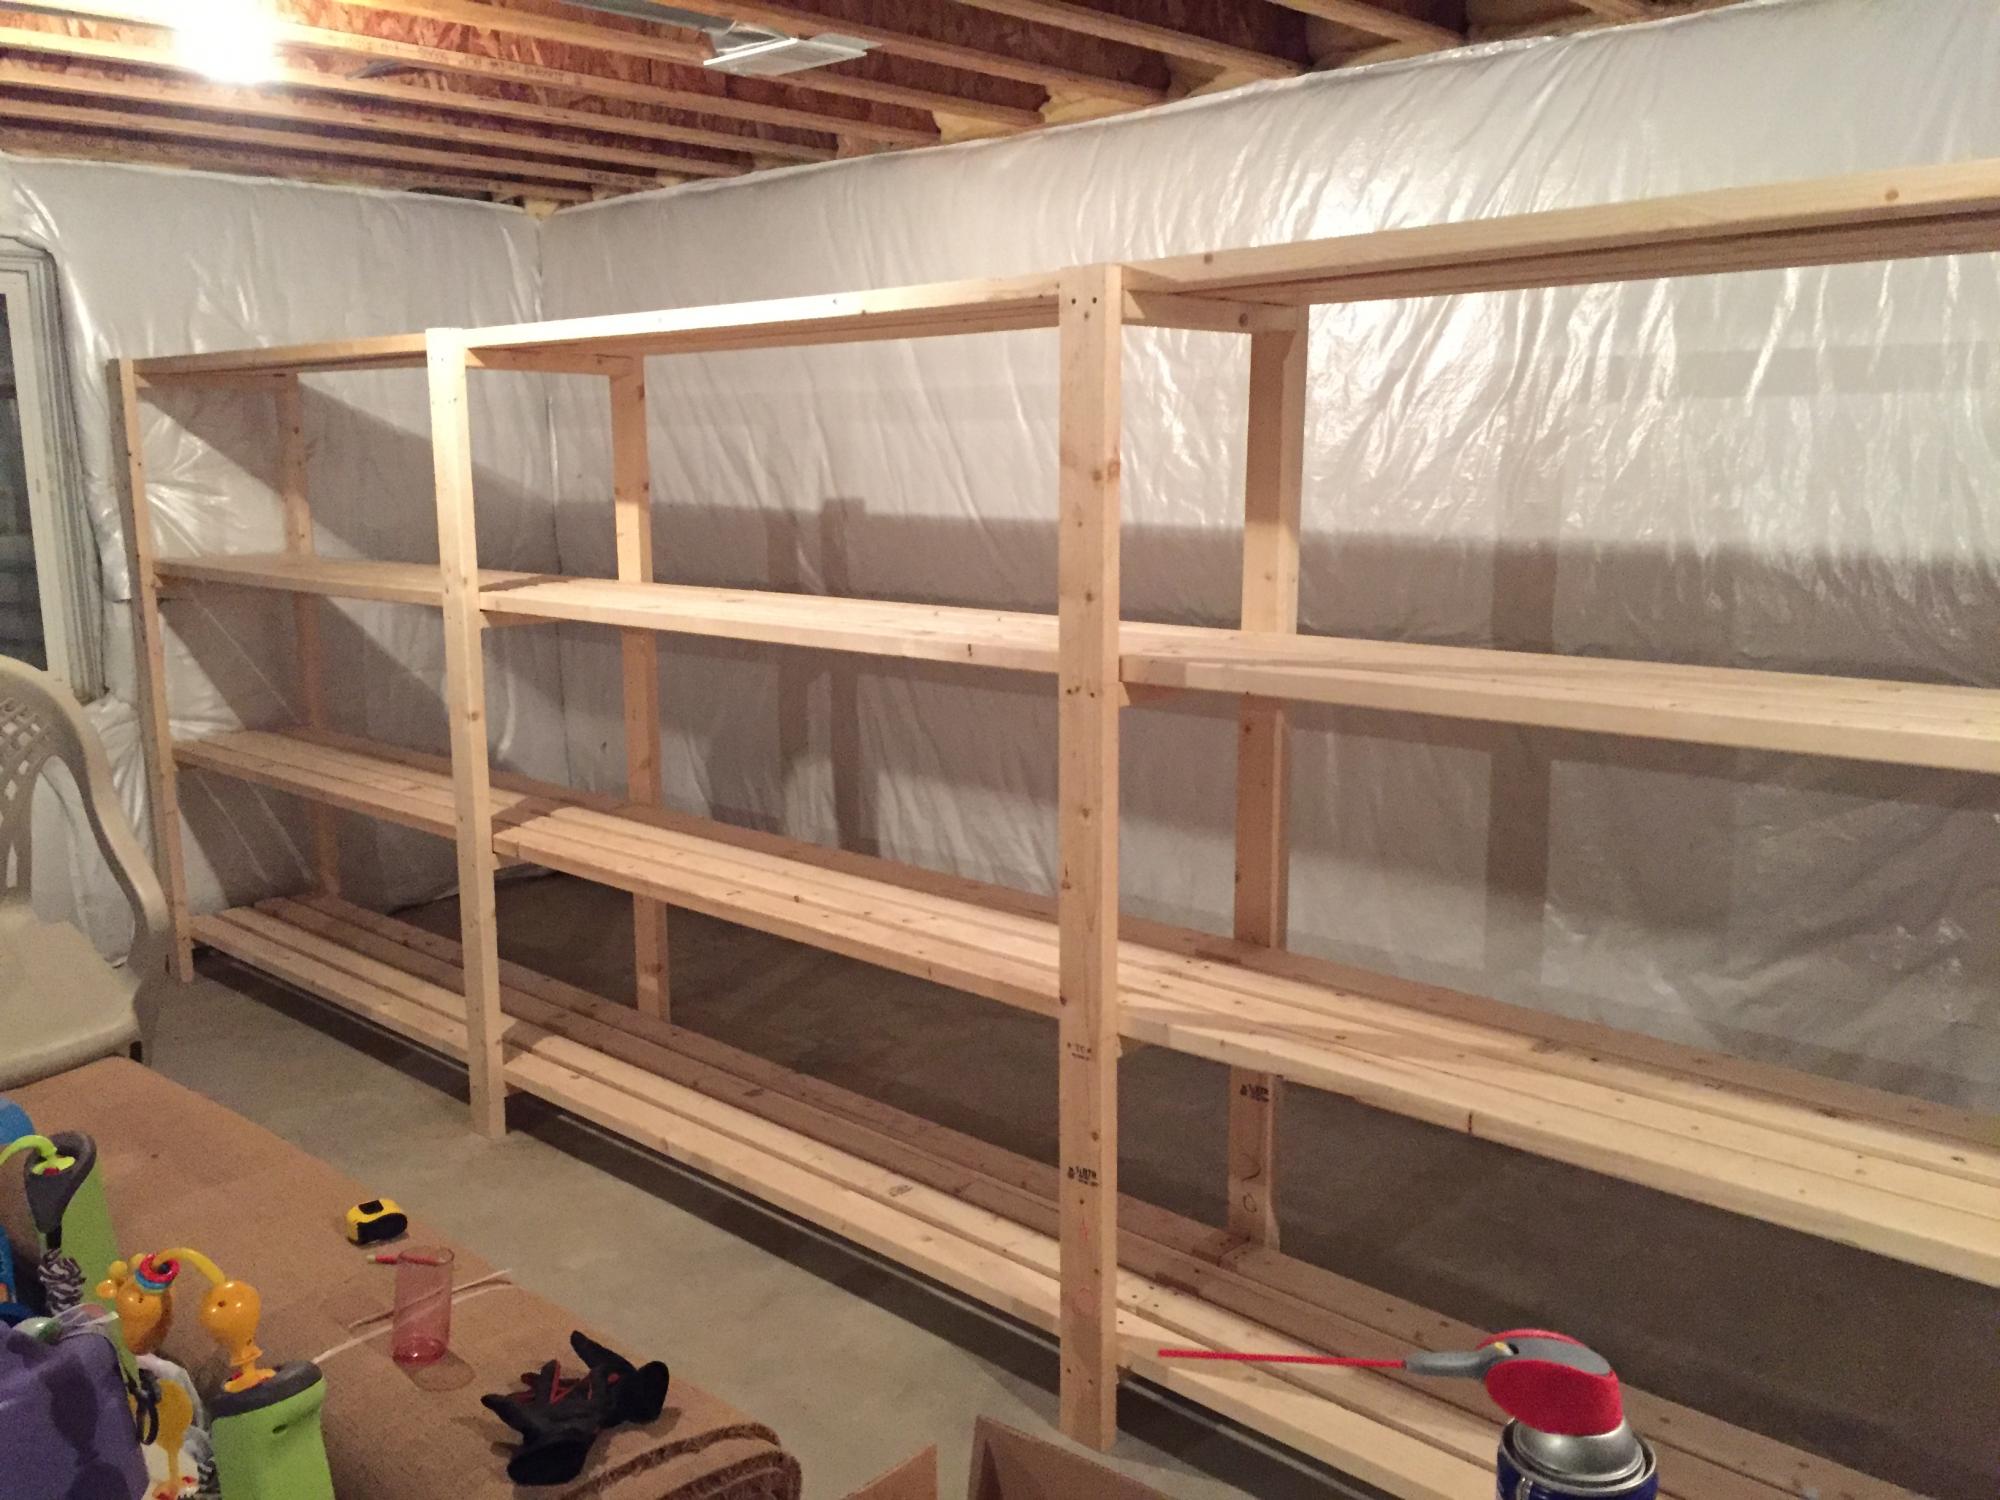
Building the Frame
The frame is the foundation upon which your built-in shelves will be constructed. It provides stability and support, ensuring that your shelves are secure and able to hold the weight of your belongings. Building a sturdy frame is essential for the longevity and functionality of your built-in shelves.
Here are the steps to follow when building the frame:
- Measure and mark: Using your measurements and plan, mark the positions of the shelves and frame on the walls surrounding the fireplace. Use a pencil and a level to create accurate vertical lines and ensure that the shelves are level.
- Cut the lumber: Using a saw, cut the lumber pieces to the desired lengths for the horizontal and vertical supports of the frame. Take into consideration the width and depth of the shelves, as well as the spacing between them.
- Attach the vertical supports: Starting from the bottom, attach the vertical supports to the marked lines on the walls. Use a level to ensure they are straight and plumb. Secure the supports to the wall using screws and a drill.
- Add horizontal supports: Measure and cut the horizontal supports to fit between the vertical supports. Attach them to the vertical supports using screws and a drill, creating the framework for each shelf.
- Secure the frame: To reinforce the frame and ensure stability, add additional screws and brackets as needed. This will help prevent any wobbling or shifting of the shelves.
While building the frame, it’s important to continuously check for levelness and alignment. Use a level as you go along to make adjustments and ensure that each shelf is perfectly horizontal and aligned with the others.
Once the frame is securely in place, you can move on to the next step of the construction process: securing the shelves.
When building built-in shelves around a fireplace, be sure to measure the space carefully and consider the scale and proportion of the shelves in relation to the fireplace. It’s important to use quality materials and to secure the shelves properly to ensure safety and stability.
Securing the Shelves
Now that the frame is built, it’s time to secure the shelves onto the structure. This step involves attaching the shelves onto the horizontal supports of the frame, ensuring they are stable and able to hold the weight of your belongings.
Follow these steps to securely attach the shelves:
- Measure and mark: Using your measurements and plan, mark the precise locations where the shelves will be placed on the horizontal supports. Use a pencil to make accurate marks.
- Cut the shelf boards: Cut the wood or MDF boards to the desired lengths and depths for each shelf. Use a saw to ensure clean and precise cuts.
- Attach the shelf boards: Place the cut shelf boards onto the marked locations on the horizontal supports. Make sure they fit snugly and align with the markings. Use screws and a drill to secure the shelves in place.
- Reinforce with glue: Apply wood glue along the edges of the shelf boards where they meet the horizontal supports. This will provide additional strength and stability to the shelves.
- Check for levelness: Use a level to ensure that each shelf is perfectly horizontal. Make any necessary adjustments by loosening or tightening the screws.
While attaching the shelves, it’s important to work carefully and pay attention to detail. Make sure the shelves are level and aligned properly with the frame. This will ensure that your final built-in shelves look seamless and professional.
If you plan to have multiple shelves, repeat the process for each level. Take your time to ensure each shelf is securely attached and levelled before proceeding to the next one.
With the shelves securely in place, you can move on to the next step of the construction process: adding the backing to the shelves.
Adding the Backing
Adding the backing to your built-in shelves serves multiple purposes. It provides structural support, prevents items from falling behind the shelves, and adds a finished look to the overall design. The backing is typically made of plywood or MDF and is attached to the back of the shelves.
Follow these steps to add the backing:
- Measure and cut the backing material: Using a measuring tape, measure the length and width of the back of each shelf. Transfer these measurements onto the plywood or MDF and cut the backing panels accordingly using a saw.
- Position the backing panels: Place each cut backing panel onto the back of the respective shelf. Make sure it aligns flush with the edges of the shelf.
- Secure the backing panels: Use screws and a drill to attach the backing panels to the vertical and horizontal supports of the frame. Place screws at regular intervals along the edges of the panels, ensuring a secure attachment.
- Fill any gaps or imperfections: If there are any gaps between the backing panels and the shelves, use wood filler or caulk to fill them in. This will create a smooth and seamless appearance.
- Sand and finish: Once the backing is securely in place, sand the entire surface of the shelves, including the backing, to remove any rough edges or imperfections. You can then apply paint, stain, or any desired finish to match the style of your room.
It’s important to take your time during this step to ensure a proper fit and a clean finish. The backing panels should be flush with the shelves and securely attached to the frame. This will provide stability and give your built-in shelves a polished look.
Once the backing is added and the shelves are finished, you can move on to the final step: adding the finishing touches.
Finishing Touches
With the construction of your built-in shelves near completion, it’s time to add the finishing touches to enhance the appearance and functionality of your project. These final steps will ensure that your shelves blend seamlessly with your room’s aesthetic and provide a polished and professional look.
Consider the following finishing touches:
- Sanding: Give the entire surface of the shelves a final sanding to ensure a smooth and even finish. Pay attention to any rough spots or sharp edges, and sand them down until they are smooth and comfortable to the touch.
- Painting or staining: Apply a coat of paint or stain to the shelves and the backing, if desired. Choose a color or finish that matches your room’s decor and style. Apply multiple coats for a more vibrant and durable finish, allowing each coat to dry completely before applying the next one.
- Adding trim or molding: Consider adding trim or molding to the front edges of the shelves for a decorative touch. This can enhance the overall appearance and give your built-in shelves a more refined look. Measure and cut the trim to fit the edges, then attach it using wood glue and finishing nails.
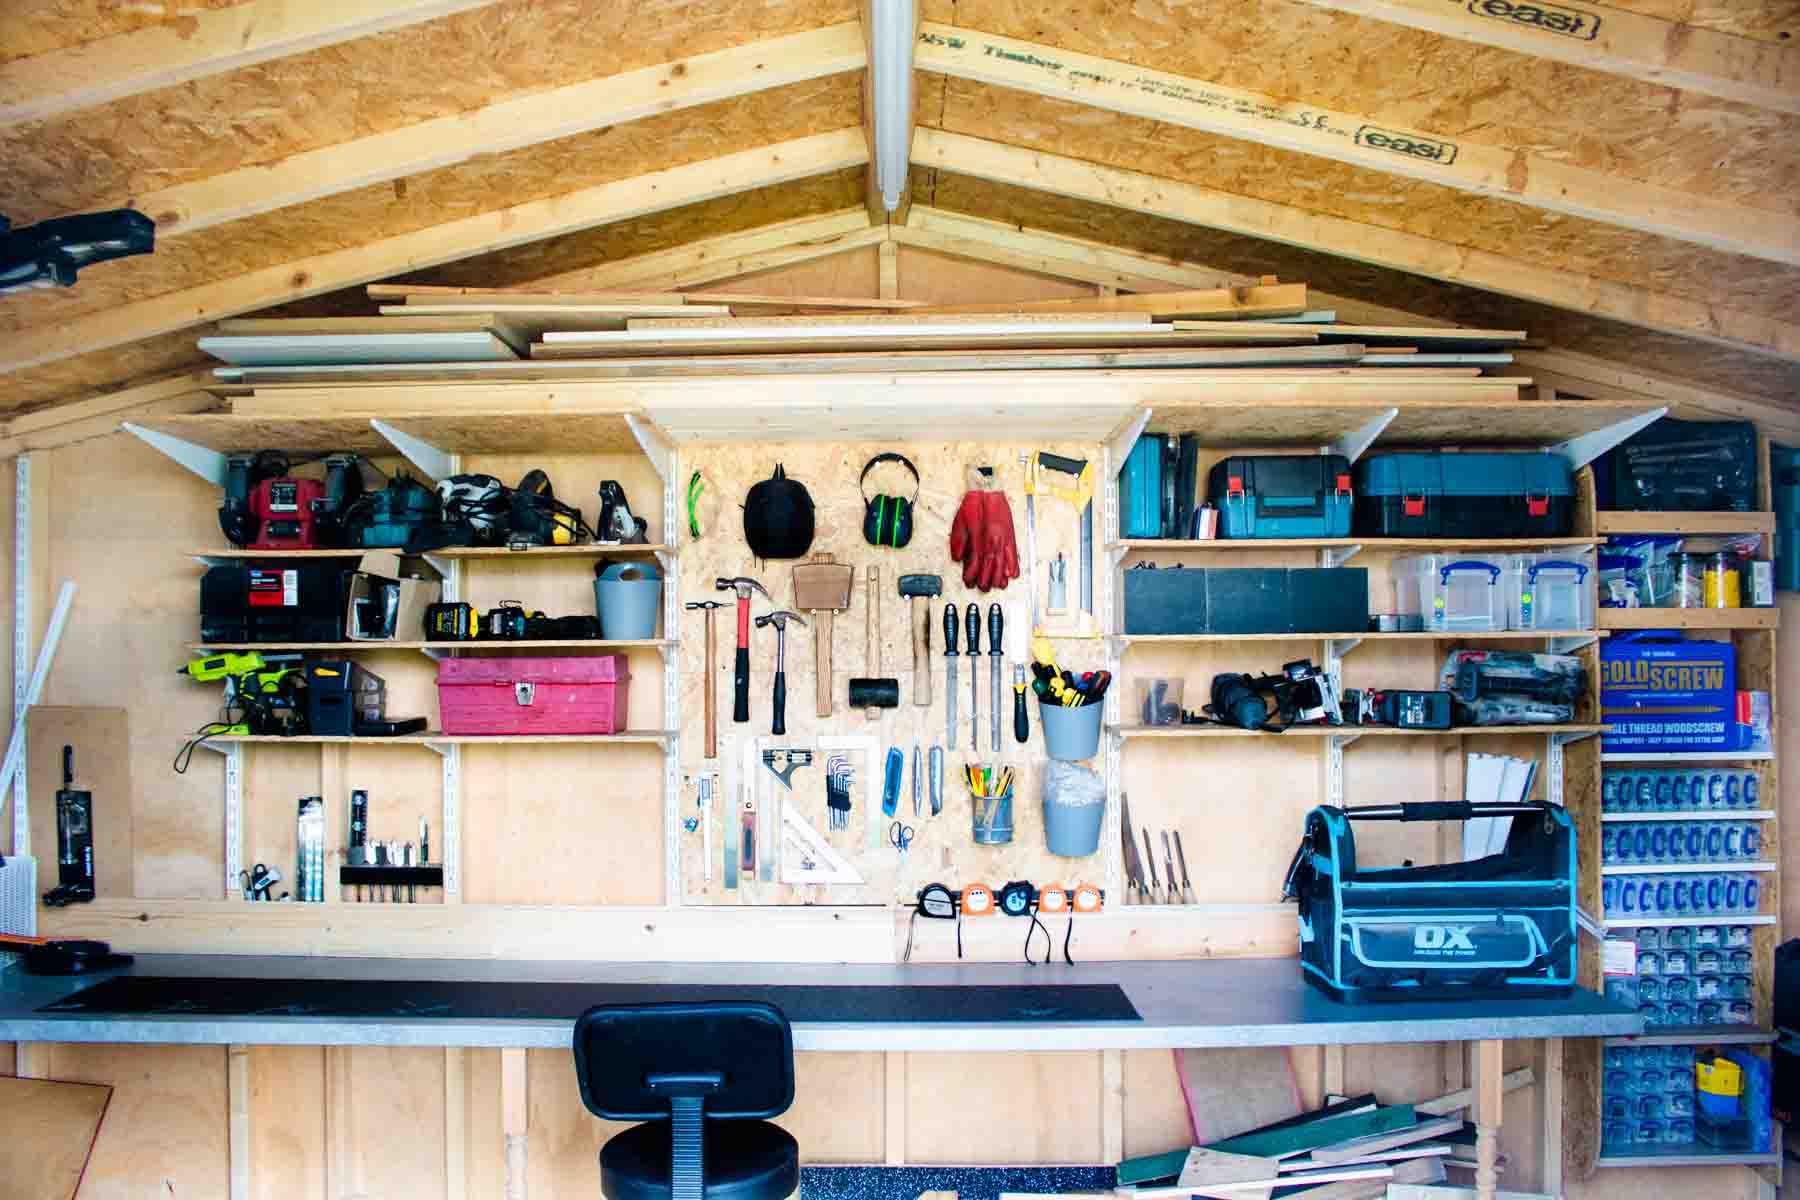
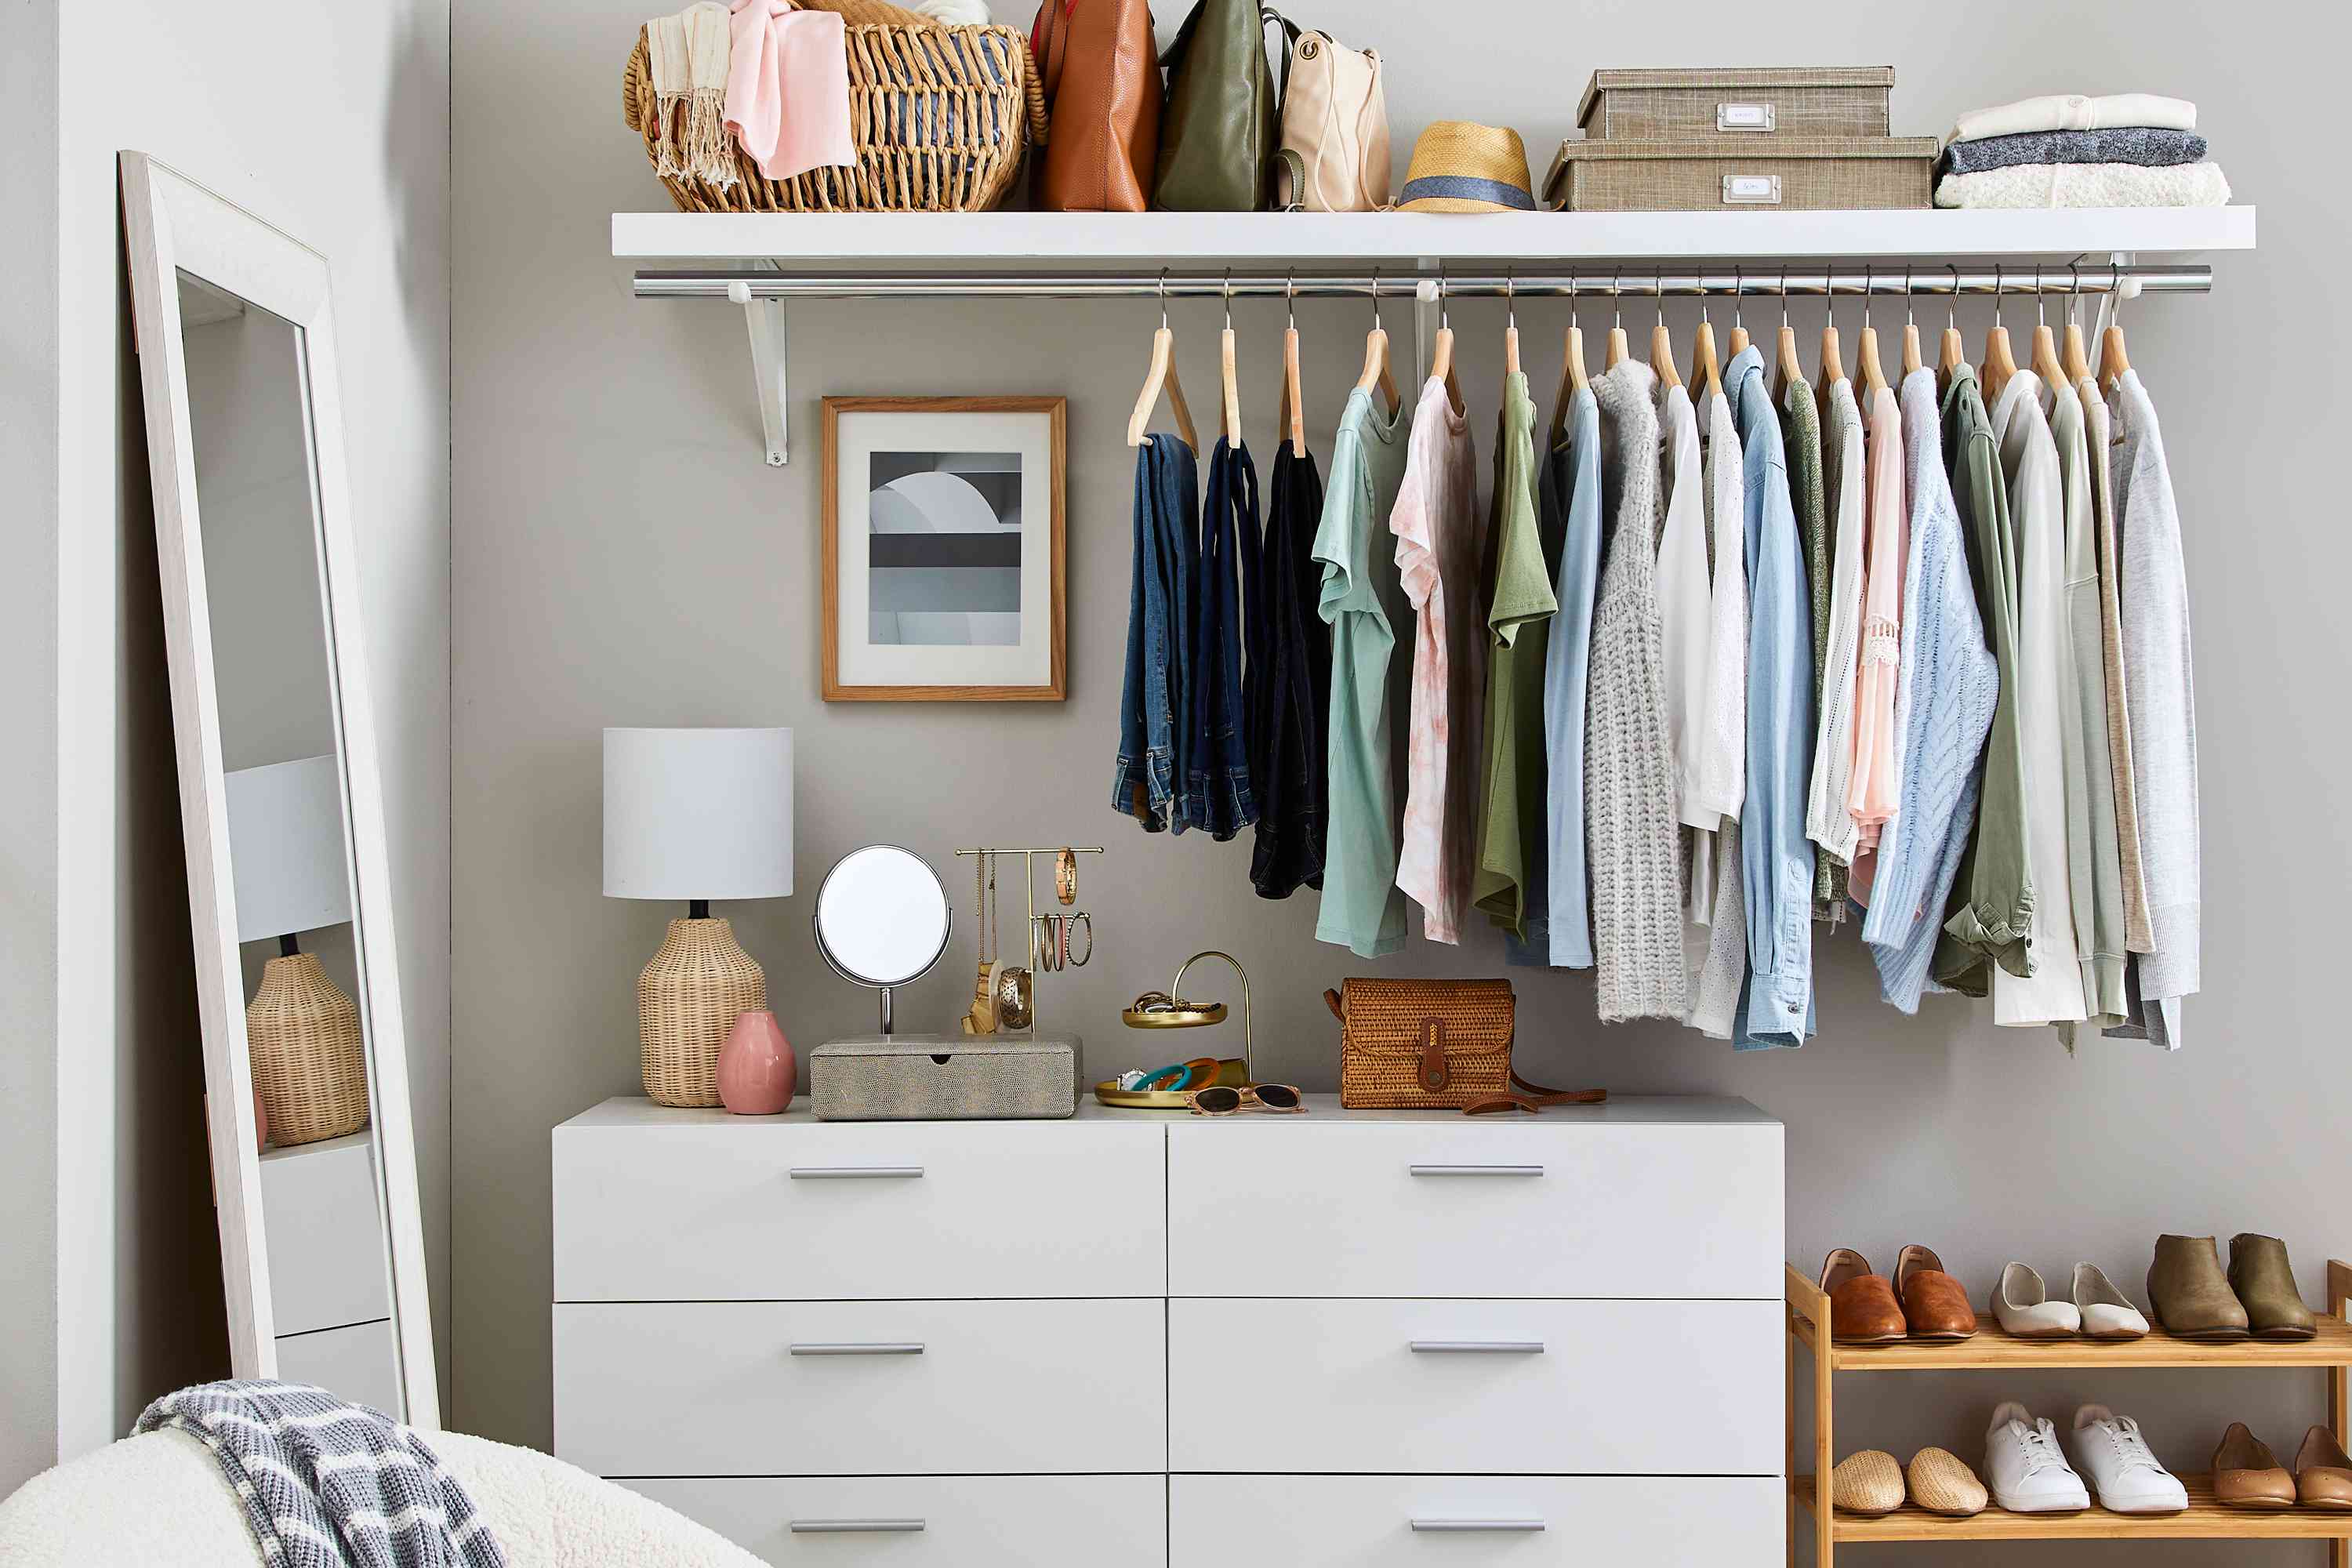
- Arranging and organizing: Once the paint or stain has dried, it’s time to arrange and organize your belongings on the shelves. Consider the size, shape, and color of the items you are displaying to create an aesthetically pleasing arrangement. You can also incorporate decorative accents such as plants, vases, or artwork to personalize the space.
- Adding lighting: To highlight the displayed items or create a cozy ambiance, consider adding lighting to your built-in shelves. LED strip lights or puck lights can be installed along the underside of the shelves or within the shelves themselves to provide a soft, warm glow.
Remember to step back and evaluate your finished built-in shelves from different angles to ensure that everything looks symmetrical and visually appealing. Take your time with the finishing touches to achieve the desired results and create a stunning focal point in your room.
Congratulations! You have successfully built beautiful and functional built-in shelves around your fireplace. Enjoy the fruits of your hard work and admire the transformation it brings to your living space.
Before you wrap up the project, don’t forget to clean up the work area and properly dispose of any leftover materials or waste. A clean and tidy space is the perfect way to fully appreciate the finished product.
Now sit back, relax, and enjoy your newly built-in shelves around your fireplace, as they become a cherished feature of your home.
This article is in valid HTML encoding.
Conclusion
Building built-in shelves around your fireplace is a rewarding project that enhances both the functionality and aesthetic appeal of your living space. By following a step-by-step process, you can create custom shelves that seamlessly blend with your fireplace and complement your interior design style.
Throughout this article, we’ve covered the essential steps of this project, starting with preparing the space, measuring and planning, gathering materials and tools, building the frame, securing the shelves, adding the backing, and implementing the finishing touches. Each step is crucial in ensuring a successful outcome.
By properly preparing the space, measuring accurately, and gathering the necessary materials, you set yourself up for a smoother construction process. Building a sturdy frame provides the foundation for your shelves, while securing the shelves and adding the backing ensures stability and functionality.
The finishing touches, such as sanding, painting or staining, adding trim or molding, arranging and organizing your belongings, and even incorporating lighting, add the final touches of a polished, professional look to your project. These details elevate the overall appearance and create a visually appealing focal point in your room.
Now that you have completed the construction of your built-in shelves, take a moment to appreciate the transformation they have brought to your living space. Not only do these shelves provide additional storage and display opportunities, but they also add value and charm to your home.
Remember, patience, precision, and attention to detail are key when undertaking this project. Take your time, follow the steps carefully, and ensure that each aspect is properly executed. The result will be a beautiful and functional addition to your room that you can take pride in.
Enjoy the satisfaction of completing a DIY project that combines craftsmanship with creativity. Whether you’re cozying up with a book by the fireplace or showcasing your favorite decor pieces, your built-in shelves are sure to become a beloved feature of your home.
This article is in valid HTML encoding.
Frequently Asked Questions about How To Build Built In Shelves Around Fireplace
Was this page helpful?
At Storables.com, we guarantee accurate and reliable information. Our content, validated by Expert Board Contributors, is crafted following stringent Editorial Policies. We're committed to providing you with well-researched, expert-backed insights for all your informational needs.


0 thoughts on “How To Build Built In Shelves Around Fireplace”