Home>Garage Storage>How To Build DIY Garage Shelves: An In-Depth Guide

Garage Storage
How To Build DIY Garage Shelves: An In-Depth Guide
Modified: December 6, 2023
Quickly learn how to build your own garage shelves with our easy to follow guide! The process of DIY has never been more fun.
(Many of the links in this article redirect to a specific reviewed product. Your purchase of these products through affiliate links helps to generate commission for Storables.com, at no extra cost. Learn more)
Every American homeowner adores their garage space. It’s not just a space to park the car, but to park everything handy–including car jack, pump, rug, gardening materials, wood saws, among other things. It is also a tool storehouse. But because many handy items get to find its way to the garage, it’s almost inevitable to avoid clutters in corners. This makes your garage looks untidy and disorganized. And for people that get easily irritated with untidiness and cluttering, it can be frustrating.
Nonetheless, you can avoid such sight. “How?”, you might ask. Well, by building a garage shelf – storage shelves always help tidy up an area.. The good news is, you can build this shelf on your own from start to finish. Yes, you can build a space-smart garage shelf to corral your tools and supplies by yourself and prevent your garage from looking like a disorganized drop-zone.
A DIY garage shelf will not just help you organize your garage but also help you access your tools and supplies easily. So join us as we take you through the process of getting this great piece together.

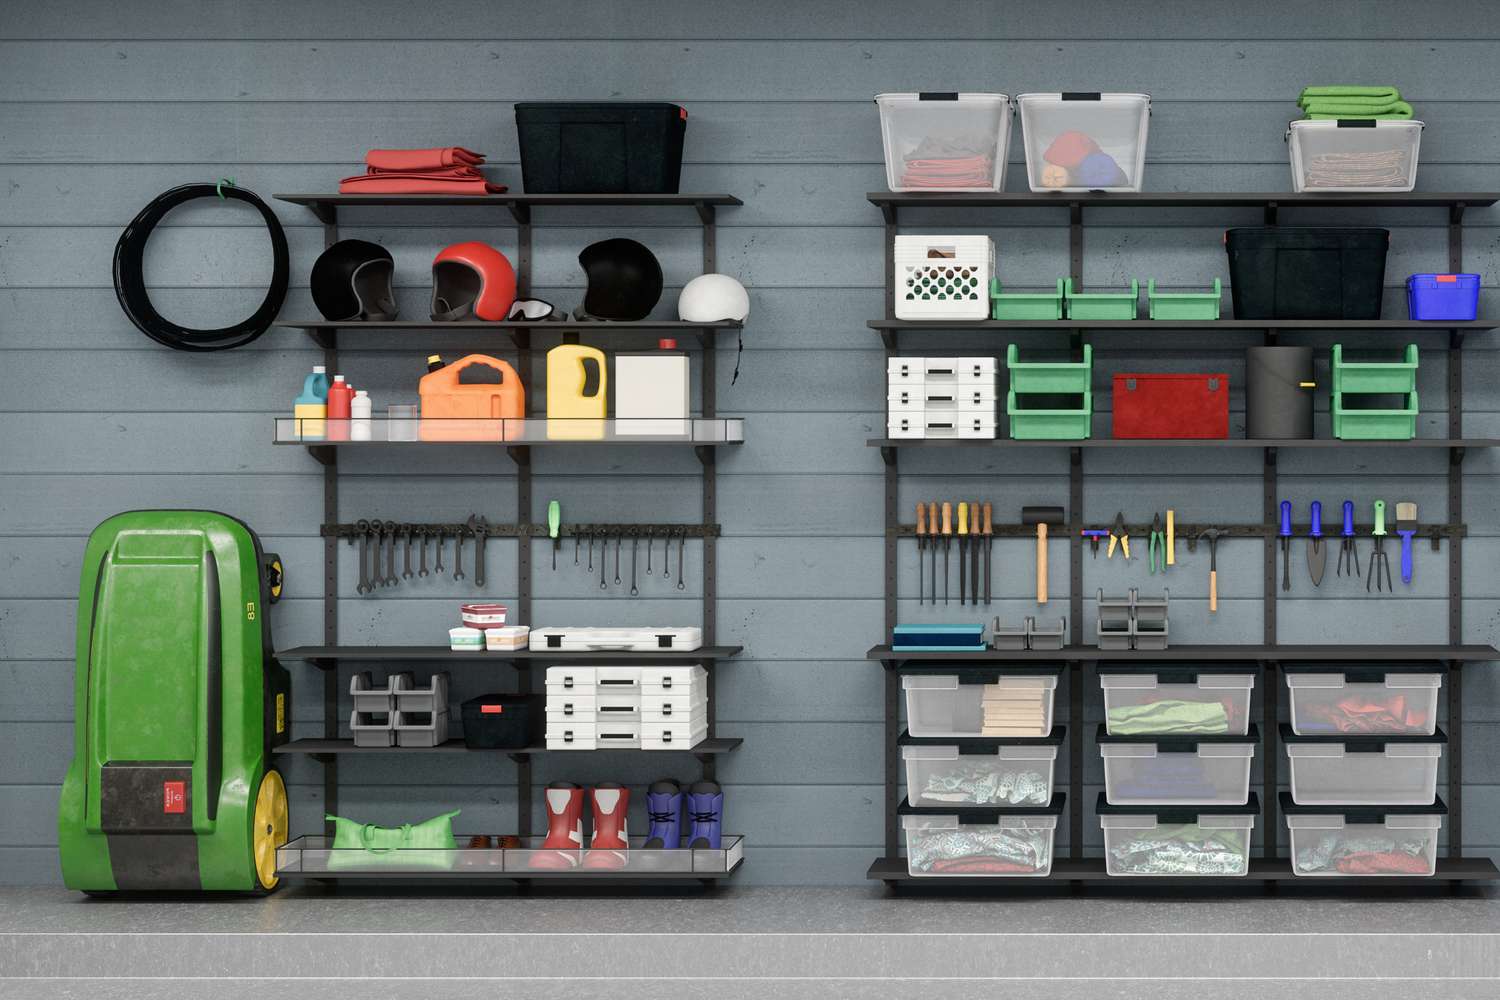
Different Styles Of DIY Garage Shelves to Choose from
I know you are already thinking of possible garage shelving ideas, let’s start from here and discuss the different garage storage shelves.
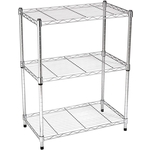
Types Of DIY Garage Storage Shelves
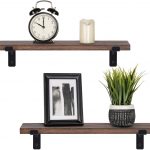
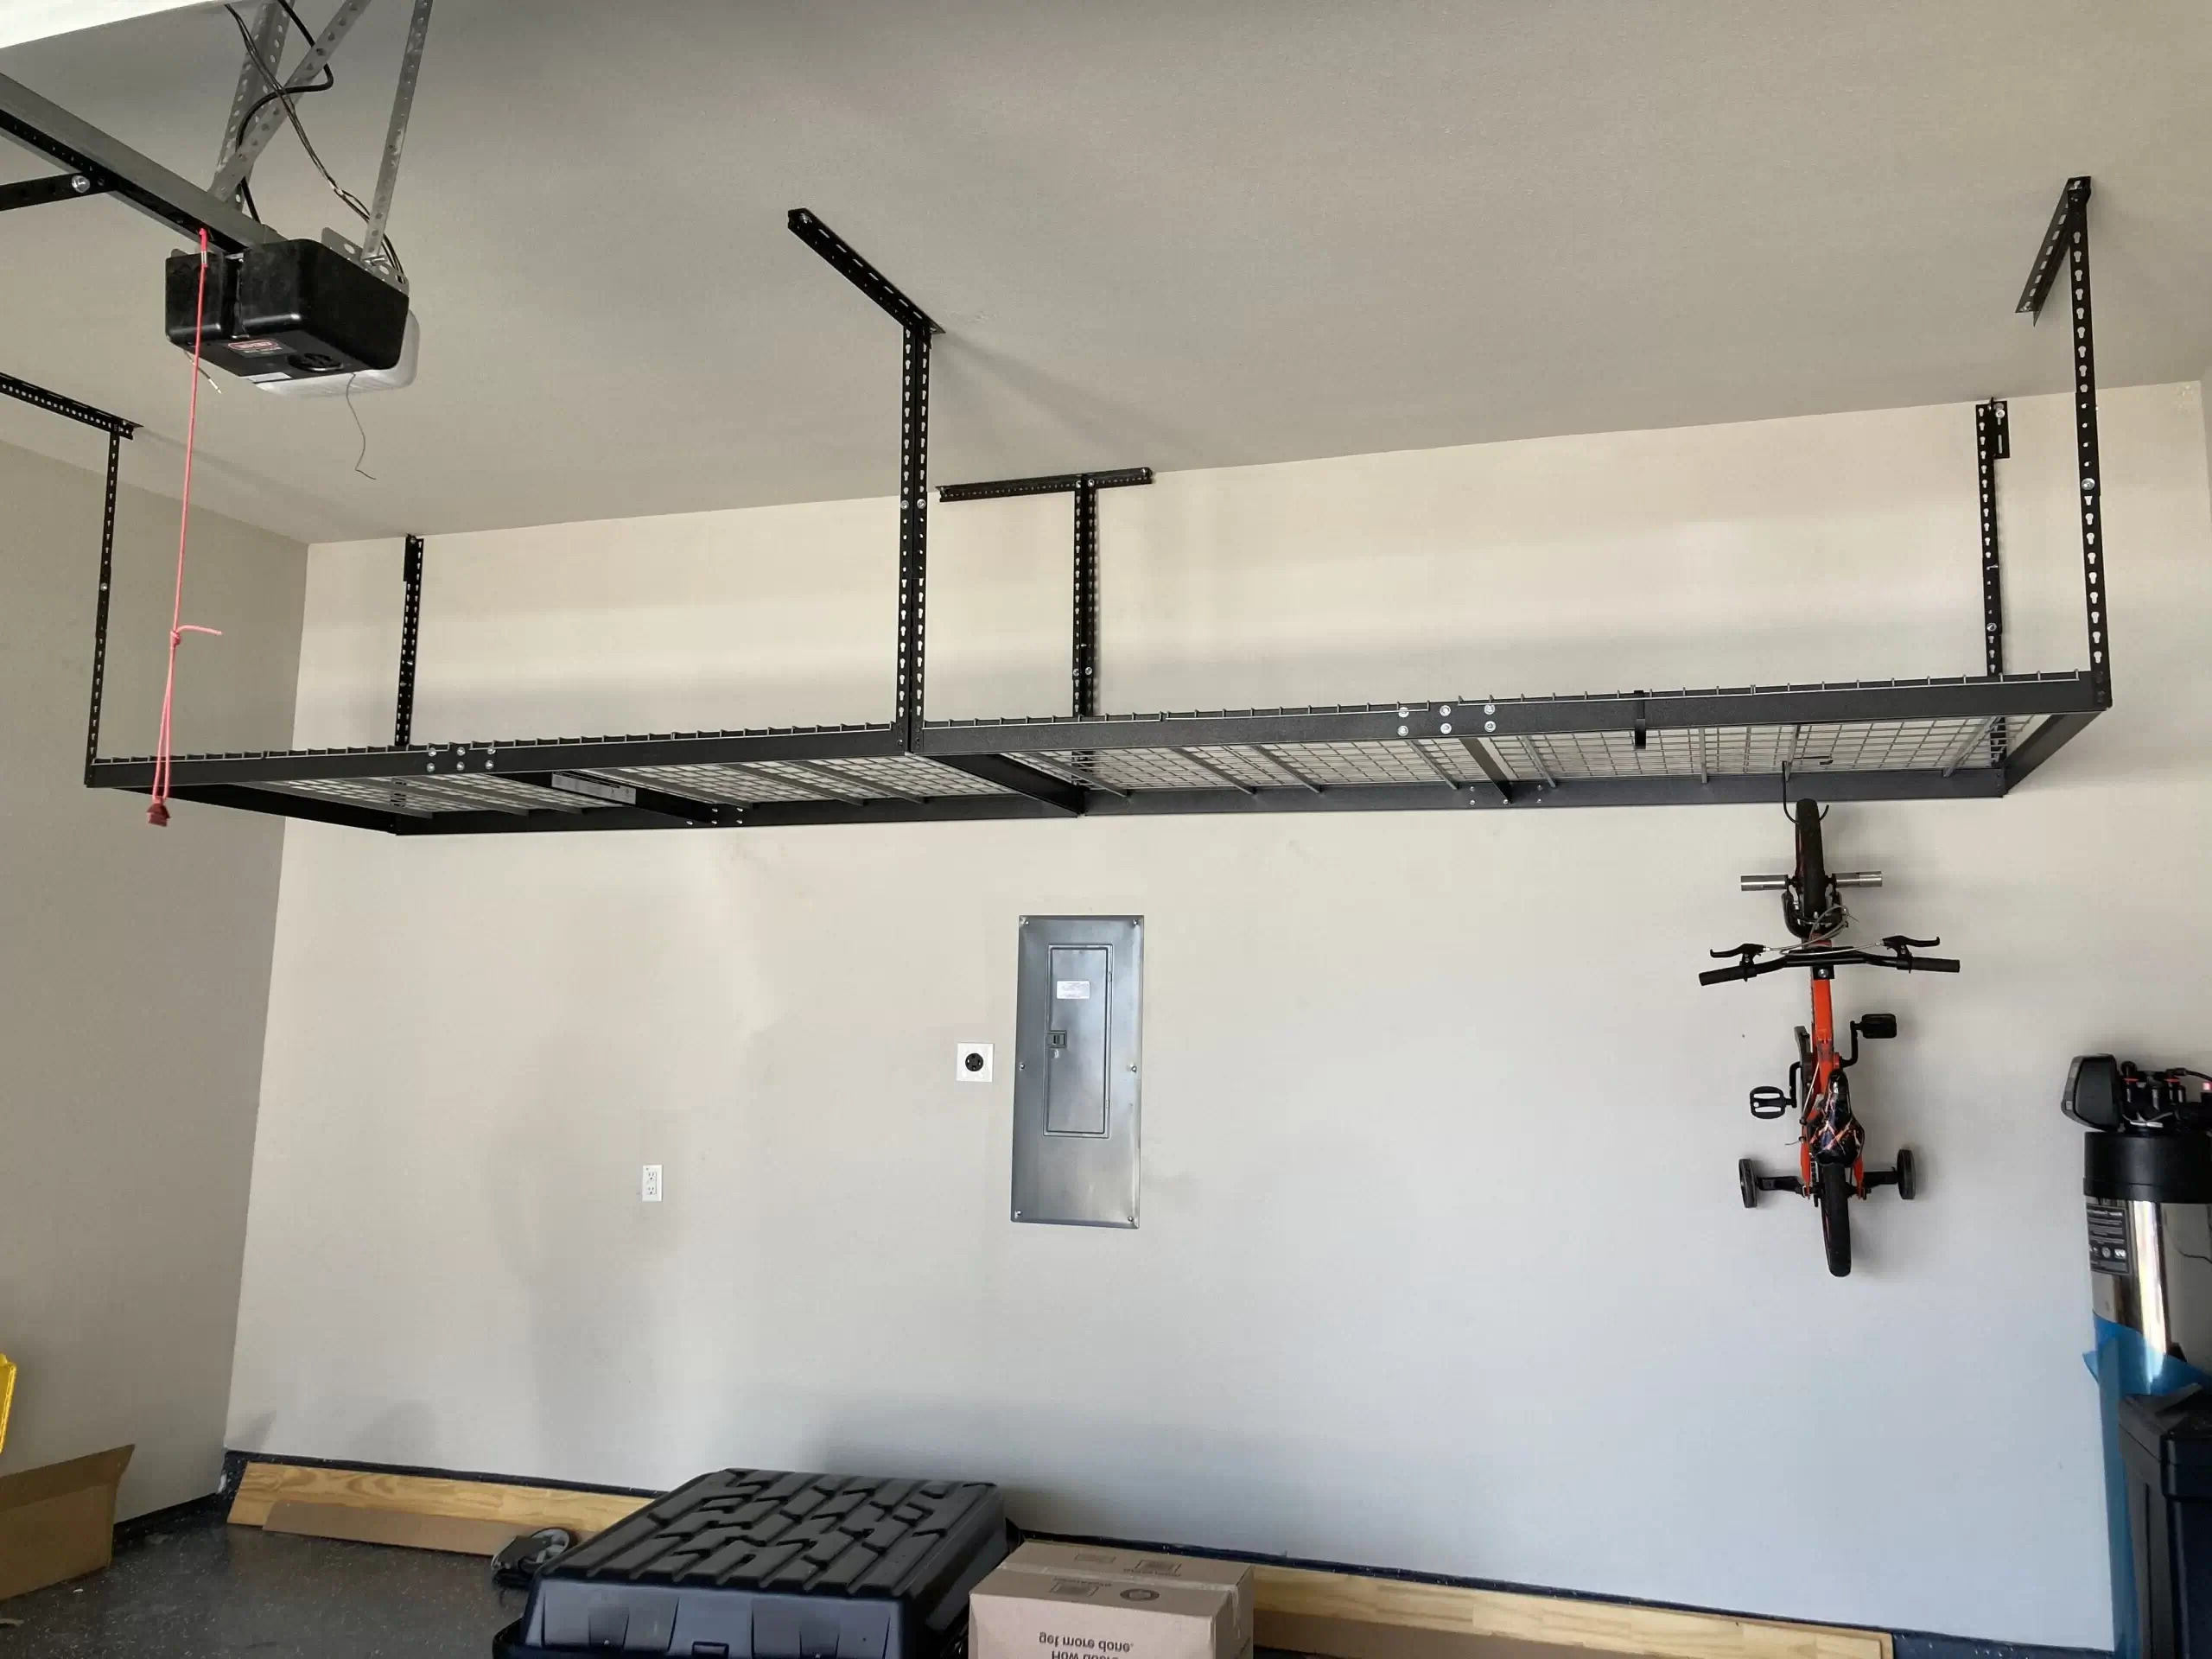
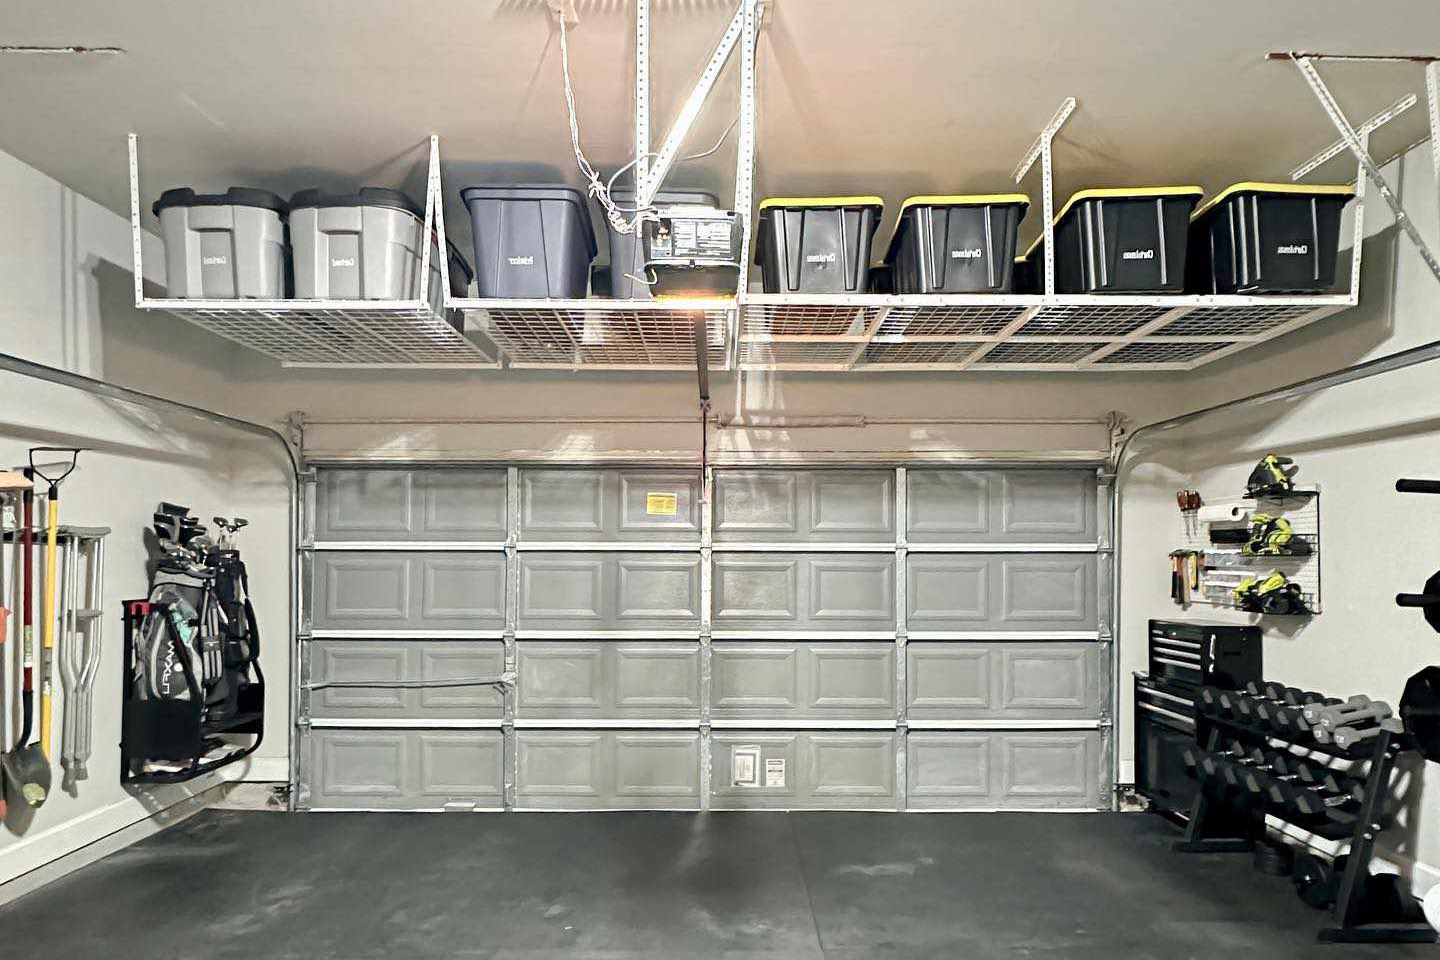
DIY Floating Garage Shelves
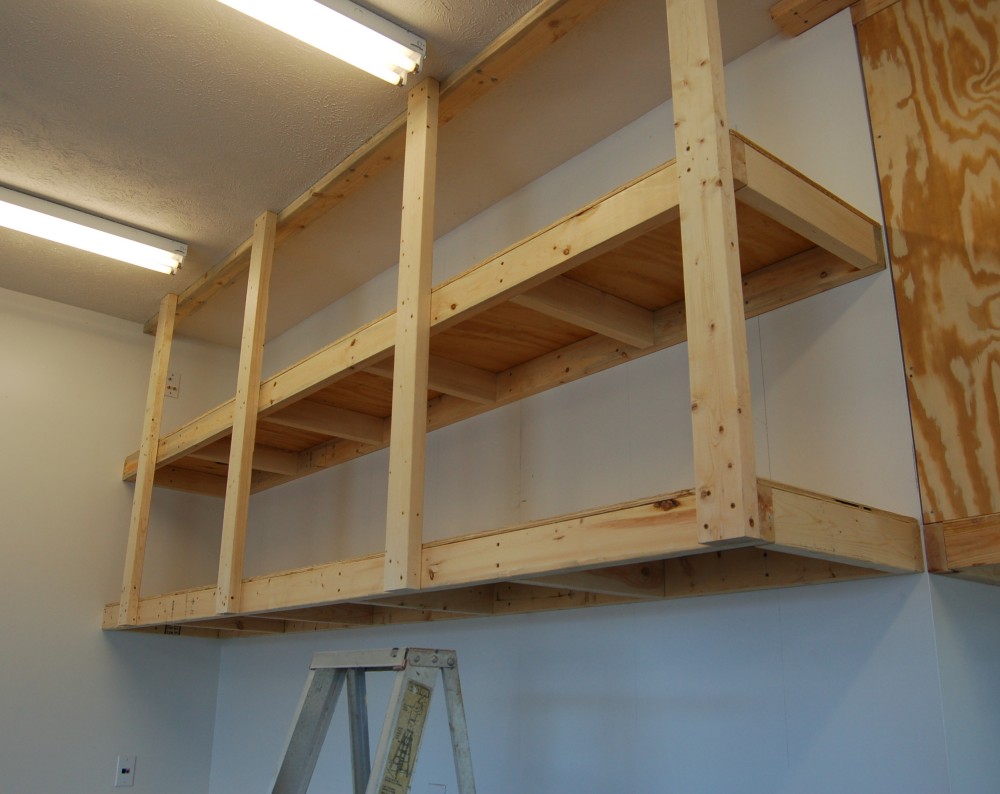
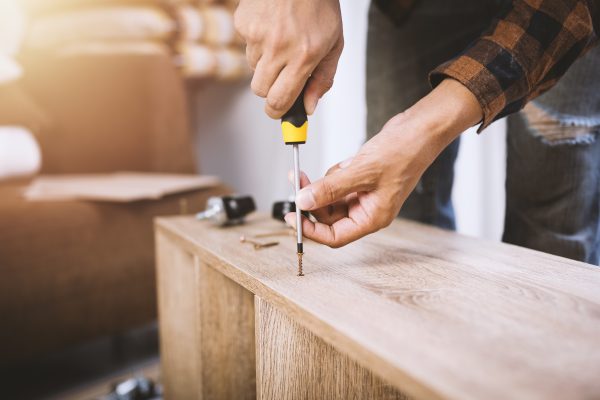
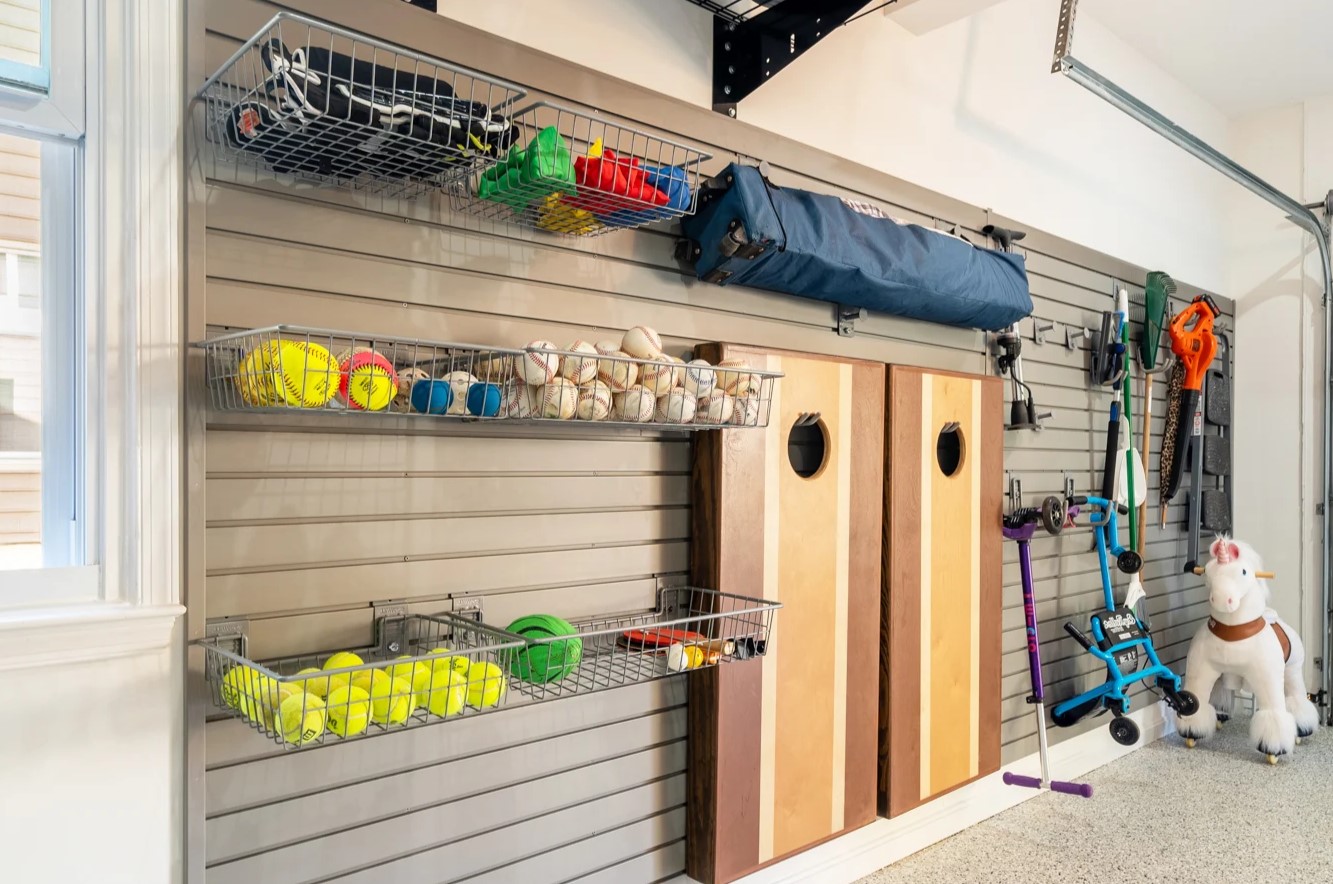
Who wouldn’t love to own a tidy shelving unit where you can store your items safely? And if you want to create space underneath for very heavy items, the floating garage storage shelves are the best choice for you. This wonderful garage storage shelf allows you to maximize the storage space on your walls and fully use your garage floor space. Although it could also be made with metal, this DIY floating garage storage shelf is commonly made with wood. Metal is not advisable because it will add undue pressure to your wall.
However, the floating garage storage shelf is a special kind of storage shelf. Wood is screwed into the wall like in the picture above. The space inches between the woods depends on what you want to place on it. It is advisable that you use hardwood for this construction as it is sturdier and firmer.
Step 1: Material Selection
First, you have to decide your wood type–plywood, hardwood, and softwood. Hardwood is the strongest and costliest of the three. Then you need to find the required tools you’ll use in hanging the wood on the wall:
If you have these tools, all you have to do is get your wood and start.
Step 2: Measurement And Plan
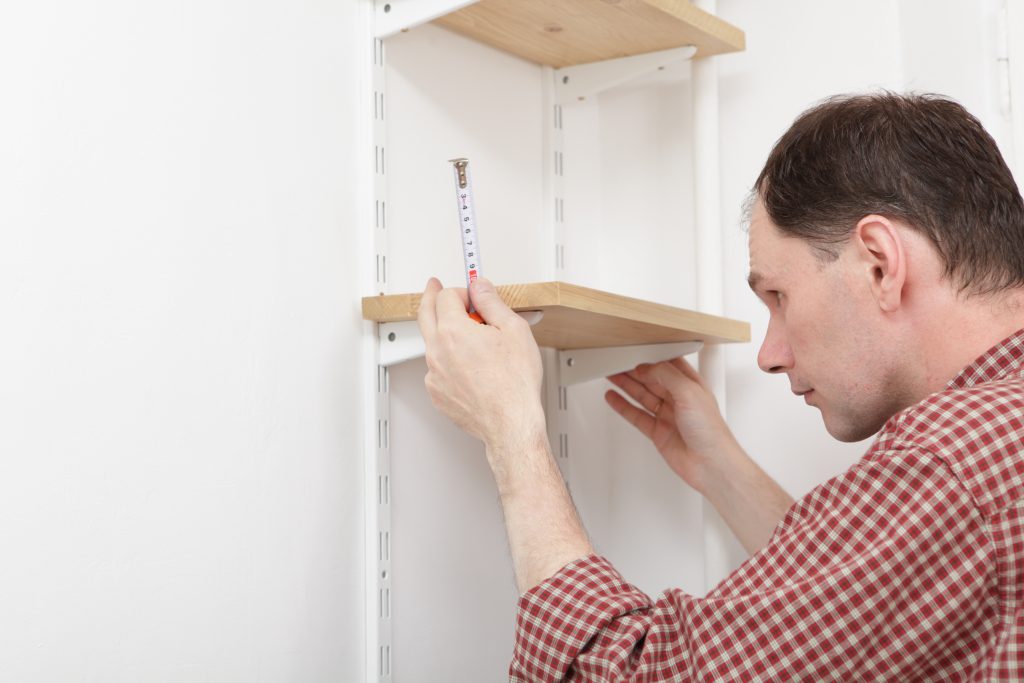
Before you begin, it is expedient that you determine the measurement for your shelf using your measuring tape. Start from the top–the distance between the first shelf and the ceiling. The distance could be more or less, 12 inches. It’s totally dependent on your choice and what you want to put up there. We only advise that you give an even space between the ceiling and the first shelf. This is so you don’t get to put pressure on the ceiling by pressing your items to close to the ceiling, and you don’t want to keep it too far, so it doesn’t look odd.
The space between the shelves can be 12-15 inches. Your measurement is only determined by you and the items to be shelved. But also note that the distance between your shelves determines the number of shelves you’ll have: higher measurement, fewer shelves, lower measurement, more shelves. Finally, give a large distance between the last shelf and the floor. Because in floating garage storage shelves, it is expected that you put the lighter items on the top shelves and the heavier items on the lower shelves to ensure an even balance and prevent adding pressure on your wall.
The width and breadth of the shelf wood is also your choice, but do not allow it to be wider than 9m, or it’s no longer a floating shelf. The idea of the floating garage storage shelves is more working space and utility of wall space. After measuring, use your pencil to mark the wall according to your measurements, with the aid of a chalk line.
Step 3: Construction
- You’ve gotten your wood, and you’ve created your plan. Now, you’re ready to go. Cut and divide the woods according to the measurement using the handsaw.
- It is time to instill the ledgers for the shelves. Place a 2×4 against the marked spot on the wall and hold it against the wall with a deck screw at the two ends.
- Install the screw on each and every stud. Cut a 2×4 into little pieces–say five pieces–screw every piece into the wall.
- Then you screw in your hardwood. You could also screw in another 2×4 before screwing in your wood if you want to create partitions. The last step is to put your treasured items on the shelf.
Building your own garage shelf is actually fun if you have the know-how and needed tools.
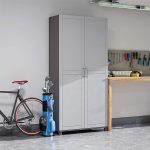
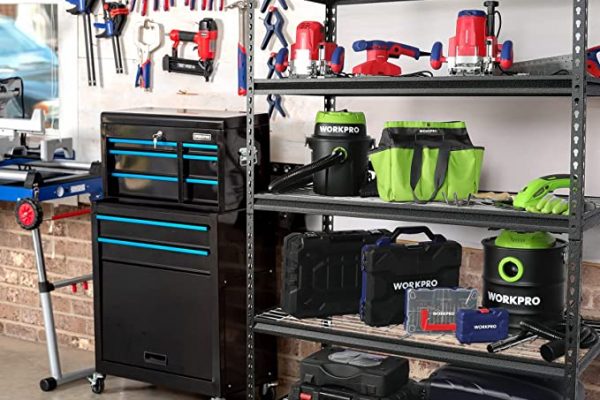
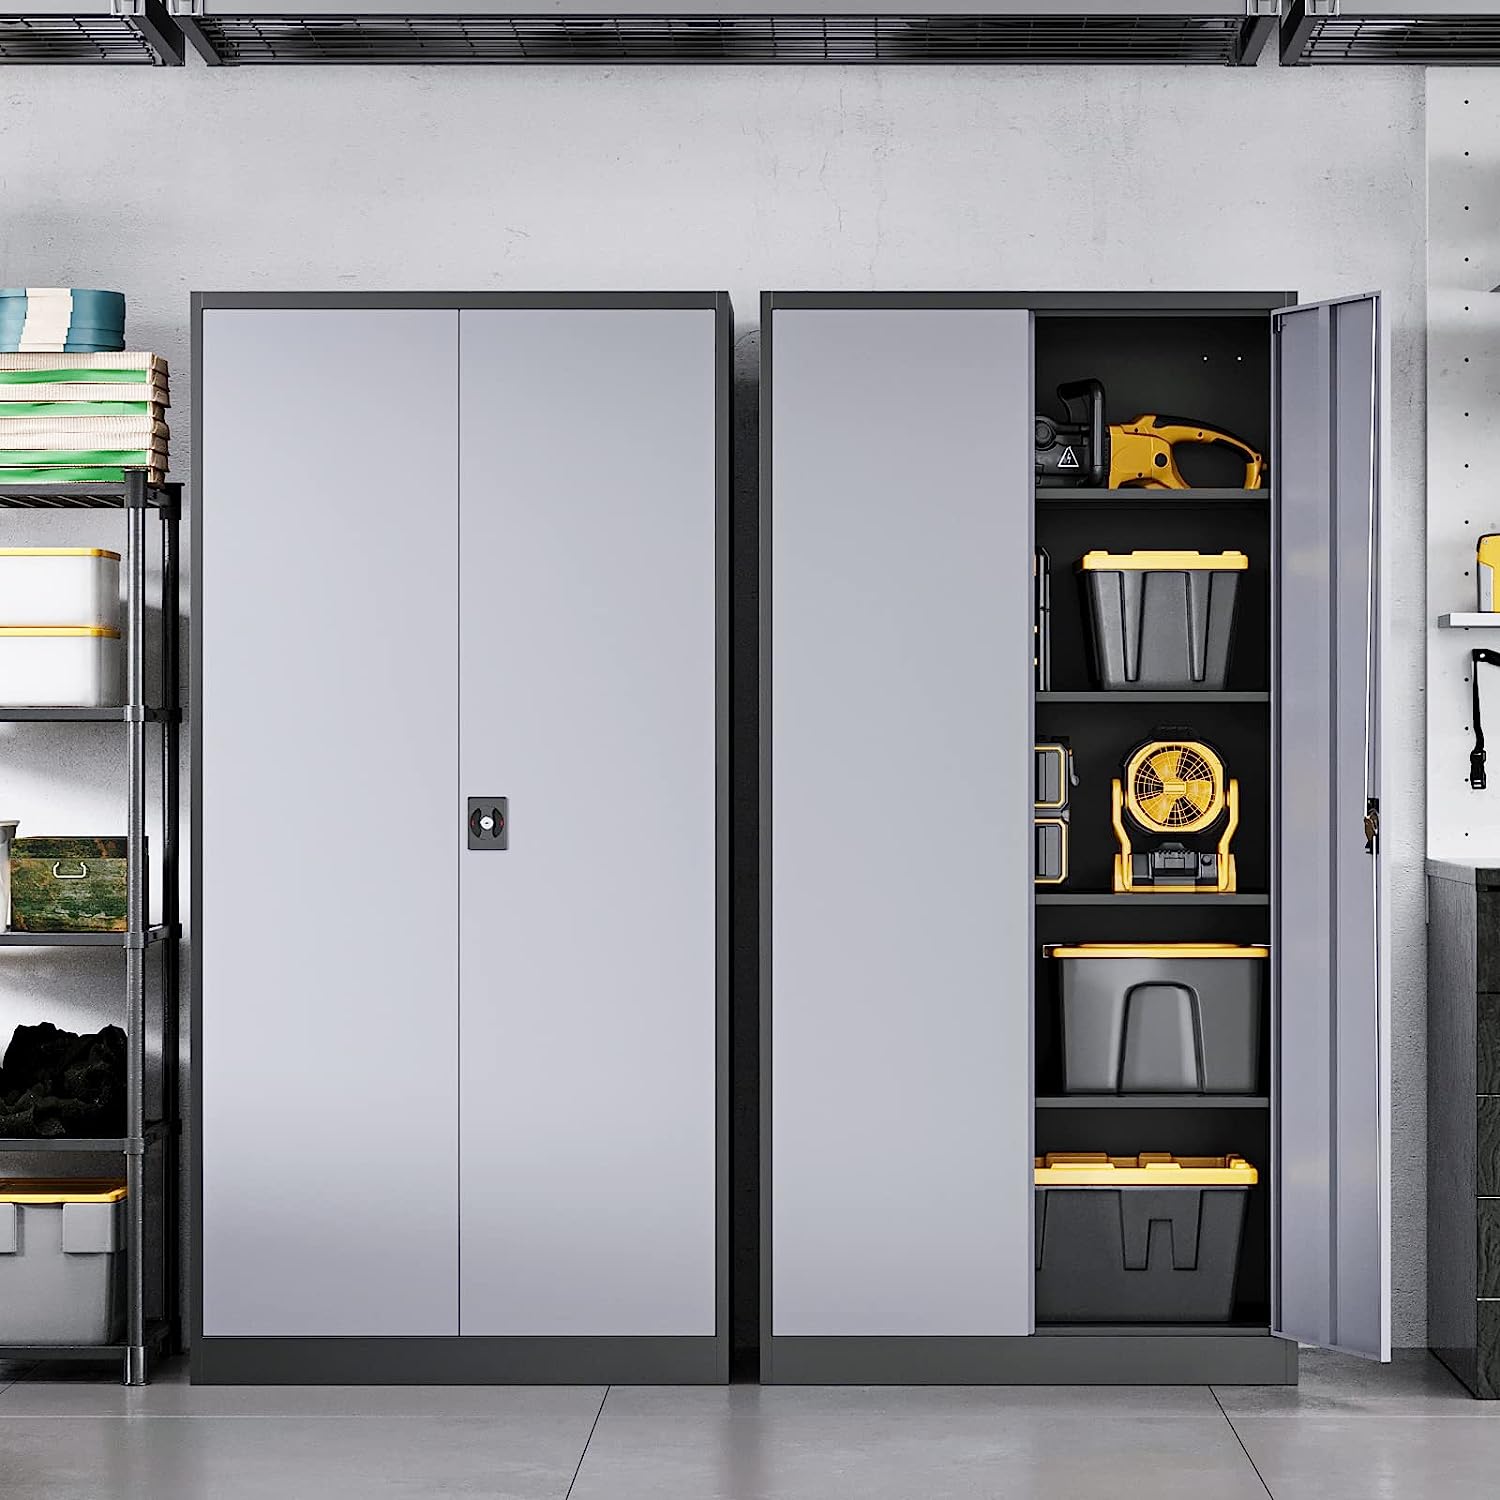
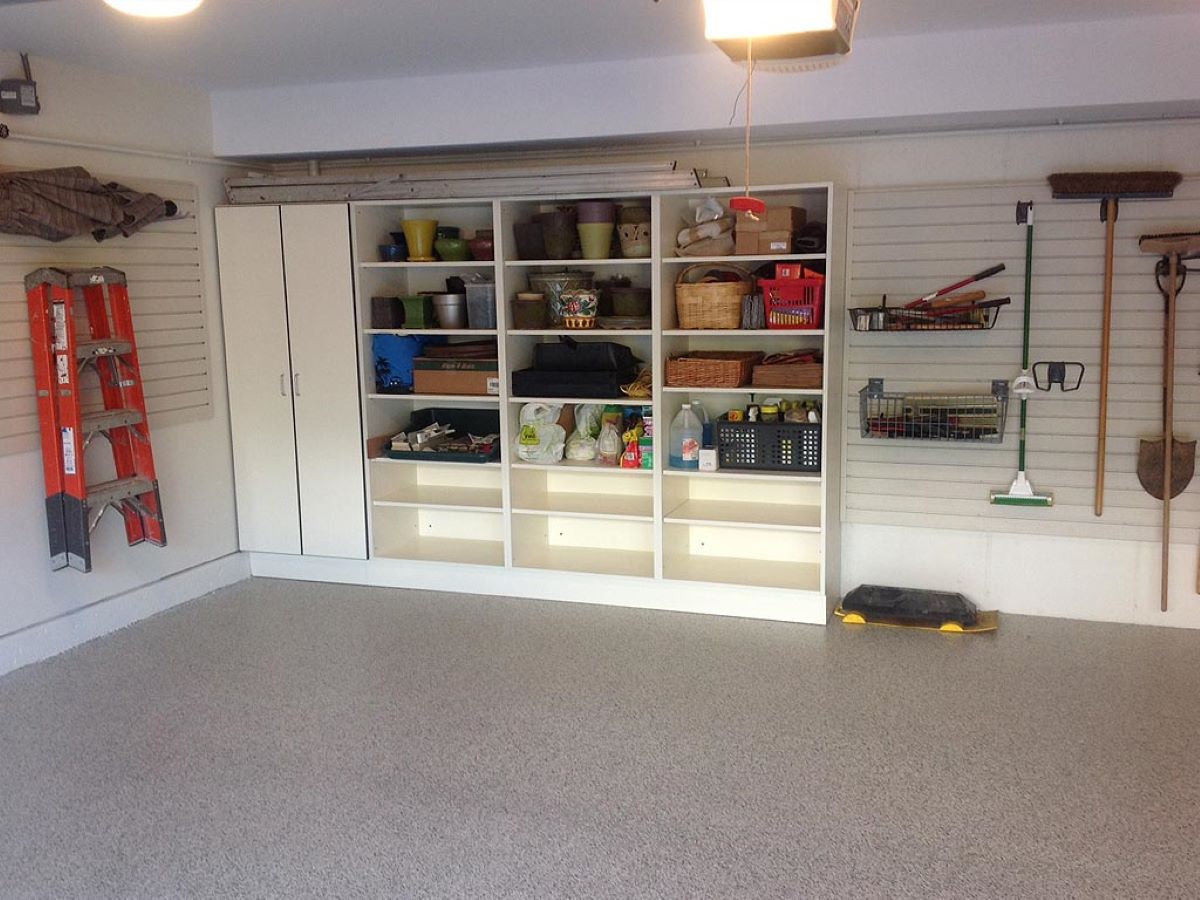
DIY Garage Shelves With Doors

A great option to store tons of treasures out of sight! The DIY garage storage shelves are one of the best DIY garage shelves you’ll ever have. It makes your garage appear more organized, with every item shut behind the door. If you have children or pets running about the place, this is the best choice to avoid a domestic hazard. The difference between this shelf and others is just like comparing an open wardrobe with a closed one; of course, the closed one makes your space organized and appear tidy. Your DIY garage storage shelves with door are best for a larger and bigger garage. In it, you can store heavier, larger items like camping equipment, tools, toys, and even clothes.
Tools Required:
- 4-in-1 screwdriver
- Adjustable wrench
- Air hose
- Chalk line
- Circular saw
- Compressor
- Cordless drill
- Drill bit set
- Framing square
- Hacksaw
- Level
- Miter saw
- Nail gun
- Safety glasses
- Socket set
- Speed square
- Stepladder
- Stud finder
Almost double of what was used in DIY Floating Garage Storage Shelf, right? Well, that’s because this is a more tedious and special shelf. If you decide to stick to it, you can finish making this in a day or two. Also, what really distinguishes this from other DIY Garage Shelves is the closest door. It’s just like a simple framing covered with plywood. So let’s get right into it.
Procedure:
1. After getting your materials ready (including plywood for the door and hardwood for the shelf), you begin measurement.
2. Measure out the space you want to use for the garage shelf. Then you decide the measurement for the shelves–the partition, the distance between shelves.
3. You can build the cabinet tight to the ceiling, unlike the DIY Floating Garage Storage Shelves. All you need to do is fasten the ceiling frame to the studs and to the ceiling. Next, you mount the upright to the wall and begin to build your base, including the plywood floor, and hold to the upright and the wall.
4. The major difficulty many persons encounter in this project is getting the base square, level, and straight before screwing it into the wall. Congratulations to you. If your wall is straight, you just have to Lag-screw the frame to the studs. And nail in your plywood to finish the base.
Now, you can have your very own DIY floating garage shelf with doors. It is a garage shelf hanging on the wall, but it has a door over it. That simple! So if you followed up on how to make floating garage storage shelves, you should be able to do this.
You can choose between making it a sliding door or a hinged door. But the most popular kind of door here is the sliding door.
How To Make A Sliding Door
Tools Required:
Procedure:
1. This is where the bulk of the work is—screw in the door track. Make sure the sections of the track align so the door can slide when they meet.
2. After this, you screw rollers to the back of the door.
3. Then, you mount the hangers and tilt the door to hook the roller wheels. Mount three doors on the outer side and three on the inner side. Then set to readjust them until they are fit.
4. Next, you finish the installation by placing door guides at the feet of the door. The door guides should be placed where the door overlap.
Your garage storage shelf with doors is ready! You can still do some touches to ensure the door sits perfectly on the shelf. Although making DIY garage shelves with doors are not easy, it is the safest and best garage storage shelf you’ll love to try. So ignore the stress and enjoy the process. It can only get better!
Read more: DIY Guide To Installing Floating Shelves
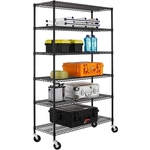
Other DIY Garage Storage Shelves Styles
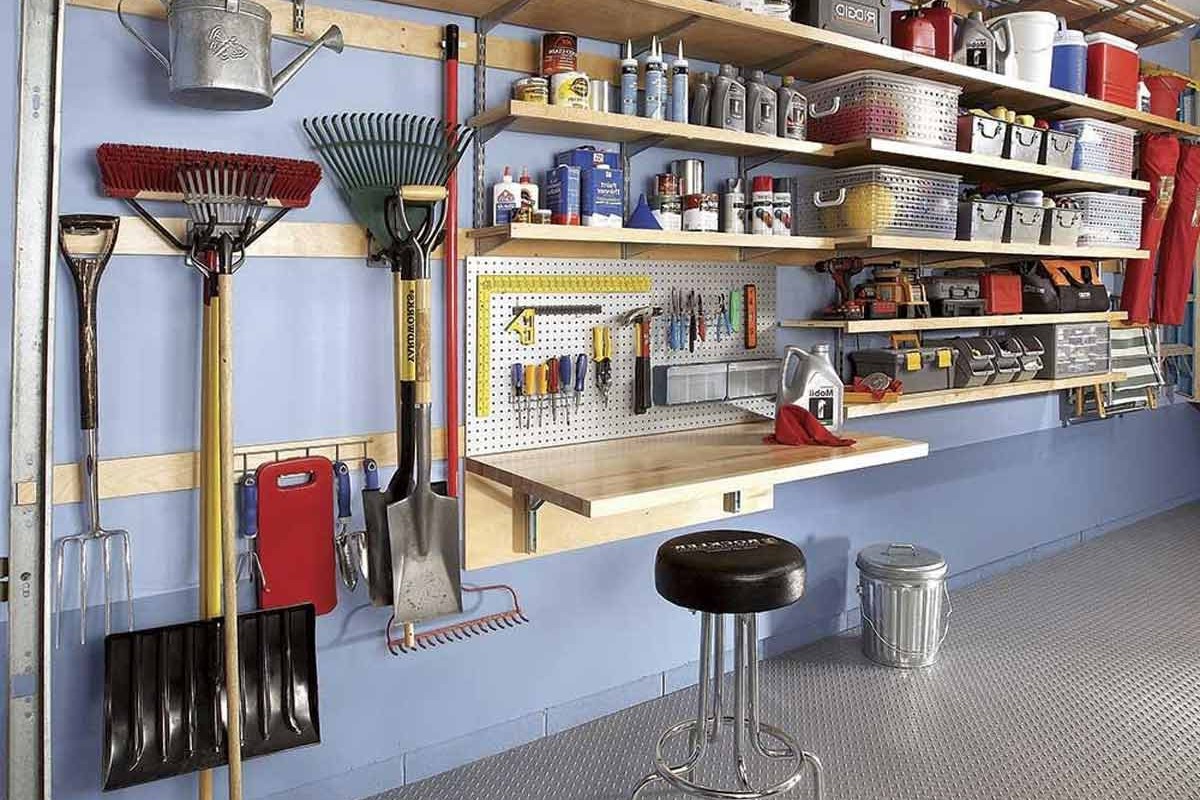
Attached Garage Storage Shelves

Photo from DIY Blogoverflow
This is the easiest type of garage shelf to set up: fewer materials, less cost, less stress. Anyone can build with just a couple of basic tools. There are various types of attached garage shelves, but this is the easiest process.
Tools Required:
Procedure:
1. Measure out your wood, depending on your garage space and your desired length. Get your 2×4s and plywood.
2. Begin to screw in your studs into the wall. Attach a 2×4 against the studs on the wall, to your required shelving length. Use a level to make sure you attach the 2×4 correctly. I advise that you use an 8,12,20 shelve length to maximize wood and space.
3. Repeat this step again—attaching studs and 2×4 to the wall with the help of a leveler—until you have the number of shelf boards you desire. Give a reasonable distance between the first shelf board and the next one, let’s say 17 inches.
4. Next, screw another 2×4 into the first ones–don’t screw it all in, leave out a little screw. And screw only at the two ends.
5. After that, you measure another 2×4 and screw it horizontally to the full length of your shelf; that is from the top shelf board to the ground: screw three 2×4s, two at the extremes, and one at the middle.
6. Then loosen the second 2×4 that you placed on the first 2×4, remove the entire front of the shelving unit.
7. Cut a 2×4 into 3″ shelving pieces, and place it on the shelf board. Using a Kreg jig pocket hole, attach it to the shelf board. Then screw the detached front of the shelving unit back on.
8. Place your plywood measurement on the shelf board. In this project, a 15.¾ measurement was used to fit the shelf space. Then screw the plywood down.
And viola! Your garage storage shelf is ready. Finally, on attached garage storage shelves, there is no single style of doing this. You can also have attached garage shelves over the garage door, at the corner of the door, and all over your walls.
DIYs are fun, especially when you do them with family and friends. With the right guidelines and materials at your fingertips, you can build your favorite DIY garage storage shelves, from start to finish with less stress.
Just ensure you get the right materials and equipment from the store. And stick to the right measurement if you don’t want everything falling out of space. There are other options you can also try out beyond the garage storage ideas that were mentioned here. But this is primarily a foundation for you to build your garage shelf. Have fun exploring!
Was this page helpful?
At Storables.com, we guarantee accurate and reliable information. Our content, validated by Expert Board Contributors, is crafted following stringent Editorial Policies. We're committed to providing you with well-researched, expert-backed insights for all your informational needs.


0 thoughts on “How To Build DIY Garage Shelves: An In-Depth Guide”