Home>Articles>13 Things You Need To Know Before Building A Fence
Articles
13 Things You Need To Know Before Building A Fence
Modified: August 22, 2024
Get expert advice and tips on building a fence with these 13 must-know articles. From selecting the right materials to avoiding common pitfalls, we've got you covered!
(Many of the links in this article redirect to a specific reviewed product. Your purchase of these products through affiliate links helps to generate commission for Storables.com, at no extra cost. Learn more)
Introduction
Building a fence around your property can serve various purposes, including enhancing privacy, adding security, and defining boundaries. However, before embarking on this project, there are several important factors you need to consider. From local regulations and permits to materials and design, each aspect plays a crucial role in ensuring the success of your fence-building endeavor.
This article will guide you through 13 essential things you need to know before building a fence. By understanding these factors, you can make informed decisions, avoid potential hurdles, and create a fence that meets your needs while complying with local regulations.
Key Takeaways:
- Before building a fence, familiarize yourself with local regulations, property boundaries, and material options. Consider costs, safety, and insurance coverage to ensure a successful and compliant project.
- Communicate with neighbors, consider gate options, and weigh the pros and cons of hiring professionals versus DIY. Prioritize safety and maintenance to create a durable and aesthetically pleasing fence.
Local Regulations and Permits
Before you begin building your fence, it’s crucial to familiarize yourself with the local regulations and permits required in your area. Every locality has its own rules regarding fence installation, such as height restrictions, setback requirements, and specific types of materials allowed.
To ensure compliance, start by contacting your local building department or zoning office. They will provide you with the necessary information and guidelines for building a fence on your property. Take note of any application requirements, fees, and permits needed to proceed with the project.
Additionally, it’s important to check if there are any neighborhood or homeowner’s association restrictions that may impose additional guidelines or limitations on your fence. These restrictions are designed to maintain a harmonious aesthetic appeal and uphold the overall neighborhood standards.
By being aware of and adhering to the local regulations and obtaining the necessary permits, you can avoid potential legal issues and ensure that your fence installation is in compliance with the guidelines set forth in your area.
Property Boundaries and Surveying
Before erecting a fence on your property, it’s essential to accurately determine your property boundaries. This will help you avoid any encroachments onto neighboring properties and potential disputes down the line.
One of the best ways to establish your property boundaries is by hiring a professional land surveyor. They will use advanced equipment to accurately mark the boundaries and ensure that your fence is constructed within the legal limits of your property.
Surveying also helps you identify any potential obstacles or challenges that may affect the installation of your fence, such as uneven terrain, easements, or underground utility lines. It’s crucial to consider these factors to ensure the structural integrity and functionality of your fence.
By investing in a professional land survey, you can have peace of mind knowing that your fence is installed within the legal boundaries of your property and that it does not infringe on neighboring properties.
Fence Material Options
When it comes to building a fence, there are numerous materials to choose from, each with its own advantages and disadvantages. Understanding the different options will help you select the best material for your specific needs and preferences.
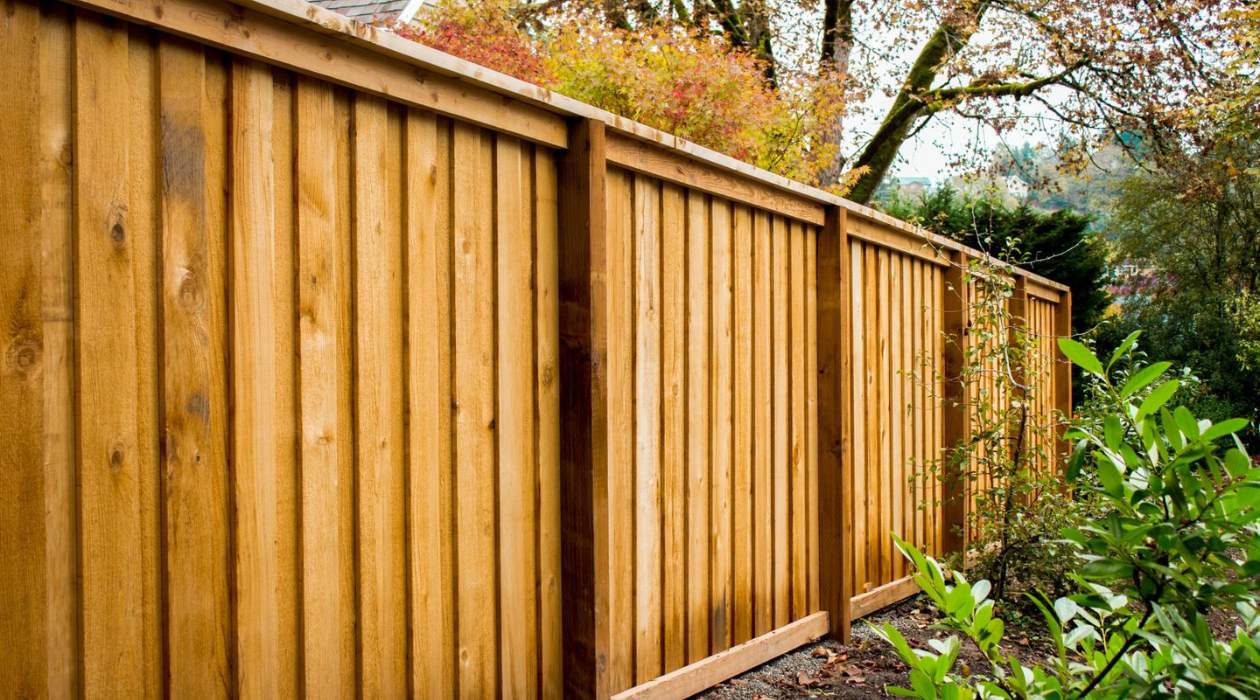
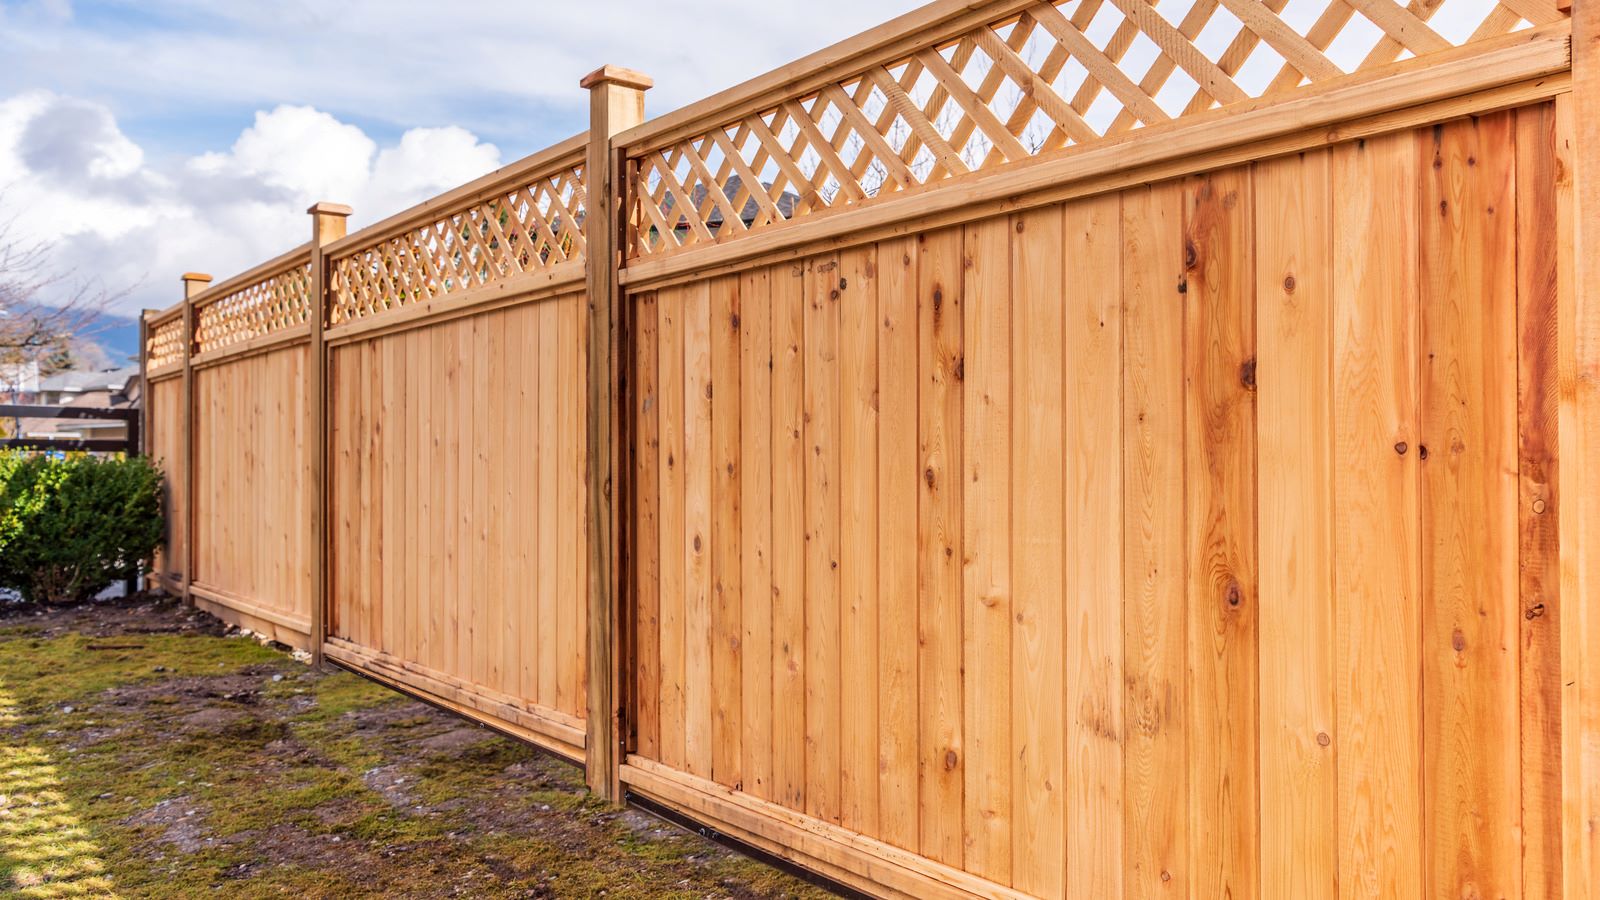
Wood is a popular choice for fences due to its natural look and versatility. It offers various styles, such as picket, privacy, or decorative, and can be stained or painted to match your desired aesthetic. However, wood fences require regular maintenance, including sealing or staining, to protect against weathering and rotting.
Vinyl or PVC fencing is known for its durability and low maintenance. It doesn’t require painting and is resistant to rot, insects, and fading. Vinyl fences are available in different styles and colors, providing you with options that suit your desired aesthetic. However, they may not offer the same traditional look as wood fences.
Aluminum and wrought iron fences are highly durable and offer a classic and elegant appearance. They require minimal maintenance and can be powder-coated to prevent rusting and corrosion. However, these options may be more expensive, and they may not provide as much privacy as other materials.
For a modern and contemporary look, consider using metal or chain-link fencing. They are affordable, low maintenance, and can provide security without obstructing the view. However, they may not provide much privacy and might not be suitable for residential areas with specific aesthetic requirements.
Other options include composite materials, bamboo, and even environmentally friendly choices like recycled materials or living fences made of plants. Each material has its own unique features and considerations, so take the time to explore your options and choose the one that aligns with your preferences and budget.
Height Restrictions
Before building your fence, it’s essential to consider the height restrictions set by local regulations and homeowners’ associations. These restrictions dictate how tall your fence can be and are typically in place to maintain a uniform appearance within the neighborhood and to preserve sightlines.
Local regulations often specify the maximum height allowed for fences, usually ranging between 4 to 6 feet for residential properties. However, it’s important to note that these restrictions can vary, so it’s essential to consult the specific guidelines applicable to your area.
Homeowners’ associations may also have their own set of rules regarding fence heights. These rules aim to maintain a consistent look throughout the community and ensure that fences do not obstruct views or create an imposing presence in the neighborhood.
Additionally, it’s crucial to consider the purpose of your fence when determining its height. If your primary goal is privacy, a taller fence may be necessary. However, if you’re primarily looking to establish a boundary or add aesthetic appeal, a lower fence may suffice.
By adhering to height restrictions, you can avoid potential conflicts with neighbors, ensure compliance with local regulations, and maintain the overall aesthetic of your neighborhood.
Fence Design and Style
When planning your fence, consider the design and style that best complements your property and meets your functional needs. The design and style will greatly impact the overall aesthetic appeal and visual impact of your fence.
Some popular fence designs include:
- Picket fences: These fences feature evenly spaced vertical boards and are often associated with a traditional and charming look. Picket fences can be made from various materials, including wood and vinyl.
- Privacy fences: Designed to conceal your property from the view of passersby, these fences typically have no gaps between the boards and provide maximum privacy. Common materials for privacy fences include wood, vinyl, and composite.
- Decorative fences: If you’re looking to add a touch of elegance and sophistication to your property, decorative fences offer intricate patterns and ornamental features. Materials like wrought iron or aluminum are commonly used for these types of fences.
Consider your property’s architectural style and the overall ambiance you want to create. If you’re unsure which design is best suited for your property, consulting a professional or seeking inspiration from neighboring fences can help you make an informed decision.
In addition to the overall design, consider elements like post caps, finials, and lattice work to add unique touches and personalize your fence. These details can enhance the visual appeal and make your fence stand out.
Remember, the design and style of your fence will not only impact your property’s appearance but also affect its functionality and purpose. Balancing aesthetics and practicality is key to ensuring that your fence serves its intended purpose while enhancing the beauty of your property.
Gate Options and Placement
When planning your fence, it’s important to consider the placement and design of gates. Gates provide access to your property and play a crucial role in the functionality and convenience of your fence.
First, determine the number of gates you will need based on the layout and usage of your property. If you have a large driveway or multiple entry points, you may require multiple gates for easy access. Additionally, consider installing a pedestrian gate for convenient entry and exit without having to open the larger gate.
Next, consider the size and style of the gates. The size should accommodate your needs, such as allowing enough space for vehicles or larger equipment to pass through. The style of the gates should complement the overall design and aesthetics of your fence.
Gate materials can match or complement the fence material. For example, if you have a wooden fence, a wooden gate can create a cohesive look. Alternatively, you may choose to have a different but complementary material for the gate to add visual interest.
Consider the type of opening mechanism for your gates, such as swinging or sliding. Swinging gates are a common choice and can open inward or outward, depending on your preference and space availability. Sliding gates, on the other hand, are a good option for properties with limited space or uneven terrain.
Keep in mind the level of security and privacy you desire when choosing gate options. Locking mechanisms, such as key code access or electronic locks, can enhance security. If privacy is a concern, consider opting for a gate design that doesn’t allow visibility into your property.
Finally, ensure that the gate placement is functional and accessible. Consider the flow of foot and vehicle traffic and choose locations that offer convenience while maintaining security.
By carefully considering gate options and placement, you can maximize the functionality, security, and convenience of your fence while ensuring a seamless entry and exit experience.
Before building a fence, always check with your local zoning laws and homeowners’ association regulations to ensure you are in compliance with any restrictions or requirements.
Durable and Long-Lasting Materials
When building a fence, it’s important to select materials that are durable and built to withstand the elements for long periods of time. Choosing the right materials will not only save you money in the long run but also ensure that your fence stands strong and maintains its aesthetic appeal.
One of the most popular and durable materials for fences is cedar wood. Cedar is naturally resistant to rot, decay, and insect damage, making it an excellent choice for outdoor applications. It’s also known for its dimensional stability, meaning it resists warping and twisting over time.
Another durable option is vinyl fencing. Vinyl fences are highly resistant to weathering, fading, and insect damage. They don’t require painting or staining like wood fences, and they are easy to clean and maintain. Vinyl is also known for its longevity, making it a great investment for long-term use.
If you prefer a more modern and industrial look, metal fences like aluminum or steel can provide exceptional durability. These materials are sturdy, rust-resistant, and require minimal maintenance. Aluminum fences are lightweight and perfect for residential settings, while steel fences offer added strength and security.
Composite materials, which are a blend of wood and plastic fibers, are also gaining popularity for their durability. They resist rot, warping, and insect damage, and they require minimal maintenance. Composite fences are available in a range of styles and colors, allowing you to choose an option that suits your aesthetic preferences.
When considering the longevity of your fence, it’s important to also consider factors like UV resistance, water resistance, and overall structural integrity. By selecting high-quality, durable materials, you can ensure that your fence withstands the test of time and remains in excellent condition for years to come.
Maintenance Requirements
When planning your fence, it’s essential to consider the maintenance requirements of different materials. Proper maintenance will help extend the lifespan of your fence and keep it looking its best for years to come.
Wooden fences require regular maintenance to protect against weathering, rotting, and insect infestations. This typically involves applying a sealant or stain every few years to maintain the wood’s integrity and appearance. Regular inspection and repair of any damaged or loose boards are also necessary to ensure the fence remains structurally sound.
Vinyl fences are relatively low-maintenance and generally only require periodic cleaning with mild soap and water to prevent buildup of dirt and grime. Avoid using harsh chemicals or abrasive cleaners that could damage the vinyl. Additionally, inspect the fence for any cracks or damage that may need repair.
Metal fences like aluminum or steel are highly durable and typically require minimal maintenance. Regular cleaning to remove dirt, debris, and rust can help preserve their appearance. Inspect the fence for any signs of damage or loose components and address them promptly to prevent further issues.
Composite materials generally require minimal maintenance. Periodic cleaning with soap and water or a mild detergent is usually sufficient. However, it’s important to follow the manufacturer’s instructions for cleaning and maintenance to ensure the longevity of the fence.
Regardless of the material, it’s also important to trim any vegetation near the fence line to prevent overgrowth and potential damage. Trimming plants away from the fence not only helps with maintenance but also prevents moisture accumulation and limits the risk of pests.
Regular inspections should be conducted to identify any necessary repairs or maintenance tasks. Treating your fence with care, addressing issues promptly, and following maintenance guidelines will help extend its lifespan and keep it looking attractive for years to come.
Cost Considerations
When planning to build a fence, it’s important to consider the cost implications of the project. Determining a budget and understanding the various expenses associated with materials, labor, and any additional features can help you make informed decisions.
The cost of building a fence can vary greatly depending on factors such as the materials chosen, the size of the fence, the complexity of the design, and the location of your property. For example, wood fences are generally more affordable compared to materials like wrought iron or composite.
In addition to the materials, there are other cost considerations to keep in mind. These may include permit fees, professional surveying, excavation, gate installation, and any additional features or accessories you may want to add, such as post caps or decorative elements. It’s important to factor in these costs when setting your budget.
Furthermore, if you choose to hire professionals for the installation, labor costs can significantly impact your overall budget. The complexity of the project, the terrain of your property, and the size of the fence will all affect the labor costs. Obtaining quotes from multiple contractors will help you compare prices and determine the best option for your budget.
When comparing costs, it’s important to consider the long-term benefits and durability of the materials. While certain materials may have a higher upfront cost, they may require less maintenance and have a longer lifespan, ultimately saving you money in the long run.
Lastly, be sure to allocate a portion of your budget for any unexpected or miscellaneous expenses that may arise during the fence-building process. It’s always better to have a buffer in place to handle any unforeseen circumstances.
By carefully considering and factoring in the various costs associated with building a fence, you can make informed decisions to ensure that your project stays within your budget while achieving the desired results.
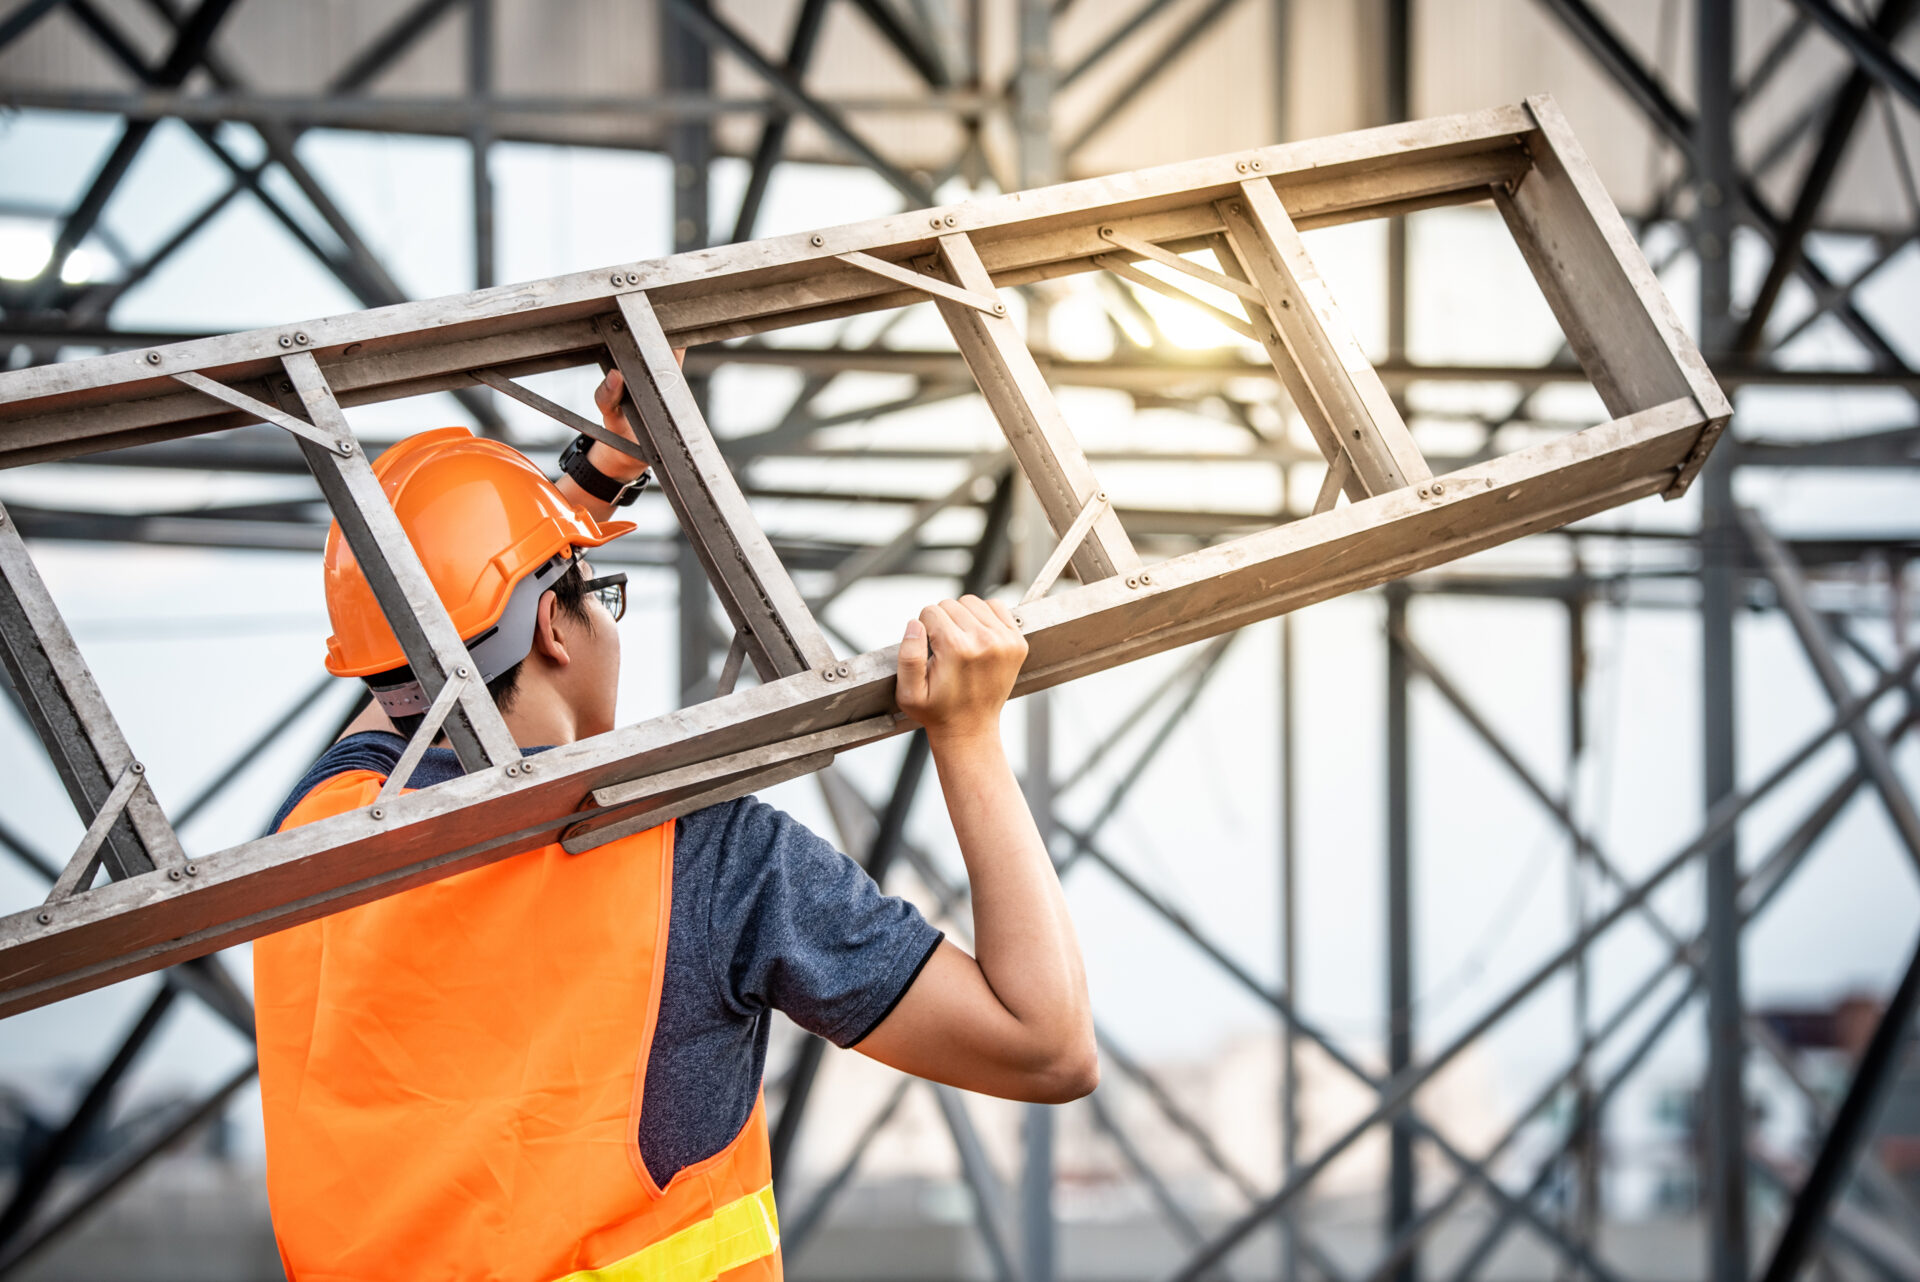
Hiring Professionals vs. DIY
When considering building a fence, one of the decisions you need to make is whether to hire professionals or take on the project as a do-it-yourself (DIY) endeavor. Both options have their advantages and considerations, so it’s important to assess your capabilities and factors that may influence your decision.
Hiring professionals for fence installation can offer several benefits. Firstly, professionals have the expertise and experience to ensure quality workmanship. They are familiar with local regulations and can navigate any permit requirements or zoning restrictions. Additionally, professionals have the necessary tools and equipment to complete the project efficiently and accurately.
By hiring professionals, you not only save time but also avoid the potential pitfalls and frustrations that can arise from DIY projects. Professionals can handle any unforeseen challenges or obstacles that may arise during the installation process, providing you with peace of mind.
However, it’s important to consider the cost implications of hiring professionals. Professional fence installation can be more expensive than a DIY project, as it includes labor costs. You should assess your budget to determine whether hiring professionals aligns with your financial capabilities.
On the other hand, opting for a DIY approach can help save money on labor costs. If you have the necessary skills, tools, and time, DIY fence installation can be a rewarding project. It allows you to have full control over the design and construction process, and you can take pride in the finished product.
Before choosing the DIY route, evaluate your own capabilities and assess the complexity of the project. Building a fence requires physical labor, including digging holes for posts, lifting heavy materials, and accurately measuring and aligning components. Consider your skill level and physical abilities to determine if you can handle the workload.
Remember that DIY projects may take longer to complete and may involve a learning curve if you don’t have prior experience. Research and educate yourself about proper fence installation techniques and safety precautions to ensure a successful outcome.
Ultimately, the decision of hiring professionals or doing it yourself depends on your comfort level, budget, and the scope of the project. Assessing these factors will help you make an informed decision that suits your needs and circumstances.
Safety Precautions
When building a fence, it’s important to prioritize safety to ensure a secure and hazard-free environment. By taking necessary precautions during the installation process, you can minimize the risk of accidents and injuries. Here are some safety considerations to keep in mind:
- Protective Gear: Wear appropriate protective gear, such as gloves, safety goggles, and sturdy footwear, to protect yourself from potential injuries during fence construction. Long sleeves and pants can also help prevent scratches and cuts.
- Tools and Equipment: Use tools and equipment correctly and follow the manufacturer’s instructions. Keep tools in good working condition, and never operate them if you are fatigued or inattentive.
- Excavation: If your fence requires digging holes for posts, be cautious of underground utility lines. Contact your local utility companies to mark the location of buried lines to avoid accidents. Take care to avoid injury from sharp tools and store them safely when not in use.
- Post Installation: When installing posts, be mindful of their depth and stability. Ensure the posts are securely anchored and level to prevent the fence from collapsing. Avoid placing posts too close to structures or obstructing pathways.
- Electrical Safety: If your fence involves electrical components, such as lights or gate openers, hire a licensed electrician to handle the installation. Electricity can be dangerous if not handled correctly, and professional expertise ensures safety compliance.
- Child Safety: If you have children or frequent child visitors, consider safety measures such as smooth post caps, fencing with no sharp edges, and secure gates with childproof locks. Ensure there are no openings that a child could squeeze through or get stuck in.
- Neighborhood Safety: Consult with your neighbors during the planning process to ensure your fence design does not obstruct others’ views or create safety hazards. Consider the impact of your fence on pedestrian and vehicular traffic flow in the neighborhood.
By following safety guidelines and taking necessary precautions, you can create a safe environment while building your fence. If you are unsure about any aspect of the installation or have concerns about safety, consult professionals who can offer guidance and ensure a secure and well-constructed fence.
Neighborhood Communication and Agreement
When planning to build a fence, it’s important to consider the impact it may have on your neighbors and the overall aesthetic of the neighborhood. Open communication and obtaining agreement from your neighbors can help ensure a harmonious and mutually beneficial fence installation process.
Prior to starting your project, take the time to reach out to your neighbors and inform them of your plans. Discuss the design, materials, and height of the fence to address any concerns or objections they may have. Taking their input into consideration shows respect for their opinions and can help foster positive relationships.
There may be specific neighborhood guidelines or homeowners’ association regulations regarding fence design, height, or materials. It’s important to familiarize yourself with these guidelines and ensure that your planned fence meets the established standards. Seeking approval or obtaining necessary permissions from the relevant authorities can help avoid any conflicts or issues in the future.
During your conversations with neighbors, address any potential concerns they may have about the fence impacting their property. It is important to ensure that the fence does not block their access, visibility, or sunlight. Working together to address these concerns can lead to a win-win situation for everyone involved.
Additionally, considering the aesthetic appeal of your fence is crucial to maintaining the overall character of the neighborhood. Aim for a design that complements existing fences and the architectural style of the surrounding properties. Openly discussing your plans with neighbors can help garner their support and create a cohesive and visually pleasing neighborhood aesthetic.
Regular communication throughout the project, offering updates and addressing any issues promptly, will help maintain positive neighborly relationships. Keeping the lines of communication open allows for open dialogue, addressing any concerns that may arise during the installation process.
Ultimately, involving your neighbors in the planning process and being considerate of their needs and opinions can help create a positive atmosphere within the neighborhood. It promotes community cohesion and ensures a smoother and more enjoyable process of building your fence.
Read more: How To Know If You Need A Humidifier
Insurance Coverage and Liability
When building a fence, it’s crucial to consider insurance coverage and potential liability issues. While it may not be the most exciting aspect of the project, understanding these matters can protect you financially and legally in case of any accidents or damages that may occur during or after the fence installation.
Firstly, review your homeowner’s insurance policy to determine if it covers fence installation or any related damages. Some policies may include coverage for property improvements or additions, while others may require additional endorsements or adjustments to your policy. Contact your insurance provider to clarify the extent of your coverage.
When hiring professionals for fence installation, it’s important to ensure they have liability insurance. Request proof of insurance and verify the coverage limits and expiration dates. This helps protect you from liability in case of any accidents or injuries that may occur during the installation process.
If you decide to take the DIY route, be aware that you may assume full responsibility for any accidents, damages, or injuries that occur during the construction. Make sure to follow proper safety precautions, use suitable equipment, and take necessary safeguards to minimize the risk of accidents.
Additionally, consider the boundaries of your property and potential encroachments onto neighboring properties. If your fence is constructed incorrectly or extends beyond your property lines, you may be liable for damages or legal disputes. Therefore, it’s crucial to accurately survey and establish your property boundaries to avoid any future conflicts.
Even with proper planning and precautions, accidents can still happen. Having an open dialogue with your neighbors and addressing any concerns promptly can help mitigate potential disputes and minimize liability issues. Being proactive and responsive can foster positive relations and, if necessary, facilitate an amicable resolution.
Finally, keep in mind that this information is a general guide, and it’s important to consult with an insurance professional or legal advisor to fully understand your specific insurance coverage and liability obligations. They can provide expert advice tailored to your individual circumstances and ensure that you are adequately protected.
By being proactive about insurance coverage, understanding liability concerns, and consulting with the appropriate professionals, you can safeguard yourself and your property throughout the fence-building process.
Frequently Asked Questions about 13 Things You Need To Know Before Building A Fence
Was this page helpful?
At Storables.com, we guarantee accurate and reliable information. Our content, validated by Expert Board Contributors, is crafted following stringent Editorial Policies. We're committed to providing you with well-researched, expert-backed insights for all your informational needs.


0 thoughts on “13 Things You Need To Know Before Building A Fence”