Home>Gardening & Outdoor>Outdoor Structures>How To Screen In Your Front Porch
Outdoor Structures
How To Screen In Your Front Porch
Modified: January 8, 2024
Learn how to transform your front porch with a screened-in structure. Create a cozy outdoor space with our step-by-step guide. Ideal for outdoor structures enthusiasts.
(Many of the links in this article redirect to a specific reviewed product. Your purchase of these products through affiliate links helps to generate commission for Storables.com, at no extra cost. Learn more)
Introduction
Welcome to the world of outdoor living, where the gentle breeze and the warmth of the sun create the perfect ambiance for relaxation. A front porch is a charming extension of your home, offering a delightful space to unwind, entertain, and savor the beauty of nature. However, pesky insects and unpredictable weather can sometimes hinder your enjoyment. The solution? Screening in your front porch!
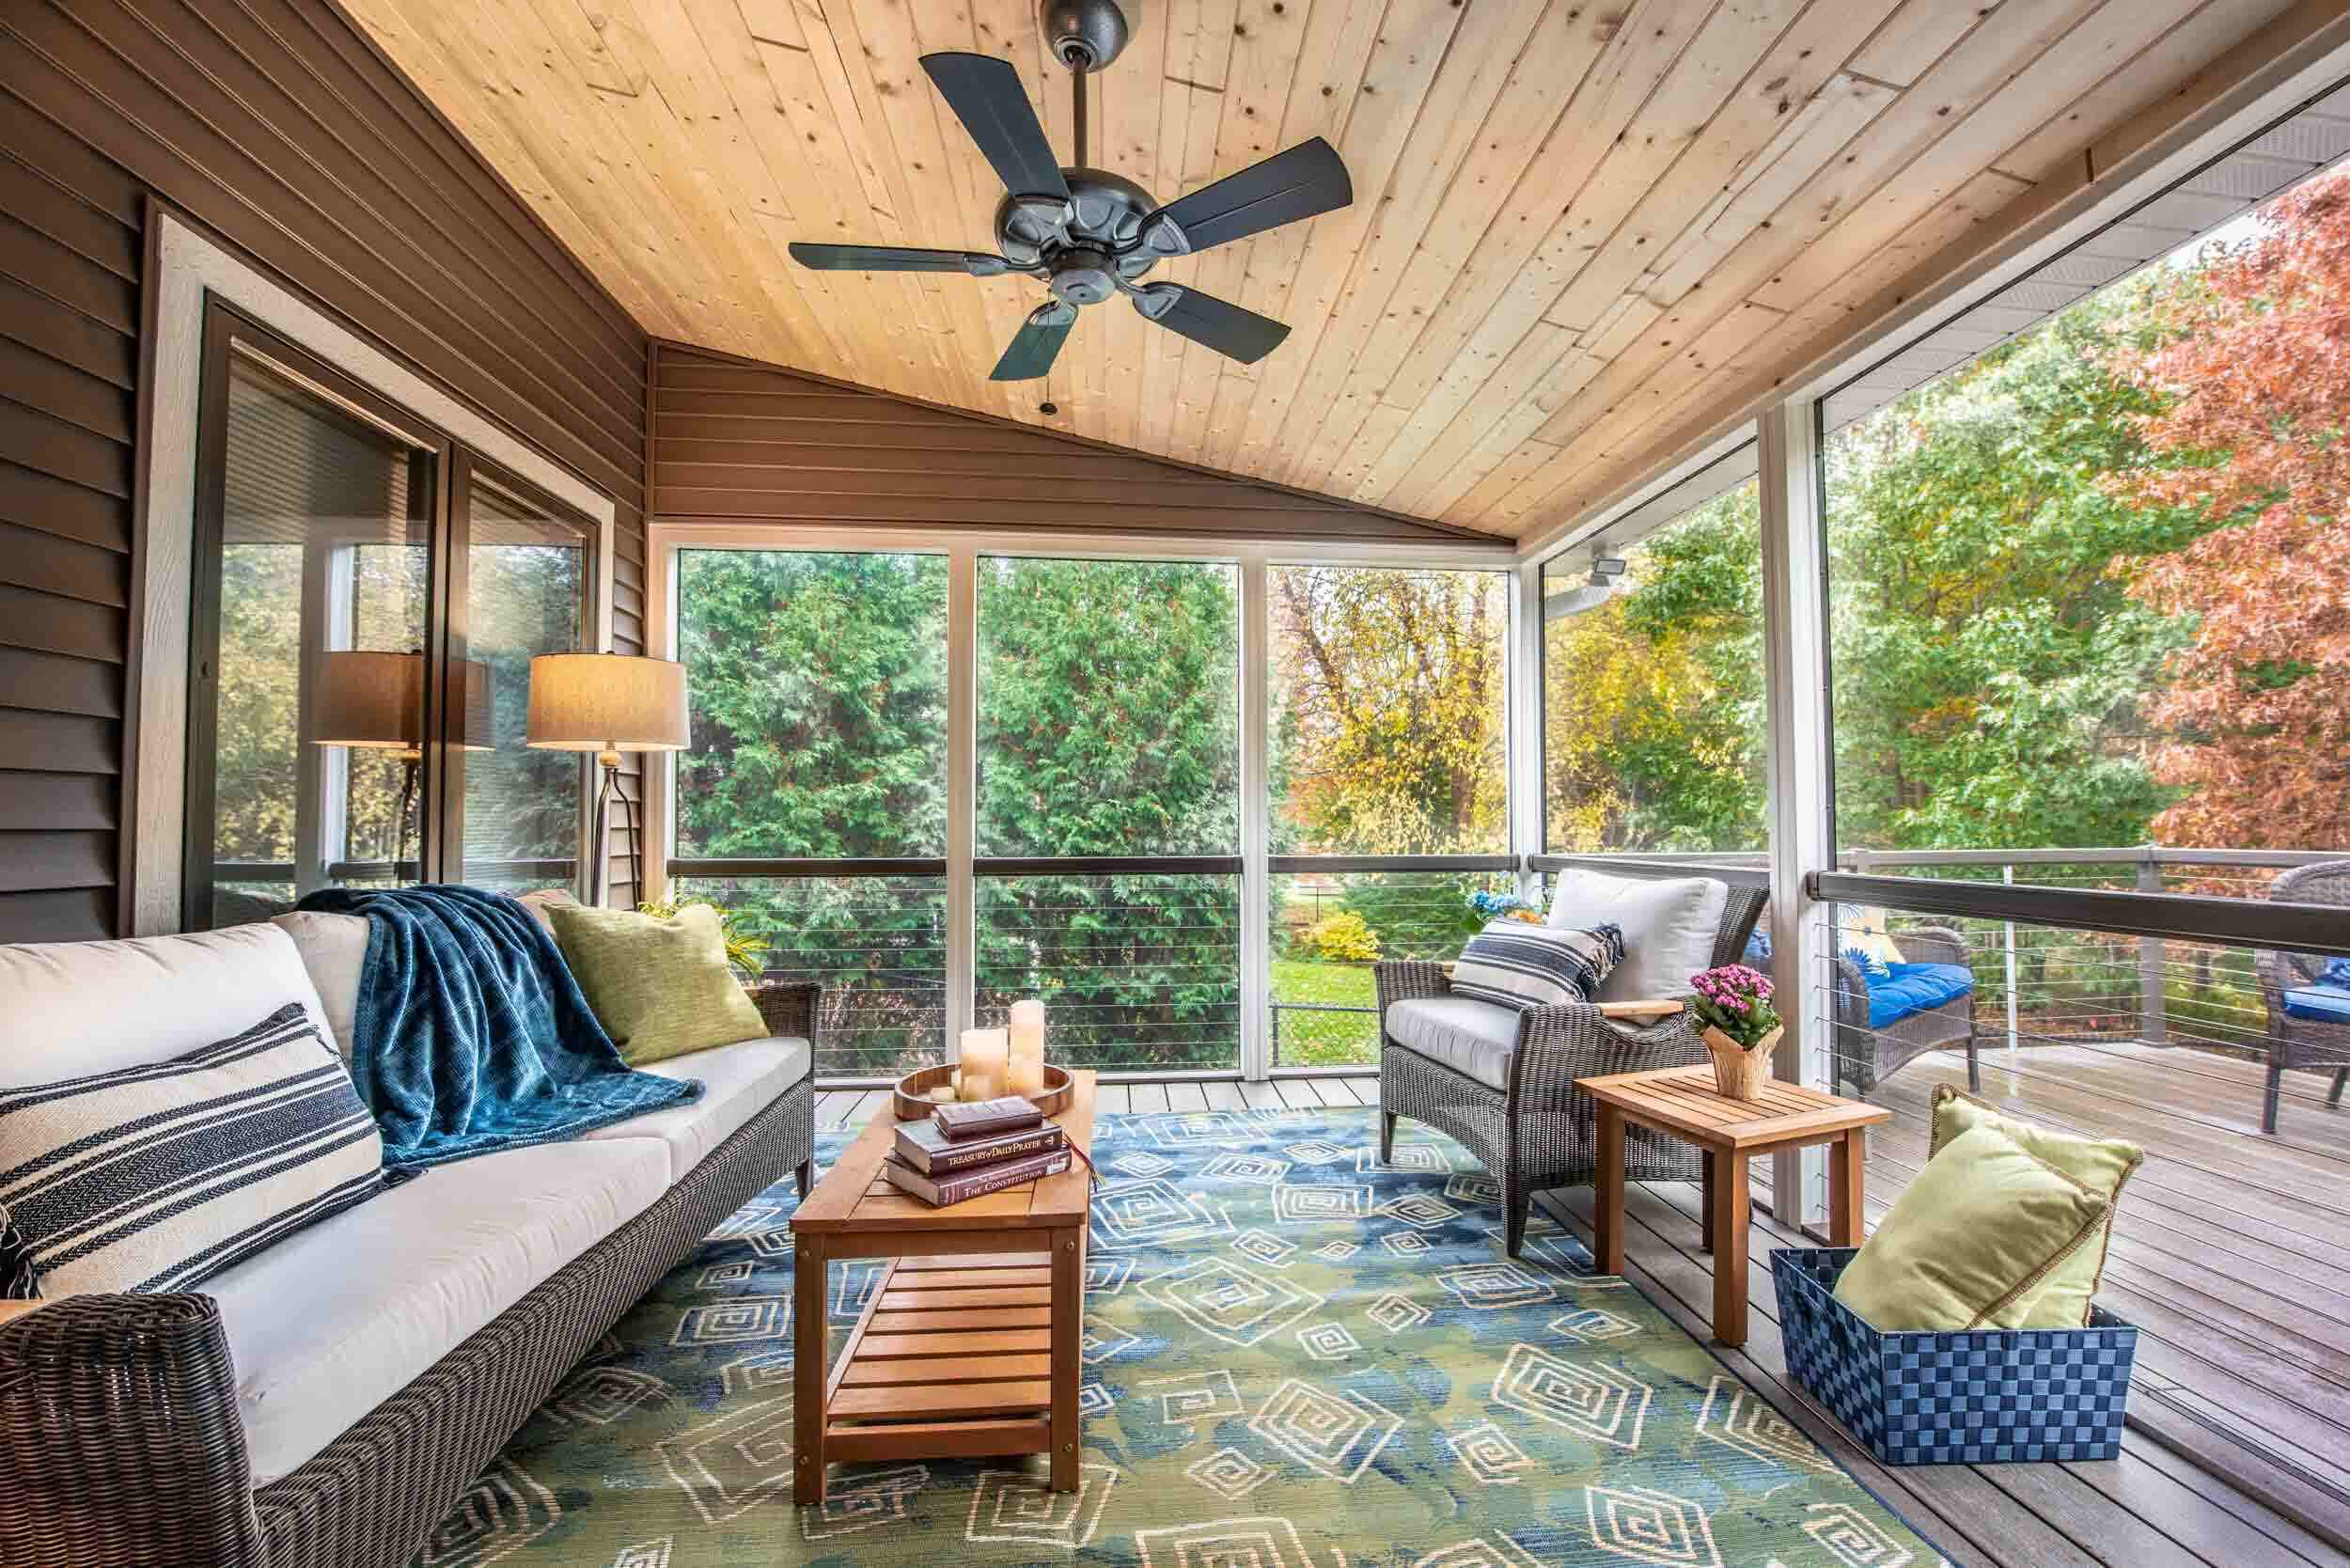
By enclosing your front porch with screens, you can create a tranquil sanctuary that shields you from unwanted pests and the elements while still allowing you to bask in the outdoor splendor. Whether you're an avid DIY enthusiast or seeking to collaborate with a professional, this comprehensive guide will walk you through the process of screening in your front porch, from assessing your space to adding the finishing touches.
So, grab a cup of coffee, envision your dream retreat, and let's embark on this transformative journey to elevate your front porch into a haven of serenity and comfort.
Key Takeaways:
- Transform your front porch into a bug-free oasis by following these steps to screen it in, creating a serene space for relaxation and outdoor enjoyment.
- Careful planning, precise measurements, and attention to detail are key to successfully screening in your front porch, creating a tranquil retreat that complements your home.
Read more: How To Screen In A Porch
Step 1: Assessing Your Space
Before diving into the screening process, it’s essential to assess your porch thoroughly. Start by measuring the dimensions of your porch to determine the amount of screening material and framing needed for the project. Accurate measurements will ensure that you purchase the right quantity of materials, avoiding unnecessary delays and expenses.
Additionally, it’s crucial to consider your local building codes and regulations. Different areas may have specific requirements for screened-in structures, such as the type of materials allowed, the height and placement of the screen walls, and the necessity of obtaining permits. By familiarizing yourself with these regulations, you can ensure that your project complies with the law and avoid potential issues in the future.
Remember, the key to a successful front porch screening project lies in meticulous planning and adherence to local guidelines. By taking the time to measure your porch accurately and research the relevant building codes, you set the stage for a smooth and compliant screening process.
Step 2: Choosing the Right Materials
When it comes to screening in your front porch, the selection of materials plays a pivotal role in achieving both functionality and aesthetic appeal. Let’s start by exploring the screening material. There are various options available, including traditional fiberglass, durable aluminum, and pet-resistant screens. Consider factors such as visibility, durability, and maintenance requirements when choosing the right screening material for your porch. If you have pets or live in an area prone to inclement weather, opting for a sturdier screen material may be beneficial in the long run.
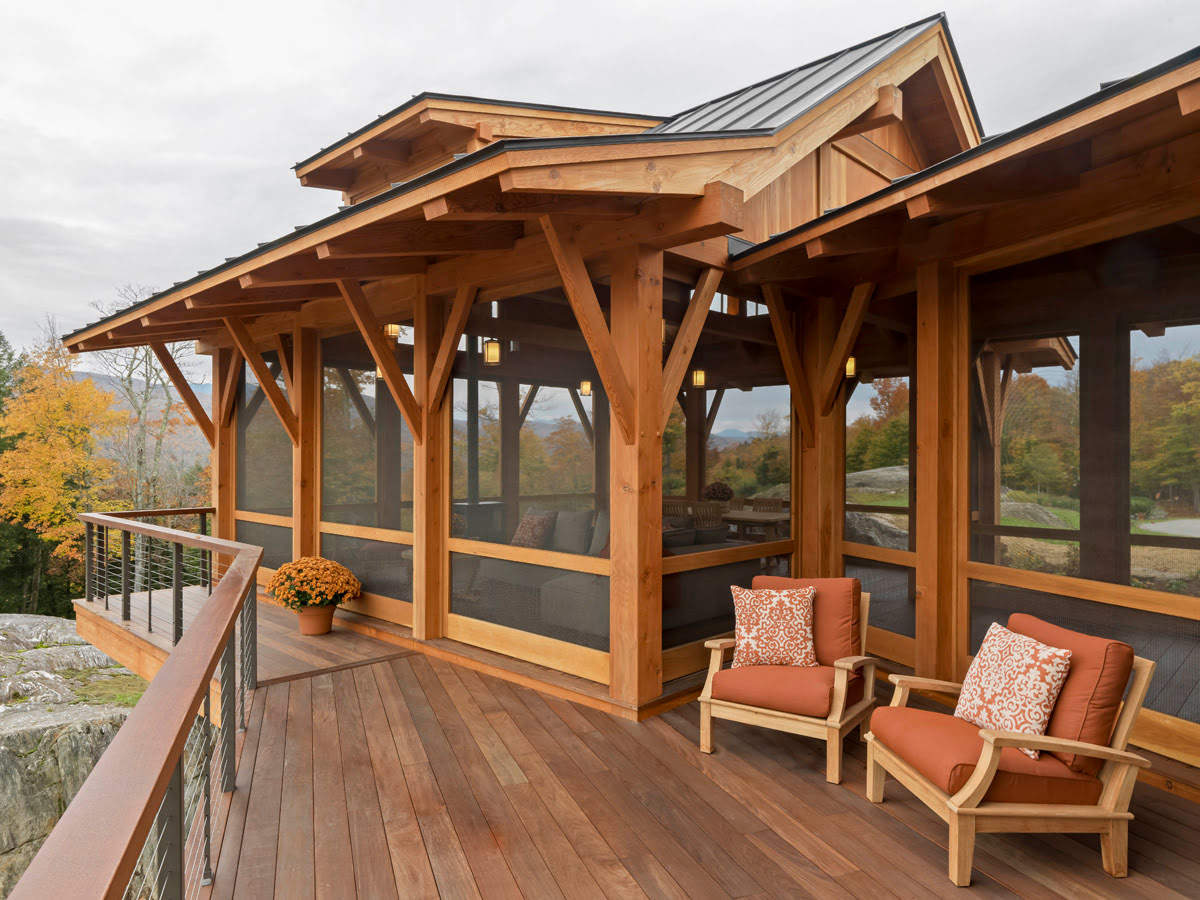
Equally important is the choice of framing material. Common options for porch screen frames include aluminum, vinyl, and wood. Each material offers distinct advantages, such as durability, ease of maintenance, and visual appeal. Take into account the climate in your area and the existing design of your home when selecting the framing material. For example, if you prefer a classic, natural look, wooden frames may be the ideal choice, while aluminum frames are known for their resilience against harsh weather conditions.
By carefully considering the characteristics and suitability of different screening and framing materials, you can ensure that your screened-in porch not only serves its practical purpose but also enhances the overall charm and comfort of your home.
Step 3: Preparing the Porch
Before commencing the construction of your screened-in porch, it’s essential to prepare the existing space to ensure a smooth and successful installation process. Begin by clearing the area of any obstructions, such as furniture, potted plants, or decorative items. This step not only provides you with ample space to work but also minimizes the risk of damage to your belongings during the construction phase.
Once the area is cleared, carefully inspect the porch for any signs of damage, such as rotting wood, loose boards, or structural issues. Addressing these issues before installing the screens is crucial for the longevity and stability of your screened-in porch. Repair any damaged components, reinforce weak areas, and ensure that the foundation and supporting structures are in optimal condition to accommodate the additional weight of the screens and framing.
By taking the time to clear the area and address any pre-existing damage, you set the stage for a seamless and efficient installation process, laying the foundation for a durable and resilient screened-in porch that you can enjoy for years to come.
When screening in your front porch, make sure to use durable materials like aluminum or fiberglass to withstand weather and wear. Properly measure and secure the screens to ensure a tight fit and keep bugs out.
Step 4: Building the Frame
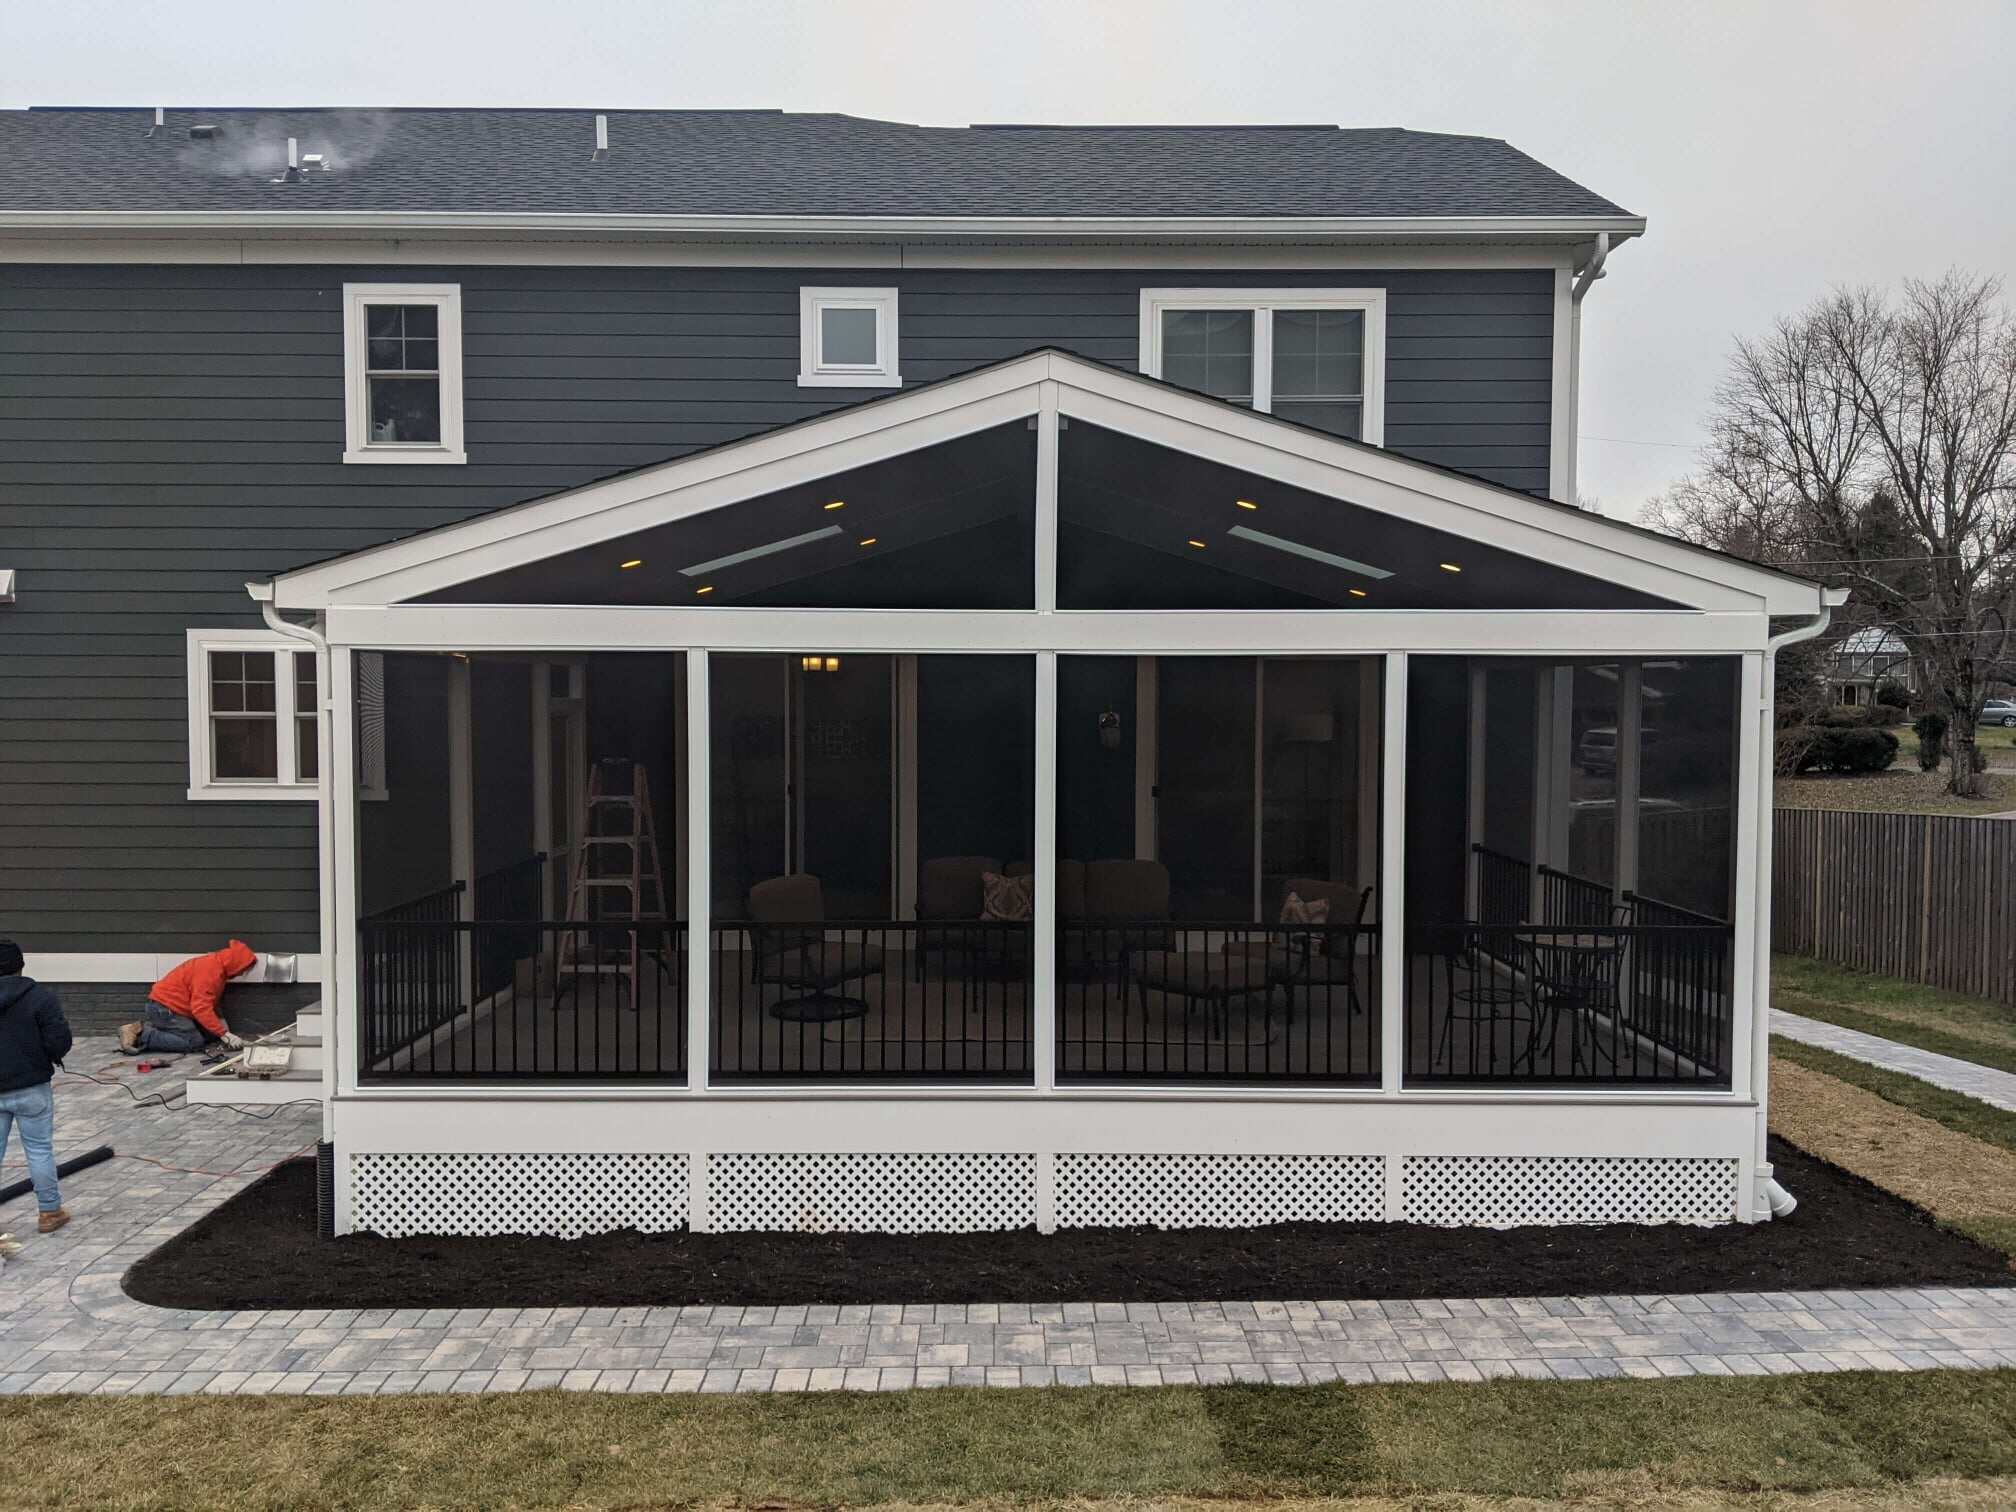
With the preparation of the porch complete, it’s time to embark on the construction of the frame for your screened-in porch. The frame serves as the structural backbone of the enclosure, providing support for the screens and contributing to the overall stability and visual appeal of the space.
Begin by cutting the framing materials to the required dimensions, ensuring precise measurements to achieve a snug and secure fit. Whether you opt for wooden, aluminum, or vinyl framing, accuracy in cutting the materials is paramount to the structural integrity and aesthetic cohesiveness of the frame.
Once the materials are cut, proceed to assemble the frame according to the design of your porch and the specifications of the screening material. This may involve using corner connectors, screws, or specialized fastening methods to securely join the frame components. Attention to detail during the assembly process is crucial to ensure that the frame is sturdy and capable of withstanding environmental factors.
After the frame is assembled, it’s time to attach it to the porch. Secure the frame to the existing structure using appropriate mounting hardware, taking care to align it accurately and verify its levelness. The attachment process may vary depending on the type of porch and framing material, so refer to the manufacturer’s guidelines or seek professional advice if needed.
By meticulously cutting, assembling, and attaching the frame, you lay the groundwork for a robust and visually appealing screened-in porch that harmoniously integrates with your home’s architecture and elevates your outdoor living experience.
Read more: What Is A Screened Porch
Step 5: Installing the Screens
With the frame securely in place, it’s time to bring your screened-in porch to life by installing the screens. This step involves precise measurements, careful cutting of the screening material, and skillful attachment to the frame to create a seamless enclosure that offers protection and unobstructed views of the outdoors.
Begin by measuring the dimensions of each section of the frame where the screens will be installed. Accurate measurements are essential to ensure a snug fit and minimize gaps that could allow insects to infiltrate the enclosed space. Once the measurements are taken, carefully cut the screening material to the required sizes, taking into account any allowances for overlapping or securing the edges.
After the screening material is cut, proceed to attach it to the frame. Depending on the type of frame and screening material, this may involve using specialized clips, spline, or fasteners to secure the screens in place. Exercise caution and precision during the attachment process to prevent tears or distortion of the screening material, ensuring a pristine and functional enclosure.
As the screens are installed, take the opportunity to inspect each section for uniform tension and alignment, making any necessary adjustments to achieve a consistent and taut appearance. Properly installed screens not only provide protection from insects and debris but also contribute to the aesthetic appeal of your screened-in porch.
By meticulously measuring, cutting, and attaching the screening material, you transform the frame into a fully enclosed and inviting space that invites you to savor the outdoor ambiance without the nuisance of unwanted pests.
Step 6: Adding Finishing Touches
As the construction of your screened-in porch nears completion, it’s time to add the finishing touches that will enhance both the functionality and visual appeal of the enclosure. From the installation of a door to the application of a protective finish, these final steps will elevate your screened-in porch into a welcoming and stylish outdoor retreat.
One essential element to consider is the addition of a door to provide convenient access to and from the screened-in area. Whether you prefer a hinged door or a sliding option, select a design that complements the overall aesthetic of your home and offers ease of use. The door not only serves as a functional entry point but also contributes to the cohesive design of the porch enclosure.
With the door in place, consider applying a protective finish to the frame to safeguard it from the elements and enhance its visual appeal. Depending on the material of the frame, you may opt for painting or staining to achieve the desired look. Choose a finish that resonates with your personal style and harmonizes with the exterior of your home, adding a touch of character to the screened-in porch.
By attending to these finishing touches, you infuse your screened-in porch with a sense of completeness and refinement, creating a space that seamlessly integrates with your home and beckons you to unwind in its tranquil embrace.
Conclusion
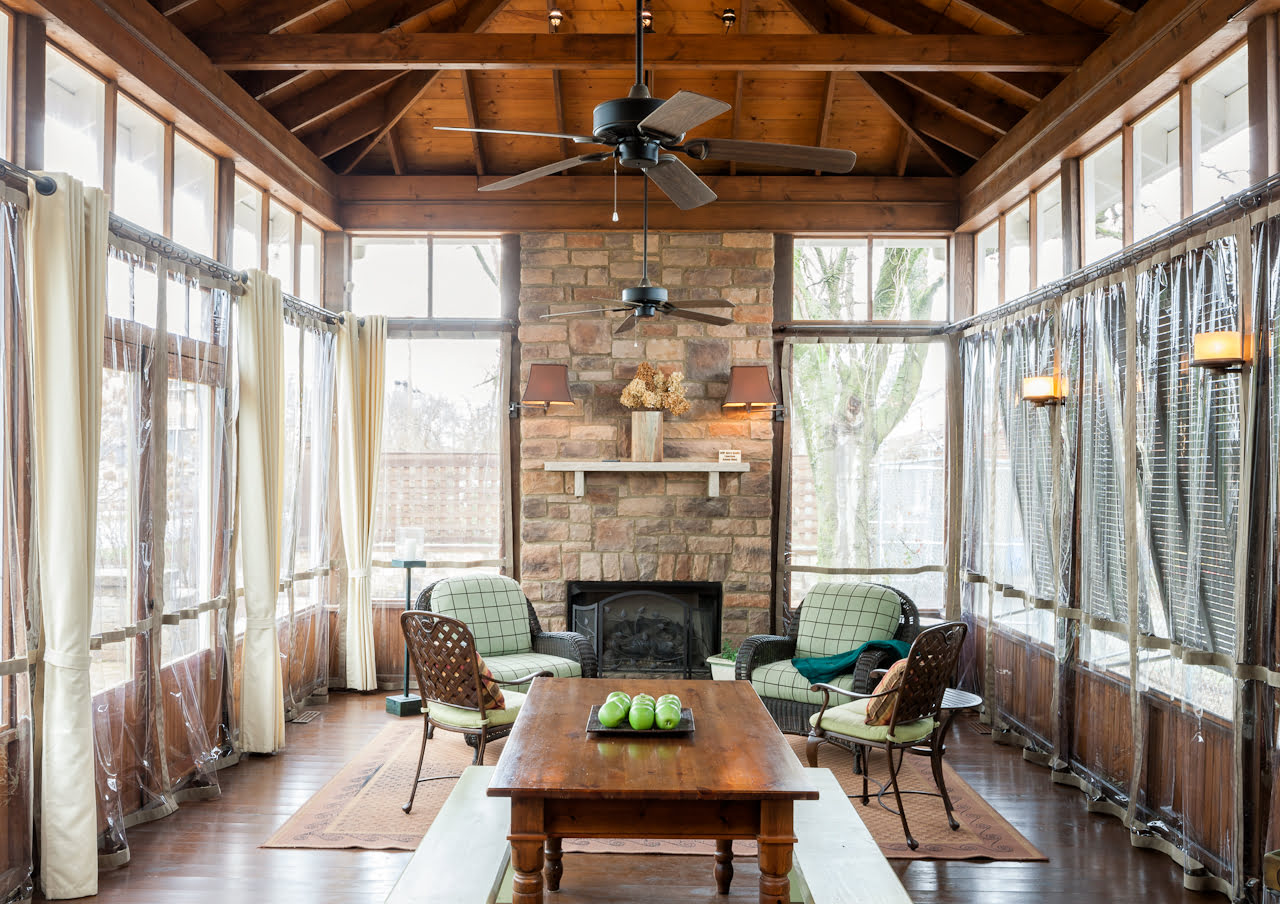
Congratulations! You’ve successfully transformed your front porch into a captivating screened-in oasis, where the beauty of the outdoors can be savored without the intrusion of pests or adverse weather. By following the comprehensive steps outlined in this guide, you’ve not only enhanced the functionality and comfort of your home but also created a space that invites relaxation and rejuvenation.
As you bask in the allure of your newly screened-in porch, take a moment to appreciate the careful planning, meticulous execution, and creative vision that have culminated in this remarkable addition to your home. Whether you undertook the project as a DIY endeavor or collaborated with skilled professionals, your commitment to creating a haven of tranquility has truly paid off.
Now, with a seamless enclosure that seamlessly integrates with the architecture of your home and complements your outdoor lifestyle, you can look forward to countless moments of blissful repose and cherished gatherings with loved ones. Whether it’s savoring your morning coffee, indulging in a good book, or relishing the company of friends and family, your screened-in porch stands as a testament to your dedication to enhancing your living space.
So, go ahead, adorn your newly enclosed porch with cozy furnishings, vibrant plants, and soft lighting, and let it serve as a sanctuary of comfort and joy throughout the seasons. Embrace the gentle sway of the breeze, the symphony of nature, and the serenity of your outdoor haven, knowing that you’ve created a space that enriches your life and beckons you to savor the simple pleasures of each day.
May your screened-in porch be a cherished retreat, a place of laughter and solace, and a testament to the art of transforming a mere porch into a captivating extension of your home.
Frequently Asked Questions about How To Screen In Your Front Porch
Was this page helpful?
At Storables.com, we guarantee accurate and reliable information. Our content, validated by Expert Board Contributors, is crafted following stringent Editorial Policies. We're committed to providing you with well-researched, expert-backed insights for all your informational needs.


0 thoughts on “How To Screen In Your Front Porch”