Articles
How To Change Battery In Blink Doorbell
Modified: September 2, 2024
Learn how to change the battery in your Blink doorbell with this informative article. Discover step-by-step instructions and expert tips to ensure a seamless battery replacement.
(Many of the links in this article redirect to a specific reviewed product. Your purchase of these products through affiliate links helps to generate commission for Storables.com, at no extra cost. Learn more)
Introduction
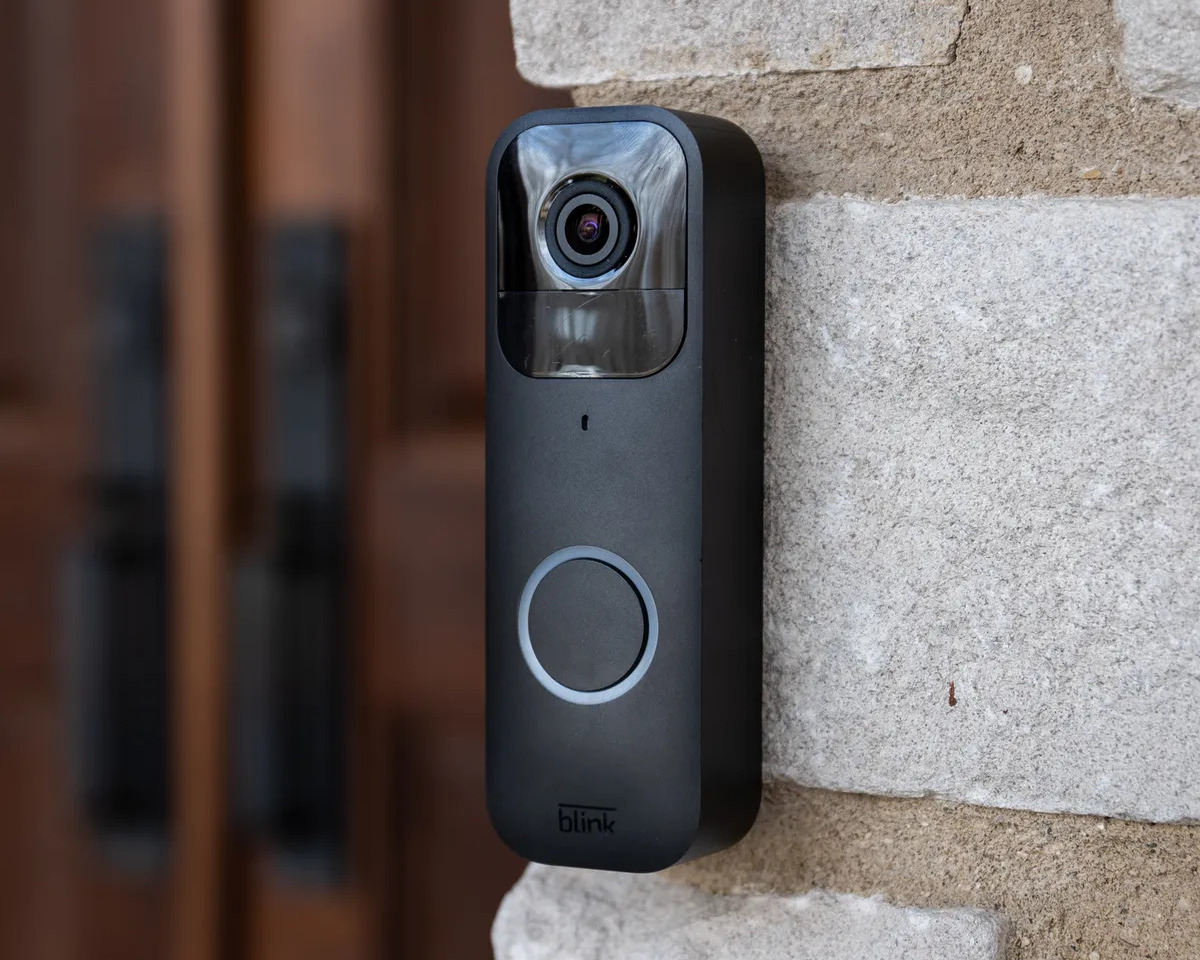
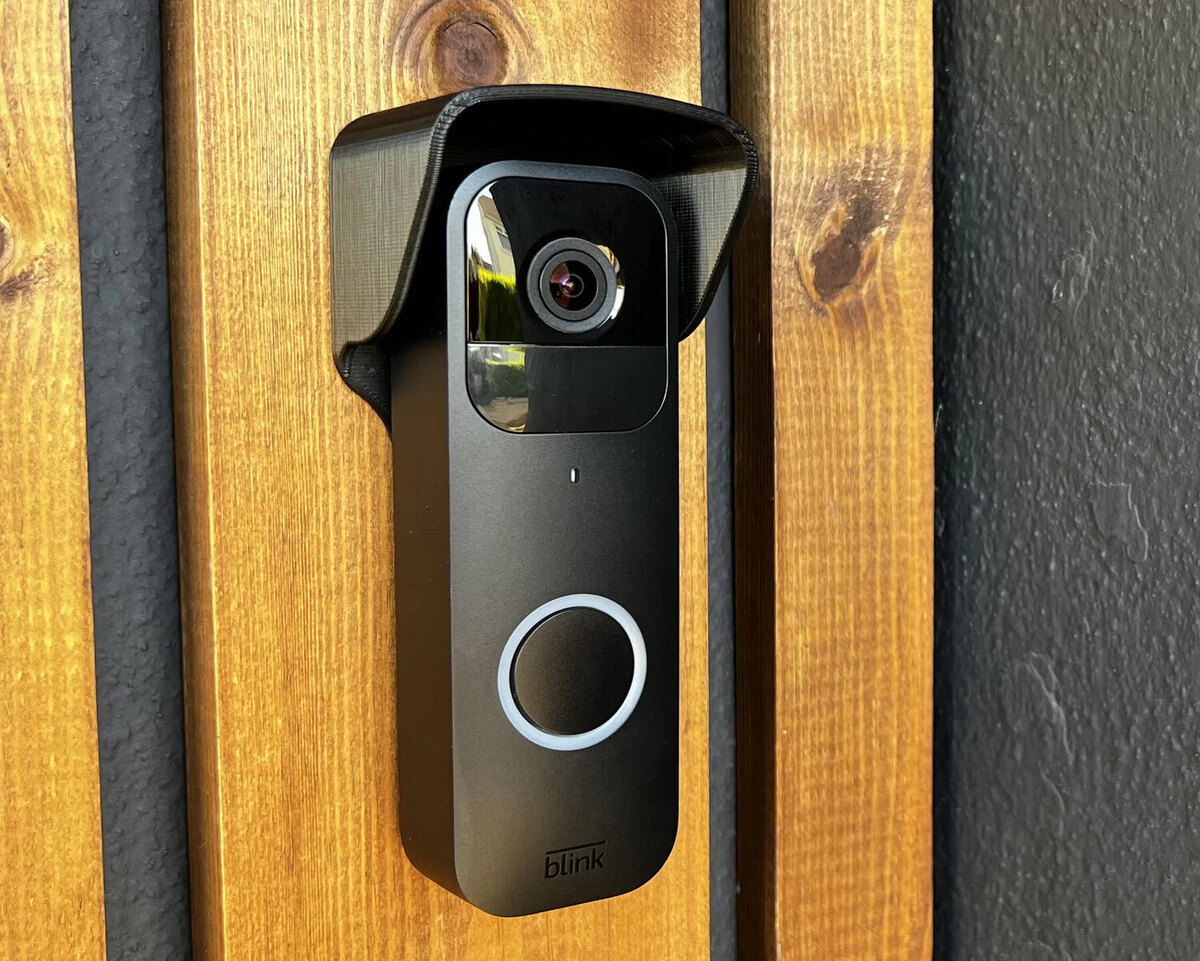
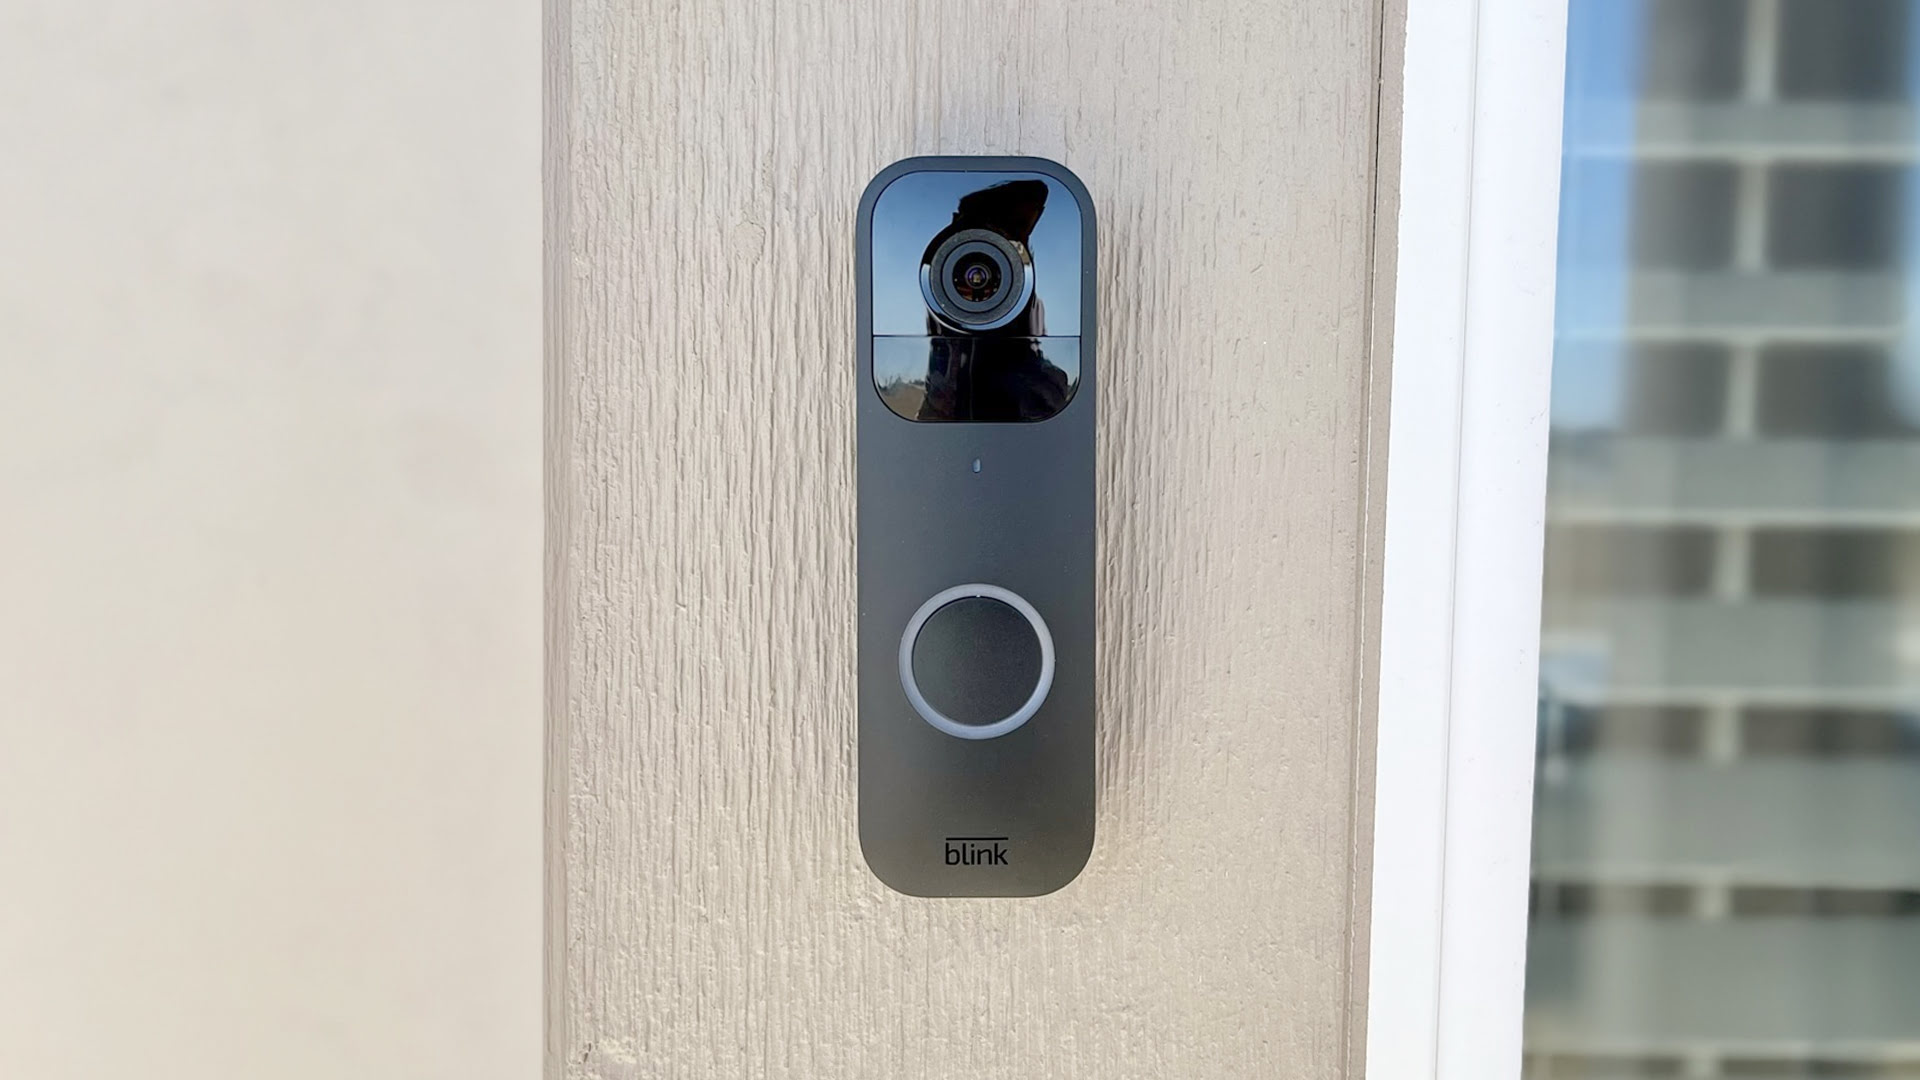
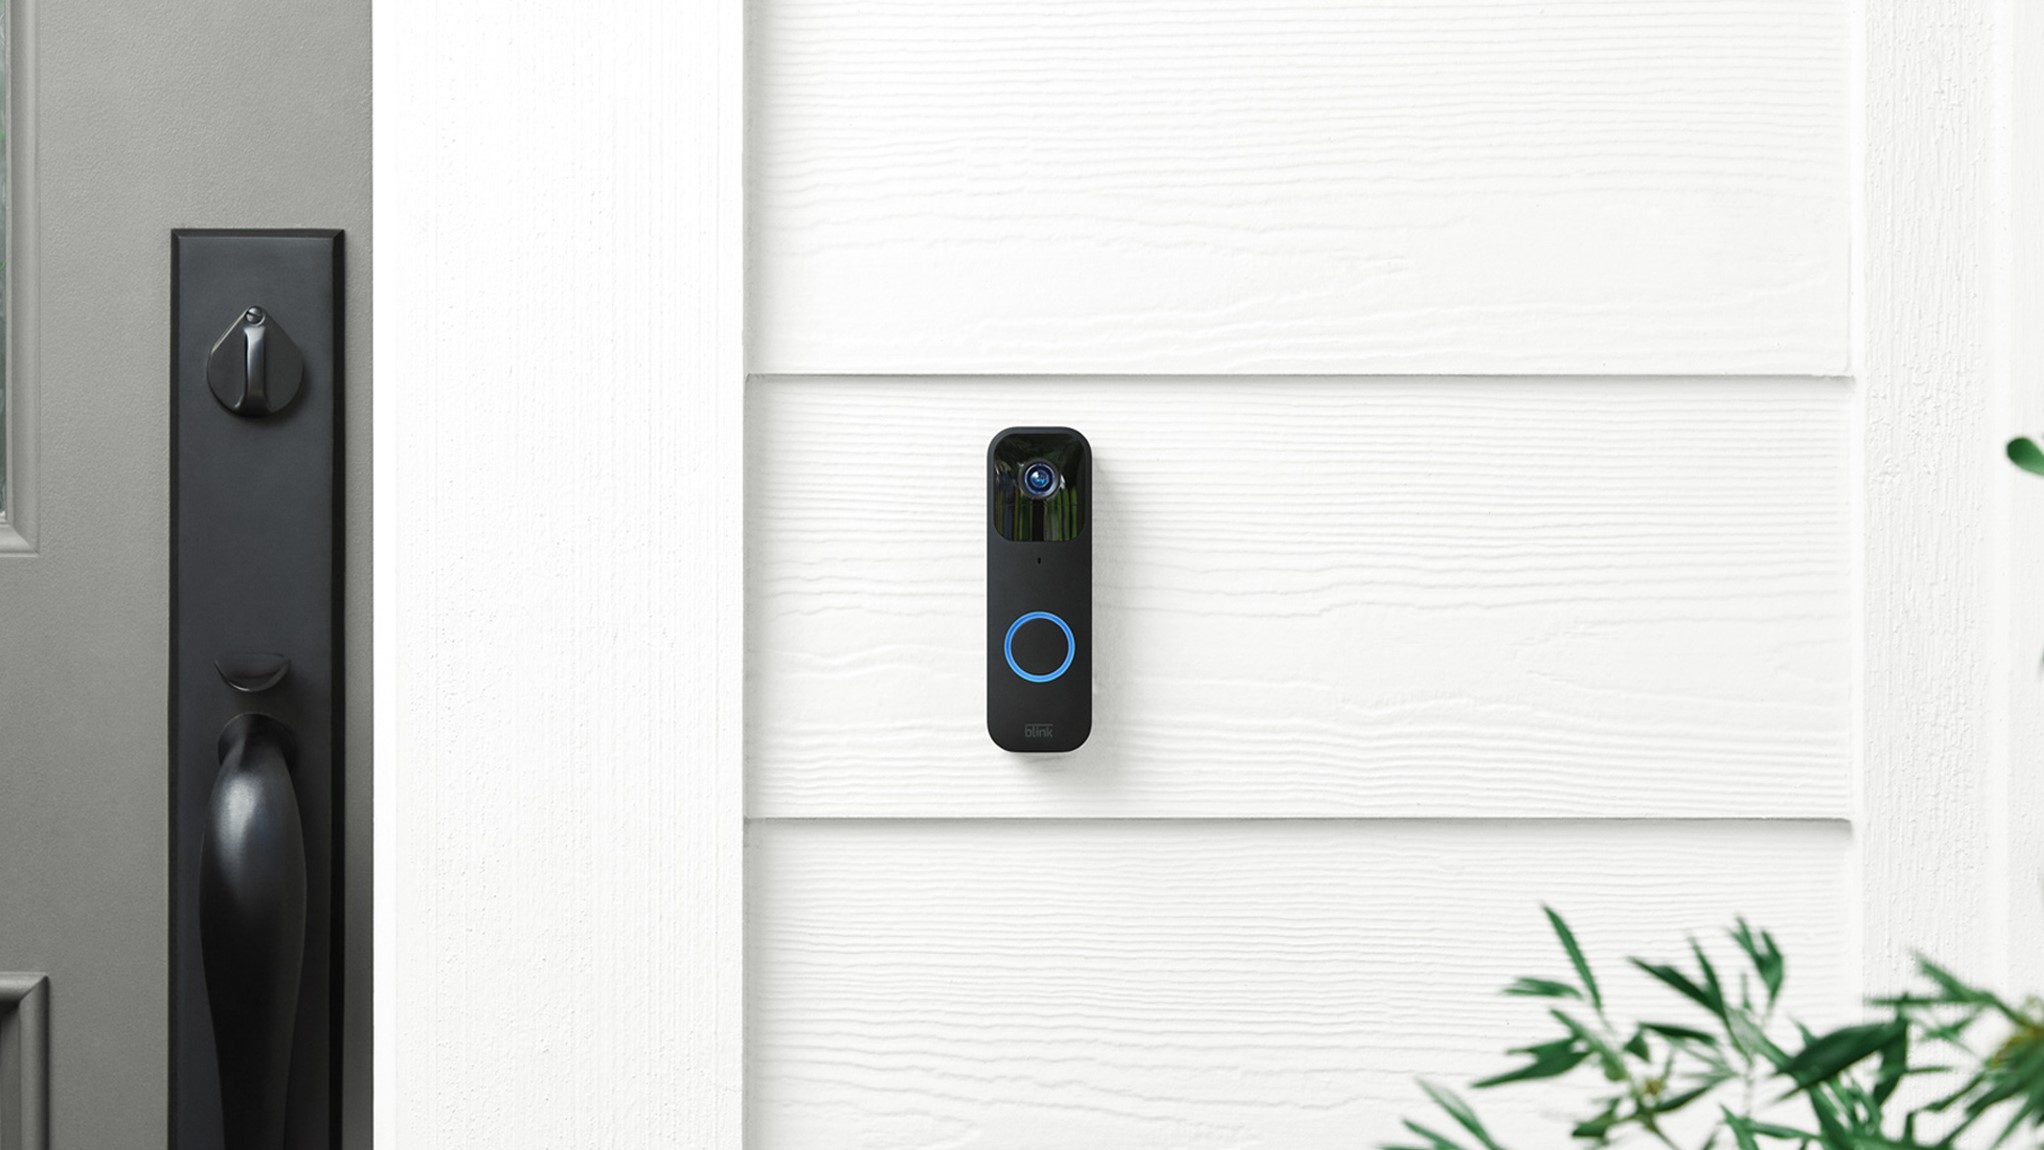
Welcome to our comprehensive guide on how to change the battery in a Blink Doorbell. As technology advances, more and more households are opting for wireless doorbell systems like the Blink Doorbell. These convenient devices provide security and peace of mind, allowing you to see who is at your door even when you’re not at home.
Like any battery-powered device, the Blink Doorbell’s battery will eventually run out of juice and need to be replaced. Fortunately, changing the battery in a Blink Doorbell is a simple and straightforward process that can be done by anyone with a few basic tools and a little bit of patience.
In this article, we will guide you step by step through the process of changing the battery in your Blink Doorbell. We will also provide helpful tips and precautions along the way to ensure a smooth and successful battery replacement.
Before we dive into the steps, let’s first take a moment to gather the necessary tools you will need for the battery replacement. This way, you’ll have everything ready and within reach when you start the process.
Key Takeaways:
- Easily replace the battery in your Blink Doorbell by following simple steps and ensure continued security and convenience for your home.
- Gather the necessary tools, power off the doorbell, and carefully handle the components to successfully change the battery in your Blink Doorbell.
Read more: How To Change Battery On ADT Doorbell
Step 1: Gather Necessary Tools
Before you begin the battery replacement process, it’s important to have all the necessary tools on hand. This will make the task much easier and ensure you don’t encounter any unexpected hurdles along the way.
Here are the tools you will need:
- Screwdriver (Phillips or flathead, depending on the screws used)
- Replacement battery (check your Blink Doorbell model to determine the specific battery type required)
- Clean cloth or tissue
Having these tools readily available will save you time and prevent any unnecessary delays during the battery replacement. Once you have gathered the necessary tools, you can proceed to the next step.
Step 2: Power Off the Doorbell
Before you begin handling the internal components of the Blink Doorbell, it’s important to turn off the power to avoid any potential accidents or damage. Follow these steps to power off the doorbell:
- Locate the power source for your Blink Doorbell.
- If your doorbell is wired, locate the breaker in your electrical panel that supplies power to the doorbell circuit. Flip the corresponding breaker switch to the “Off” position to cut off power.
- If your doorbell is battery-powered, look for a power switch or button usually located on the side or bottom of the device. Flip the switch or press the button to turn off the doorbell.
Once the power has been successfully turned off, you can proceed to the next step with confidence, knowing that you are working safely.
It’s important to note that if your Blink Doorbell is connected to a larger home security system or automation hub, you may need to consult the user manual or contact customer support for instructions on how to power off the doorbell before proceeding with the battery replacement.
Step 3: Remove the Faceplate
Now that the power is turned off, it’s time to remove the faceplate of the Blink Doorbell. The faceplate is the front cover that houses the camera and other components.
Follow these steps to remove the faceplate:
- Inspect the faceplate and locate the screws that hold it in place. Depending on the model of your Blink Doorbell, there may be one or more screws.
- Using the appropriate screwdriver, carefully unscrew and remove the screws holding the faceplate in place. Keep the screws in a safe place to prevent them from getting lost.
- Gently pull the faceplate away from the doorbell to detach it. Be careful not to force it or apply excessive pressure, as this could damage the device.
Once the faceplate is removed, set it aside in a safe location where it won’t get damaged. Now you have clear access to the battery compartment, which we will discuss in the next step.
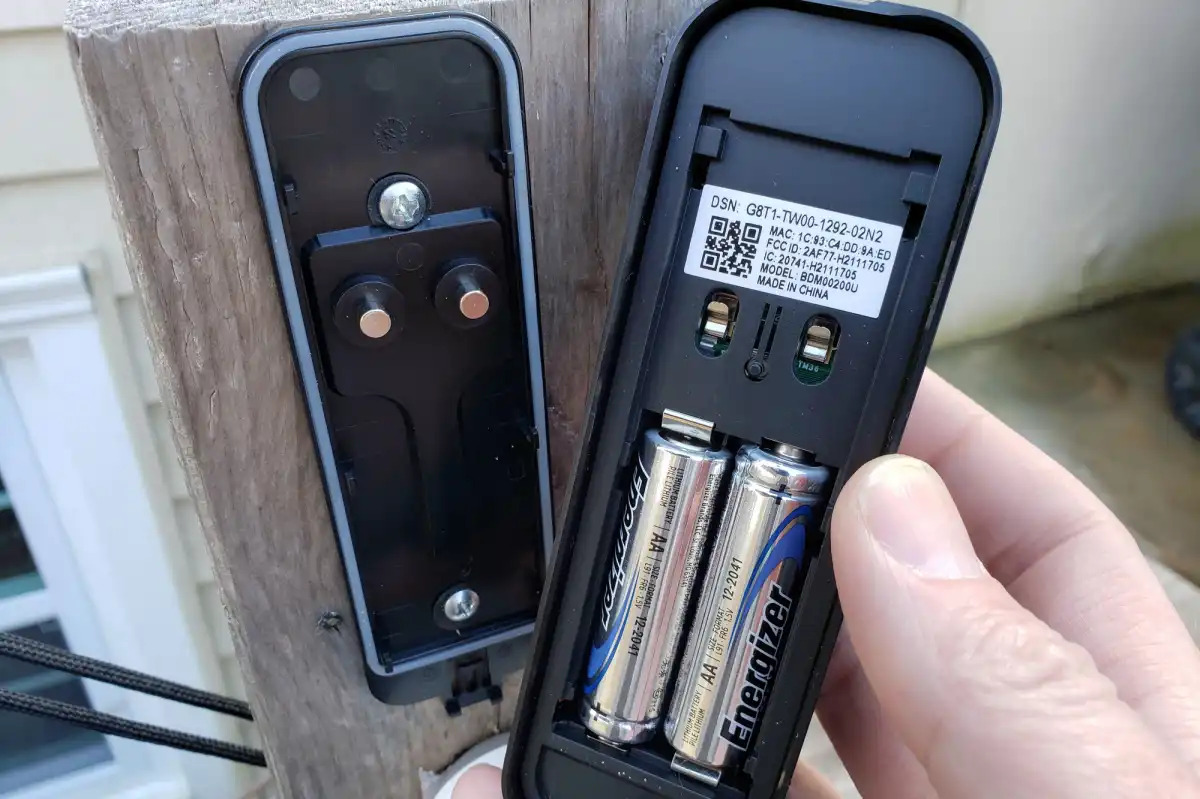
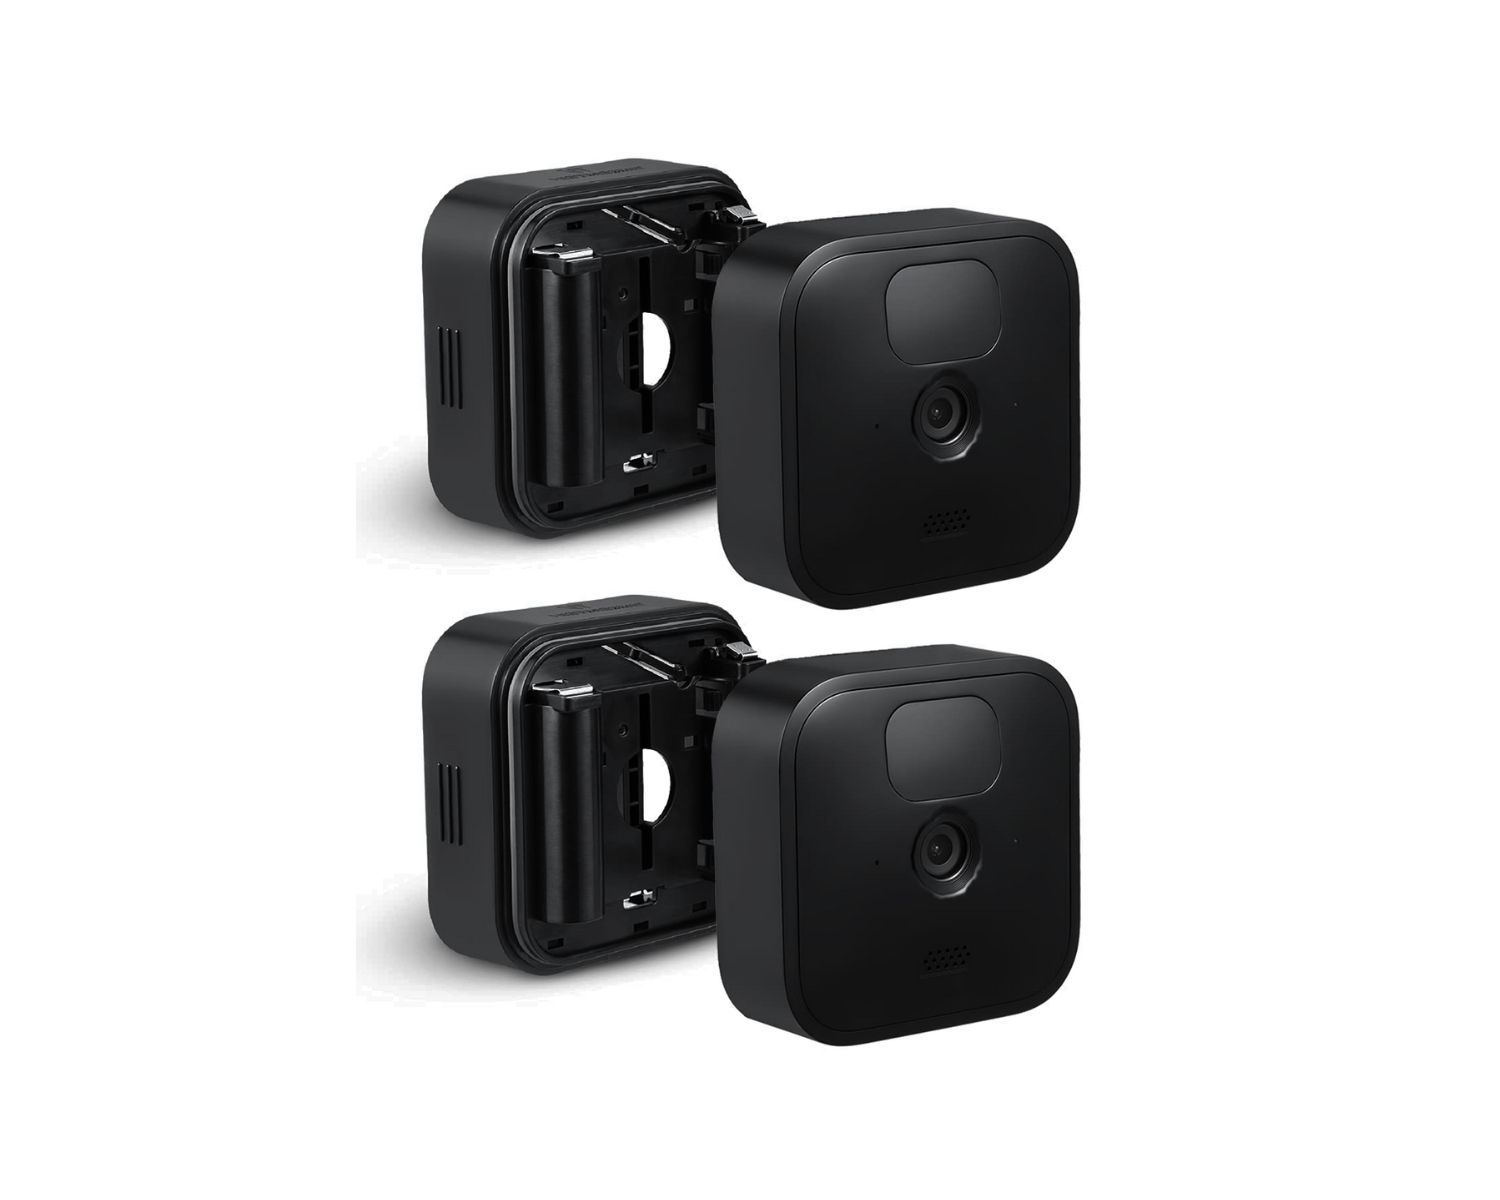
Step 4: Detach the Battery Compartment
With the faceplate removed, it’s time to detach the battery compartment from the Blink Doorbell. Follow these steps:
- Locate the battery compartment on the backside of the faceplate. It is a small, rectangular compartment that houses the battery.
- Inspect the battery compartment and look for any latches, tabs, or screws that may be holding it in place.
- If there are latches or tabs, gently press or pull them to release the battery compartment from the faceplate.
- If there are screws, use the appropriate screwdriver to carefully unscrew and remove them.
- Gently detach the battery compartment from the faceplate, being cautious not to damage any wires or connectors.
Once the battery compartment is detached, you can proceed to the next step of replacing the old battery with a new one. Take care to handle the battery compartment and its components with gentle hands to avoid any damage.
It’s worth noting that the battery compartment design may vary slightly depending on the model of your Blink Doorbell. If you have any difficulty detaching the battery compartment, consult the user manual or seek assistance from the manufacturer’s customer support.
When changing the battery in your Blink doorbell, make sure to power off the device before removing the old battery. Use a compatible replacement battery and follow the manufacturer’s instructions for installation.
Read more: How To Change Vivint Doorbell Battery
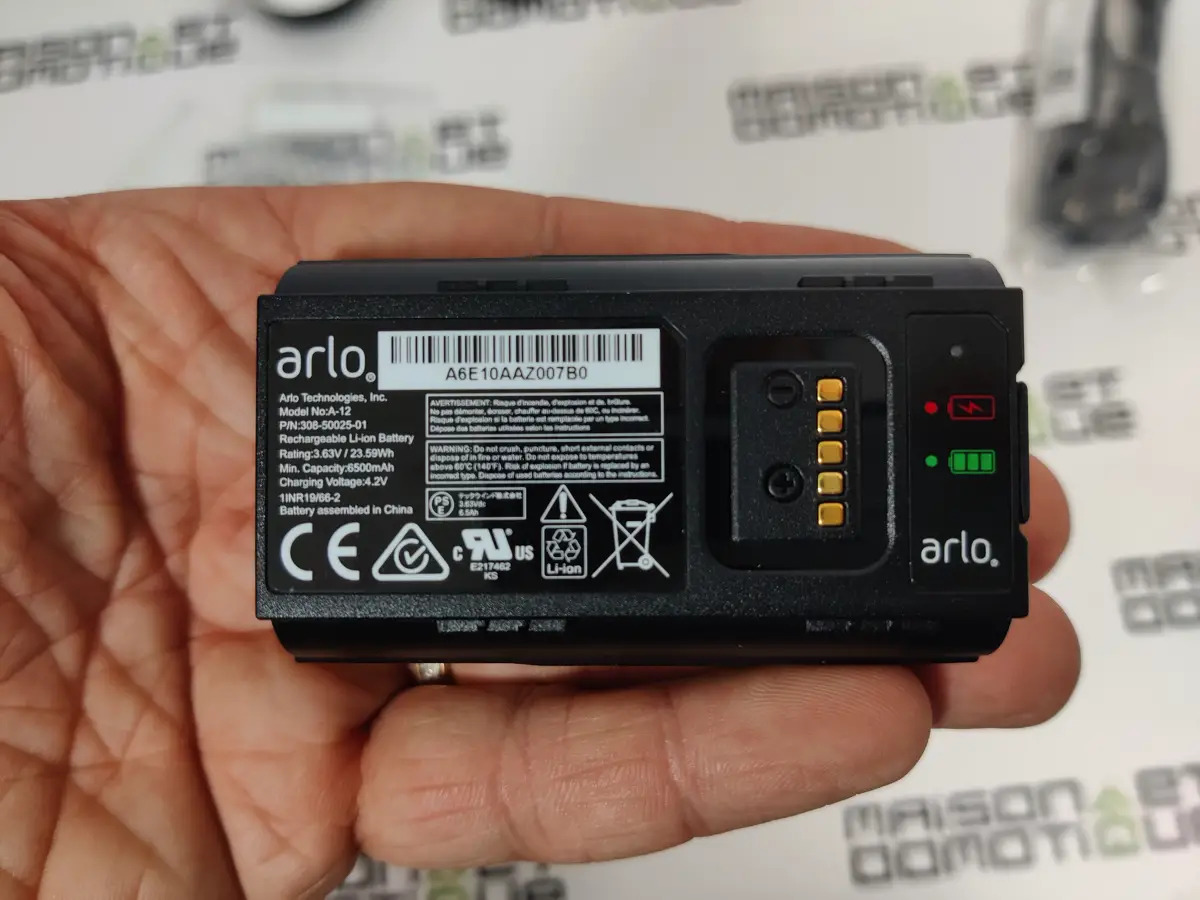
Step 5: Replace the Old Battery
Now that the battery compartment is detached, it’s time to replace the old battery with a new one. Follow these steps:
- Inspect the old battery and determine its type and size. This information can usually be found on the battery itself or in the user manual of the Blink Doorbell.
- Using a clean cloth or tissue, gently remove the old battery from the compartment. Be mindful of any connectors or wires attached to the battery.
- Take the new battery of the same type and size and insert it into the battery compartment. Ensure it is positioned correctly and securely.
- If there are any connectors or wires, carefully reattach them to the new battery, making sure they are properly aligned.
It’s crucial to use the correct type and size of battery recommended by the manufacturer for your specific Blink Doorbell model. Using the wrong battery could result in poor performance or even damage to the doorbell.
Once the new battery is properly inserted and connected, you can proceed to the next step of reattaching the battery compartment to the faceplate.
Step 6: Reattach the Battery Compartment
Now that you have replaced the old battery with a new one, it’s time to reattach the battery compartment to the Blink Doorbell’s faceplate. Follow these steps:
- Align the battery compartment with the corresponding slots or connectors on the backside of the faceplate.
- Guide the battery compartment into place, ensuring that it fits securely and snugly.
- If there are latches or tabs, press or push them gently to lock the battery compartment in position.
- If there were screws holding the battery compartment, use the appropriate screwdriver to reattach them, being careful not to overtighten.
Make sure the battery compartment is firmly attached to the faceplate before proceeding to the next step. A loose connection could result in the doorbell not working properly.
Once the battery compartment is reattached, you can move on to putting back the faceplate in the next step.
Step 7: Put Back the Faceplate
With the battery compartment securely attached, it’s time to put the faceplate back onto the Blink Doorbell. Follow these steps:
- Take the faceplate and align it with the front of the Blink Doorbell.
- Ensure that any connectors or wires from the battery compartment are properly threaded through the holes or channels in the faceplate.
- Gently press the faceplate against the doorbell, aligning it with any screw holes or mounting points.
- If there were screws holding the faceplate, use the appropriate screwdriver to reattach them, tightening them just enough to secure the faceplate in place.
Be careful not to overtighten the screws, as this could damage the faceplate or the Blink Doorbell itself. Ensure that the faceplate is snugly and securely attached, with no gaps or loose connections.
Once the faceplate is properly put back, you’re almost done! It’s time to power on the doorbell in the next step.
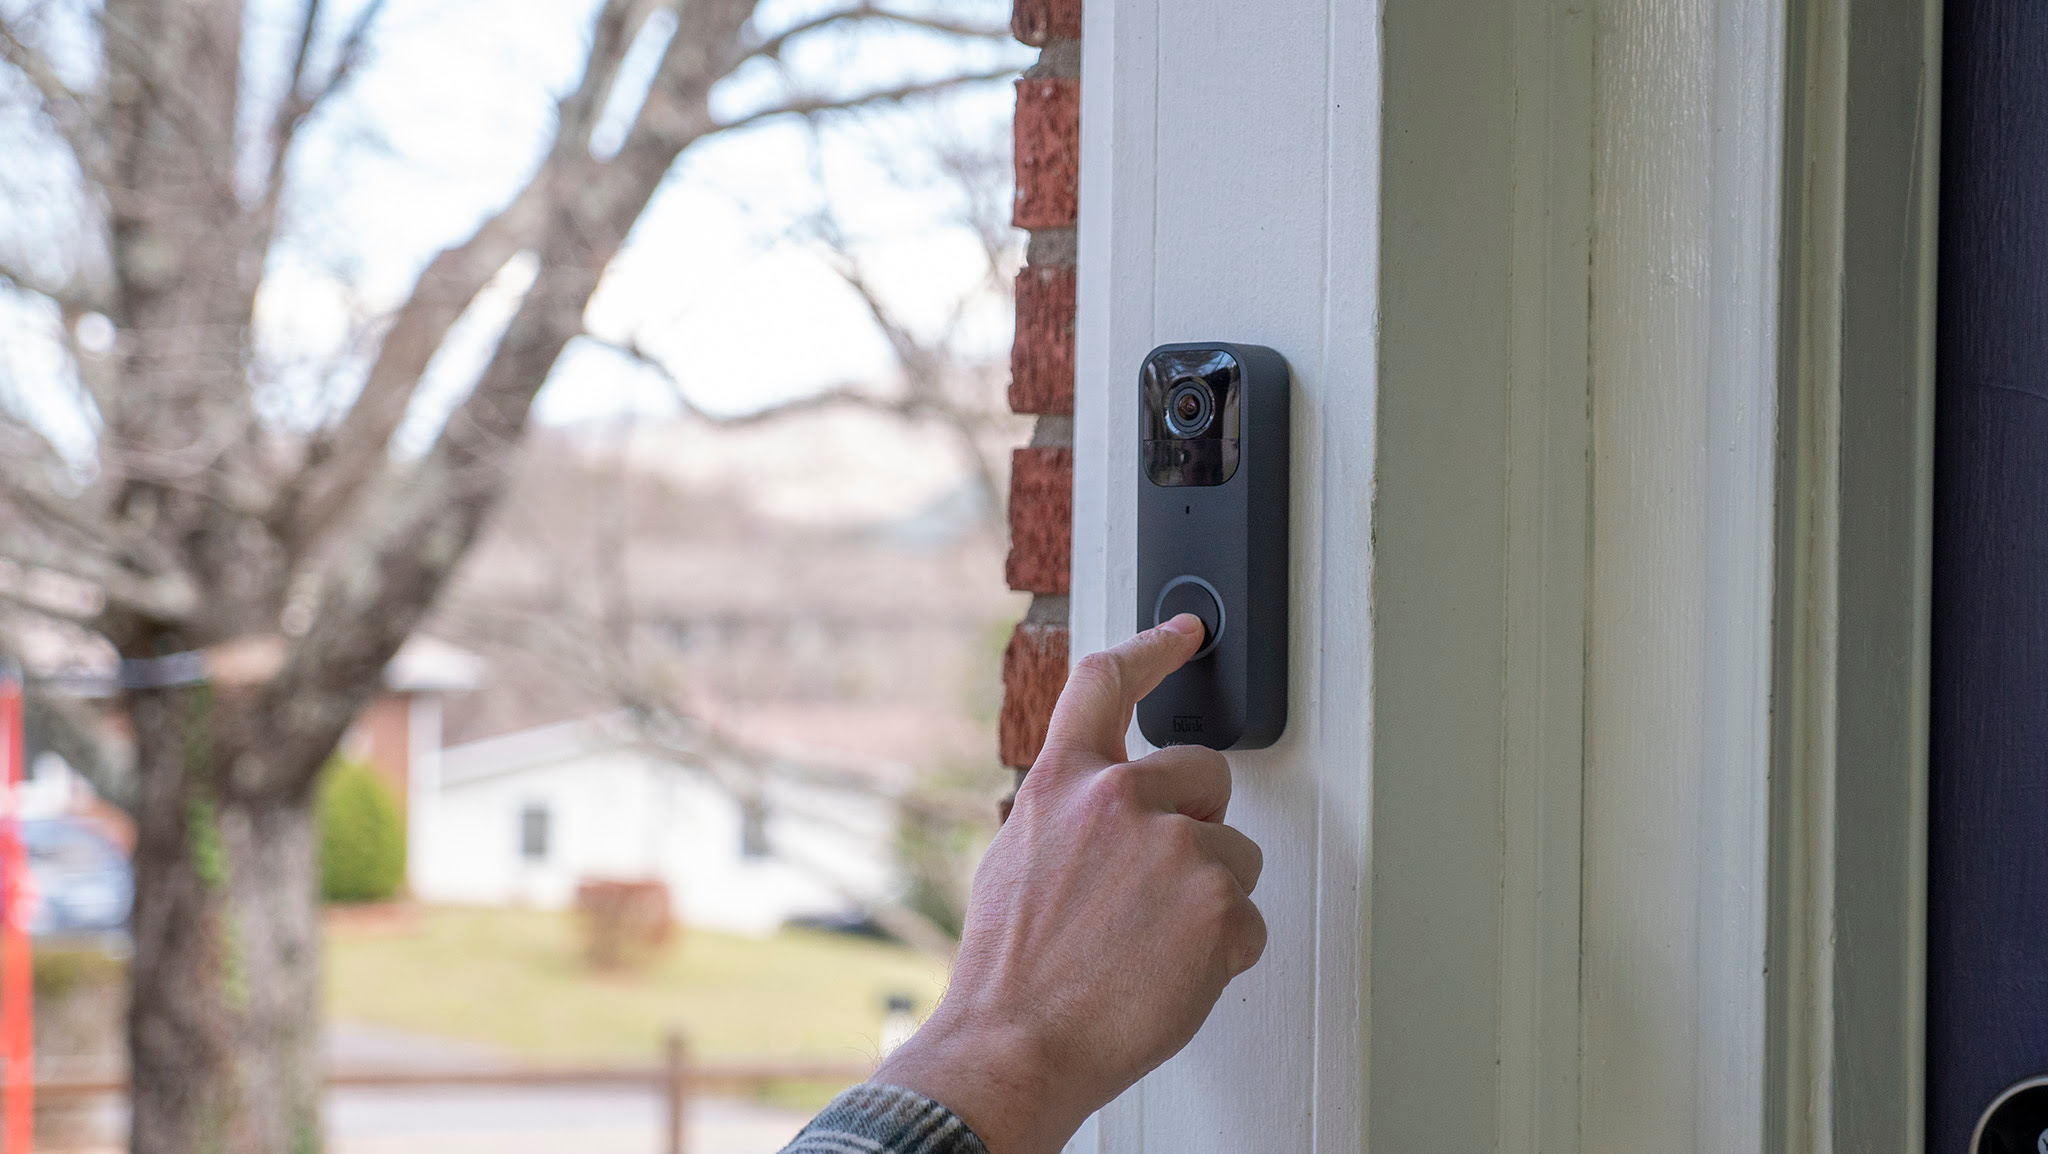
Step 8: Power On the Doorbell
Now that you have reassembled the Blink Doorbell, it’s time to power it back on. Follow these steps:
- If your Blink Doorbell is wired, return to the electrical panel and flip the breaker switch that supplies power to the doorbell circuit back to the “On” position.
- If your Blink Doorbell is battery-powered, locate the power switch or button on the device and flip it or press it to turn the doorbell back on.
Wait a few moments for the Blink Doorbell to power up and initialize. You may see indicator lights or hear audible signals confirming that the doorbell is operational.
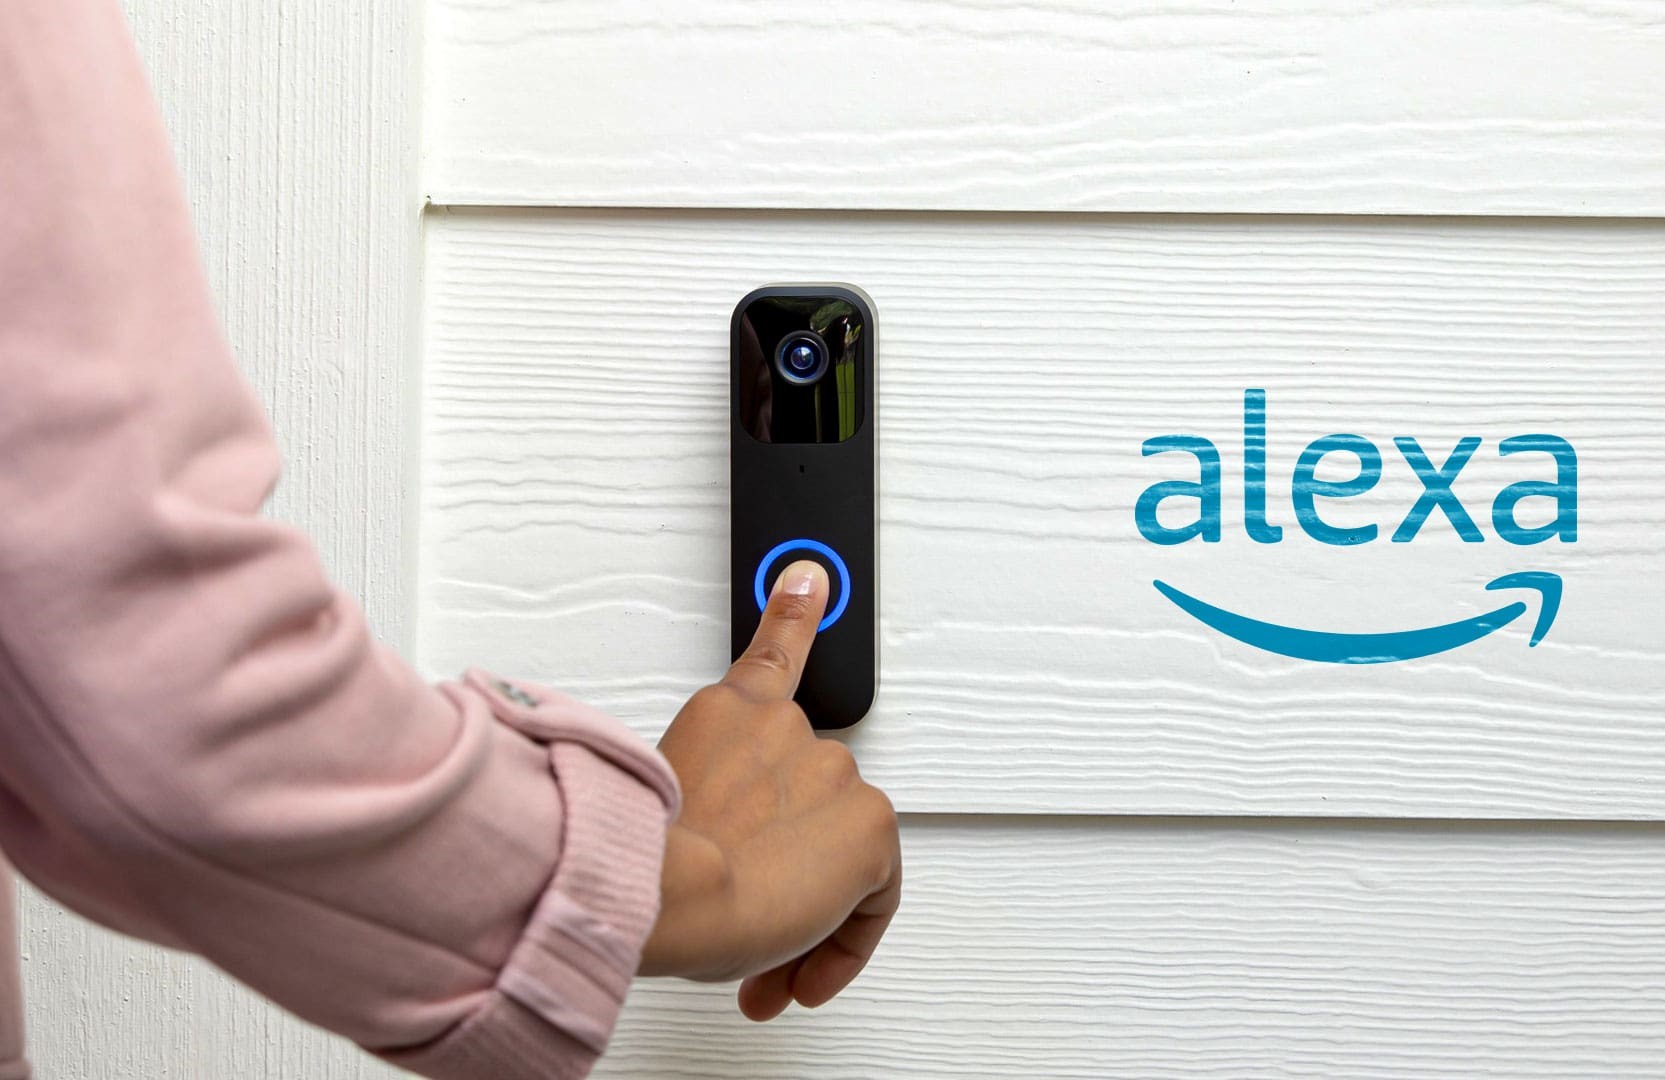
Once the doorbell is powered on, test it by pressing the doorbell button or triggering its motion detection. Ensure that the doorbell camera and other features are functioning properly.
If you encounter any issues or the doorbell doesn’t power on as expected, double-check the battery connection, verify that the battery is correctly inserted and the contacts are clean. If the problem persists, consult the user manual or contact the manufacturer’s customer support for assistance.
Congratulations! You have successfully changed the battery in your Blink Doorbell. Now you can enjoy continued security and convenience without worrying about a dead battery.
Read more: How To Change Batteries In Kangaroo Doorbell
Conclusion
Changing the battery in a Blink Doorbell is a simple process that can be done by following a few easy steps. By following this guide, you can confidently replace the battery and ensure that your doorbell continues to function optimally.
Remember to gather the necessary tools before you begin, power off the doorbell to ensure your safety, and carefully remove the faceplate to access the battery compartment. Replace the old battery with a new one of the correct type and size, reattach the battery compartment, put back the faceplate, and power on the doorbell. With these steps, your Blink Doorbell will be up and running again.
Always refer to the user manual specific to your Blink Doorbell model for any additional instructions or precautions. If you encounter any difficulties or have any concerns, don’t hesitate to reach out to the manufacturer’s customer support for further assistance.
By regularly changing the battery in your Blink Doorbell, you can ensure that it continues to provide reliable security and convenience to your home. Maintaining the functionality of your doorbell ensures that you never miss a visitor or an important delivery.
We hope this guide has been helpful in guiding you through the process of changing the battery in your Blink Doorbell. Now go ahead and enjoy the peace of mind that comes with a properly functioning doorbell!
Now that you've mastered changing the battery in your Blink doorbell, why not take your tech skills up a notch? Our next guide on home automation systems offers a glimpse into the future of smart living. You'll learn about the latest gadgets that make managing your home simpler and more efficient. Perfect for anyone looking to streamline their daily routines, this article is packed with practical advice and exciting innovations.
Frequently Asked Questions about How To Change Battery In Blink Doorbell
Was this page helpful?
At Storables.com, we guarantee accurate and reliable information. Our content, validated by Expert Board Contributors, is crafted following stringent Editorial Policies. We're committed to providing you with well-researched, expert-backed insights for all your informational needs.

0 thoughts on “How To Change Battery In Blink Doorbell”