Home>Renovation & DIY>Tools & Equipment>How To Find Stud With Stud Finder
Tools & Equipment
How To Find Stud With Stud Finder
Modified: March 1, 2024
Learn how to easily locate studs in your walls with a stud finder. Find the best tools and equipment for the job.
(Many of the links in this article redirect to a specific reviewed product. Your purchase of these products through affiliate links helps to generate commission for Storables.com, at no extra cost. Learn more)
Introduction
Welcome to our comprehensive guide on how to find a stud with a stud finder. Whether you’re a DIY enthusiast or a professional contractor, having the right tools and equipment is essential for any project. When it comes to hanging shelves, mounting TV brackets, or installing heavy fixtures, finding a stud is crucial for ensuring secure and sturdy support.
A stud finder is a handy tool that allows you to locate the vertical wooden or metal framing members within your walls. These studs form the structural skeleton of your walls and provide a solid foundation for hanging or mounting objects. Using a stud finder takes away the guesswork and helps to prevent costly mistakes, such as damaging electrical wiring or creating unsightly holes.
In this article, we will dive into the details of how stud finders work, the different types available, step-by-step instructions on how to find a stud using a stud finder, as well as alternative methods for finding studs without a stud finder.
So, let’s proceed and equip ourselves with the knowledge to effectively use this essential tool and make our projects safe and successful!
Key Takeaways:
- Efficiently and accurately locating studs is essential for secure wall installations. Stud finders, alternative methods, and cautious approaches ensure successful projects and prevent damage to walls and hidden elements.
- Whether a DIY enthusiast or professional contractor, mastering stud-finding techniques is crucial. Patience, persistence, and thoroughness lead to precise results, safe installations, and project success.
What is a Stud Finder?
A stud finder is a handheld device used to detect the location of wooden or metal studs behind the surface of your walls. It is an essential tool for anyone involved in construction, renovation, or even simple home improvement projects.
Stud finders work by utilizing various technologies to detect changes in density or composition within the wall. This allows them to pinpoint the location of the studs, which are typically placed at regular intervals to provide structural support for the wall.
One of the primary benefits of using a stud finder is the ability to locate studs accurately, thereby ensuring that any fixtures or objects you hang on the wall are securely anchored and will not come loose over time. This is especially important for heavy items such as shelving units, TV brackets, or wall-mounted cabinets.
Stud finders come in a variety of types, ranging from simpler magnetic models to more advanced electronic devices. The basic principle remains the same: these devices help users identify the exact position of studs, so they can confidently mount objects without causing damage to the wall or compromising its structural integrity.
Without a stud finder, finding a stud can be a challenging and time-consuming task, often involving tapping the wall and listening for a change in sound or looking for telltale signs of nails or screws. However, these methods are not always foolproof and can lead to inaccuracies.
Furthermore, using a stud finder allows you to avoid potential hazards behind the wall, such as electrical wiring or plumbing pipes. By knowing the precise location of the studs, you can safely drill or attach items without damaging these hidden elements.
Now that we understand what a stud finder is and why it is so important, let’s explore how these handy tools work in more detail.
Understanding How Stud Finders Work
Stud finders rely on different technologies to detect the presence of studs within your walls. Understanding how these technologies work can help you choose the right stud finder for your needs and ensure accurate results.
1. Magnetic Stud Finders:
Magnetic stud finders work based on the principle that most wall studs are made of wood and therefore contain nails or screws. These devices have a small magnet inside that is attracted to the metal fasteners in the stud. As you move the magnet along the wall, it will be pulled towards the nails or screws, indicating the presence of a stud.
While magnetic stud finders are simple and inexpensive, they have limitations. They can only detect metal fasteners and are less effective on walls with minimal or no metal components.
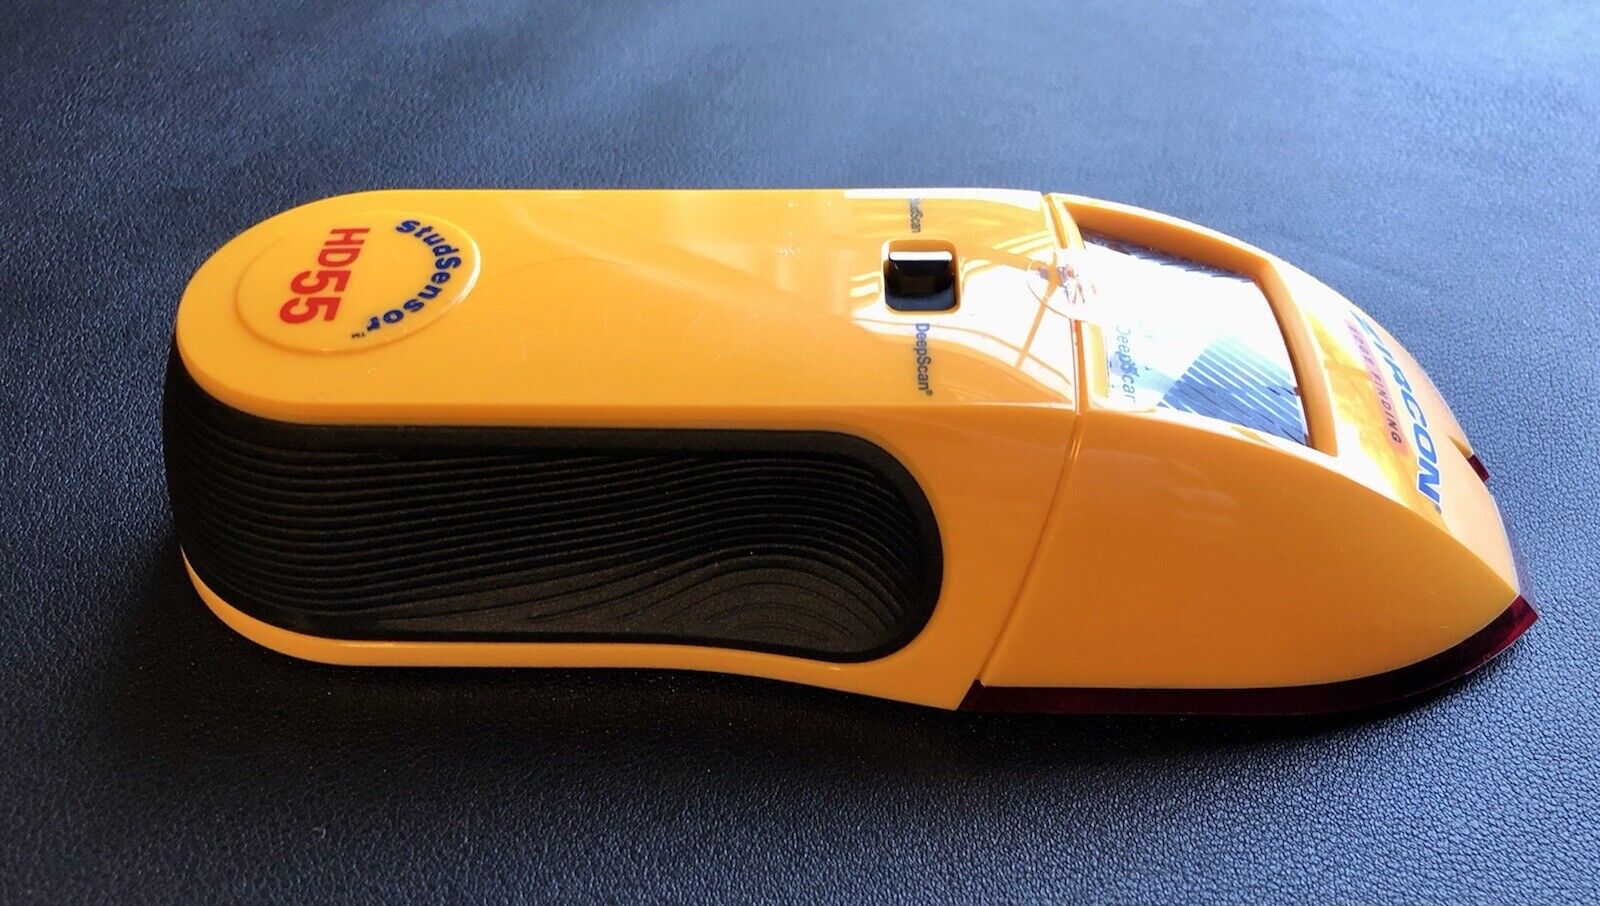
2. Electronic Stud Finders:
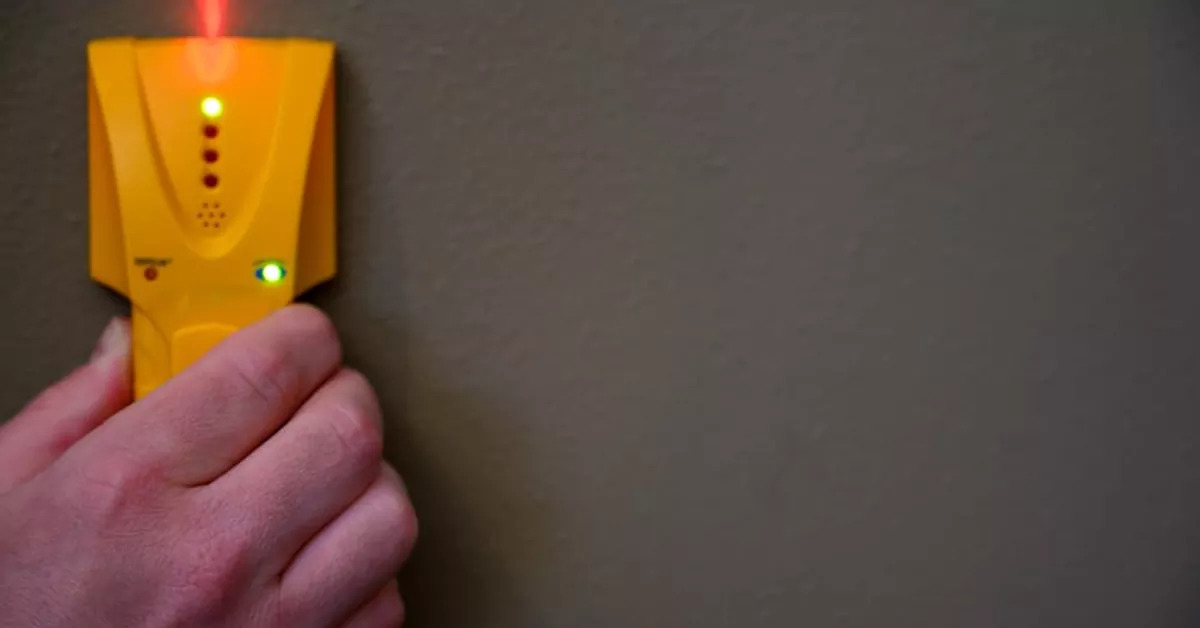
Electronic stud finders use sensors to detect changes in the electrical conductivity or density of the wall. They typically have two modes: a scanning mode and a deep mode.
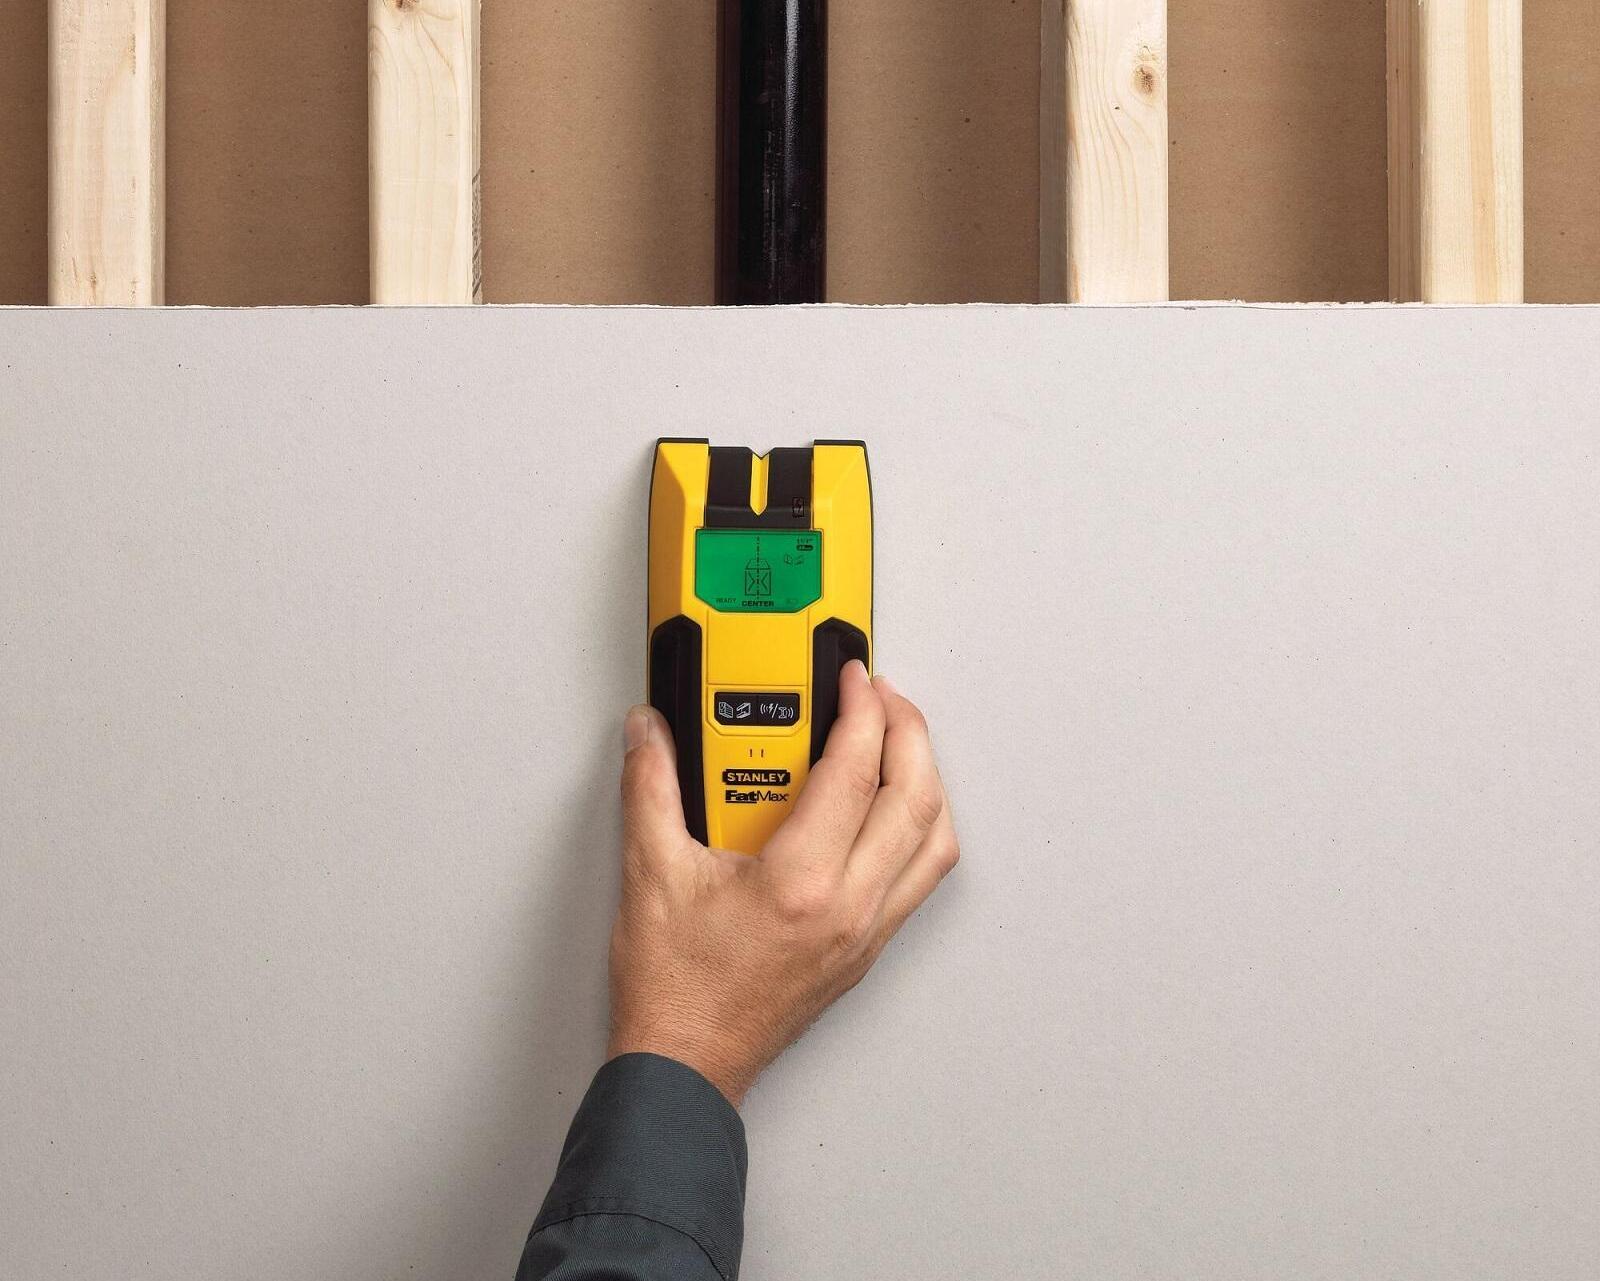
Scanning mode: In this mode, the stud finder sends out electronic signals that scan the wall and identify the changes in density. When it detects a stud, it alerts the user with either a beep, a visual display, or both. Some advanced models may even show the width of the detected stud.
Deep mode: This mode is useful for detecting studs through thicker walls or layers of material, such as drywall or paneling. The stud finder penetrates deeper to locate the studs, making it ideal for remodeling projects or older homes with multiple layers of construction.
3. Multi-Sensor Stud Finders:
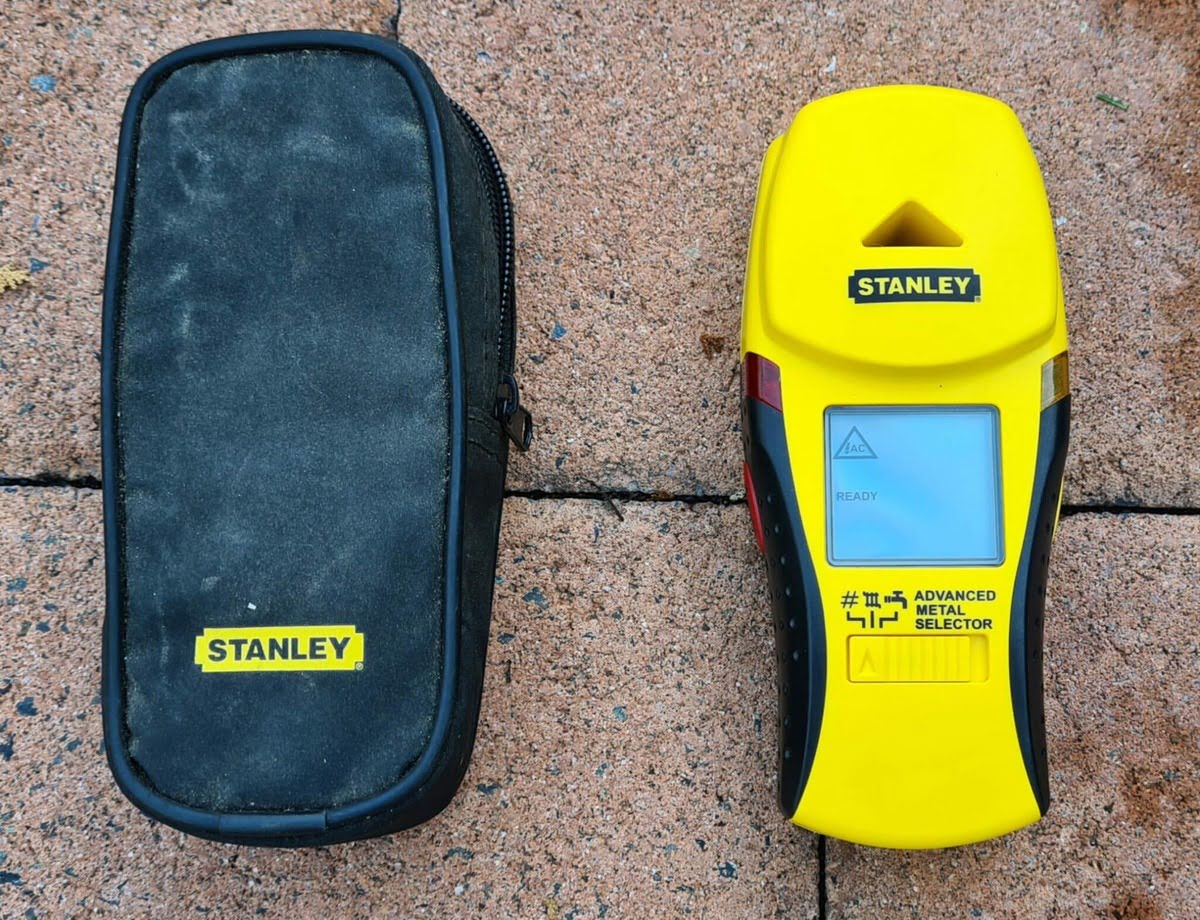
Multi-sensor stud finders combine the capabilities of both magnetic and electronic stud finders. They use multiple sensors to detect both metal fasteners and changes in density. This allows for more accurate and reliable stud detection in a variety of wall types.
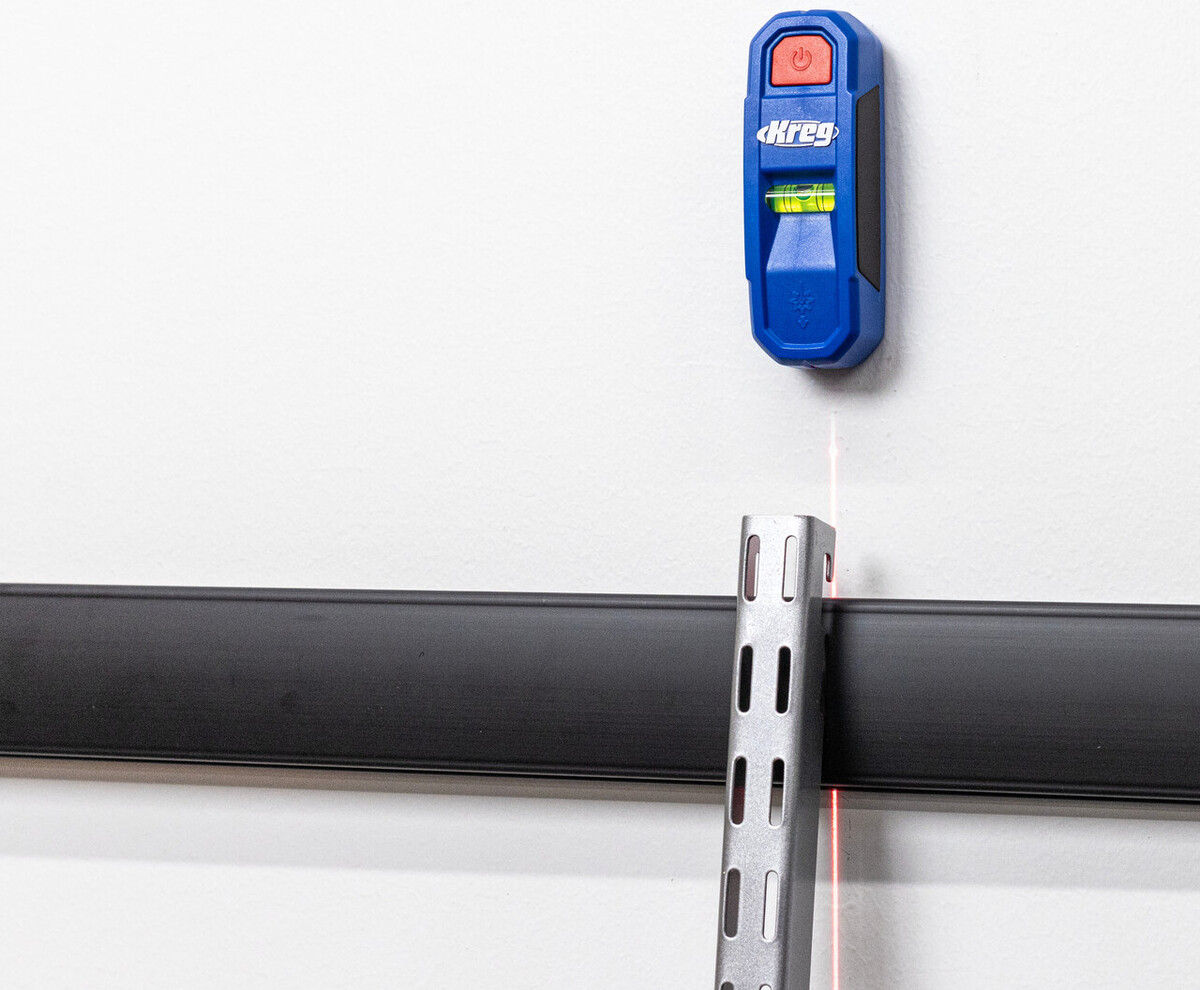
It’s essential to read the manufacturer’s instructions and understand the specific features and functionality of your stud finder. Different models may have additional features, such as built-in levels or live wire detection, which can further enhance the usability and safety of the device.
Now that you have an understanding of how stud finders work, let’s move on to explore the different types of stud finders available in the market.
Types of Stud Finders
Stud finders come in several different types, each utilizing various technologies to locate studs behind your walls. Understanding the different types can help you choose the most suitable one for your specific needs.
1. Magnetic Stud Finders:
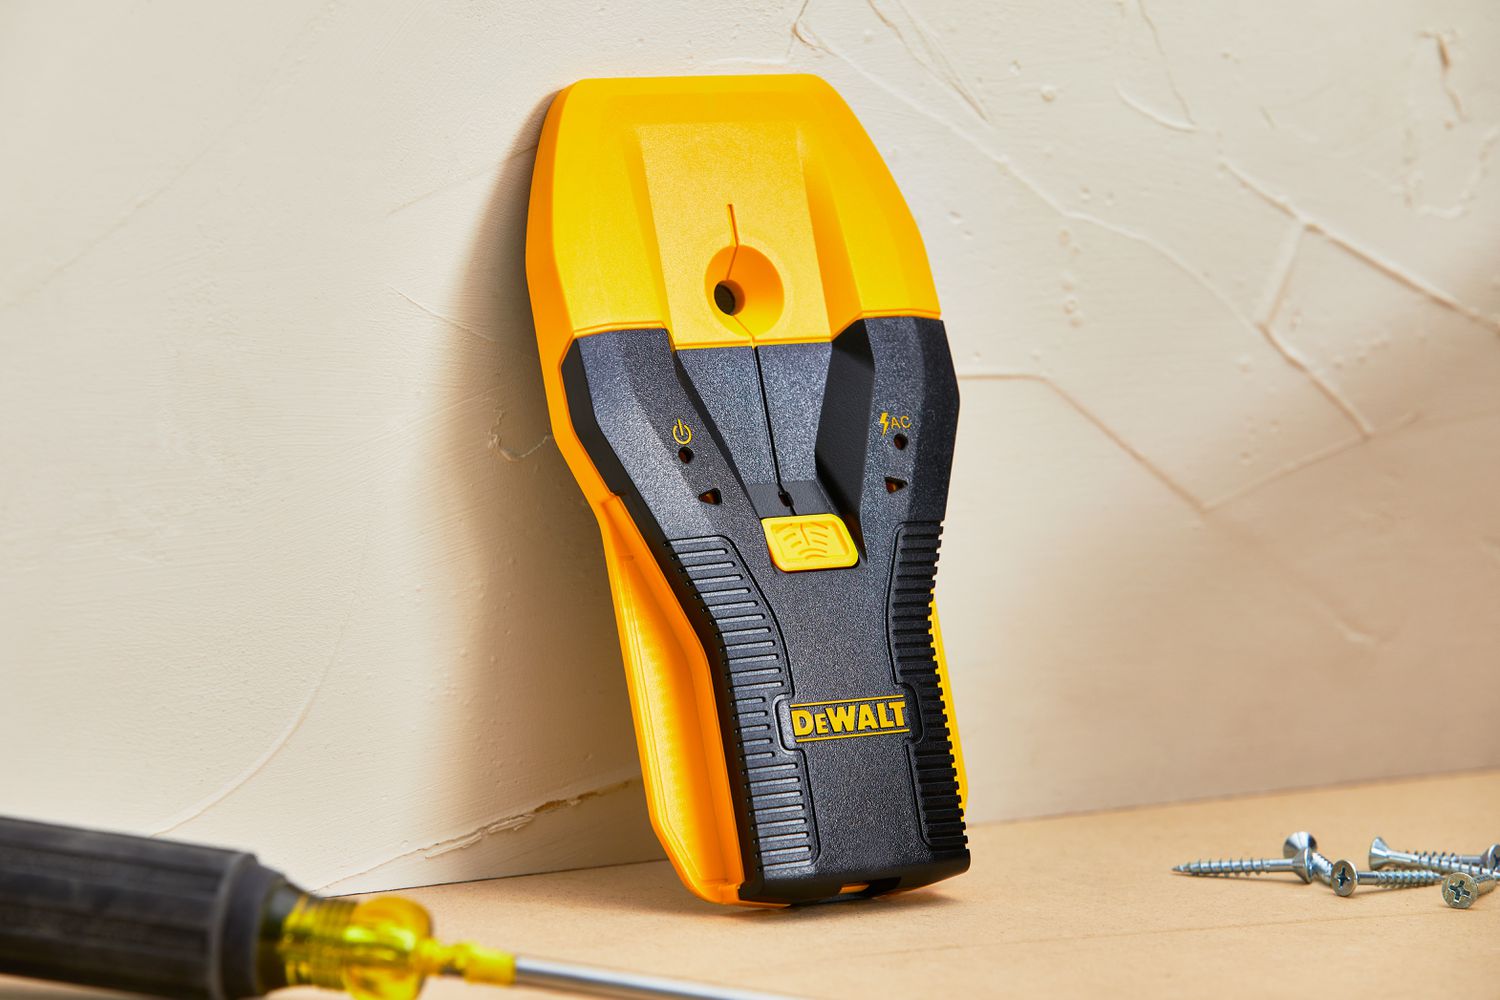
Magnetic stud finders are the simplest and most affordable type of stud finder. They work based on the principle that most wall studs are fastened with metal screws or nails. These devices contain a small magnet that is attracted to the metal fasteners in the stud. By running the magnet along the wall, you can detect the presence of studs. Magnetic stud finders do not require batteries or calibration.
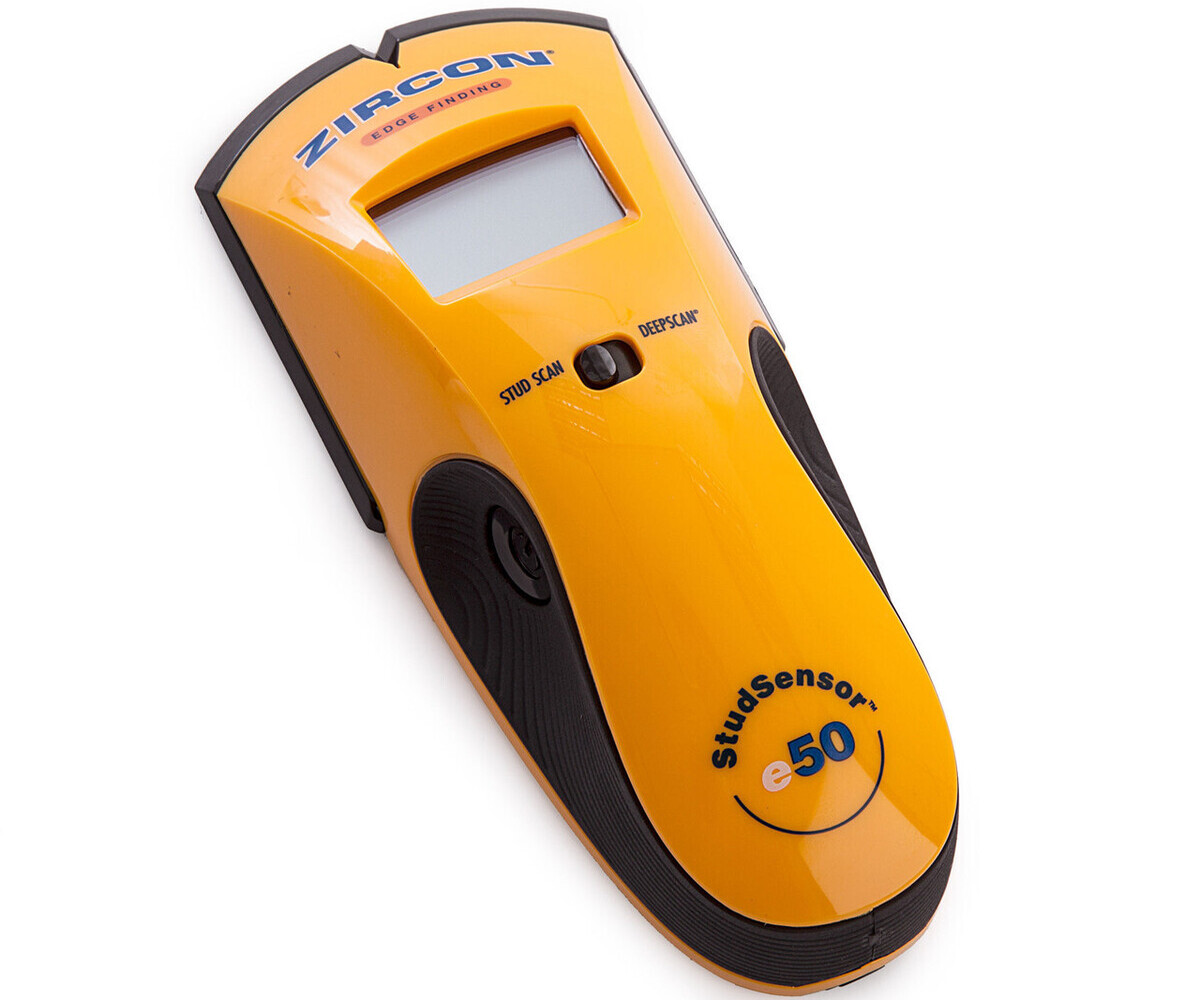
2. Electronic Stud Finders:
Electronic stud finders use sensors to detect changes in the wall’s density or electrical conductivity. There are two main types of electronic stud finders:
- Edge finders: These stud finders locate the edges of a stud by detecting the density change between the stud and the surrounding wall. They provide a visual or audible cue when the edge of the stud is detected. This allows you to mark the edges and find the center of the stud manually.
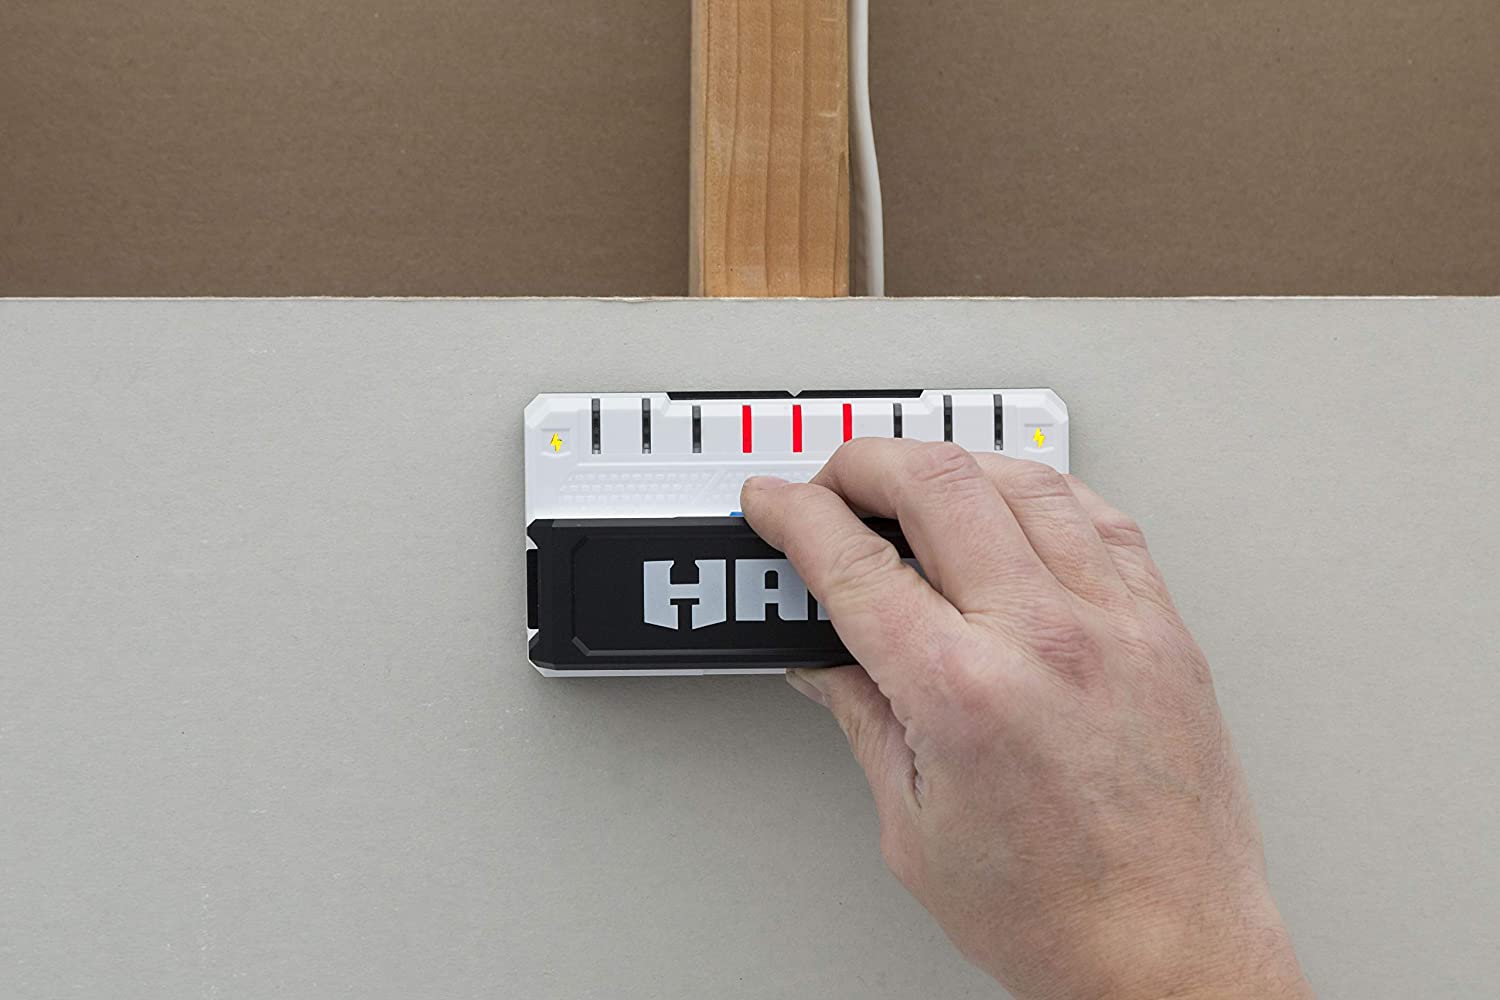
- Center finders: Center finders are more advanced electronic stud finders. They not only locate the edges of a stud but also indicate the center. They often have a visual display or an LED light that shows the width of the stud. Some center finders can even detect multiple studs simultaneously, making the process of finding studs faster and more efficient.
3. Multi-Sensor Stud Finders:
Multi-sensor stud finders combine both magnetic and electronic sensors to provide more accurate stud detection. These devices often have multiple scanning modes, allowing you to detect both metal fasteners and changes in density. They are versatile and work well on a variety of wall types.
4. Ultrasonic Stud Finders:
Ultrasonic stud finders use sound waves to detect the presence of studs. These devices emit high-frequency sound waves that penetrate the wall and bounce back when they encounter a dense object, such as a stud. Ultrasonic stud finders are typically more expensive and less common than magnetic or electronic stud finders.
When choosing a stud finder, consider the specific requirements of your projects. Determine the wall types you will be working with, the depth of scanning you need, and any additional features you may find useful, such as live wire detection or built-in levels. Reading product reviews and user experiences can also help you make an informed decision.
Now that you understand the types of stud finders available, let’s move on to the step-by-step process of finding a stud using a stud finder.
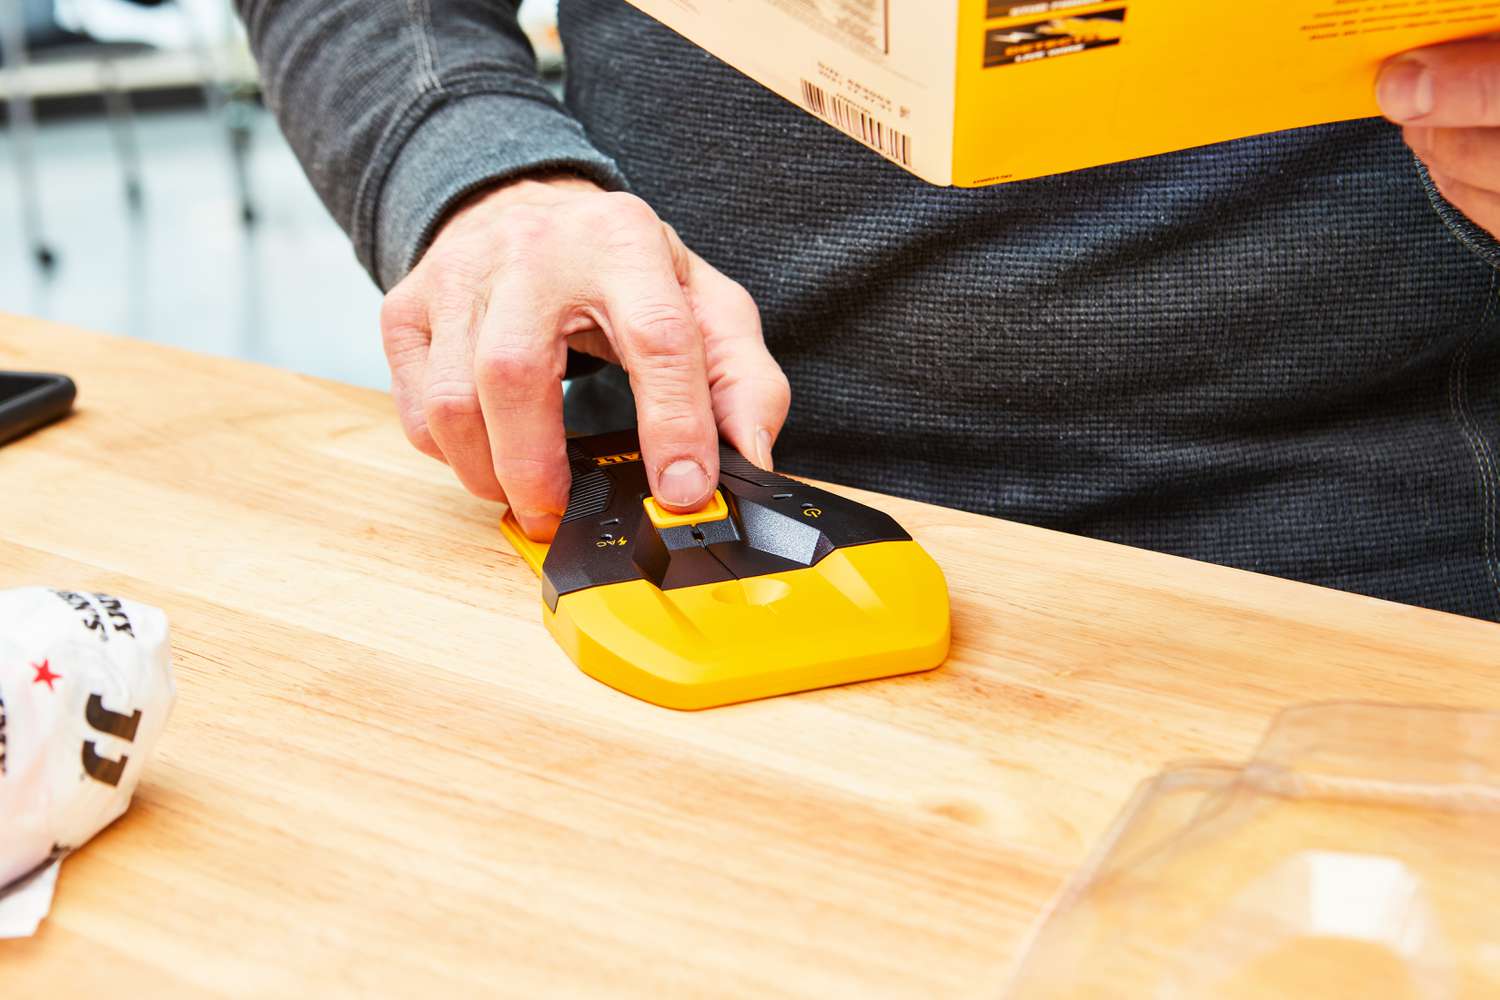
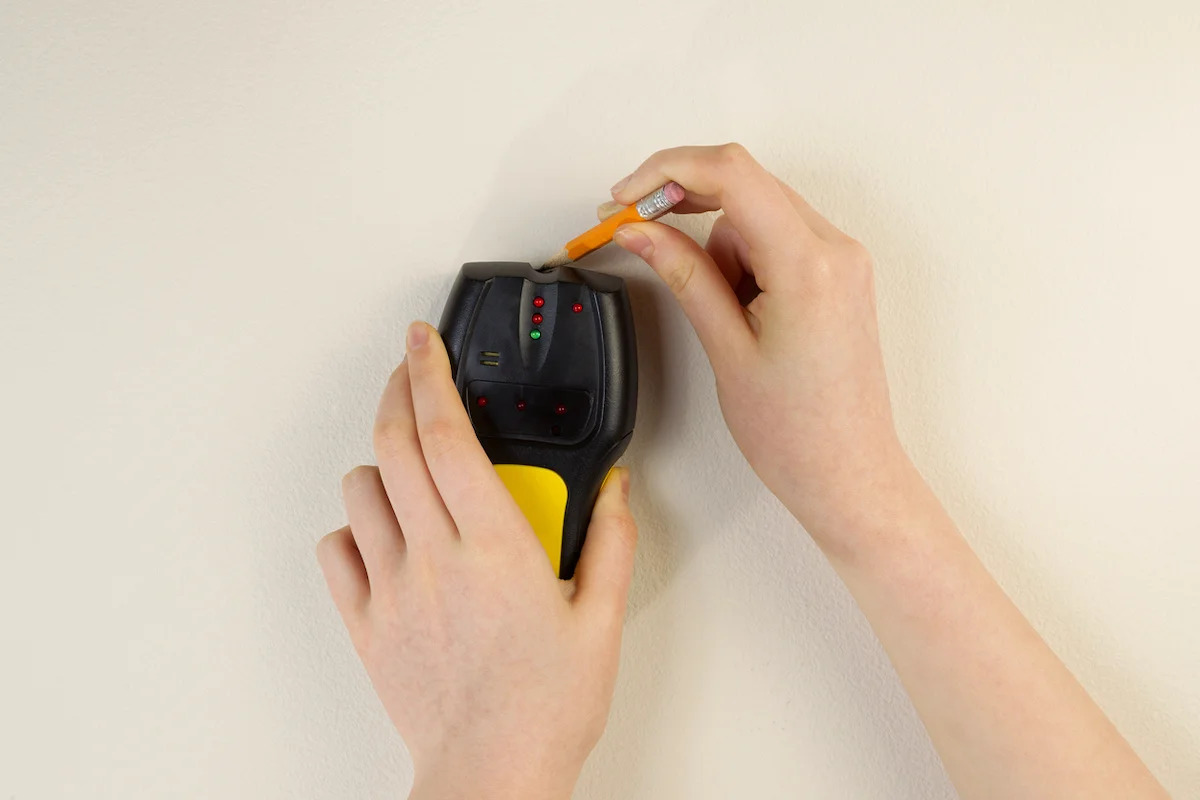
When using a stud finder, start by holding it flat against the wall and calibrating it according to the manufacturer’s instructions. Slowly move it horizontally across the wall until it indicates the presence of a stud.
Steps to Find a Stud with a Stud Finder
Using a stud finder is a simple and efficient way to locate studs behind your walls. Follow these step-by-step instructions to find a stud using a stud finder:
- Choose the right stud finder: Depending on your needs and preferences, select the appropriate type of stud finder. Whether it’s a magnetic, electronic, or multi-sensor stud finder, make sure you have a reliable and accurate tool.
- Prepare the area: Before you begin, clear the area of any obstructions or wall hangings. Remove any furniture or objects that may hinder your movement. This will allow you to have a clear path for scanning the wall.
- Calibrate the stud finder (if necessary): Some electronic stud finders require calibration before use. Follow the manufacturer’s instructions to ensure accurate readings. If using a magnetic stud finder, no calibration is necessary.
- Turn on the stud finder: Switch on the stud finder and choose the appropriate scanning mode, whether it’s scanning for edges or centers of the studs.
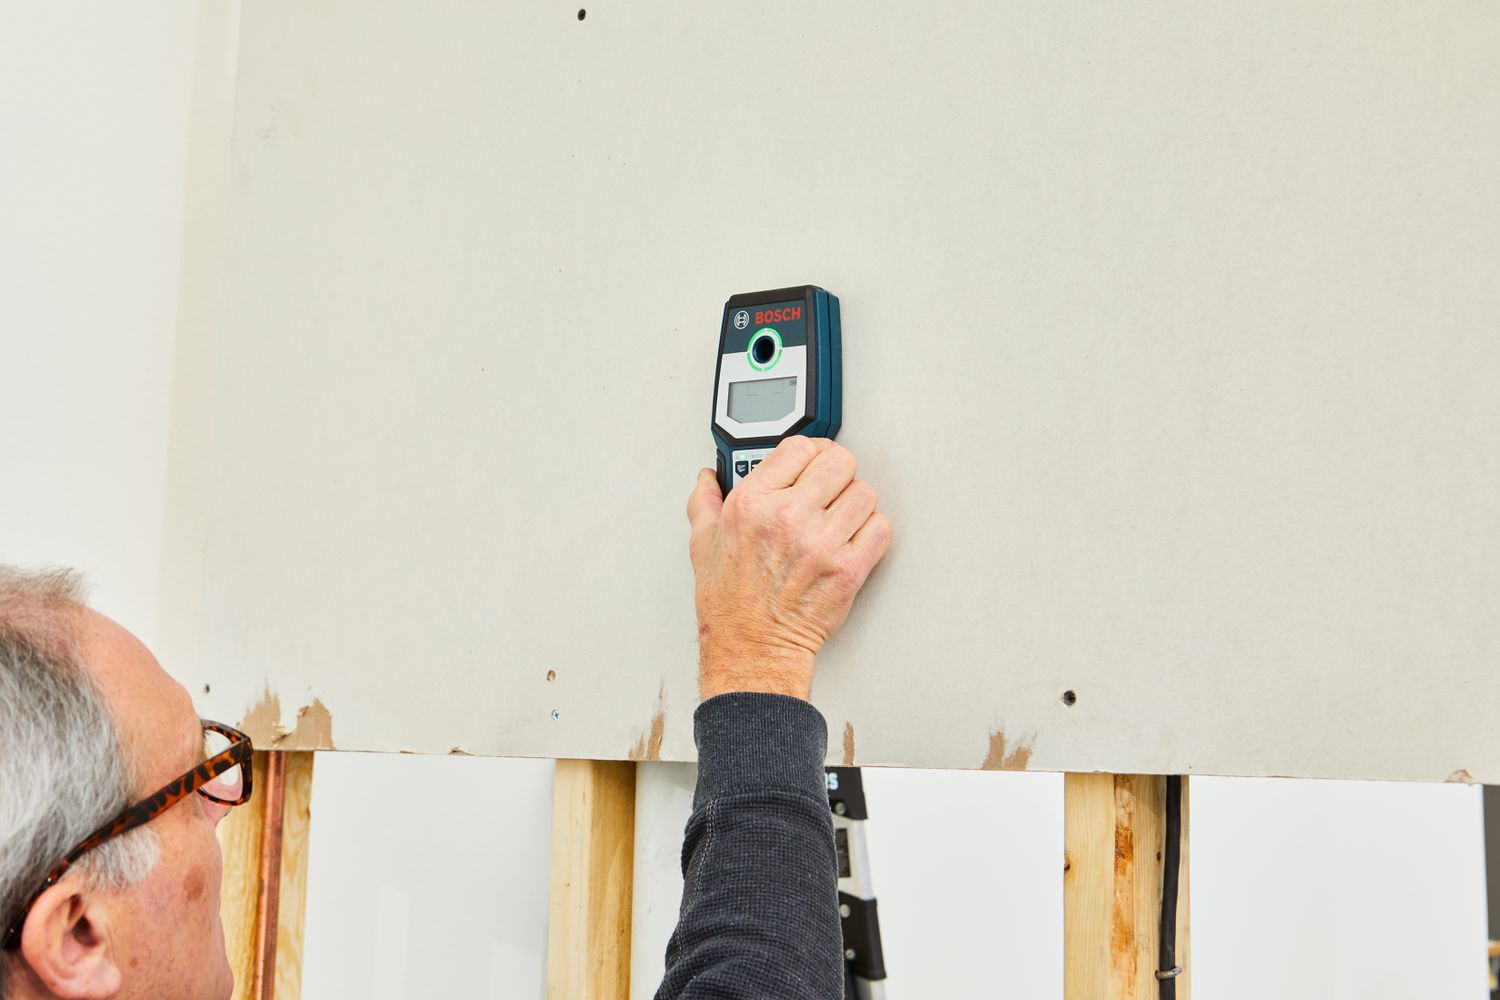
- Hold the stud finder against the wall: Place the stud finder firmly against the wall, ensuring it is level and perpendicular to the surface. Start scanning from one side of the wall and move slowly and steadily across the surface.
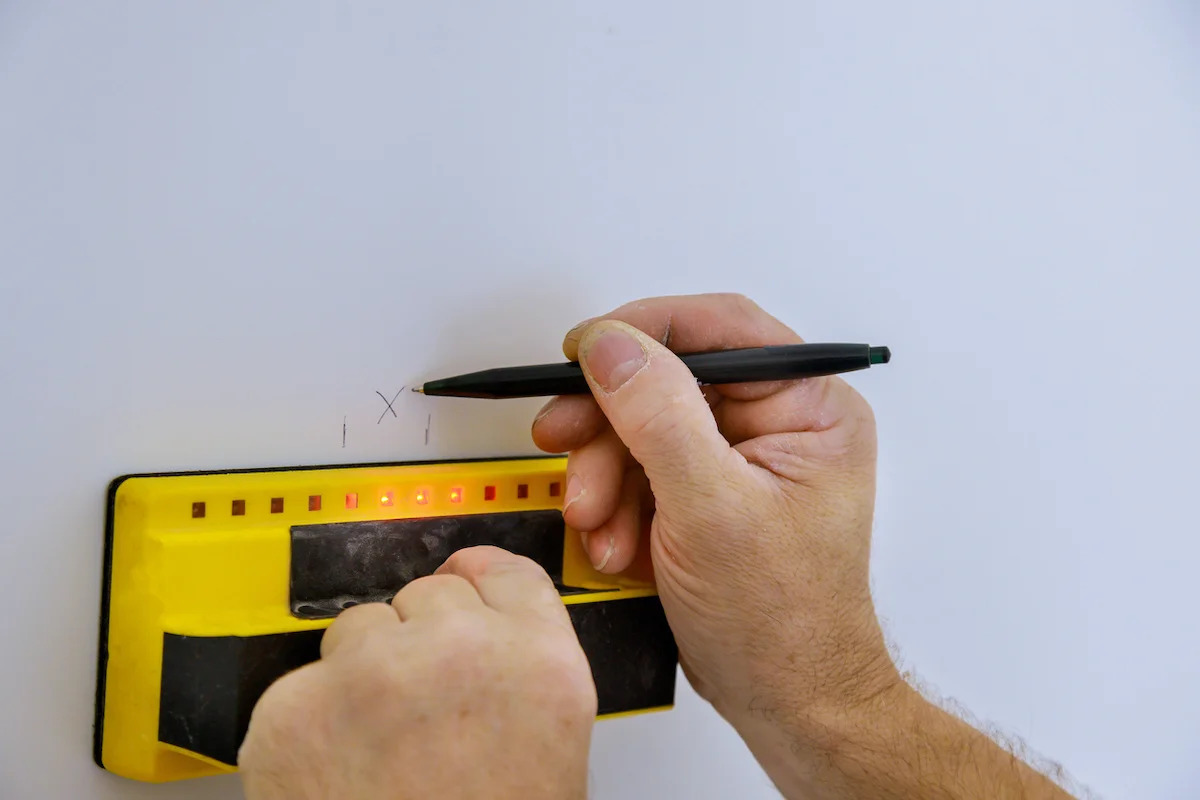
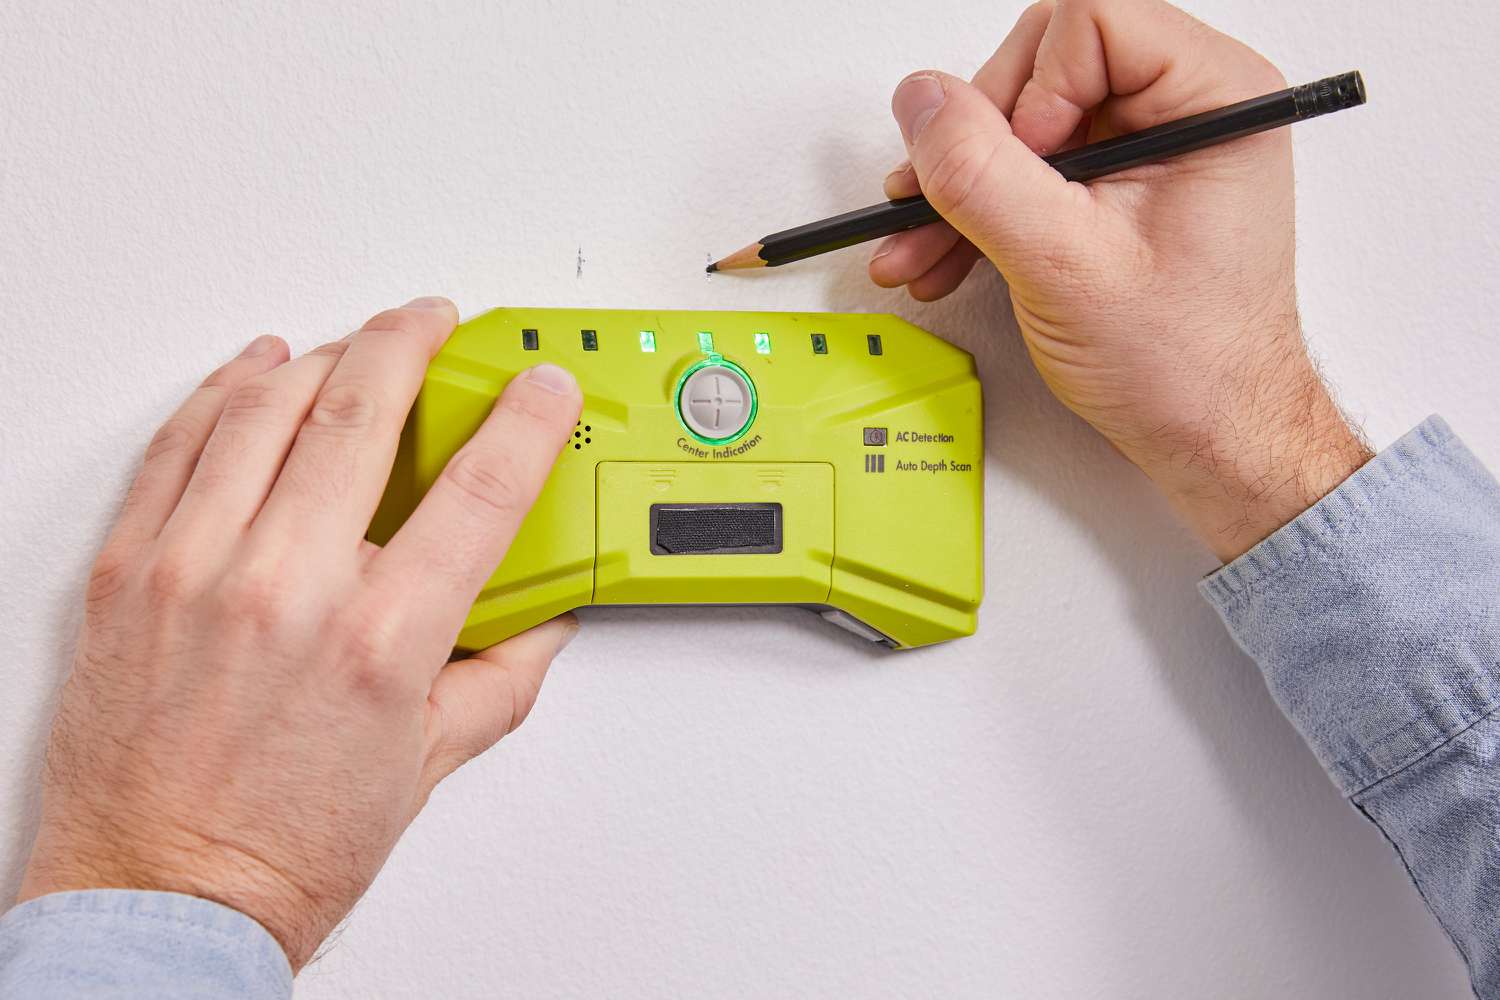
- Observe the stud finder’s indications: Pay attention to the stud finder’s signals, such as beeps, lights, or visual displays. These indicators will alert you when a stud is detected. If using an electronic stud finder, mark the edges or center of the stud as indicated.
- Confirm the stud location: To ensure accuracy, scan the area a few times to verify the consistent detection of the stud. Move the stud finder up and down slightly to detect the full height of the stud.
- Mark the stud location: Once you have confirmed the stud location, mark it using a pencil or masking tape. This will serve as a guide for any future installation or mounting.
- Repeat the process as needed: If you are hanging multiple items or need to find multiple studs, repeat the scanning process in the desired area until you have located all the necessary studs.
Following these steps will allow you to confidently and accurately find studs using a stud finder. Remember to always refer to the specific instructions provided by the manufacturer to ensure optimal performance.
But what if you don’t have a stud finder? Don’t worry! There are alternative methods to find studs without a stud finder, which we’ll explore next.
Alternative Methods to Find Studs Without a Stud Finder
If you don’t have a stud finder on hand or prefer not to use one, there are alternative methods you can try to locate studs behind your walls. While these methods may require a bit more time and effort, they can be effective in finding studs when a stud finder is not available. Here are a few alternative methods:
- Tapping and Listening: This method involves tapping on the wall and listening for changes in sound. A stud will produce a more solid and hollow sound compared to the spaces between studs. Start by tapping the wall lightly using your knuckles or a small hammer. Move along the wall and listen for a dull, solid sound, which indicates the presence of a stud.
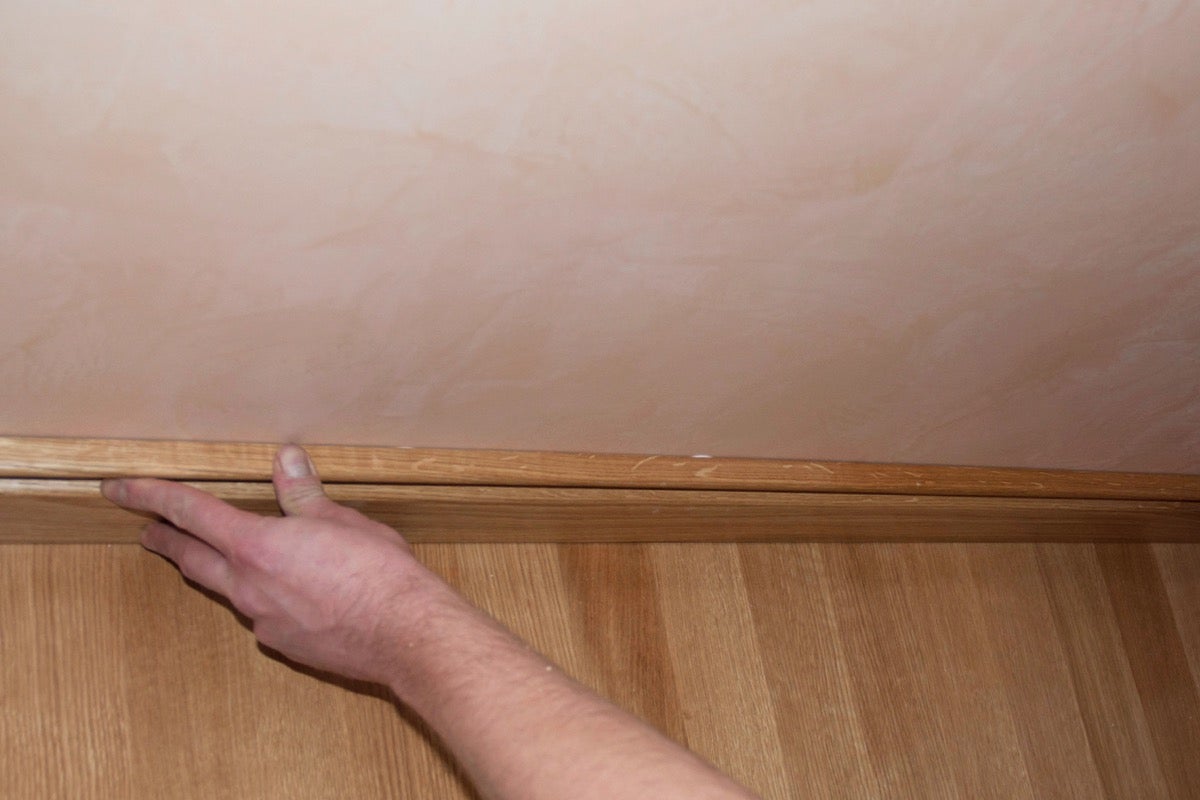
- Visual Clues: Look for visual clues that may indicate the location of studs. These may include baseboards or crown molding, which are often attached directly to the studs. Electrical outlets or switch boxes are also typically mounted on studs, so their location can give you a clue about nearby studs.
- Measure from Corners: Studs are typically placed at regular intervals, usually 16 or 24 inches apart. Measure from the corners of the wall or from known studs and mark the expected stud locations based on the standard spacing. This method may require some calculations and measuring tools, but it can help you estimate where the studs are located.
- Using a Thin Nail or Awl: If all else fails, you can use a thin nail or awl to probe the wall. Start at a height where you suspect a stud may be located and gently insert the nail or awl into the wall at a slight angle. As you push, you may feel the resistance or penetration of the stud. Be cautious not to go too deep and damage any hidden wires or plumbing.
While these alternative methods can be helpful in finding studs without a stud finder, they may not be as precise as using a specialized tool. It’s important to exercise caution and double-check your findings using multiple methods.
Regardless of the method you choose, remember to mark the location of the studs either with a pencil or masking tape. This will come in handy when you need to mount objects securely or perform any wall-related installations.
Now that you are equipped with alternative methods to find studs, let’s move on to some tips and precautions to ensure a successful stud-finding experience.
Tips and Precautions
When it comes to finding studs and working with walls, here are some helpful tips and precautions to keep in mind:
- Use multiple methods: To improve accuracy, consider using multiple methods to identify stud locations. Combine techniques such as tapping and listening, visual clues, and measuring from corners to cross-reference your findings.
- Double-check with a stud finder: If possible, borrow or invest in a stud finder to verify your findings. This will provide a more precise and reliable indication of stud locations.
- Be aware of wall construction: Different wall types, such as drywall, plaster, or paneling, may require slight adjustments in your approach. Drywall is the most common wall type in modern homes, but older houses may have different materials or layers to consider.
- Avoid drilling into electrical or plumbing: Before drilling, ensure there are no electrical wires or plumbing pipes in the wall. If in doubt, turn off the power supply and consult a professional to locate any hidden elements.
- Take caution while probing: If using a nail or awl to probe the wall, exercise caution to prevent any damage. Push gently and slowly to avoid piercing or damaging wires, pipes, or other essential components within the wall.
- Consider an exploratory small hole: As a last resort, you can make a small exploratory hole in an inconspicuous area to confirm the location of a stud. Use a small drill bit or a nail and patch the hole afterward.
- Mark stud locations: Once you have located the studs, clearly mark their edges or centers using a pencil or masking tape. This will make it easier for future reference when hanging objects or performing installations on the wall.
- Practice patience and persistence: Finding studs can be a task that requires some time and effort. Be patient, take your time, and be persistent in your search. The more thorough your process, the more accurate your results will be.
By following these tips and taking the necessary precautions, you can ensure a successful stud-finding experience while maintaining the integrity of your walls and avoiding any potential hazards.
Now that you have a thorough understanding of stud finders, alternative methods, and precautions, you are ready to confidently tackle your next project. Remember to always prioritize safety and accuracy when working with walls and enjoy the satisfaction of completing your tasks with precision!
If you have any further questions or need additional assistance, don’t hesitate to reach out. Happy stud finding!
Conclusion
Locating studs is a crucial step in many construction, renovation, and home improvement projects. Whether you’re hanging shelves, mounting TV brackets, or installing heavy fixtures, finding a stud ensures that your objects are securely anchored and won’t come loose over time. While a stud finder is the most efficient and accurate tool for this task, alternative methods can also be employed.
In this comprehensive guide, we explored what a stud finder is and why it is essential for any project involving walls. We delved into the various types of stud finders available, including magnetic, electronic, and multi-sensor options. Understanding how each type works helps you select the most suitable one for your needs.
We also provided step-by-step instructions on how to find a stud using a stud finder, ensuring you have a systematic approach to follow. Additionally, we shared alternative methods for locating studs without a stud finder, such as tapping and listening for changes in sound or using visual clues.
To ensure a successful stud-finding experience, we offered several tips and precautions, such as using multiple methods to cross-reference your findings, double-checking with a stud finder if possible, and being cautious of any hidden electrical or plumbing components within the wall.
Remember, finding studs requires patience, persistence, and attention to detail. By implementing the techniques and precautions outlined in this guide, you will be well-equipped to confidently locate studs and proceed with your projects successfully.
Whether you’re a DIY enthusiast or a professional contractor, taking the time to find and mark the location of studs is a small but crucial step that ensures the safety and stability of your installations. By following the guidelines provided here, you can avoid unnecessary damage to your walls, prevent accidents, and carry out your projects with confidence.
If you have any further questions or need additional assistance, feel free to reach out. Happy stud finding, and best of luck with your projects!
Frequently Asked Questions about How To Find Stud With Stud Finder
Was this page helpful?
At Storables.com, we guarantee accurate and reliable information. Our content, validated by Expert Board Contributors, is crafted following stringent Editorial Policies. We're committed to providing you with well-researched, expert-backed insights for all your informational needs.

0 thoughts on “How To Find Stud With Stud Finder”