Home>Renovation & DIY>Tools & Equipment>How To Use Bosch Stud Finder
Tools & Equipment
How To Use Bosch Stud Finder
Modified: January 4, 2024
Learn how to effectively use the Bosch Stud Finder and discover the best techniques to find studs with this essential tool. Perfect for all your tools and equipment needs.
(Many of the links in this article redirect to a specific reviewed product. Your purchase of these products through affiliate links helps to generate commission for Storables.com, at no extra cost. Learn more)
Introduction
Welcome to the world of home improvement, where having the right tools can make all the difference. When it comes to hanging shelves, mirrors, or other heavy items on your walls, it’s essential to locate the studs for proper support. This is where a stud finder comes in handy.
In this article, we will explore Bosch stud finders and how to use them effectively. Bosch is a renowned brand known for its precision, durability, and reliability in the tools and equipment industry. Whether you’re a DIY enthusiast or a professional contractor, having a Bosch stud finder can simplify your projects and ensure accurate results.
Understanding the fundamentals of stud finders is crucial before diving into the specific features and usage of Bosch stud finders. Stud finders are handheld devices designed to detect the presence of studs, beams, or other support structures hidden behind walls. These devices use various technologies such as magnetic, electronic, or radar to identify solid surfaces and indicate their location.
Now, let’s delve into the types of Bosch stud finders available in the market. Bosch offers a range of sophisticated stud finders equipped with advanced features to cater to different user requirements. Understanding these options will help you select the most suitable Bosch stud finder for your projects.
Key Takeaways:
- Bosch stud finders offer precision, durability, and reliability, making them essential for DIY enthusiasts and professional contractors. Understanding the device’s features and proper operation ensures accurate and efficient stud detection.
- Proper preparation, calibration, and scanning techniques are crucial for effective stud detection with Bosch stud finders. Familiarizing yourself with additional features and troubleshooting common issues enhances the overall stud-finding experience.
Read more: How To Use Zircon Stud Finder
Understanding Stud Finders
Before we dive into the specifics of Bosch stud finders, let’s take a moment to understand the basic functioning of these devices. Stud finders are invaluable tools that help locate the hidden studs, joists, or beams behind walls, allowing you to confidently hang heavy objects or perform other tasks without compromising the structural integrity of your space.
Stud finders work by detecting changes in density behind the wall surface. In most instances, studs are made of wood or metal and have a different density than the surrounding material, such as drywall. Stud finders utilize various technologies to identify these density variations and indicate the presence of a stud.
There are three primary types of stud finders: magnetic, electronic, and radar. Let’s take a closer look at each type:
- Magnetic stud finders: These simple and affordable devices operate based on the principle of magnetism. They are equipped with a powerful magnet that pulls towards the metal nails or screws used to secure the wall’s studs. When the magnetic stud finder detects metal, it signals the presence of a stud. However, magnetic stud finders are limited to identifying metal studs and are less effective with denser materials like concrete or plaster.
- Electronic stud finders: These devices use sensors to measure density changes. By running the electronic stud finder along the wall, it senses the different densities between the stud and the hollow space. This type of stud finder can detect both wood and metal studs, and some models even have the capability to differentiate between the two. Electronic stud finders offer greater accuracy and versatility compared to magnetic ones.
- Radar stud finders: Also known as multi-sensor stud finders, these advanced devices use radar technology to scan the wall and create a visual representation of the hidden structures. Radar stud finders can detect various materials, including wood, metal, and even live wires. They provide a more comprehensive picture of what lies behind the wall, making them a preferred choice for professionals.
No matter which type of stud finder you choose, it’s important to familiarize yourself with its features and capabilities to maximize its effectiveness. Now that we have a general understanding of stud finders, let’s explore the specific types of Bosch stud finders available to help you tackle your projects with confidence.
Types of Bosch Stud Finders
Bosch offers a range of stud finders designed to cater to different needs and preferences. Each model is equipped with its own set of features and technologies to ensure accurate and reliable stud detection. Let’s explore the types of Bosch stud finders available:
- Bosch D-Tect 150: This model is a top-of-the-line stud finder that utilizes radar technology for precise detection. The D-Tect 150 can locate studs, electrical wires, and even water-filled pipes. Its wide scanning area and depth detection capabilities make it an excellent choice for professional contractors and those involved in extensive renovation projects. With its interactive user interface and color display, the D-Tect 150 provides real-time feedback, making it easier than ever to locate hidden structures behind walls.
- Bosch GMS 120: The GMS 120 is a versatile stud finder that uses multi-mode detection and auto-calibration to accurately locate studs, metal objects, and live wires. It features a three-mode selection that allows you to switch between drywall, metal, and live wire detection. The GMS 120 also has a deep detection mode, enabling you to detect studs up to 4 ¾ inches deep. Its ergonomic design and easy-to-read display make it a user-friendly option for both professionals and DIY enthusiasts.
- Bosch GMS 100 M: This compact and lightweight stud finder offers reliable detection of both wood and metal studs. The GMS 100 M utilizes multi-mode scanning to quickly and accurately identify hidden structures. It has an audible detection signal and an illuminated ring that changes color to indicate the proximity of the target. With its one-handed operation and compact size, the GMS 100 M is a convenient tool for locating studs in small to medium-sized projects.
These are just a few examples of the Bosch stud finders available in the market. Each model offers unique capabilities and features, allowing you to choose the one that best suits your specific needs. Now that you’re familiar with the types of stud finders Bosch has to offer, let’s move on to preparing and operating your Bosch stud finder for accurate results.
Preparing the Stud Finder
Before you begin using your Bosch stud finder, it’s important to prepare it properly to ensure accurate and reliable results. Here are a few steps to follow when preparing your stud finder:
- Read the user manual: Familiarize yourself with the specific instructions and guidelines provided by Bosch for your particular stud finder model. The user manual will provide valuable information on how to operate and calibrate the device for optimal performance.
- Check the battery: Ensure that your stud finder has fresh batteries or is fully charged if it’s a rechargeable model. A depleted battery can lead to inaccurate readings or device malfunction. If your stud finder has replaceable batteries, it’s recommended to carry spares to avoid interruptions during your project.
- Calibrate the stud finder: Most Bosch stud finders require calibration before each use. This process ensures that the device is properly adjusted to the specific wall surface and conditions. Follow the calibration instructions provided in the user manual to ensure accurate detection.
- Clear the area: Before you begin scanning the wall, remove any obstacles or objects that could interfere with the stud finder’s operation. This includes removing pictures, wallpaper, or any other items that may disrupt the stud detection process.
- Choose the right scanning mode: Depending on the type of Bosch stud finder you have, select the appropriate scanning mode for your project. Some models offer different modes for wood, metal, and live wire detection. Make sure to choose the mode that matches the target you are trying to locate.
By following these preparation steps, you can ensure that your Bosch stud finder is ready to deliver accurate and reliable results. Now that your stud finder is prepared, let’s move on to operating the Bosch stud finder and locating the studs with precision.
Operating the Bosch Stud Finder
Operating a Bosch stud finder is a relatively straightforward process, but it’s essential to follow the correct procedures for accurate results. Here’s a step-by-step guide on how to operate a Bosch stud finder:
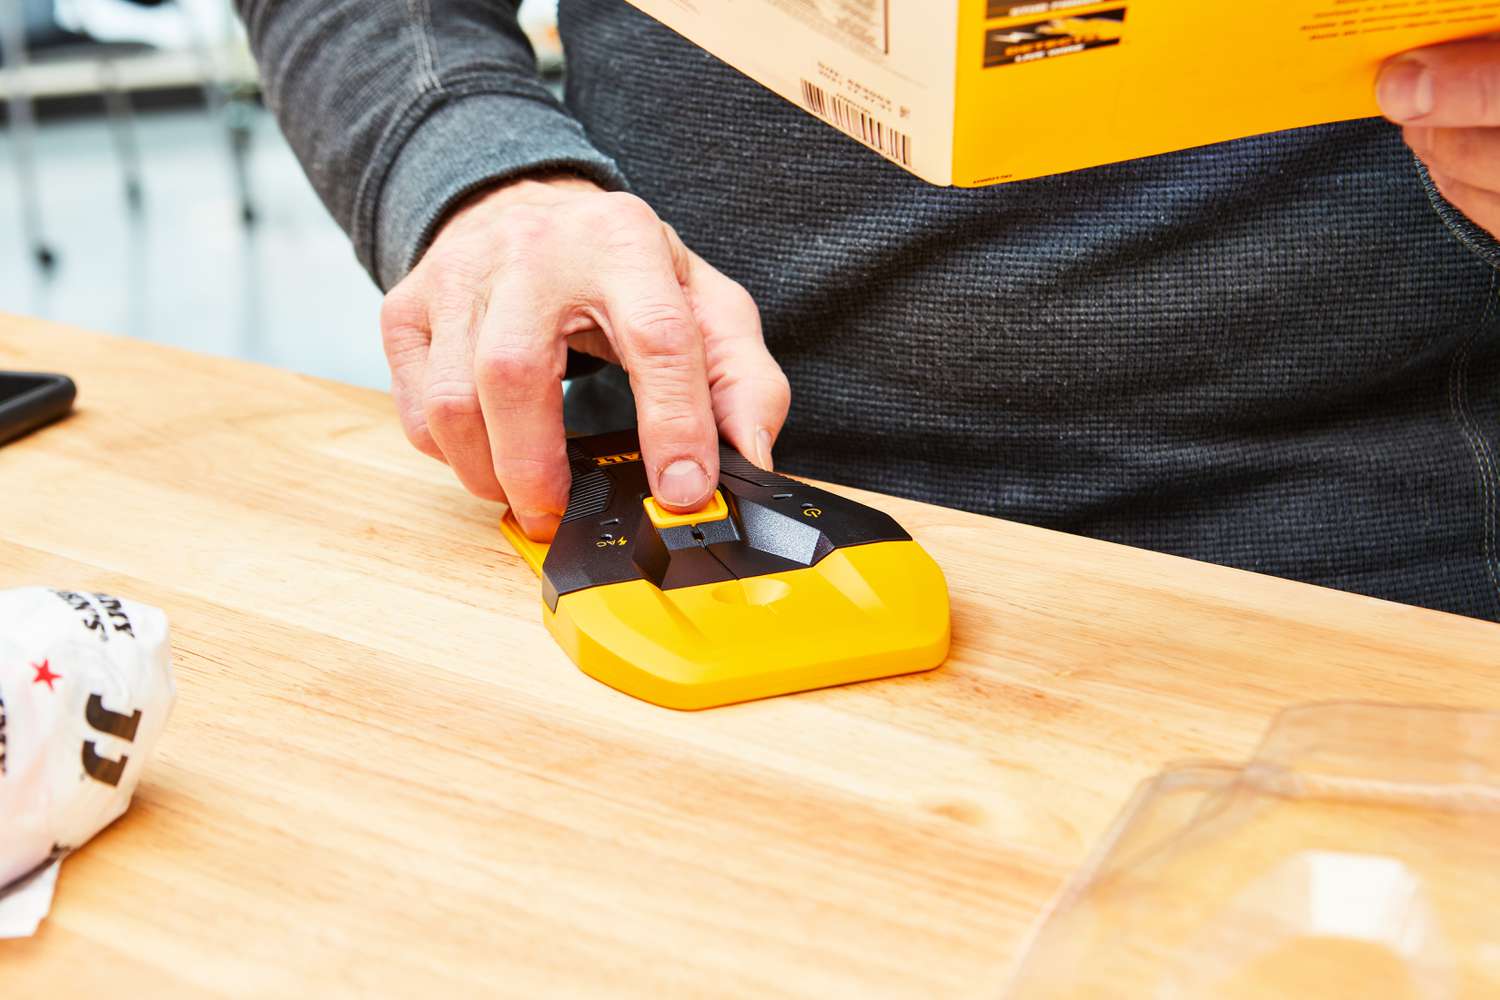
- Power on the stud finder: Turn on the device by pressing the power button or sliding the switch, depending on the model you have. Check the display or indicator lights to ensure that the stud finder is powered on.
- Select the scanning mode: If your Bosch stud finder offers multiple scanning modes, choose the appropriate mode for your project. For example, if you’re looking for wooden studs, select the wood scanning mode. Refer to the user manual for guidance on selecting the correct mode.
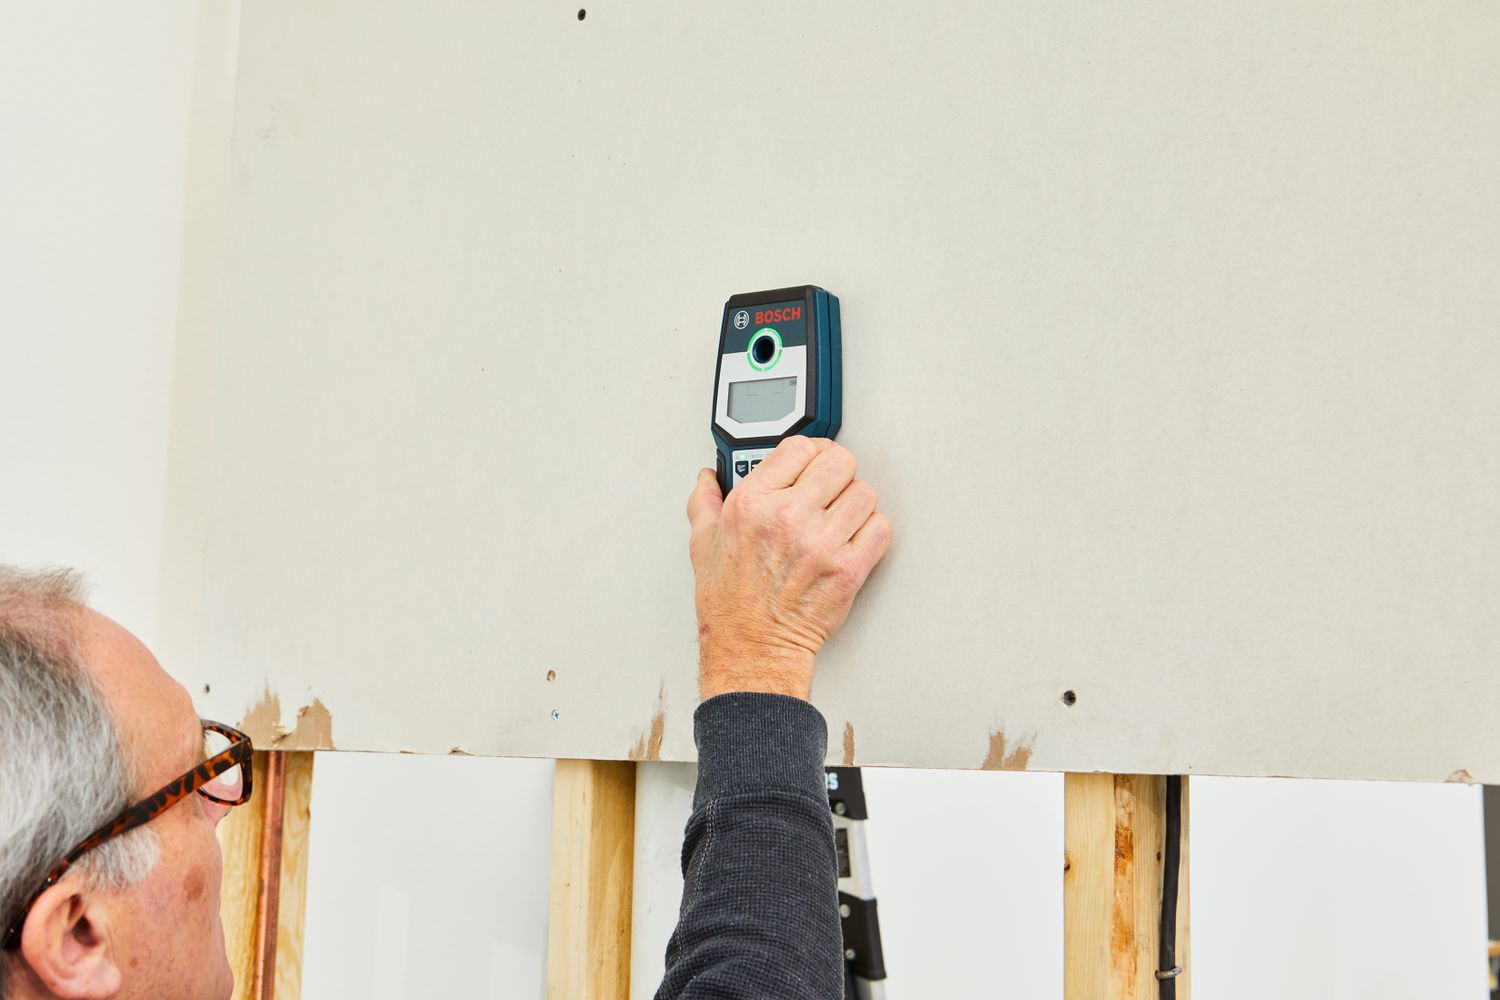
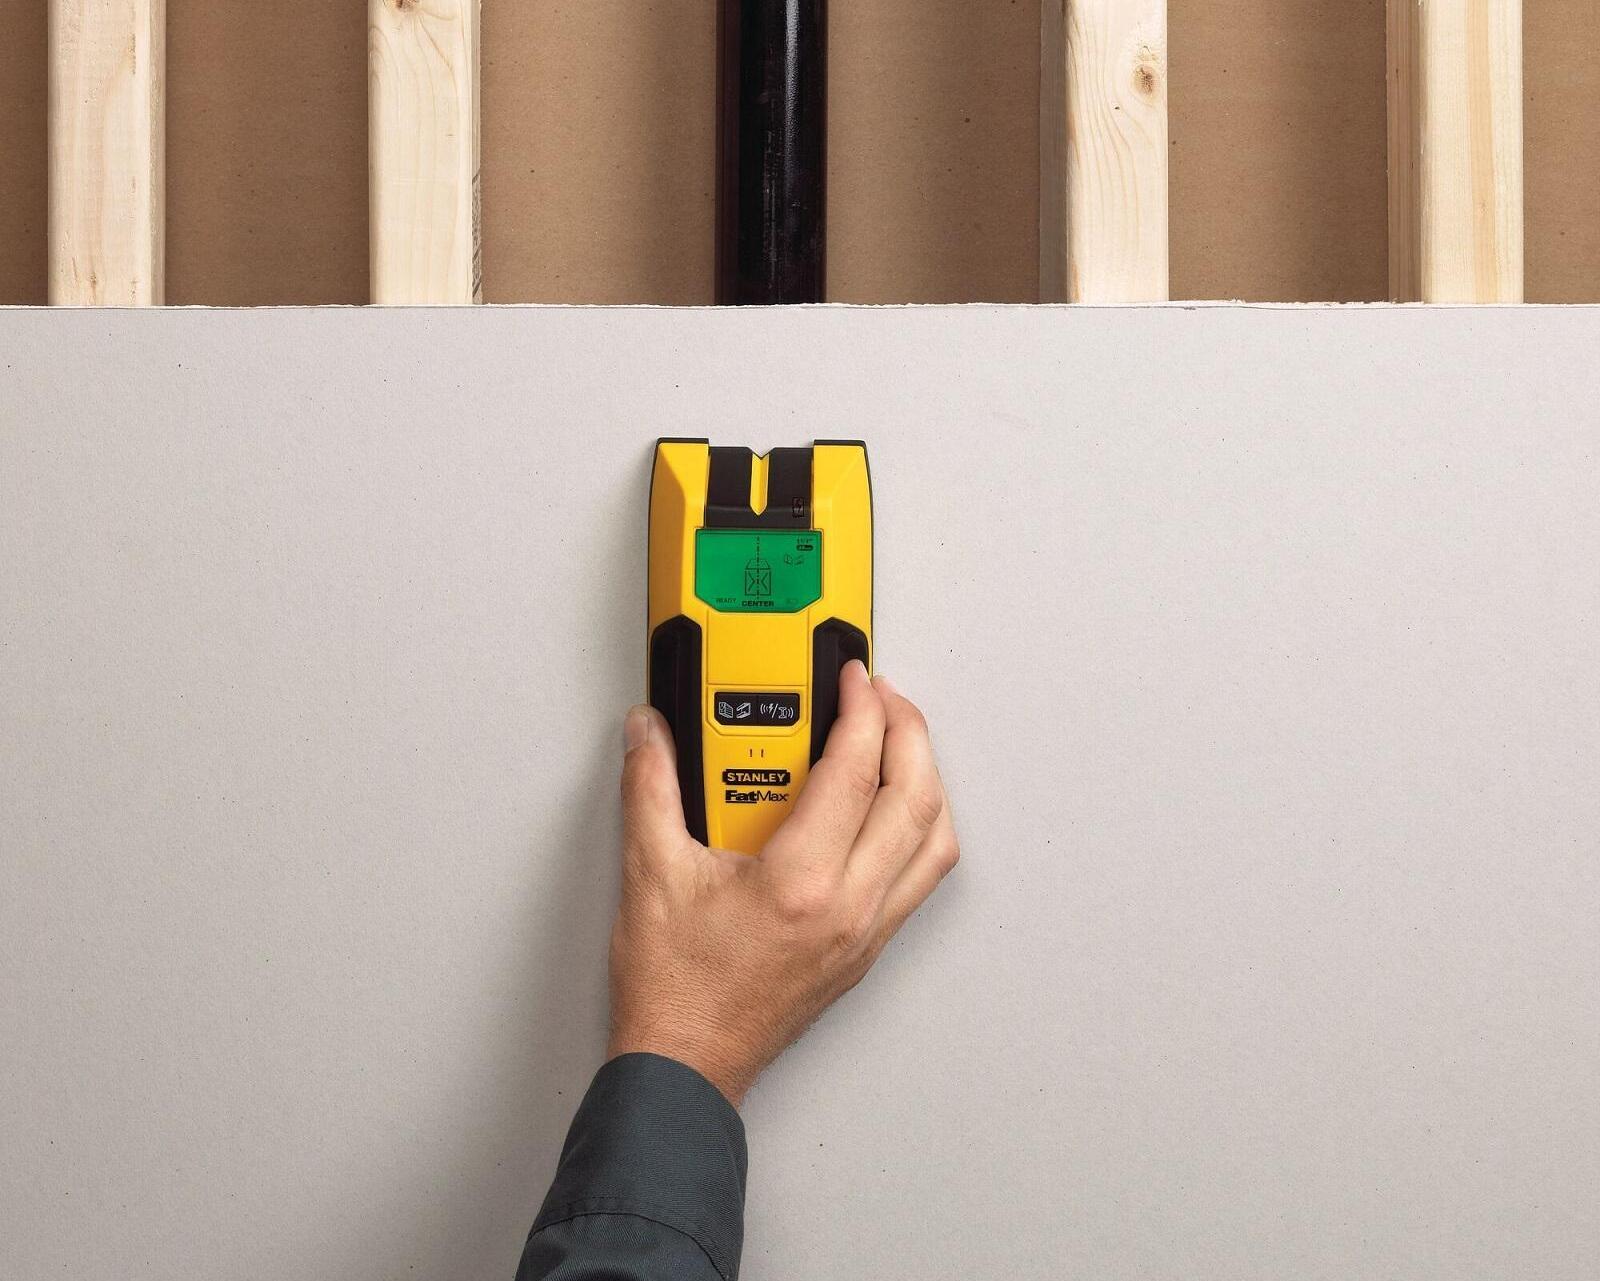
- Hold the stud finder against the wall: Place the stud finder flat against the wall surface that you want to scan. Make sure to hold it steady and apply consistent pressure to maintain proper contact with the wall.
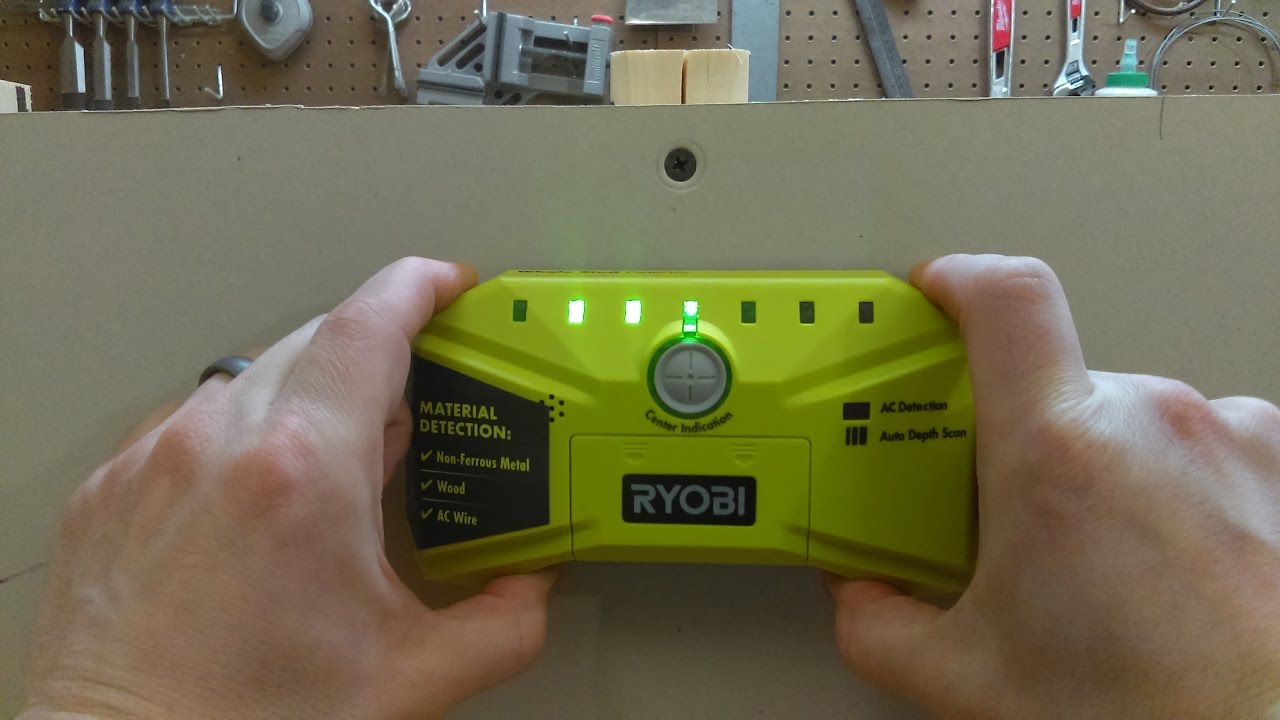
- Start the scanning process: Begin scanning the wall surface by slowly moving the stud finder horizontally or vertically along the desired area. Keep an eye on the display or indicator lights for any changes or indications of detected studs.
- Interpret the feedback: Pay attention to the stud finder’s signals, such as audible beeps, visual indicators, or changes in display readings. Different models may provide different types of feedback to indicate the presence of a stud. Familiarize yourself with the specific feedback system used in your Bosch stud finder.
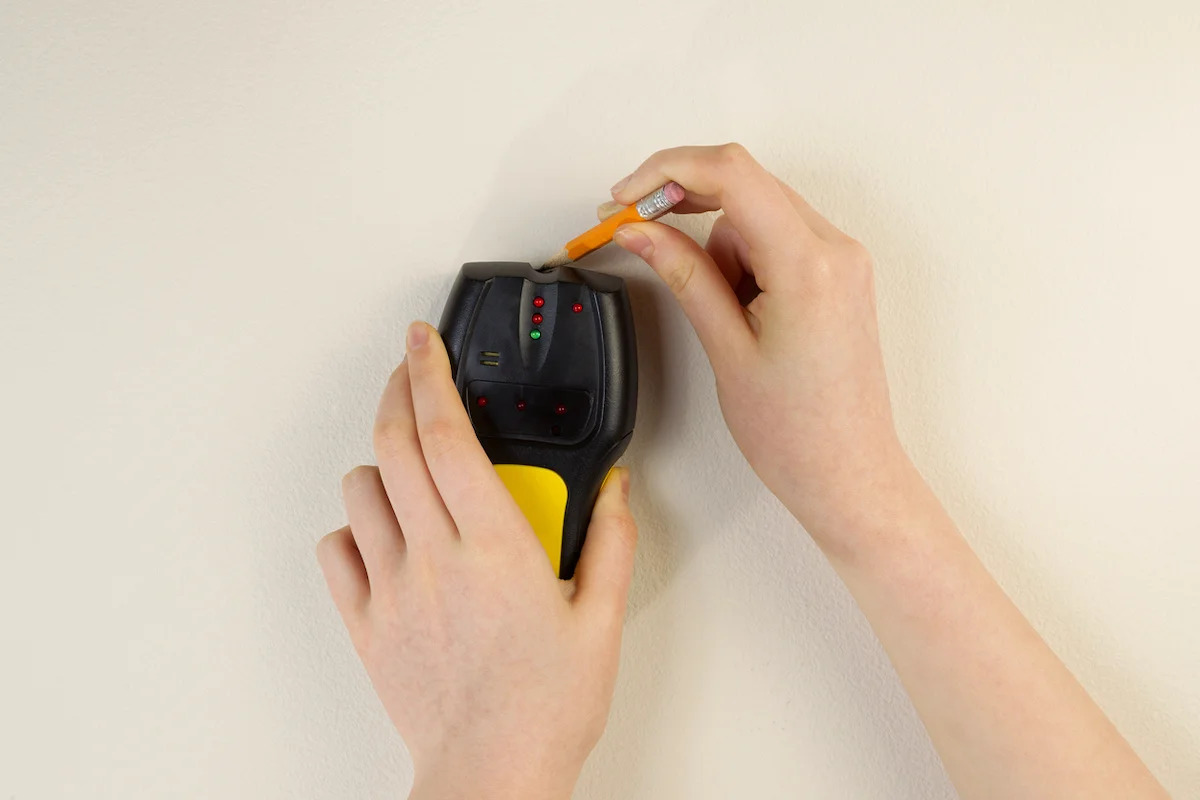
- Mark the stud locations: Once the stud finder indicates the location of a stud, mark it on the wall using a pencil or painter’s tape. This will help you remember the exact position of the studs and assist in hanging objects or performing other tasks accurately.
- Continue scanning and marking: Repeat the scanning process for the rest of the wall surface where you need to locate studs. Be thorough and follow a systematic approach to ensure no studs are missed.
Remember, practice makes perfect. It may take some time to become comfortable and proficient with operating your Bosch stud finder. Pay attention to the signals and feedback provided by the device, and practice scanning different walls and surfaces to gain confidence in its accuracy.
Now that you know how to operate the Bosch stud finder, let’s explore some additional features and tips that can enhance your stud-finding experience.
When using a Bosch stud finder, be sure to calibrate it on a clear section of wall before scanning for studs. Move the device slowly and steadily to ensure accurate results.
Read more: How To Use Hart Stud Finder
Locating Studs with the Bosch Stud Finder
Locating studs accurately is the primary purpose of using a Bosch stud finder. With proper technique and understanding of the device’s features, you can confidently find studs behind walls for a variety of projects. Here are some tips for effectively locating studs using a Bosch stud finder:
- Start at an edge: Begin your scanning process near the edge of the wall and move horizontally or vertically in a systematic pattern. This ensures that you cover the entire area and minimize the chances of missing any studs.
- Pay attention to feedback: As you move the Bosch stud finder along the wall, observe the changes in feedback signals. This can include audible beeps, visual indicators on the display, or changes in the device’s readings. These signals will help you pinpoint the exact location of the studs.
- Scan multiple times: To increase accuracy, it’s recommended to scan the same area multiple times. This helps to confirm consistent readings and ensure that the stud detection is not influenced by any irregularities in the wall surface.
- Look for consistent detection: When locating studs, pay attention to a consistent pattern of detection. Most Bosch stud finders will provide indications when multiple sensors or technologies within the device confirm the presence of a stud. Trust areas where multiple scans consistently indicate a stud for more reliable results.
- Mark stud locations: Once you have identified the location of a stud, mark it on the wall using a pencil or painter’s tape. This will serve as a reference point when you’re ready to hang or mount objects securely.
- Consider adjacent studs: When locating a stud, keep in mind that there is typically a standard distance between studs, usually 16 inches on center. By locating one stud, you can estimate the position of adjacent studs, making it easier to find multiple studs in a row.
- Take precautions when detecting live wires: Some Bosch stud finders have the capability to detect live wires behind walls. If this feature is available in your model, exercise caution when working near electrical installations. Always turn off the power to the relevant area before performing any drilling or cutting.
By following these tips, you can use your Bosch stud finder effectively and confidently locate studs behind walls. Remember to read the user manual specific to your model for detailed operating instructions and additional tips provided by Bosch.
Now that you have a good understanding of how to locate studs, let’s explore some additional features and tips that can enhance your stud-finding experience with a Bosch stud finder.
Additional Features and Tips
While the primary goal of using a Bosch stud finder is to locate studs, these devices often offer additional features and functionalities to make your stud-finding experience even more convenient and effective. Here are some common features and tips to consider:
- Deep scanning mode: Many Bosch stud finders come with a deep scanning mode that allows for increased detection depth. This is especially useful when working with thicker walls or when trying to locate studs that are deeper below the surface.
- Wire detection: Some Bosch stud finders have the ability to detect live wires behind walls, providing an added layer of safety during your projects. This feature allows you to avoid accidental encounters with electrical wiring, minimizing the risk of electric shock or damage to the wiring.
- Marker or mapping features: Certain Bosch stud finders have marker or mapping features that allow you to create a visual representation of the stud locations on the wall. This can be particularly helpful when working on complex projects that involve multiple stud placements.
- Edge detection: Edge detection is a useful feature in Bosch stud finders. It helps you identify the boundaries of a stud by indicating the edges or borders. This can be especially helpful when you want to locate the center of a stud for precise measurements or installations.
- Practice on known studs: If you’re new to using a Bosch stud finder, it can be helpful to practice on a wall where you already know the location of the studs. This will give you an opportunity to familiarize yourself with the device’s feedback signals and build confidence in your scanning technique.
- Keep the device level: To ensure accurate detection, it’s important to keep the Bosch stud finder level against the wall surface. Tilting or angling the device can lead to inaccurate readings and false positives.
- Experiment with different scanning speeds: Different surfaces and construction materials may require you to adjust your scanning speed. Experiment with different speeds to find the optimal pace that allows for accurate detection and consistent results.
- Regularly calibrate the stud finder: To maintain accuracy, it’s important to calibrate your Bosch stud finder regularly as per the manufacturer’s instructions. Calibration compensates for any changes in the device’s internal sensors or ambient conditions that may affect its performance.
- Take note of false positives: Occasionally, stud finders can detect false positives or misleading signals. These can be caused by electrical interference, hidden metal objects, or uneven wall surfaces. Take note of any areas where false positives occur and exercise caution when working in those spots.
By taking advantage of these additional features and following these tips, you can improve the accuracy and efficiency of your stud-finding projects with a Bosch stud finder. Remember to always consult the user manual for your specific model for detailed instructions and guidelines.
Now that you’re armed with knowledge about Bosch stud finders and how to use them effectively, you’re ready to tackle your next home improvement project with confidence. Happy stud-finding!
Troubleshooting Common Issues
While Bosch stud finders are designed to provide reliable stud detection, you may encounter certain issues or challenges during your usage. Here are some common problems you may come across and troubleshooting tips to resolve them:
- Inconsistent readings: If your Bosch stud finder is providing inconsistent readings or not detecting studs consistently, the first step is to ensure that the device is properly calibrated. Follow the calibration instructions provided in the user manual. Also, make sure that you’re using the correct scanning mode for the specific material you’re trying to detect, such as wood or metal.
- False positives: False positives can occur when the stud finder detects a stud where there isn’t one. This can happen due to hidden metal objects, electrical interference, or an uneven wall surface. To minimize false positives, try adjusting the scanning speed or using a different scanning technique. Additionally, be aware of areas with known false positives and exercise caution when working in those regions.
- No detection: If your Bosch stud finder is not detecting any studs, ensure that you’re using the device correctly. Make sure it’s powered on, properly leveled against the wall, and moved across the surface at a moderate pace. If you’re still not getting any readings, double-check the battery or charge level and replace or recharge if necessary.
- Interference from electrical wiring: If your stud finder is picking up electrical wiring instead of studs, this can be a safety concern. Be sure to turn off the power supply to the area you’re working on before using the stud finder. If interference persists, consider a model with better wire detection capabilities or consult a professional for assistance.
- Difficulty in edge detection: Edge detection can be challenging, particularly if the wall has a textured surface or the stud finder doesn’t have a specific edge detection feature. In such cases, it can be helpful to mark the detected edges and use a straightedge or ruler to connect the marks, helping you identify the center of the stud more accurately.
- Unusual readings: If your Bosch stud finder is providing unusual readings or behaving erratically, try resetting the device to its factory settings, if applicable. If the issue persists, contact Bosch customer support for further assistance or consider replacing the device if it’s still under warranty.
Remember, troubleshooting steps may vary depending on the specific model of your Bosch stud finder. Always refer to the user manual for model-specific instructions and guidelines.
By addressing these common issues and following the troubleshooting tips mentioned above, you can overcome challenges and maximize the effectiveness of your Bosch stud finder. If you’re unsure about any problem or need further assistance, don’t hesitate to reach out to Bosch customer support for personalized guidance.
Now that you’re equipped with troubleshooting knowledge, you’re ready to tackle any issues that may arise and confidently use your Bosch stud finder for your future projects.
Conclusion
Using a Bosch stud finder is a game-changer when it comes to home improvement projects that involve hanging heavy items on walls or ensuring proper support for structures. These devices are designed to accurately detect hidden studs, beams, and wires, providing you with the information you need to confidently complete your projects with ease and precision.
In this article, we explored the fundamentals of stud finders and delved into the types of Bosch stud finders available in the market. We discussed how to properly prepare and operate your Bosch stud finder for accurate detection, as well as tips for effectively locating studs behind walls.
We also discussed additional features and provided troubleshooting tips for common issues that may arise during stud-finding tasks. By following these recommendations and referring to the user manual specific to your Bosch stud finder model, you can overcome challenges and achieve optimal results.
Remember that practice makes perfect. Take the time to familiarize yourself with your Bosch stud finder, experiment with different scanning techniques, and gain confidence in using the device. The more you use it, the better you’ll become at identifying studs efficiently.
With Bosch’s reputation for high-quality tools and equipment, you can trust that your Bosch stud finder will be a reliable companion for all your future projects. Whether you’re a DIY enthusiast or a professional contractor, having this essential tool in your arsenal will save you time and effort, resulting in secure and successful wall installations.
So, armed with your Bosch stud finder and the knowledge you’ve gained from this article, go forth and confidently hang shelves, mount televisions, or perform any other task that requires accurate stud detection. Happy home improvement!
Remember, your walls hold secrets, and with your Bosch stud finder, those secrets are revealed.
Frequently Asked Questions about How To Use Bosch Stud Finder
Was this page helpful?
At Storables.com, we guarantee accurate and reliable information. Our content, validated by Expert Board Contributors, is crafted following stringent Editorial Policies. We're committed to providing you with well-researched, expert-backed insights for all your informational needs.


0 thoughts on “How To Use Bosch Stud Finder”