Home>Renovation & DIY>Tools & Equipment>How To Use The Stanley Stud Finder
Tools & Equipment
How To Use The Stanley Stud Finder
Modified: January 9, 2024
Learn how to effectively use the Stanley stud finder to locate studs and improve your DIY projects. Find helpful tips and techniques for using this essential tool. Ideal for anyone working with tools and equipment.
(Many of the links in this article redirect to a specific reviewed product. Your purchase of these products through affiliate links helps to generate commission for Storables.com, at no extra cost. Learn more)
Introduction
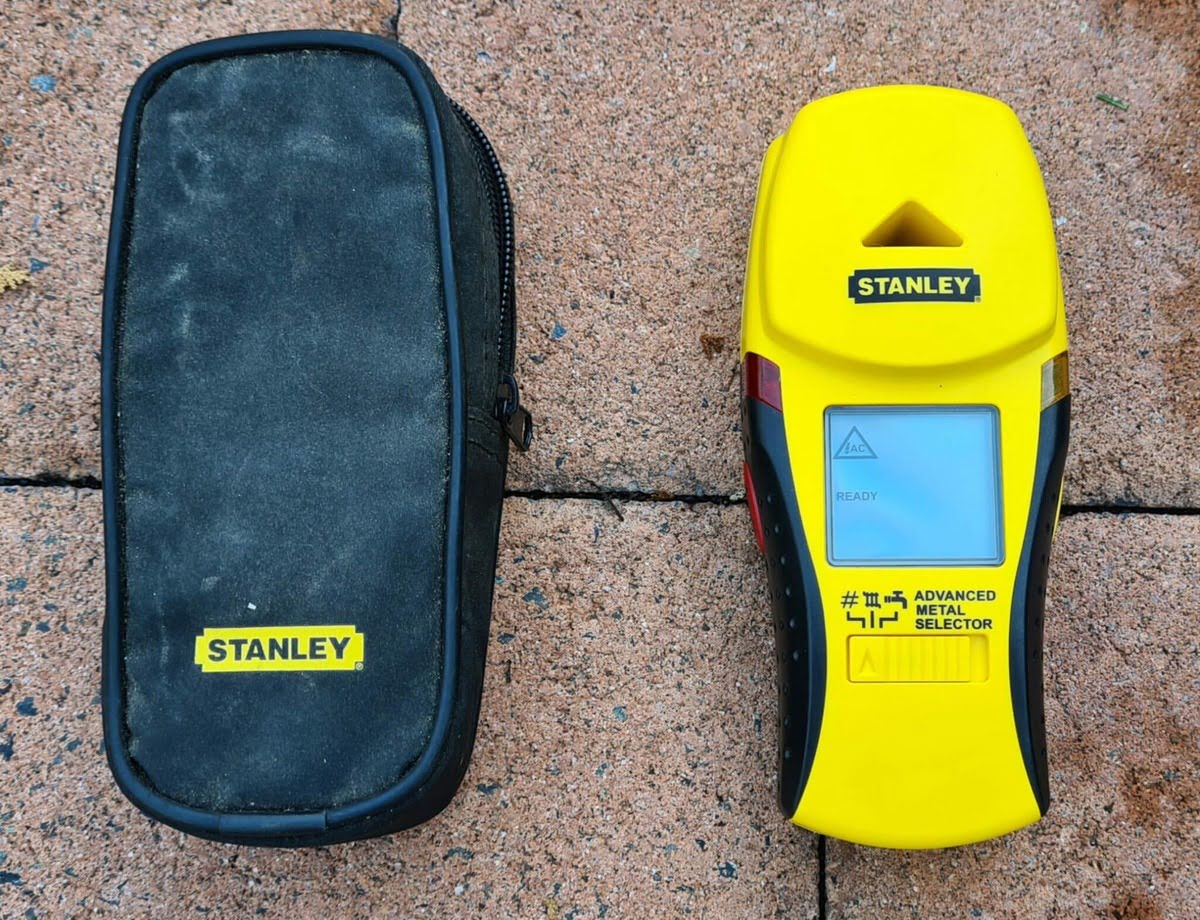
Welcome to the world of DIY home improvement! Whether you're a seasoned DIY enthusiast or just getting started, having the right tools is crucial for any project. One tool that has become indispensable for anyone working on home renovation or hanging heavy objects is the stud finder. Among the wide array of stud finders available in the market, the Stanley Stud Finder stands out as a reliable and user-friendly choice.
In this comprehensive guide, we will delve into the ins and outs of using the Stanley Stud Finder effectively. From understanding the basics to practical tips for accurate stud detection, you'll gain the knowledge needed to confidently locate studs in your walls. With the Stanley Stud Finder as your ally, you can bid farewell to the guesswork and frustration often associated with finding studs.
So, let's roll up our sleeves, grab our Stanley Stud Finder, and embark on a journey to master the art of stud finding. Whether you're hanging a heavy mirror, installing shelves, or mounting a TV, having a solid grasp of using a stud finder will elevate your DIY game and ensure your projects are securely anchored for the long haul. Let's dive in and unlock the secrets of the Stanley Stud Finder together!
Key Takeaways:
- Master the art of stud finding with the Stanley Stud Finder by understanding its technology, preparing it meticulously, and interpreting results accurately for precise and secure fixture installations.
- Elevate your DIY game with the Stanley Stud Finder by maintaining a steady pace, calibrating for different wall types, and utilizing multiple scans to ensure accurate stud detection.
Read more: How To Use Stanley Fatmax Stud Finder
Understanding the Basics of the Stanley Stud Finder
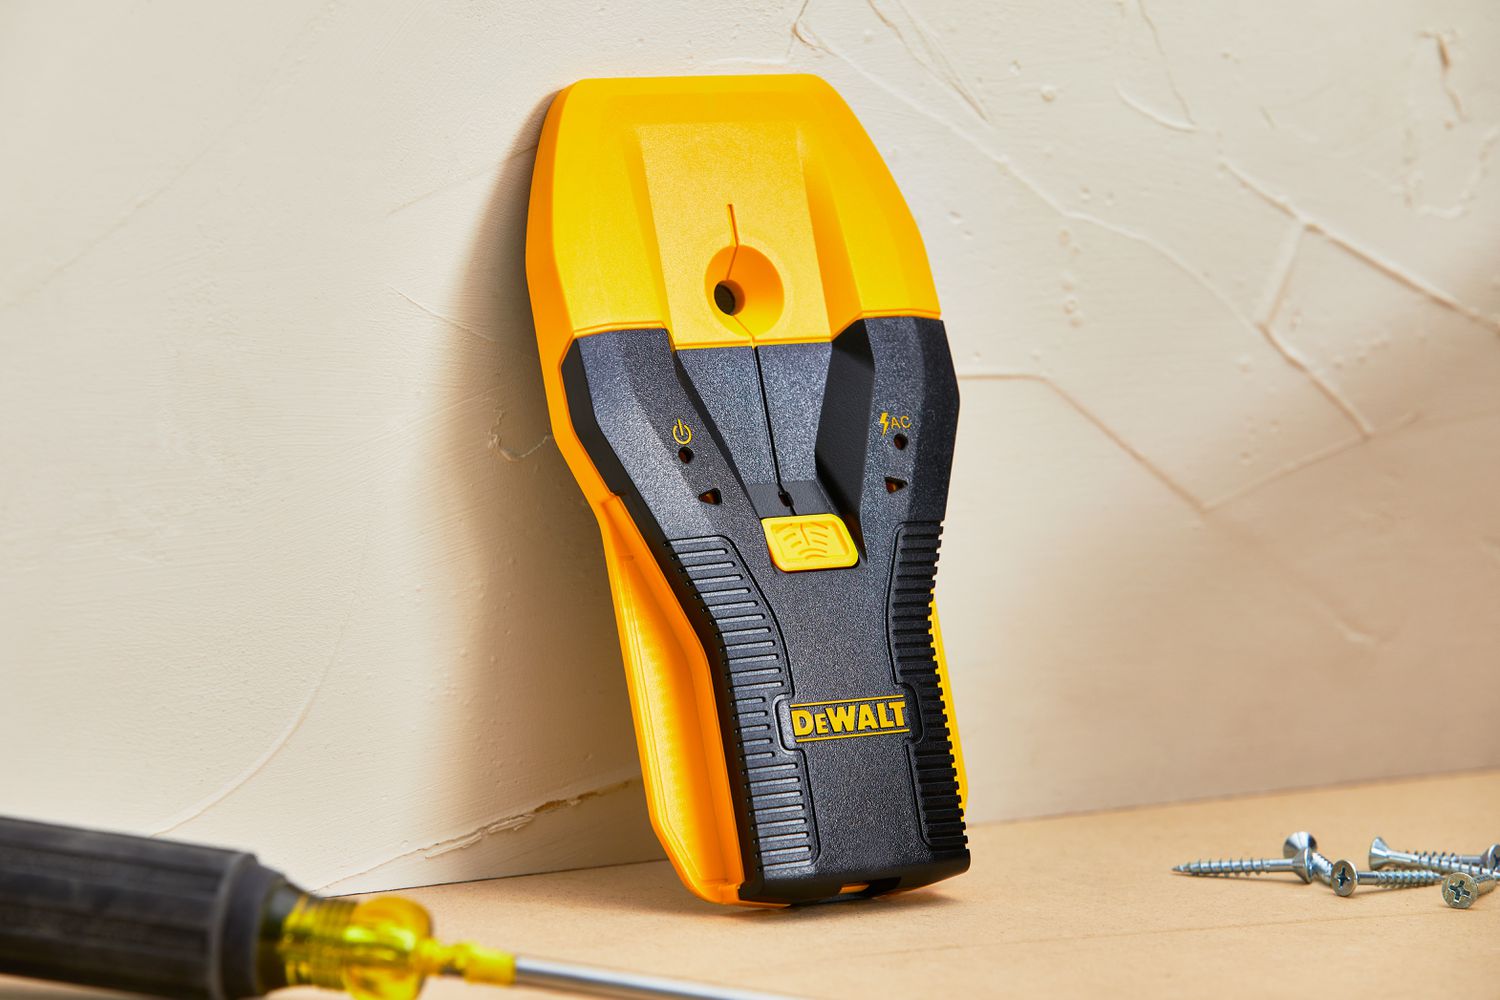
Before diving into the practical aspects of using the Stanley Stud Finder, it’s essential to grasp the fundamental principles behind this ingenious device. At its core, a stud finder is designed to detect the presence of wall studs, which are vital for securely mounting heavy objects or fixtures. The Stanley Stud Finder employs innovative technology to locate these studs, ensuring that your installations are firmly anchored to the wall.
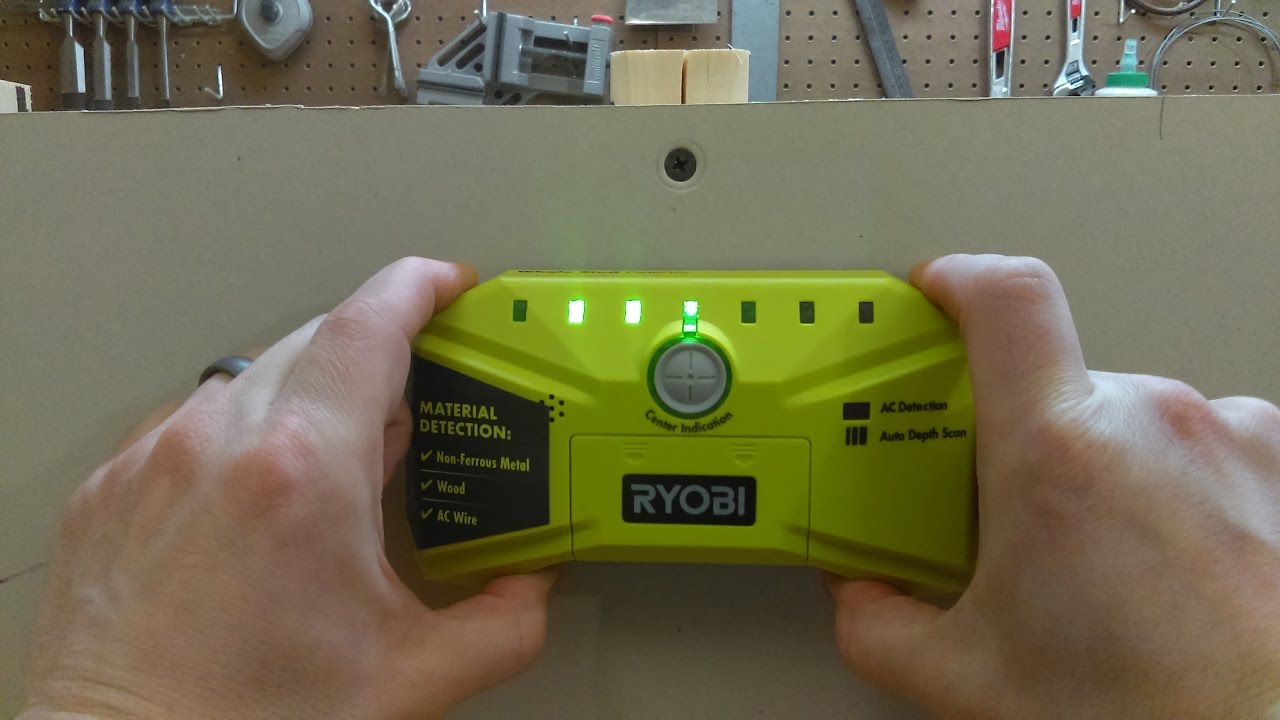
The Stanley Stud Finder utilizes electronic sensors to identify changes in wall density, typically indicating the presence of a stud. These sensors work by detecting the density contrast between the wooden stud and the surrounding wall material, such as drywall. As the device is moved across the wall surface, it emits audible or visual signals when it detects a stud, alerting you to its exact location.
Understanding the limitations of the Stanley Stud Finder is just as crucial as knowing its capabilities. While this tool excels at locating wooden studs, it may not be suitable for detecting metal studs or other objects hidden within the wall. By familiarizing yourself with the capabilities of the Stanley Stud Finder, you can make informed decisions when planning your home improvement projects.
By comprehending the underlying technology and its potential constraints, you’ll be better equipped to harness the full potential of the Stanley Stud Finder. Armed with this knowledge, you can confidently proceed to prepare the stud finder for use and master the art of accurate stud detection.
Preparing the Stanley Stud Finder for Use
Before embarking on your stud-finding mission, it’s crucial to ensure that your Stanley Stud Finder is properly prepared for accurate and reliable performance. Taking the time to set up the device correctly can significantly enhance its effectiveness, saving you time and frustration during your home improvement endeavors.
First and foremost, it’s essential to insert fresh batteries into your Stanley Stud Finder to guarantee optimal functionality. A reliable power source is vital for consistent and precise stud detection. Once the batteries are in place, familiarize yourself with the stud finder’s controls and settings. The Stanley Stud Finder typically features intuitive buttons or switches for power activation and mode selection.
Next, it’s advisable to calibrate the stud finder according to the specific wall material you’ll be working with. Whether you’re scanning through drywall, plaster, or other wall surfaces, the Stanley Stud Finder may offer different calibration settings to accommodate these variations. By selecting the appropriate calibration mode, you can fine-tune the device to deliver accurate results tailored to the specific wall composition.
Additionally, it’s prudent to perform a practice run on a clear section of wall to familiarize yourself with the stud finder’s signals and behavior. This allows you to gain confidence in using the device and helps you discern the distinctive alerts indicating the presence of a stud. By practicing on an unobstructed wall, you can refine your technique and become adept at maneuvering the stud finder with precision.
Lastly, ensure that the surface you intend to scan is free from obstructions or interference that could impede the stud finder’s operation. Clearing the area of any hanging objects, furniture, or electronic devices can prevent false readings and ensure that the Stanley Stud Finder can perform at its best.
By meticulously preparing your Stanley Stud Finder for action, you set the stage for seamless and effective stud detection. With the device primed and ready, you’re now poised to embark on the exciting journey of locating sturdy anchors for your next home improvement project.
Using the Stanley Stud Finder
With your Stanley Stud Finder primed and prepared, it’s time to put this remarkable tool to work in uncovering the hidden framework within your walls. Whether you’re hanging a heavy piece of art or mounting a shelf, the stud finder is your key to securely anchoring your fixtures and ensuring their stability.
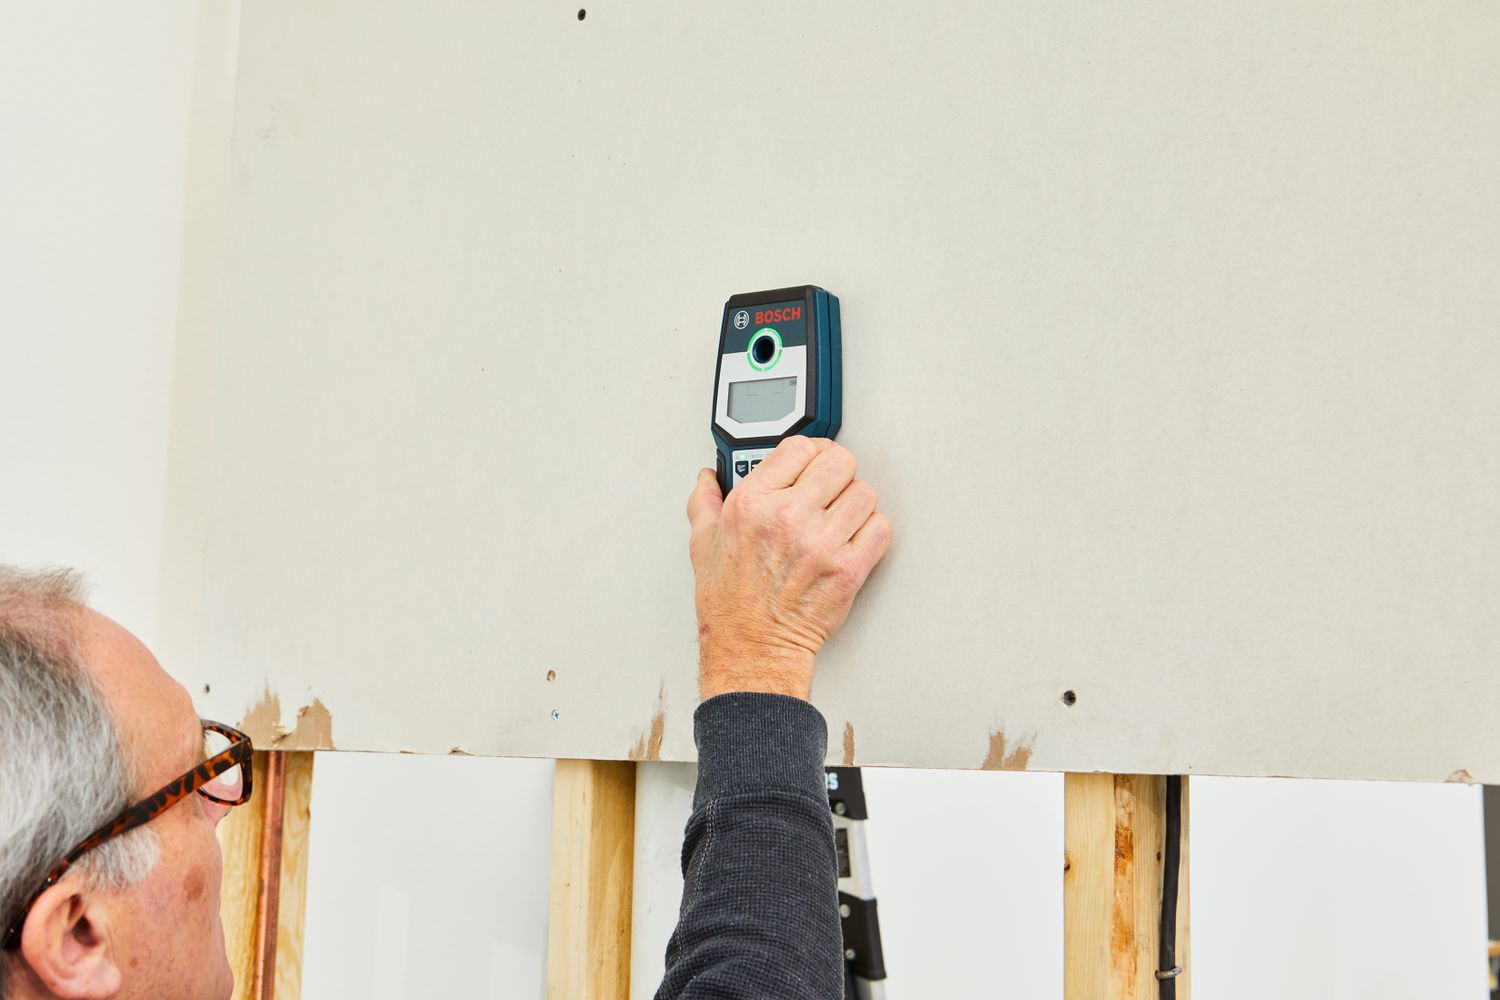
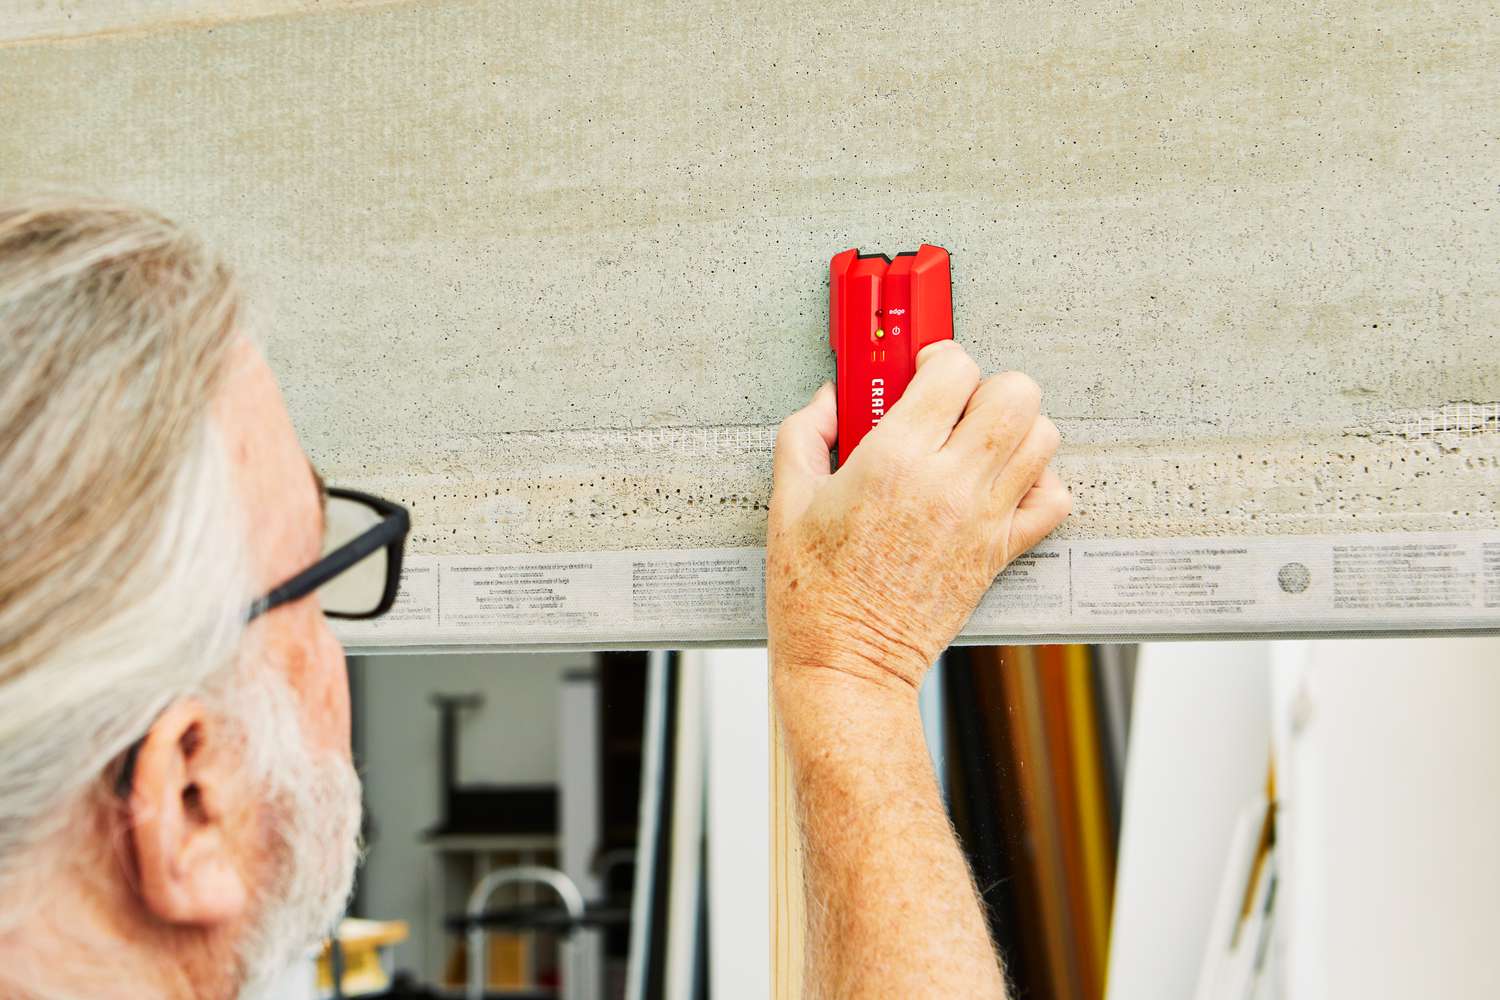
To begin, power on your Stanley Stud Finder and select the appropriate scanning mode based on the specific wall material. With the device activated, place it flat against the wall and slowly move it horizontally across the surface. As you glide the stud finder, remain attentive to any visual or audible signals it emits.
The Stanley Stud Finder typically employs a visual display or audible beeps to indicate the presence of a stud. When the device detects a change in wall density consistent with a stud, it will alert you through these signals. It’s essential to move the stud finder methodically and steadily, allowing it to capture a comprehensive scan of the wall’s interior.
As you navigate the stud finder across the wall, take note of any consistent signals that persist over a localized area. These persistent alerts often signify the edges of the stud, providing valuable guidance for marking the stud’s boundaries. By carefully marking these points, you can pinpoint the center of the stud, where your fasteners will securely anchor your fixtures.
When using the Stanley Stud Finder, it’s crucial to approach the task with patience and attentiveness. While the device simplifies the process of stud detection, a steady and deliberate technique is essential for accurate results. By maintaining a steady pace and observing the signals closely, you’ll adeptly uncover the hidden studs within your walls.
By mastering the art of maneuvering the Stanley Stud Finder and interpreting its signals, you’ll gain the confidence to tackle various installation projects with precision and assurance. With the stud finder as your ally, you can bid farewell to the uncertainty of wall mounting and embrace the certainty of securely anchored fixtures.
When using the Stanley Stud Finder, make sure to calibrate it on a clear section of wall before scanning for studs. This will ensure accurate results and help you avoid false readings.
Interpreting the Results
Once you’ve completed the scanning process with your Stanley Stud Finder, it’s time to interpret the results and translate the detected signals into actionable insights for your home improvement projects. Understanding the information provided by the stud finder is crucial for accurately marking the stud’s location and ensuring a secure installation.
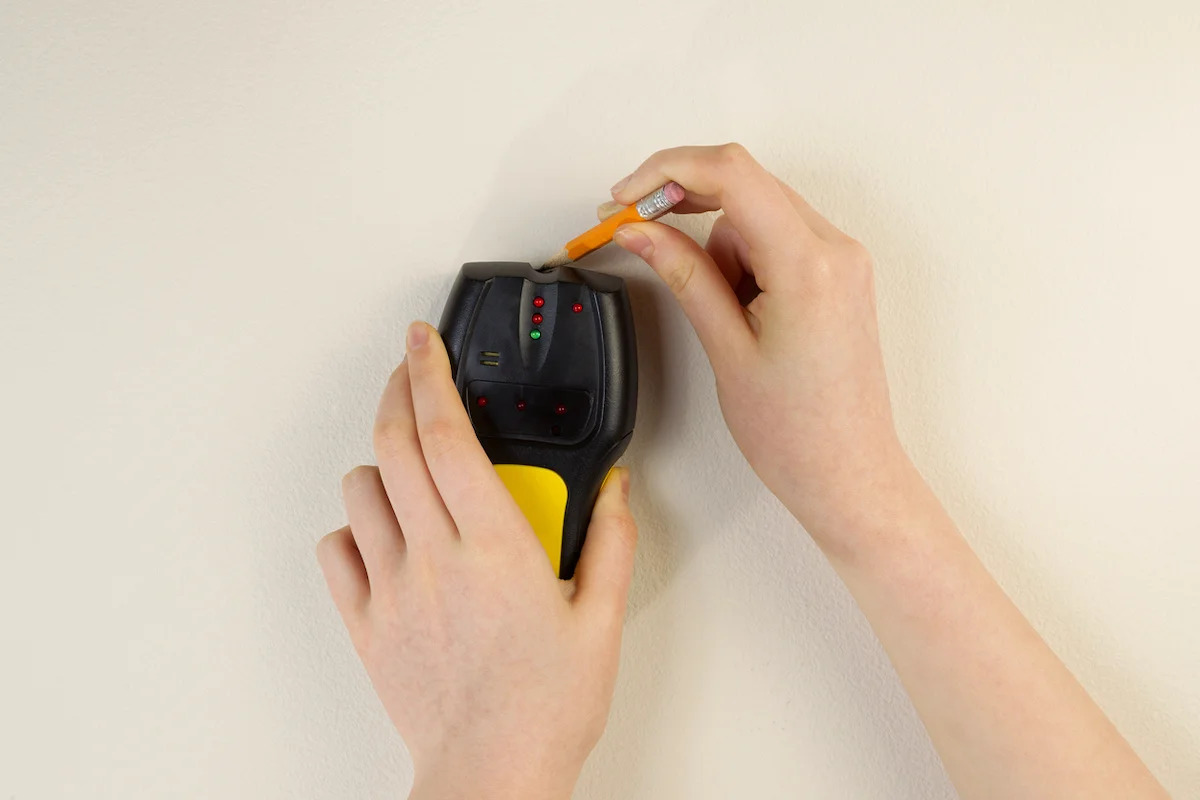
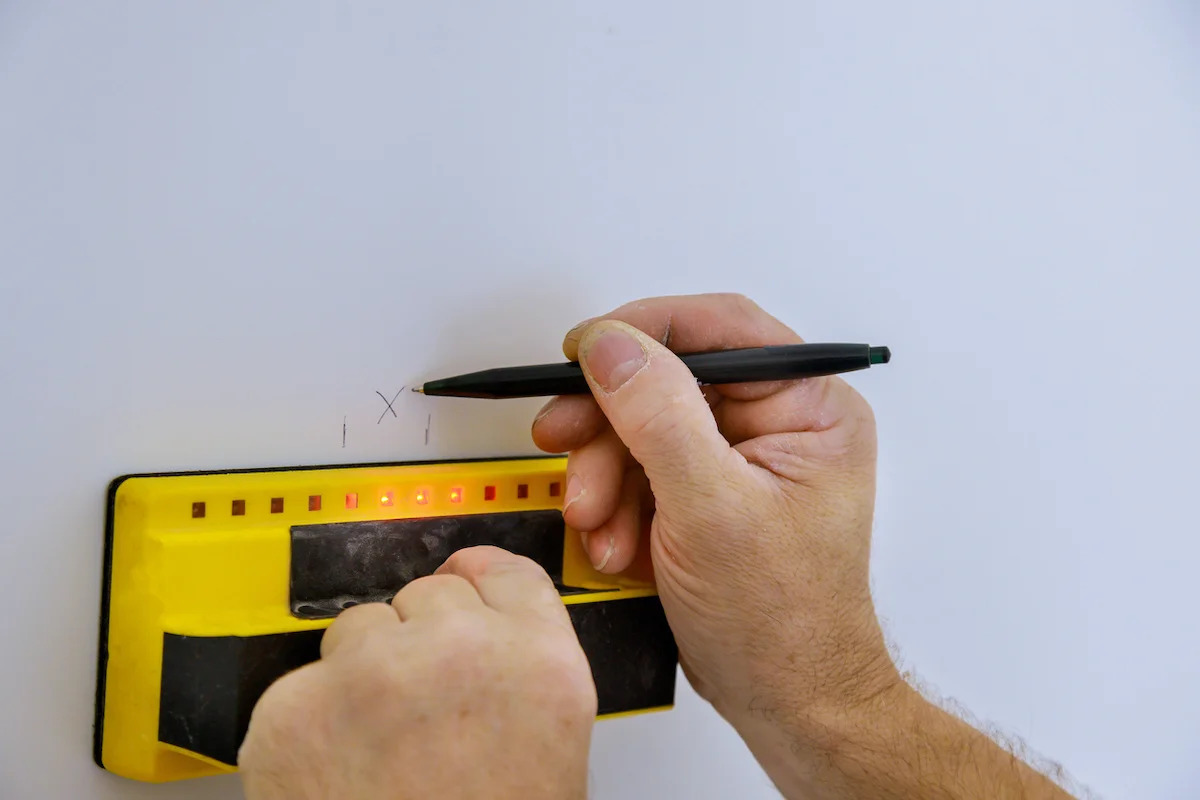
When the Stanley Stud Finder detects a stud, it typically indicates the edges of the stud, demarcating the boundaries where the density contrast is detected. These edges serve as valuable reference points for marking the stud’s position on the wall. By carefully noting the points where the signals are consistently strong, you can identify the edges and subsequently determine the center of the stud.
Marking the center of the stud is pivotal for accurately anchoring your fixtures. Once you’ve identified the edges, measure and mark the midpoint between them. This central point denotes the ideal location for driving your fasteners into the stud, ensuring a secure and stable mount for your installations.
It’s important to exercise precision when interpreting the results provided by the Stanley Stud Finder. While the device simplifies the process of locating studs, your attentiveness and accuracy in marking the stud’s center are essential for the success of your home improvement projects.
Moreover, if the stud finder offers a visual display of the detected studs, take the time to familiarize yourself with the specific indicators and symbols used to represent the detected edges and center of the stud. Understanding the visual feedback provided by the device enhances your ability to interpret the results accurately.
By adeptly interpreting the signals and markings revealed by the Stanley Stud Finder, you equip yourself with the knowledge needed to proceed with confidence in mounting your fixtures. With a clear understanding of the stud’s position and center, you’re well-prepared to securely anchor your shelves, cabinets, or any other fixtures, ensuring their stability and longevity.
Read more: How To Use Stanley Stud Finder S150
Tips and Tricks for Effective Stud Finding
Mastering the art of stud finding with the Stanley Stud Finder involves more than just wielding the device. By incorporating the following tips and tricks into your stud-finding endeavors, you can elevate your proficiency and ensure precise results, setting the stage for successful home improvement projects.
- Maintain a Steady Pace: When scanning the wall with the stud finder, move at a consistent and deliberate pace. Rushing through the process can lead to missed signals, while moving too slowly may result in overlapping scans, potentially causing confusion.
- Calibrate for Different Wall Types: If you’re working with various wall materials, such as drywall, plaster, or paneling, ensure that the stud finder is calibrated accordingly. Adhering to the recommended calibration settings for each wall type enhances the accuracy of stud detection.
- Utilize Multiple Scans: To confirm the presence and location of a stud, perform multiple scans across the same area. This approach helps validate the consistency of the detected signals and provides a more comprehensive understanding of the stud’s position.
- Mark the Stud’s Center: After identifying the edges of the stud, mark the center accurately. Taking the time to locate the midpoint between the edges ensures precise placement of fasteners for secure installations.
- Verify with Alternative Methods: While the Stanley Stud Finder is a reliable tool, consider corroborating its findings with alternative stud-finding methods, such as tapping the wall to listen for solid areas or using a small nail to probe for the presence of a stud.
- Stay Mindful of Interference: Be mindful of potential interference from electrical wiring, pipes, or other obstructions within the wall. While the stud finder is designed to detect studs, it’s essential to exercise caution and consider the possibility of concealed obstacles.
By incorporating these tips and tricks into your stud-finding endeavors, you can navigate the process with confidence and precision, ensuring that your installations are securely anchored to the sturdy framework of the wall. With a combination of attentiveness, technique, and the reliable performance of the Stanley Stud Finder, you’re well-equipped to conquer any stud-finding challenge that comes your way.
Conclusion
Congratulations on embarking on a journey to unravel the mysteries of stud finding with the Stanley Stud Finder. Armed with the knowledge and insights gleaned from this guide, you’re now equipped to confidently and effectively locate studs within your walls, setting the stage for successful and secure home improvement projects.
The Stanley Stud Finder serves as a steadfast ally in your quest for sturdy and reliable fixture installations. By understanding the basics of its operation, preparing it meticulously, and mastering its usage, you’ve unlocked the potential to elevate your DIY endeavors to new heights of precision and assurance.
As you venture forth to hang that captivating piece of artwork, mount those robust shelves, or secure that sleek TV mount, the skills and techniques acquired through this guide will serve as your guiding light. With the Stanley Stud Finder in hand and a wealth of practical tips at your disposal, you’re poised to conquer any stud-finding challenge with finesse and accuracy.
Remember, patience and attentiveness are your allies in the pursuit of precise stud detection. By maintaining a steady pace, interpreting the results with precision, and incorporating the recommended tips and tricks, you’ll navigate the stud-finding process with confidence and proficiency.
With the Stanley Stud Finder as your trusted companion, you can bid farewell to the uncertainties and guesswork often associated with locating studs. Instead, embrace the assurance of securely anchored fixtures, knowing that your installations are firmly fastened to the solid framework within your walls.
So, as you venture into the realm of DIY home improvement armed with your newfound expertise, may your projects be marked by stability, precision, and the satisfaction of securely mounted fixtures. With the Stanley Stud Finder by your side, the walls of your home become not just a canvas for installations, but a stronghold for your creativity and ingenuity.
Frequently Asked Questions about How To Use The Stanley Stud Finder
Was this page helpful?
At Storables.com, we guarantee accurate and reliable information. Our content, validated by Expert Board Contributors, is crafted following stringent Editorial Policies. We're committed to providing you with well-researched, expert-backed insights for all your informational needs.


0 thoughts on “How To Use The Stanley Stud Finder”