Home>Articles>How To Change An LED Bulb In A Recessed Ceiling Light With Cover
Articles
How To Change An LED Bulb In A Recessed Ceiling Light With Cover
Modified: October 27, 2024
Learn how to change a LED bulb in a recessed ceiling light with a cover. Our articles provide step-by-step instructions for an easy installation process.
(Many of the links in this article redirect to a specific reviewed product. Your purchase of these products through affiliate links helps to generate commission for Storables.com, at no extra cost. Learn more)
Introduction
Changing a LED bulb in a recessed ceiling light with a cover may seem like a daunting task, but with the right tools and a step-by-step approach, it can be a simple and quick process. Whether you’re looking to replace a burnt-out bulb or upgrade to a more energy-efficient LED option, this guide will provide you with the necessary steps to get the job done.
LED bulbs have gained popularity in recent years for their long lifespan, energy efficiency, and bright illumination. Recessed ceiling lights are commonly found in many homes and provide a sleek and modern lighting solution. However, when it comes time to change the bulb, people often struggle with removing the cover and accessing the bulb itself.
Before embarking on this task, it’s important to ensure your safety by following proper electrical guidelines. Always turn off the power to the recessed ceiling light at the circuit breaker before attempting any work. Additionally, make sure you have the necessary tools readily available to avoid any unnecessary interruptions. With these preparations in place, let’s get started on changing the LED bulb in your recessed ceiling light with a cover.
Key Takeaways:
- Changing a LED bulb in a recessed ceiling light with a cover is a simple and rewarding process when approached with the right tools, safety precautions, and step-by-step guidance.
- Prioritizing safety, gathering necessary tools, and following a systematic approach ensures a smooth and efficient process of replacing the LED bulb, contributing to energy efficiency and cost savings in the long run.
Read more: How To Change Recessed Light Bulb
Step 1: Gather necessary tools
Before you begin the process of changing the LED bulb in a recessed ceiling light with a cover, it’s important to gather the necessary tools. Having these tools readily available will make the task easier and more efficient. Here are the tools you will need:
- Screwdriver: A screwdriver will be needed to remove any screws or fasteners holding the cover in place. The type of screwdriver required may vary depending on the design of your recessed ceiling light.
- Ladder or step stool: If your recessed ceiling light is installed in a high ceiling, you will need a ladder or step stool to safely reach the light fixture.
- Replacement LED bulb: Ensure you have a compatible LED bulb on hand to replace the old one. LED bulbs come in various shapes and sizes, so make sure to choose one that matches your recessed ceiling light fixture.
- Gloves: It’s always a good idea to wear gloves when handling bulbs to protect them from any oils or dirt on your hands. This will also help prevent any accidental breakage.
By gathering these tools before you start, you can ensure a smooth and uninterrupted process when changing the LED bulb in your recessed ceiling light. Taking the time to prepare will also minimize the risk of damaging the light fixture or injuring yourself.
Step 2: Turn off the power
Before you begin any work on the recessed ceiling light, it is crucial to turn off the power to ensure your safety. This step will help prevent any electrical shocks or accidents that could occur while changing the LED bulb. Follow these steps to turn off the power:
- Locate the electrical panel: The electrical panel, also known as the circuit breaker panel, is typically found in a basement, garage, or utility room. Open the panel door to access the circuit breakers.
- Identify the circuit breaker: Look for the circuit breaker that corresponds to the recessed ceiling light you will be working on. The circuit breakers are usually labeled, making it easier to locate the correct one. If it’s not labeled, you can identify it by trial and error; turn off the breakers one by one until the light turns off.
- Turn off the circuit breaker: Once you have identified the correct circuit breaker, switch it to the “off” position. This will cut off the power supply to the recessed ceiling light.
After turning off the power, it’s a good practice to test the recessed ceiling light to ensure it is indeed turned off. If the light remains off, you can proceed to the next step with confidence. However, if the light is still on, double-check that you have turned off the correct circuit breaker before proceeding.
Remember, safety should always be your top priority when working with electricity. By turning off the power, you can minimize the risk of electrical accidents and work on the recessed ceiling light with peace of mind.
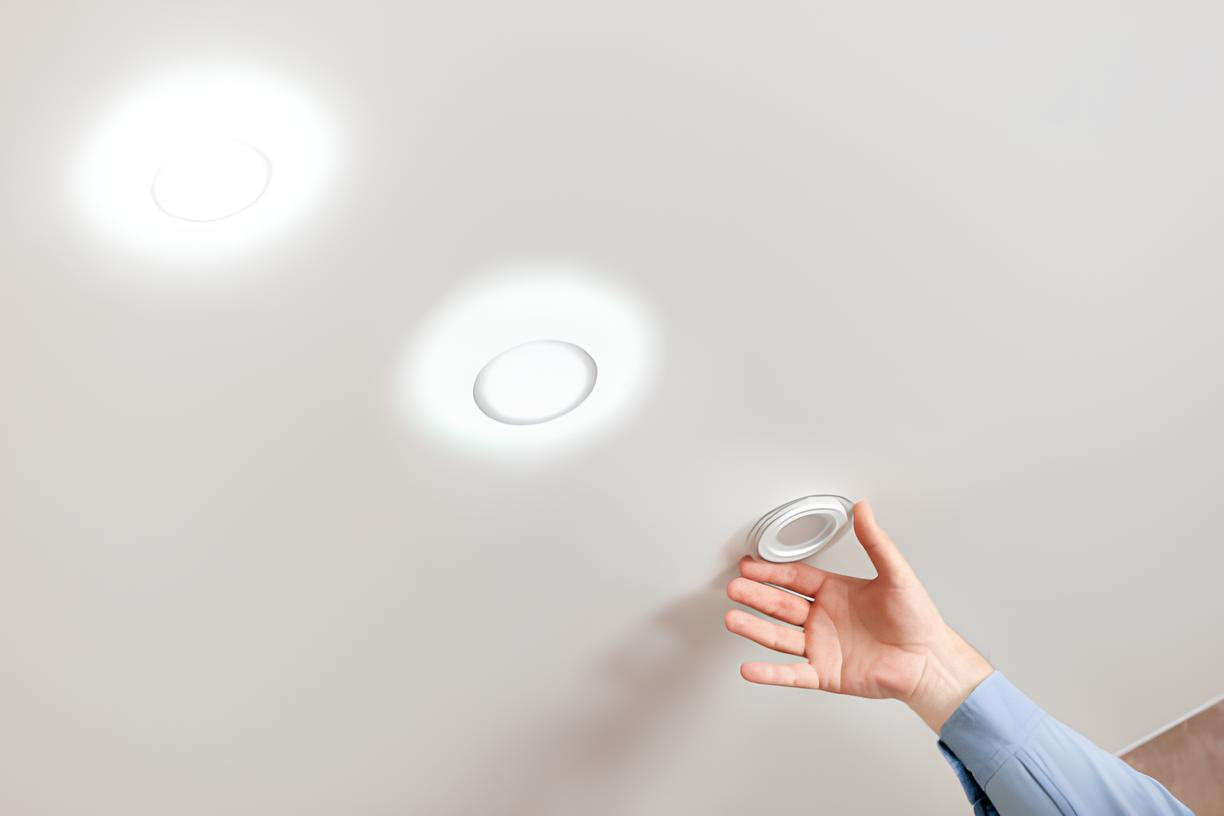
Step 3: Remove the cover from the recessed ceiling light
Now that the power is turned off, you can proceed to remove the cover from the recessed ceiling light. The cover is typically held in place by screws or fasteners and may vary in design depending on the specific light fixture. Follow these steps to remove the cover:
- Locate the screws or fasteners: Examine the recessed ceiling light to identify the screws or fasteners that secure the cover in place. These are usually located along the edges or corners of the cover.
- Use a screwdriver: Depending on the type of screws or fasteners, use the appropriate screwdriver to loosen and remove them. Turn the screws counterclockwise to loosen them and continue until they can be easily pulled out.
- Set aside the screws: As you remove the screws, be sure to set them aside in a safe place. It’s important to keep track of them so they can be easily found when it’s time to reassemble the cover.
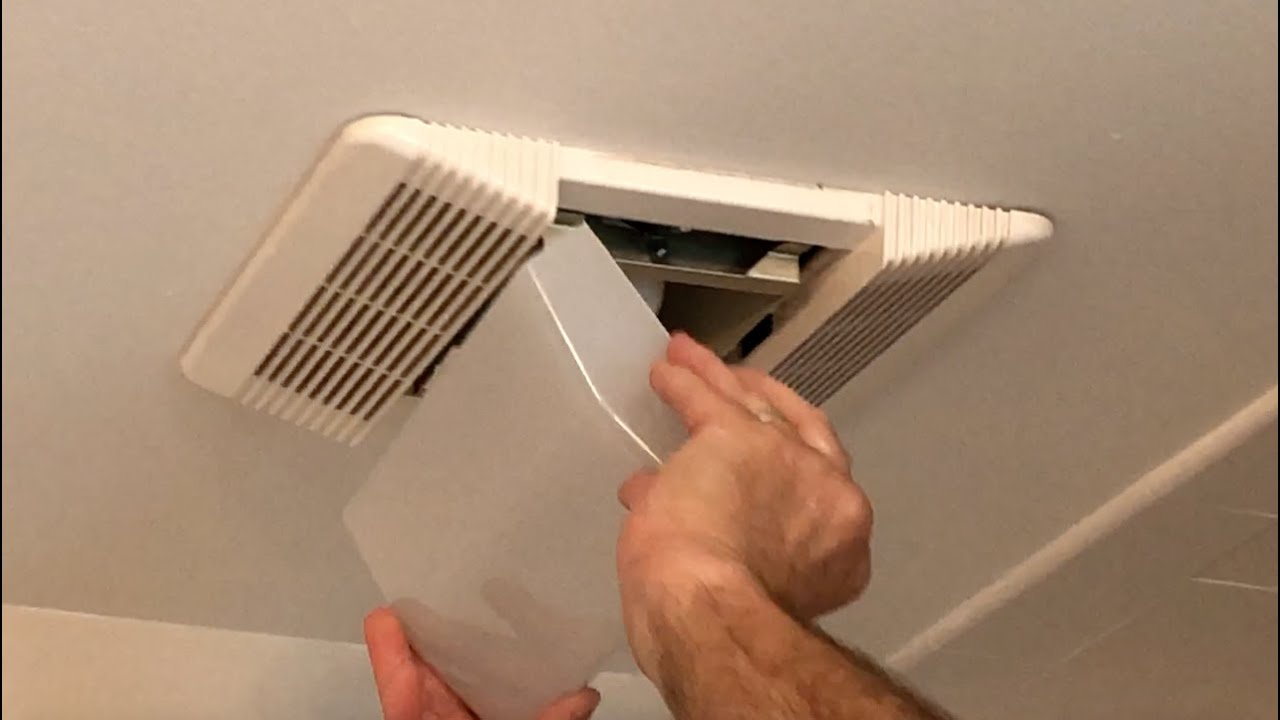
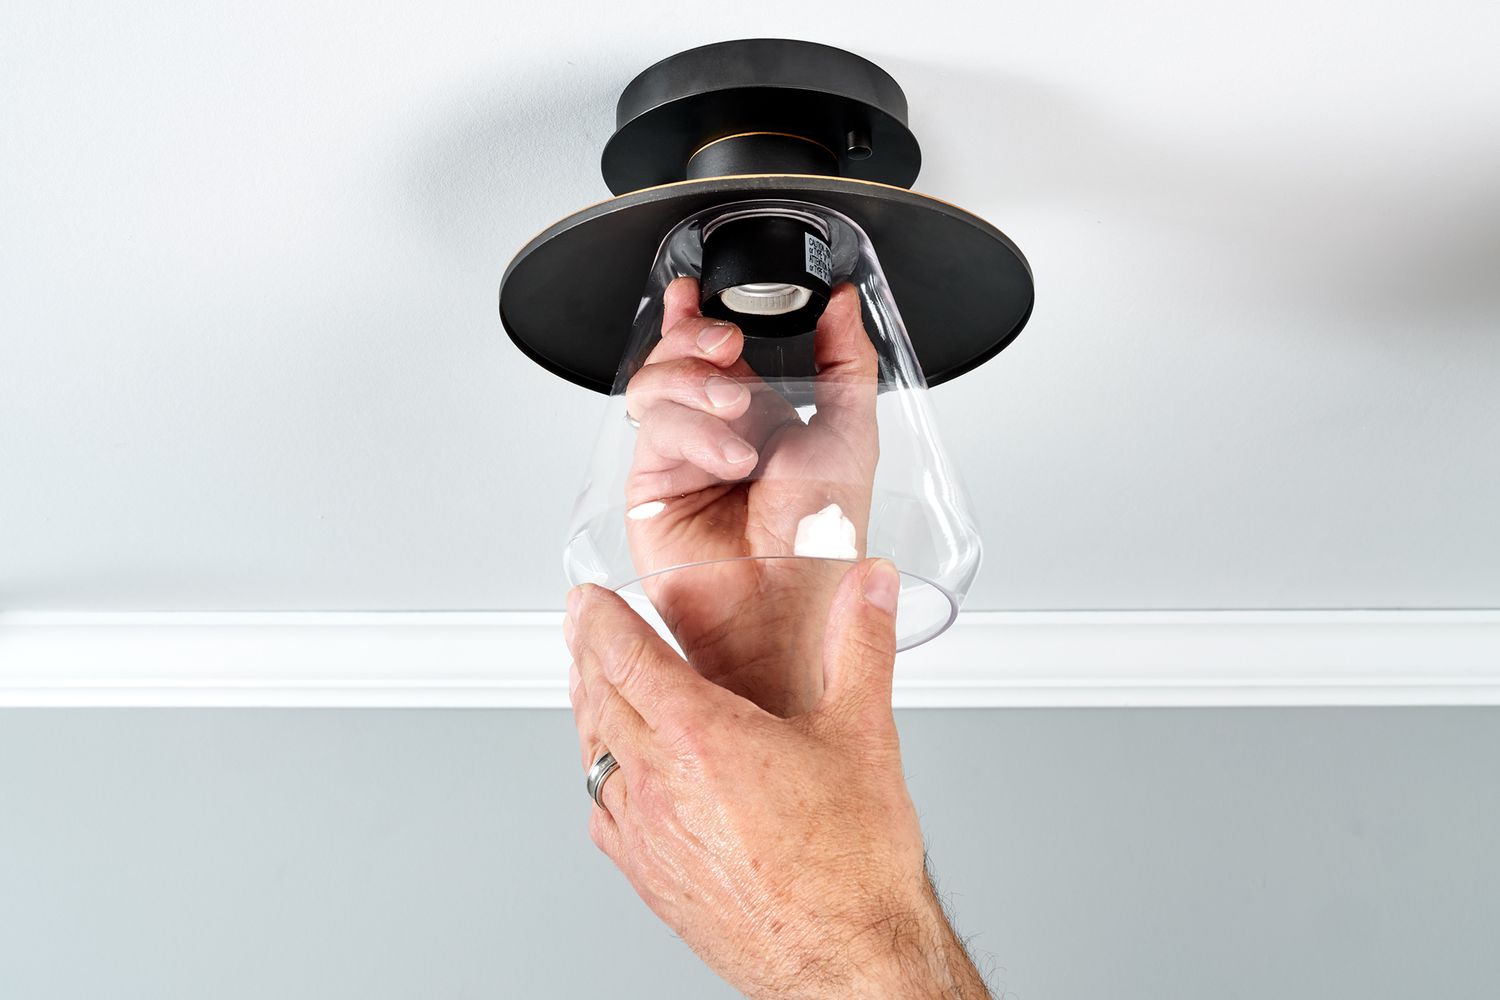
- Gently remove the cover: Once all the screws or fasteners are removed, gently pull the cover away from the recessed ceiling light. Be careful not to apply excessive force or twist the cover to avoid damaging it.
If the cover seems stubborn or difficult to remove, double-check for any additional screws that may be hidden under decorative trim or other parts of the cover. Some covers may have a twist-lock mechanism or a spring-loaded clip that needs to be released before the cover can be removed.
Once the cover is successfully removed, set it aside in a safe place where it won’t be damaged. With the cover removed, you now have access to the old LED bulb and can proceed to the next step of the process.
Step 4: Unscrew the old LED bulb
With the cover removed, you can now move on to unscrewing the old LED bulb from the recessed ceiling light. Follow these steps to safely and effectively remove the old bulb:
- Inspect the bulb: Before you begin, take a moment to inspect the old LED bulb. Look for any signs of damage, such as cracks or discoloration. If the bulb appears to be in good condition, you can proceed with the removal process.
- Gently twist the bulb counterclockwise: Reach for the base of the LED bulb and give it a gentle twist in a counterclockwise direction. Most LED bulbs are designed to be easily unscrewed by hand, but if it feels tight, you can use a cloth or glove to provide better grip.
- Remove the old bulb: Continue twisting the bulb counterclockwise until it is completely free from the socket. Once the bulb is detached, carefully set it aside for proper disposal or recycling, as LED bulbs should not be thrown in regular trash.
It’s important to handle the old LED bulb with care, as it may contain delicate components that can break if mishandled. Be gentle while twisting and removing the bulb to avoid any damage to the socket or the bulb itself.
After removing the old LED bulb, take a moment to clean the socket if there is any accumulated dust or debris. Use a soft cloth or compressed air to gently remove any dirt before proceeding to the next step of the process.
Now that the old bulb has been successfully removed, you are ready to move on to the next step: inserting the new LED bulb into the recessed ceiling light.
Make sure to turn off the power to the light fixture before attempting to change the LED bulb. Use a ladder to reach the recessed ceiling light and carefully remove the cover to access the bulb. Twist the old bulb counterclockwise to remove it, then insert the new LED bulb and twist it clockwise to secure it in place. Replace the cover and turn the power back on to test the new bulb.
Read more: How To Change Light Bulb In The Ceiling
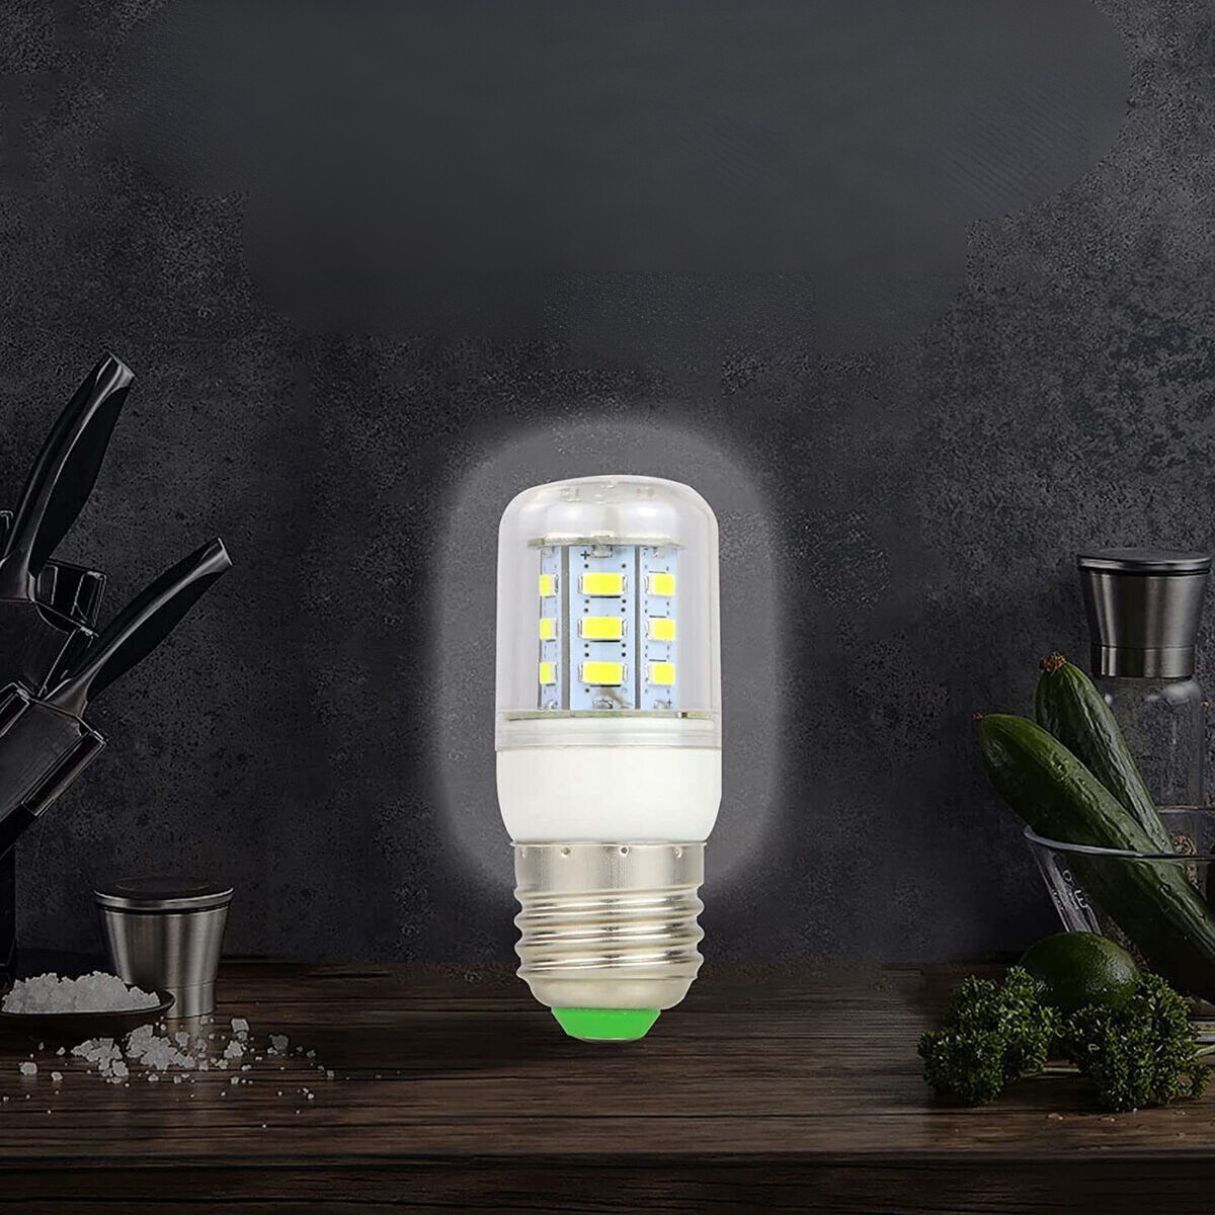
Step 5: Insert the new LED bulb
Now that you have removed the old LED bulb, it’s time to insert the new bulb into the recessed ceiling light. Follow these steps to ensure a smooth and proper installation:
- Inspect the new LED bulb: Before inserting the new bulb, examine it for any signs of damage. Ensure that the bulb is the correct size and shape for your recessed ceiling light fixture.
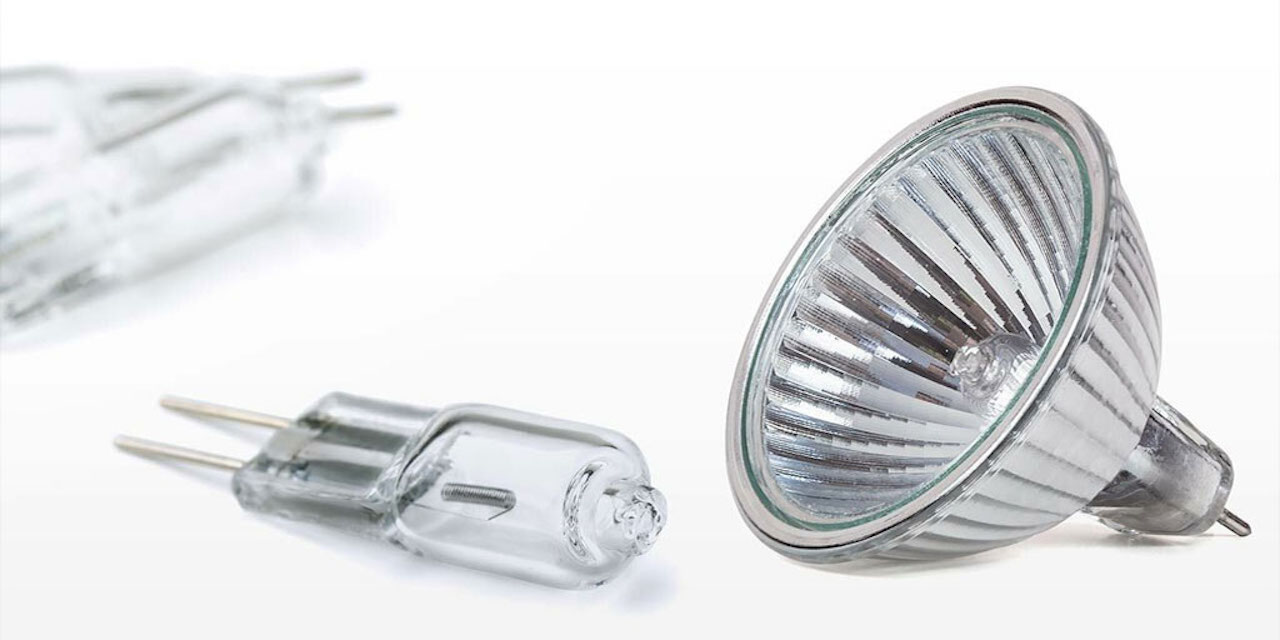
- Line up the pins or base: Depending on the type of LED bulb you have, it may have pins or a specific base that needs to align with the socket. Take a careful look at the socket and the bulb to ensure a proper fit.
- Gently position the bulb: Hold the new LED bulb by the base or the pins and align it with the socket. Apply light pressure and carefully twist it in a clockwise direction to secure it in place.
- Ensure a snug fit: Once the bulb is in position, give it a gentle tug to ensure it is securely seated. You should feel a slight resistance, indicating that the bulb is properly inserted and won’t fall out.
It’s important to note that LED bulbs are much more delicate than traditional incandescent bulbs. Avoid applying excessive force or twisting the bulb too tightly, as this can cause damage to both the bulb and the socket.
Once the new LED bulb is securely installed, take a moment to admire the bright and energy-efficient lighting it provides. LED bulbs are known for their longevity and low energy consumption, making them an excellent choice for your recessed ceiling light.
Now that the new LED bulb is in place, you can move on to the next step: replacing the cover on the recessed ceiling light.
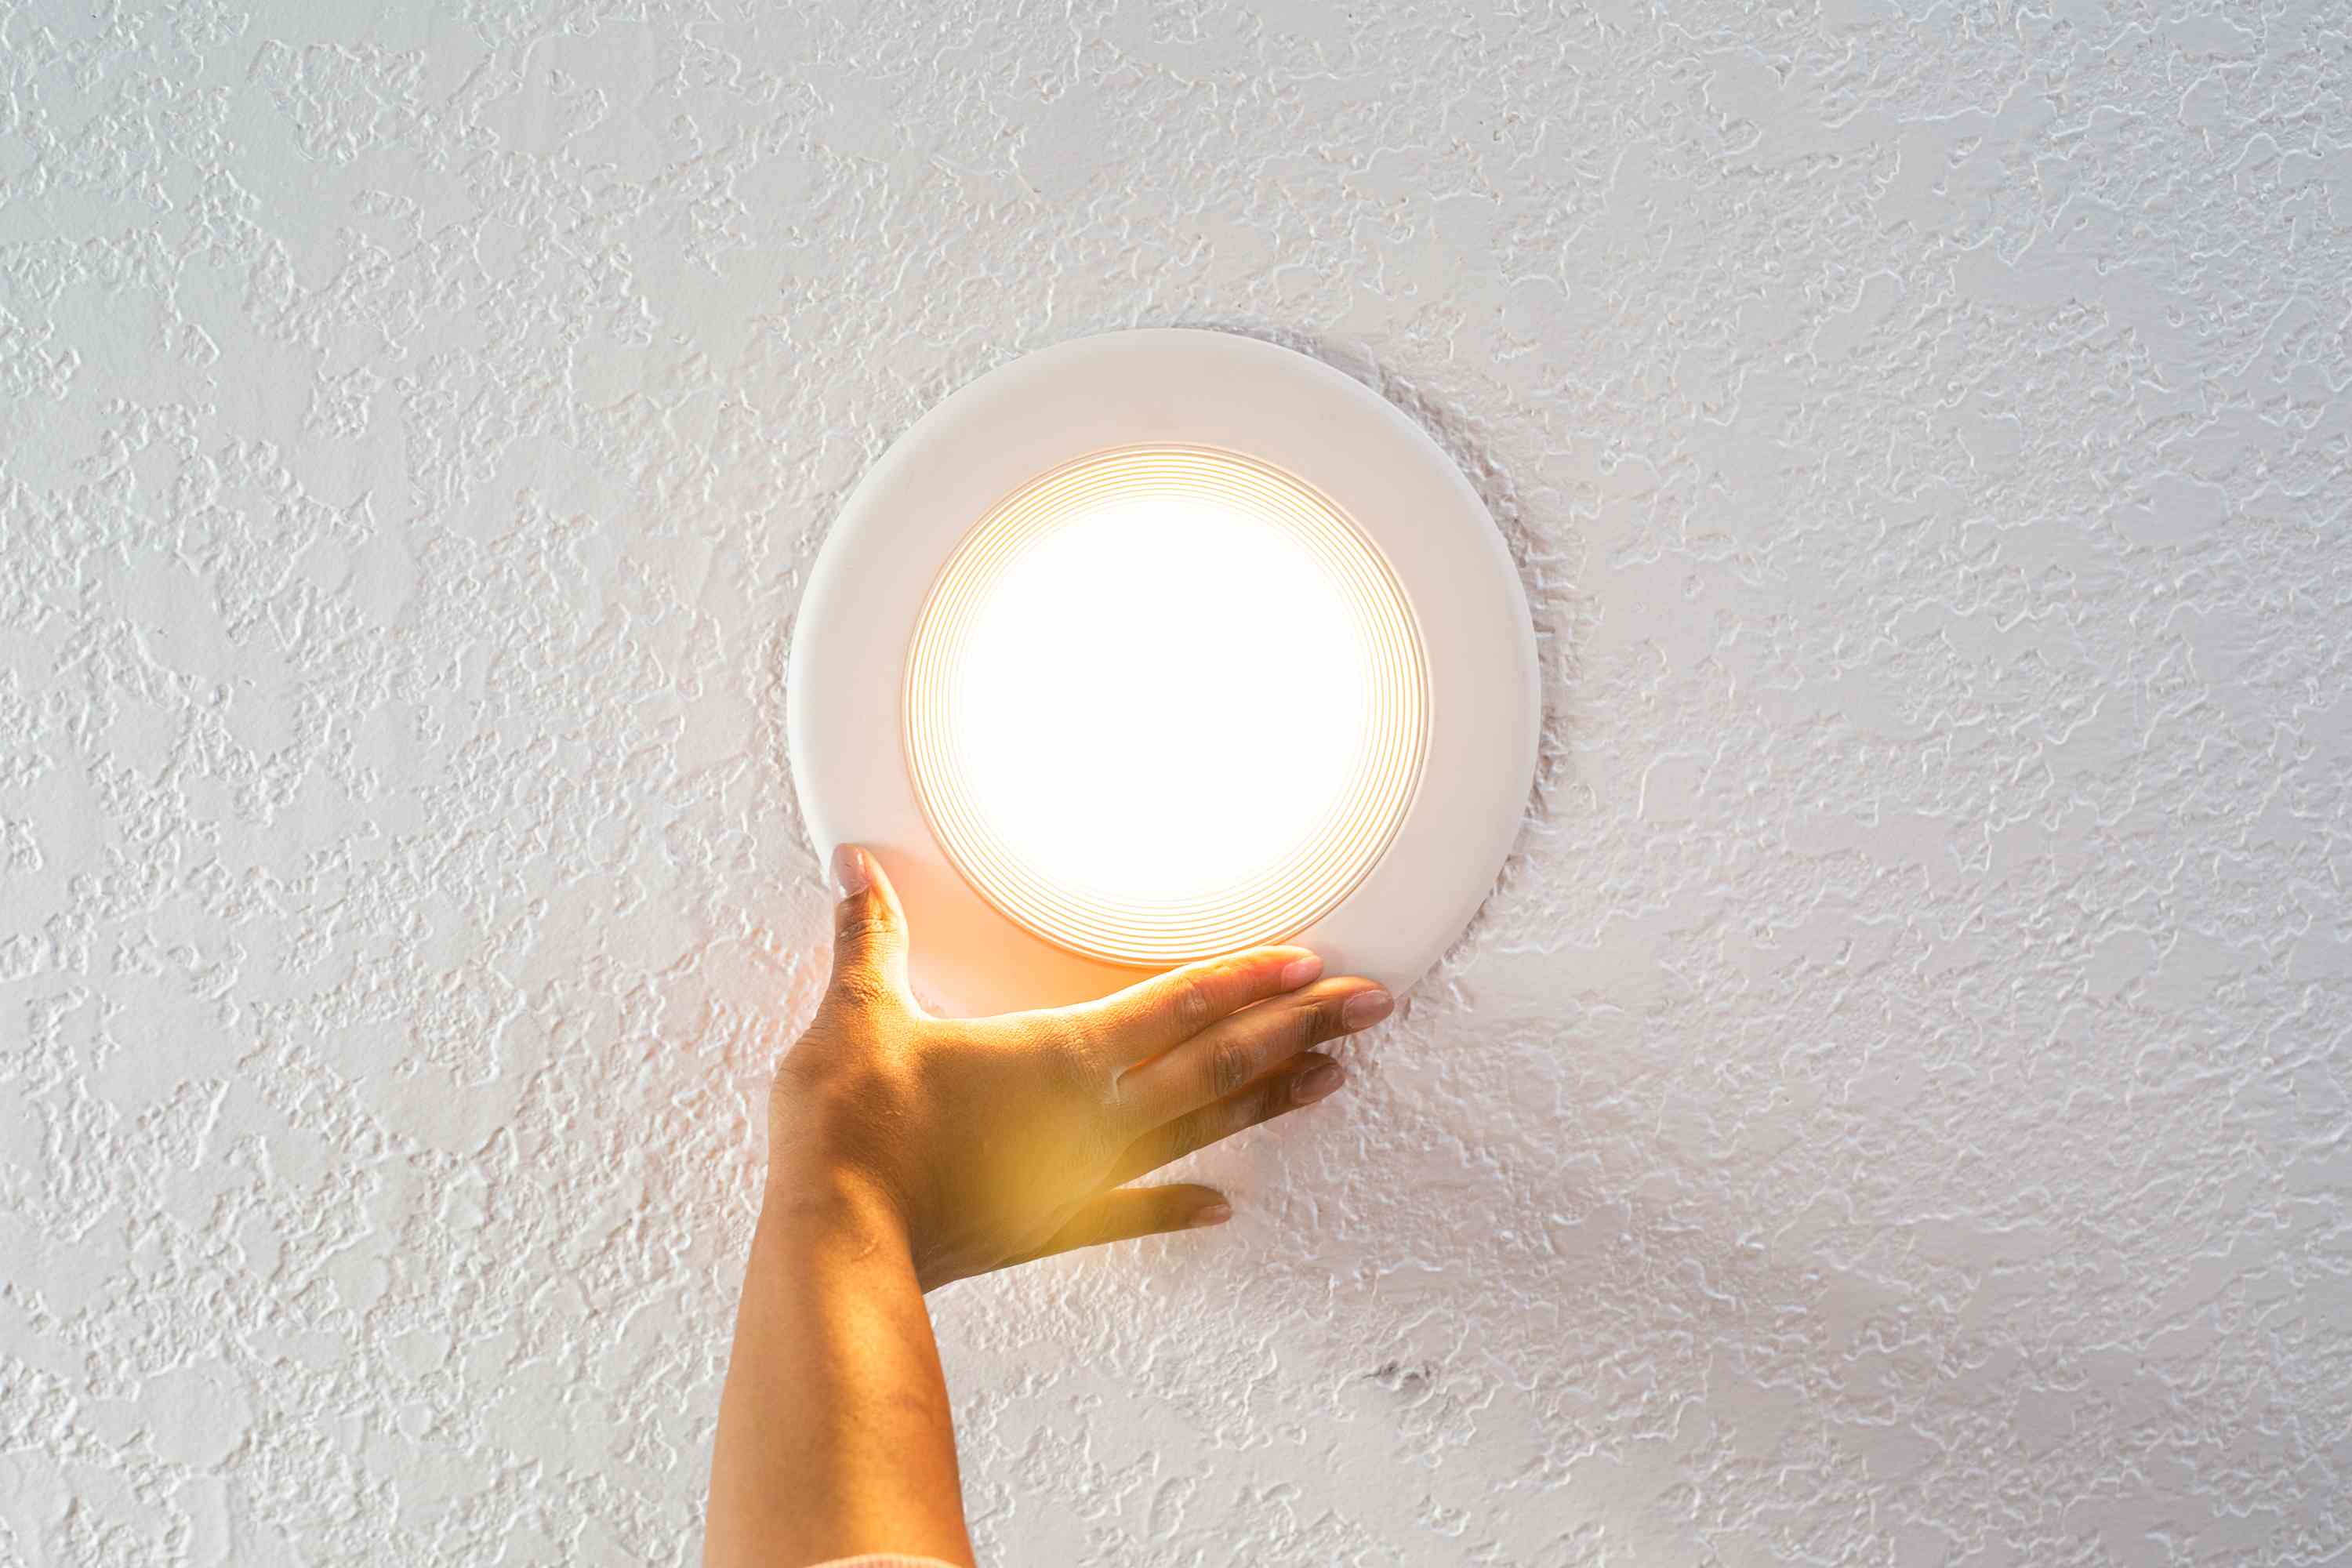
Step 6: Replace the cover
With the new LED bulb successfully inserted into the recessed ceiling light, the next step is to replace the cover. Follow these steps to ensure a secure and proper fit:
- Align the cover: Hold the cover in position and align it with the fixture. Make sure it is centered and properly seated before proceeding.
- Insert the screws or fasteners: If your cover uses screws or fasteners, take the screws you set aside earlier and insert them back into their respective holes. Use a screwdriver to tighten them clockwise until they are snug.
- Secure the cover: Ensure that the cover is securely fastened to the recessed ceiling light. Check for any loose parts or gaps around the edges. If necessary, tighten the screws or fasteners a little more to create a snug fit.
It’s important to note that not all recessed ceiling lights have removable covers. Some fixtures may have a fixed cover or require a different method of reassembly. In such cases, consult the manufacturer’s instructions or seek professional assistance if needed.
After replacing the cover, take a step back and observe the overall appearance of the recessed ceiling light. The cover should be flush with the ceiling, providing a seamless and aesthetically pleasing look.
With the cover back in place, the final step is to restore power to the recessed ceiling light by turning on the circuit breaker.
Step 7: Turn on the power
The last step in the process of changing the LED bulb in a recessed ceiling light is to turn on the power. Follow these steps to safely restore power to the light fixture:
- Return to the electrical panel: Locate the circuit breaker that corresponds to the recessed ceiling light that you worked on. It should be in the “off” position from when you turned off the power earlier.
- Flip the circuit breaker: Using caution, flip the circuit breaker switch to the “on” position. This will restore power to the recessed ceiling light.
- Test the light: Once the power is restored, test the newly installed LED bulb by flipping the light switch or using the lighting controls. The light should turn on, indicating that the new bulb is functioning correctly.
It’s important to note that if the light does not turn on, there may be an issue with the installation or the bulb itself. Double-check that the bulb is properly inserted, and ensure that the circuit breaker is in the correct position. If the problem persists, it may be advisable to consult a qualified electrician for further assistance.
With the power successfully restored and the light functioning, take a moment to appreciate your newly installed LED bulb in the recessed ceiling light. Enjoy the energy-efficient and bright illumination it provides, enhancing the ambiance of your space.
Congratulations! You have successfully completed the process of changing the LED bulb in a recessed ceiling light with a cover. By following these steps, you have not only upgraded your lighting but also gained confidence in performing basic electrical tasks.
Remember, always prioritize your safety when working with electricity. If you have any concerns or doubts, consult a professional electrician for guidance and assistance.
Conclusion
Changing the LED bulb in a recessed ceiling light with a cover may seem like a daunting task at first, but with the right tools and step-by-step guidance, it becomes a simple and rewarding process. By following the steps outlined in this guide, you can easily replace a burnt-out bulb or upgrade to a more energy-efficient LED option.
Throughout this process, it’s important to prioritize safety by turning off the power at the circuit breaker and taking necessary precautions. Additionally, gathering the necessary tools beforehand ensures a smooth and efficient workflow.
Removing the cover from the recessed ceiling light allows access to the old LED bulb, which can then be unscrewed and safely removed. Properly inserting the new LED bulb requires aligning it with the socket and gently twisting it into place.
Replacing the cover involves aligning it with the fixture and securing it with screws or fasteners. Finally, turning on the power at the circuit breaker allows you to test the newly installed bulb and enjoy its illumination.
By successfully completing these steps, you not only improve the functionality of your recessed ceiling light but also contribute to energy efficiency and cost savings in the long run with LED technology.
Always remember to prioritize your safety and, if needed, consult a professional electrician for assistance or guidance. Now, armed with the knowledge and understanding of the process, you can confidently change the LED bulb in your recessed ceiling light with a cover and brighten up your space.
Enjoy the benefits of your new LED bulb and the enhanced lighting experience it provides!
Frequently Asked Questions about How To Change An LED Bulb In A Recessed Ceiling Light With Cover
Was this page helpful?
At Storables.com, we guarantee accurate and reliable information. Our content, validated by Expert Board Contributors, is crafted following stringent Editorial Policies. We're committed to providing you with well-researched, expert-backed insights for all your informational needs.


0 thoughts on “How To Change An LED Bulb In A Recessed Ceiling Light With Cover”